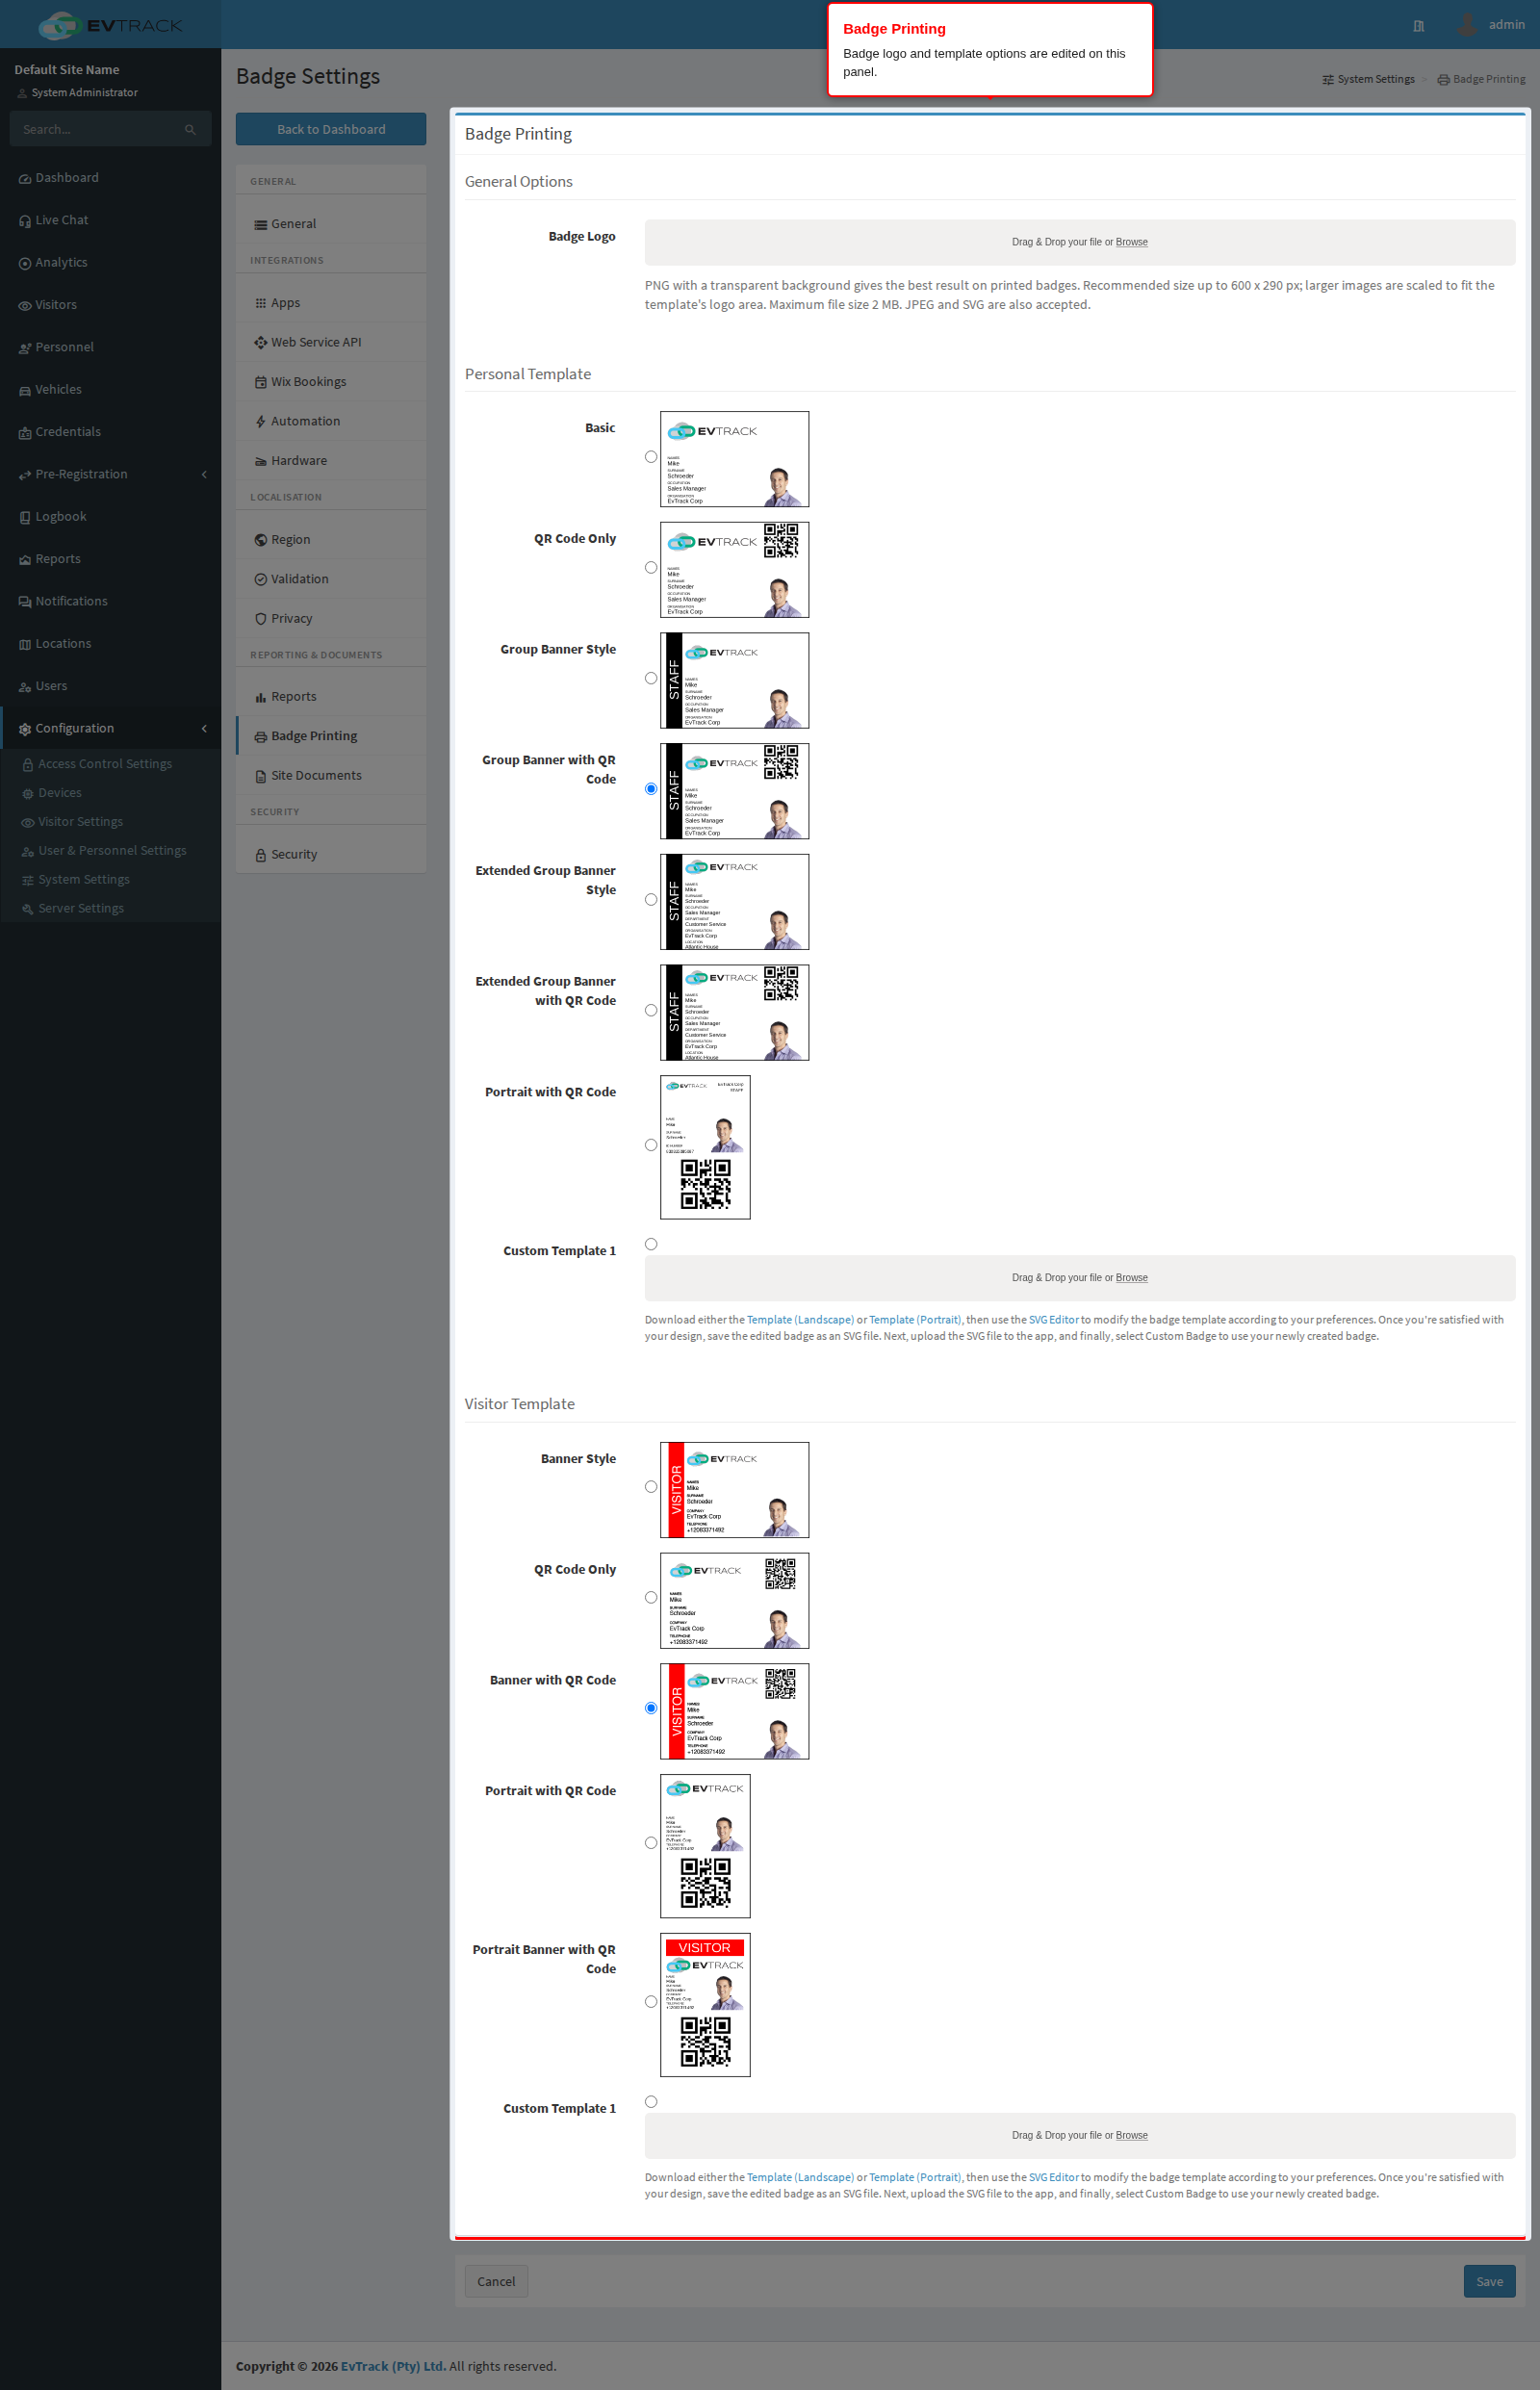
Open Configuration > System Settings > Badge Printing to configure badge layout and printing behaviour - the logo printed on badges and the template used for personnel and visitor badges. Each template option shows a preview image, so pick the layout that matches your badge stock and printer orientation.
Settings
General Options
- Badge Logo - upload the logo (PNG, JPEG, or GIF) printed on every badge; use your organisation’s logo at a good resolution so it prints cleanly. A PNG around 1000px wide and under 500kb gives the best print result.
Personal Template - the layout used when printing badges for personnel/users; select one:
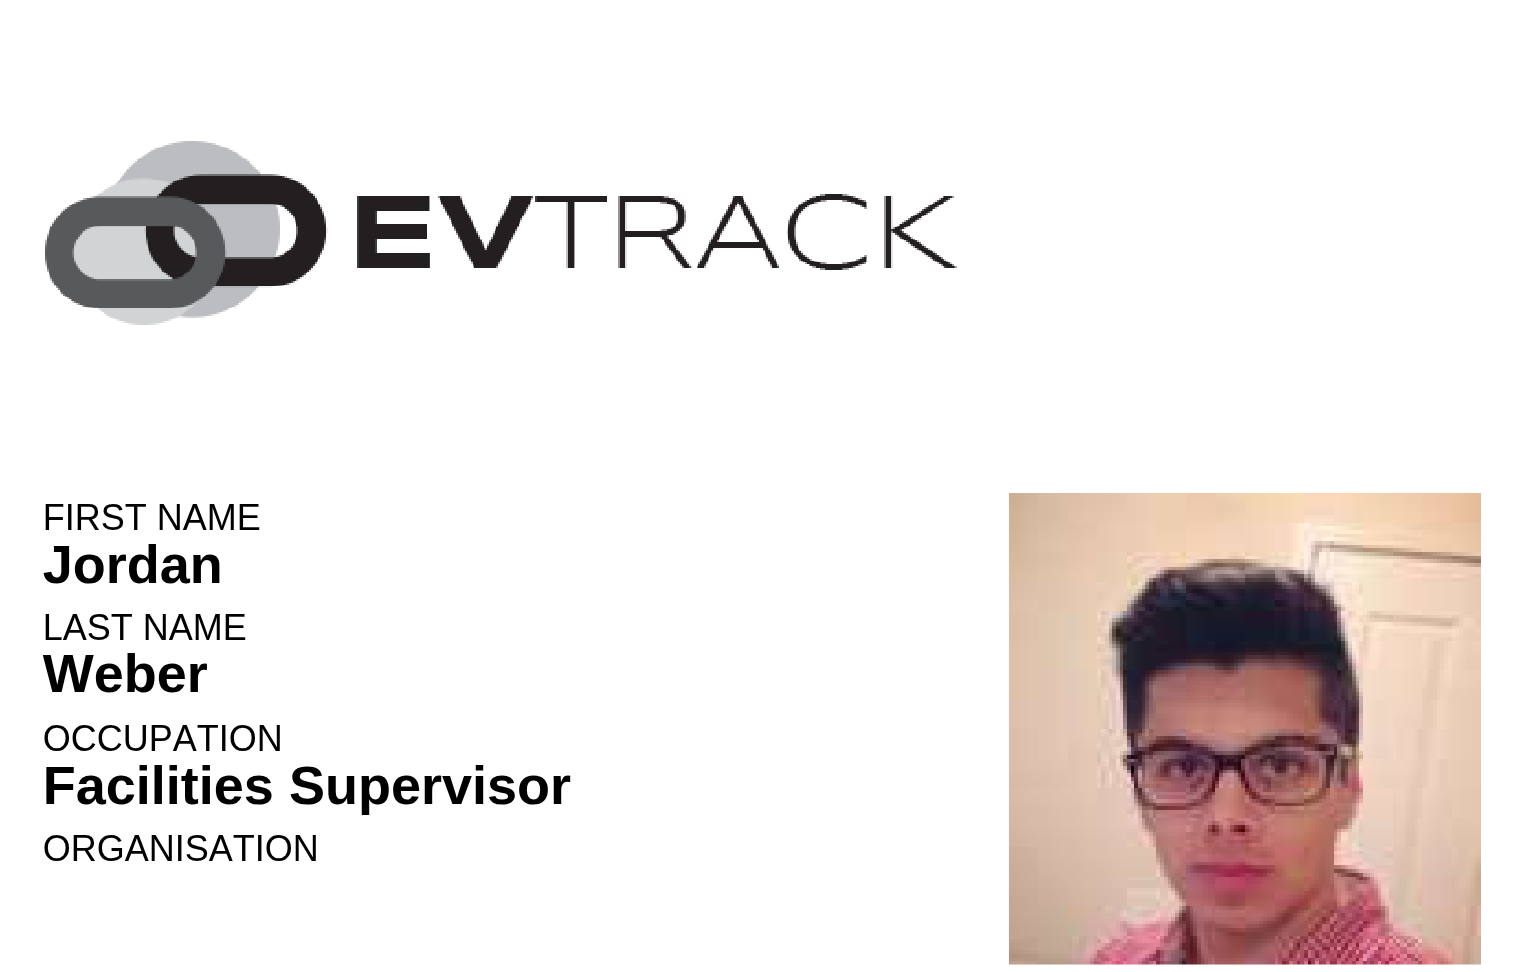
- Basic - a simple layout with the person’s details.
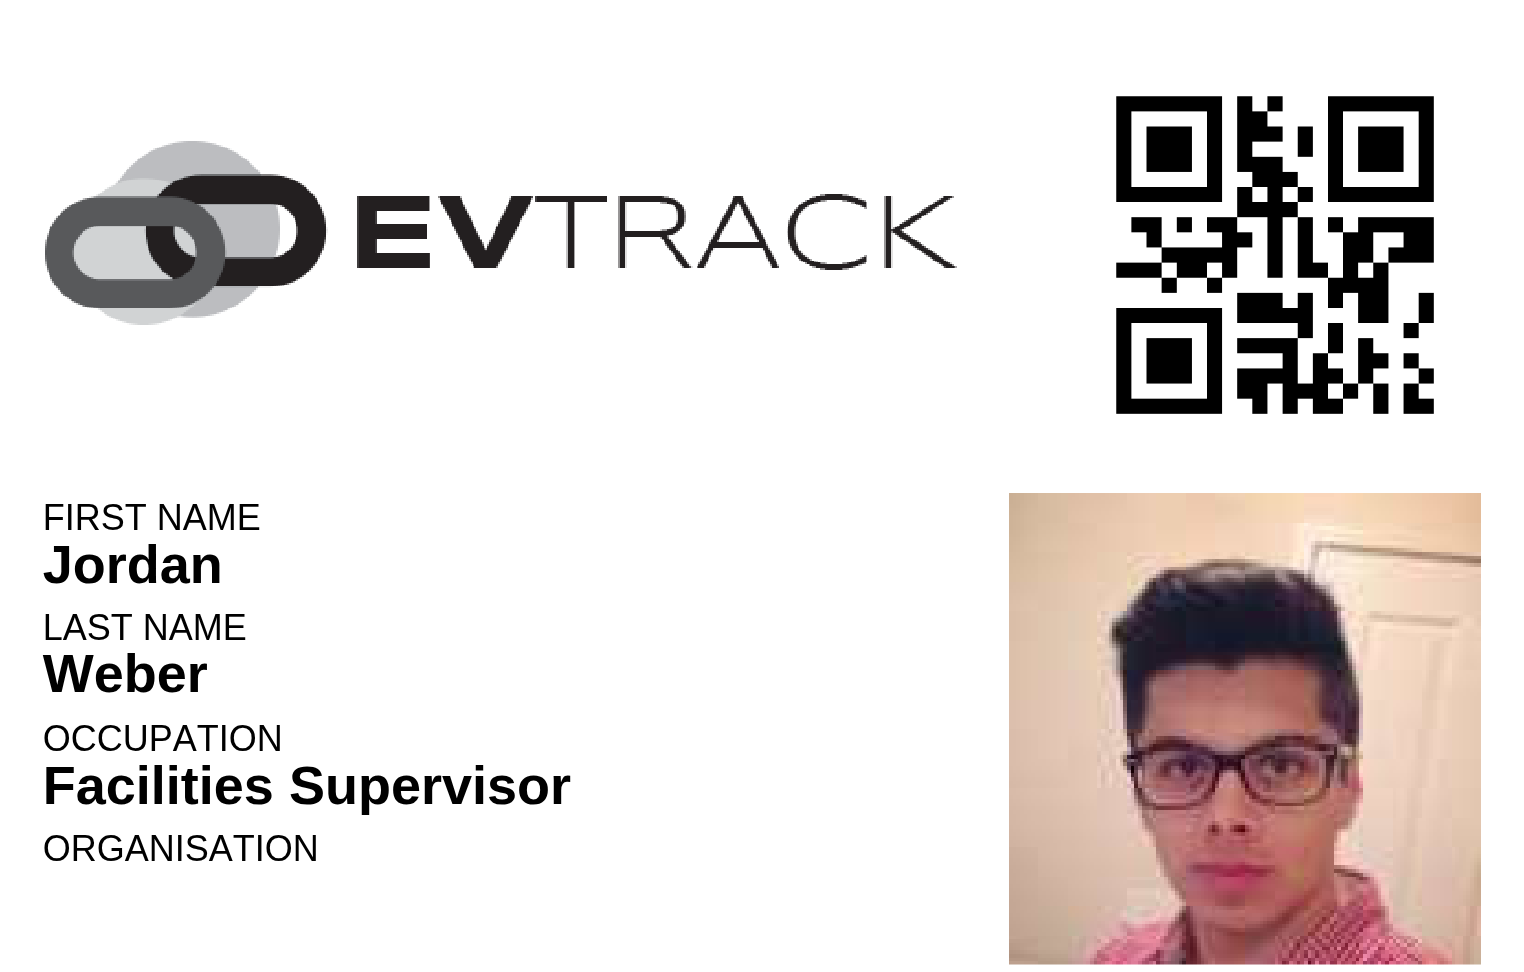
- QR Code Only - a minimal badge carrying just the QR code.
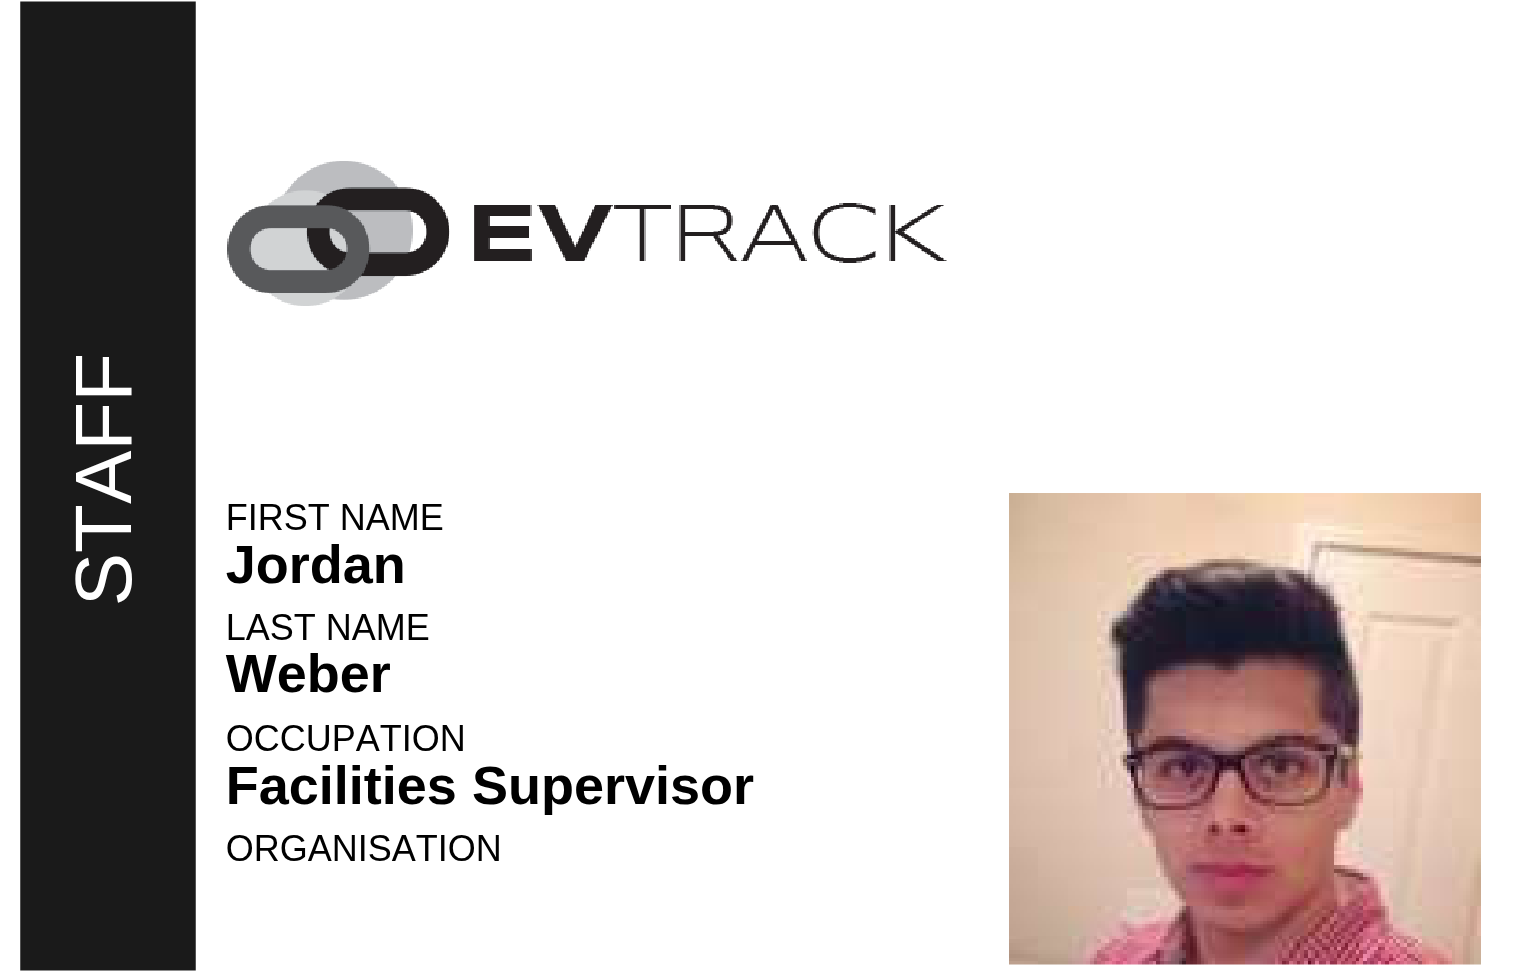
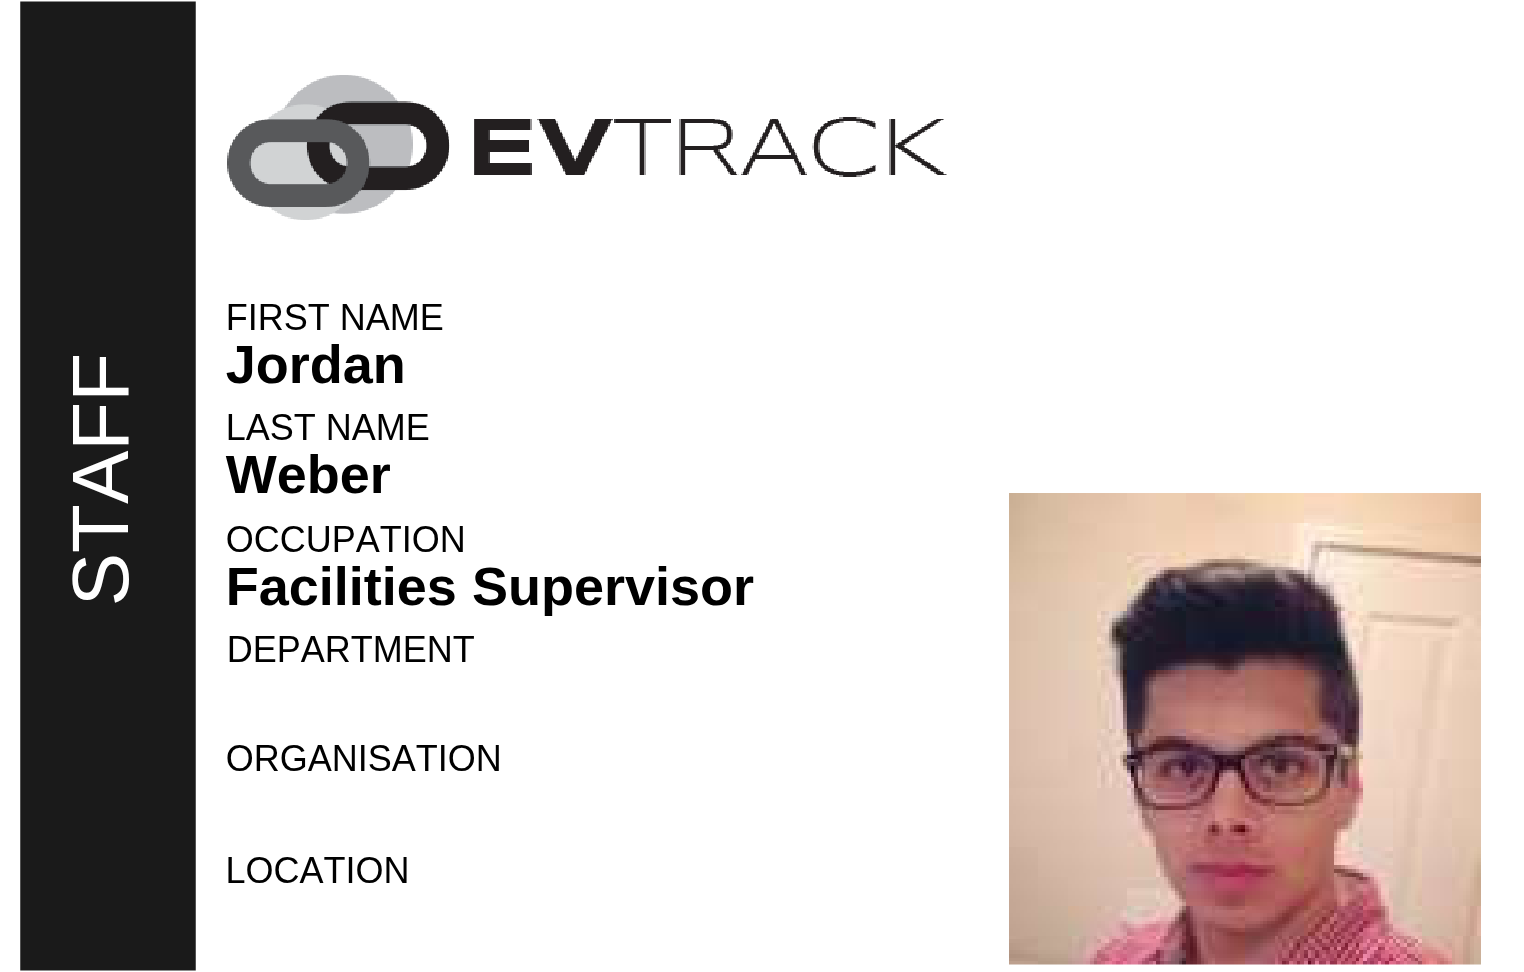
- Group Banner Style - a banner layout without a QR code.
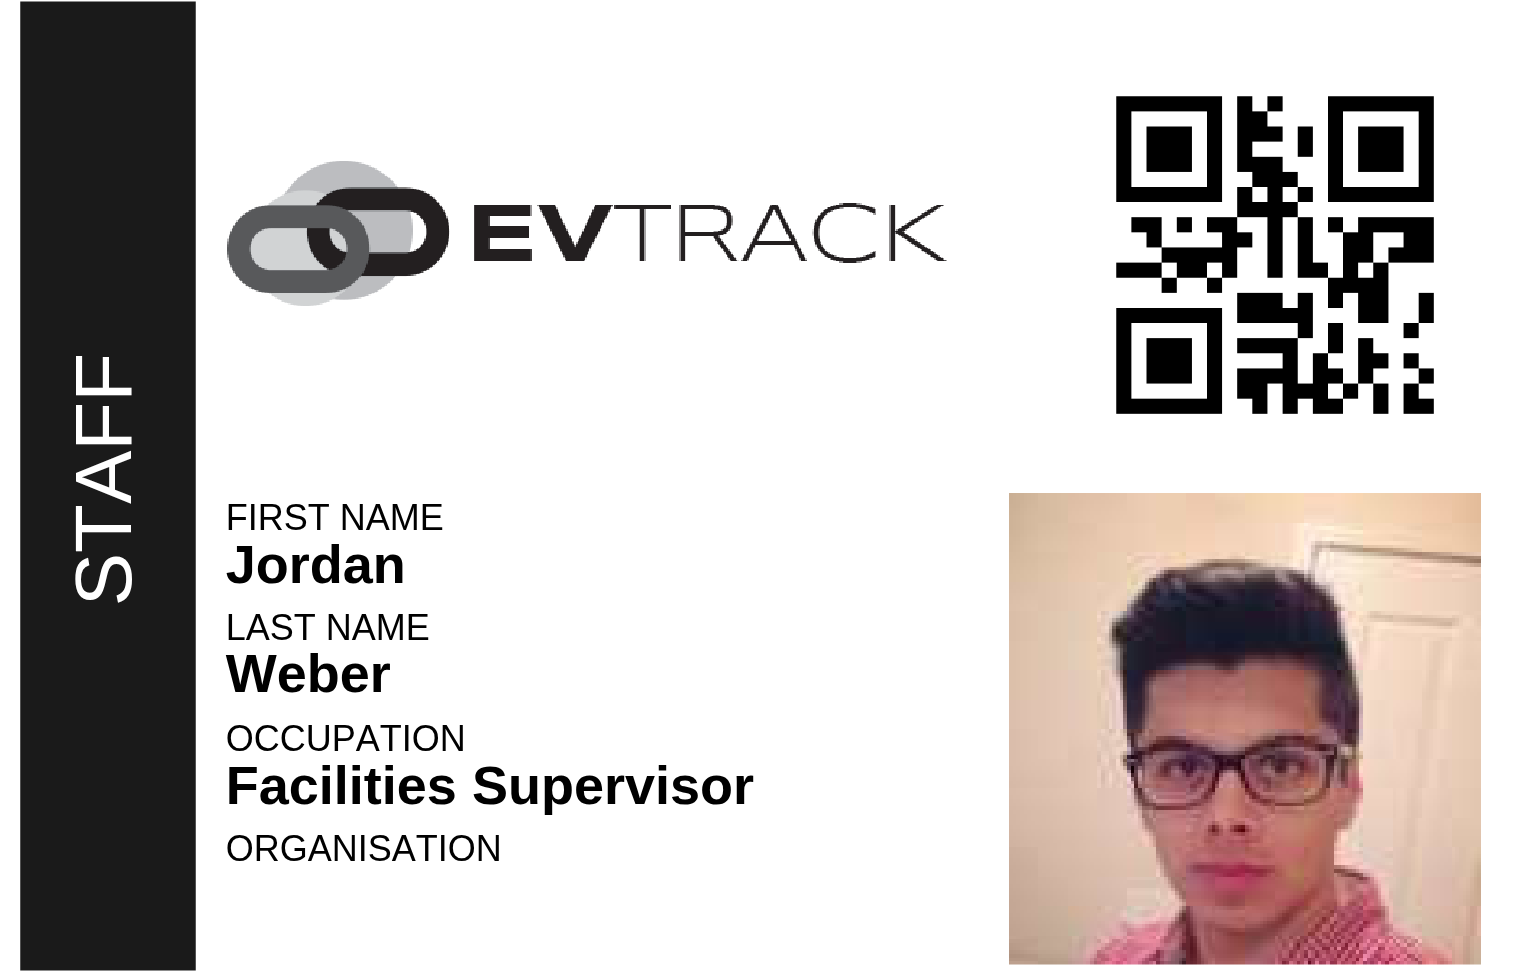
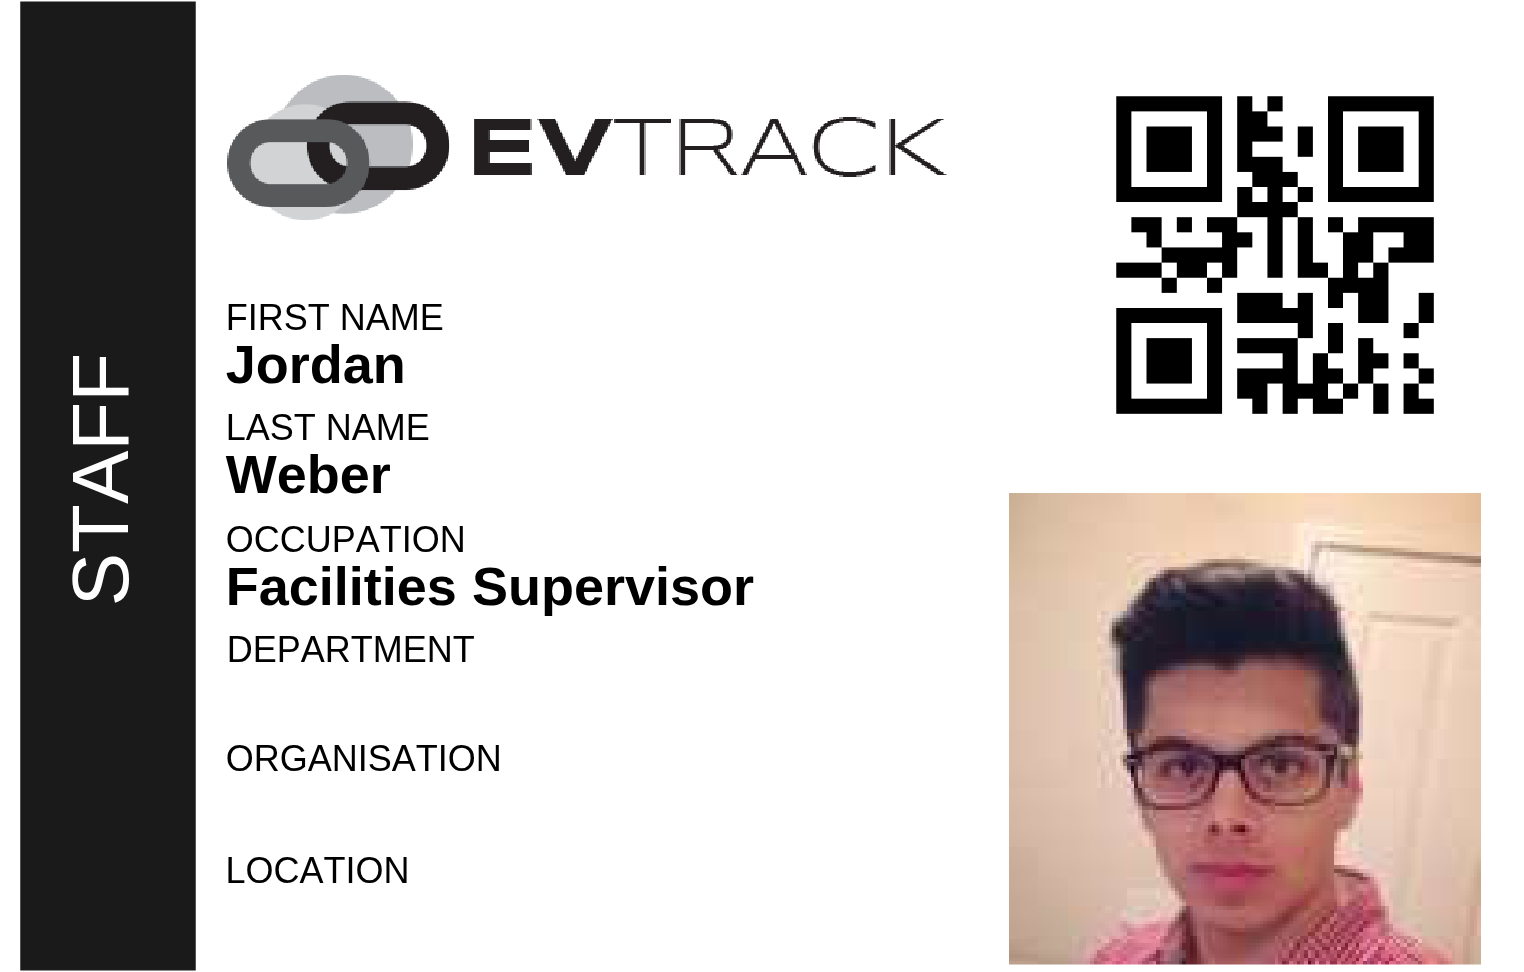
- Group Banner with QR Code - the banner layout plus the access QR code.
- Extended Group Banner Style - a wider banner layout suited to group badges, without a QR code.
- Extended Group Banner with QR Code - the extended banner layout plus the QR code.
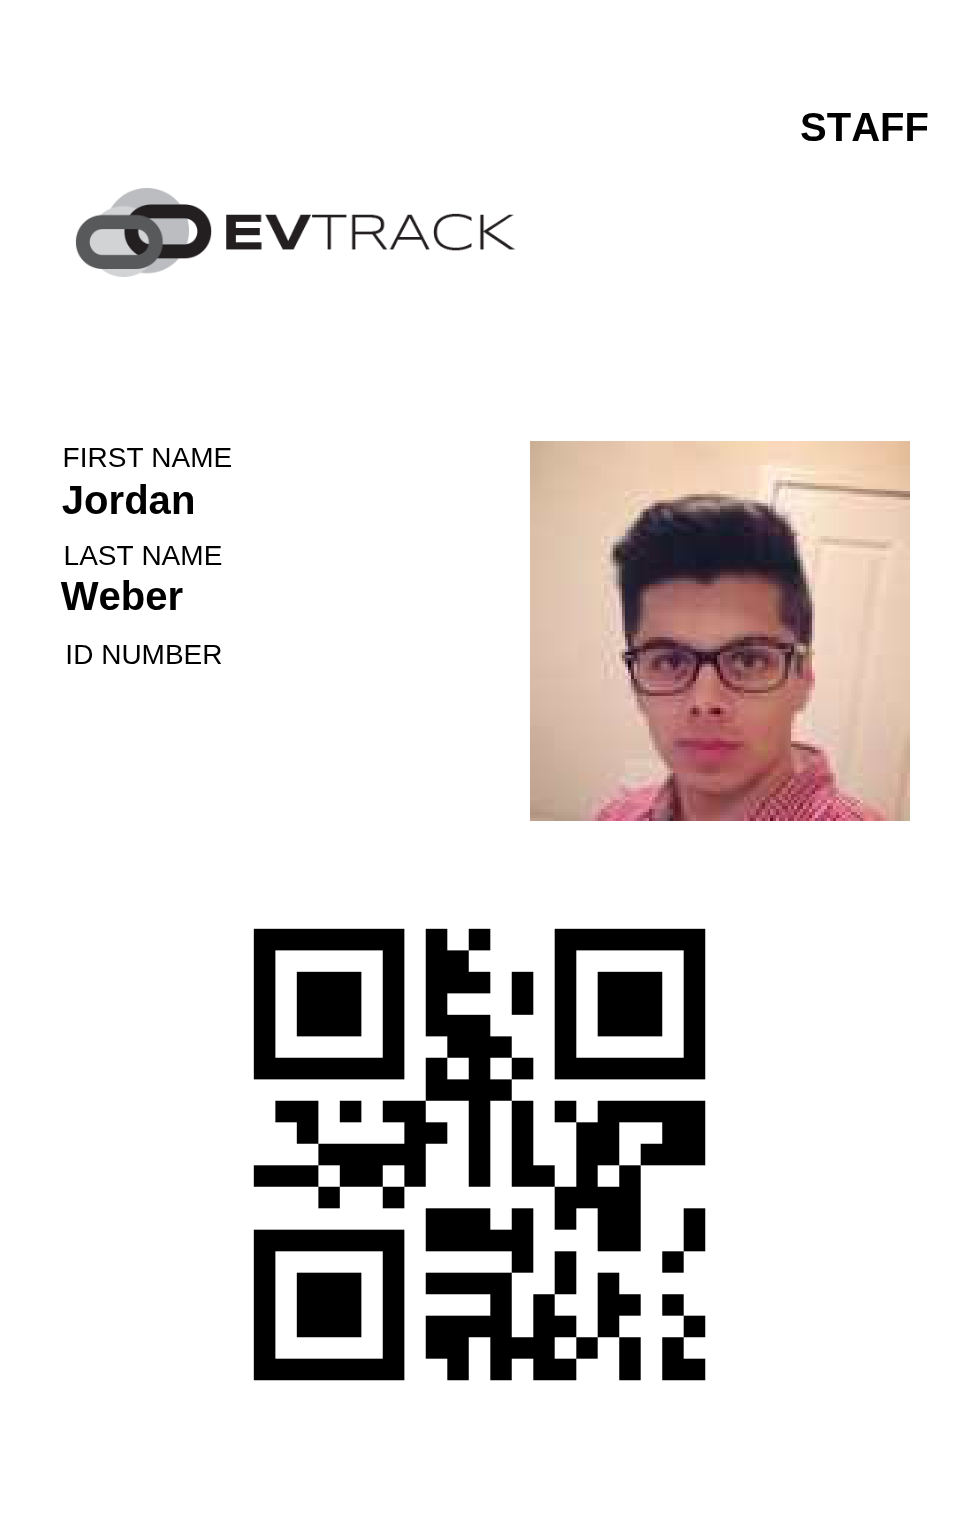
- Portrait with QR Code - a vertical badge layout with the QR code, for portrait badge holders.
- Custom Template 1 - upload your own SVG badge design; see Custom SVG Badge Templates for the full workflow and the list of markers your design can use.
One generated example per personal layout (all examples use the same person, so only the layout differs):
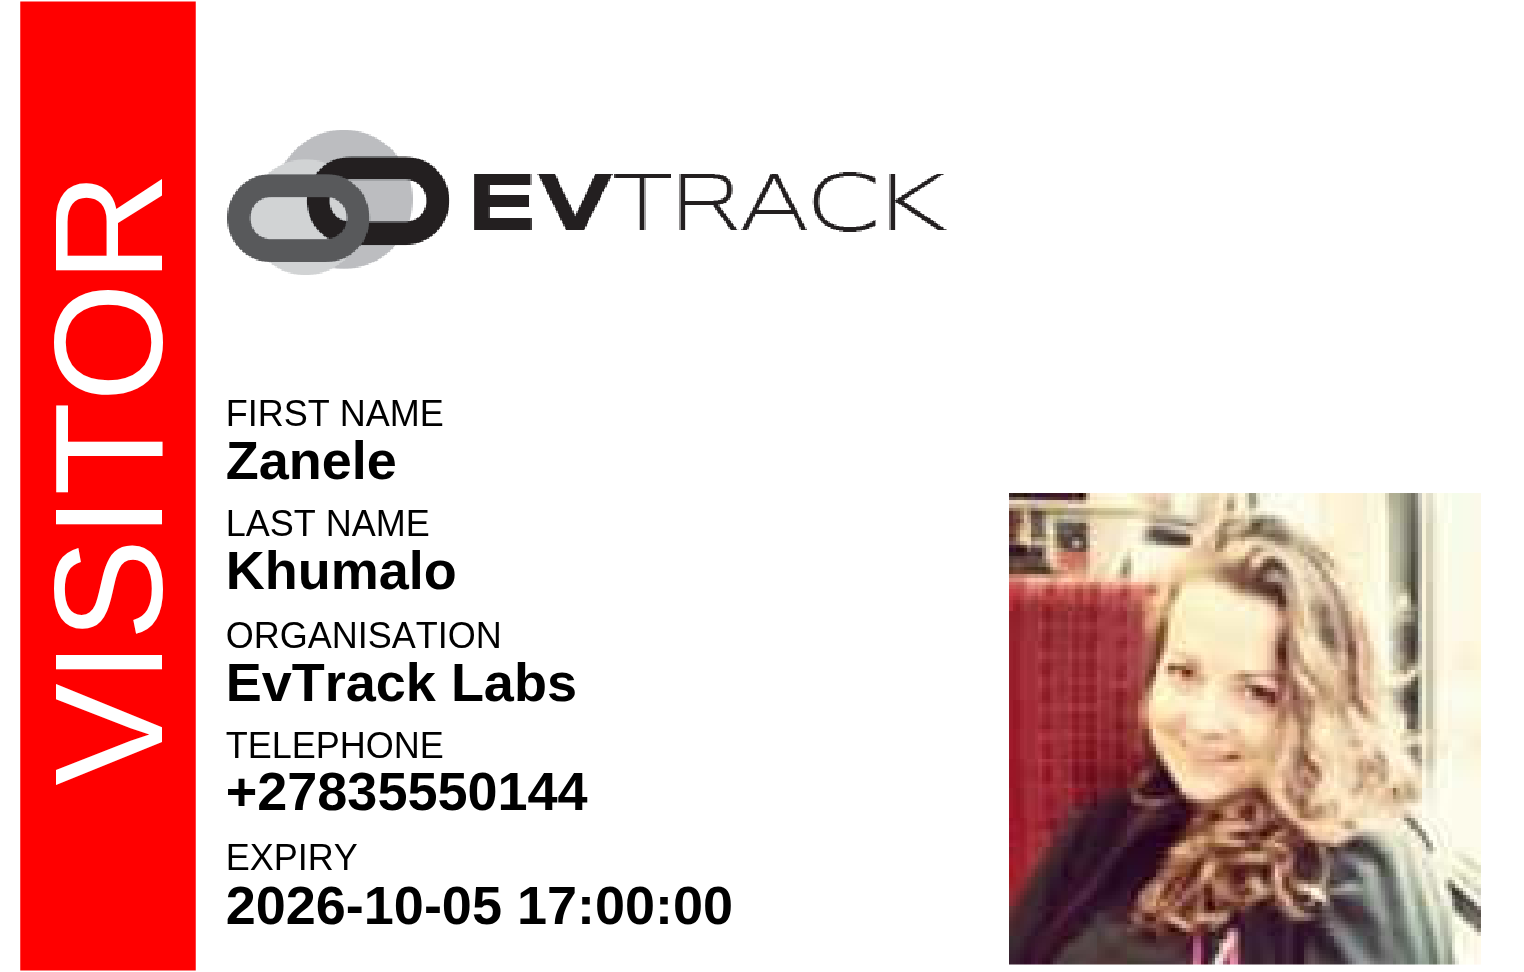
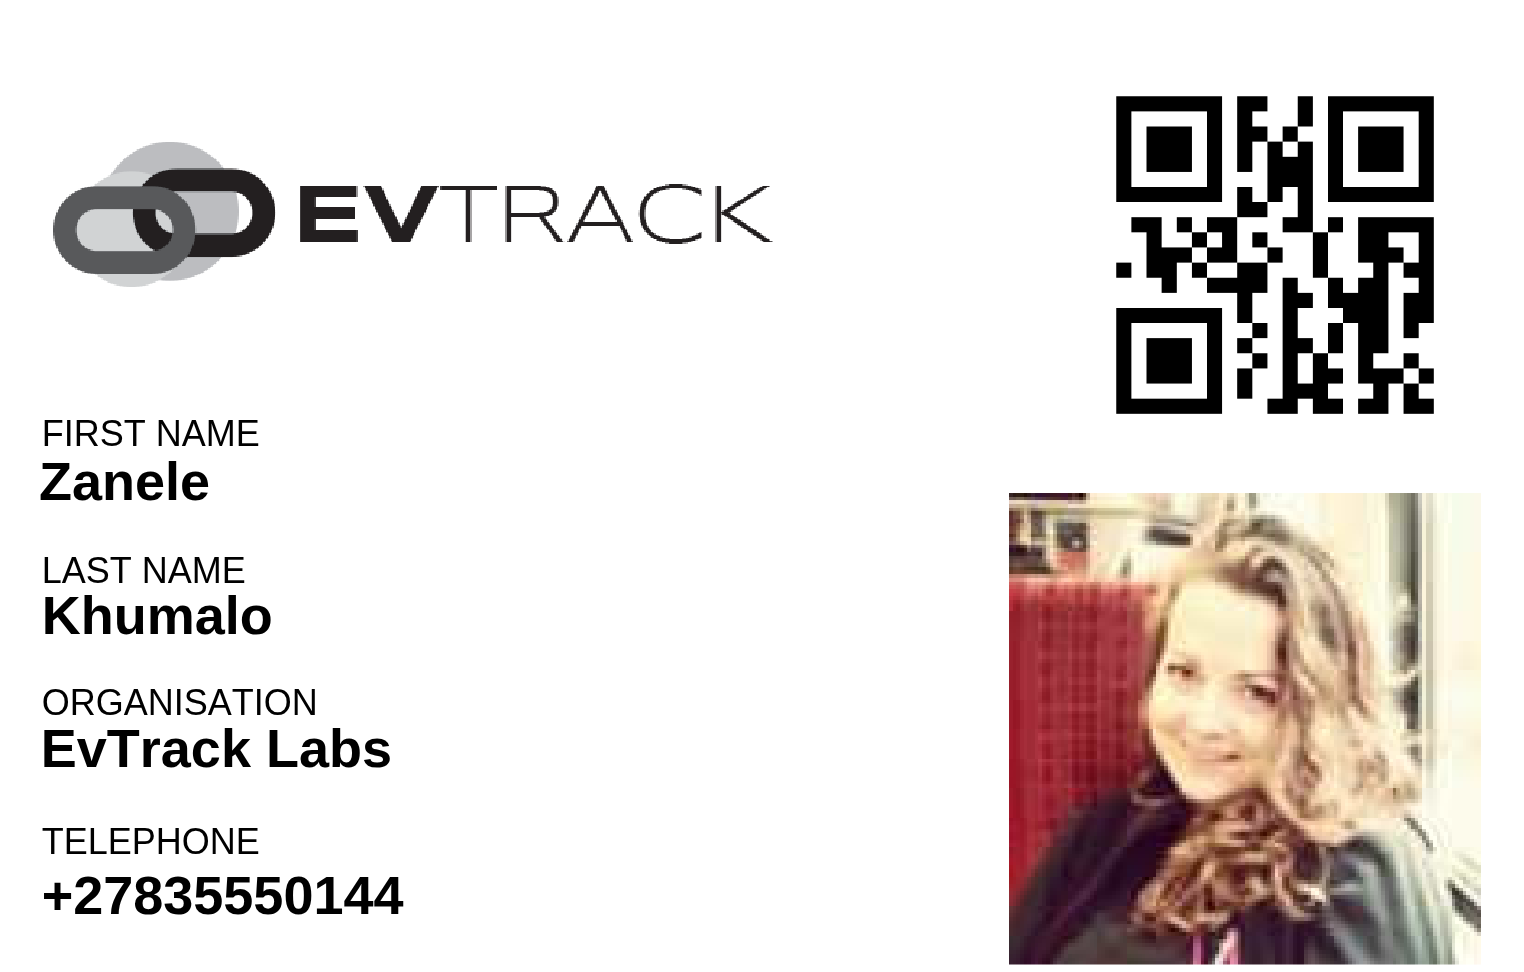
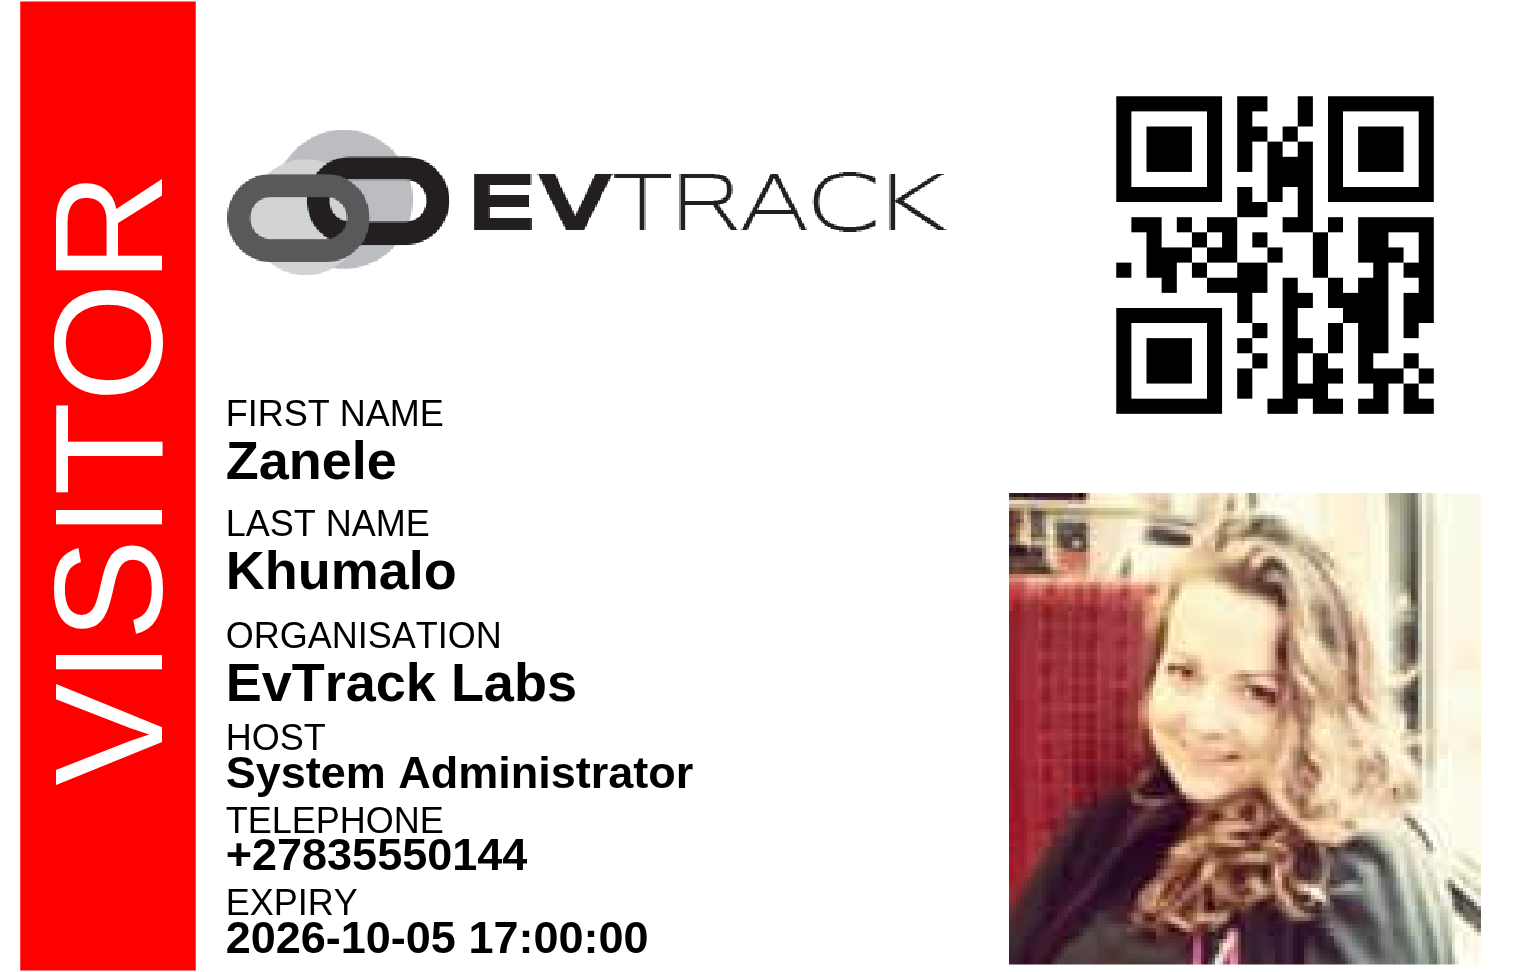
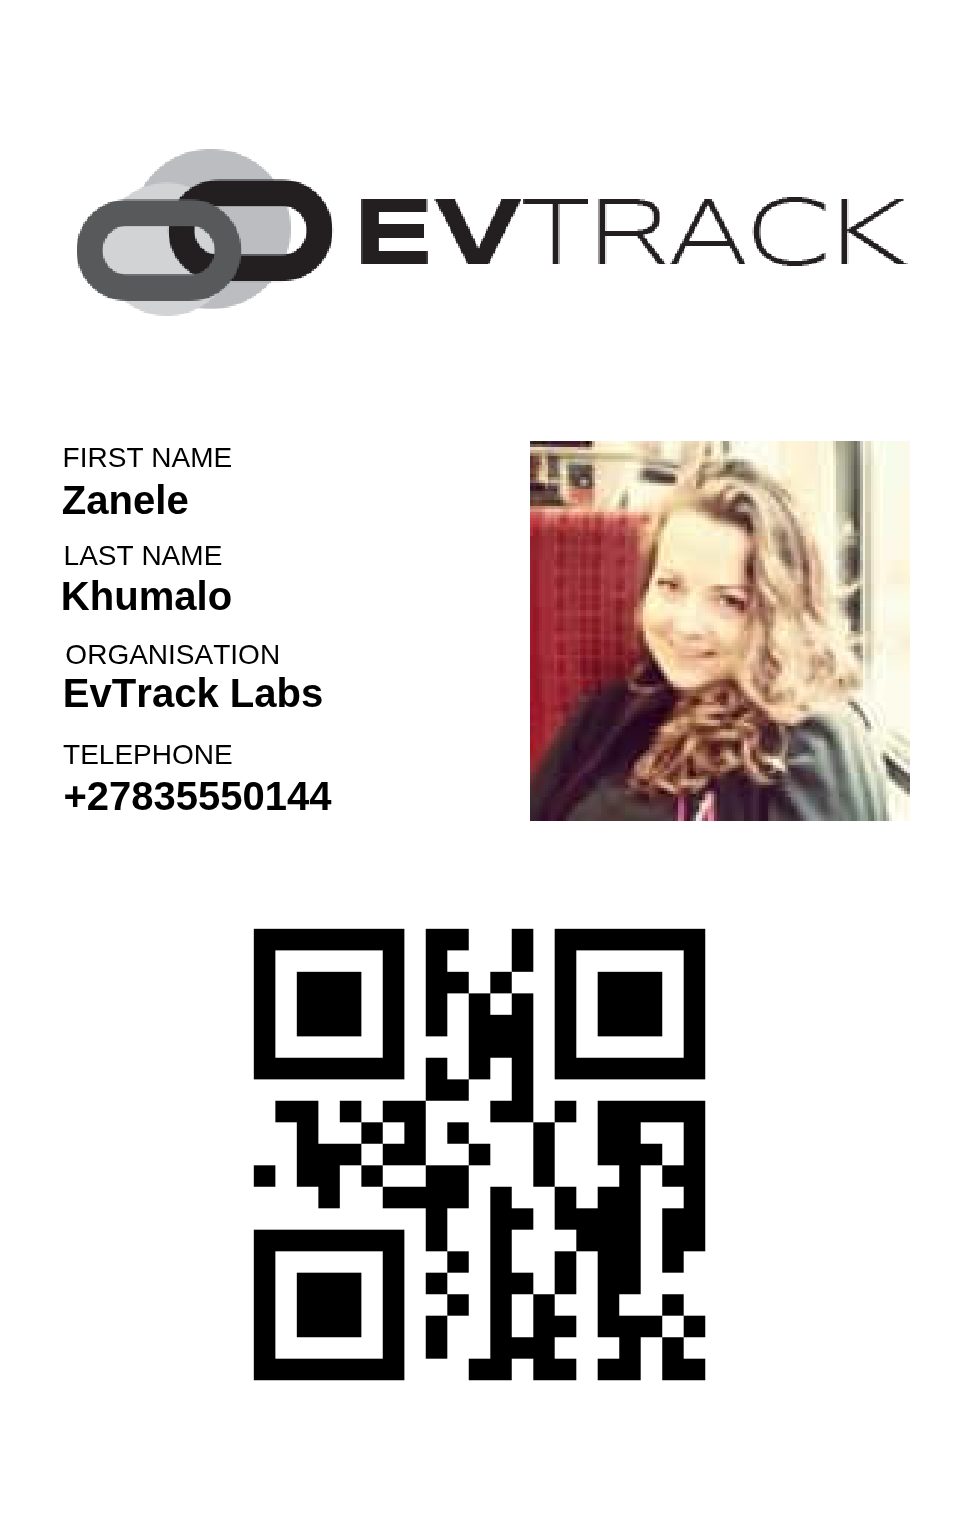
Visitor Template - the layout used when printing visitor badges; select one:
- Banner Style - a banner layout without a QR code.
- QR Code Only - a minimal badge carrying just the visitor’s QR code.
- Banner with QR Code - the banner layout plus the visitor’s access QR code.
- Portrait with QR Code - a vertical layout with the QR code.
- Portrait Banner with QR Code - a vertical banner layout with the QR code.
- Custom Template 1 - upload your own SVG visitor badge design using the same workflow - see Custom SVG Badge Templates.
One generated example per visitor layout:
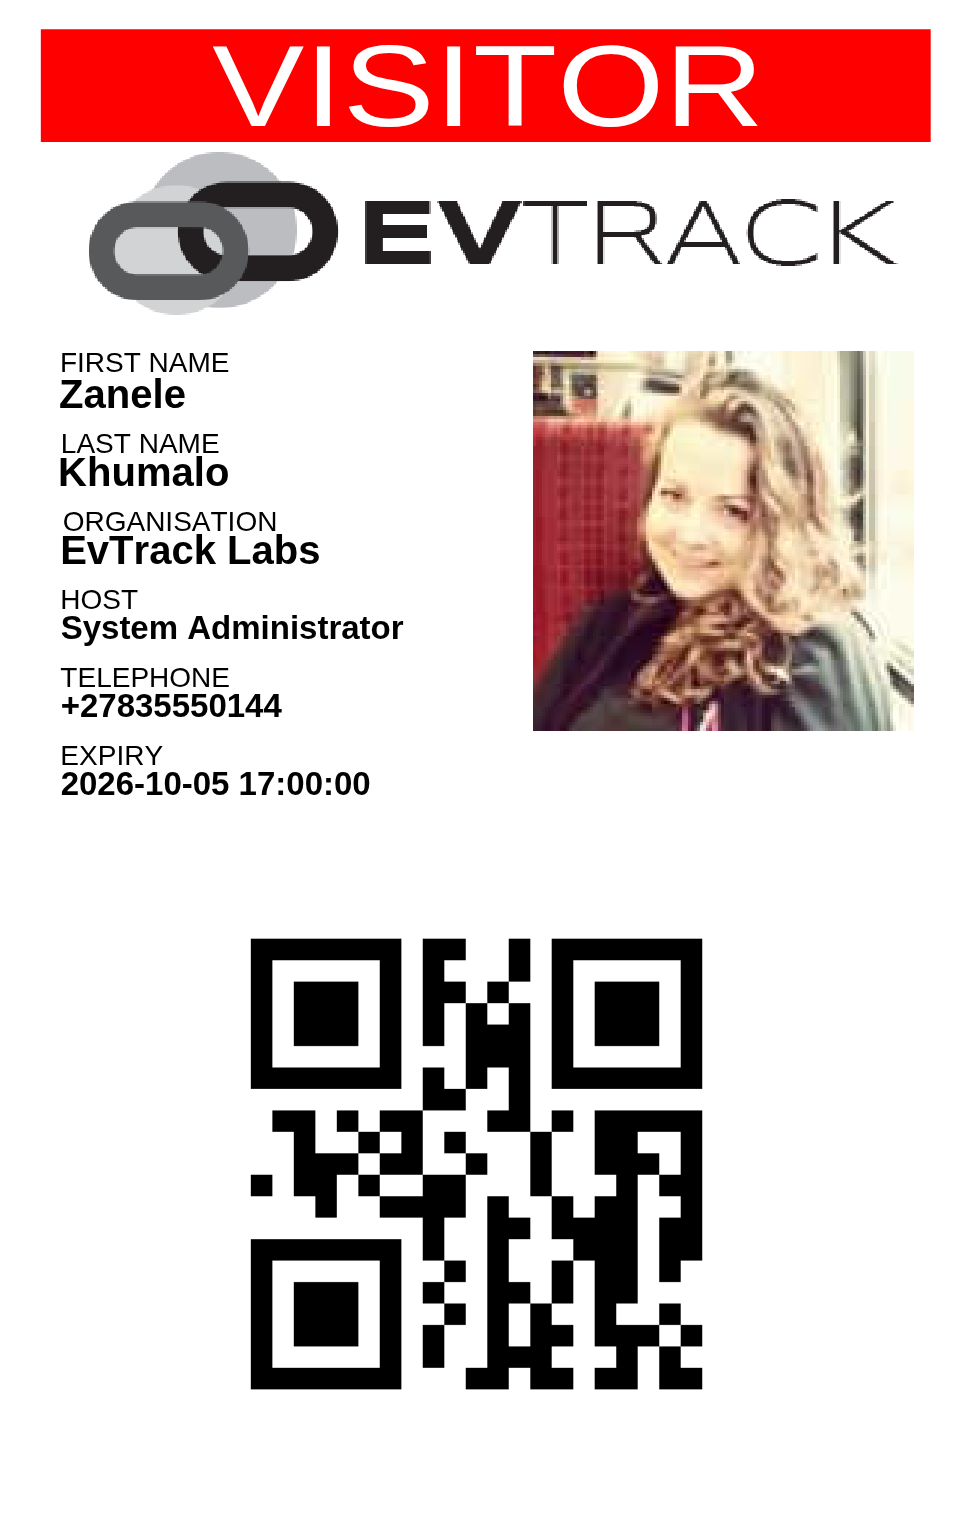
There is one custom slot per family, not two. Each badge family offers exactly one custom design: Custom Template 1 for personnel and users, and Custom Template 1 for visitors. They are separate uploads, so you can run a custom personnel badge and a built-in visitor badge, or the other way round, but there is no second custom badge slot to stage an alternative design in. To change a custom badge you replace the file in that one slot, which takes effect on the next badge printed - keep the design you are replacing somewhere safe first.
If you have seen a Custom Template 2 in the product, it belongs to a different document. The printable temporary visitor permit has two custom slots, Custom FreeMarker Template 1 and Custom FreeMarker Template 2, so an alternative permit layout can be staged and switched to without losing the current one. That is configured under Configuration > Visitor Settings > Visit Pass Permit and documented in Visit Pass Permit; it has nothing to do with badges and uses a different file format.
Notes
- Badges are generated from the person’s profile: the profile page carries a Badge button that produces the printable badge using the template selected here. Personnel and users share the Personal Template - see Badges for Personnel and Badges for Users; visitor badges are printed from the visit pass - see Visit Passes.
- Visitor labels can also be printed at the checkpoint. On an EvTrack FrontDesk kiosk device the printer is configured on the device’s Optional tab (Printer Enabled, Printer Driver - for example Zebra LINK-OS TCP/IP - and the printer’s IP address). Guard app badge printing is enabled with Guard App Enabled to Print Badges.