An agreement is a statement or question a visitor must respond to during check-in - a safety induction, an NDA, a health declaration. Each agreement has two responses, one that allows the visit to continue and one that declines it, and you decide what a refusal triggers.
Before you start: you need an administrator account with visitor settings rights. If a refusal should notify someone, that user must already exist; if it should flag the visitor, the watchlist it adds them to must already exist.
Step 1: Open Agreements
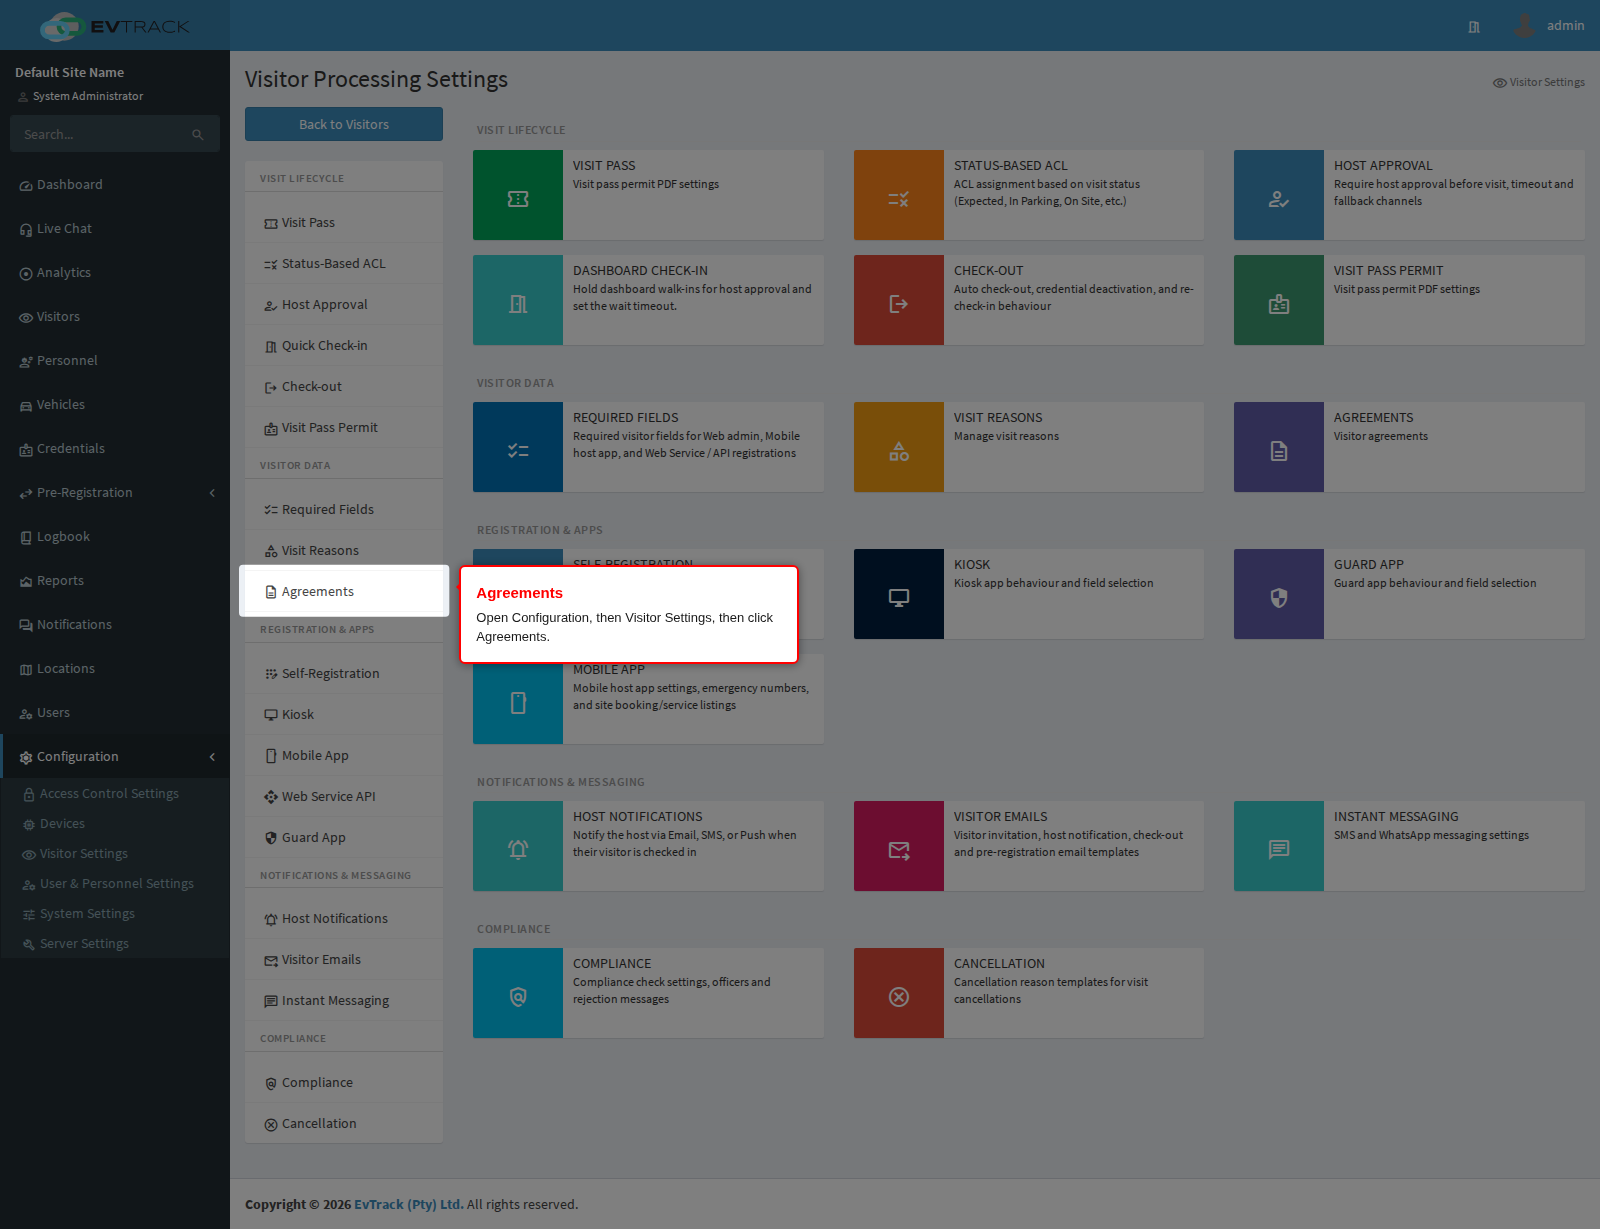
In the left sidebar open Configuration, click Visitor Settings, then click Agreements in the section menu. The Agreements page opens.
Step 2: Review the agreements
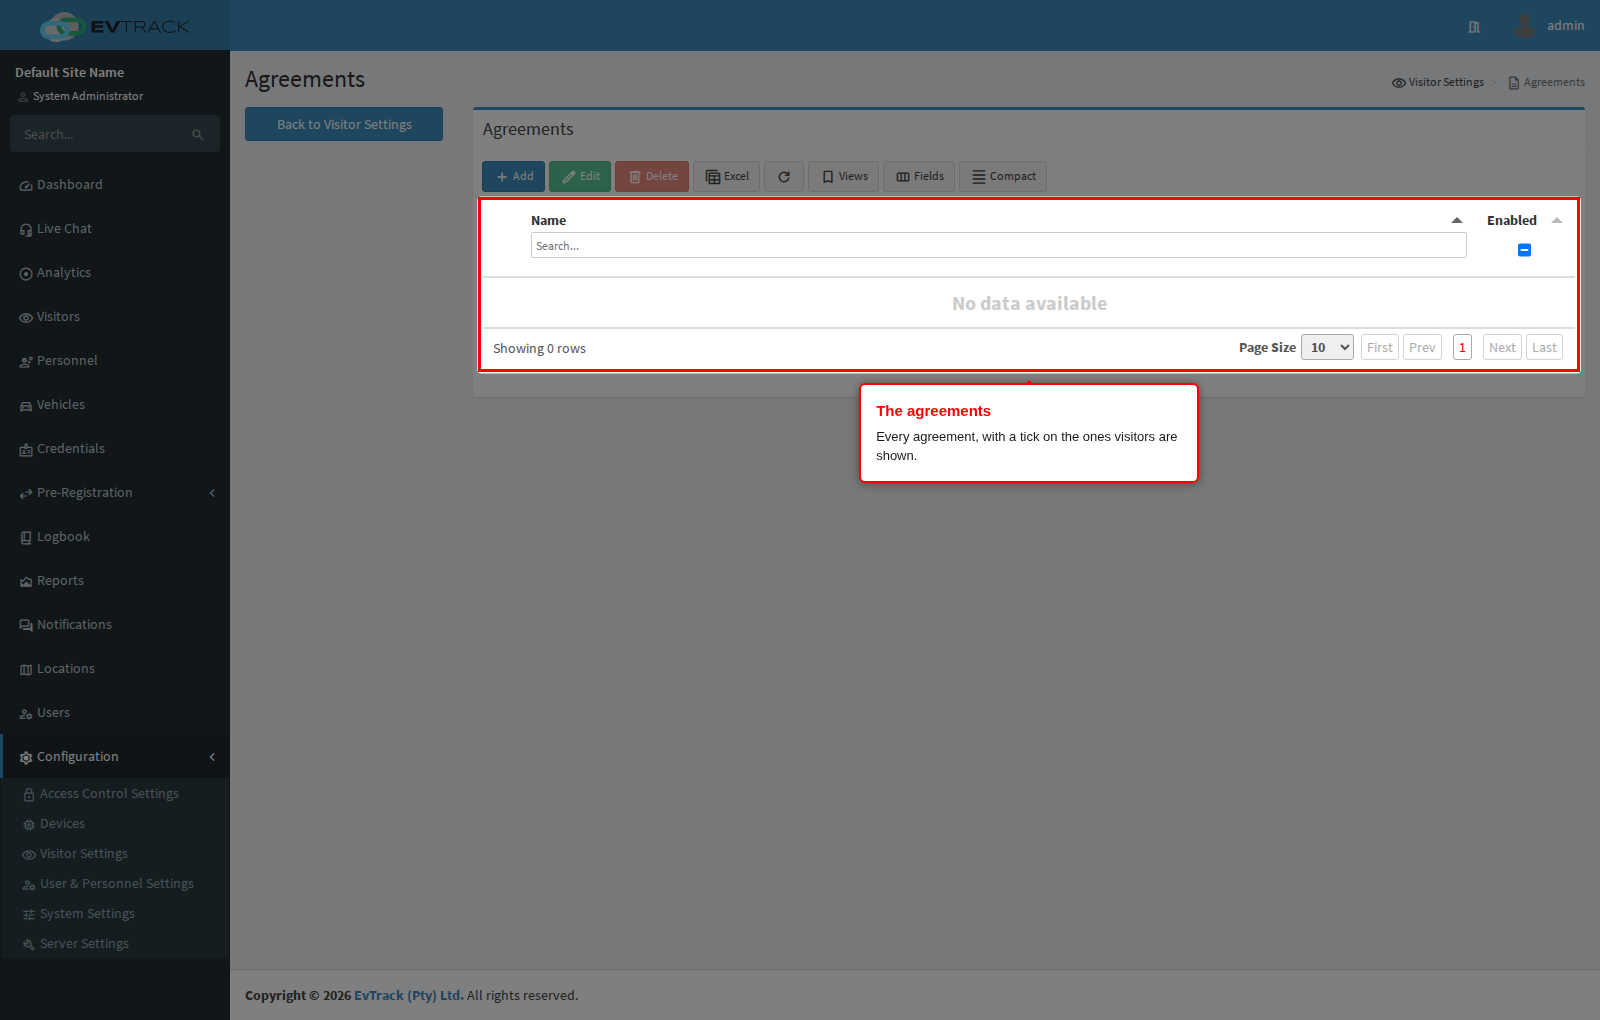
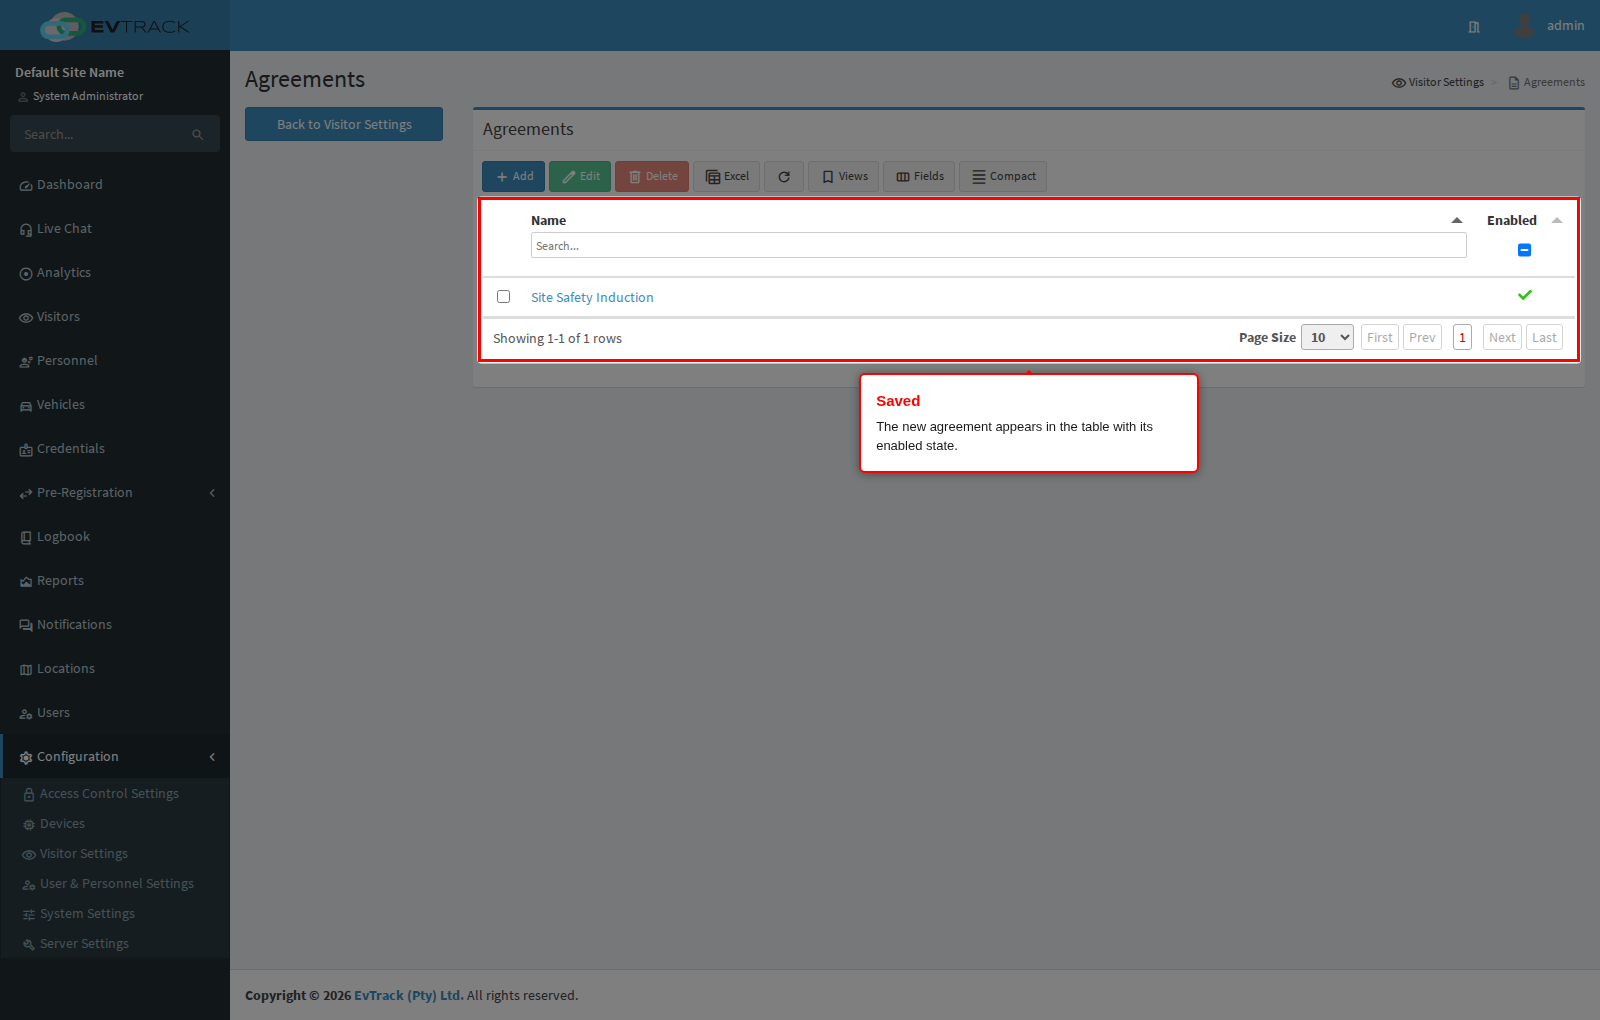
The table lists every agreement:
- Name - the internal name of the agreement. Click it to open it. The column header has a search box.
- Enabled - a tick on the agreements currently presented to visitors. Several may be enabled at once, and a visitor answers each in turn.
A selection column on the left picks a row, and the toolbar above the table offers Add, Edit, Delete, an Excel export and Refresh.
Step 3: Click Add
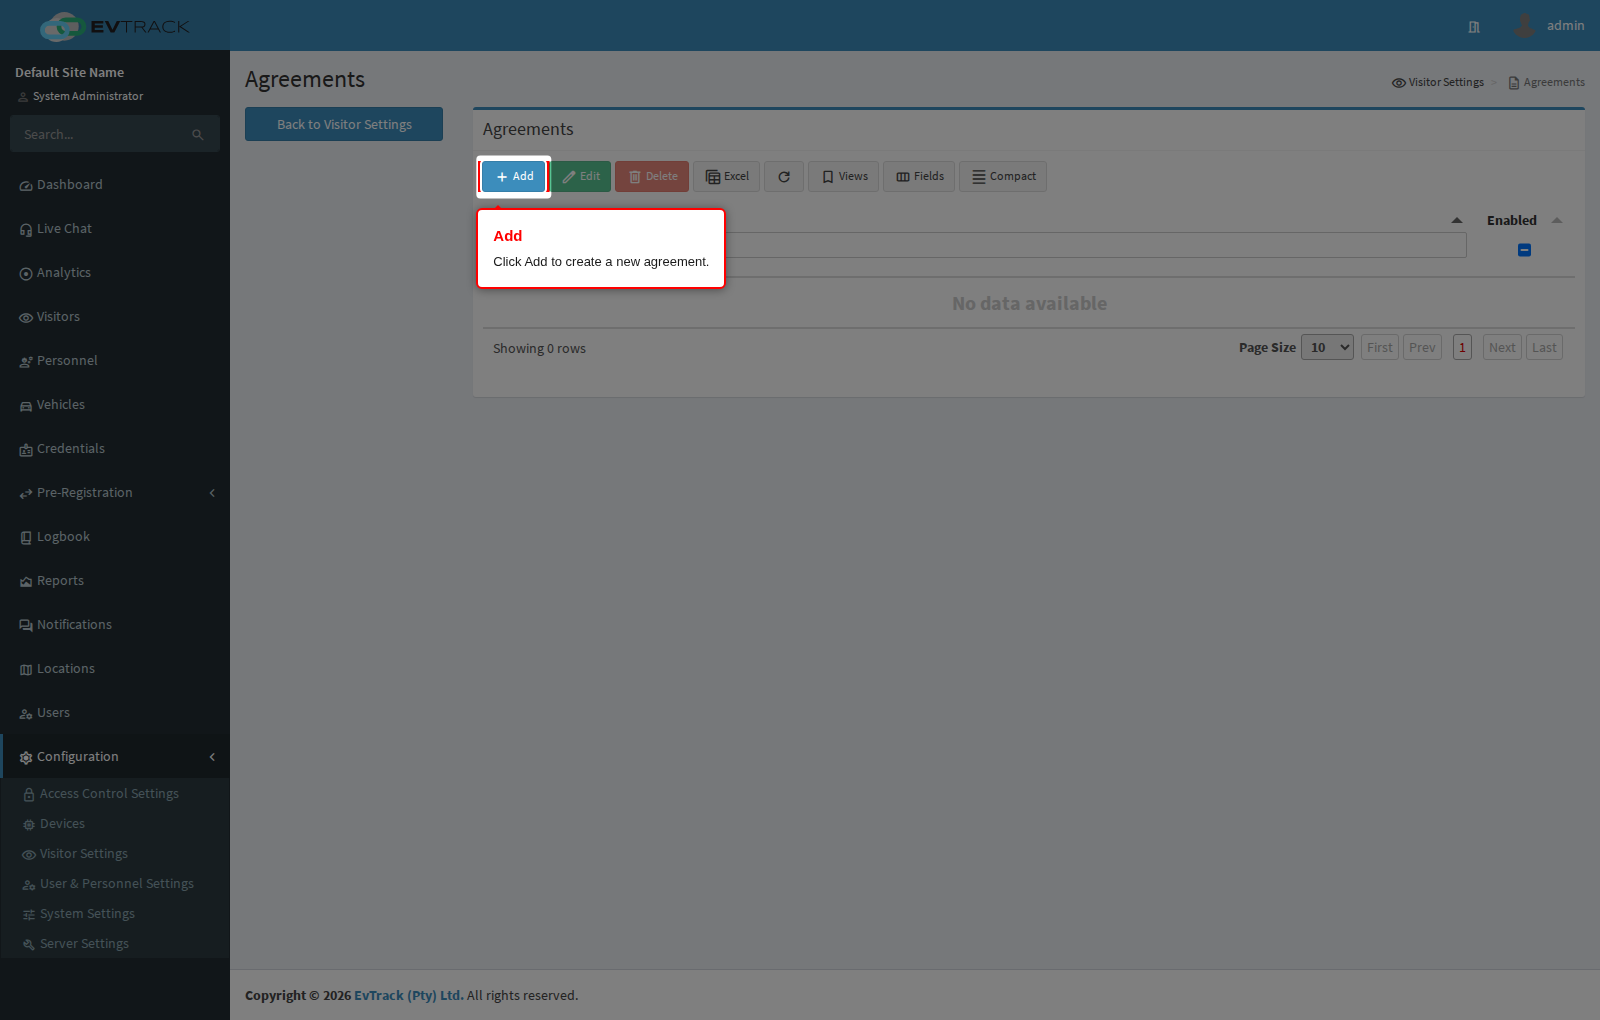
Click the Add button above the table. The new agreement form opens.
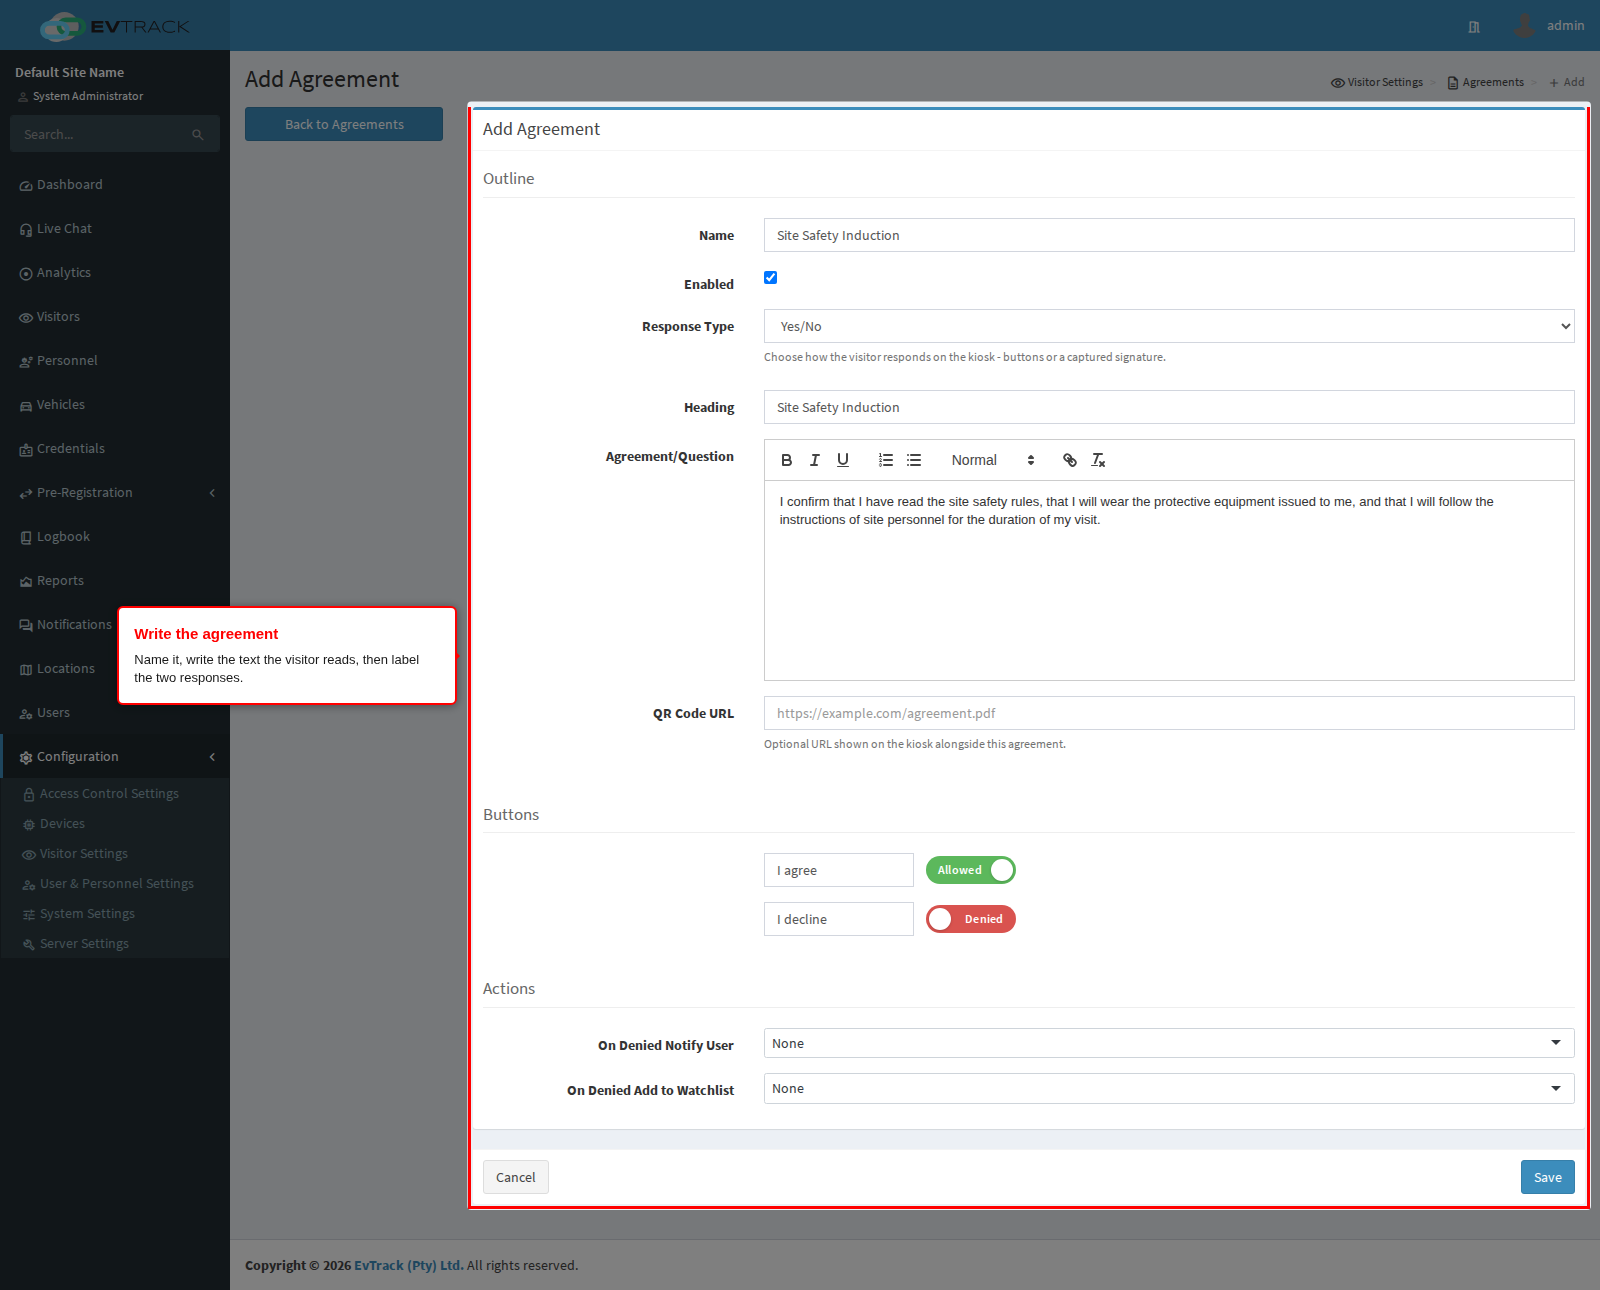
Step 4: Write the agreement
The form is one page, in four groups.
Outline
- Name - the internal name, used in this list and in reporting. Two agreements cannot share it.
- Enabled - tick it to start presenting the agreement to visitors. Leave it clear while you draft.
Content
- Heading - the title the visitor sees above the text.
- Agreement/Question - the text itself, written in the rich-text editor. This is what the visitor reads and responds to.
- Response Type - how the visitor answers: two buttons, or a captured signature.
- QR Code URL - optional. Intended to show a code beside the agreement so the visitor can open the full document on their own phone. Note that the current kiosk build does not display it: the address is stored and sent to the device, but the FrontDesk app ignores it. Treat a long policy as something the visitor must read on the kiosk itself, or hand it to them another way, until the app renders this.
Click Save when the content is complete.
Step 5: Label the two responses
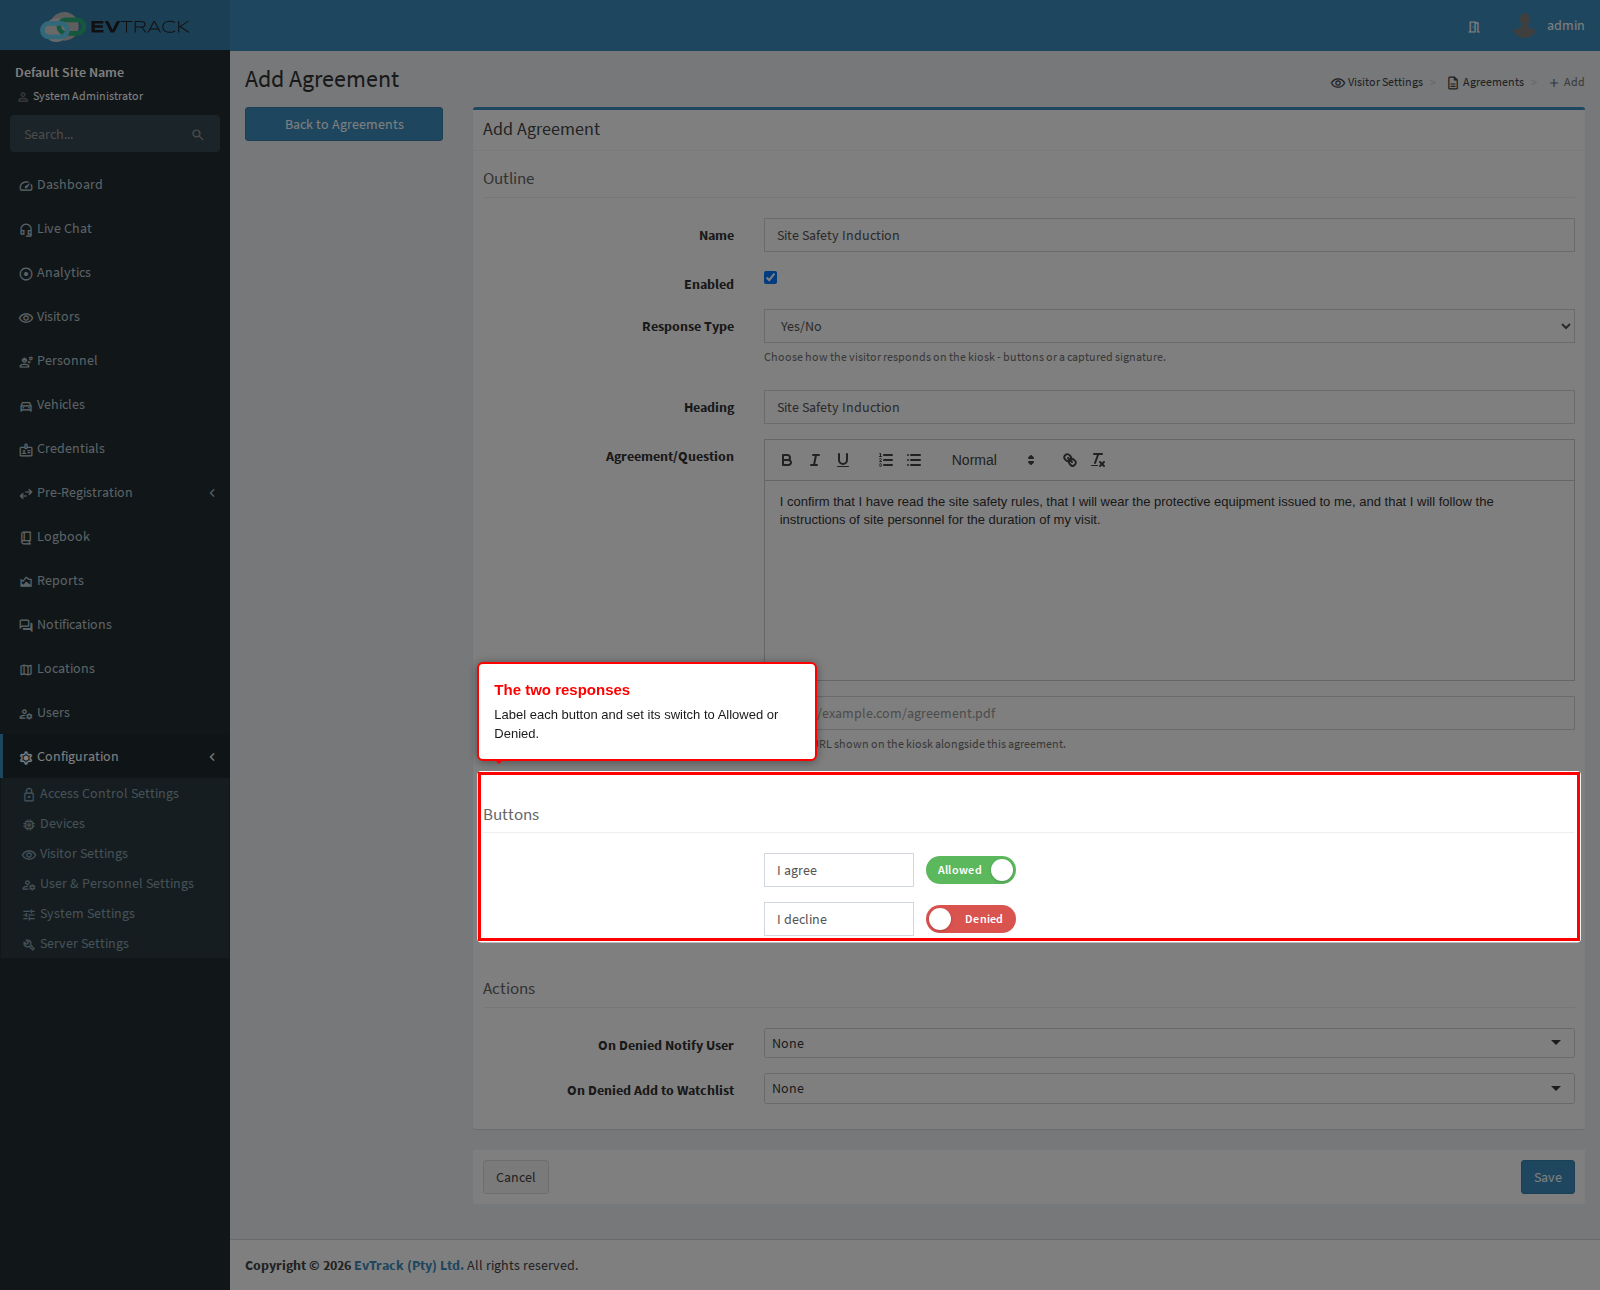
Under Buttons you label the two responses and set each one’s switch:
- Set one to Allowed and label it as acceptance, for example “I agree”. Choosing it lets the visit continue.
- Set the other to Denied and label it as refusal, for example “I decline”.
Under Actions you choose what a refusal triggers:
- On Denied Notify User - the user to email when a visitor declines.
- On Denied Add to Watchlist - the watchlist the declining visitor is added to.
Leave both empty if a refusal should simply be recorded.
Step 6: Confirm the result
Back on Agreements, the new agreement appears in the table with its enabled state. If it is enabled, the next visitor to check in is asked to respond to it.
Step 7: Open an existing agreement to edit it
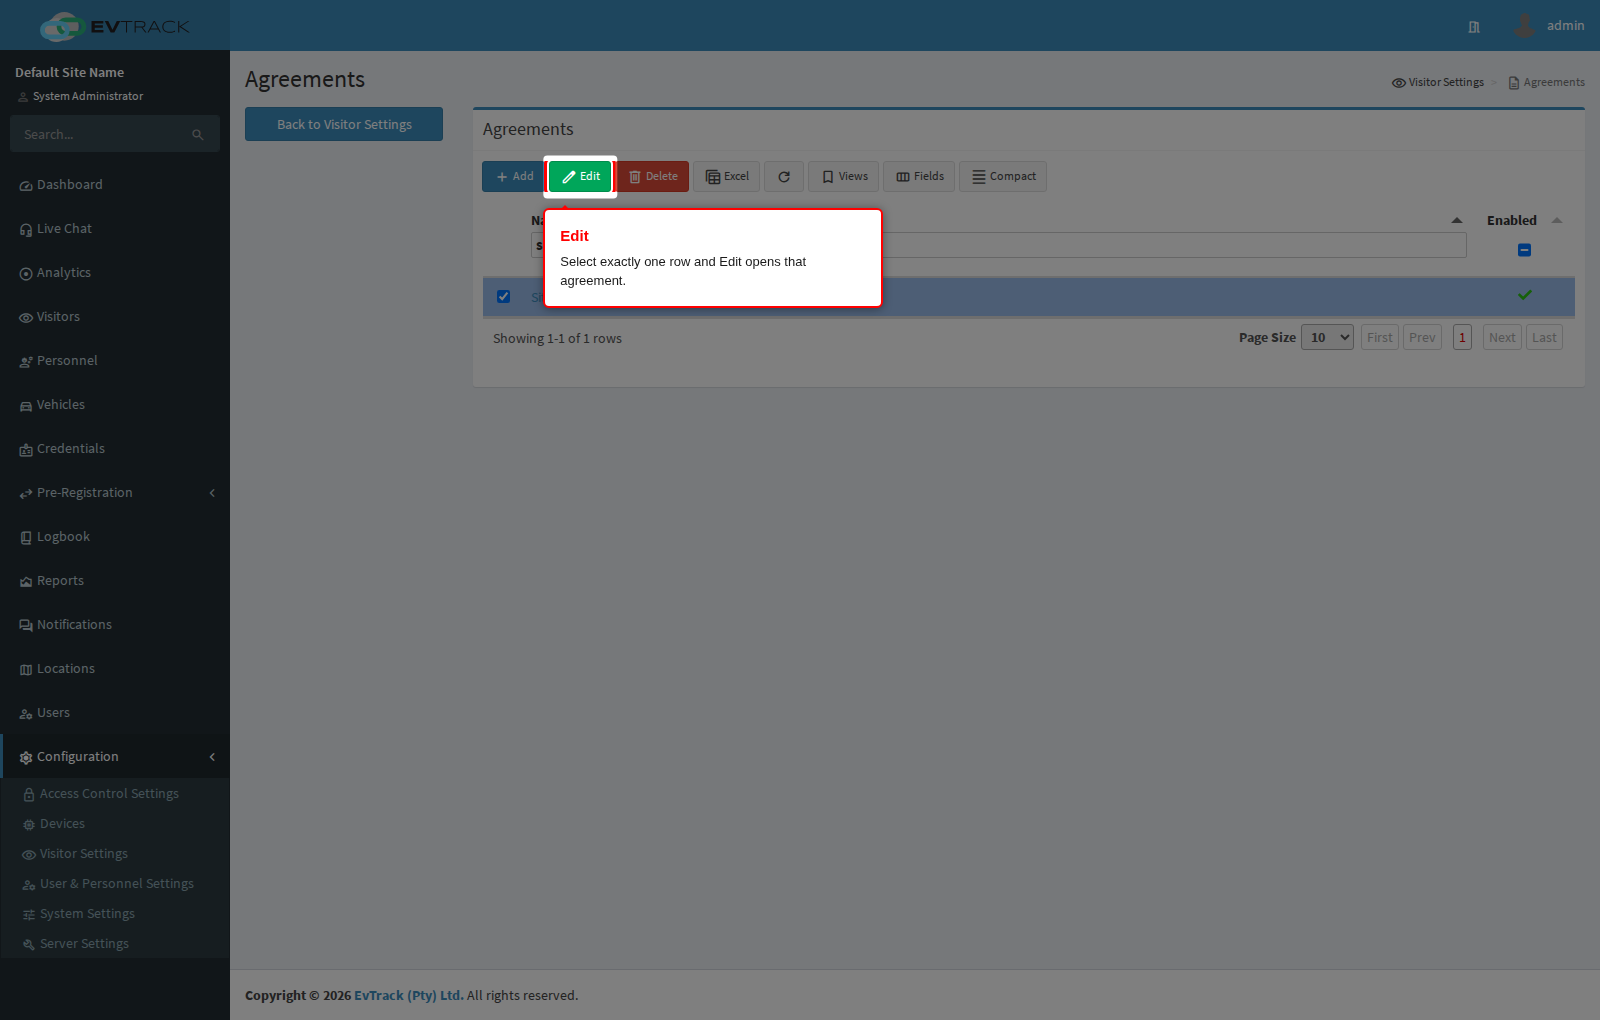
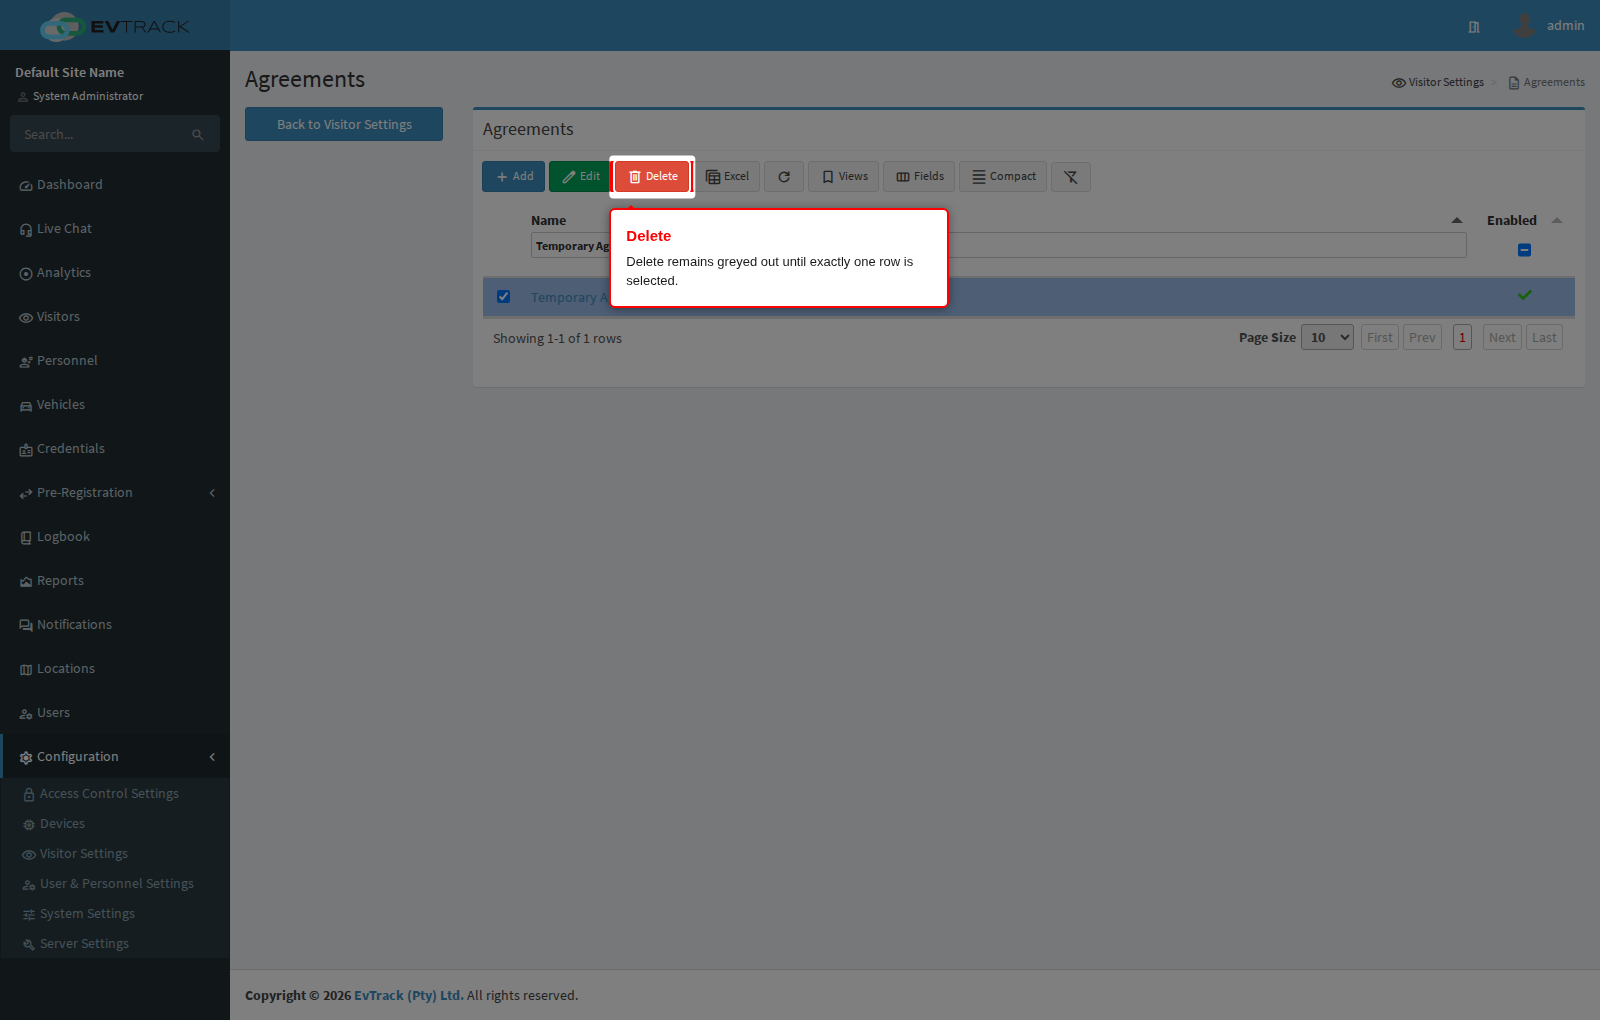
Click the row of the agreement you want to change. The toolbar Edit and Delete buttons remain greyed out until exactly one row is selected. Click Edit (clicking the name in the table does the same thing).
Step 8: Change the agreement
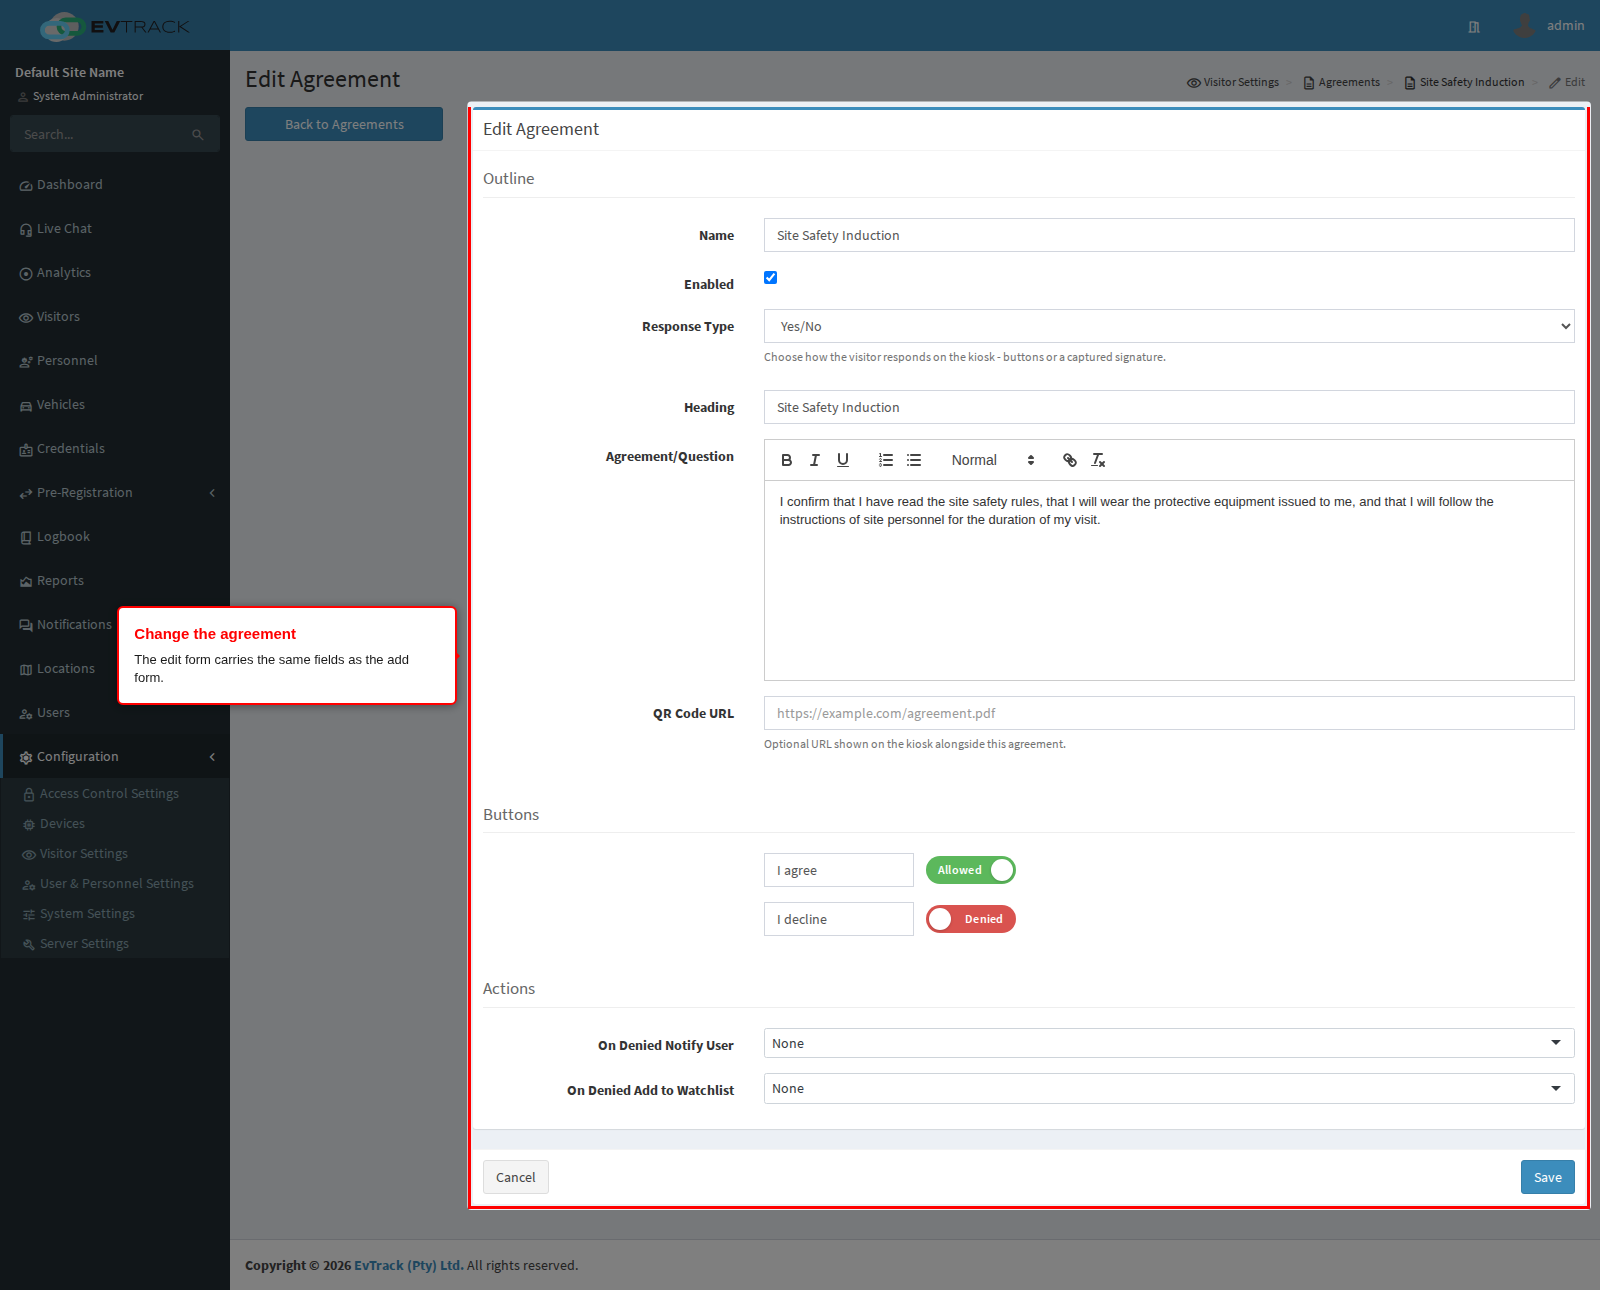
The edit form is a single page carrying the same fields as the add form: the outline, the heading and text, the response type and QR code URL, the two response labels with their Allowed and Denied switches, and the two denial actions. There are no extra tabs or panels.
Change what you need and click Save. Two things are worth knowing before you do:
- Edits are live. The next visitor asked to respond sees the new wording immediately.
- Responses already captured remain as they were. Rewording an agreement does not re-ask anyone who has already answered it, so an amended policy that must be re-accepted is better added as a new agreement than edited into the old one.
Clearing Enabled is the reversible way to withdraw an agreement: it stops being presented, but the agreement and every response captured against it are kept.
Step 9: Confirm the change
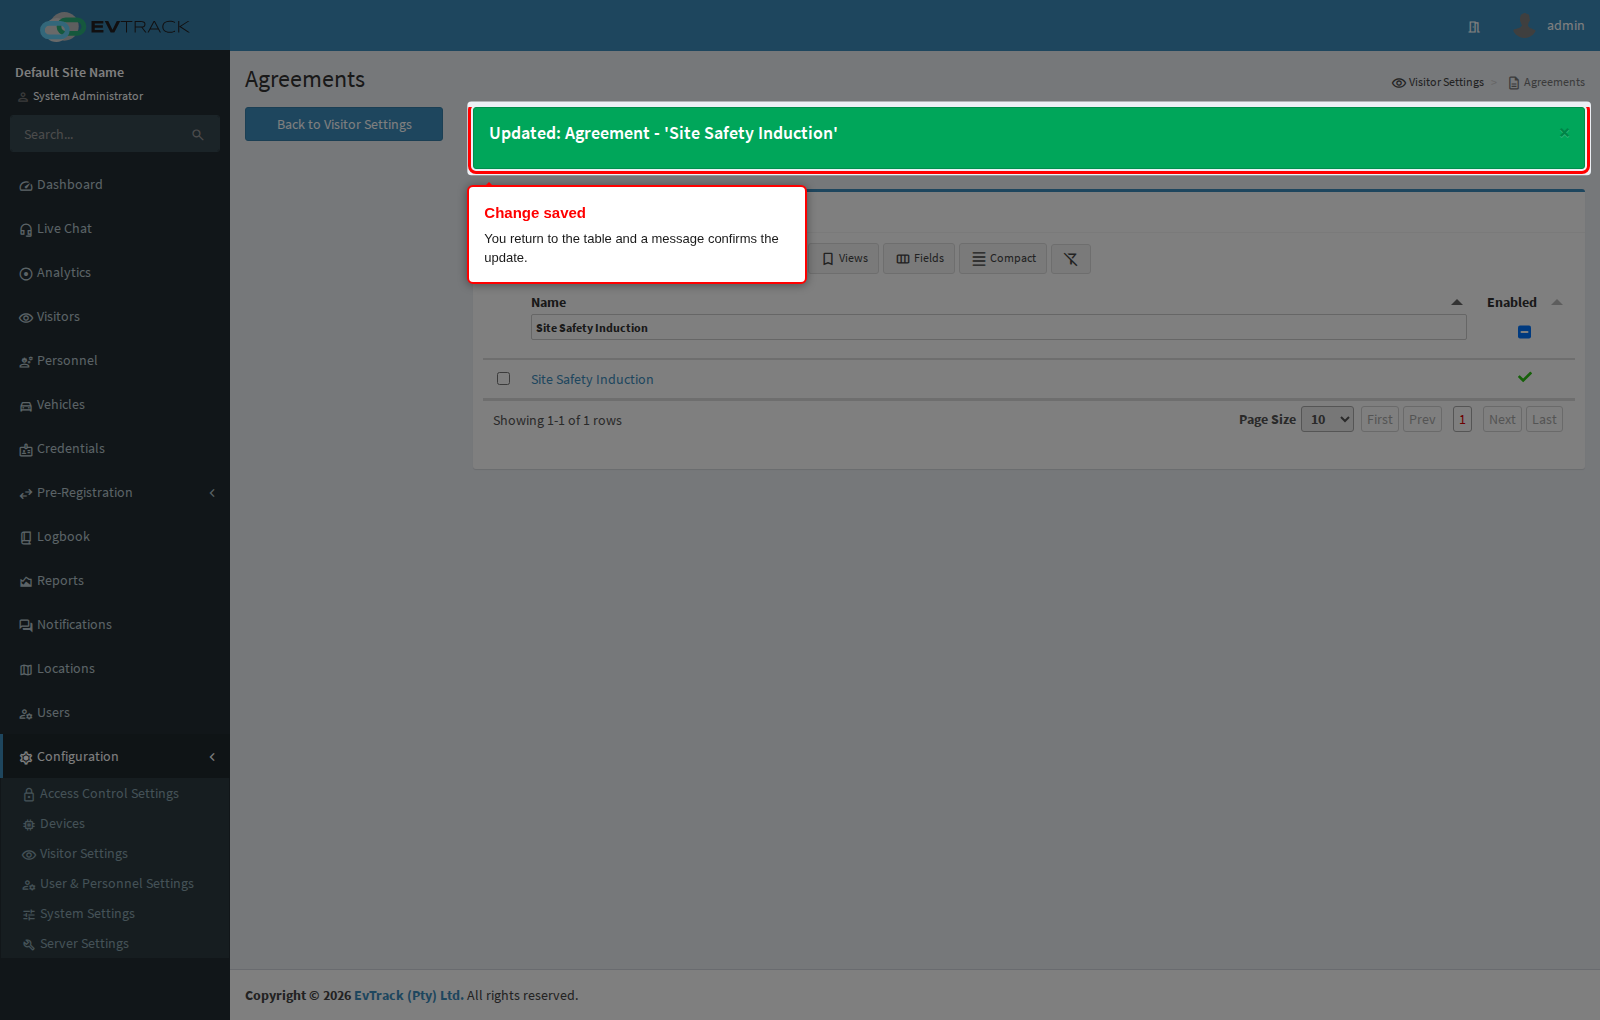
You return to the table with a success message.
Step 10: Select an agreement to delete it
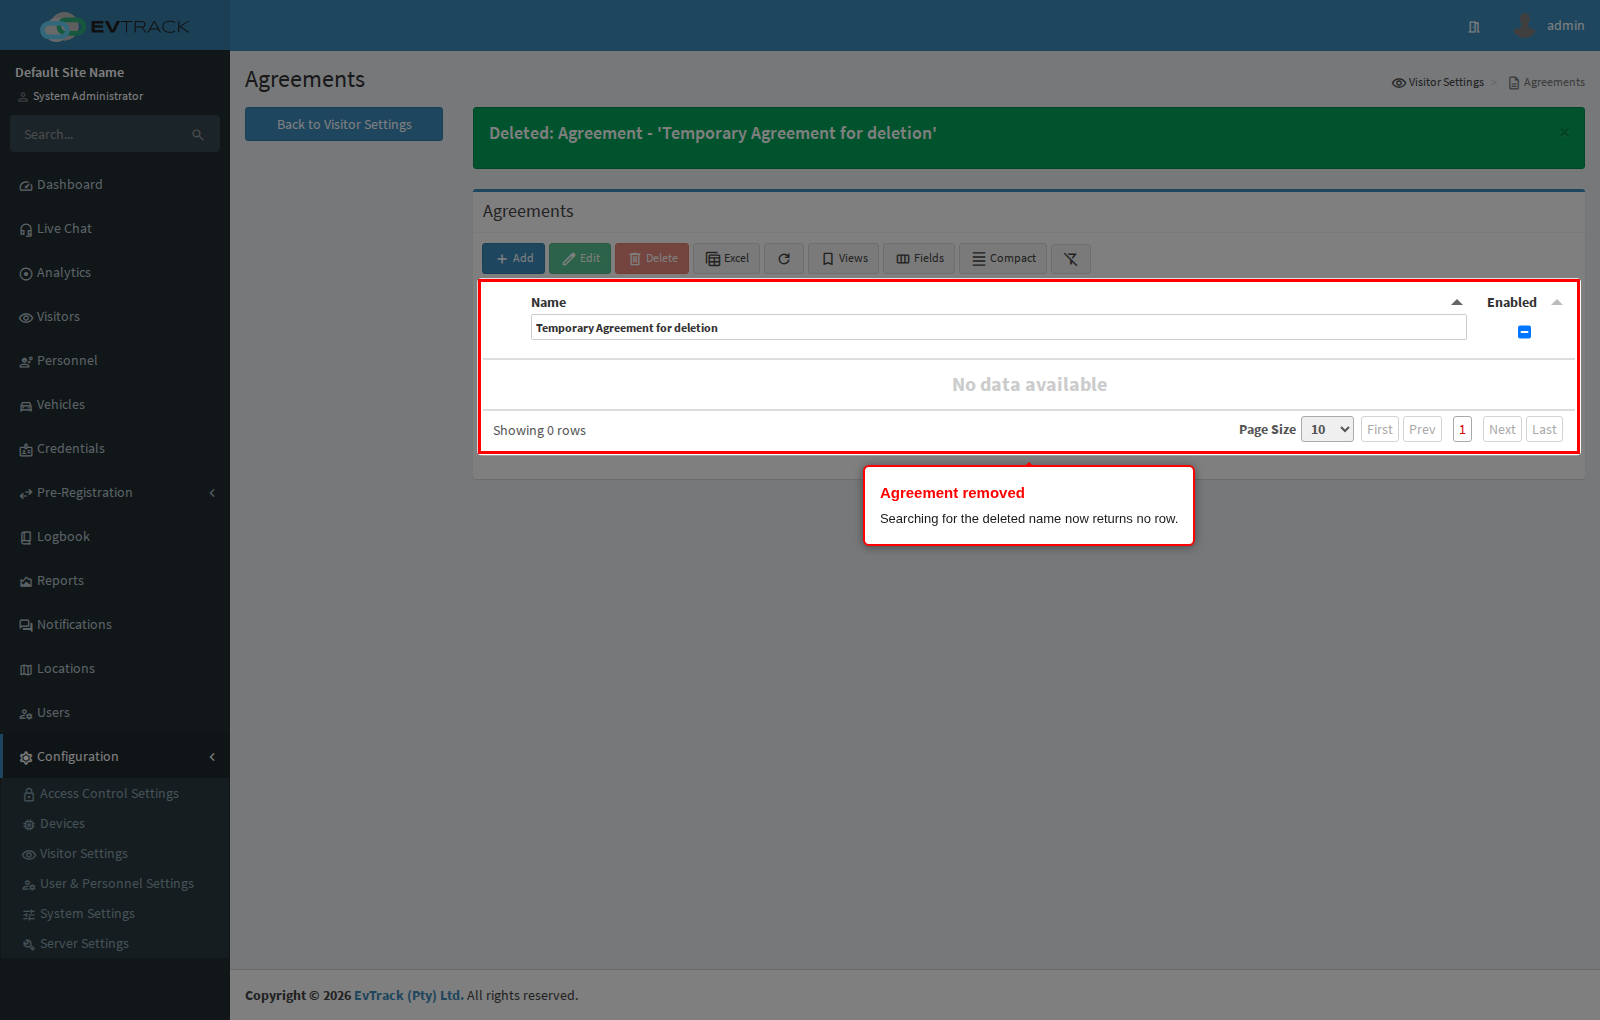
To remove an agreement, select its row and click Delete. Like Edit, the button only becomes active with exactly one row selected. In the example below a disposable agreement, “Temporary Agreement for deletion”, is being removed.
Step 11: Confirm the deletion
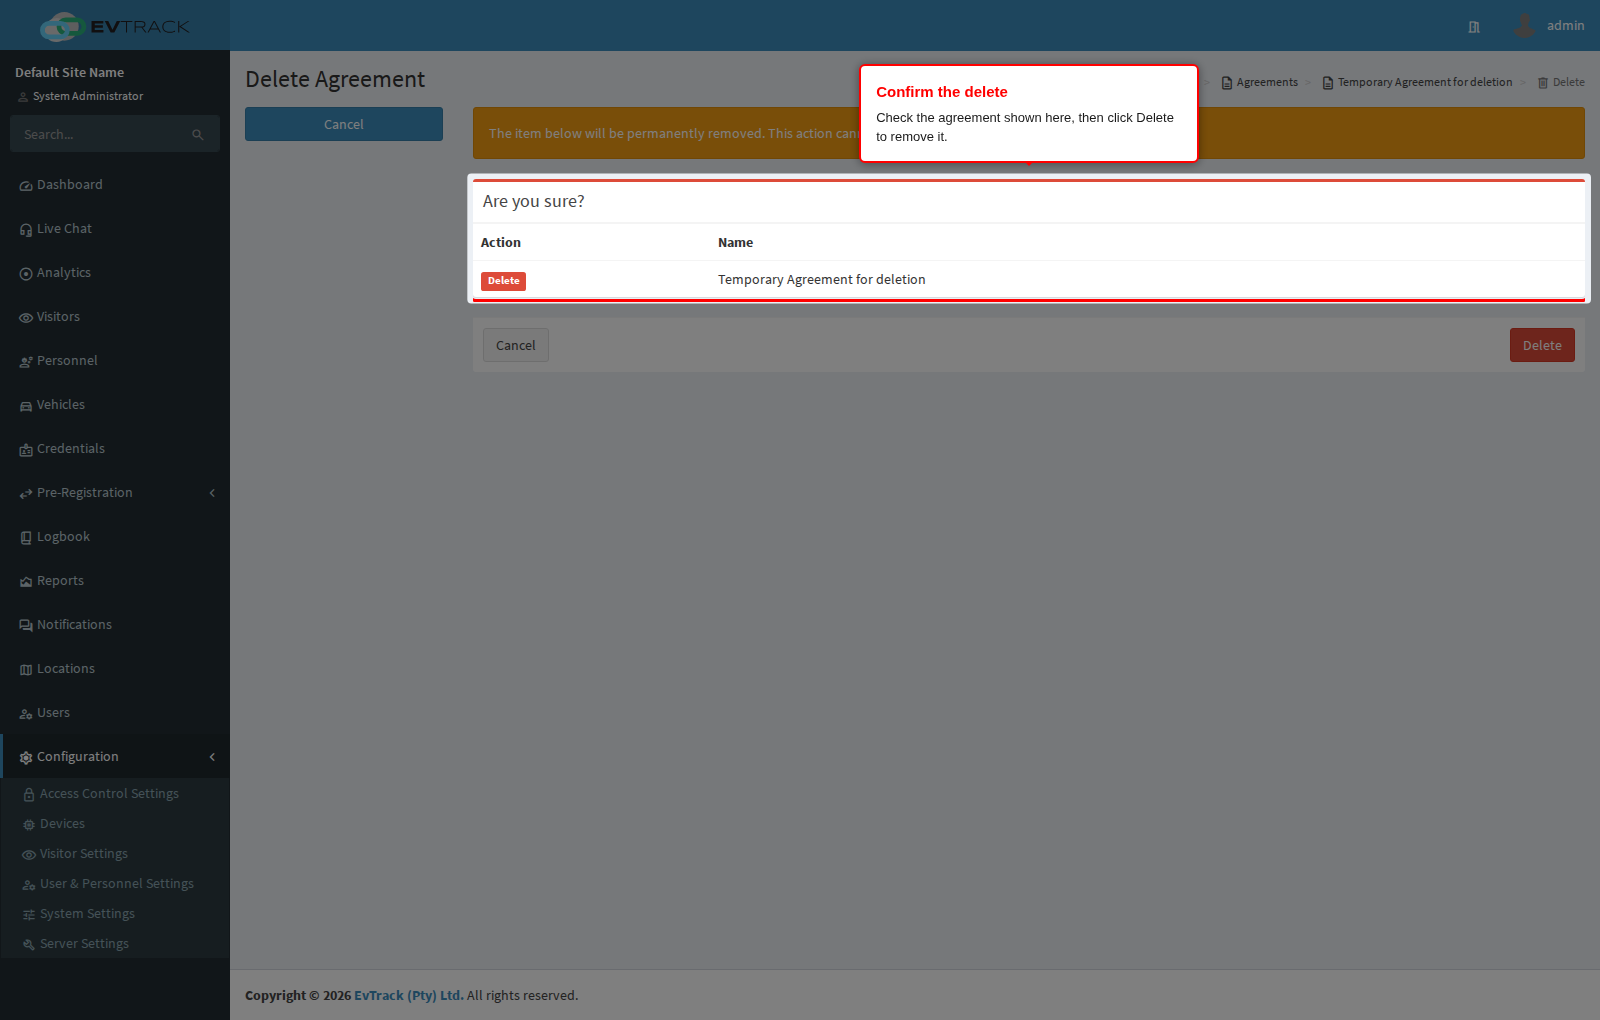
A confirmation page opens showing the agreement’s reference and name so you can check you picked the right one. Click Delete to remove it, or Cancel (or Back to Agreements) to leave it alone. Deletion is permanent - there is no undo.
Nothing blocks an agreement from being deleted, not even one visitors have already accepted, so treat deletion as the last resort:
- Accepted agreements are evidence. If your site relies on being able to show that a visitor accepted a safety induction, clear Enabled instead of deleting, so the agreement and its captured responses survive.
- Signatures go with it. Where the response type is a captured signature, deleting the agreement removes the record those signatures belong to.
Step 12: Confirm the result
You return to the table with a success message and the agreement is gone: search for its name and no row is found. Visitors are no longer asked to respond to it.