Schedules constrain WHEN access applies. Bound to an ACL, a schedule turns “may use these doors” into “may use these doors during business hours”.
Before you start: you need an administrator account with access control administration rights.
Step 1: Open Schedules
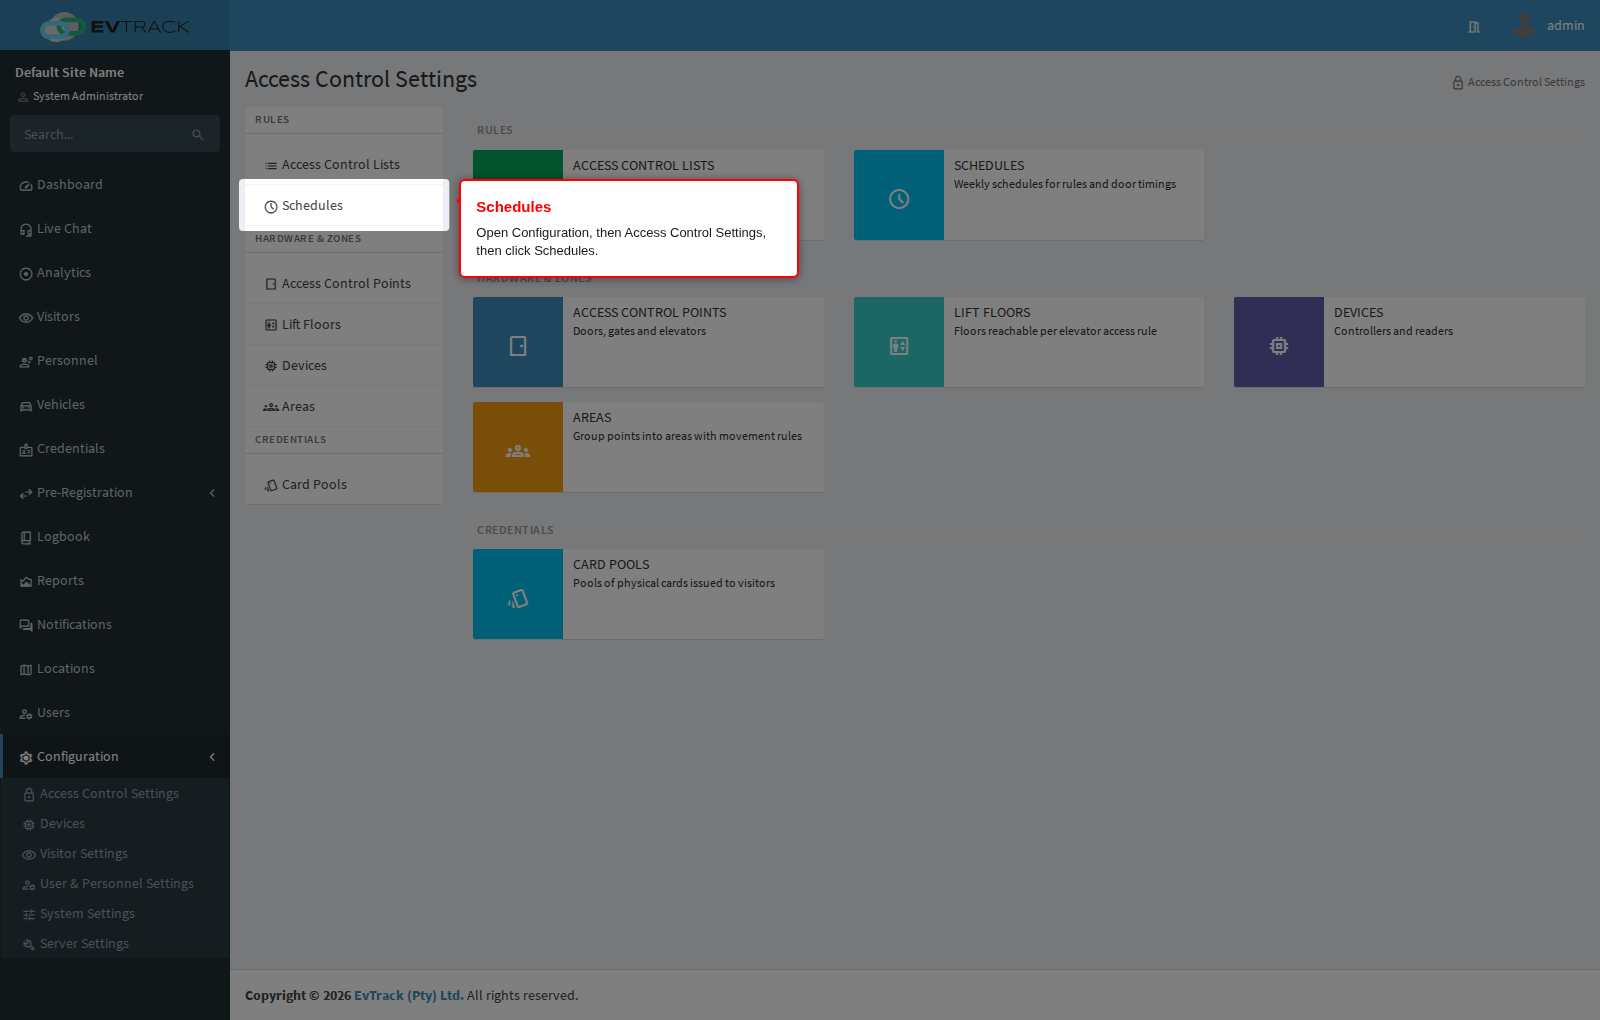
In the left sidebar open Configuration, click Access Control Settings, then click Schedules in the section menu. The Schedules page opens.
Step 2: Review the schedules
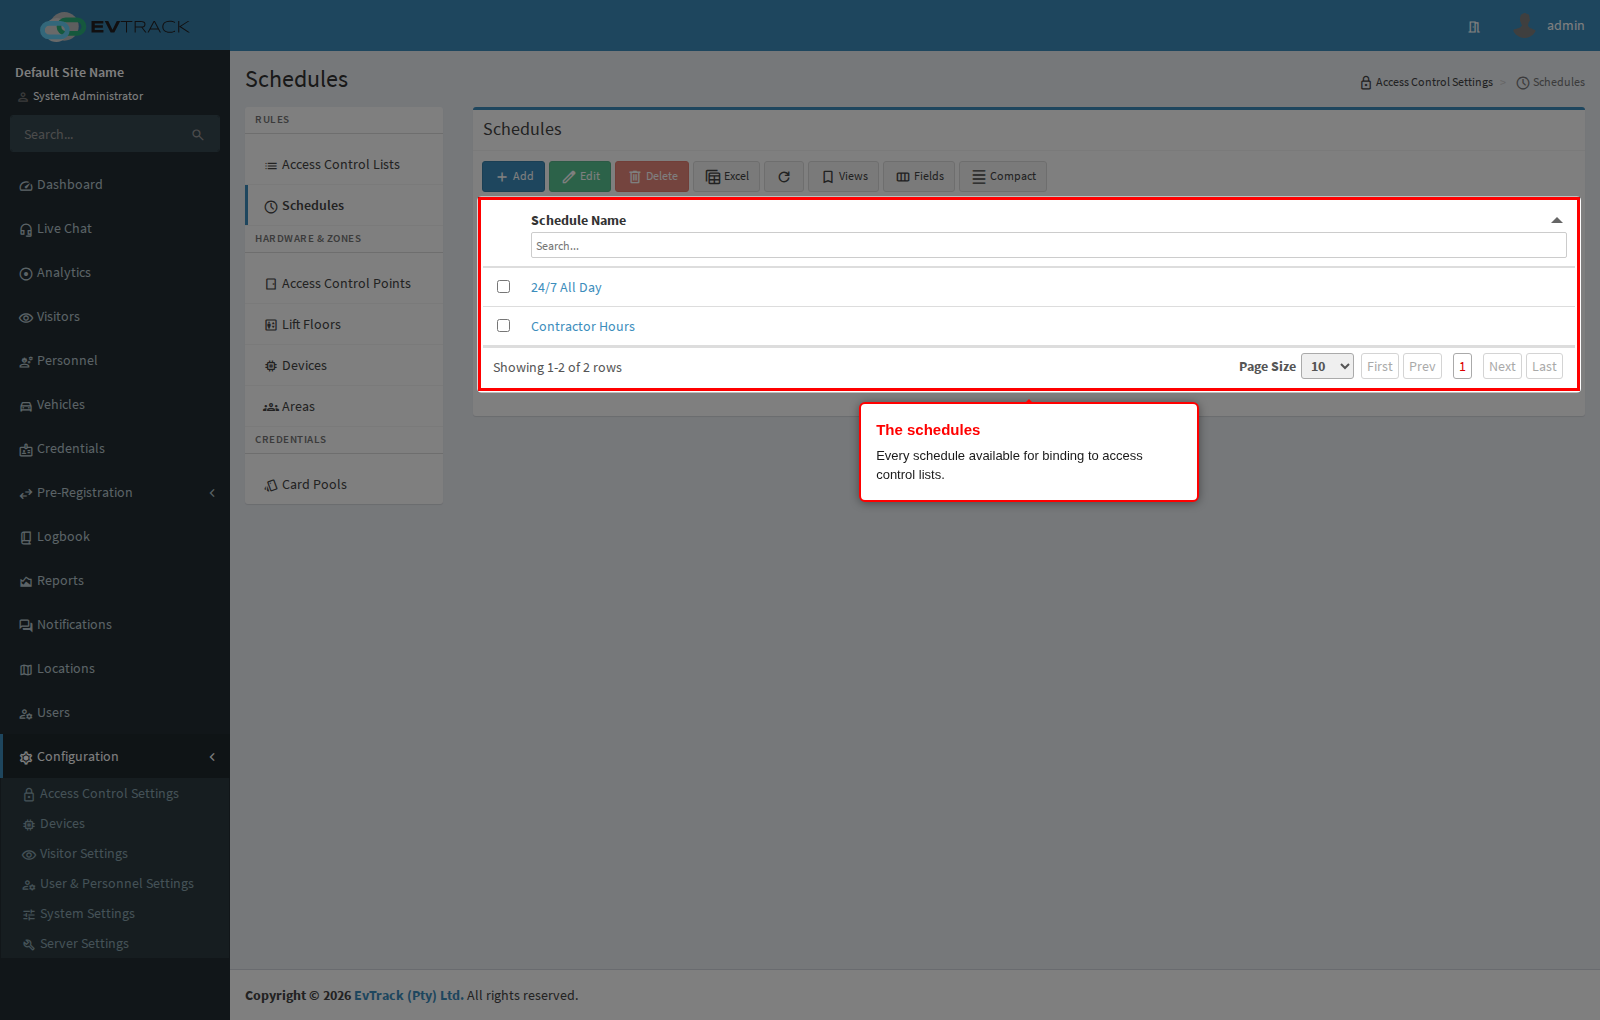
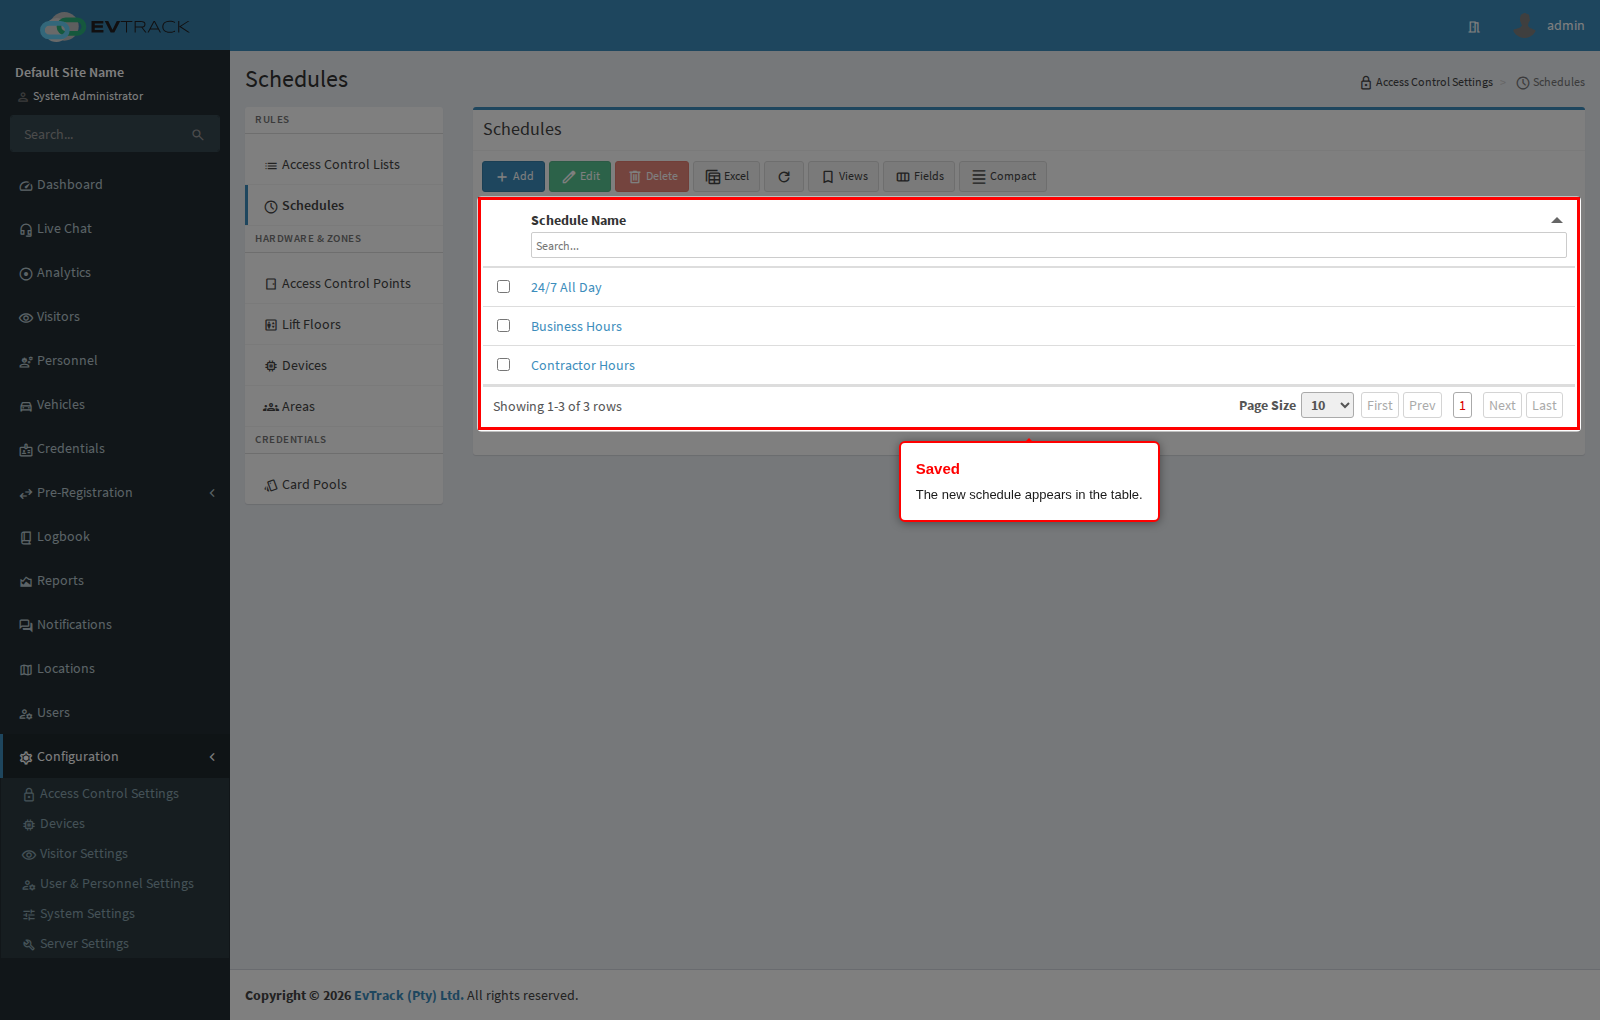
The table lists every schedule with its name. Use the search box in the column header to filter.
Step 3: Click Add
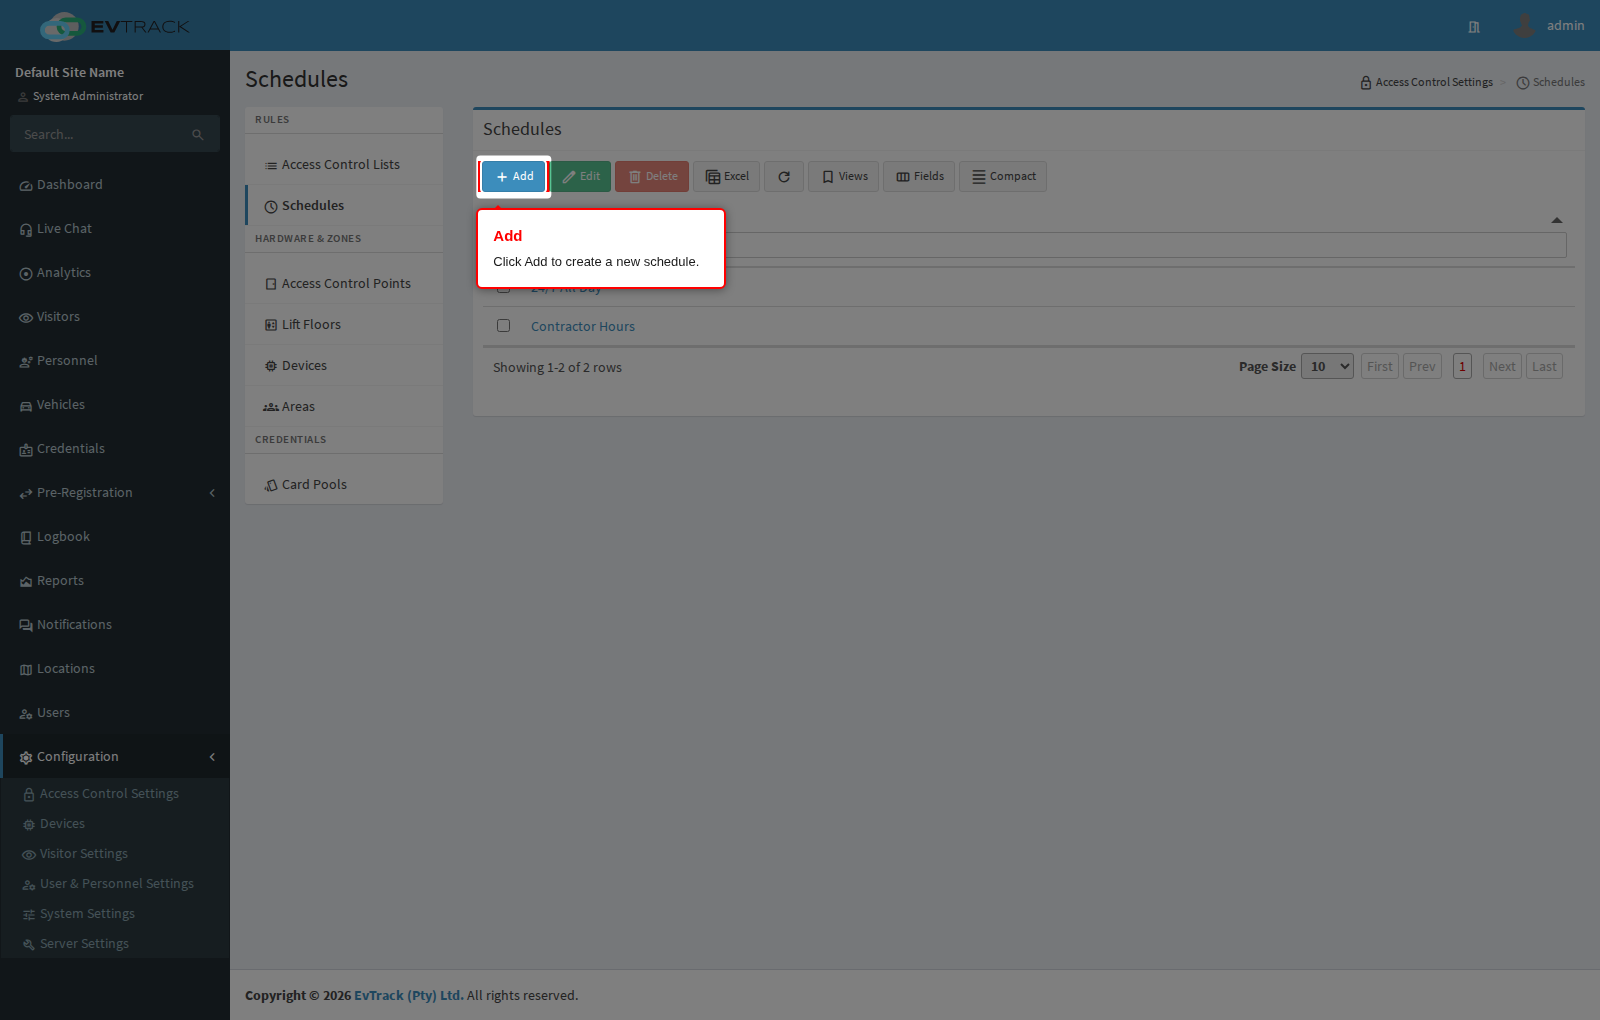
Click the Add button above the table. The new schedule form opens.
Step 4: Name the schedule, set its windows and save
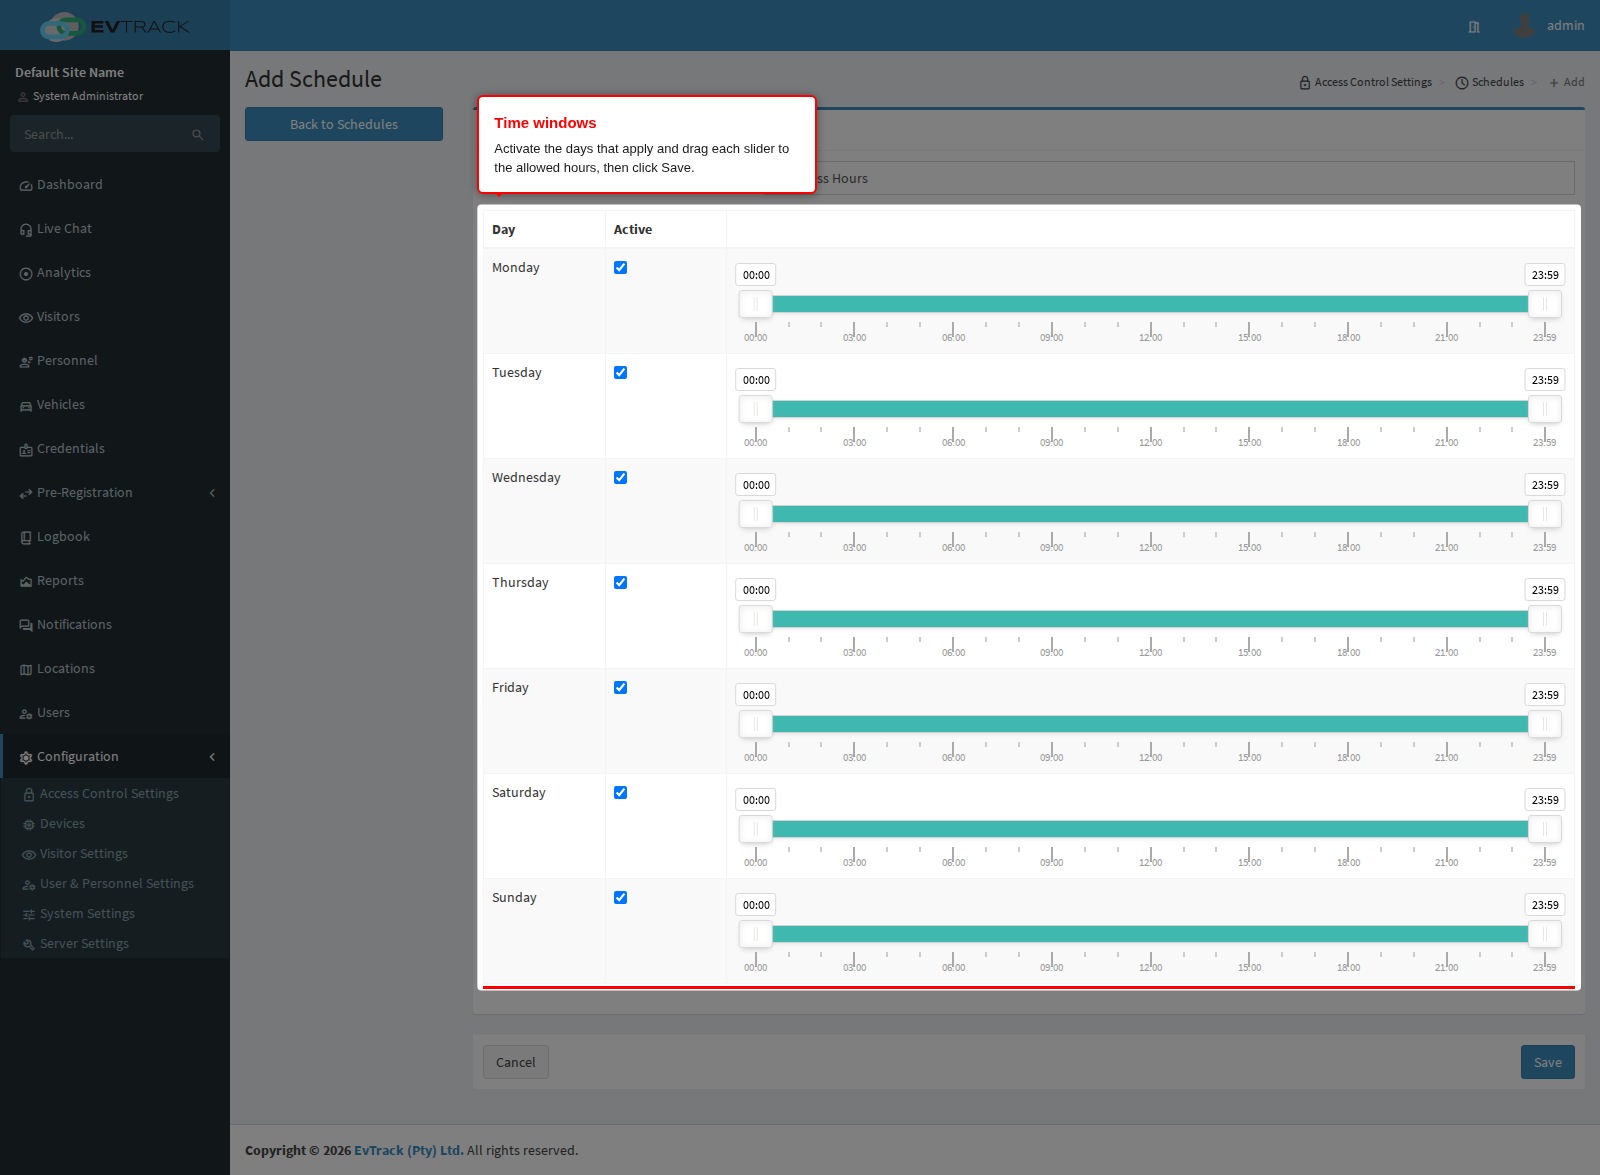
Name the schedule (for example “Business Hours”), tick Active for each day it applies, and drag the day’s slider to the allowed start and stop times. Click Save; you are returned to the list with a success message.
Step 5: Confirm the result
Back on Schedules, the new schedule appears in the table.
Step 6: Open an existing schedule to edit it
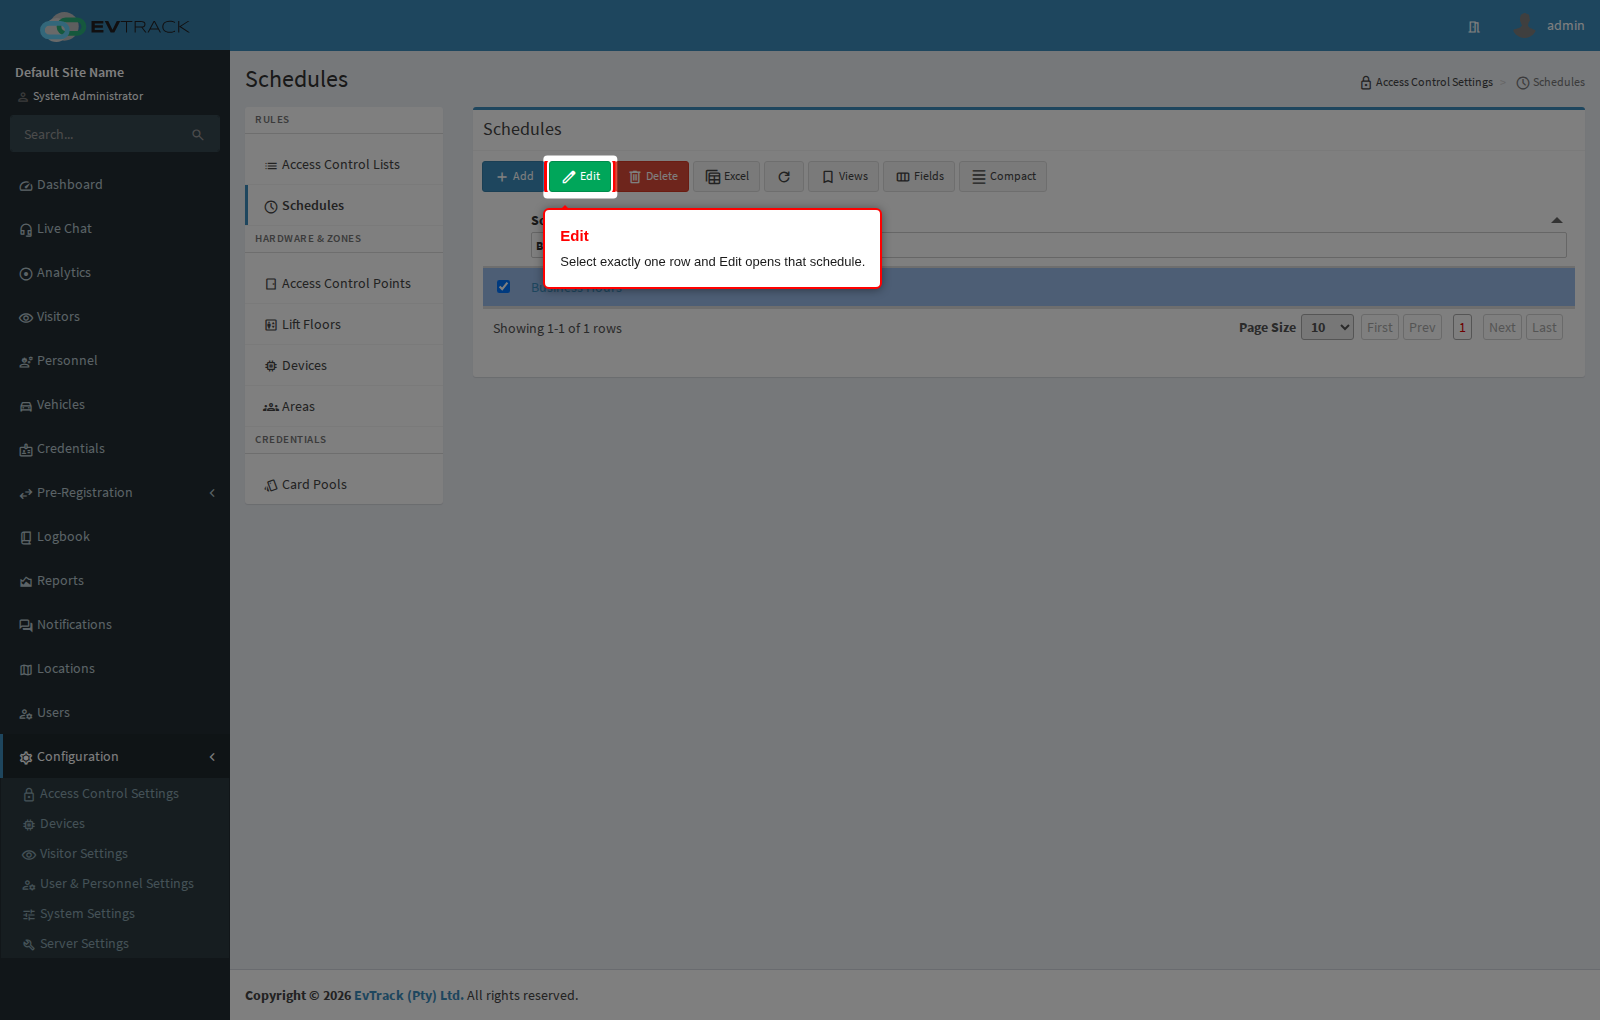
Click the row of the schedule you want to change. The toolbar Edit and Delete buttons remain greyed out until exactly one row is selected. Click Edit (clicking the schedule’s name in the table does the same thing).
Step 7: Adjust days and hours
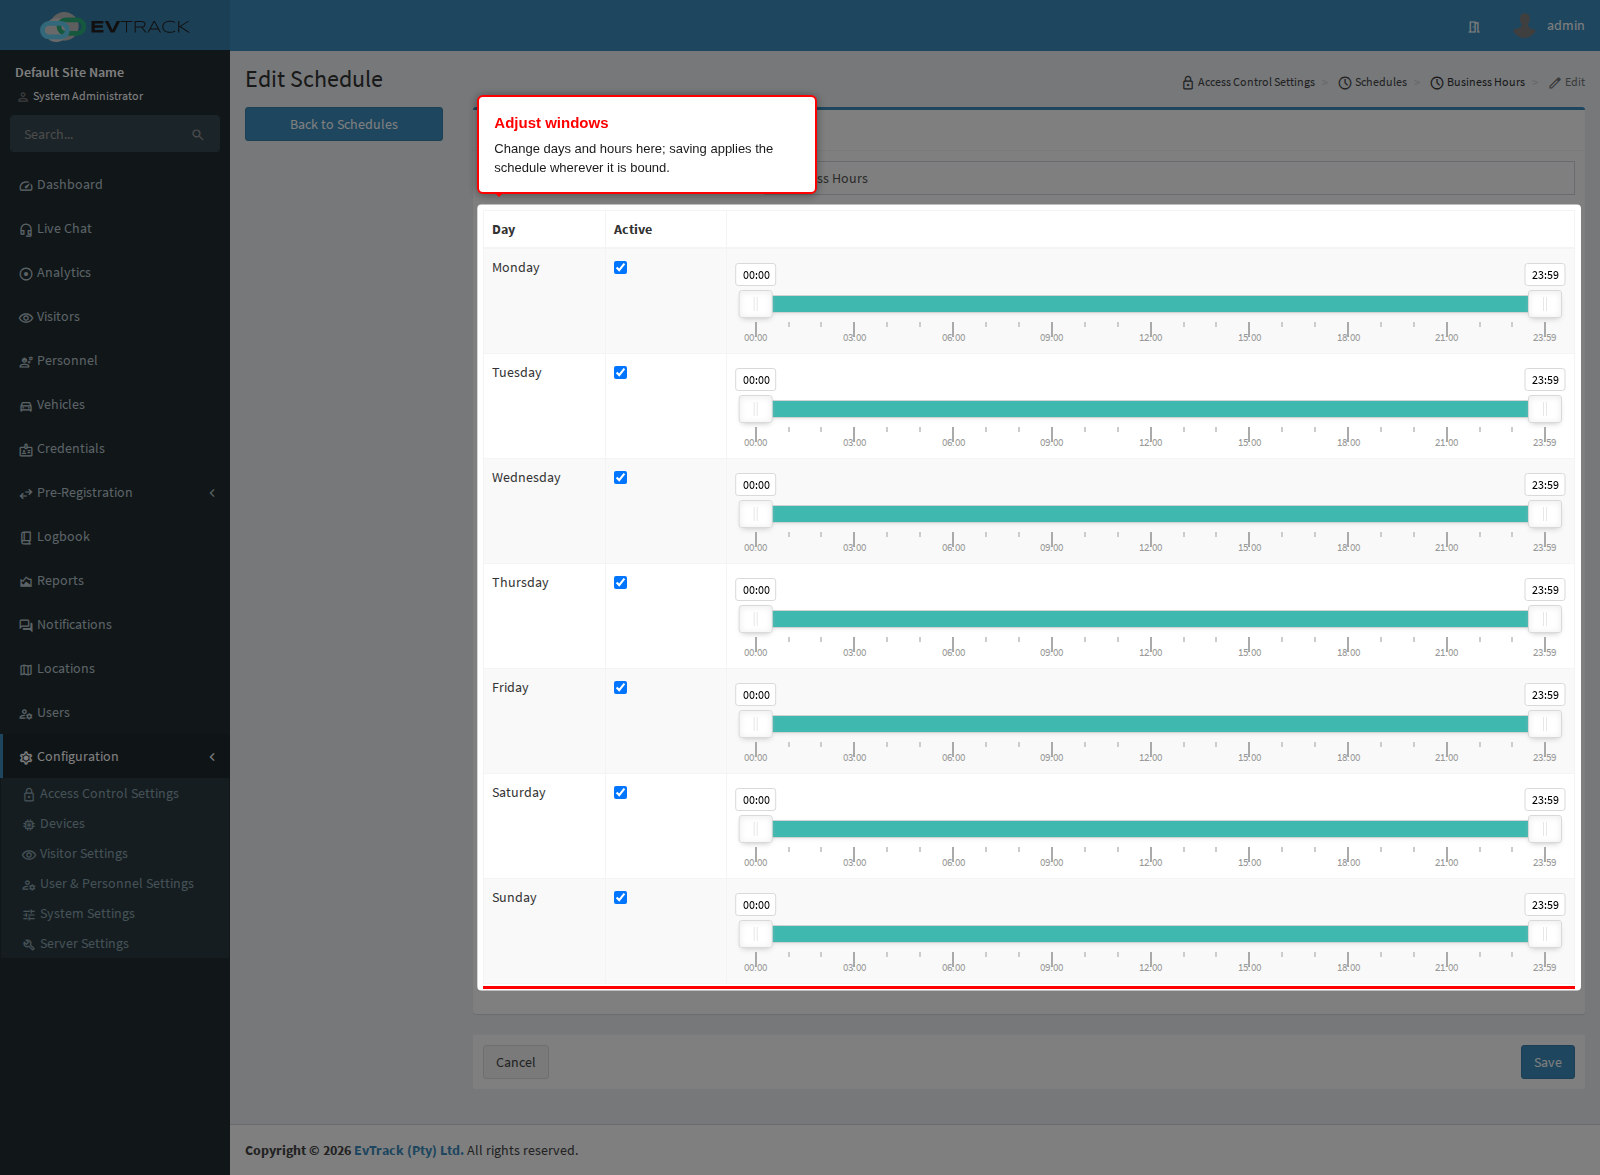
The edit page is the same single form as the add page: the Name and one row per day of the week, each with an Active tick and a slider for that day’s start and stop time. Clear a day’s Active tick to close access on that day entirely. There are no tabs or extra panels - a schedule is only its name and its seven windows.
Change what you need and click Save.
Step 8: Confirm the change
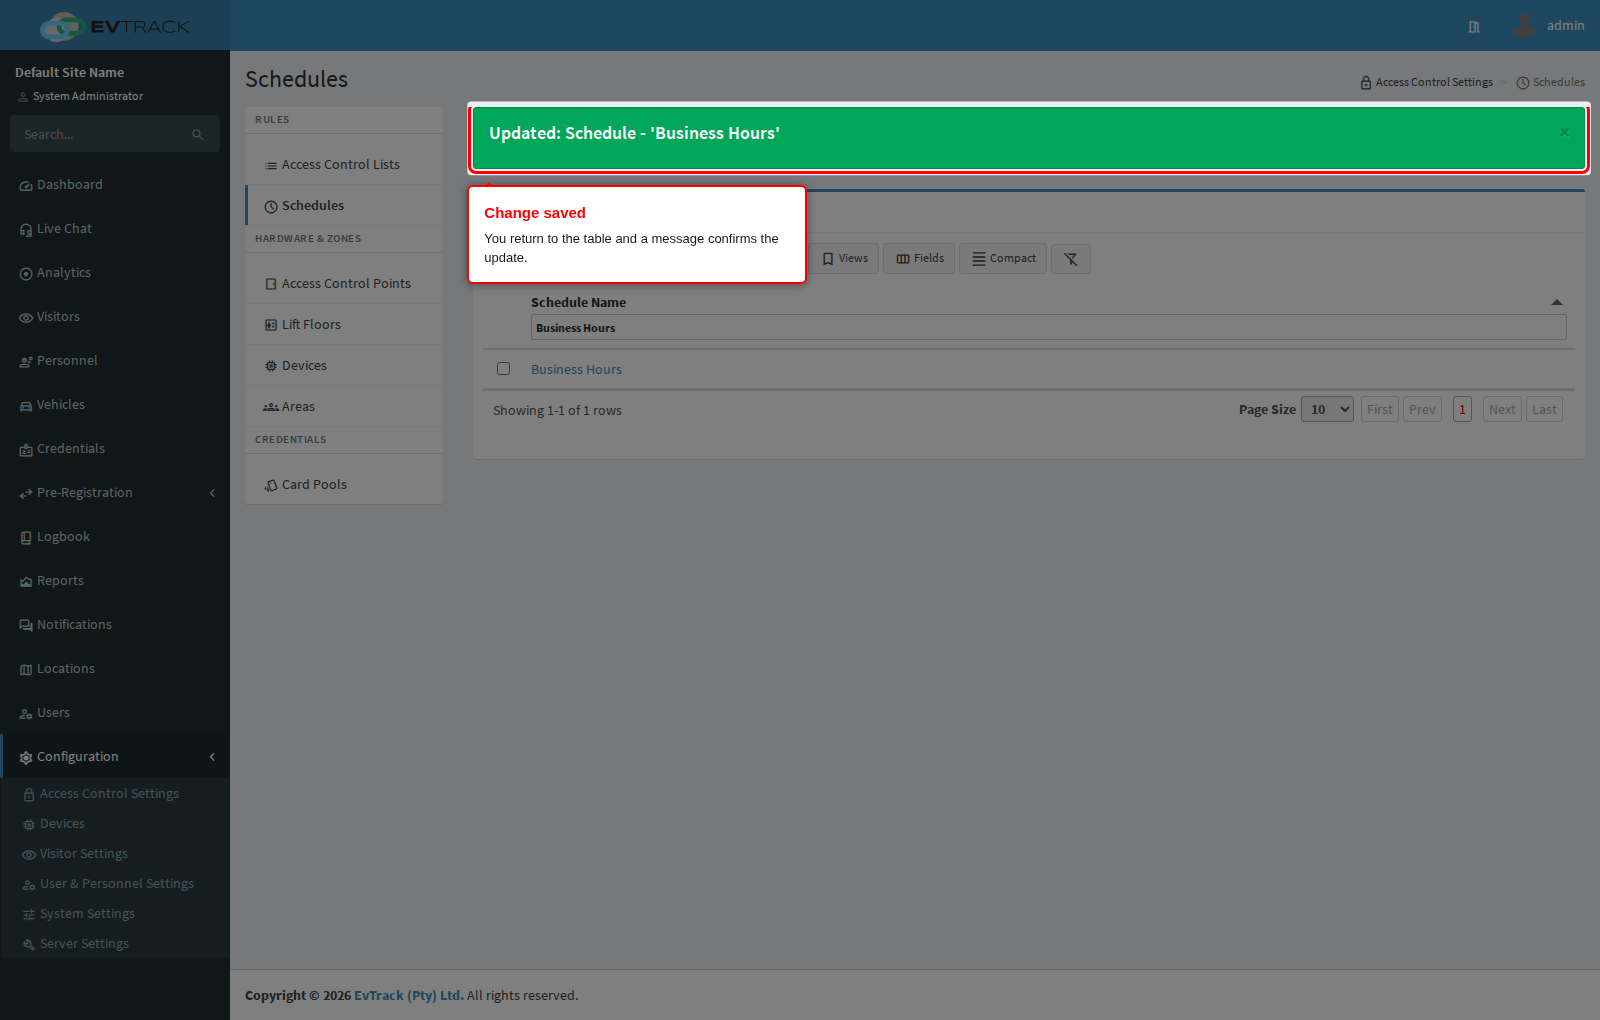
You return to the table with a success message. The change applies immediately everywhere the schedule is bound - every access control list using it now admits on the new hours, so widening or narrowing a shared schedule affects every list that references it.
Step 9: Select a schedule to delete it
To remove a schedule, select its row and click Delete. Like Edit, the button only becomes active with exactly one row selected. In the example below a disposable schedule, “Temporary Schedule for deletion”, is being removed.
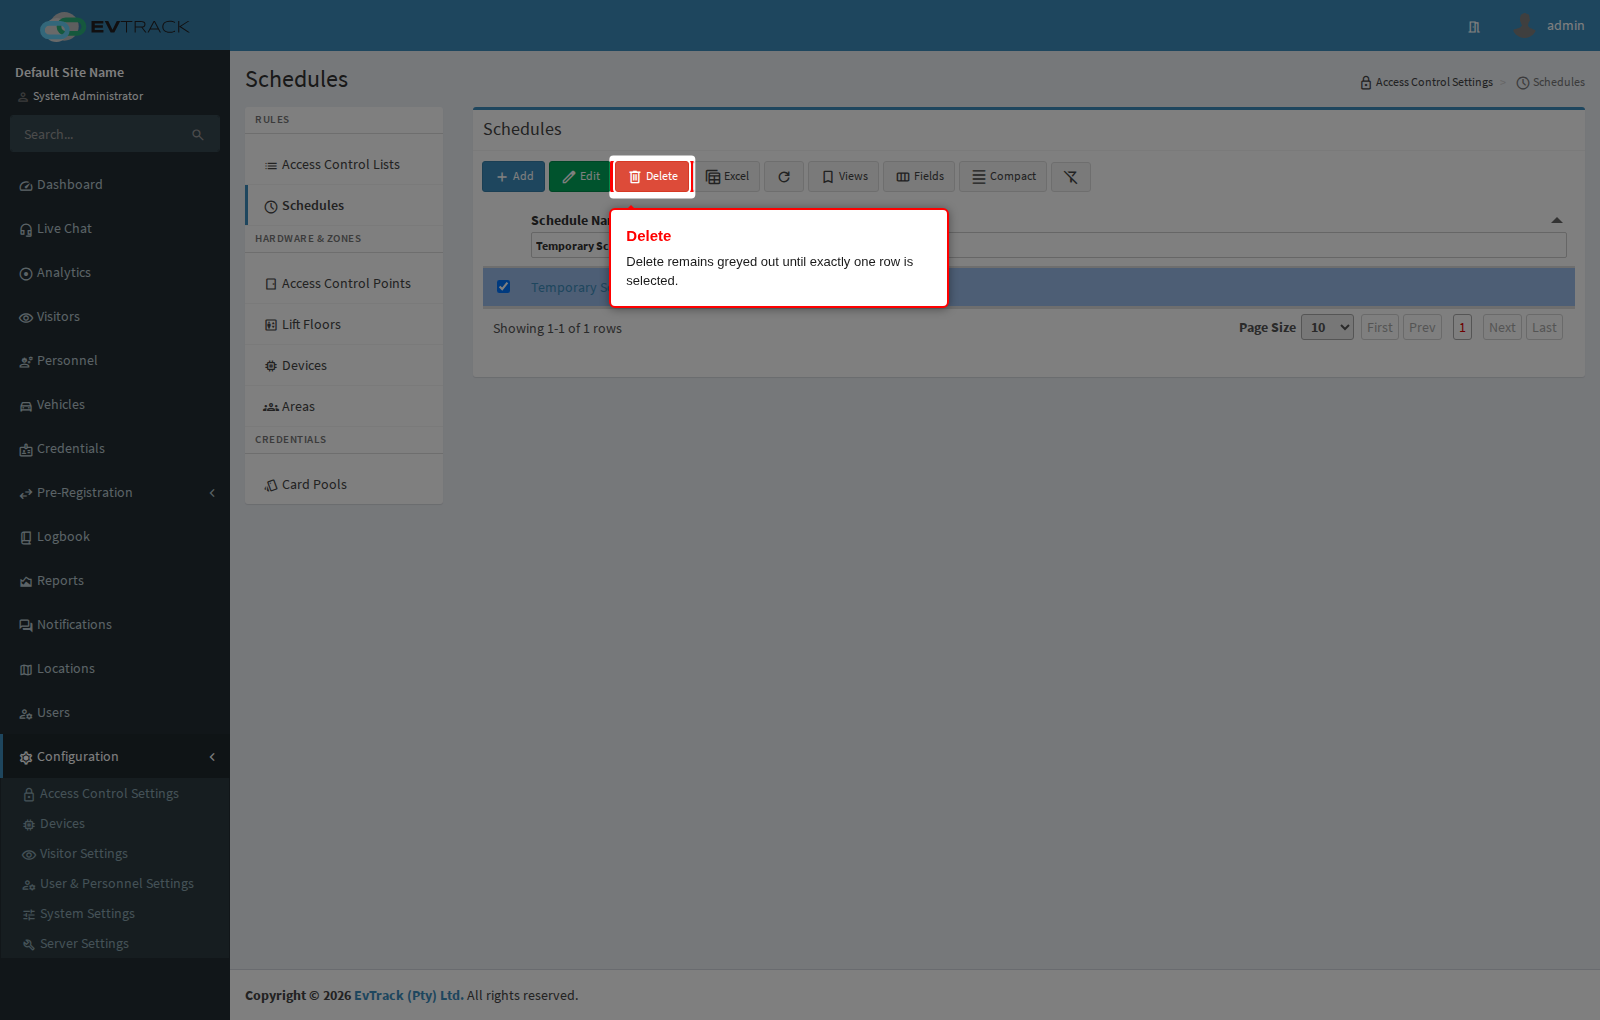
Step 10: Confirm the deletion
A confirmation page opens showing the schedule’s reference and name so you can check you picked the right one. Click Delete to remove it, or Cancel (or Back to Schedules) to leave it alone. Deletion is permanent - there is no undo.
Delete only a schedule that is no longer bound to anything. Removing a schedule that an access control list still references pulls the timing rule out from under that list. Open each Access Control List that uses it first and remove or repoint the access rules that name it, then delete the schedule.
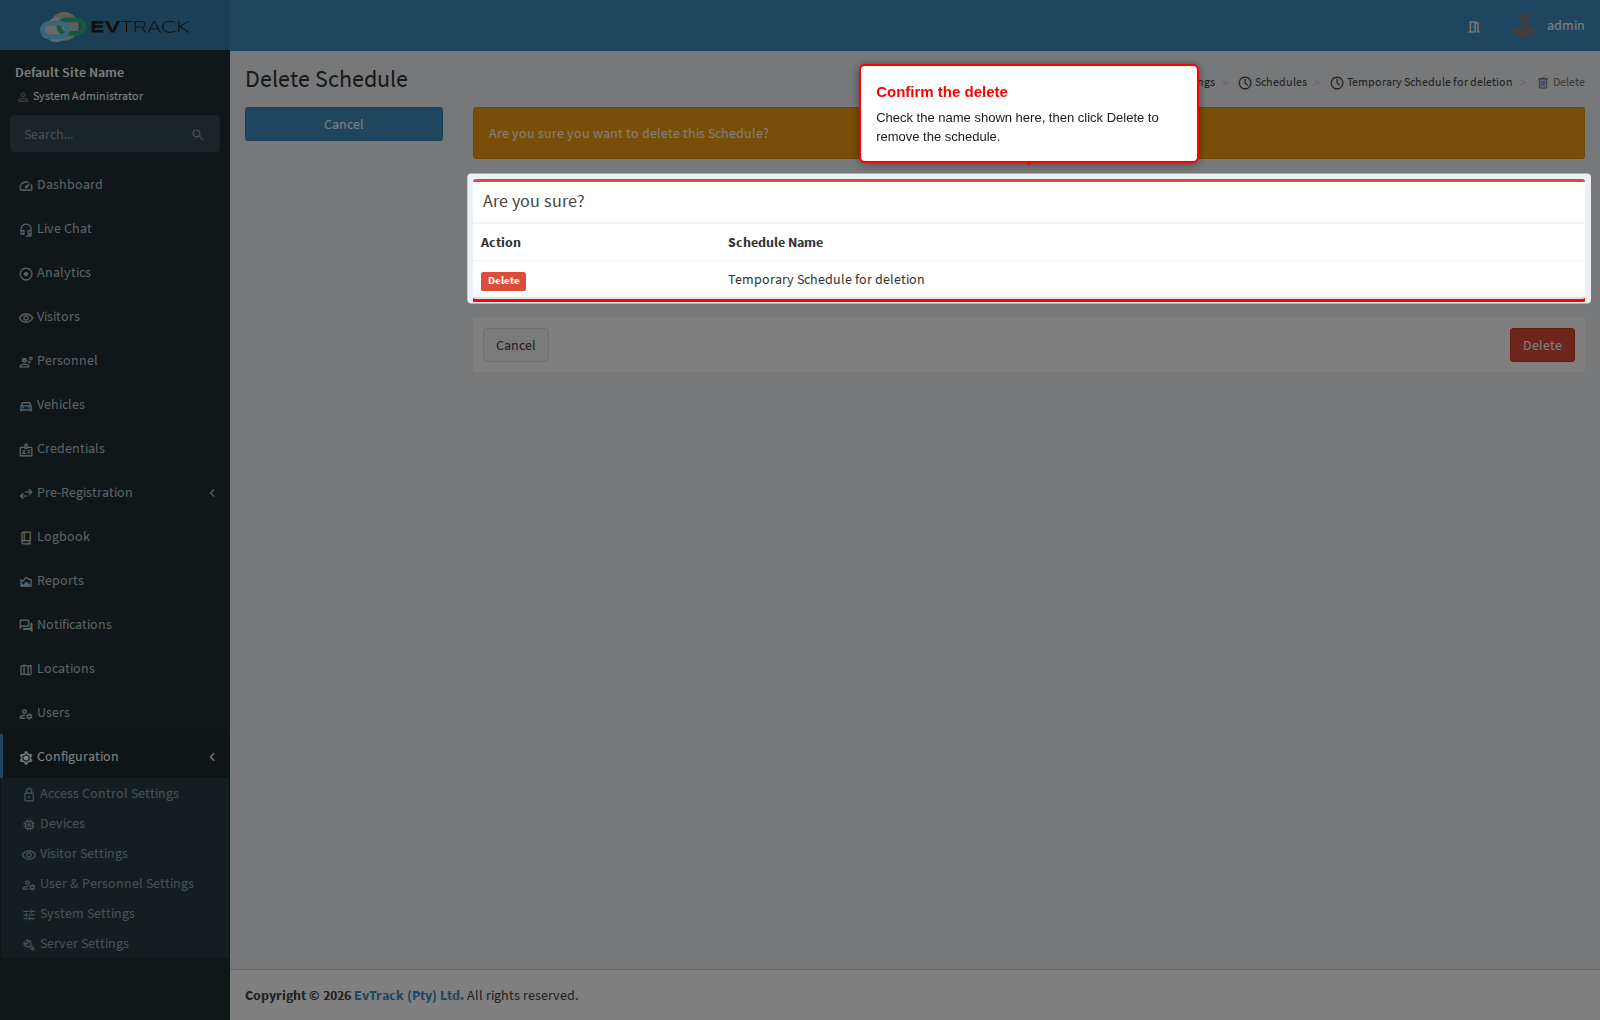
Step 11: Confirm the result
You return to the table with a success message and the schedule is gone: search for its name and no row is found.
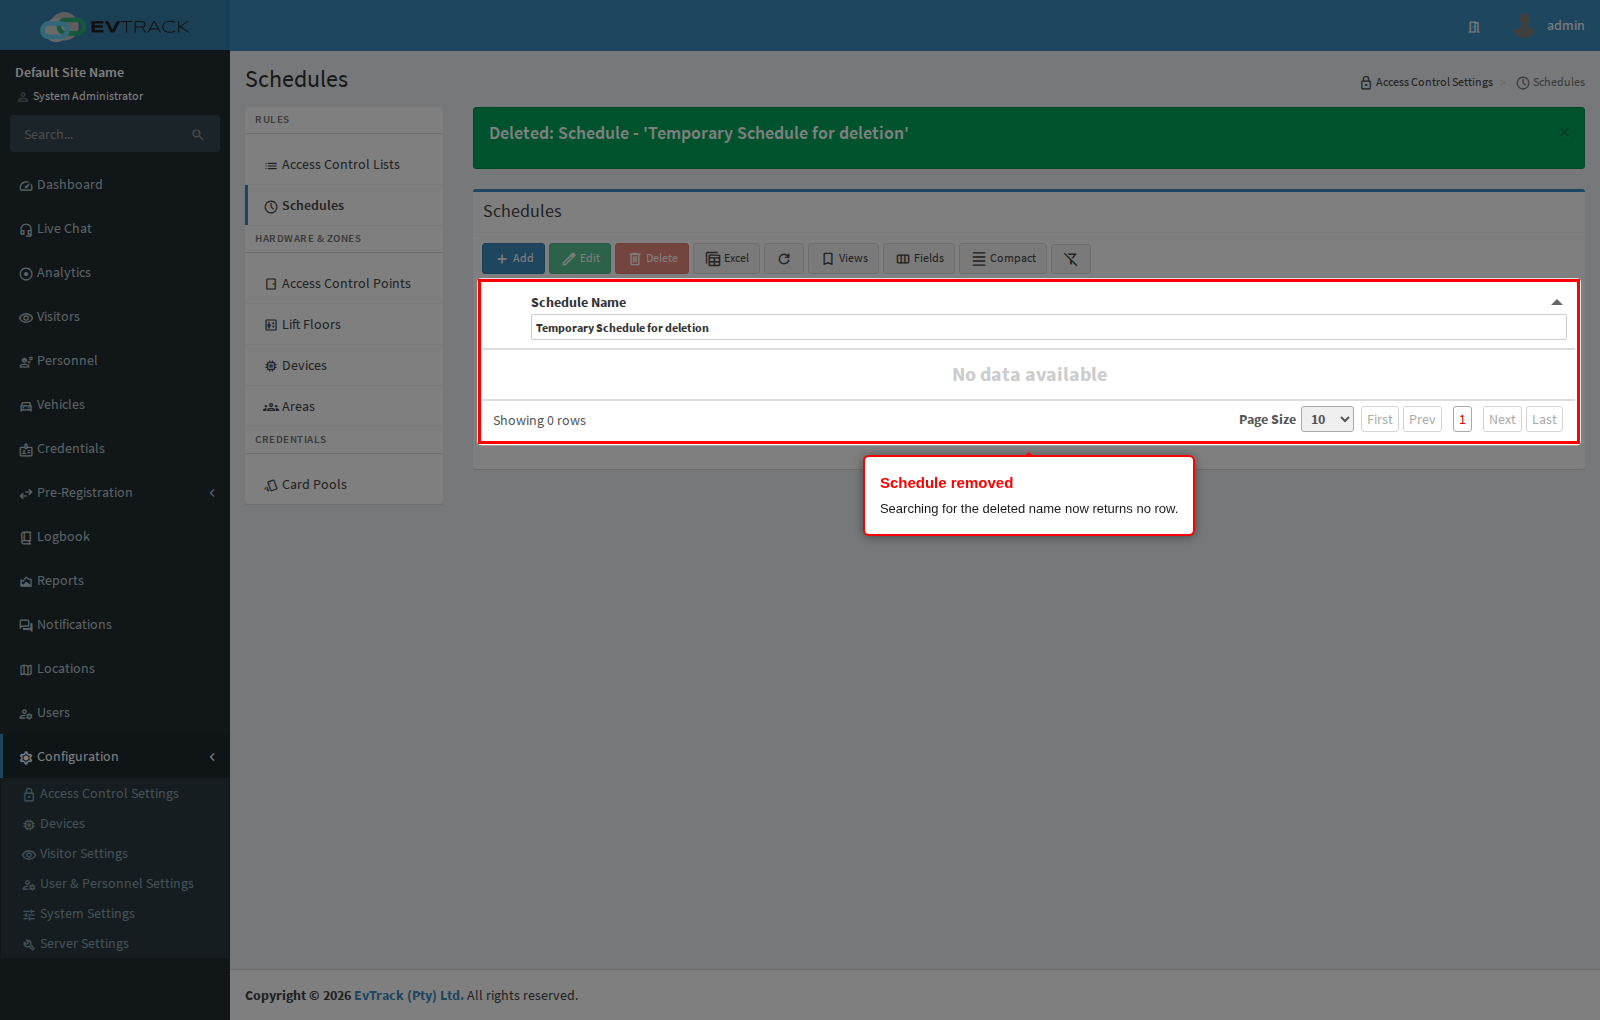
Attach schedules to ACLs on the Access Control List edit page. A credential is admitted only when the point is covered AND the schedule window is open.