Visits get called off: the meeting moves, the host is away, the building closes. When an operator cancels a visit, the product asks them for a reason and for a message to send the visitor. Writing that message from scratch every time is slow and produces wildly inconsistent wording, so this page holds a list of reusable cancellation reason templates that reception can pick from instead.
Each template pairs a short Reason, which is what the operator chooses from a dropdown, with a longer Description, which is dropped into the message box ready to send. The operator can still edit the message before sending, so a template is a starting point, not a straitjacket.
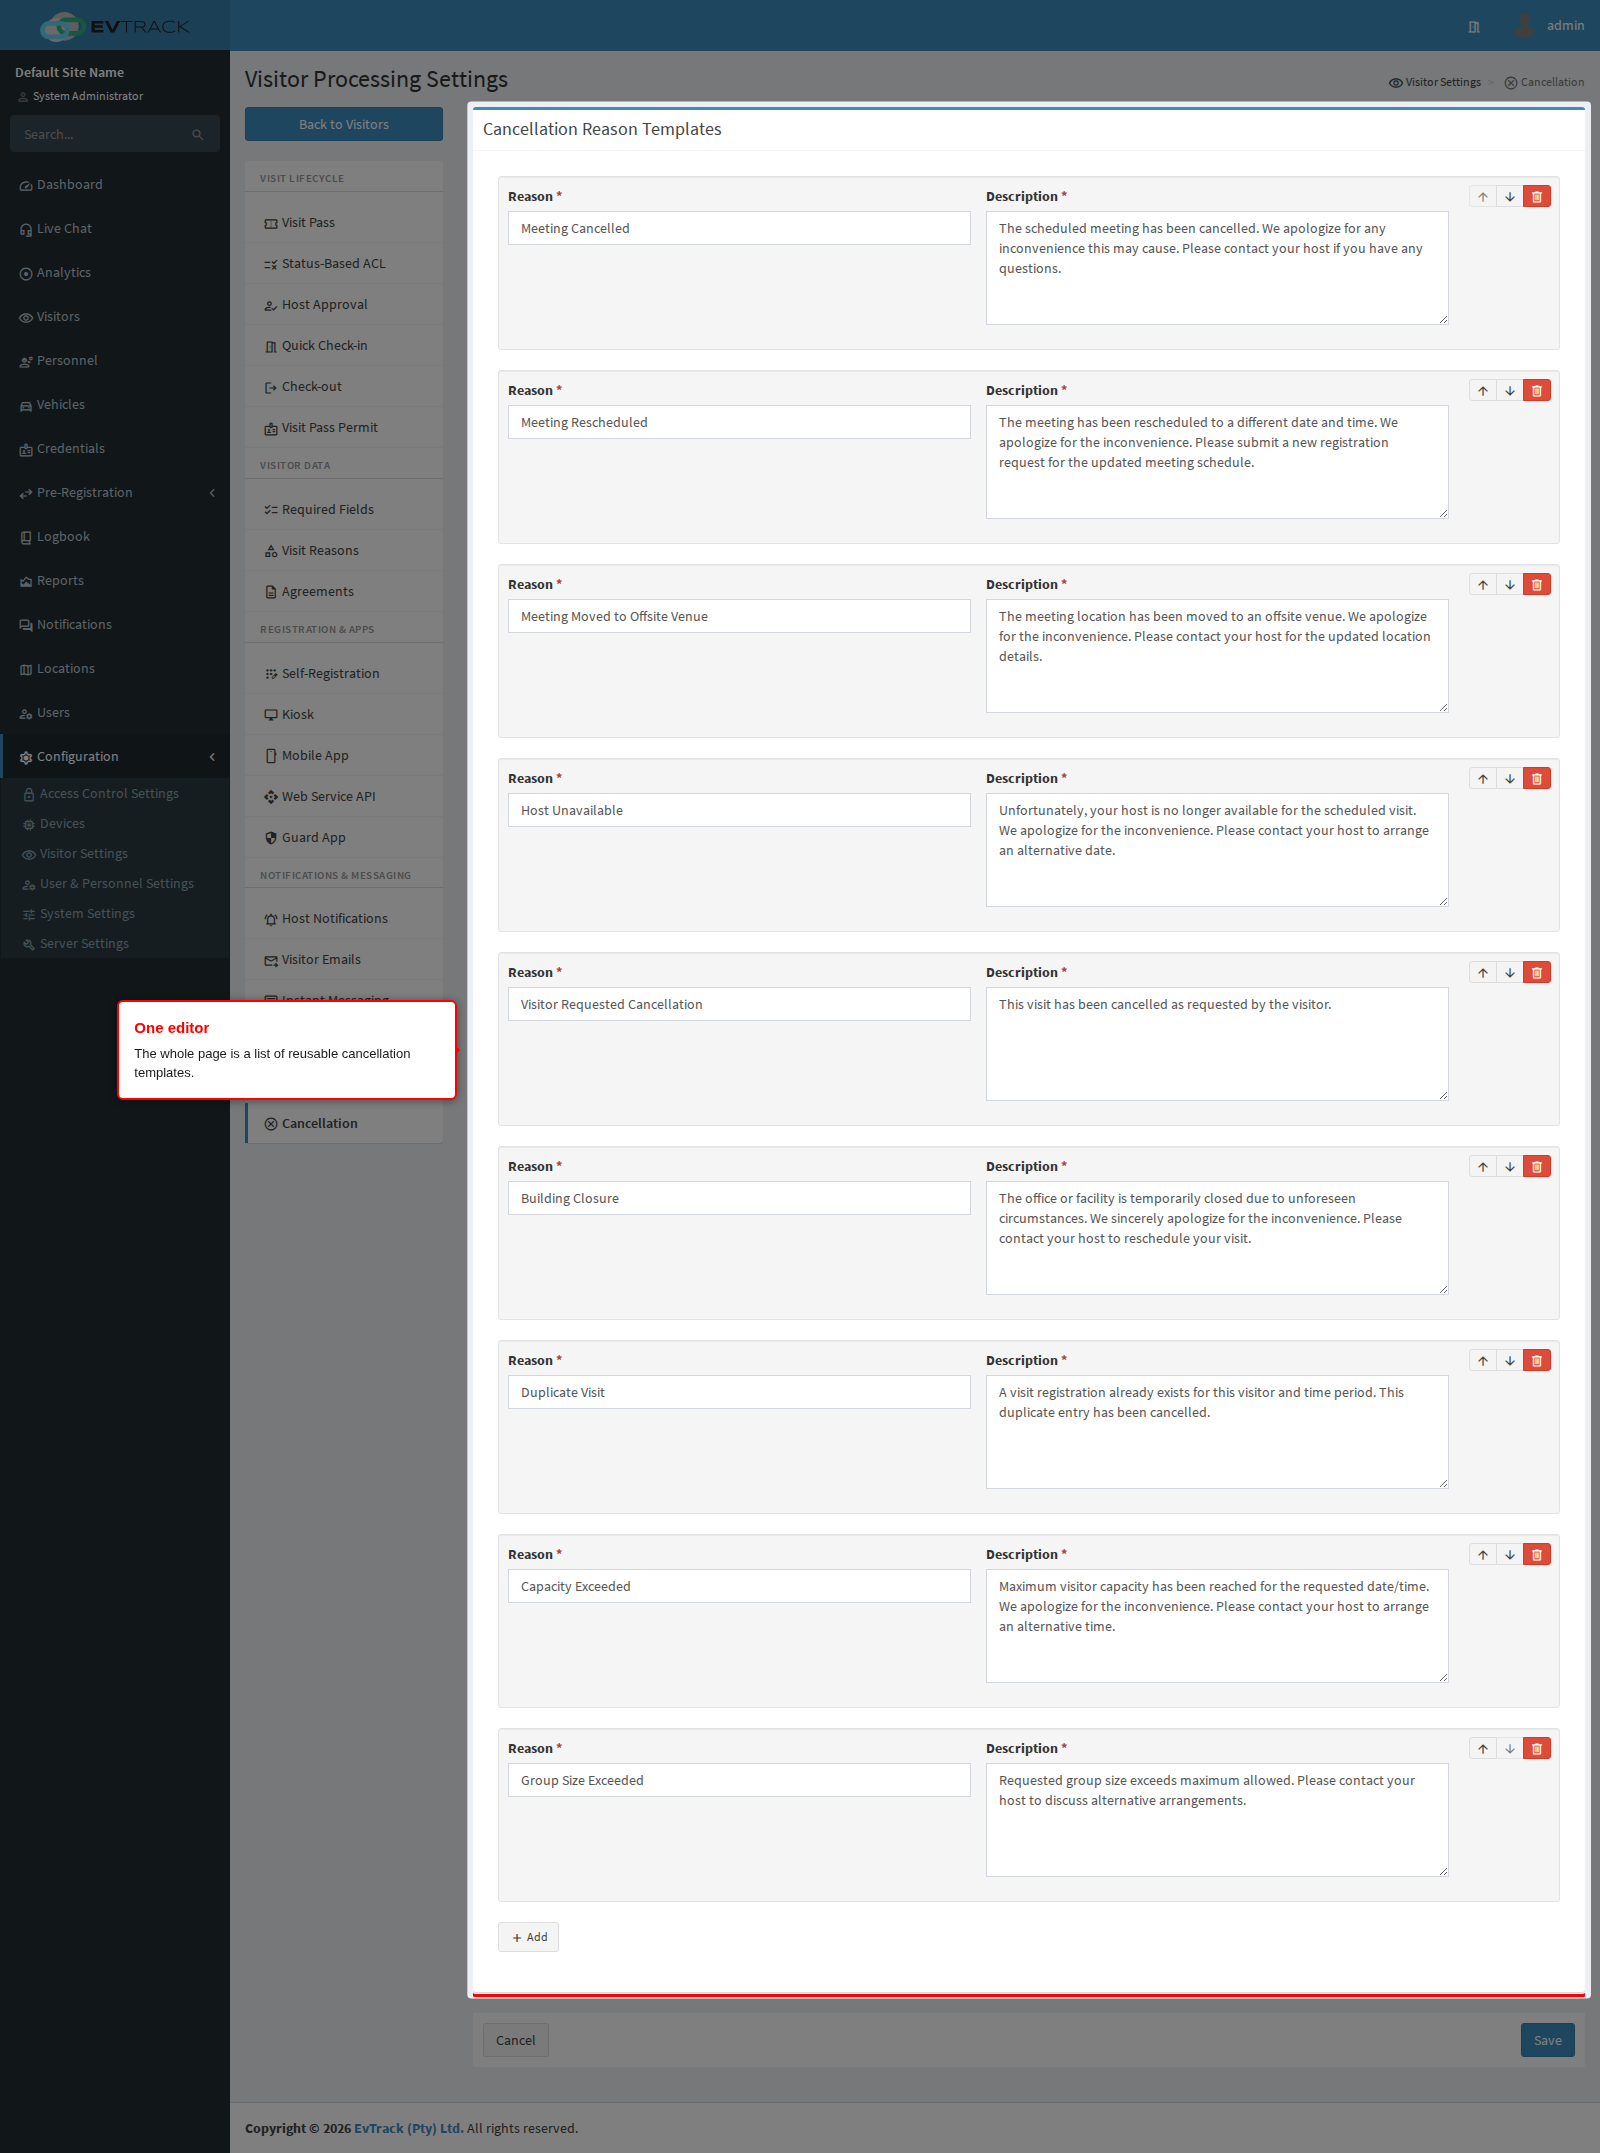
Before you start: you need an operator account with settings permissions. Nothing else has to exist first: the product ships with a set of common templates (Meeting Cancelled, Meeting Rescheduled, Host Unavailable, Building Closure, Duplicate Visit, Capacity Exceeded and others), and those are what you see the first time you open the page.
What is affected: the list is read each time the cancel screen is opened, so changes apply to the very next cancellation. Messages already sent are not touched.
Step 1: Open the Cancellation settings
Open Configuration in the sidebar, click Visitor Settings, and click the Cancellation tile.
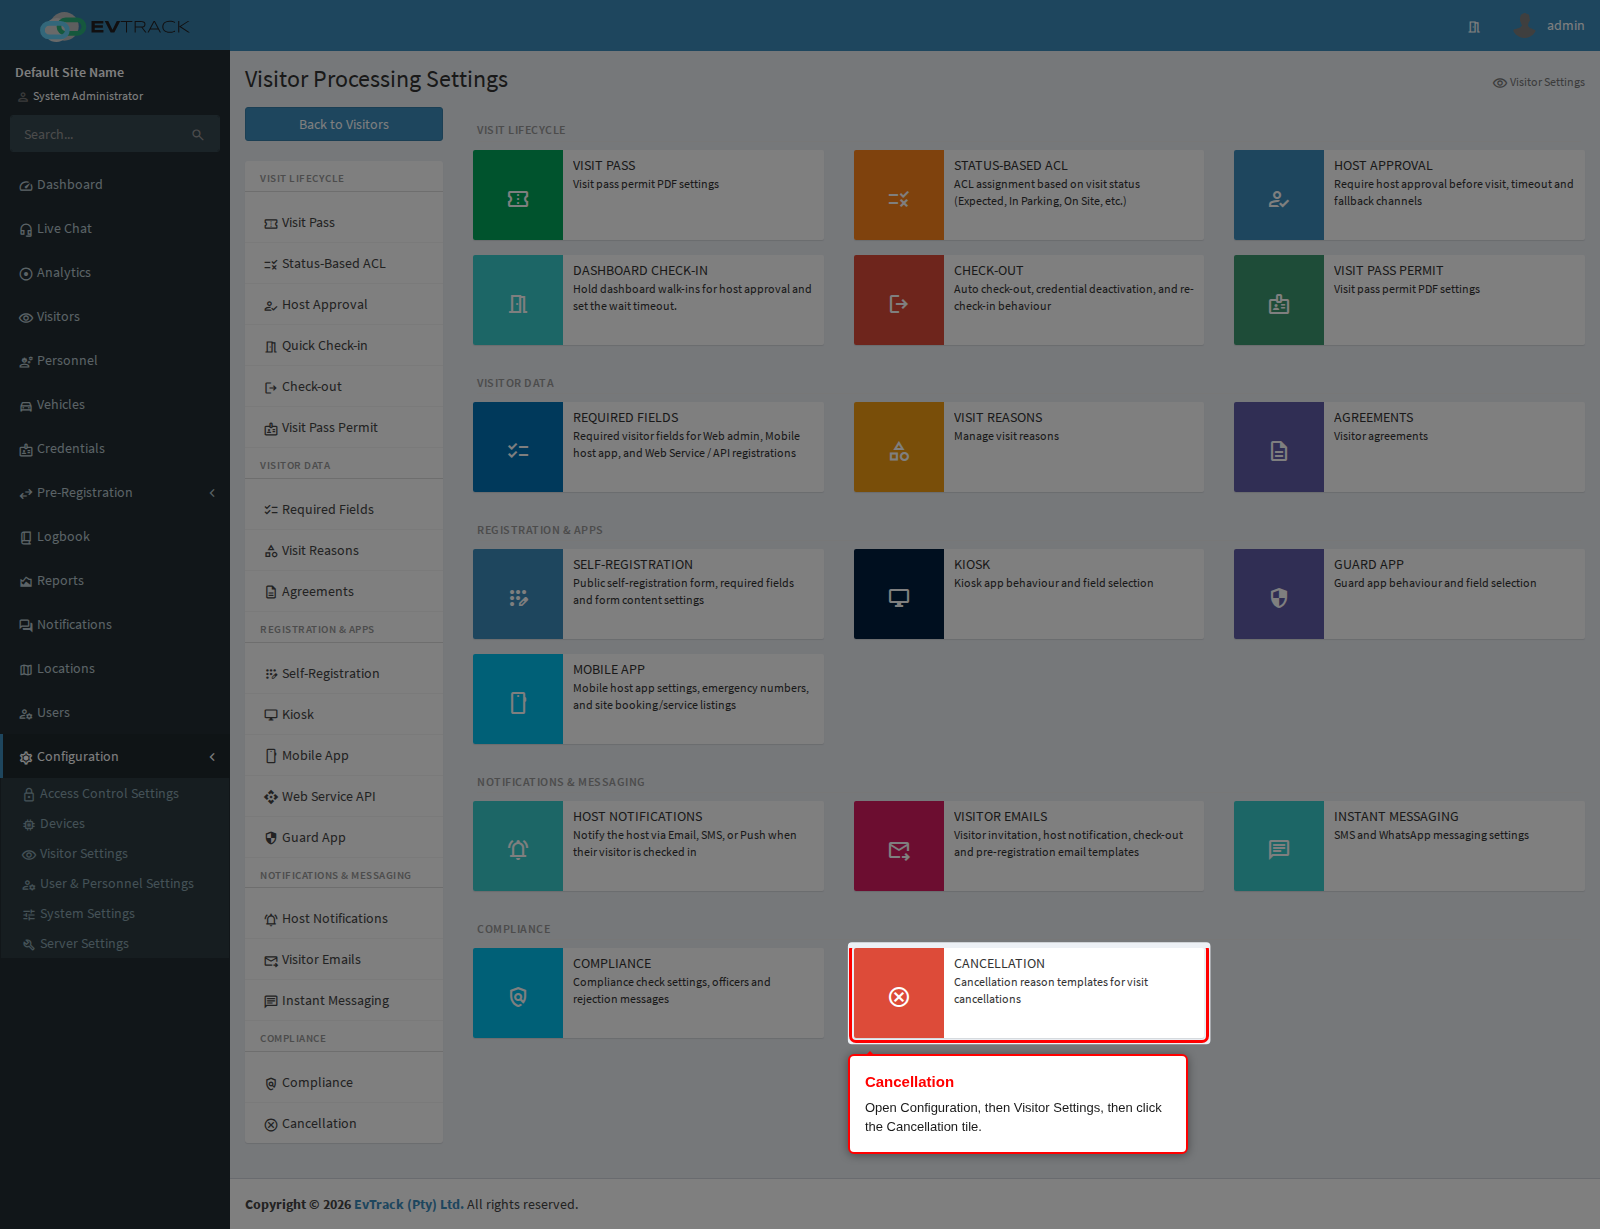
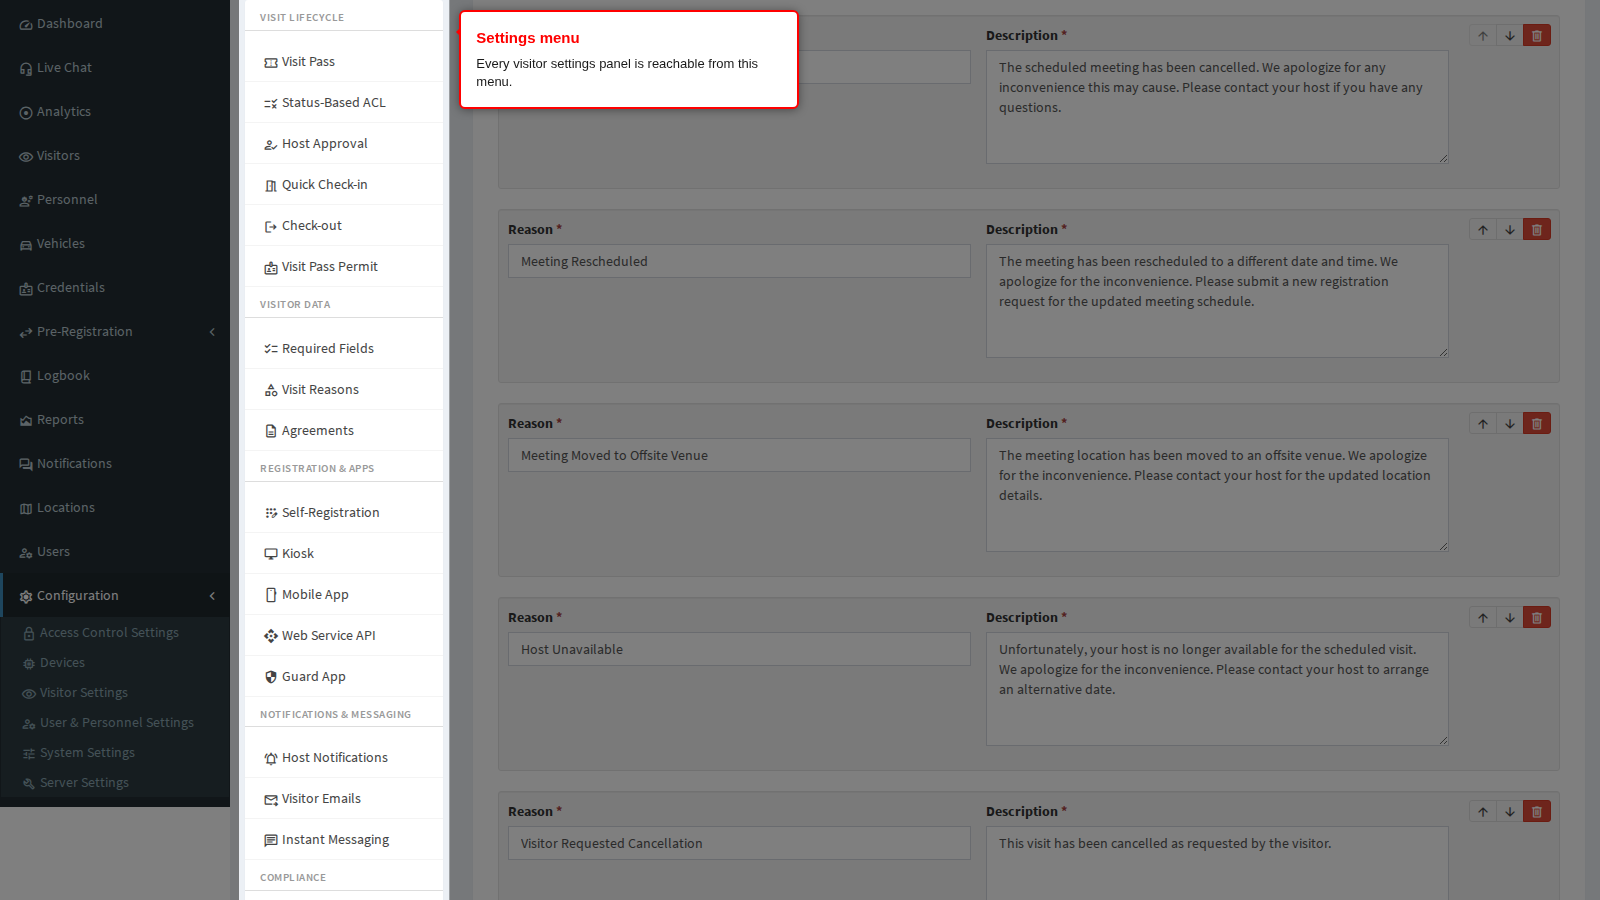
End state: the Cancellation panel opens. The menu on the left remains visible so you can move to any other visitor settings panel without going back to the tiles.
The whole page is one box, Cancellation Reason Templates. There are no other settings on it.
Step 2: Read the existing templates
The editor shows every template as a row, in the order operators will see them in the dropdown. Order matters in practice: put the reasons your site actually uses at the top, because that is what reception reaches for under pressure.
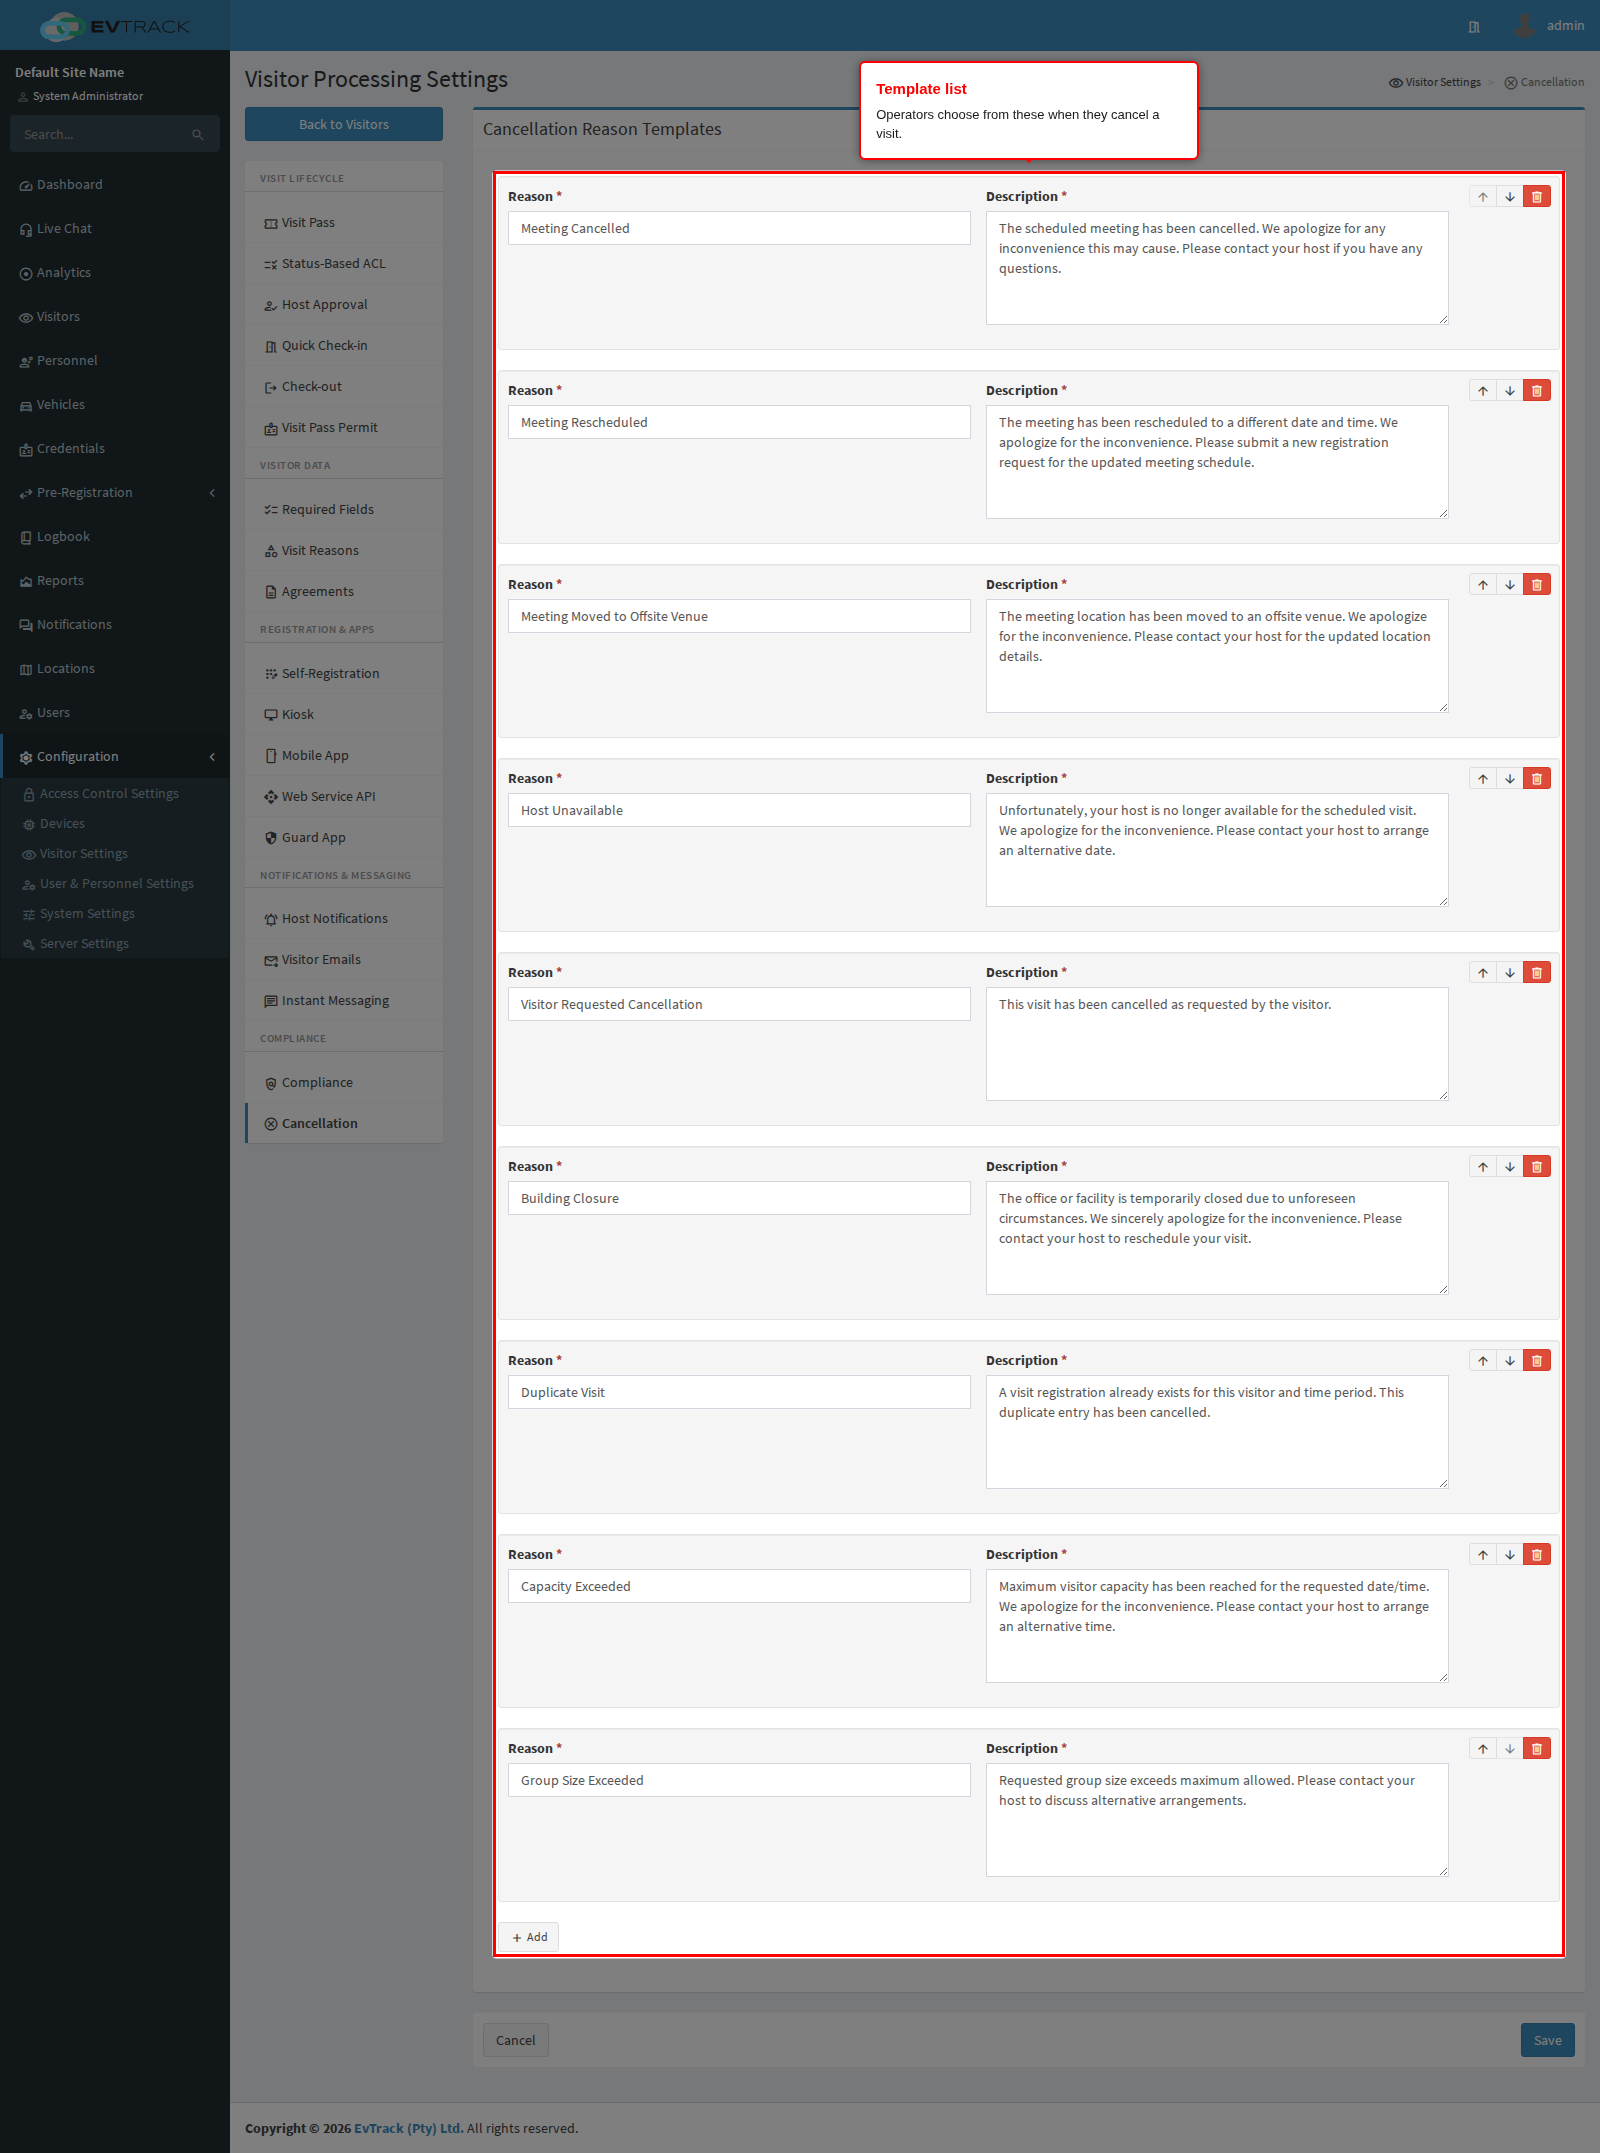
Each row holds one template and can be edited in place.
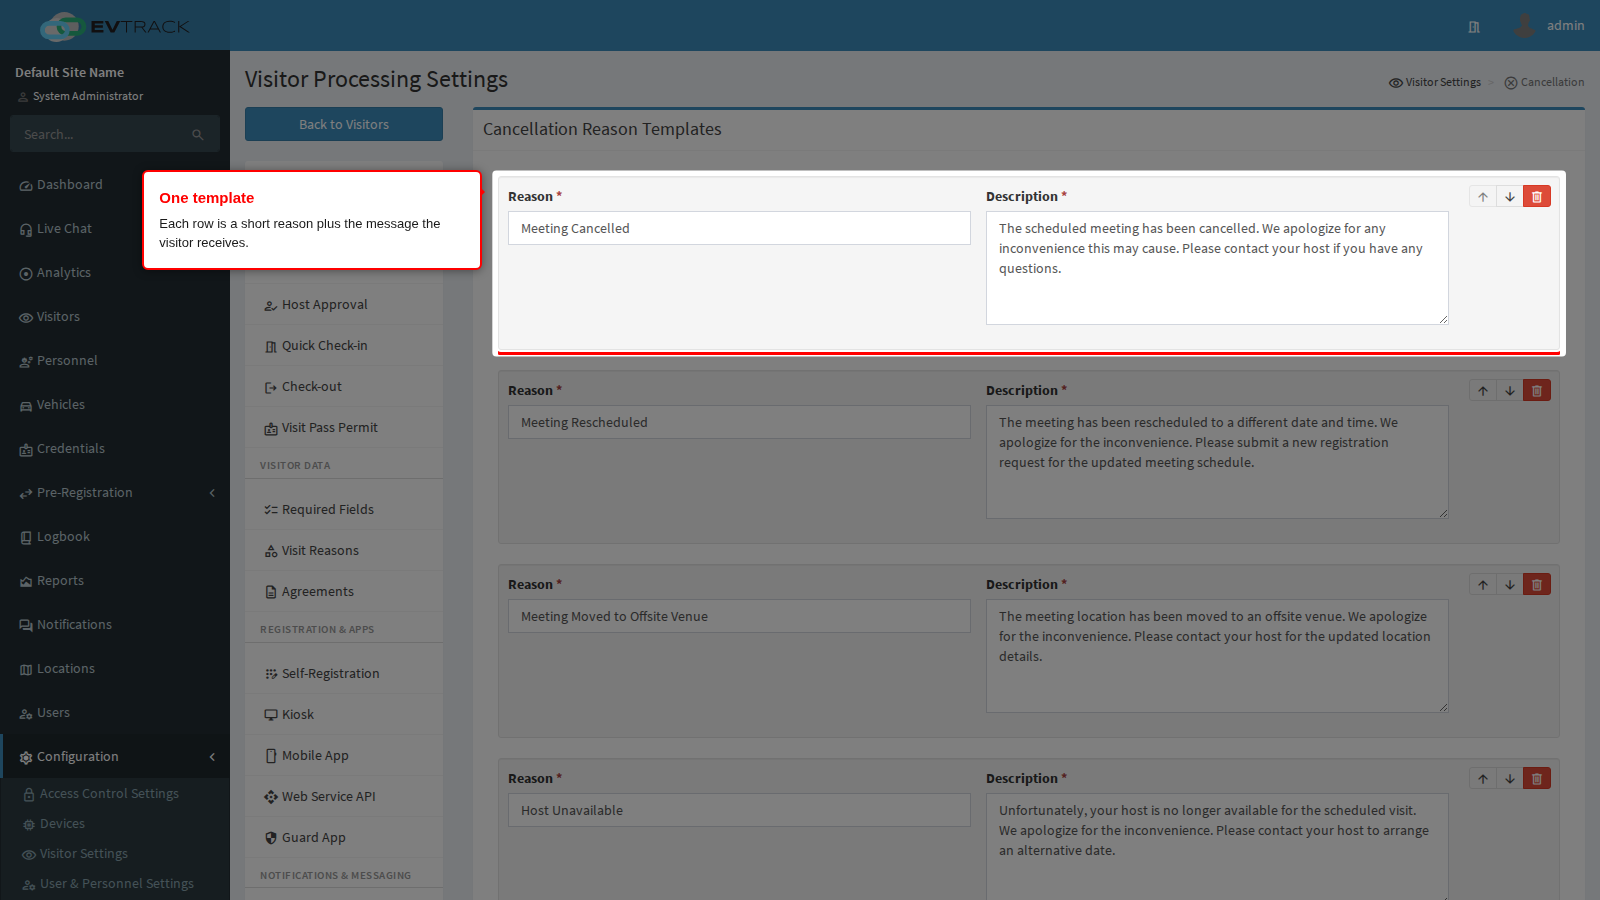
Step 3: Write a template
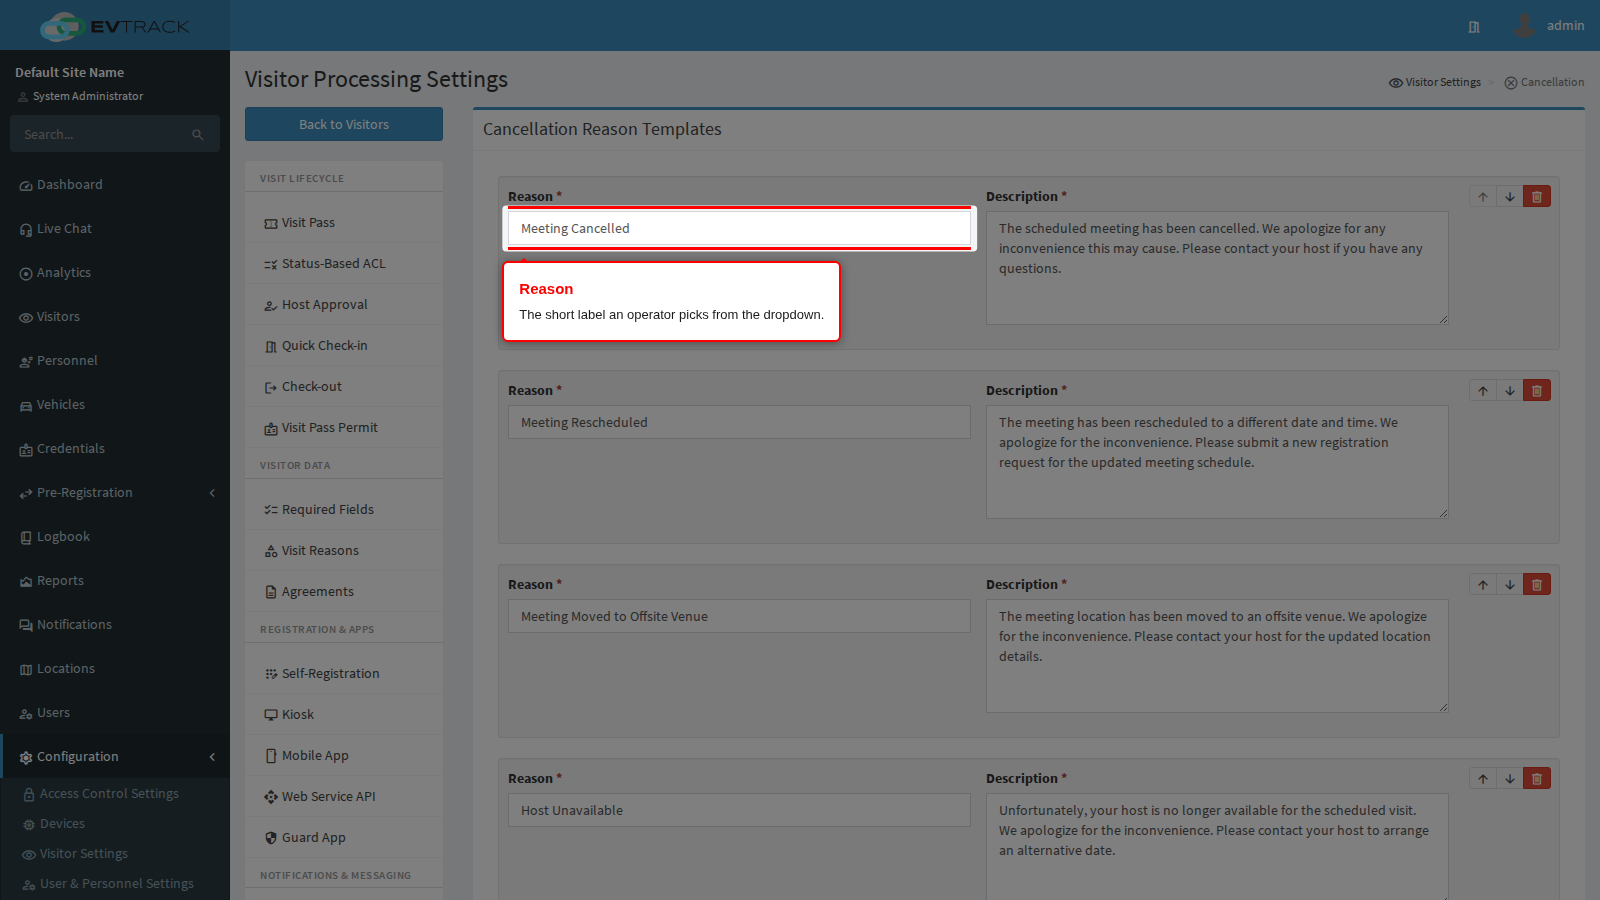
Reason is the short label. It is what appears in the operator’s dropdown and it is stored against the cancelled visit as the recorded reason, so it also becomes the phrase that turns up in reports. Keep it to a few words, keep it unambiguous, and avoid two reasons that read almost the same, because an operator scanning a dropdown will pick whichever is first. Up to 500 characters are accepted, but anything longer than a short phrase is unusable in a dropdown.
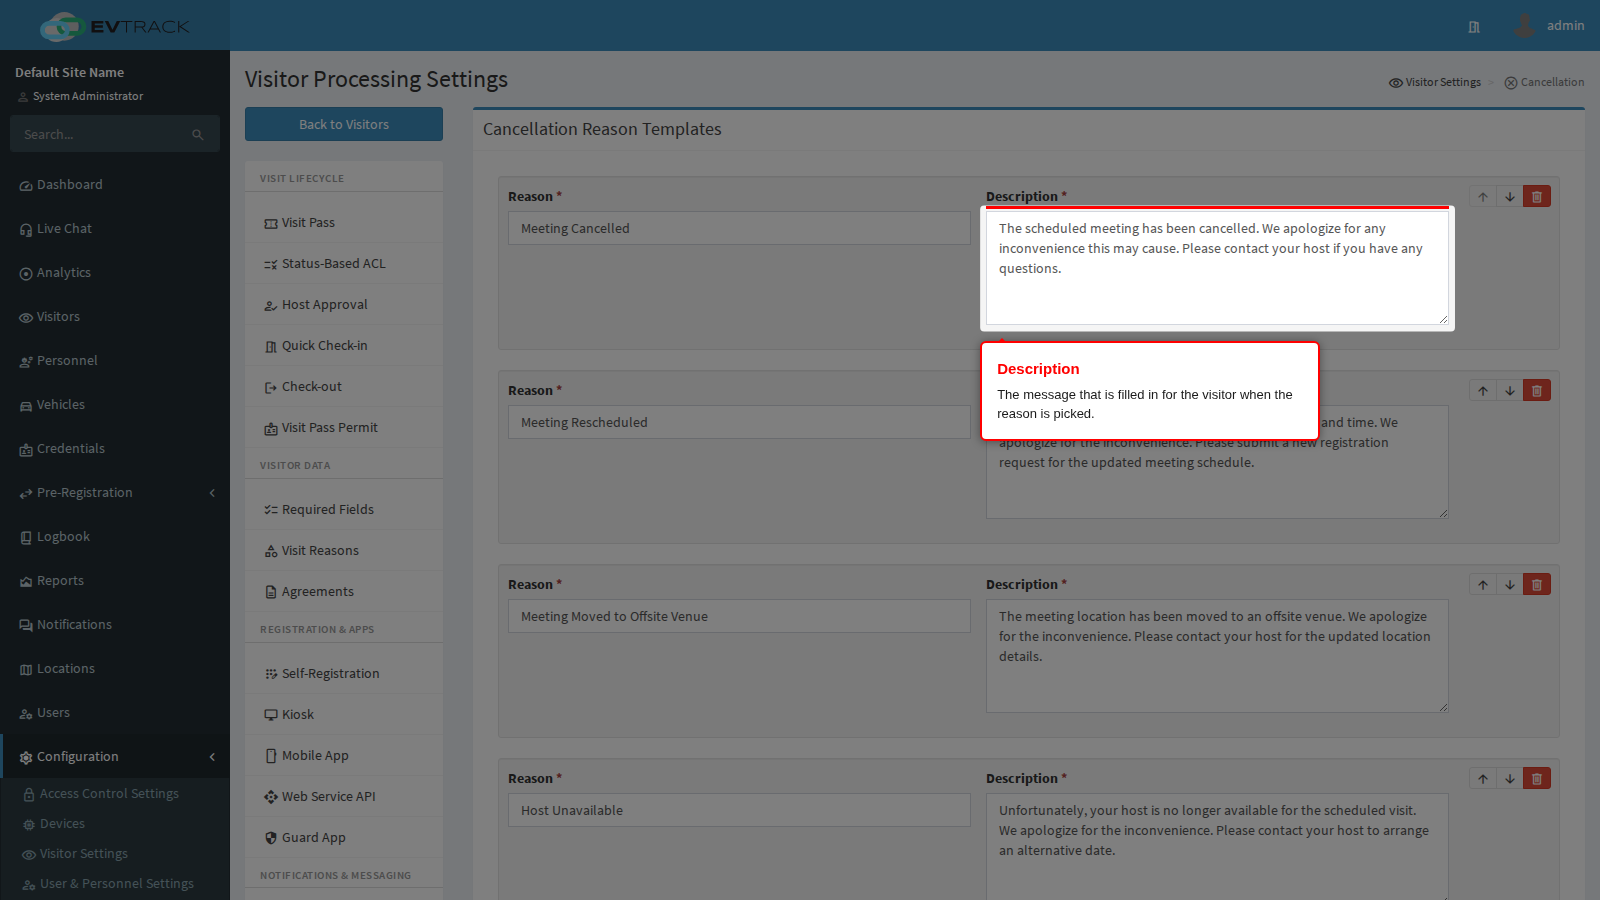
Description is the message the visitor receives. Selecting the reason on the cancel screen fills this text into the message box automatically. Write it in plain, visitor-facing language: apologise, say what happened at a level the visitor is entitled to know, and say what they should do next, such as contacting their host to rebook. Up to 2000 characters are accepted, which is far more than any visitor will read; a short paragraph is right.
Both fields are required. A row with either one blank stops the whole list from being saved.
Step 4: Add and remove templates
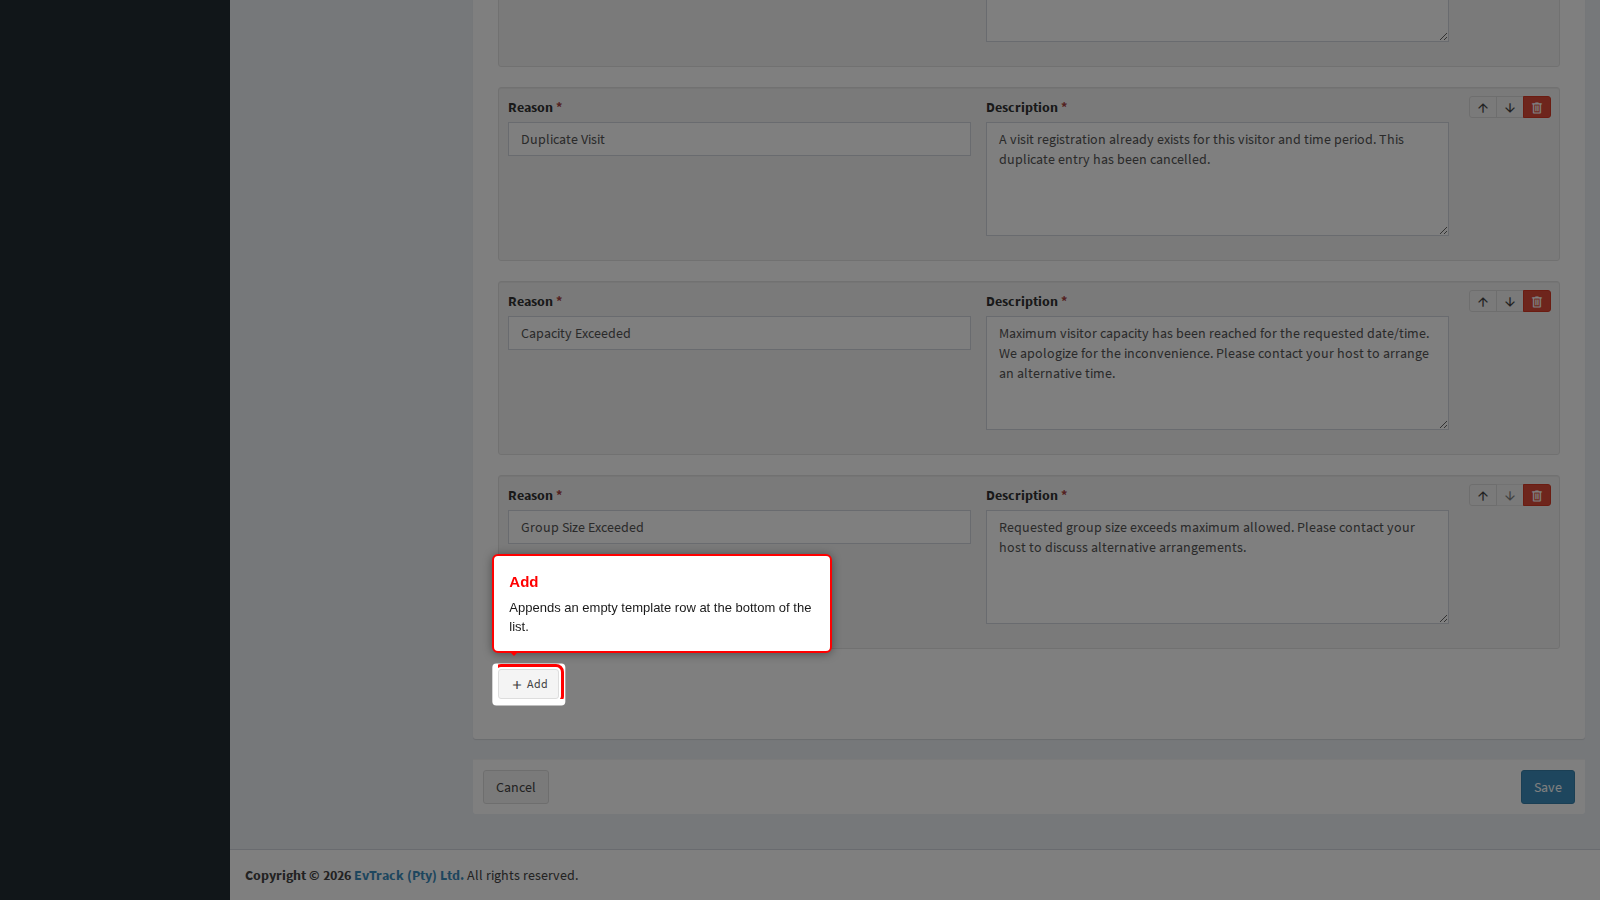
Add appends an empty row at the bottom of the list. Fill in both fields before you save.
The delete control on a row removes that template. Removing a template does not change any visit that was already cancelled with it: the reason and the message were copied onto the visit at the time, so history remains intact.
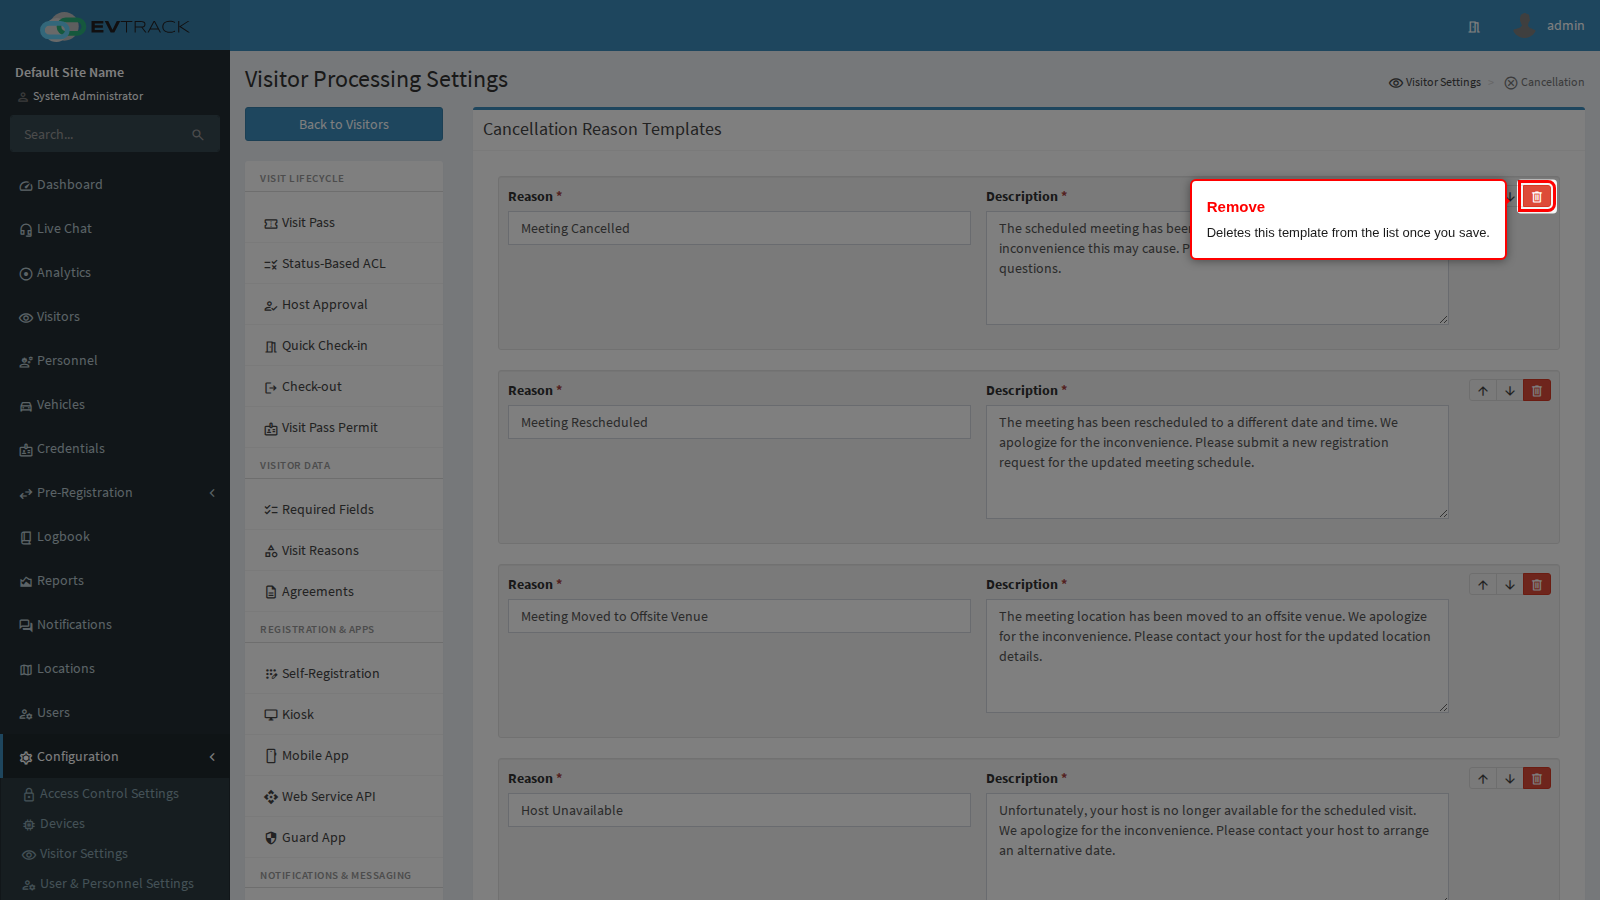
Up to 50 templates are stored. That is a ceiling, not a target: a list of fifty is a list nobody reads.
Step 5: Save
Click Save to store the whole list. Cancel discards your unsaved edits.
The list is saved as a unit, so a single incomplete row blocks the save of every other change on the page. If nothing happens when you click Save, look for a row with an empty Reason or Description.
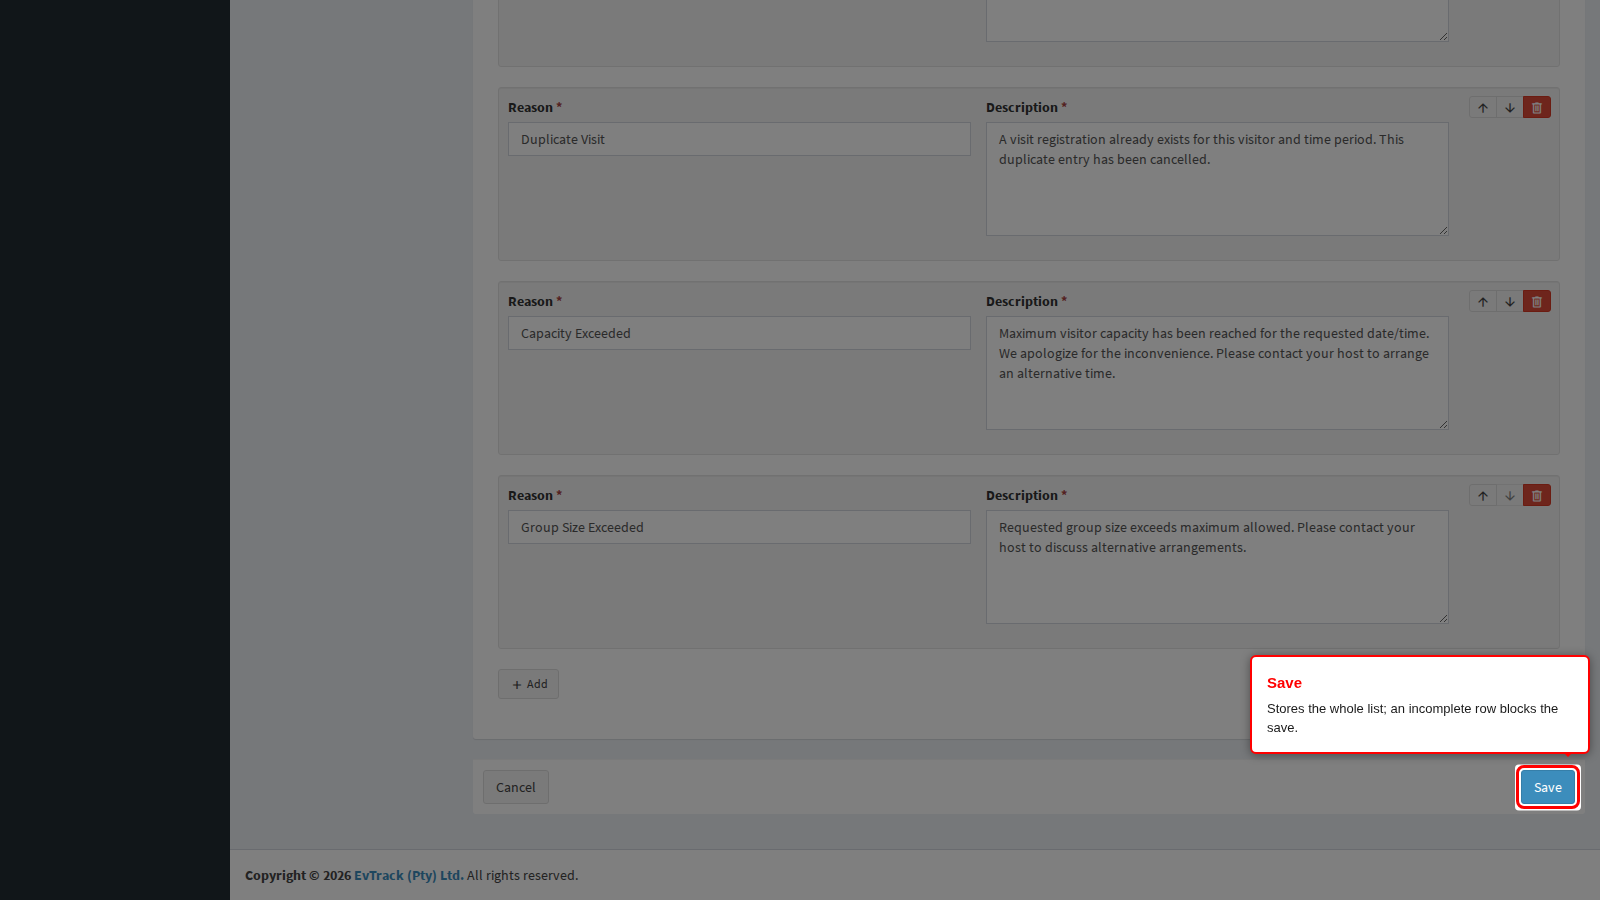
End state: a green confirmation appears at the top of the panel and the next operator to open a cancel screen sees the new list.
What an operator sees
On the cancel screen for a visit, the operator picks a Cancellation Reason from a dropdown built from this list. Choosing one fills the Message to Visitor box with that template’s description, which they can then edit. Both a reason and a message are required before the cancellation is accepted, so an operator can never cancel a visit silently.
When the cancellation is confirmed, the visit moves to Cancelled and the message goes to the visitor on the channels configured under Emails and Instant Messaging. The reason and the message are both stored on the visit record for audit.
Troubleshooting
- Save appears to do nothing. A row has an empty Reason or Description. Every row must be complete before the list can be stored.
- The dropdown on the cancel screen is empty. The saved list is empty. Add at least one template, or remove the stored list to fall back to the shipped defaults.
- The visitor received nothing. The templates only supply the wording. Whether a cancellation message is delivered, and on which channel, is configured under Emails and Instant Messaging, and the visitor must have a usable address or number on file.
- Two operators cancel with different wording for the same situation. Trim the list down to the reasons that genuinely differ, so there is one obvious choice per situation.
Related chapters
- Emails - the cancellation email itself and who receives it.
- Instant Messaging - sending the cancellation over SMS or WhatsApp.
- Compliance - the separate rejection message templates used when a pre-registration is declined before it ever becomes a visit.
- Check-out - what happens to a visitor pass when a visit is ended, including a cancelled one.
- Daily Operations - cancelling a visit from the dashboard.