Elevator control extends access control to floors: which floors a credential may select in the lift.
Before you start: you need an administrator account with access control administration rights, and the relay wiring plan of your elevator controller (which output drives which floor button).
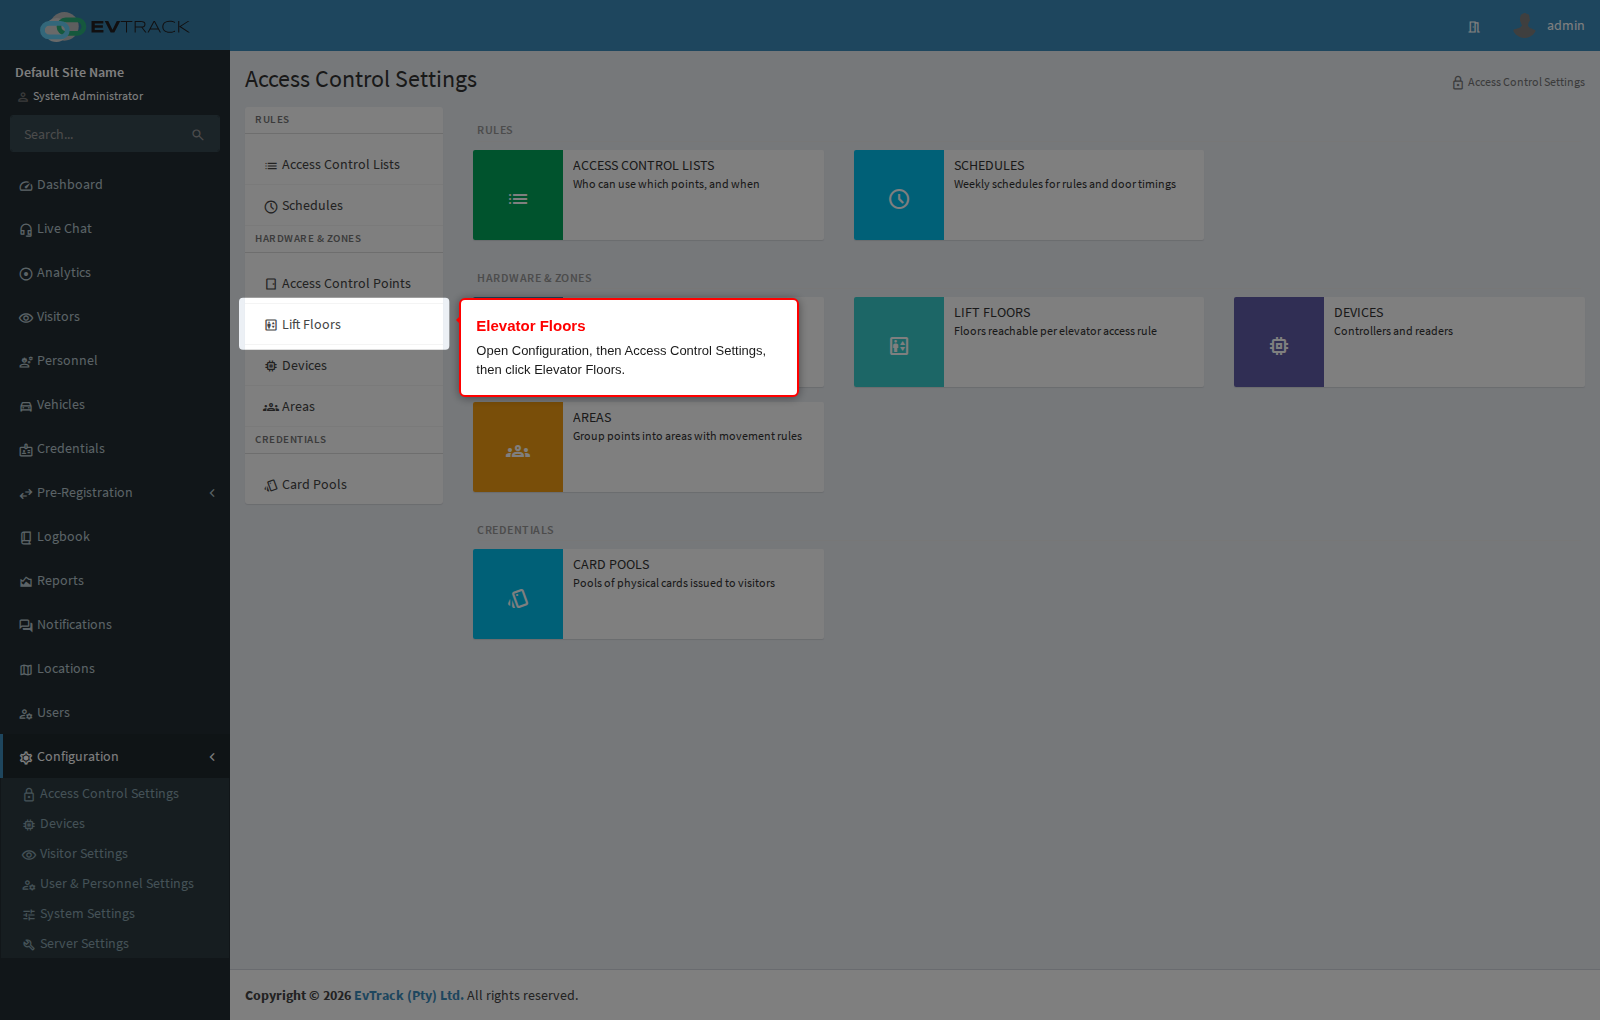
Step 1: Open Elevator Floors
In the left sidebar open Configuration, click Access Control Settings, then click Elevator Floors in the section menu. The floor list opens.
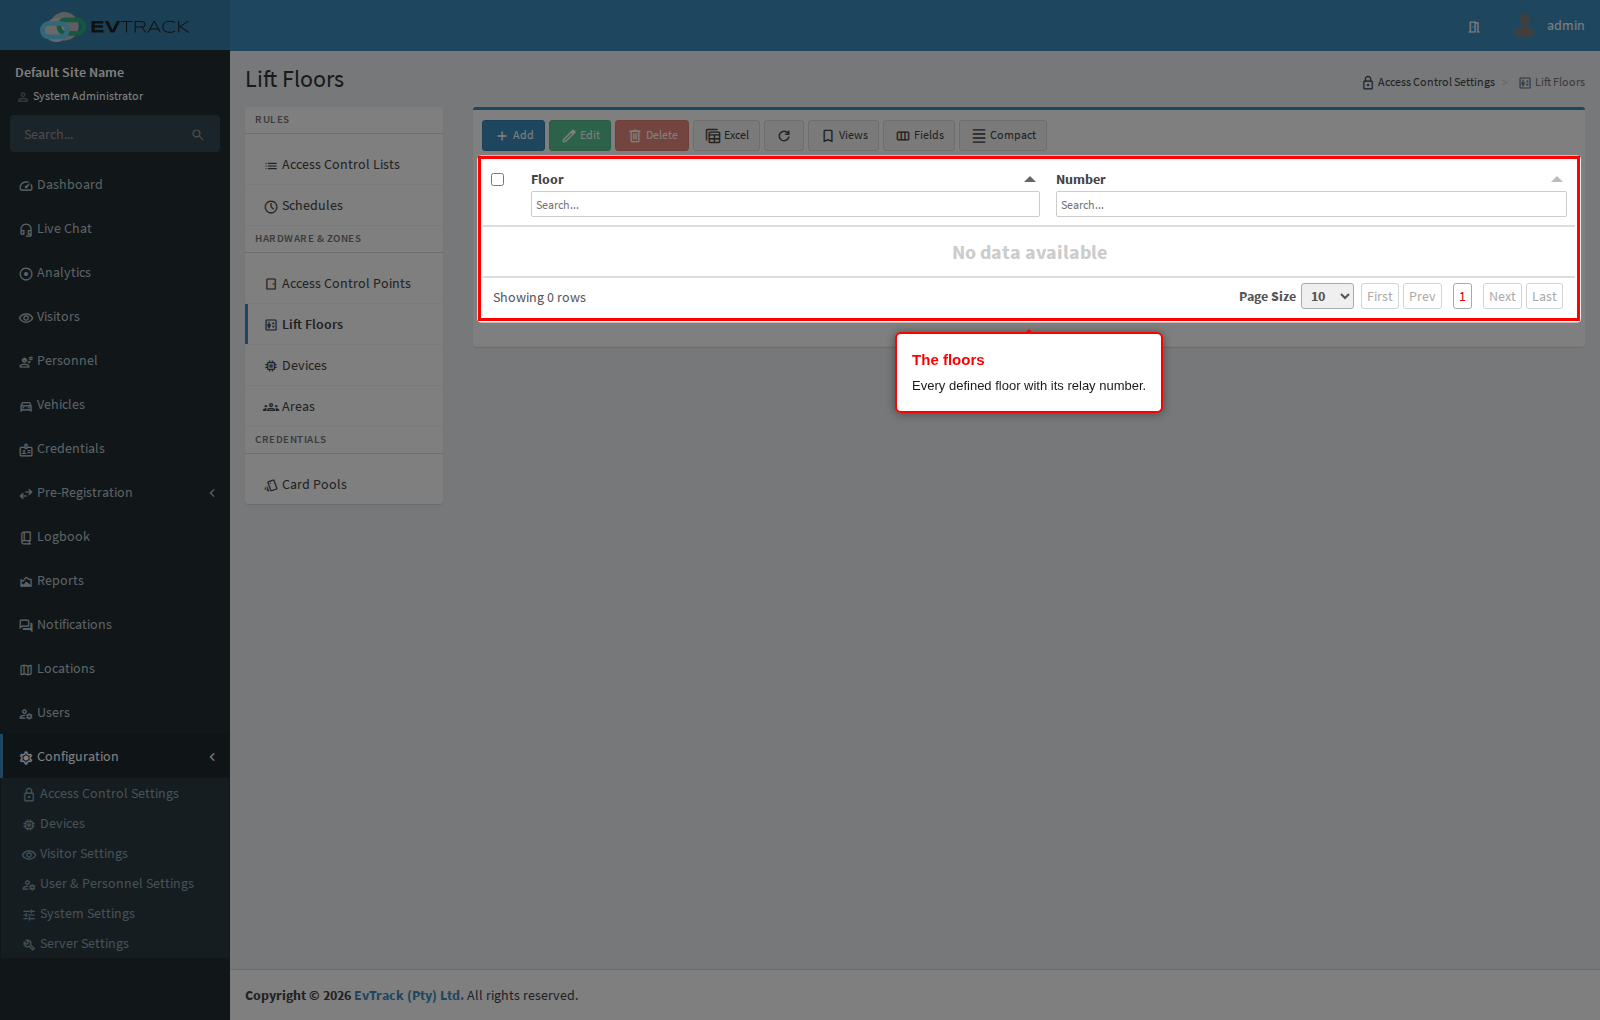
Step 2: Review the floors
The table lists every defined floor with its relay number on the elevator controller.
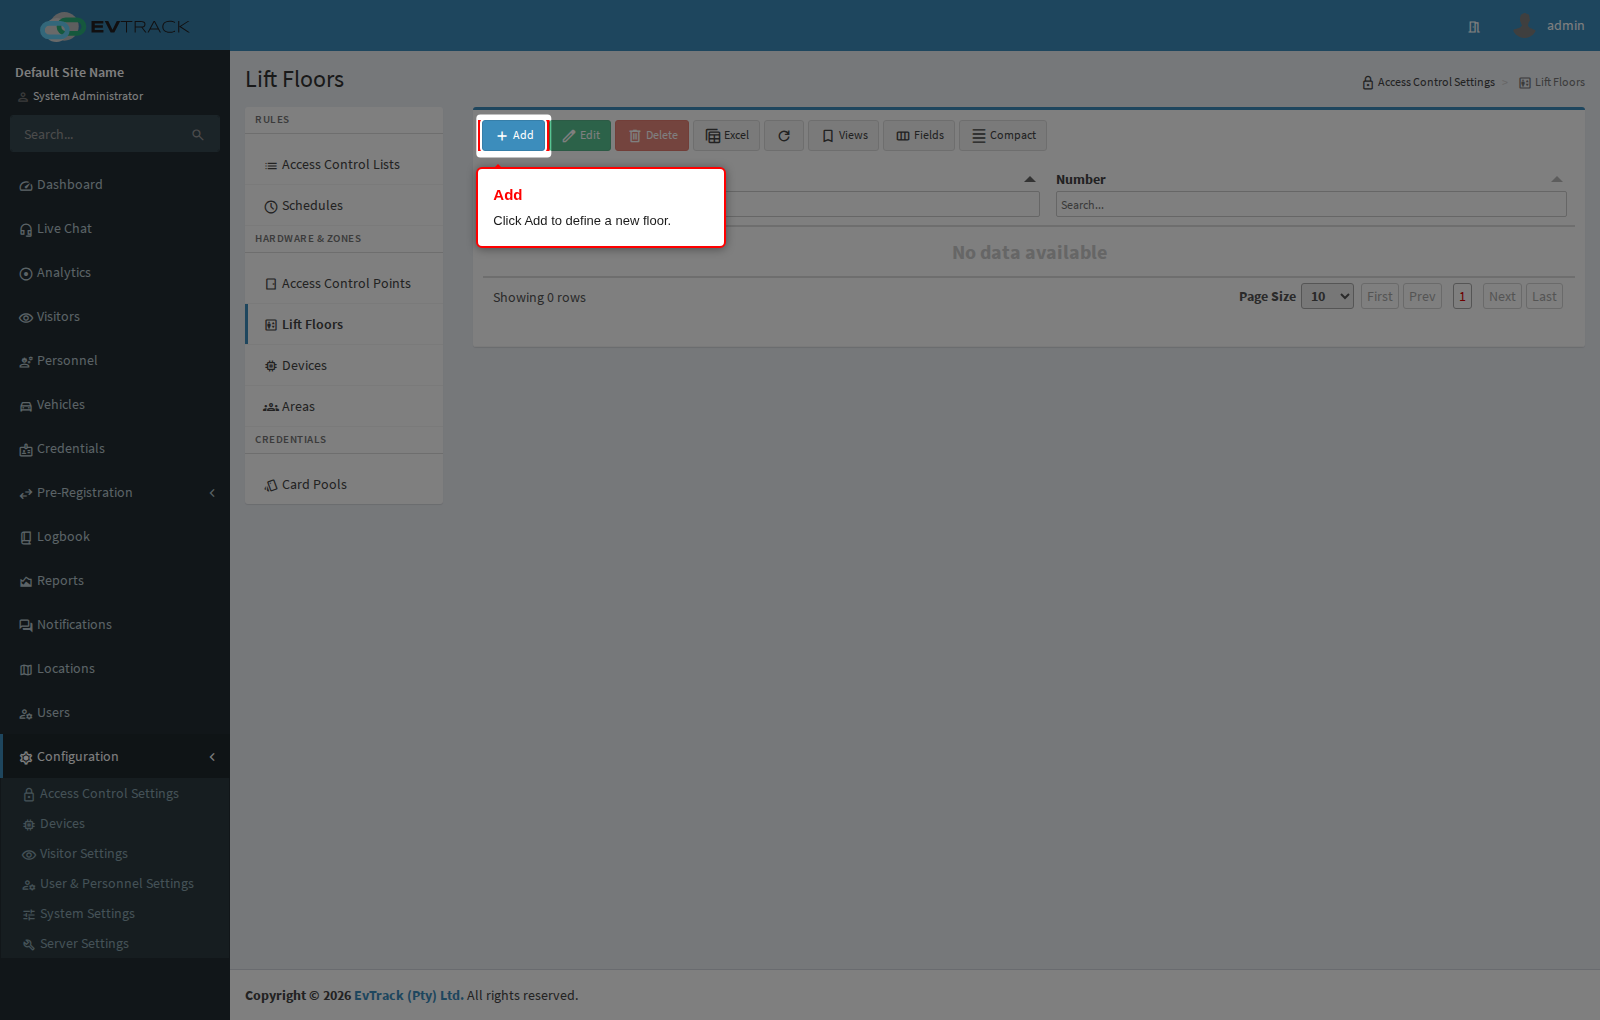
Step 3: Click Add
Click the Add button above the table. The new floor form opens.
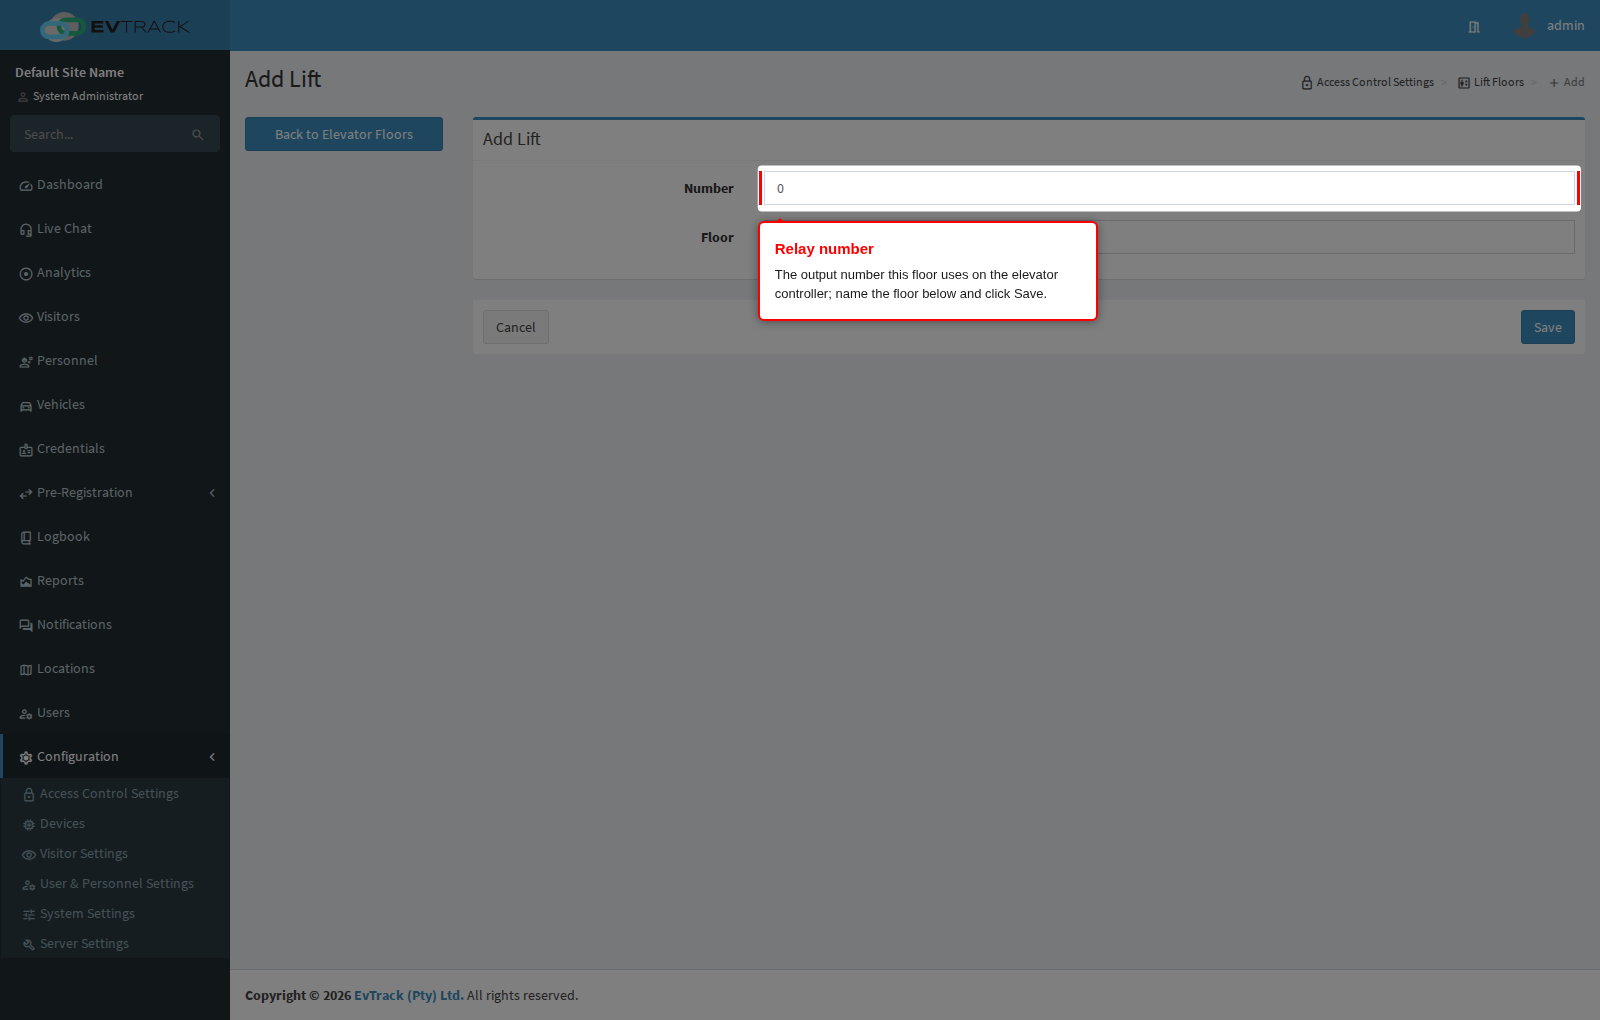
Step 4: Define the floor and save
Enter the Elevator Number (the relay output this floor uses on the controller) and the Elevator Floor name (for example “Ground Floor”), then click Save.
Both values must be unique: no two floors may share a name, and no two floors may share a relay number. If either is already taken you are returned to the list with a red message saying the floor already exists.
Step 5: Confirm the result
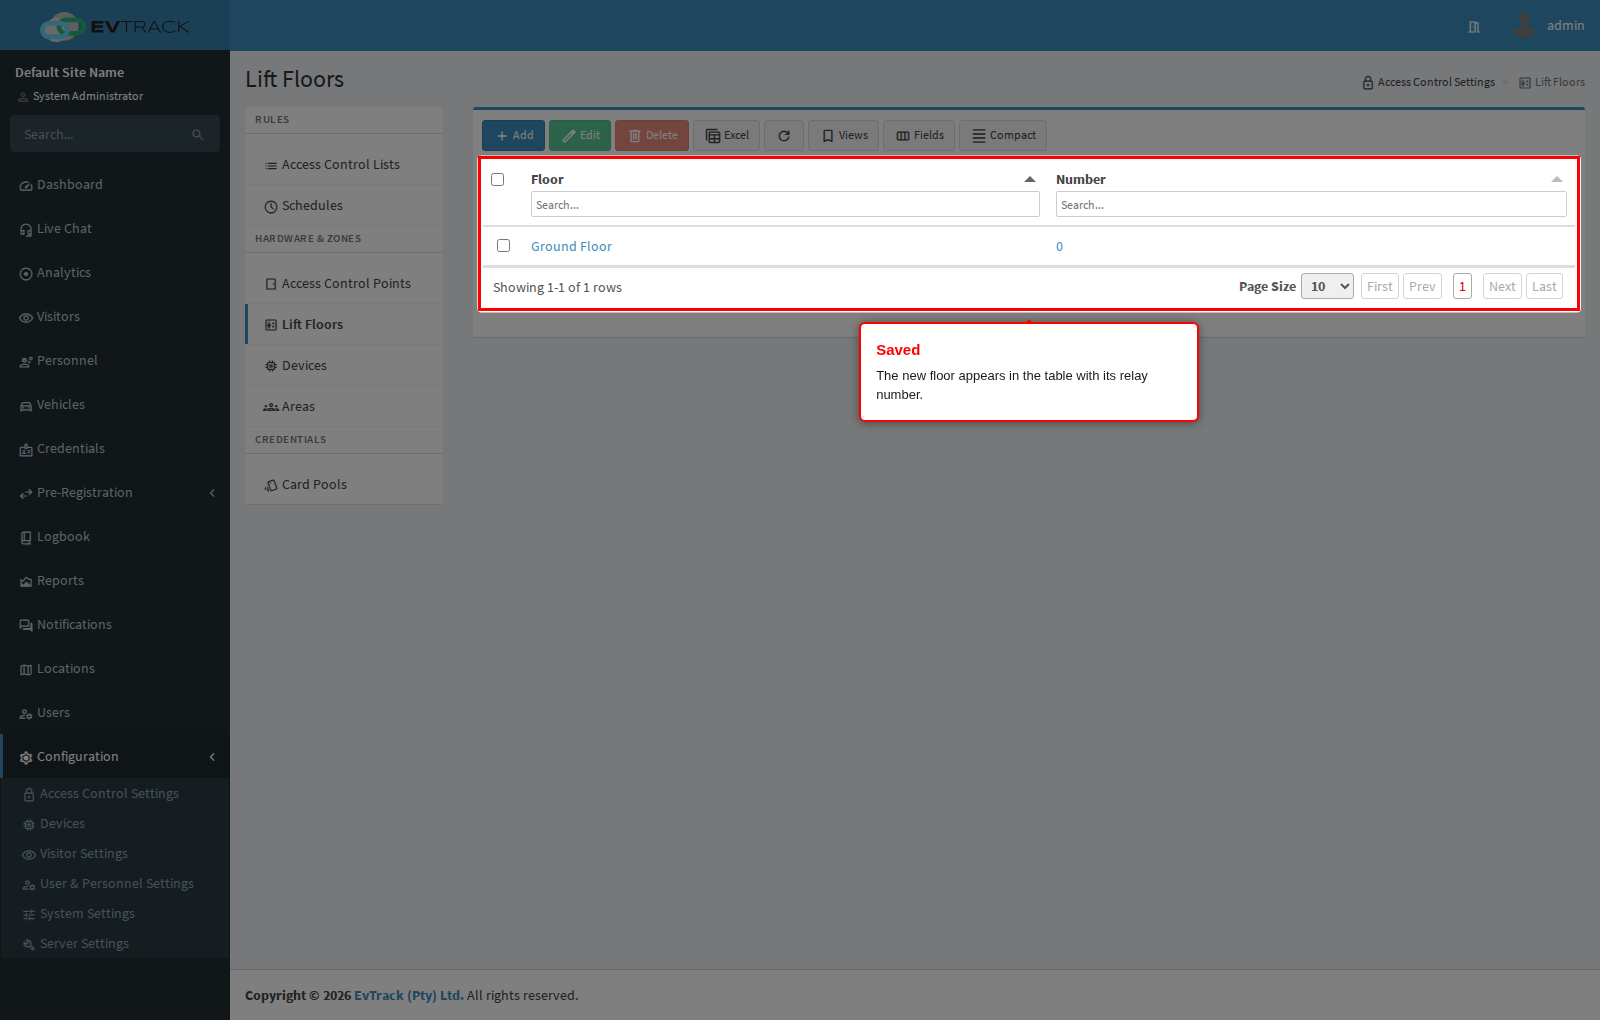
Back on Elevator Floors, the new floor appears in the table with its relay number.
Step 6: Open an existing floor to edit it
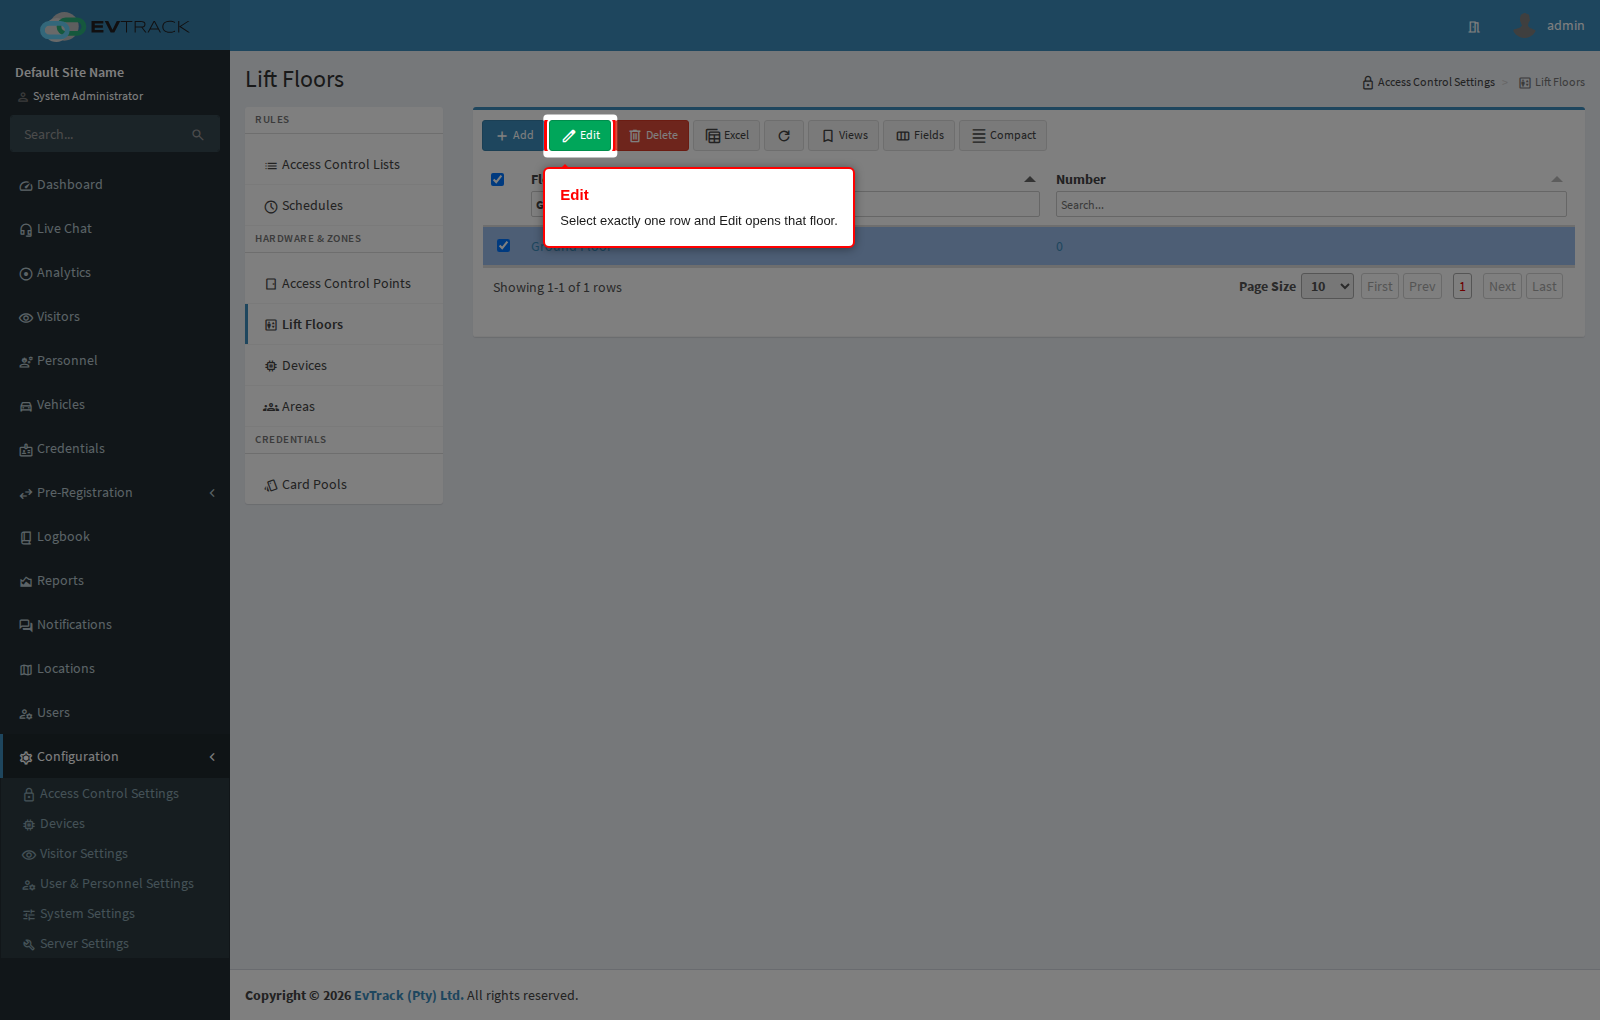
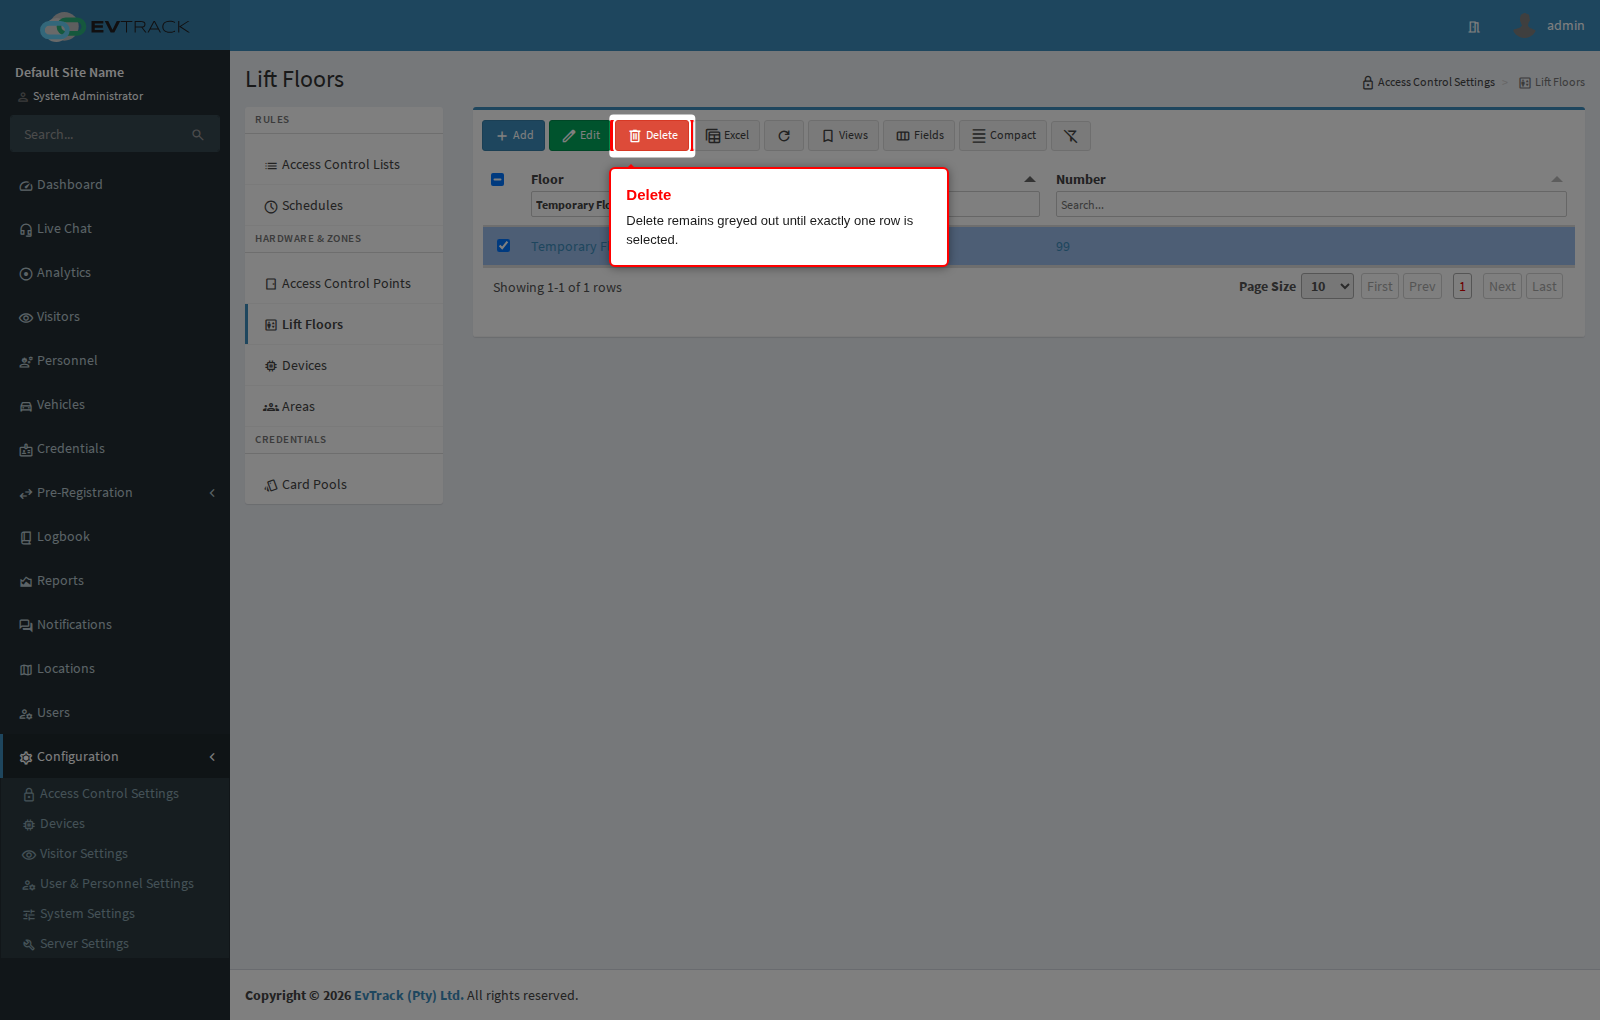
Click the row of the floor you want to change. The toolbar Edit and Delete buttons remain greyed out until exactly one row is selected. Click Edit (clicking the floor name or its number in the table does the same thing).
Step 7: Change the floor
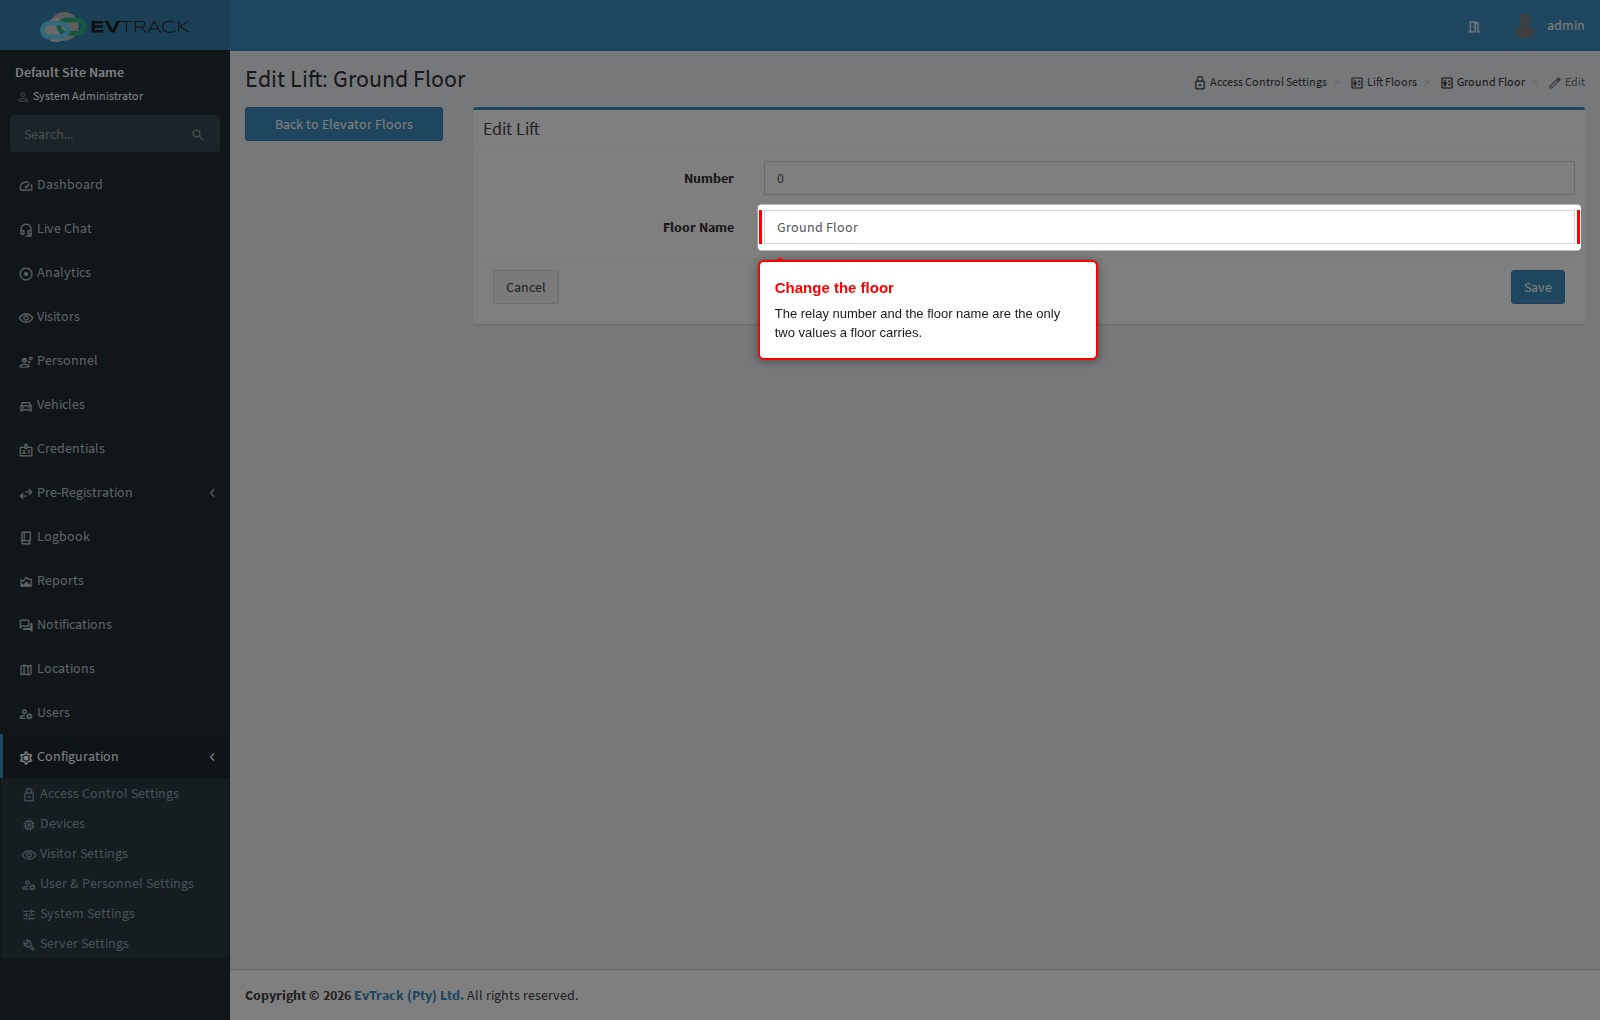
The edit form holds the same two values as the add form and nothing else: the Elevator Number and the Elevator Floor name. Correct a mis-wired relay here after a controller is re-cabled, or rename a floor to match the building’s signage.
Change what you need and click Save. The uniqueness rule from step 4 applies here too.
Step 8: Confirm the change
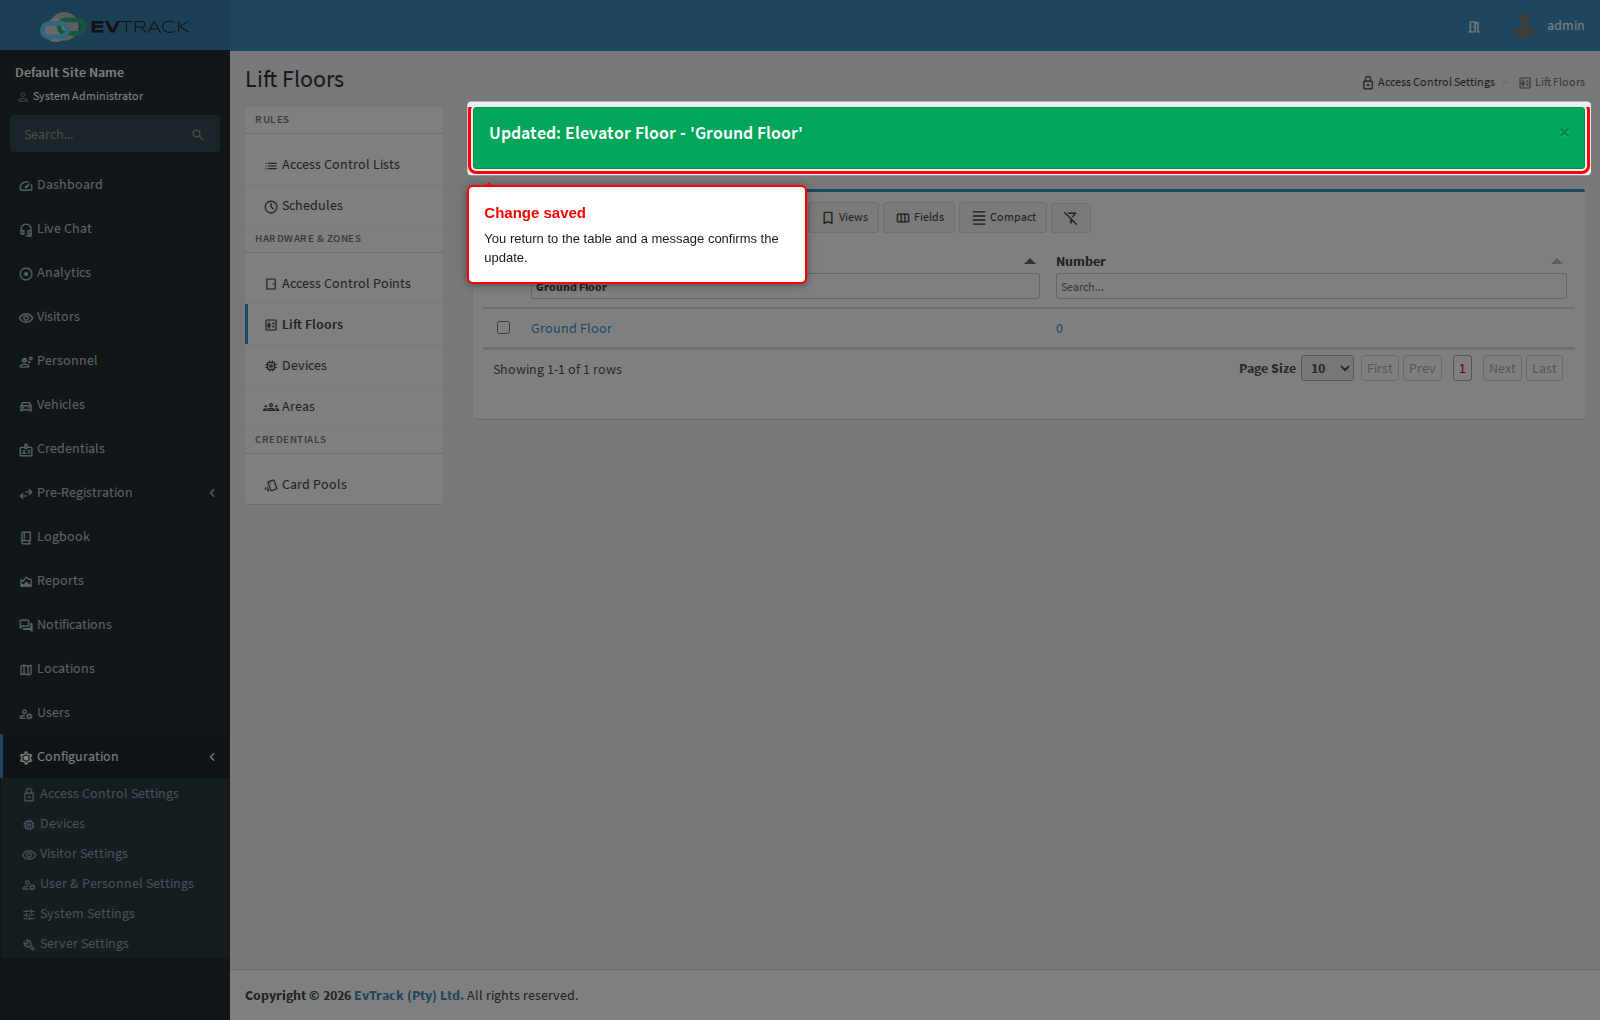
You return to the table with a success message and the row shows the updated values. Access control lists that grant this floor keep granting it - they reference the floor, not its number, so a corrected relay number takes effect everywhere at once.
Step 9: Select a floor to delete it
To remove a floor, select its row and click Delete. Like Edit, the button only becomes active with exactly one row selected. In the example below a disposable floor, “Temporary Floor for deletion”, is being removed.
Step 10: Confirm the deletion
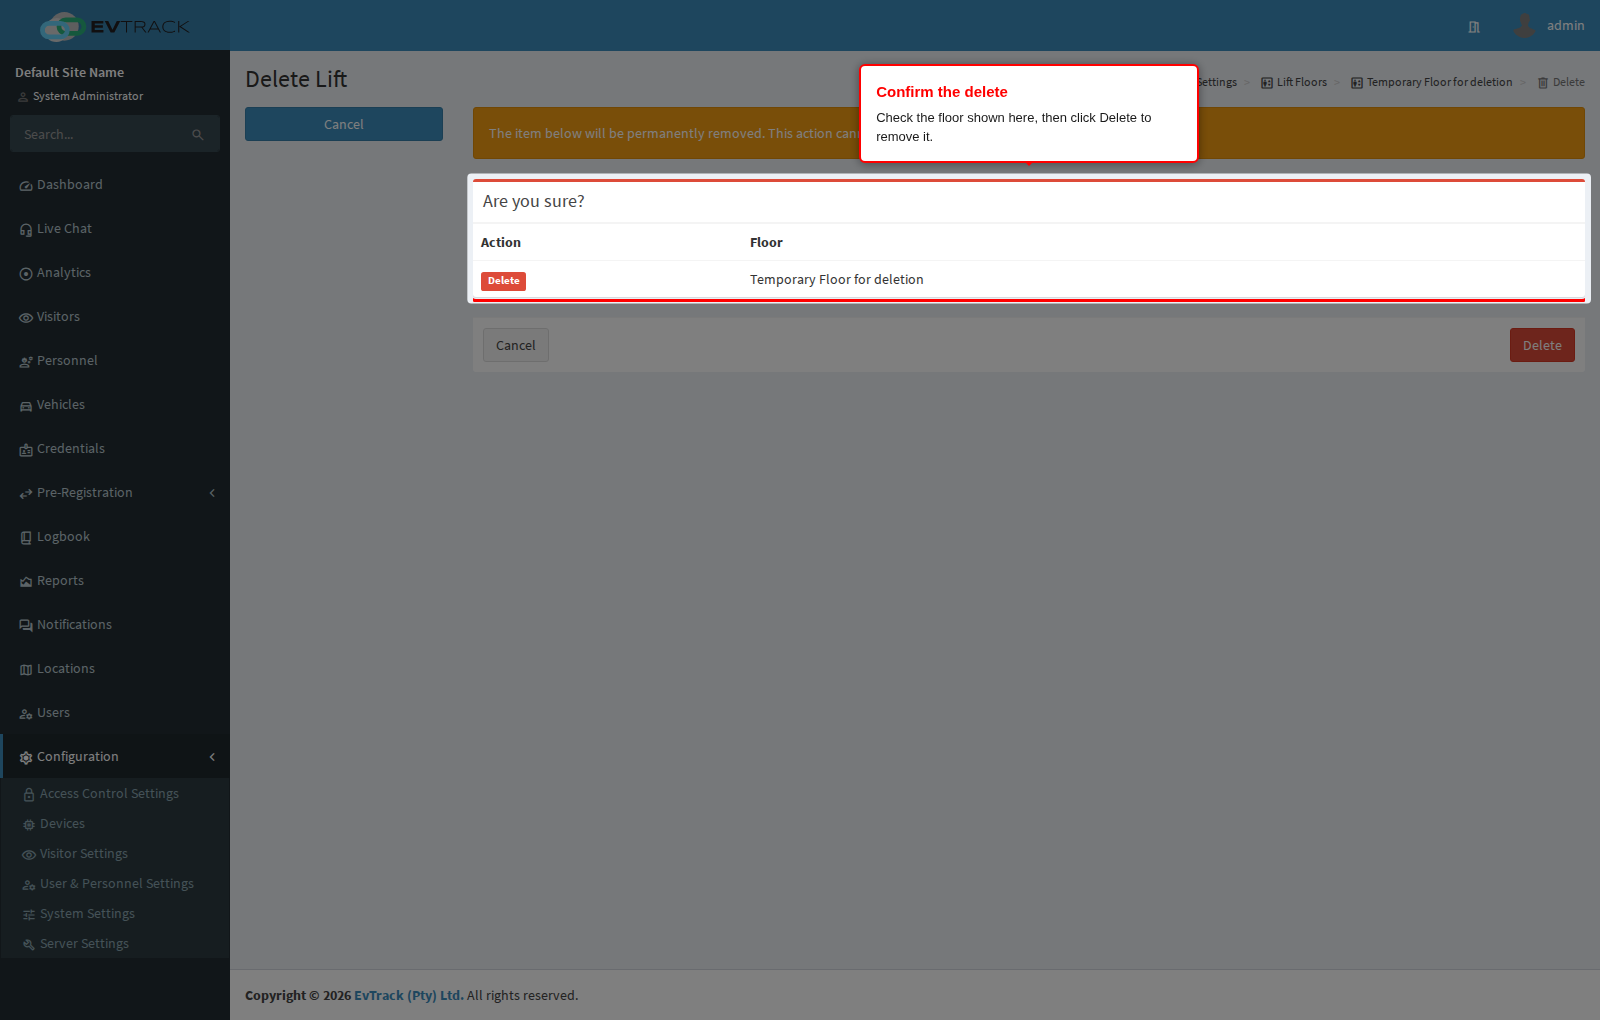
A confirmation page opens showing the floor’s reference and name so you can check you picked the right one. Click Delete to remove it, or Cancel (or Back to Elevator Floors) to leave it alone. Deletion is permanent - there is no undo.
Delete only a floor that is no longer granted anywhere. Open every Access Control List that grants the floor and remove it from the Elevator Control panel first, then delete the floor. Removing a floor that is still granted leaves lists pointing at a floor that no longer exists.
Step 11: Confirm the result
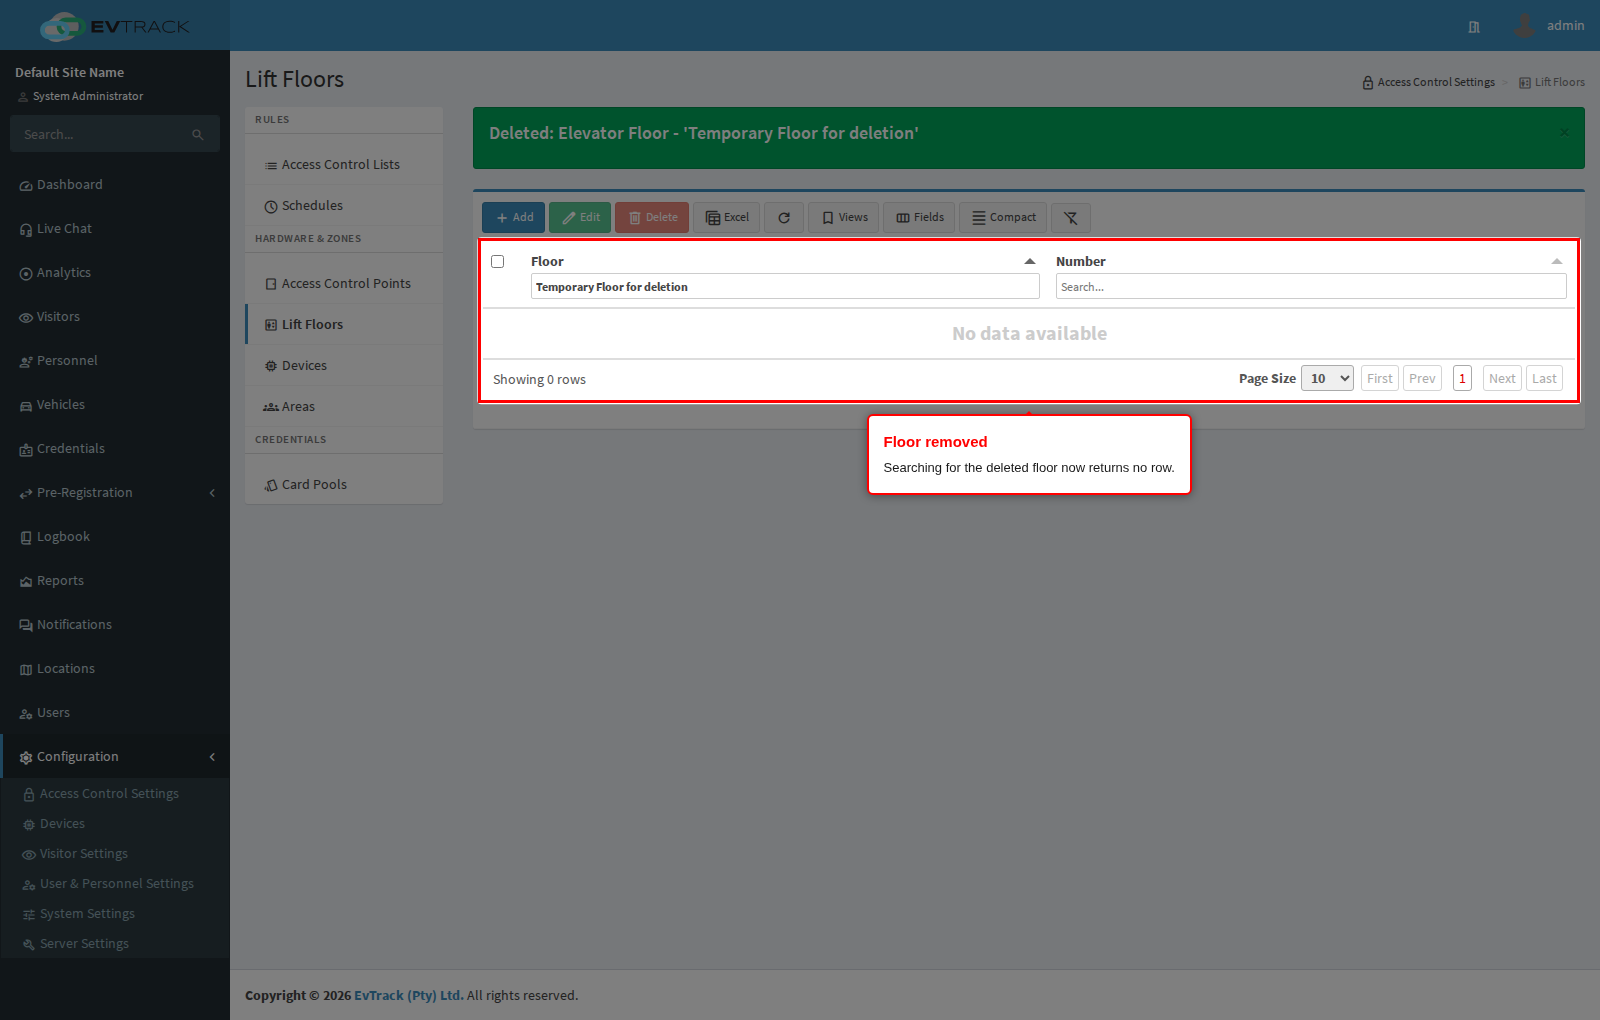
You return to the table with a success message and the floor is gone: search for its name and no row is found. Its relay number becomes available for a new floor.
Floors are granted through ACLs like doors: assign floor access on the Access Control List, and the elevator controller (for example an AXIS A9188 relay unit) enables only those floor buttons for the credential presented.