A cost center is the department or budget line a user or personnel record is attributed to, so access and registrations can be reported on and charged back. It is a simple named list: users and personnel each point at one.
Before you start: you need an administrator account with user and personnel settings rights, and the cost center names or codes your finance system uses.
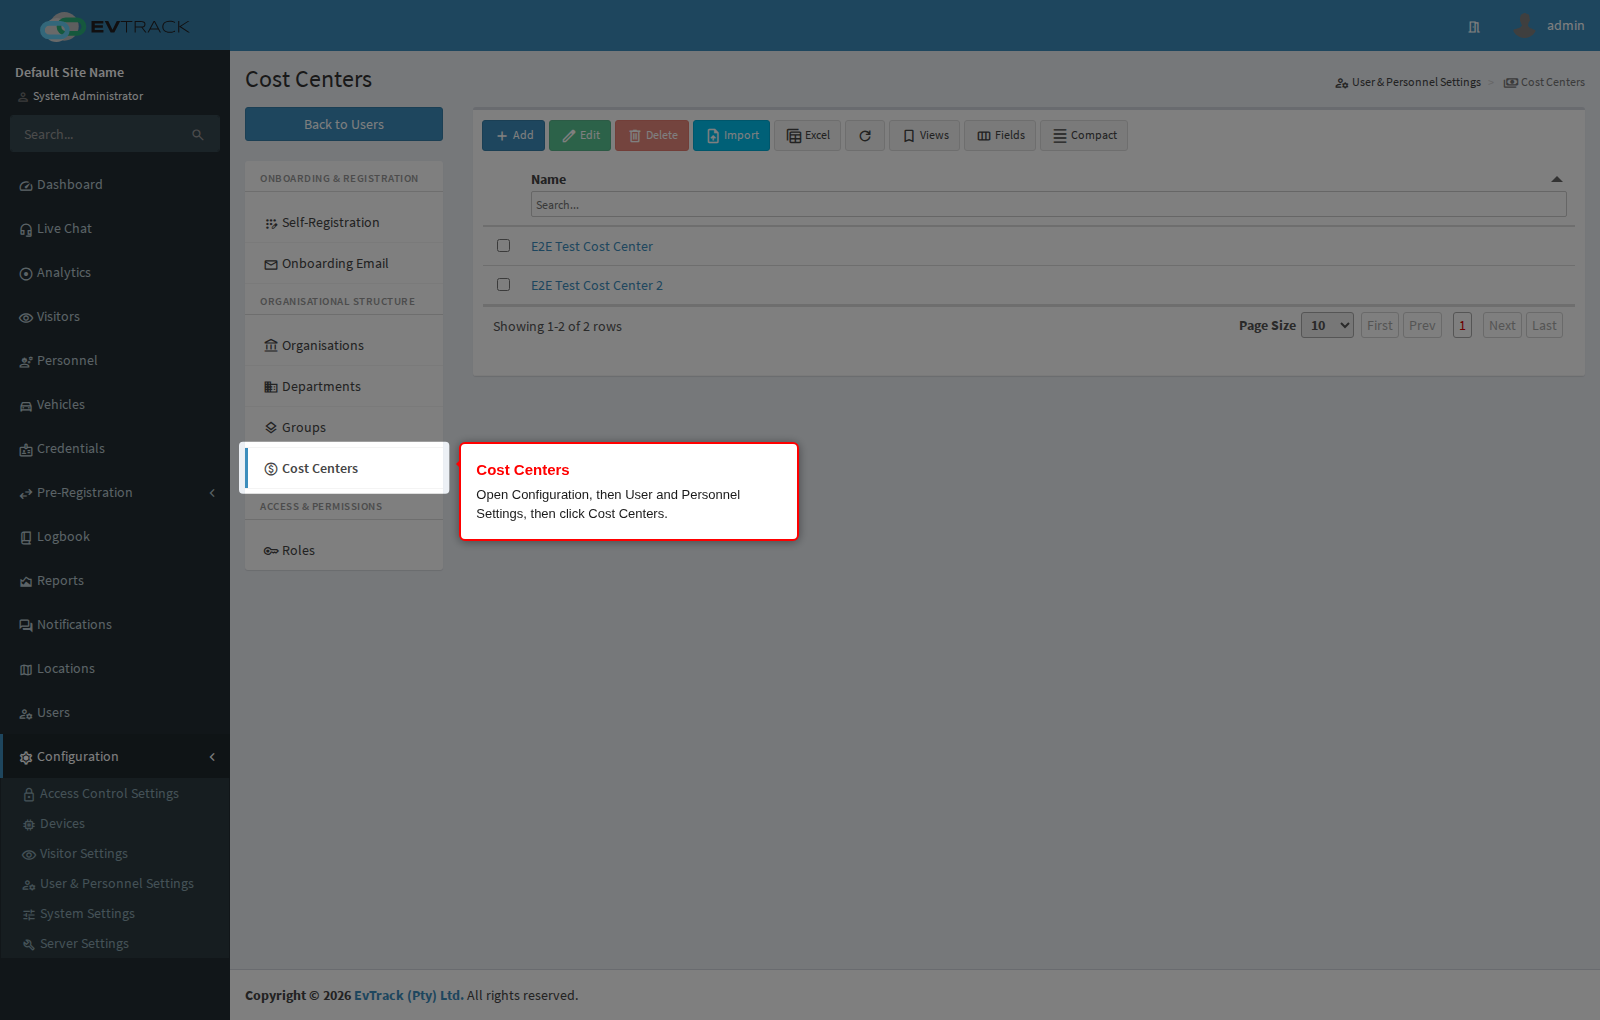
Step 1: Open Cost Centers
In the left sidebar open Configuration, click User & Personnel Settings, then click Cost Centers in the section menu. The Cost Centers page opens.
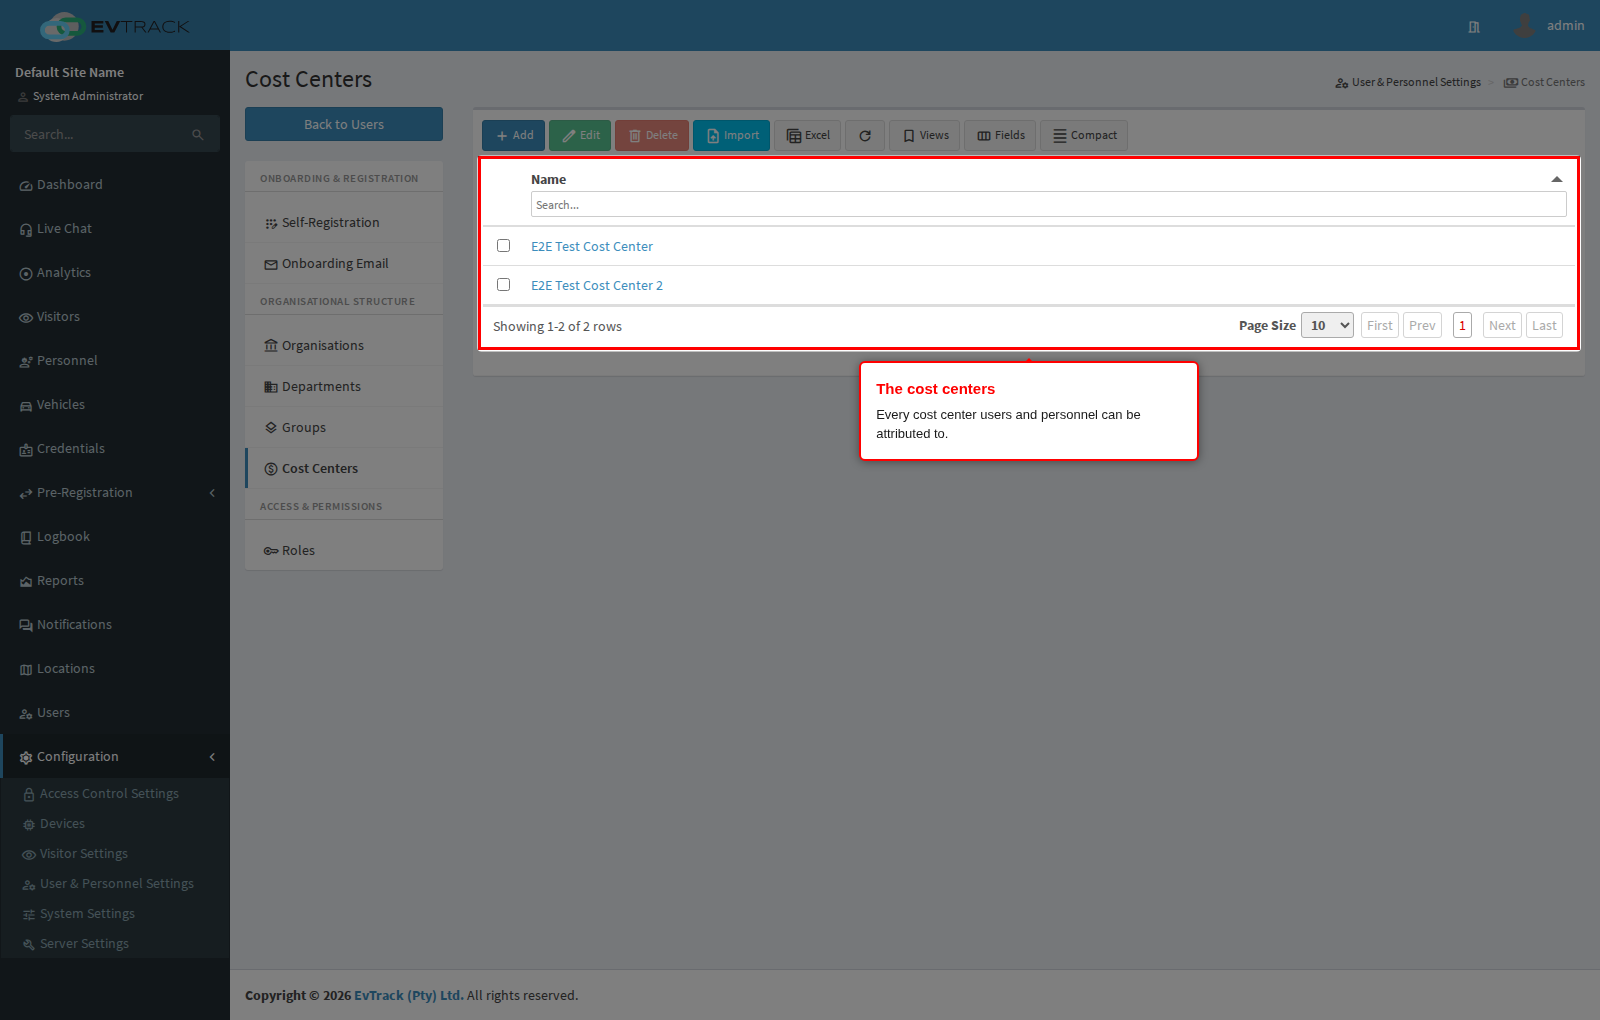
Step 2: Review the cost centers
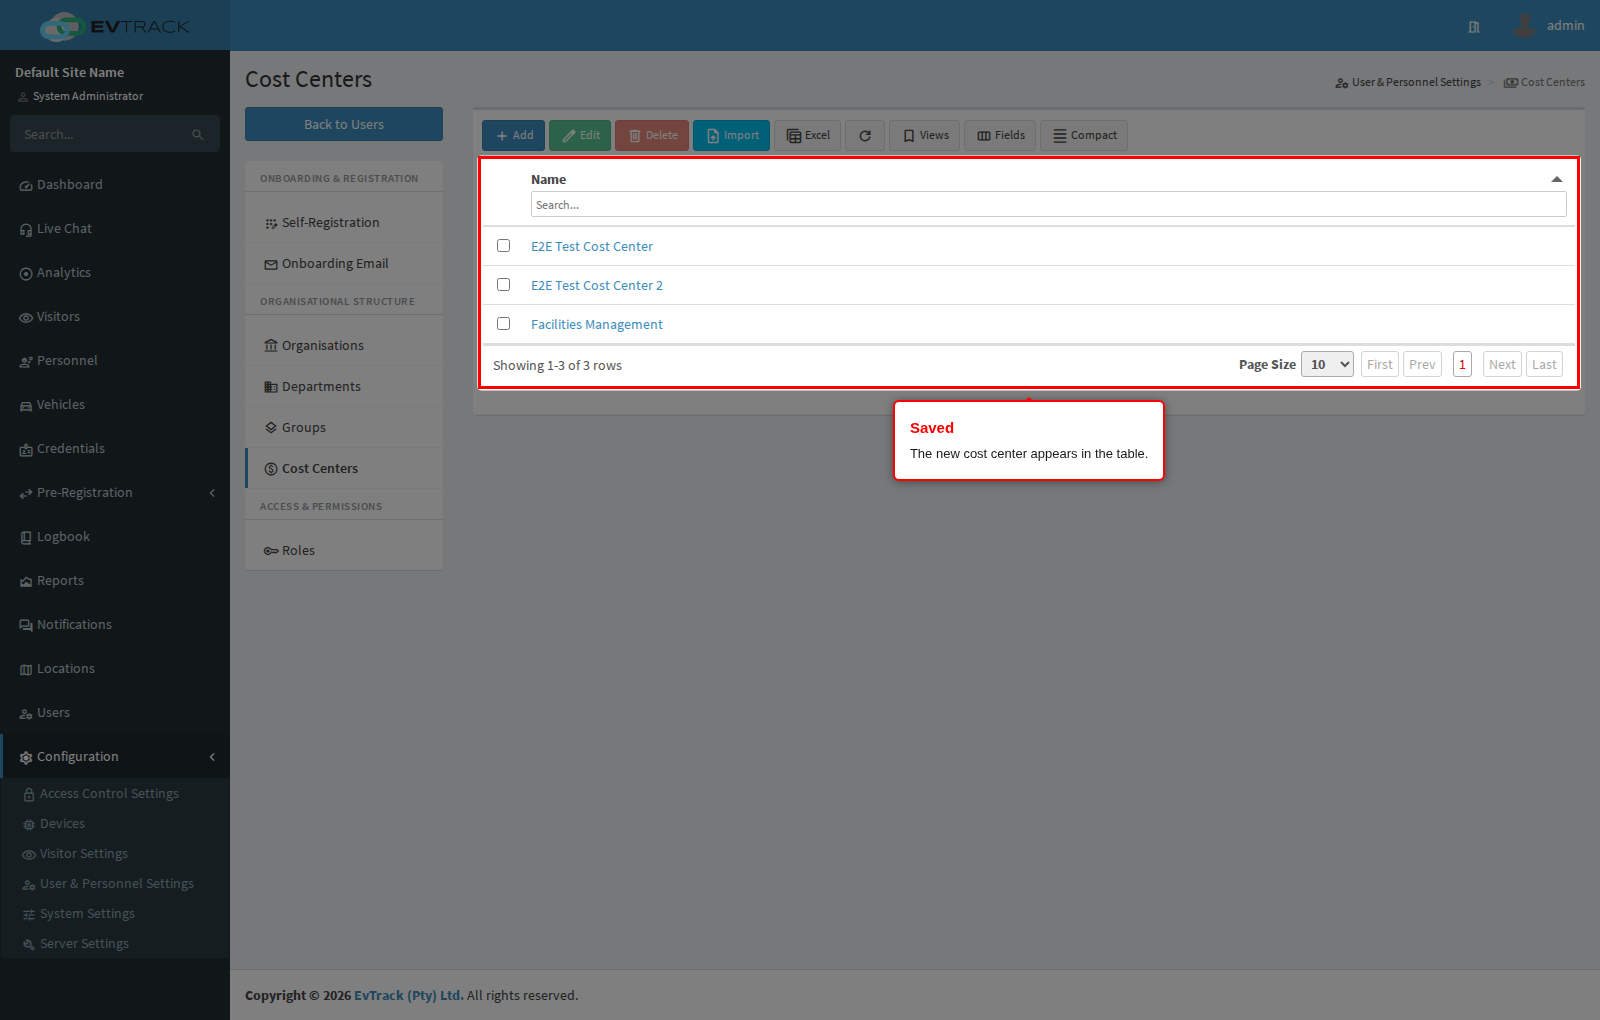
The table lists every cost center by Name, sorted alphabetically, with a search box in the column header. Click a name to open it. The list is paginated at 10 rows and the page-size selector offers 10, 25, 50 or 100.
A selection column on the left picks a row, and the toolbar above the table offers Add, Edit, Delete, an Excel export of the list and Refresh.
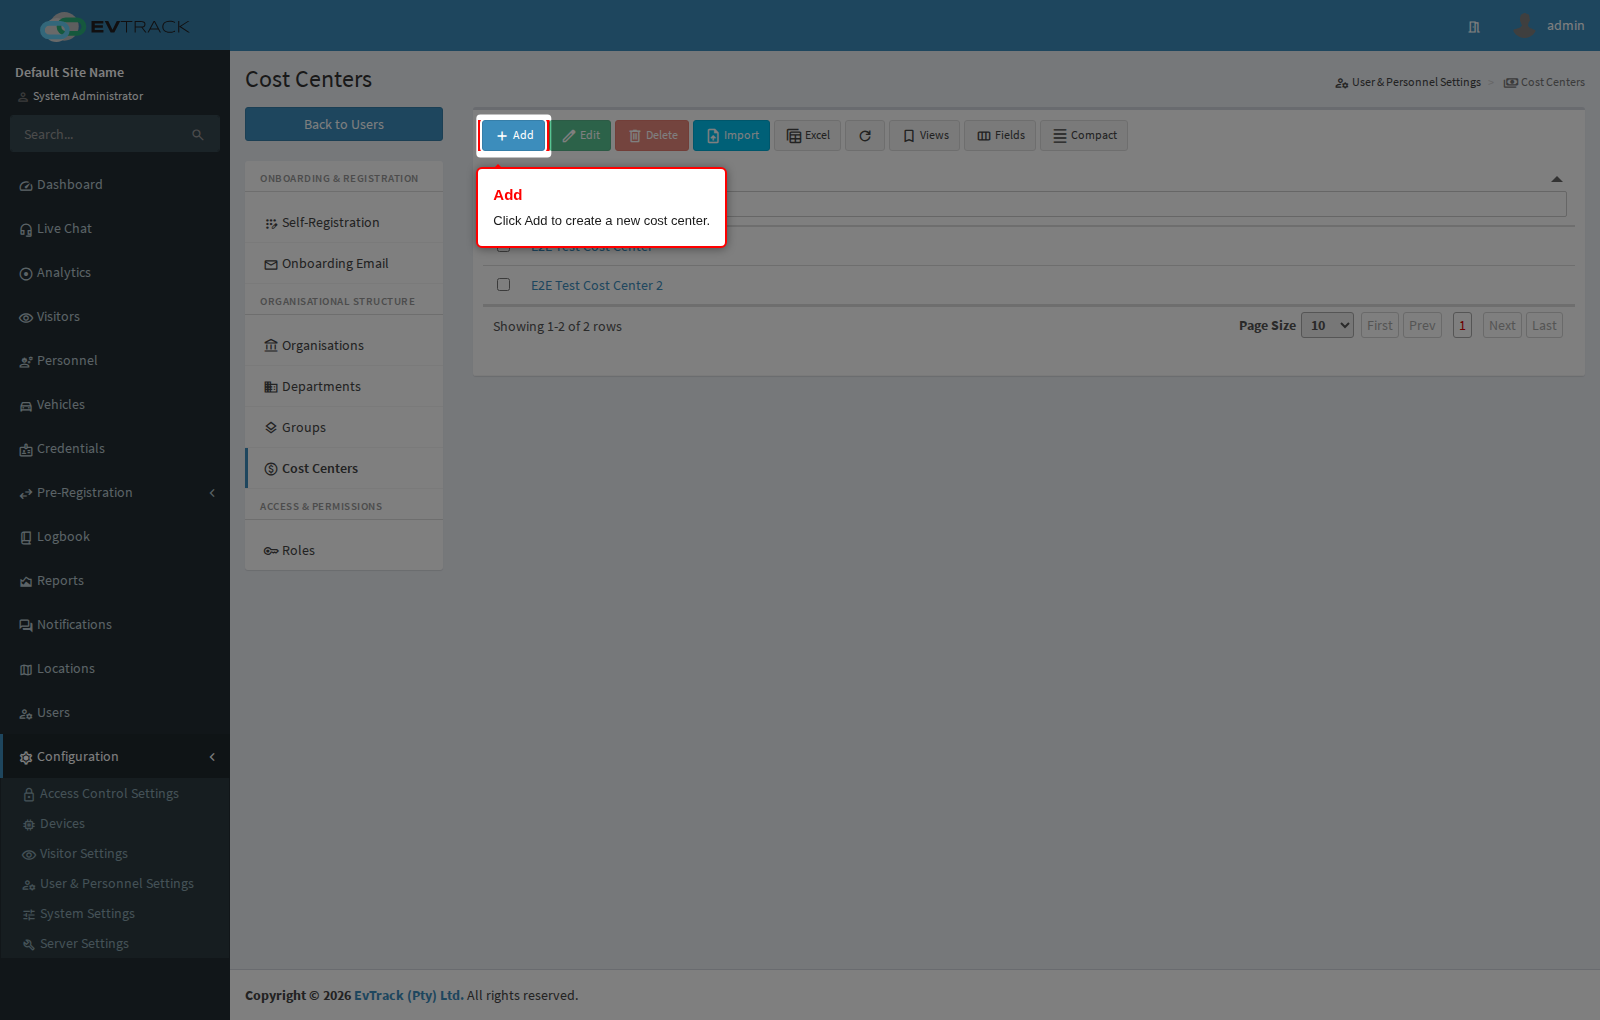
Step 3: Click Add
Click the Add button above the table. The new cost center form opens.
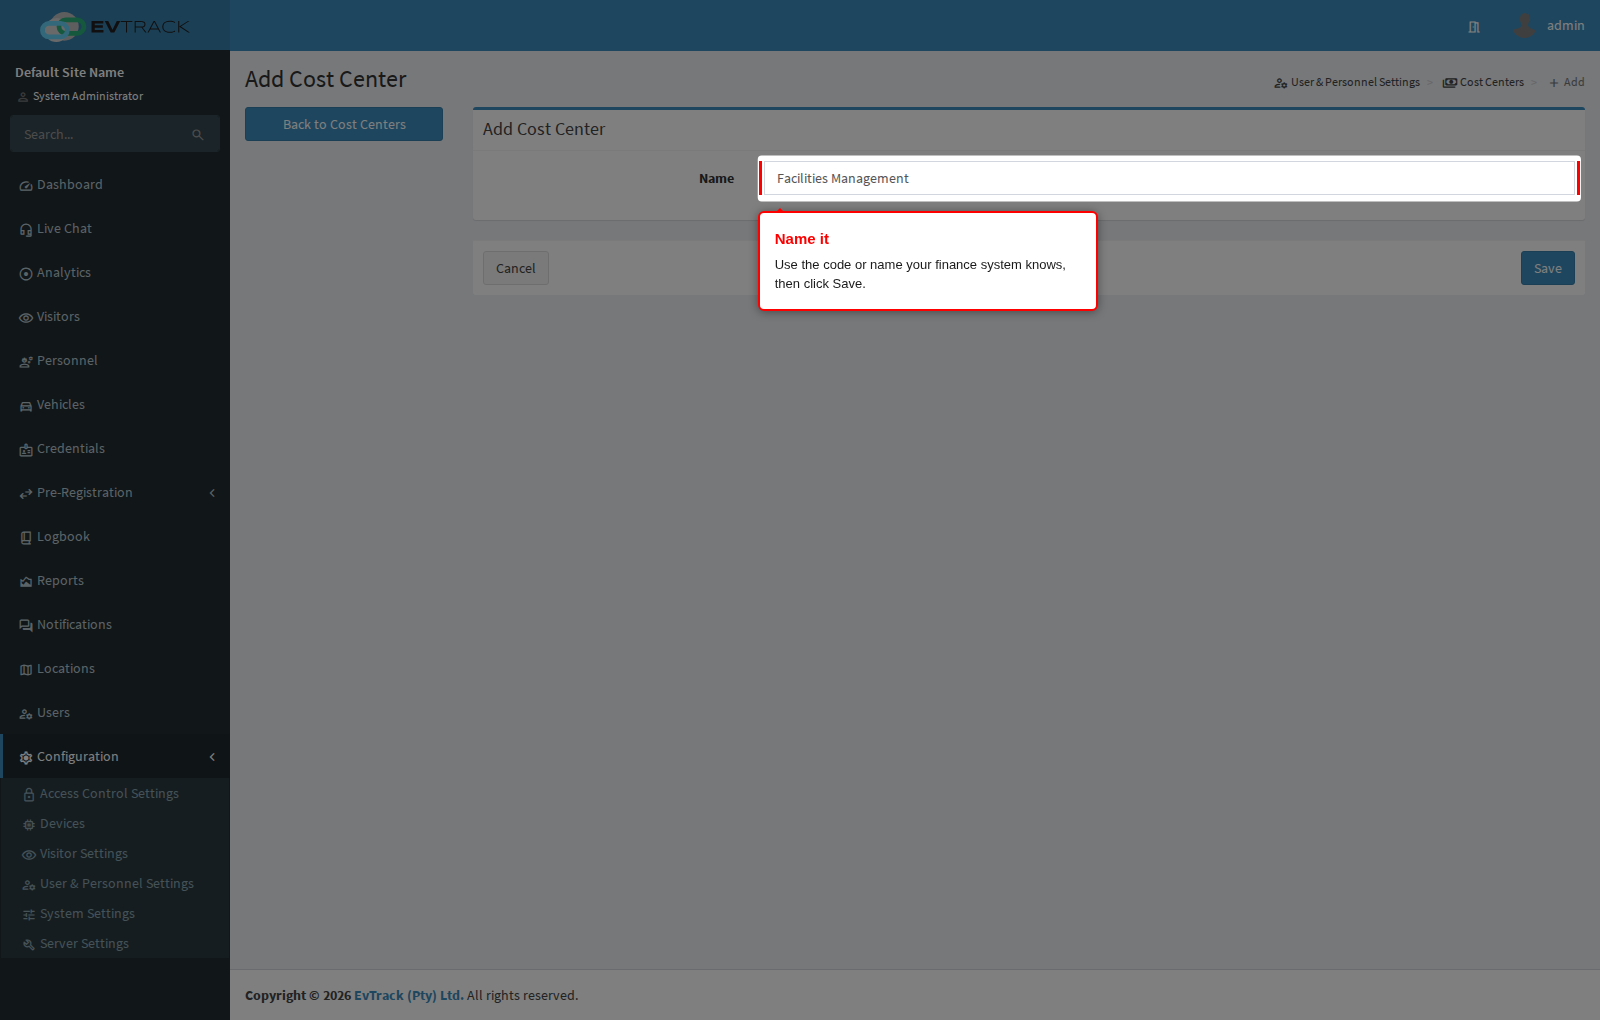
Step 4: Name the cost center and save
Enter the Name - use the wording or code your finance system knows it by, so the exported reports line up - and click Save.
Two cost centers cannot share a name: if it is already taken you are returned to the list with a red message.
Step 5: Confirm the result
Back on Cost Centers, the new cost center appears in the table and can be selected on user and personnel records.
Step 6: Open an existing cost center to edit it
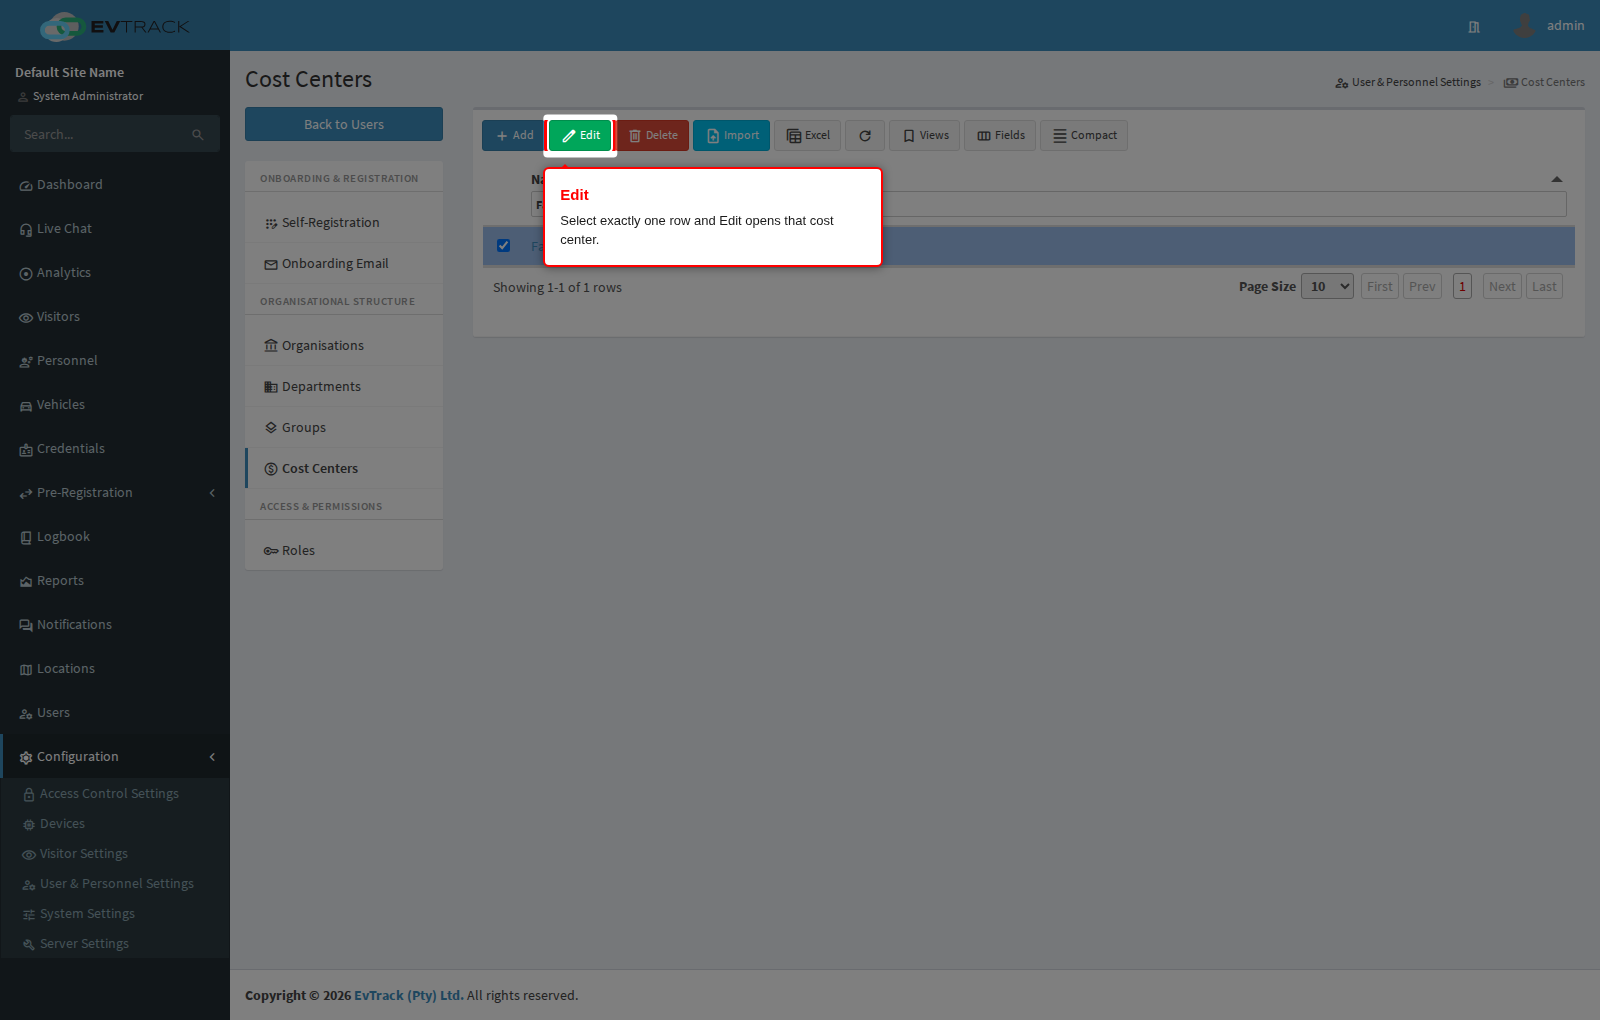
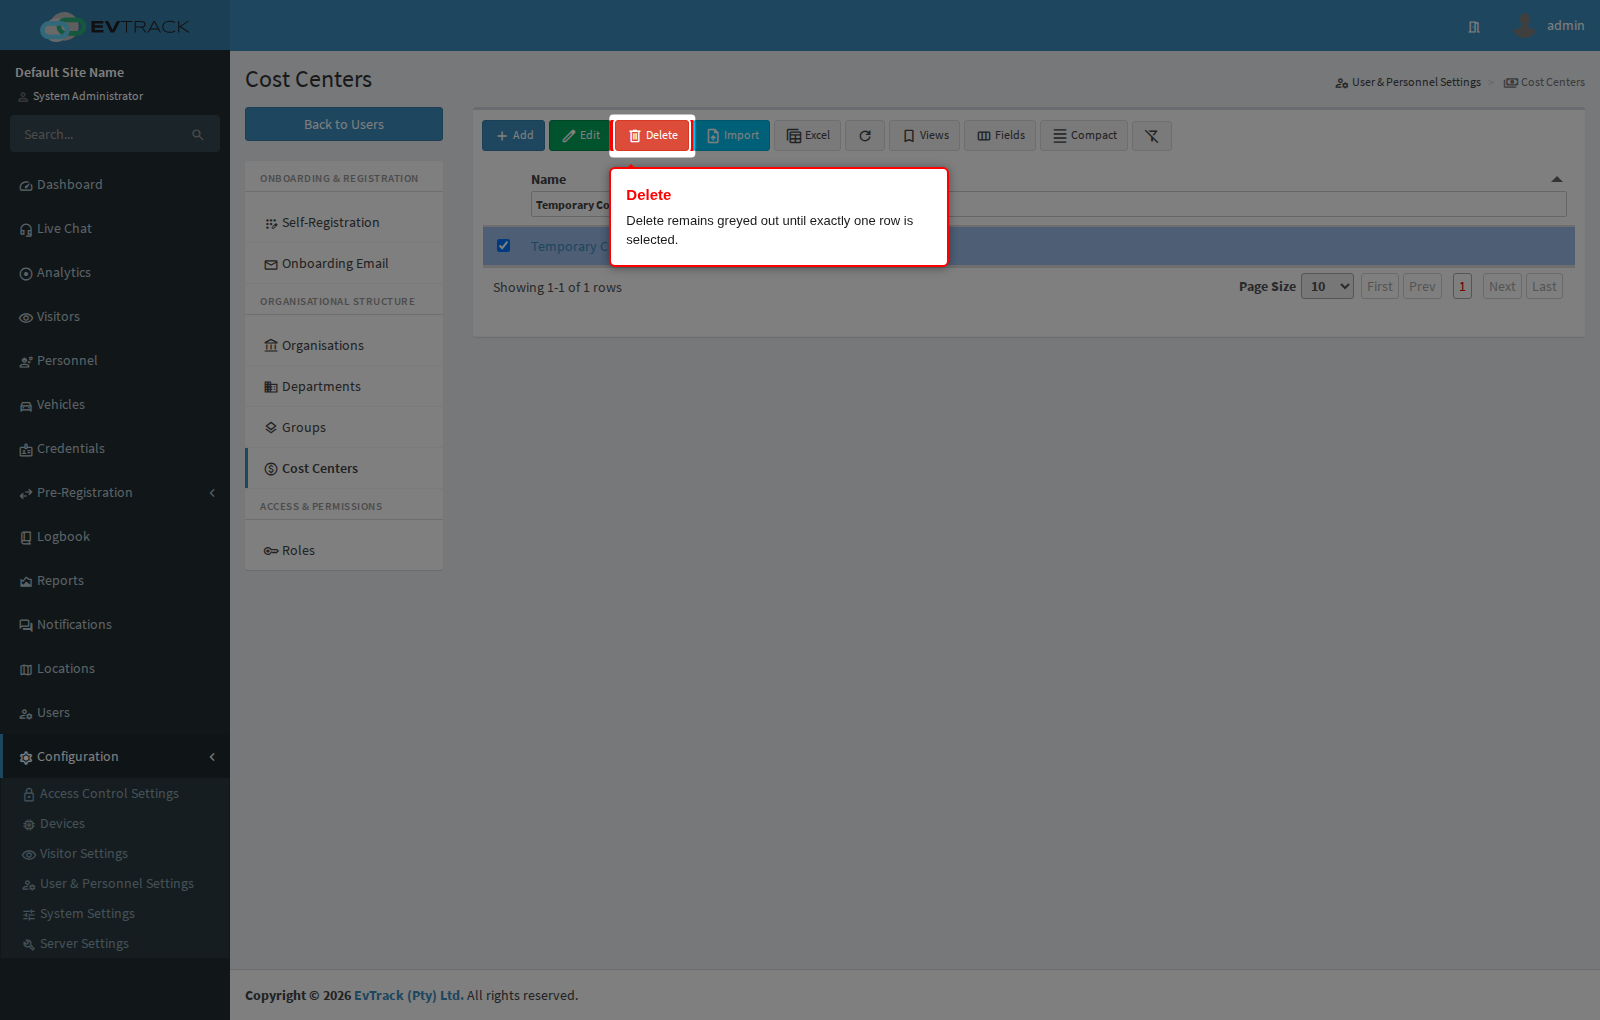
Click the row of the cost center you want to change. The toolbar Edit and Delete buttons remain greyed out until exactly one row is selected. Click Edit (clicking the name in the table does the same thing).
Step 7: Rename it
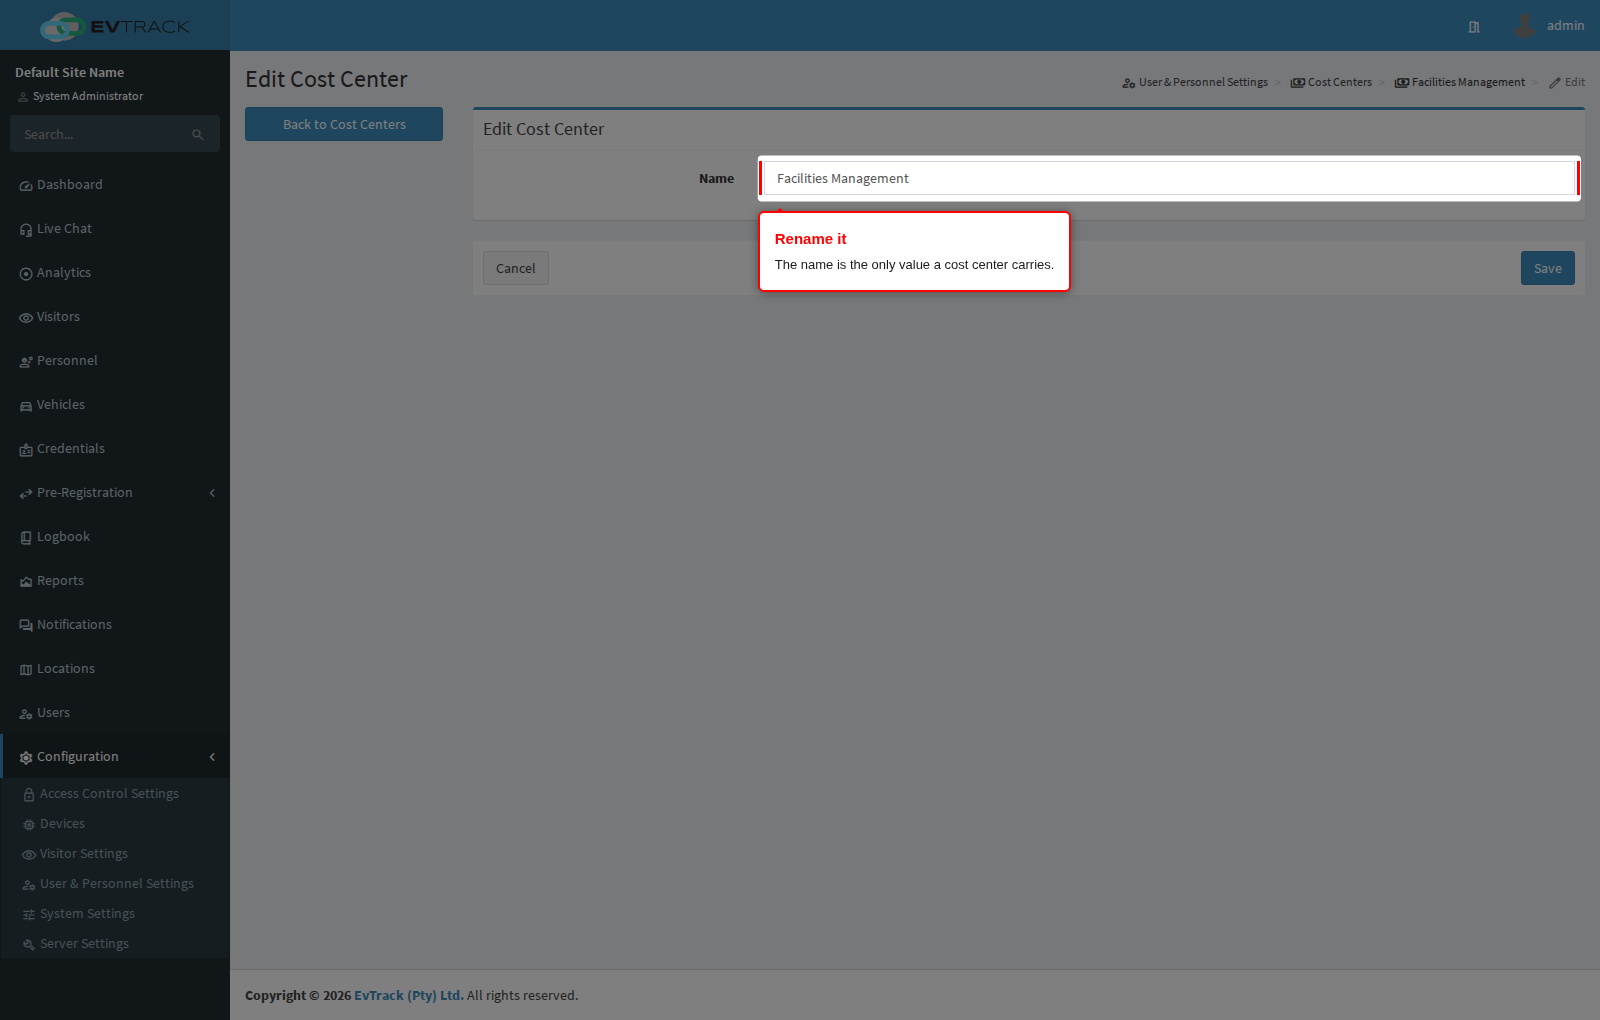
The edit form holds a single field, the Name - that is everything a cost center carries. Change it and click Save.
The rename follows the records: everyone already attributed to this cost center remains attributed to it, and past reports rendered from the live data show the new name.
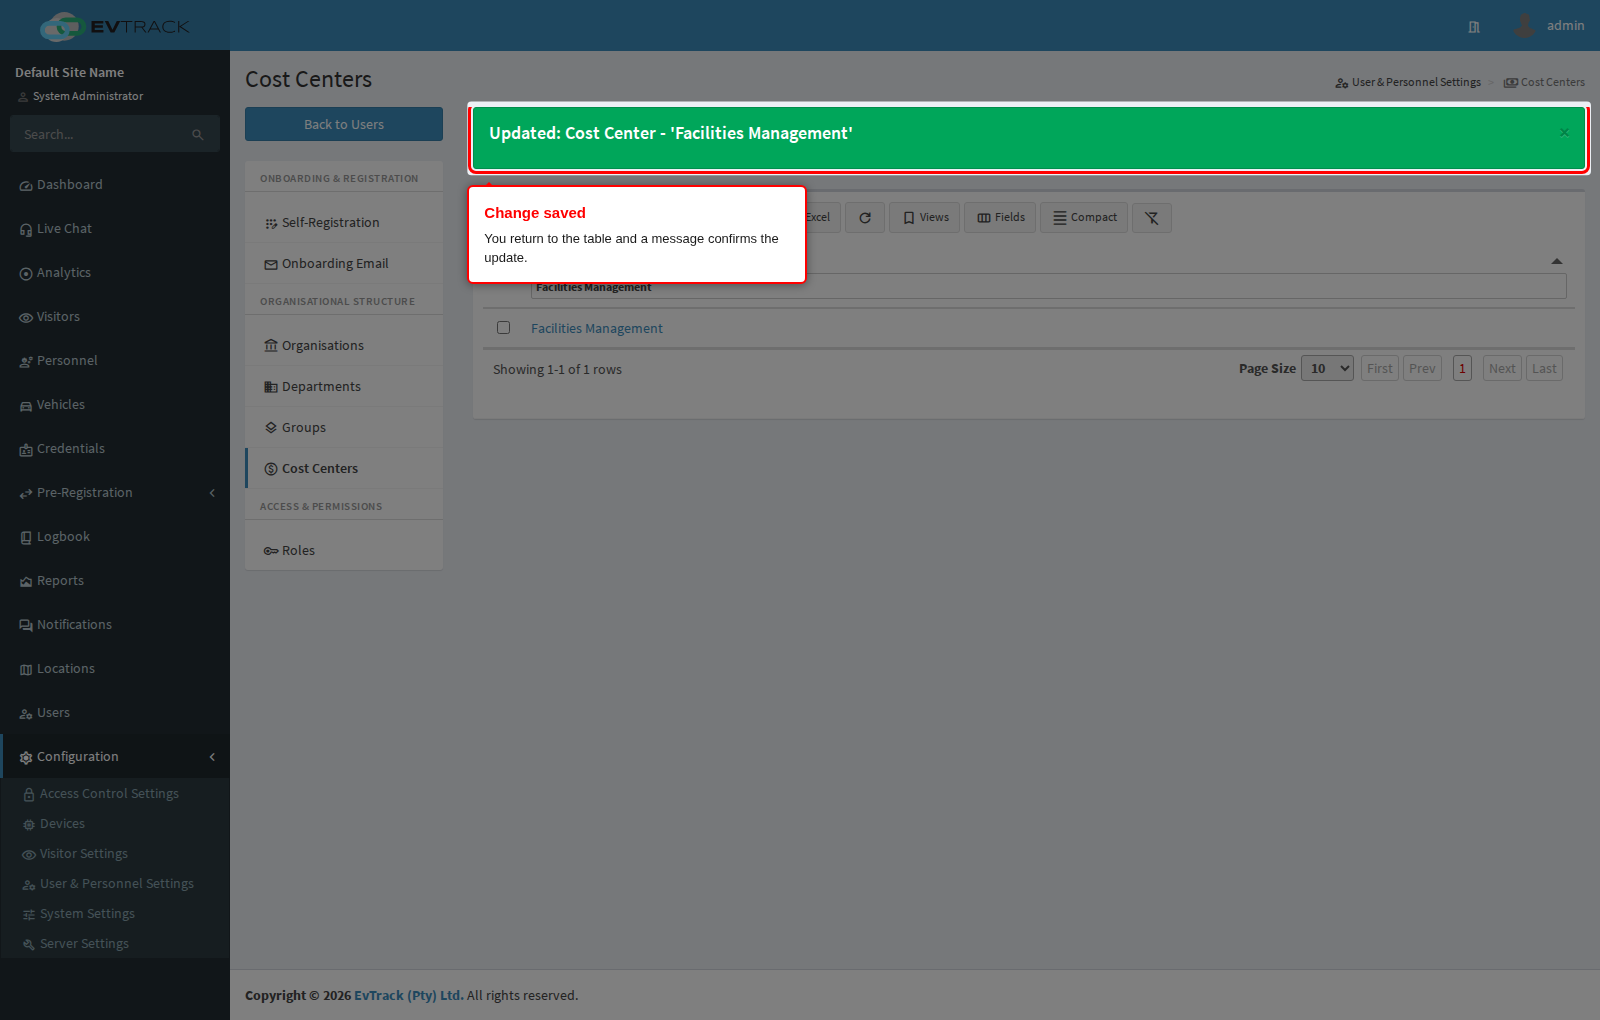
Step 8: Confirm the change
You return to the table with a success message and the row shows the new name.
Step 9: Select a cost center to delete it
To remove a cost center, select its row and click Delete. Like Edit, the button only becomes active with exactly one row selected. In the example below a disposable cost center, “Temporary Cost Center for deletion”, is being removed.
Step 10: Confirm the deletion
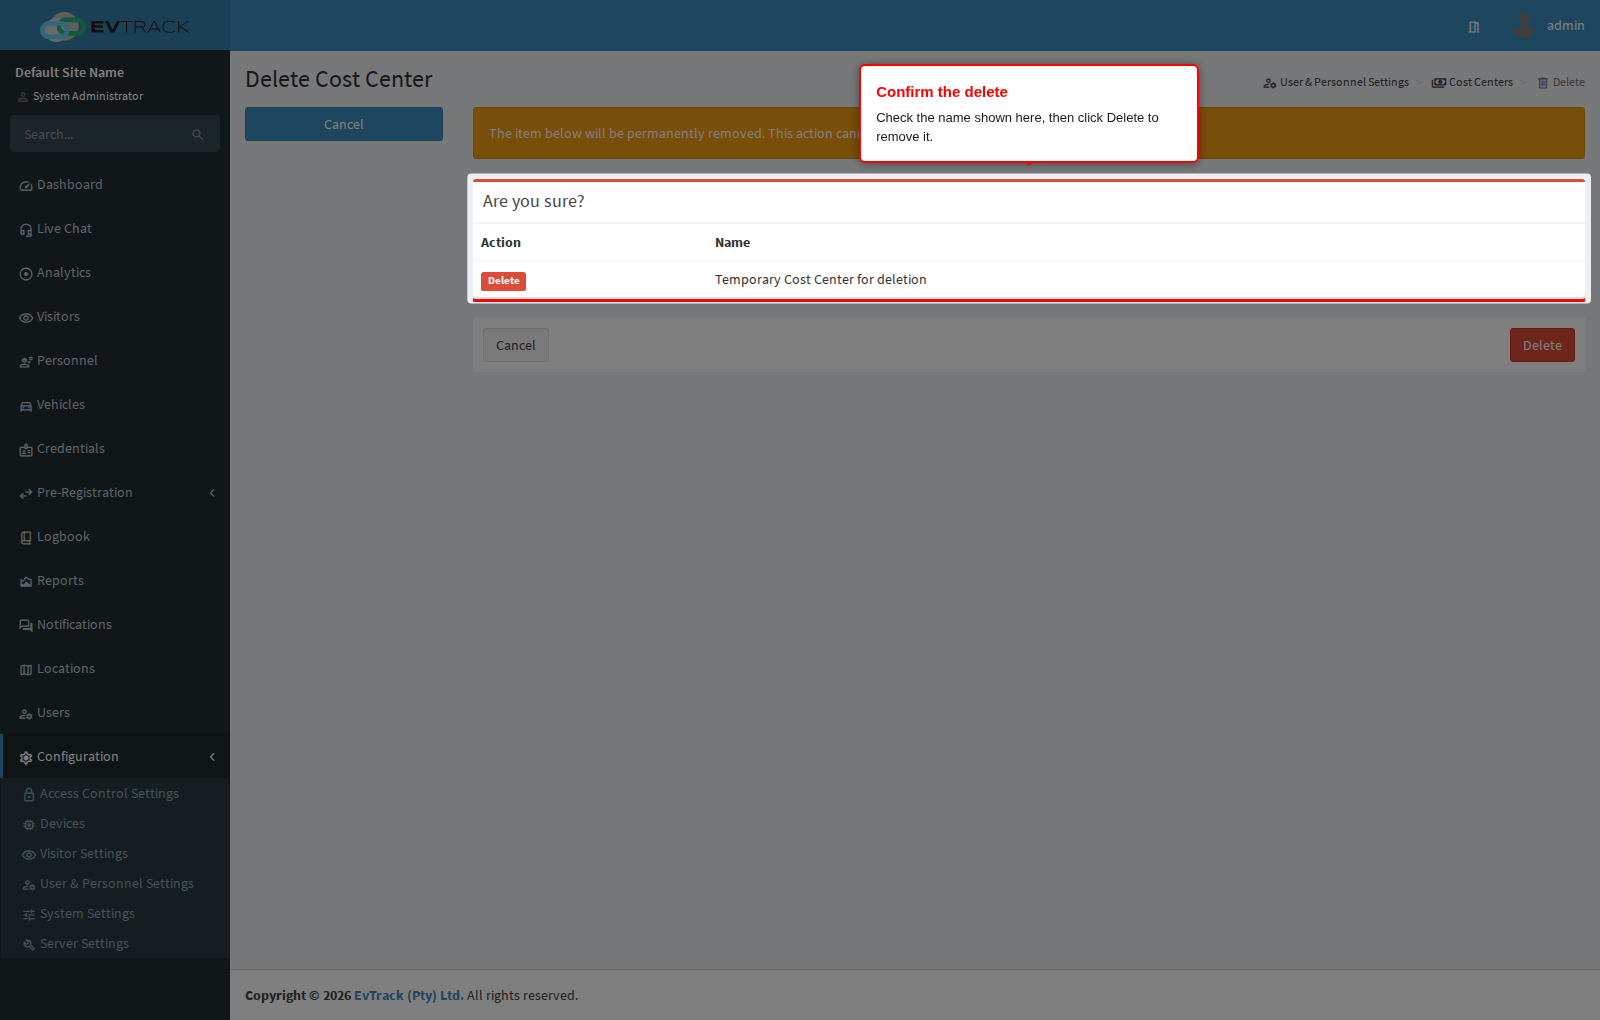
A confirmation page opens showing the cost center’s reference and name so you can check you picked the right one. Click Delete to remove it, or Cancel (or Back to Cost Centers) to leave it alone. Deletion is permanent - there is no undo.
Nothing blocks a cost center from being deleted, including one that users or personnel are still attributed to. Check first: reassign those records to another cost center, otherwise they are left with none and drop out of cost-center reporting.
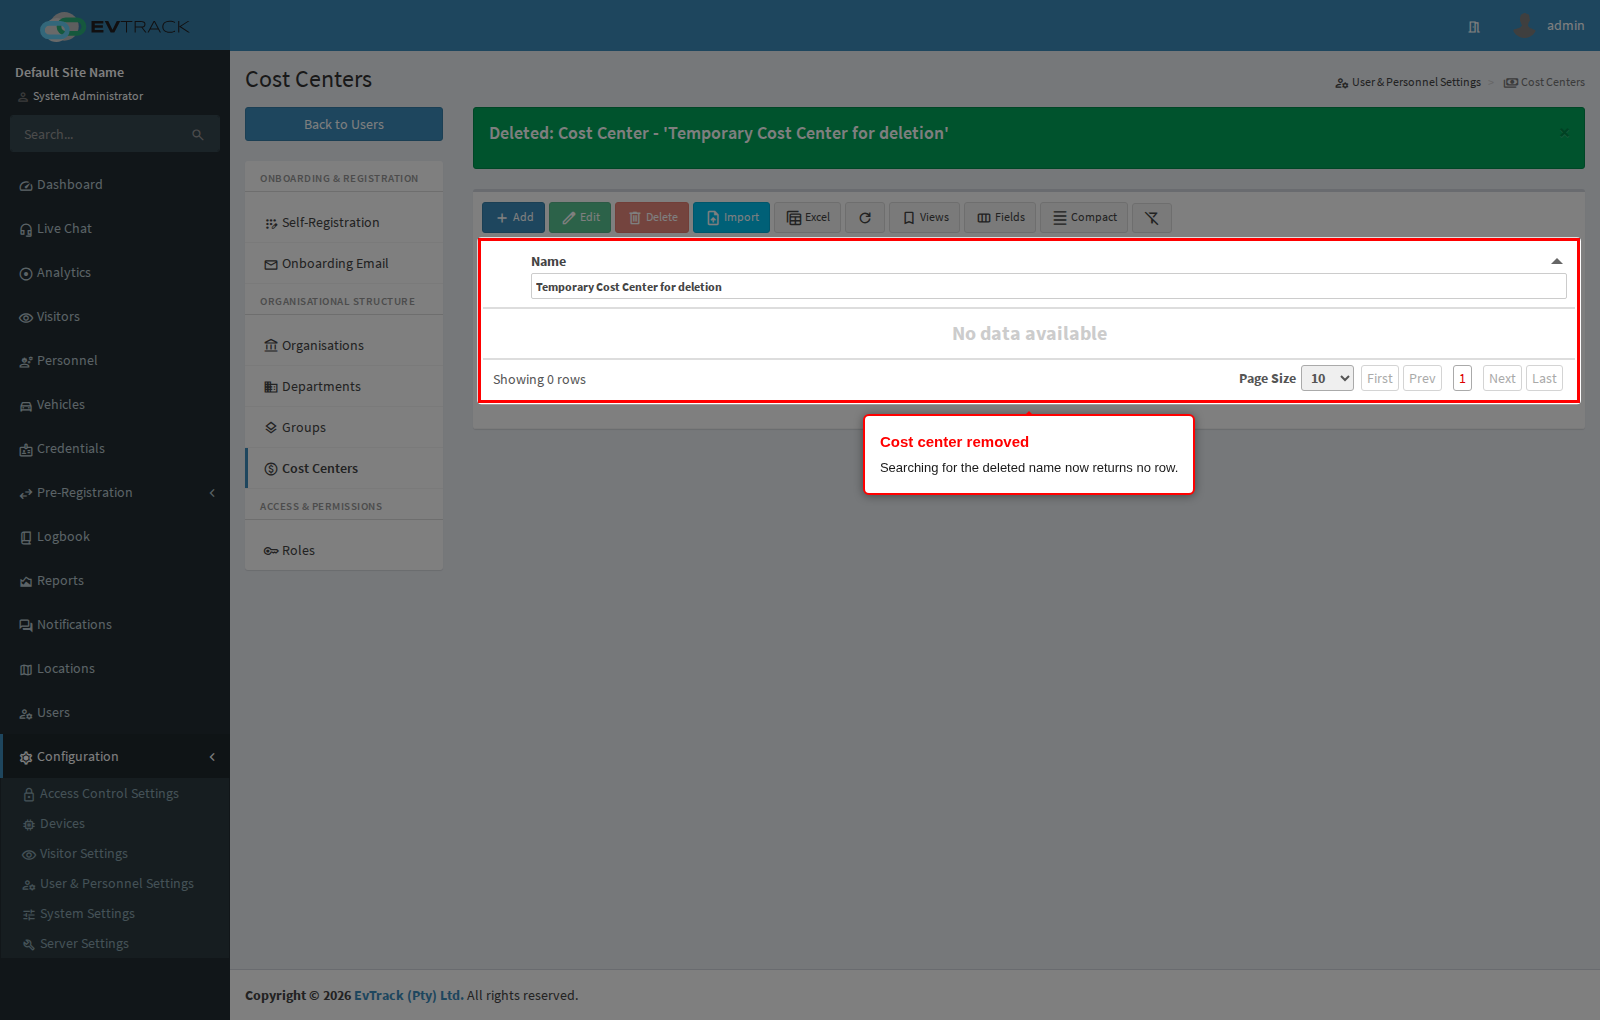
Step 11: Confirm the result
You return to the table with a success message and the cost center is gone: search for its name and no row is found. It no longer appears in the cost center list on user and personnel records.