A visit reason is the “why” recorded against every visit - Meeting, Delivery, Interview, Contractor Work. Operators and visitors pick one when a visit is created, the reason is carried on the visit record and reported on, and it can carry its own access rules.
Before you start: you need an administrator account with visitor settings rights. If you want a reason to grant its own access, the Access Control List it should use must already exist.
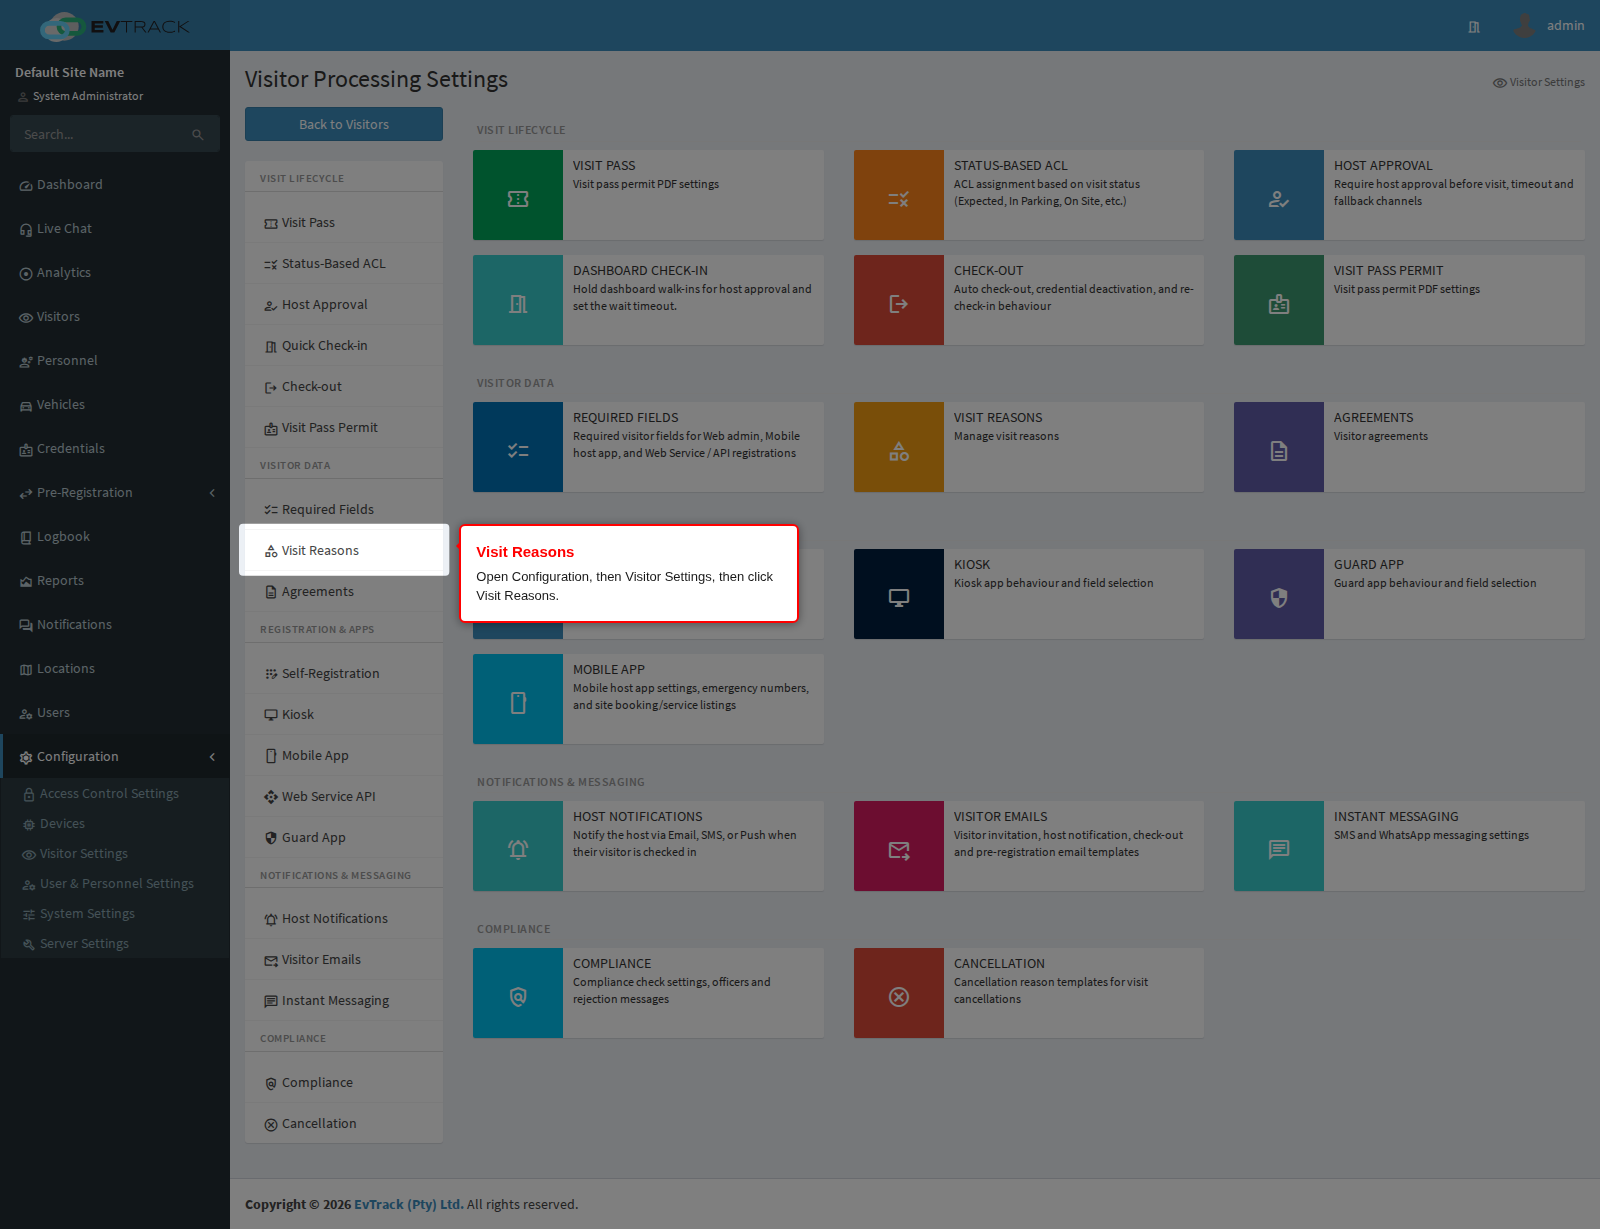
Step 1: Open Visit Reasons
In the left sidebar open Configuration, click Visitor Settings, then click Visit Reasons in the section menu. The Visit Reasons page opens.
Step 2: Review the reasons
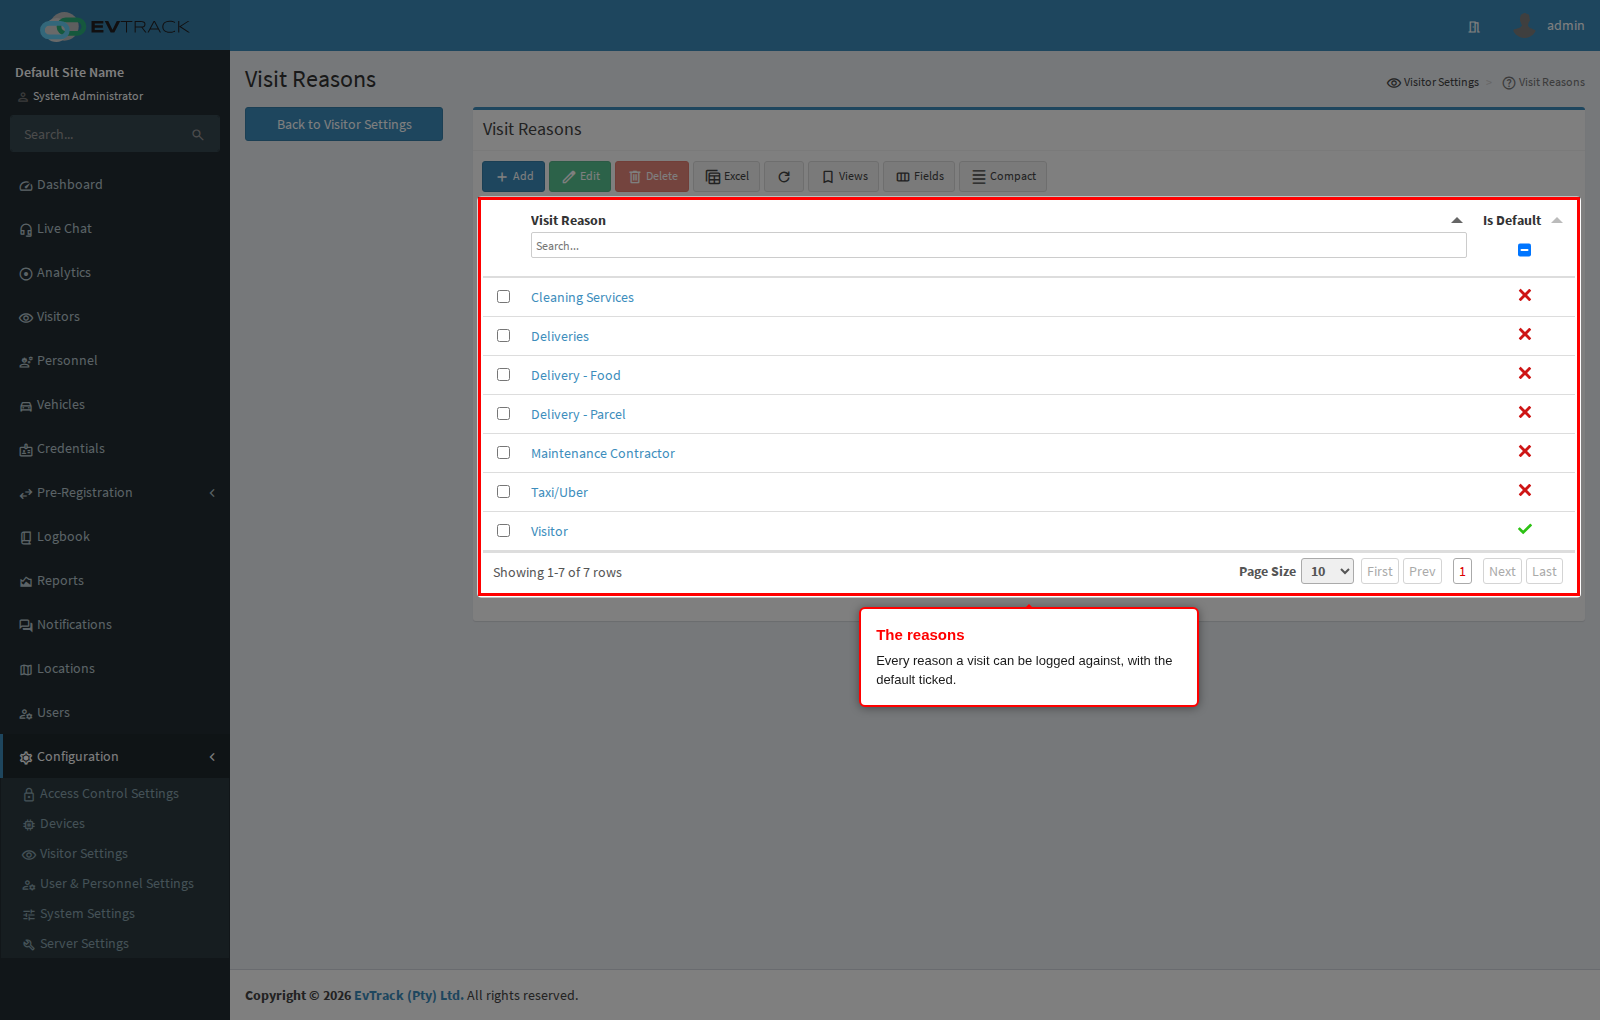
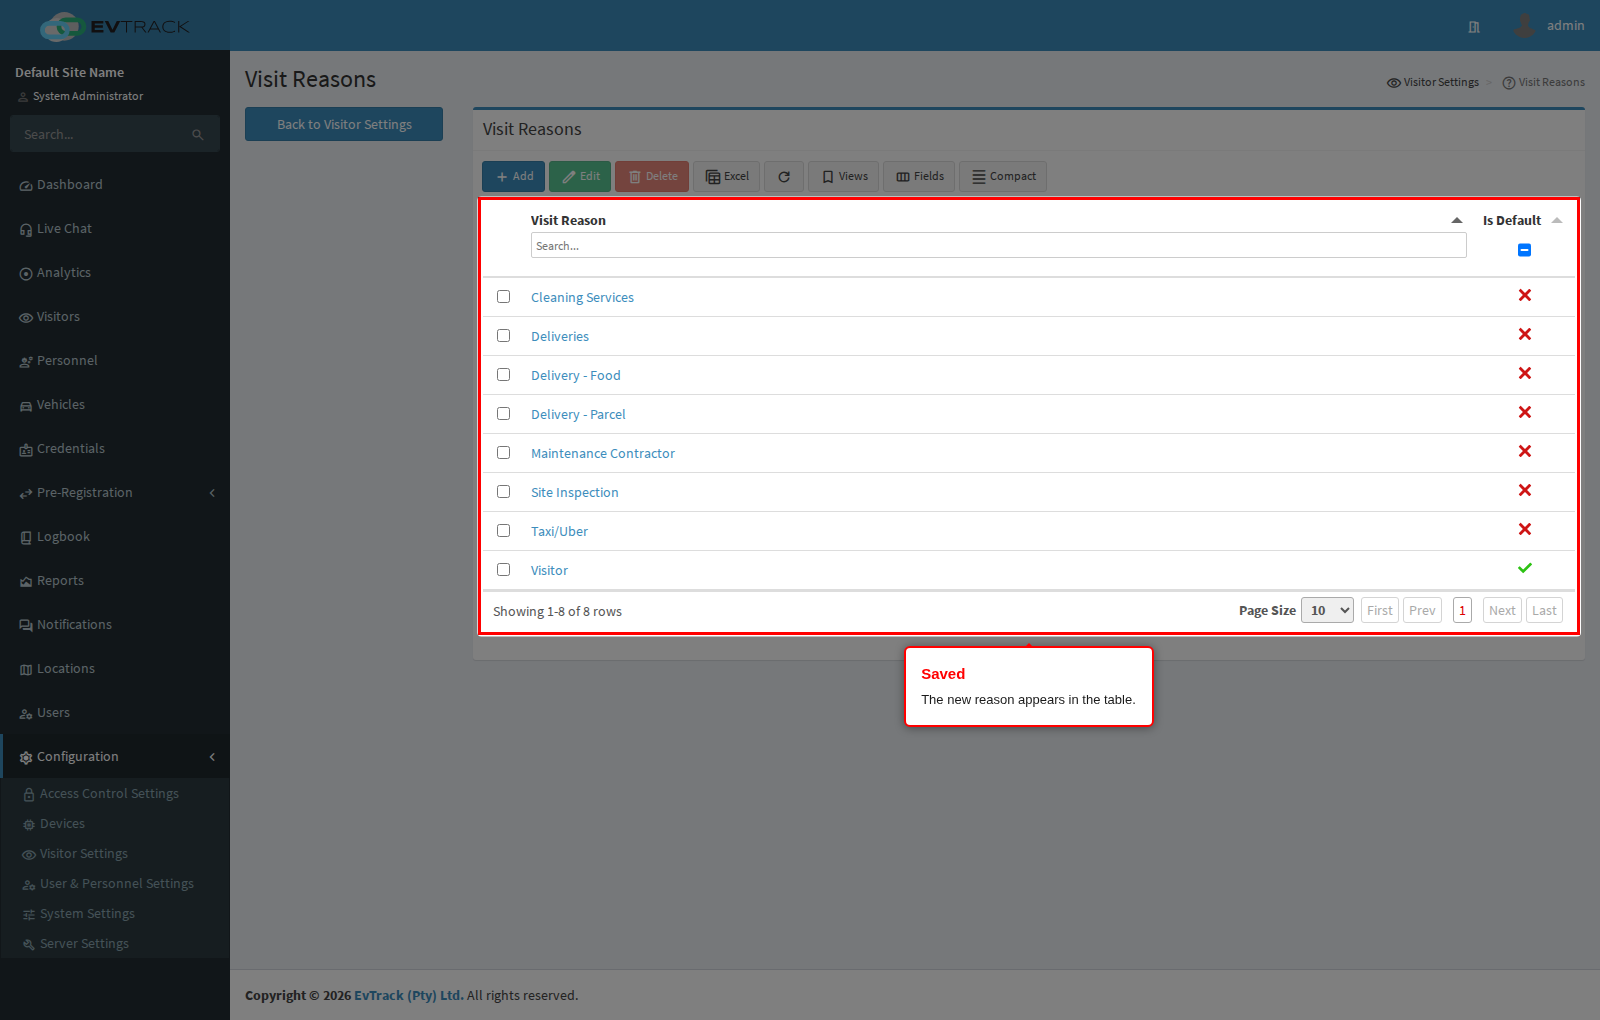
The table lists every reason:
- Reason - the wording operators and visitors see. Click a name to open it. The column header has a search box.
- Default - a tick on the one reason pre-selected for new visitors and invites. Exactly one reason carries it.
A selection column on the left picks a row, and the toolbar above the table offers Add, Edit, Delete, an Excel export and Refresh.
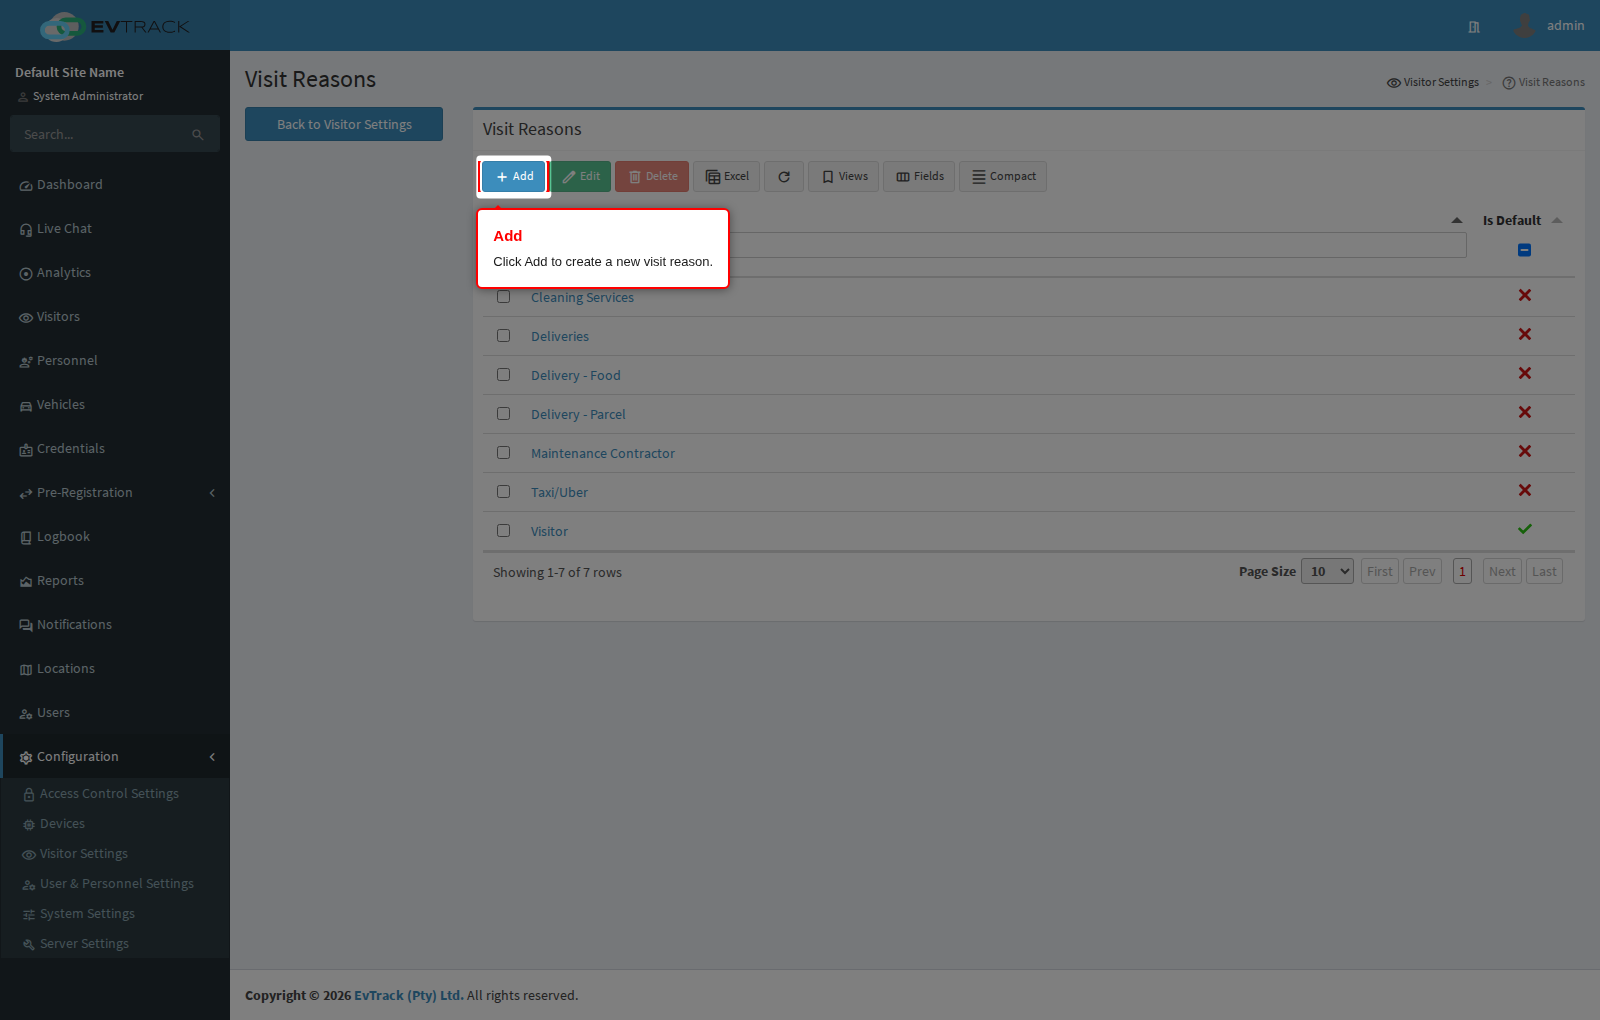
Step 3: Click Add
Click the Add button above the table. The new visit reason form opens.
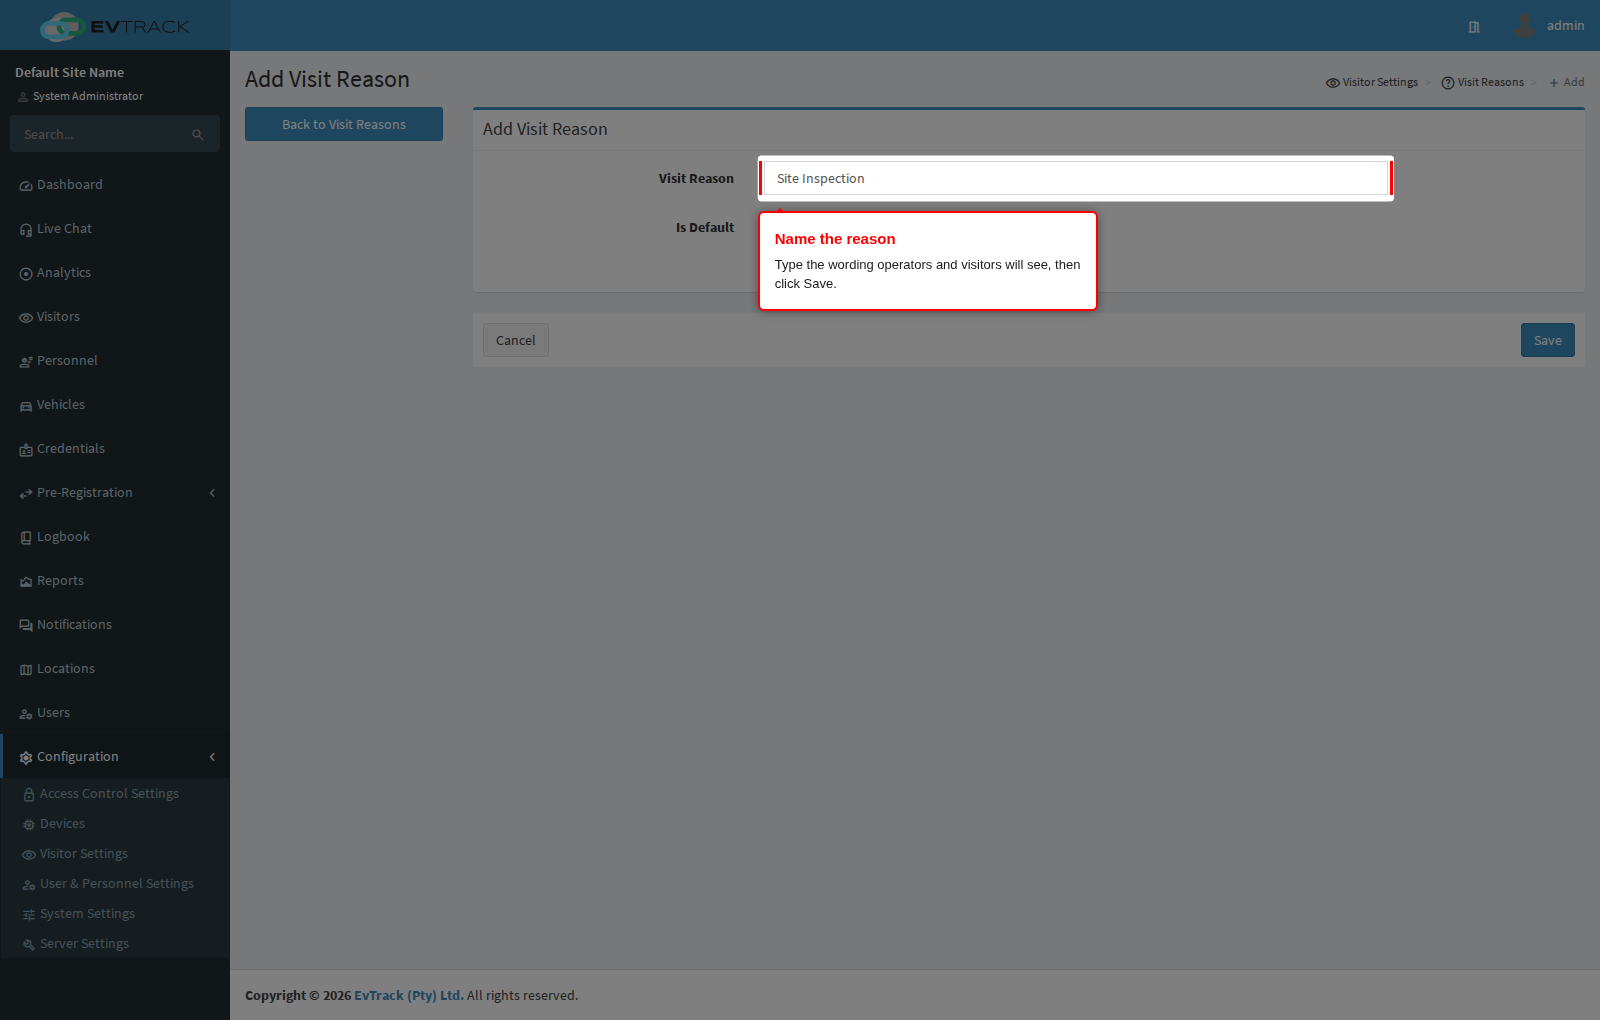
Step 4: Name the reason and save
Type the Reason exactly as it should appear to operators and visitors, for example “Site Inspection”. Tick Is Default only if this should become the reason pre-selected for every new visitor and invite - setting it here takes the default away from whichever reason holds it now.
Click Save. Two reasons cannot share the same wording: if it is already taken you are returned to the form with a red message.
Step 5: Confirm the result
Back on Visit Reasons, the new reason appears in the table and is immediately selectable on visitor and invite forms.
Step 6: Open an existing reason to edit it
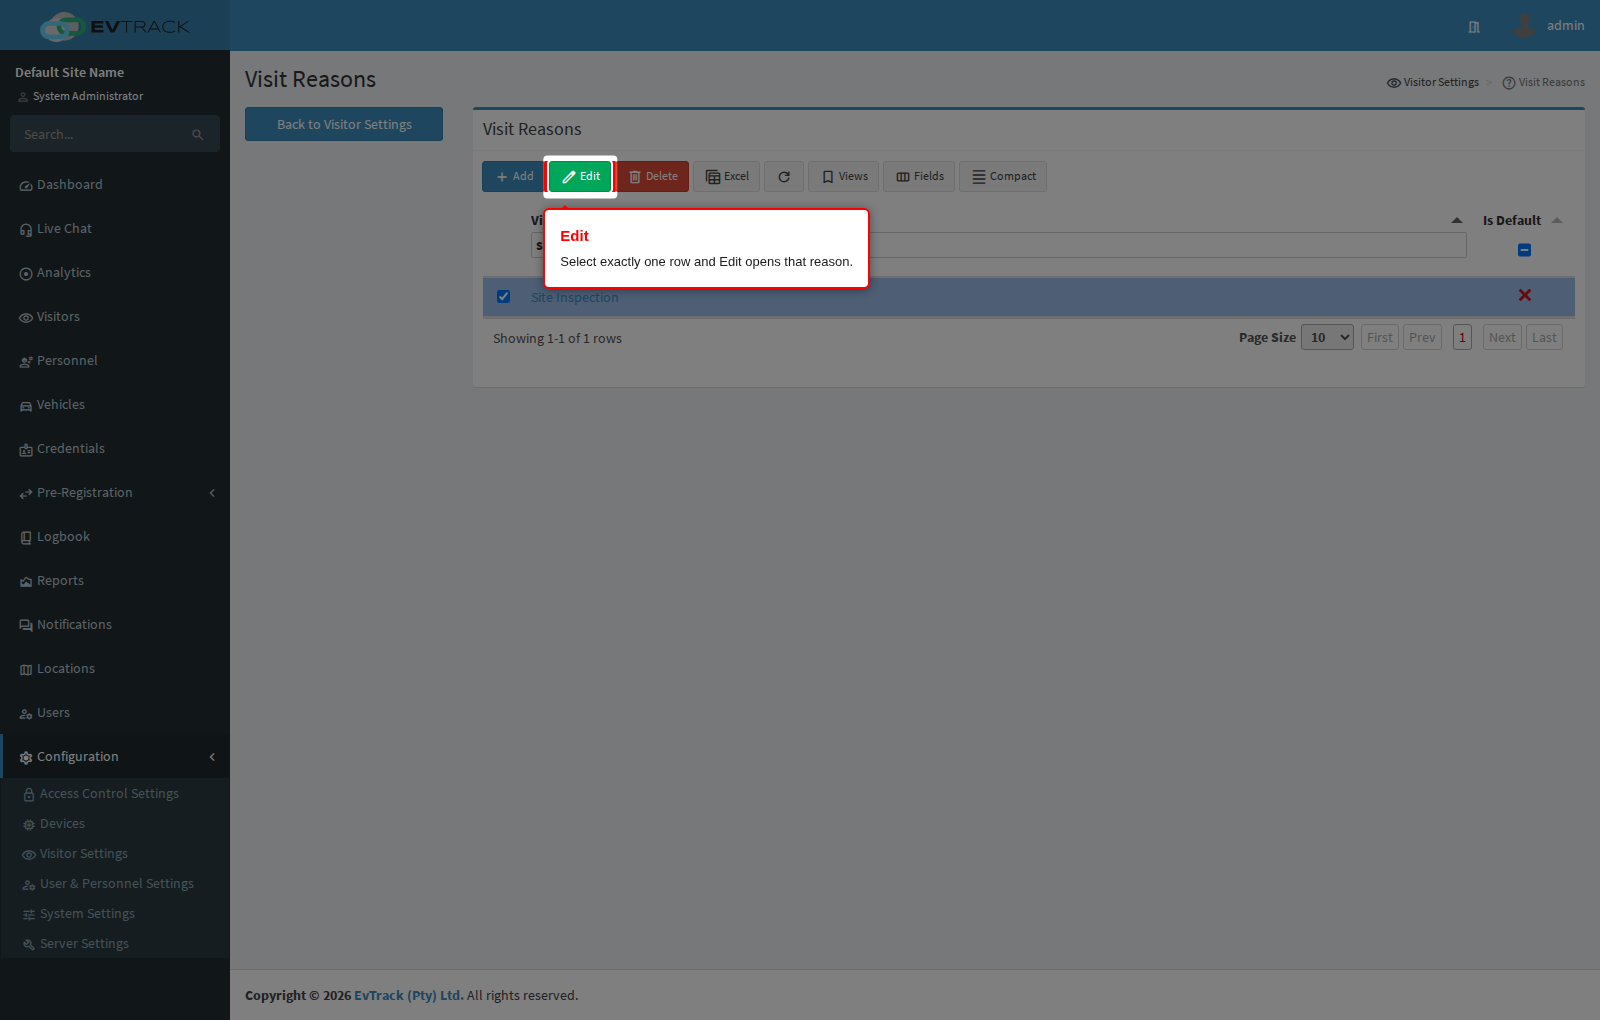
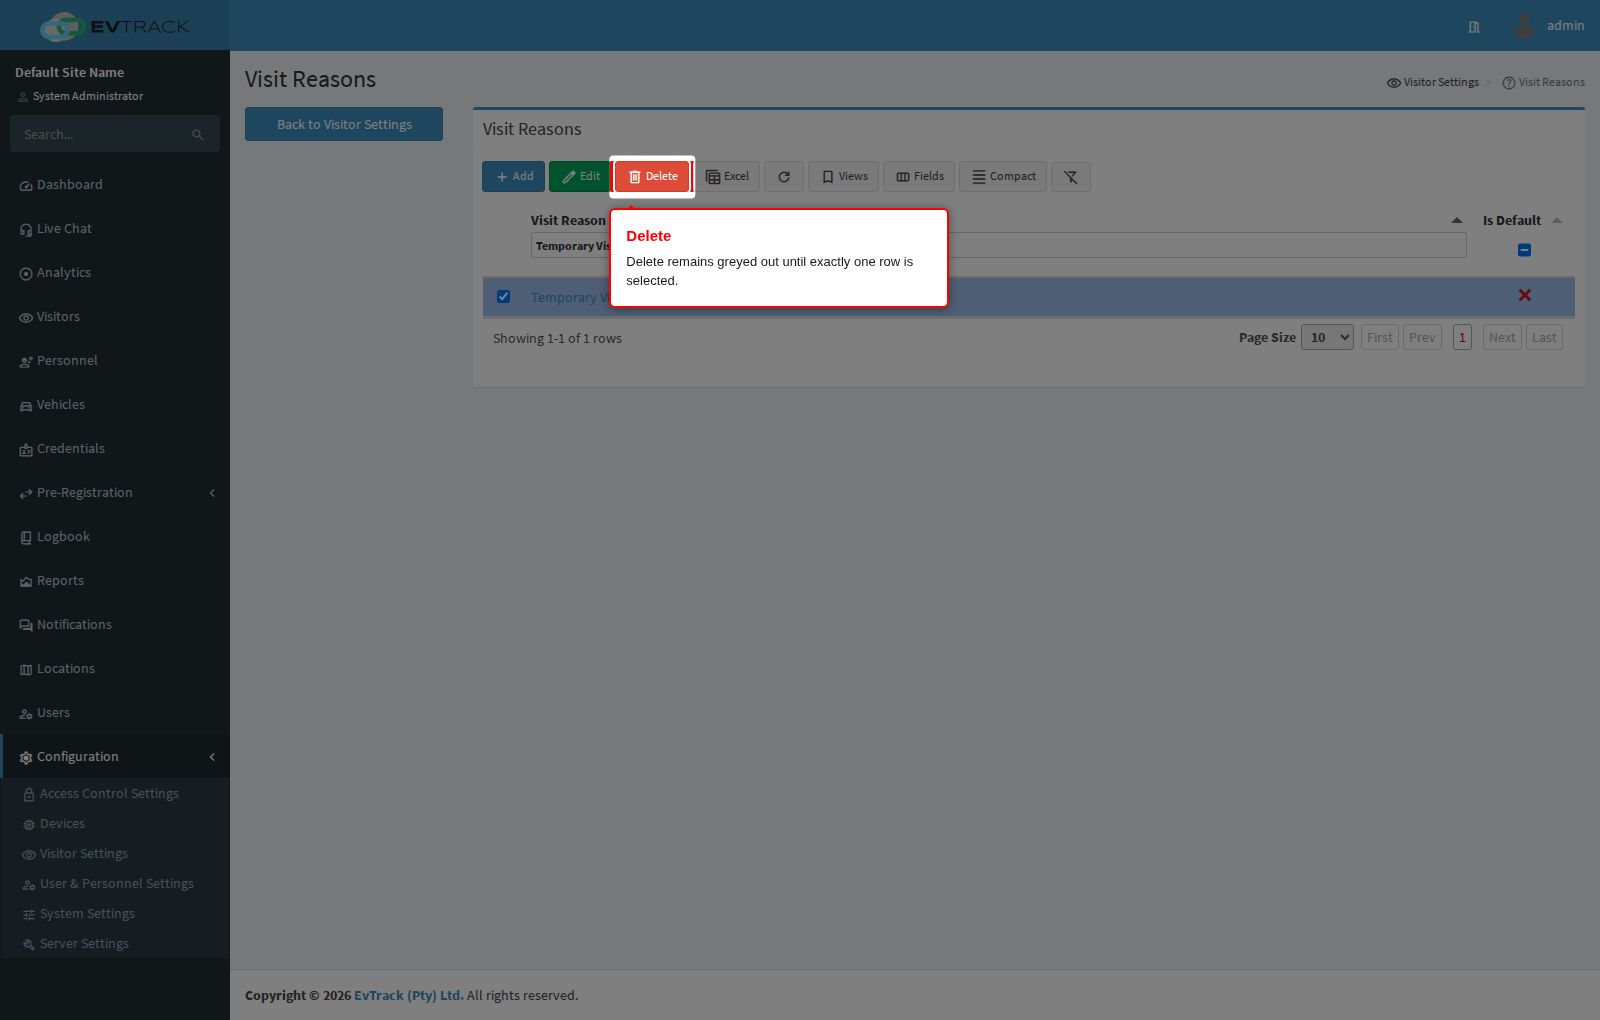
Click the row of the reason you want to change. The toolbar Edit and Delete buttons remain greyed out until exactly one row is selected. Click Edit (clicking the reason in the table does the same thing).
Step 7: The General panel
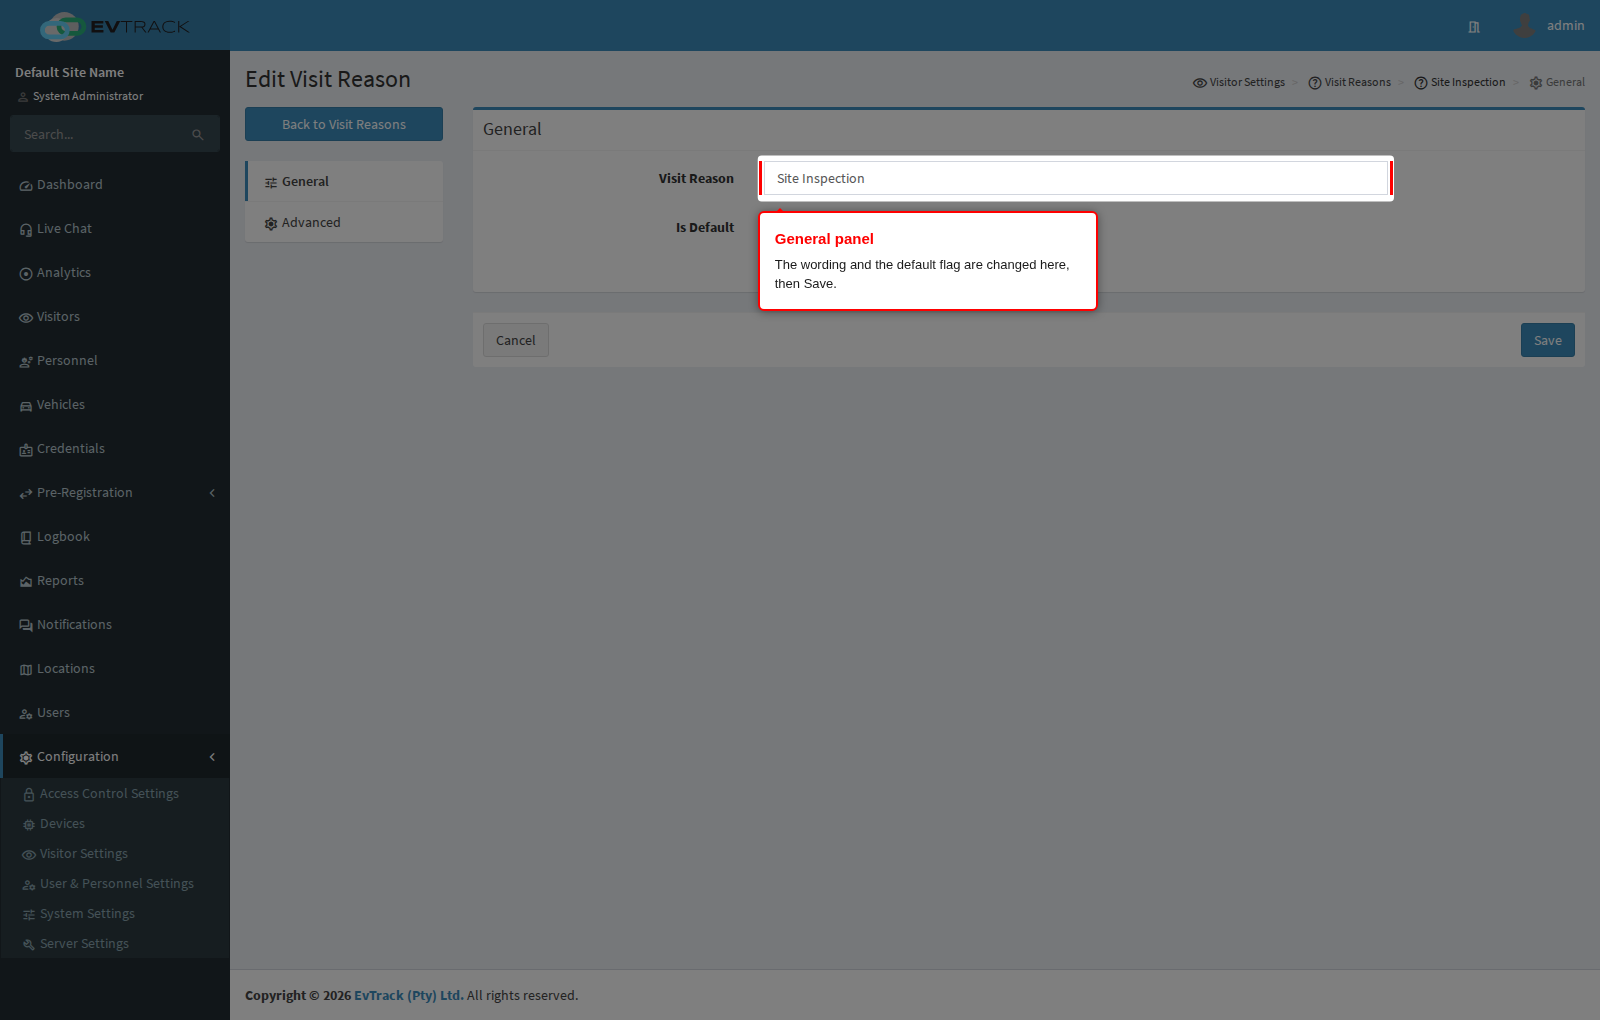
The edit page has two panels in the menu on the left. General holds the same two fields as the add form: the Reason wording and Is Default. Renaming a reason changes it everywhere, including on visits already logged against it.
Change what you need and click Save.
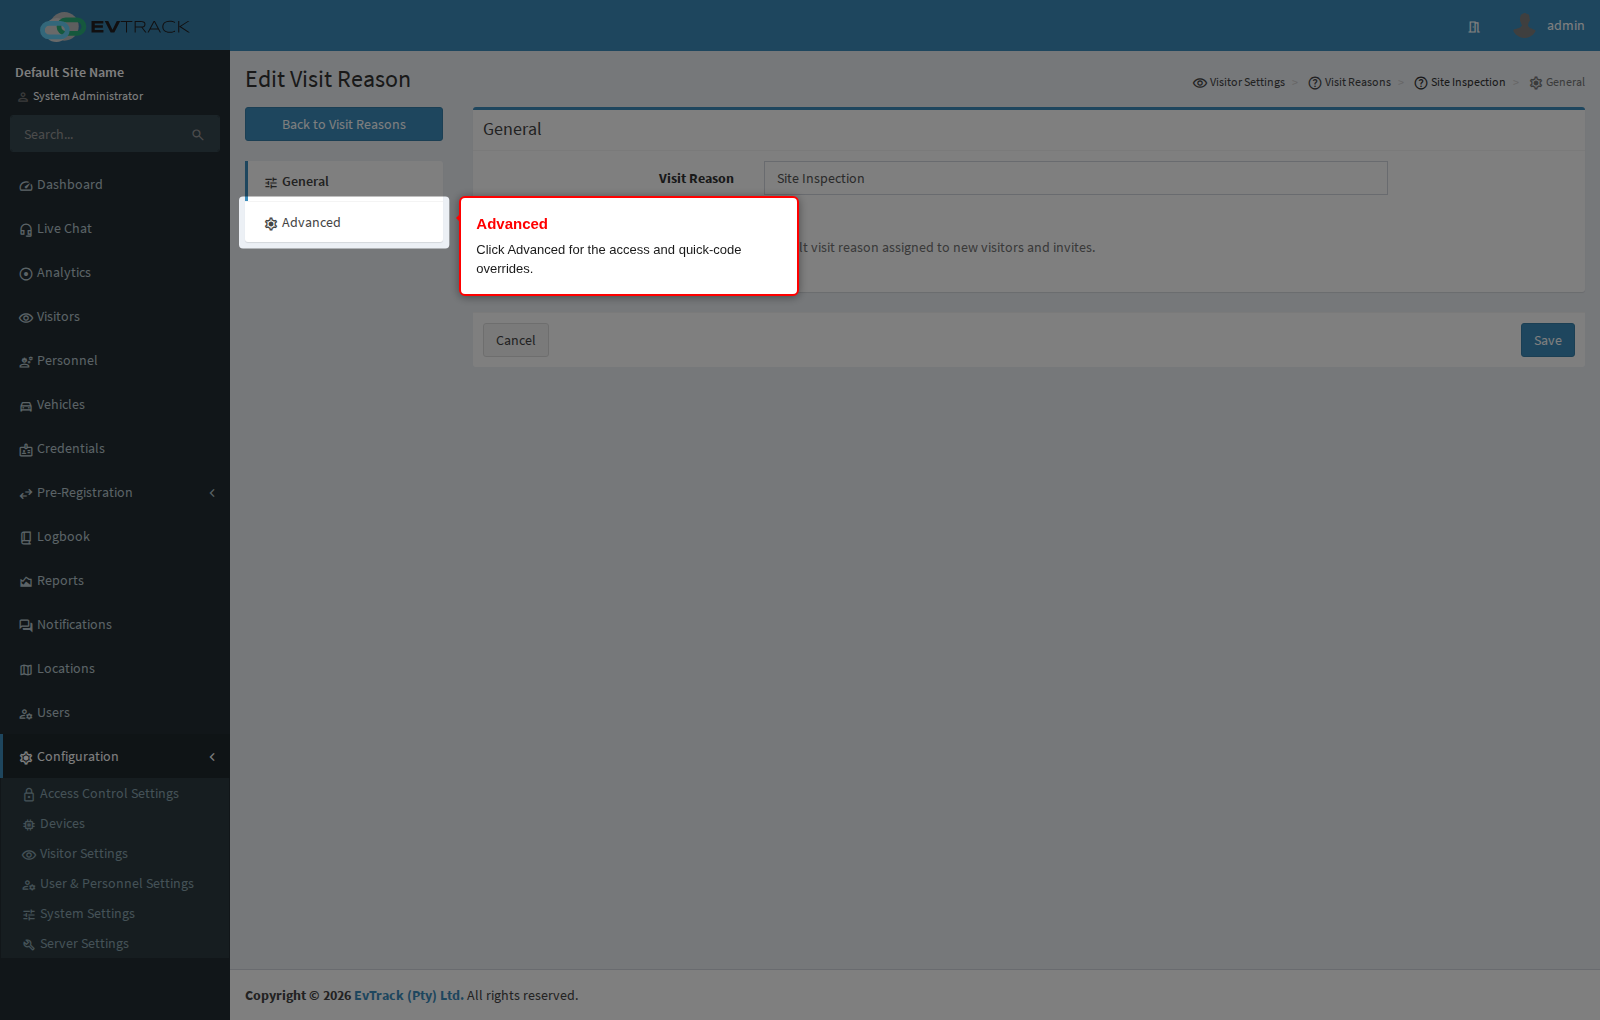
Step 8: Open the Advanced panel
Click Advanced in the menu on the left for the settings that let a reason override how visits behave.
Step 9: Advanced overrides
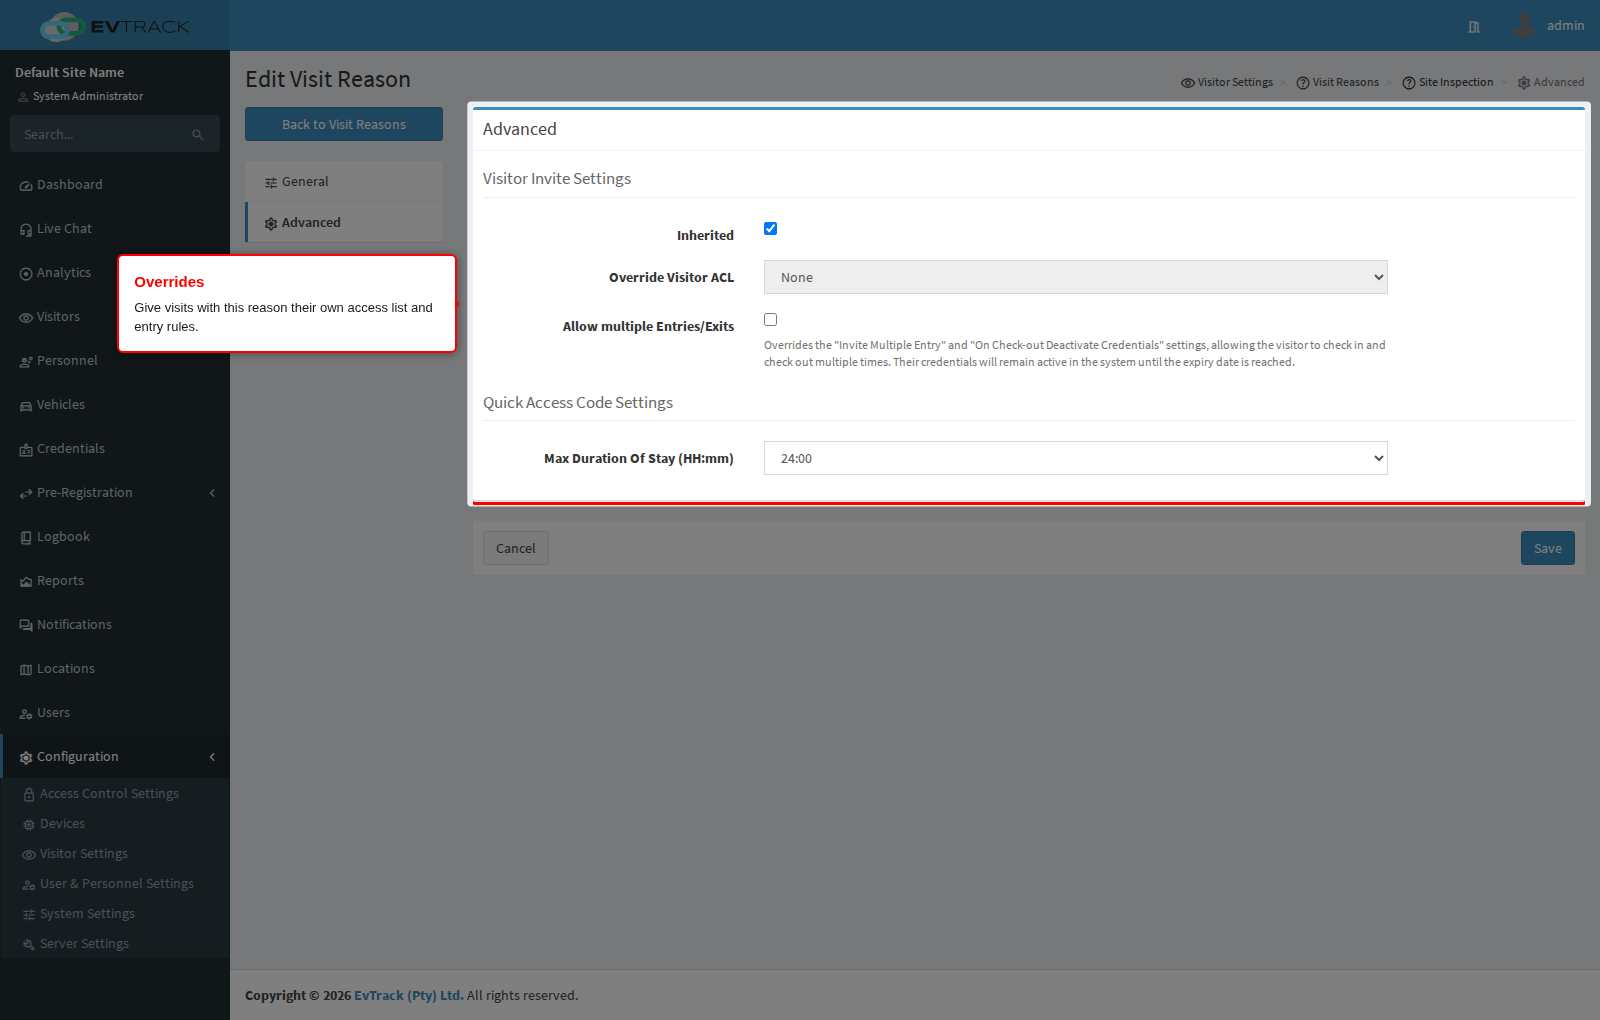
The Advanced panel has two groups:
Visitor Invite Settings
- Inherited - leave ticked to use the global invite settings. Clear it to let the two options below take over for visits carrying this reason.
- Override Visitor ACL - give visits with this reason a specific access control list instead of the default one. This is how “Contractor Work” can open the yard gate while “Meeting” opens only reception.
- Allow multiple Entries/Exits - overrides the global “Invite Multiple Entry” and “On Check-out Deactivate Credentials” settings, so a credential remains active until it expires instead of being deactivated on check-out.
Quick Access Code Settings
- Max Duration Of Stay - caps how long a quick access code issued for this reason remains valid.
Change what you need and click Save on that panel.
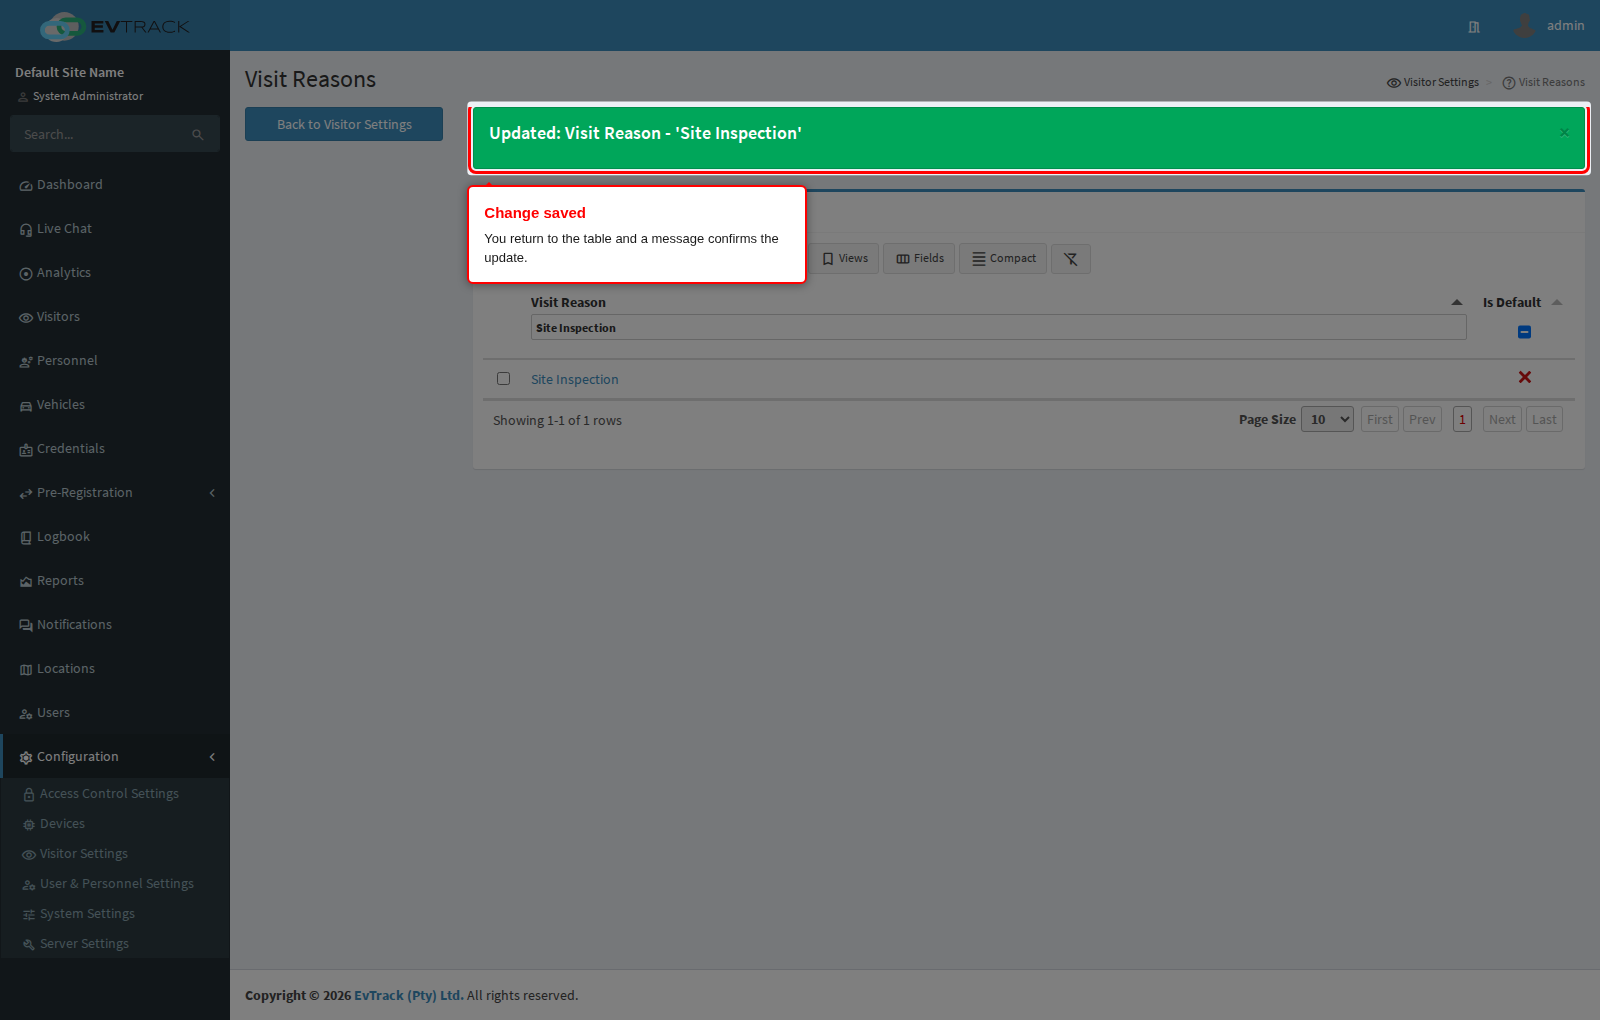
Step 10: Confirm the change
You return to the table with a success message.
Step 11: Select a reason to delete it
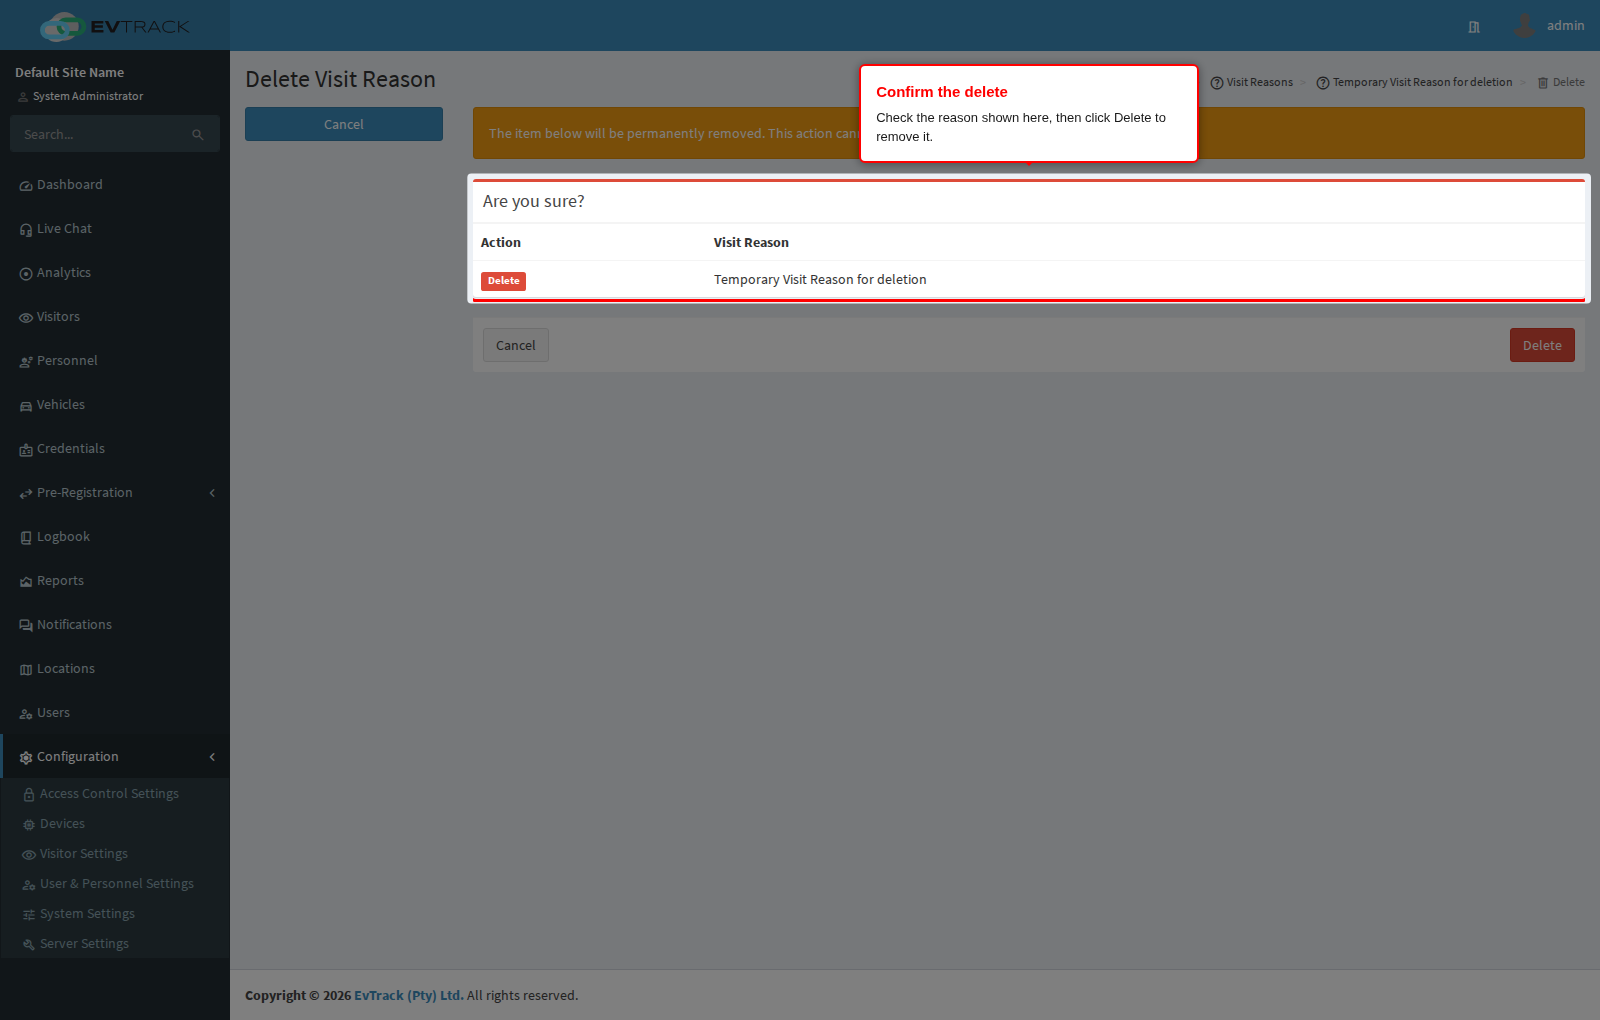
To remove a reason, select its row and click Delete. Like Edit, the button only becomes active with exactly one row selected. In the example below a disposable reason, “Temporary Visit Reason for deletion”, is being removed.
Step 12: Confirm the deletion
A confirmation page opens showing the reason so you can check you picked the right one. Click Delete to remove it, or Cancel (or Back to Visit Reasons) to leave it alone. Deletion is permanent - there is no undo.
Nothing blocks a visit reason from being deleted, so check before you remove one:
- Visits already logged against it. They keep their history, but the reason stops being offered on new visits and reports filtered by it will find nothing new.
- The default reason. Removing the reason that carries the Default tick leaves new visitors and invites with no reason pre-selected. Move the tick to another reason first.
- A reason with Advanced overrides. The access list it granted goes with it, so visits that relied on the override fall back to the global settings.
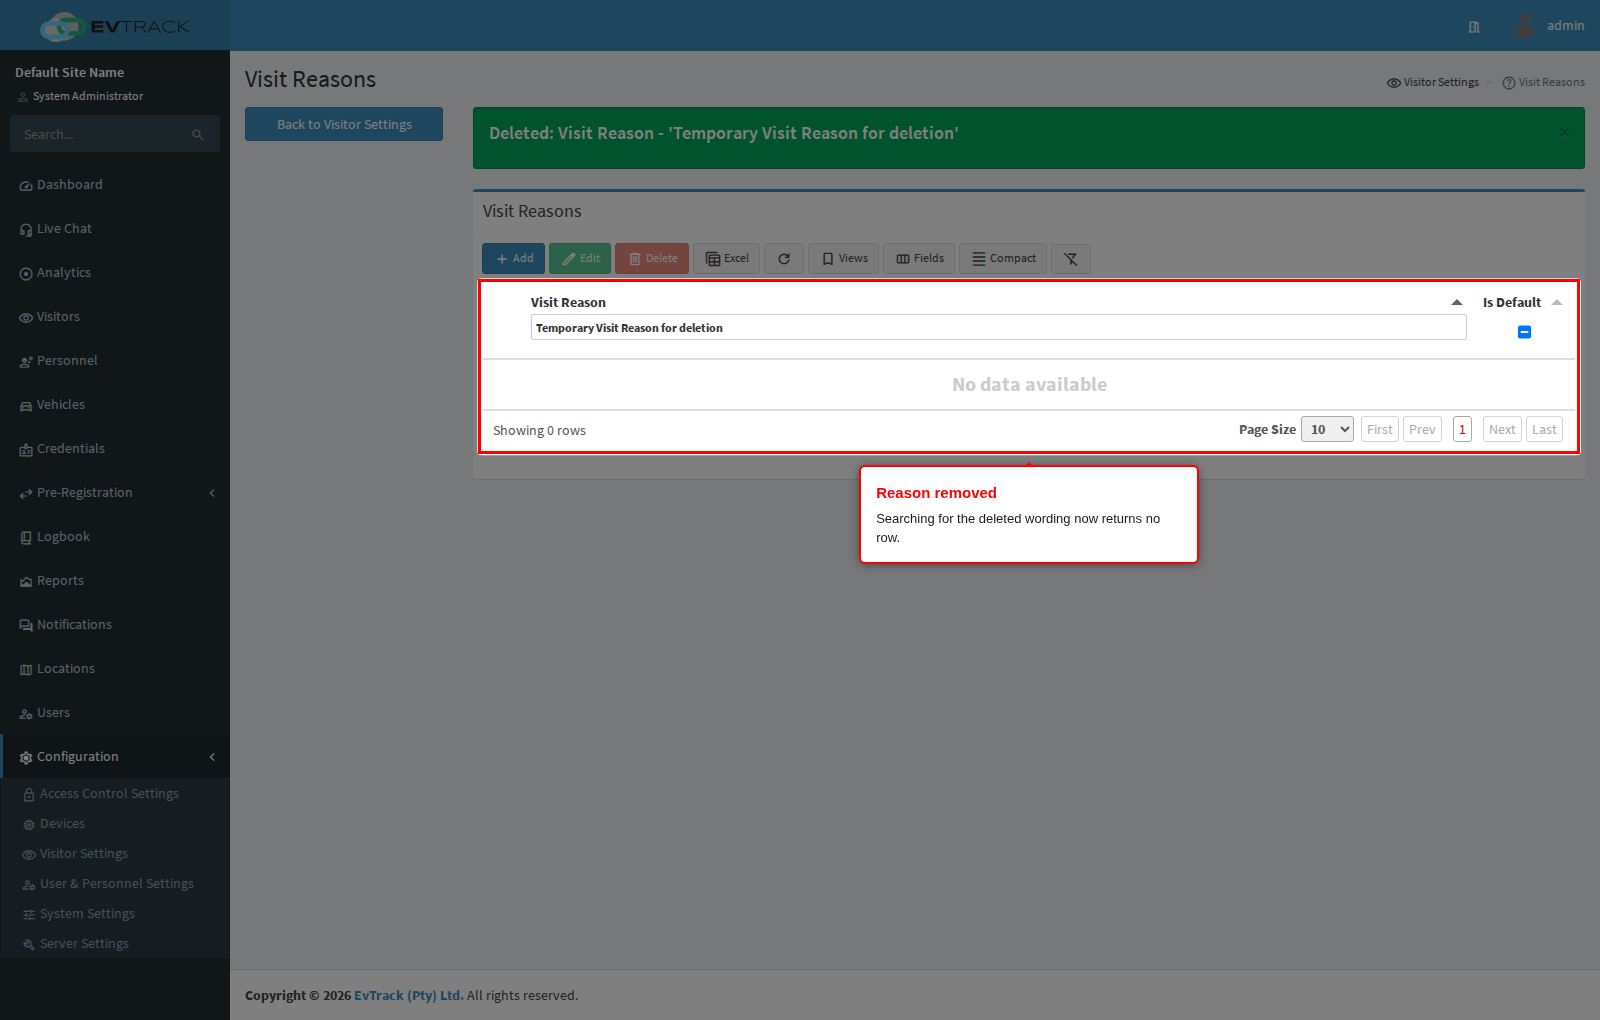
Step 13: Confirm the result
You return to the table with a success message and the reason is gone: search for its wording and no row is found. It no longer appears on visitor or invite forms.