An API key is how another system - a CRM, a booking engine, a building portal, an in-house application - authenticates to EvTrack’s REST interface. Keys are managed here: one key per consuming application, each carrying its own permissions, its own optional payload encryption, and its own on/off switch.
Keys are the preferred alternative to giving an integration a username and password, because a key can be revoked or narrowed at any moment without disturbing anybody’s login.
Before you start:
- You need an administrator account with API key administration rights. Without them the Web Service API entry does not appear in the System Settings sidebar.
- Know which resources the consuming application actually reads and writes. You will tick those, and only those.
- The key value is displayed exactly once, on the page immediately after you save. It is never shown again and cannot be recovered - only replaced. Have somewhere ready to paste it before you create the key.
Step 1: Open Web Service API
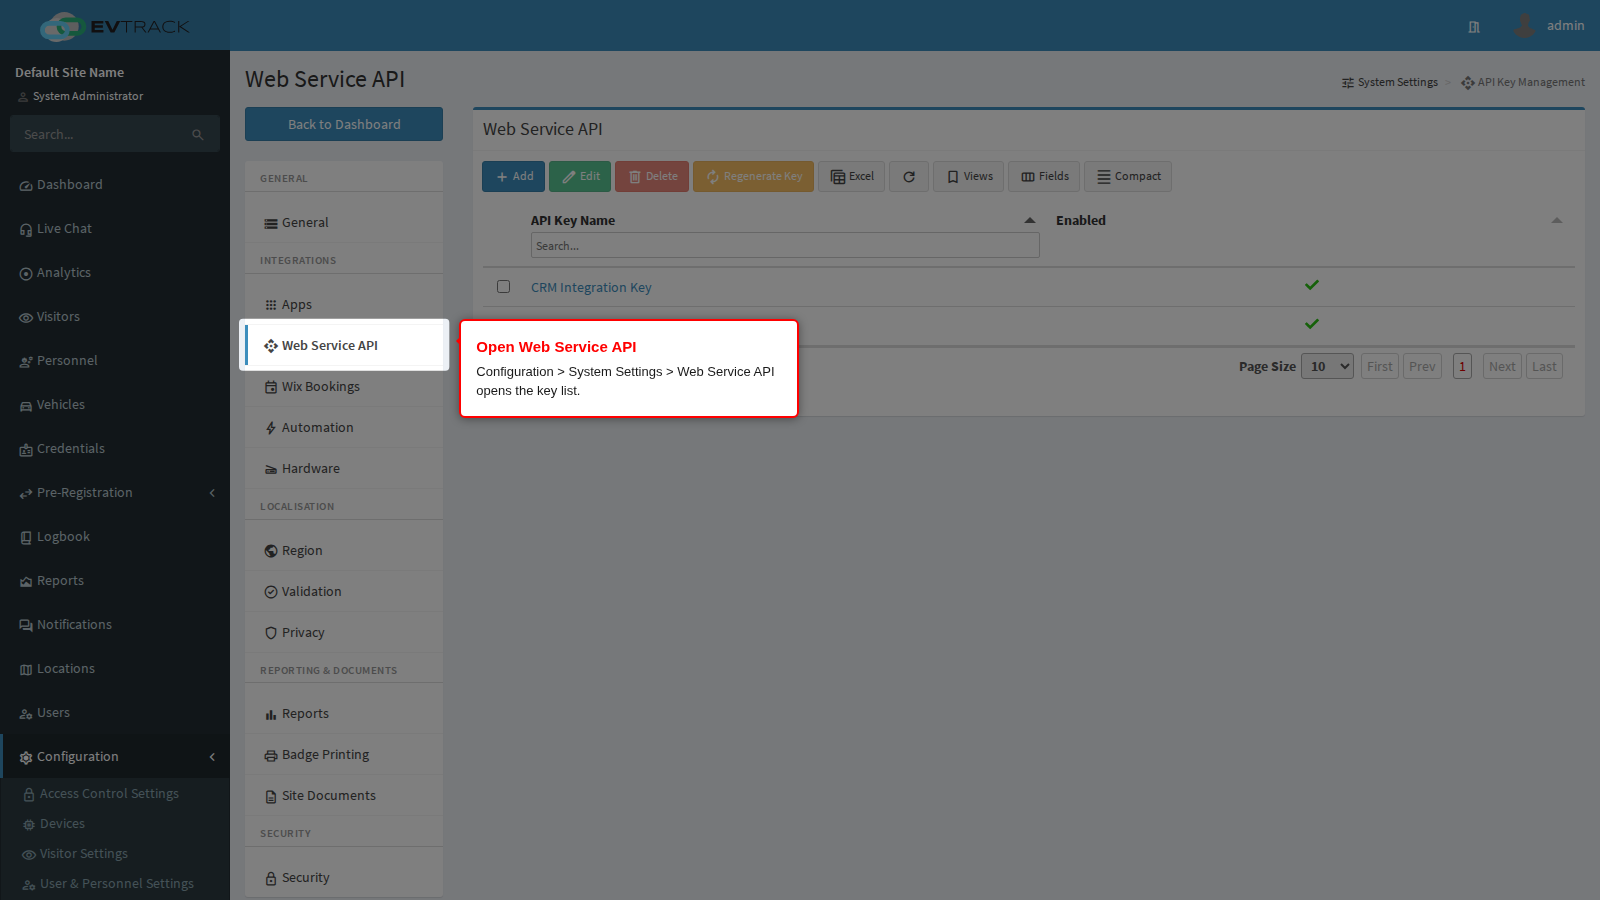
In the left sidebar open Configuration, click System Settings, then click Web Service API under Integrations.
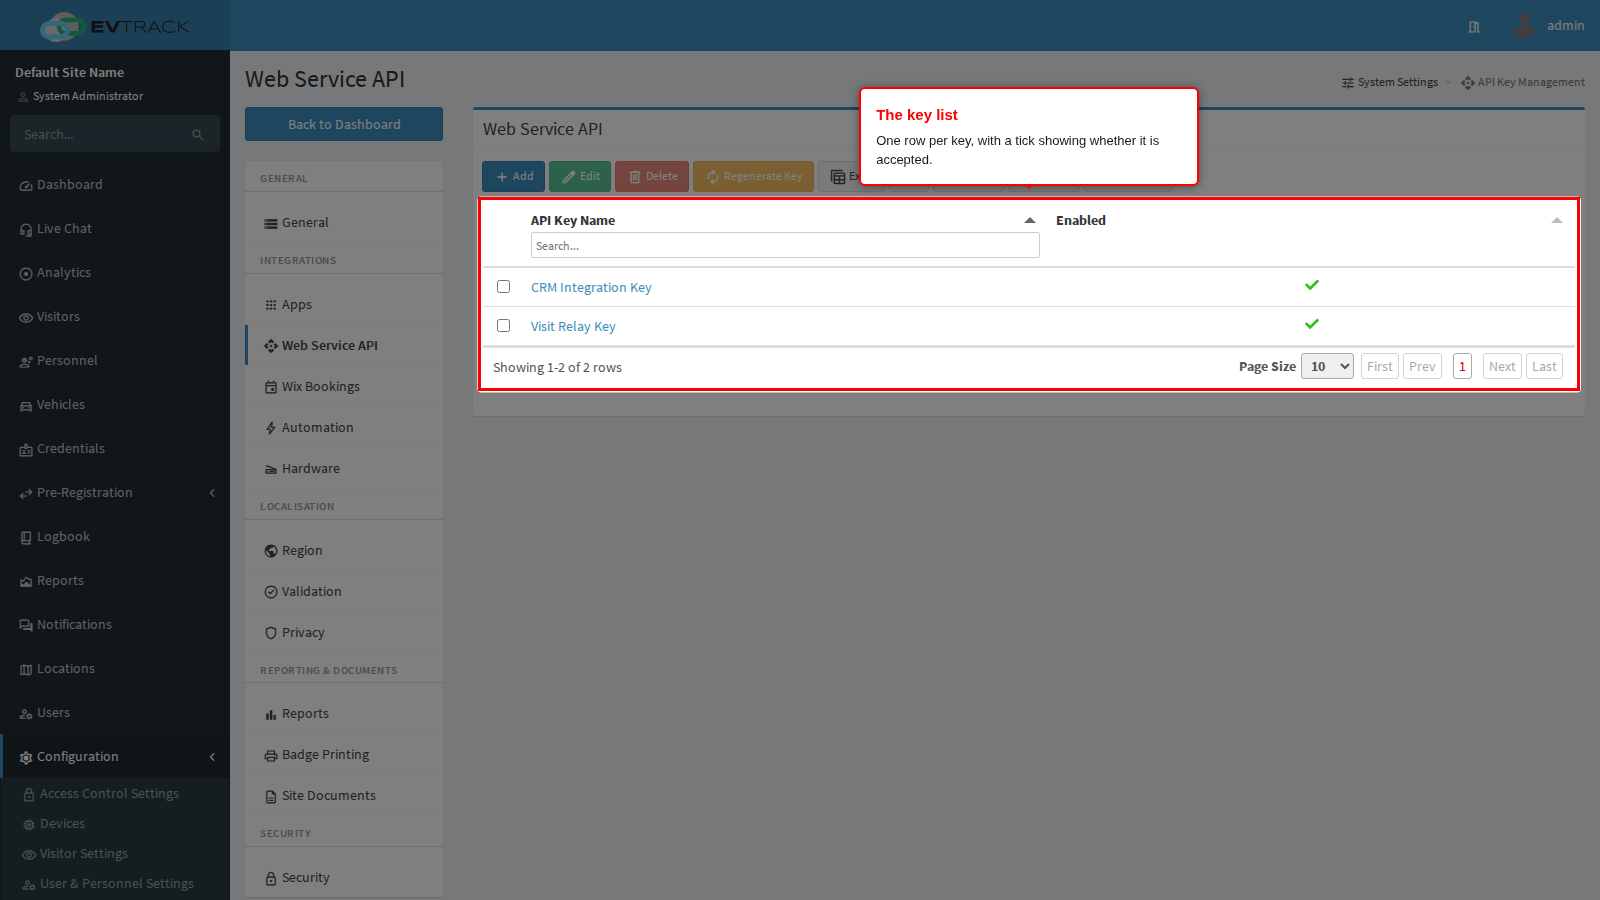
The key list
The list holds one row per key. The Name column identifies the consuming application, and the Enabled column shows a tick or a cross: a cross means the key exists but is refused on every request. Clicking a key’s name opens it for editing.
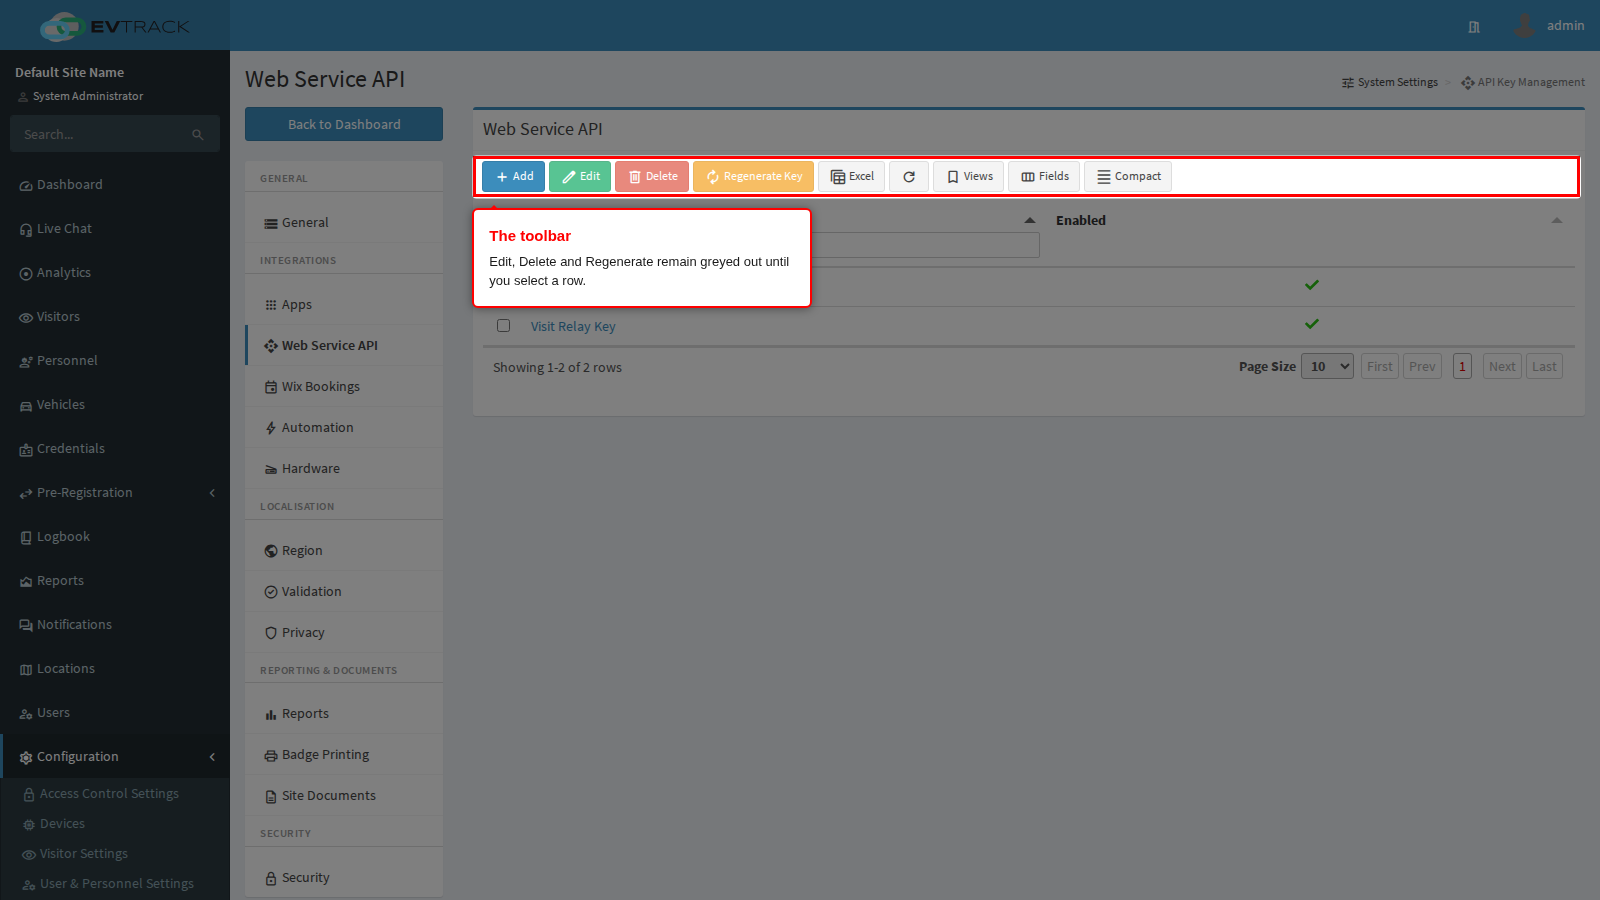
The toolbar above the table carries every action:
- Add - always available; opens the new key form.
- Edit - change a key’s name, encryption settings, permissions or enabled state. The key value itself is not changed and is not shown.
- Delete - opens a confirmation page and then removes the key permanently. Any application still using it is refused from that moment.
- Regenerate - issues a brand-new value for the same key, keeping its name and permissions. The old value stops working the instant you confirm.
- Excel - downloads the current list.
- Refresh - reloads the list from the server.
Edit, Delete and Regenerate remain greyed out until you select exactly one row, so if a button looks broken, select a row first.
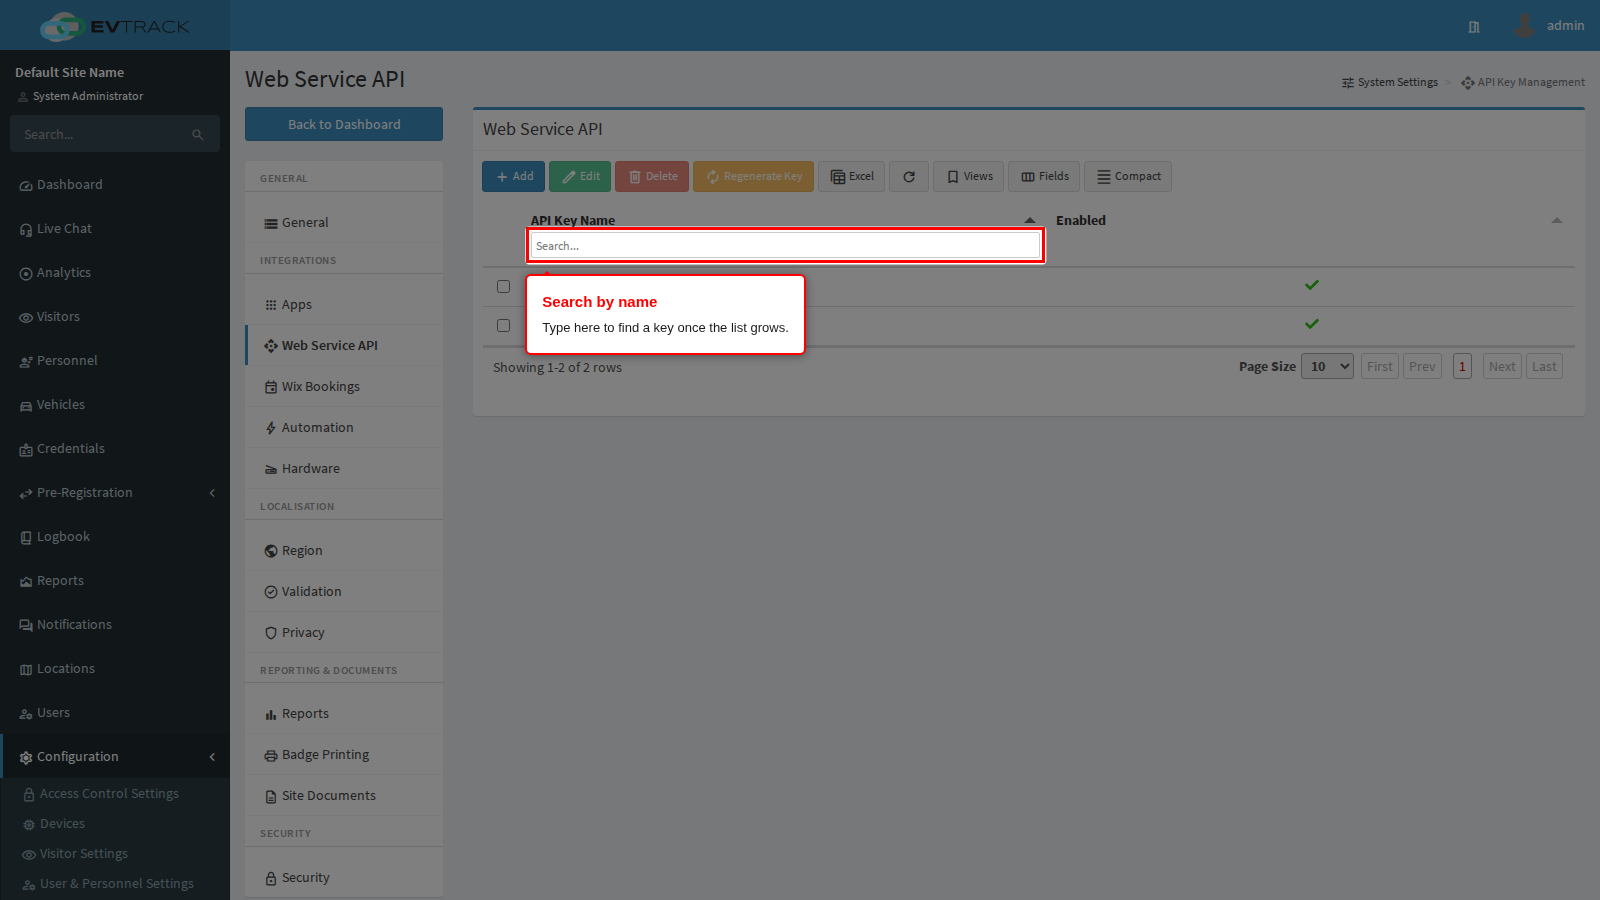
The Name column has a search box in its header. Type into it to filter the list; on a system with many integrations this is the fastest way to find the key belonging to one application.
The full task-by-task walkthrough - creating a key, copying the one-time token, editing, regenerating and deleting - is in API Key Configuration. The rest of this page is the reference for each control on the form.
Naming and payload encryption
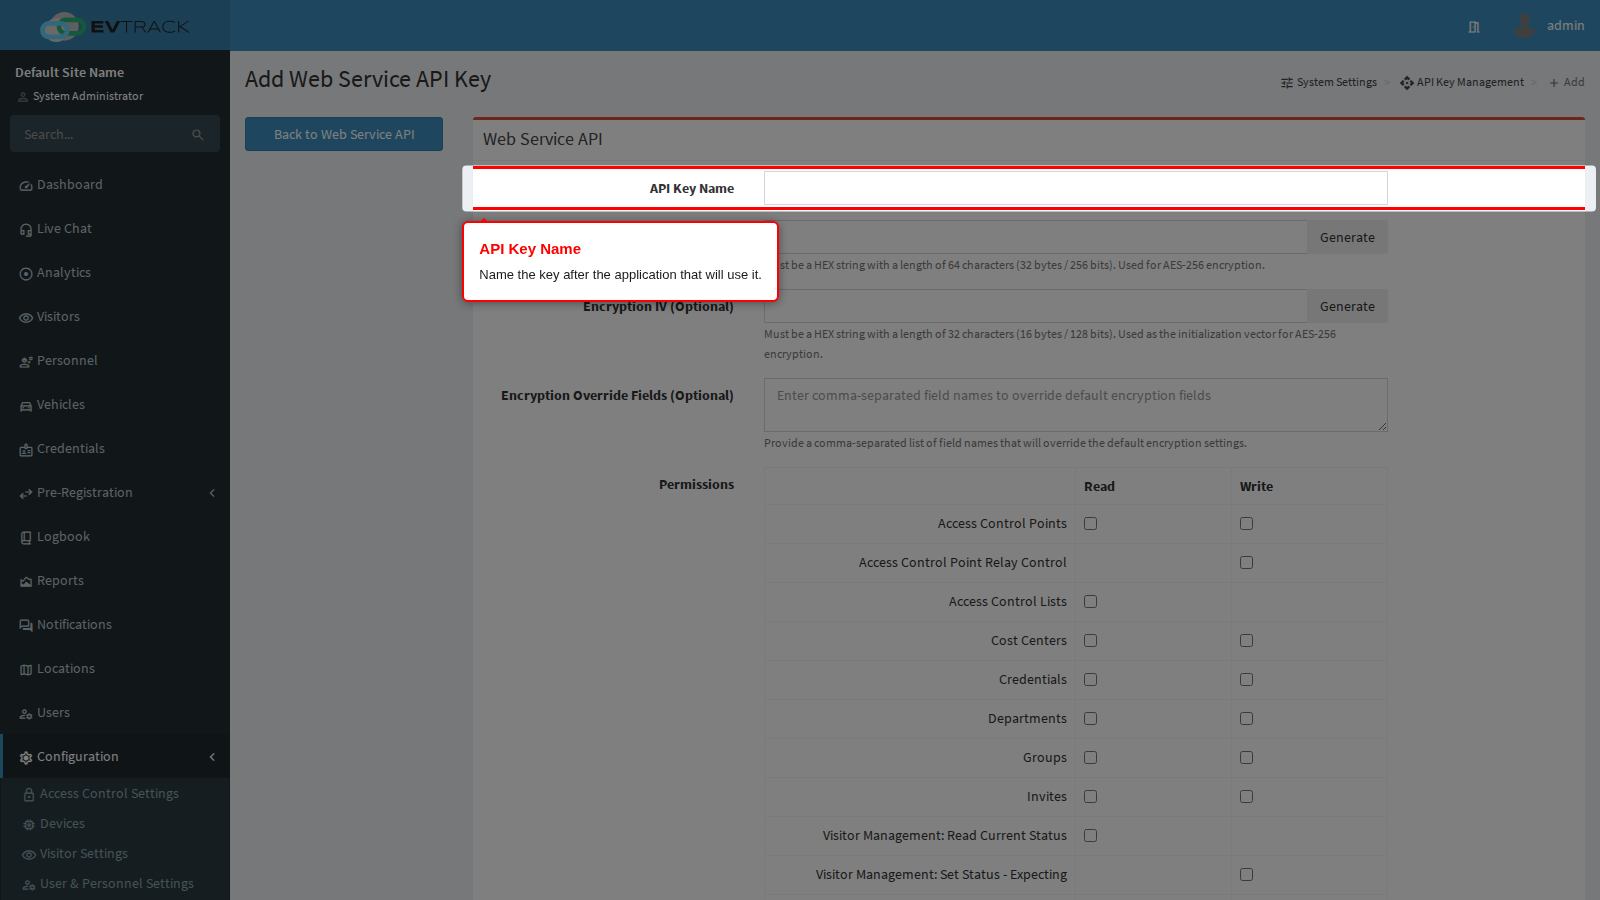
API Key Name is required, up to 50 characters, and must be unique - two keys cannot share a name. Name the key after the application that will use it (“Bookings portal”, “HR sync”), not after the person who created it. The name is what you will search for when you need to revoke access in a hurry.
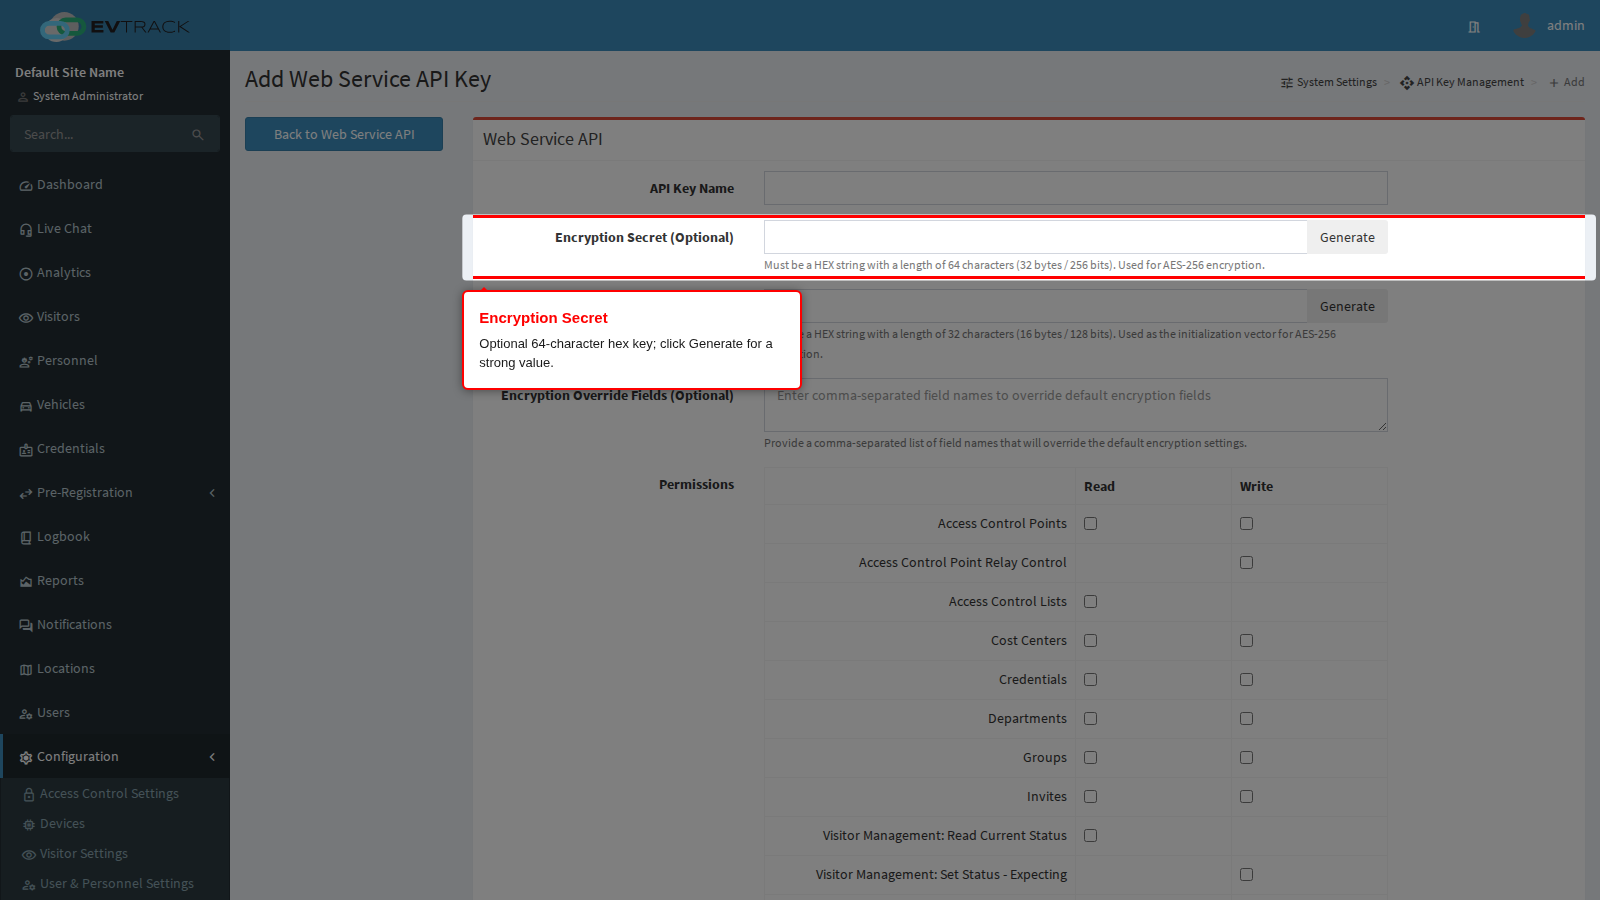
Encryption Secret (Optional) enables AES-256 encryption of the sensitive fields inside request and response payloads. It must be a hexadecimal string of exactly 64 characters (32 bytes), or left empty. The Generate button beside the field produces a valid random value; use it rather than inventing one. Anything that is neither empty nor 64 hex characters is rejected when you save.
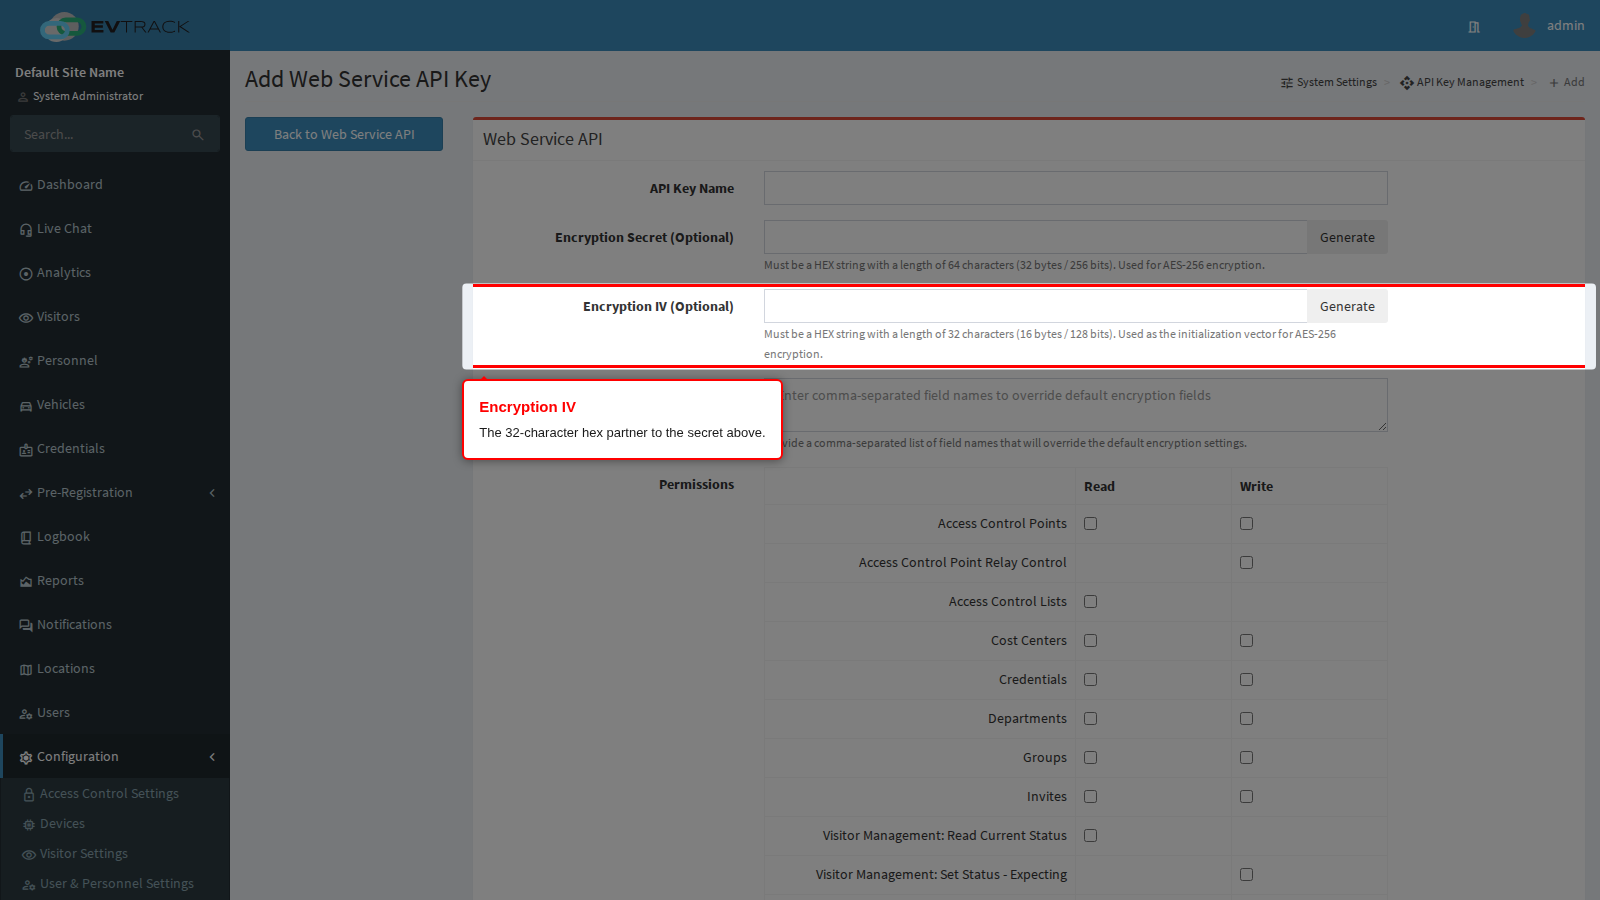
Encryption IV (Optional) is the initialisation vector for that encryption, and must be a hexadecimal string of exactly 32 characters (16 bytes), or empty. It has its own Generate button.
Encryption is all-or-nothing: set both fields to turn it on, leave both empty to exchange plain payloads. The consuming application must be configured with the same two values, or every call it makes will fail to decode. Copy them when you create the key.
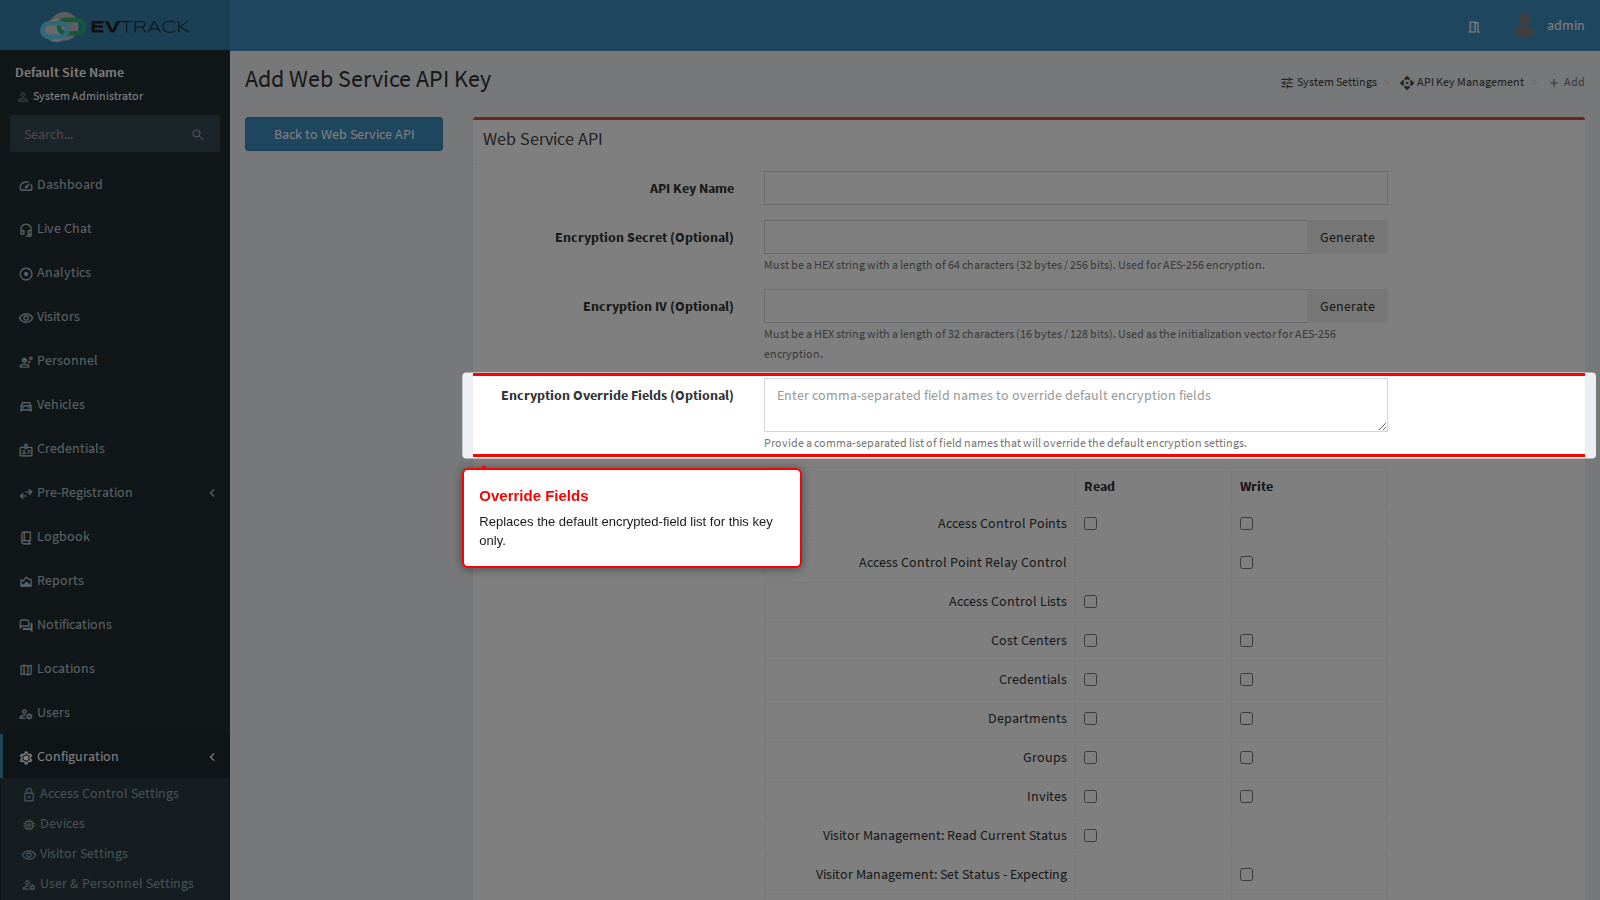
Encryption Override Fields (Optional) takes a comma-separated list of field names and replaces the default set of encrypted fields for this key. It is a narrowing tool for an integration that cannot handle the default set; leave it empty unless you have a specific reason, because anything not named here stops being encrypted. The default field list and worked encrypt and decrypt examples are in API Key Configuration.
Permissions
The permission grid is the security boundary of the key. Every checkbox is off by default, so a key with nothing ticked can authenticate but can do nothing. Grant the narrowest set that the integration actually needs, and use a separate key per application so one can be revoked without disturbing the others.
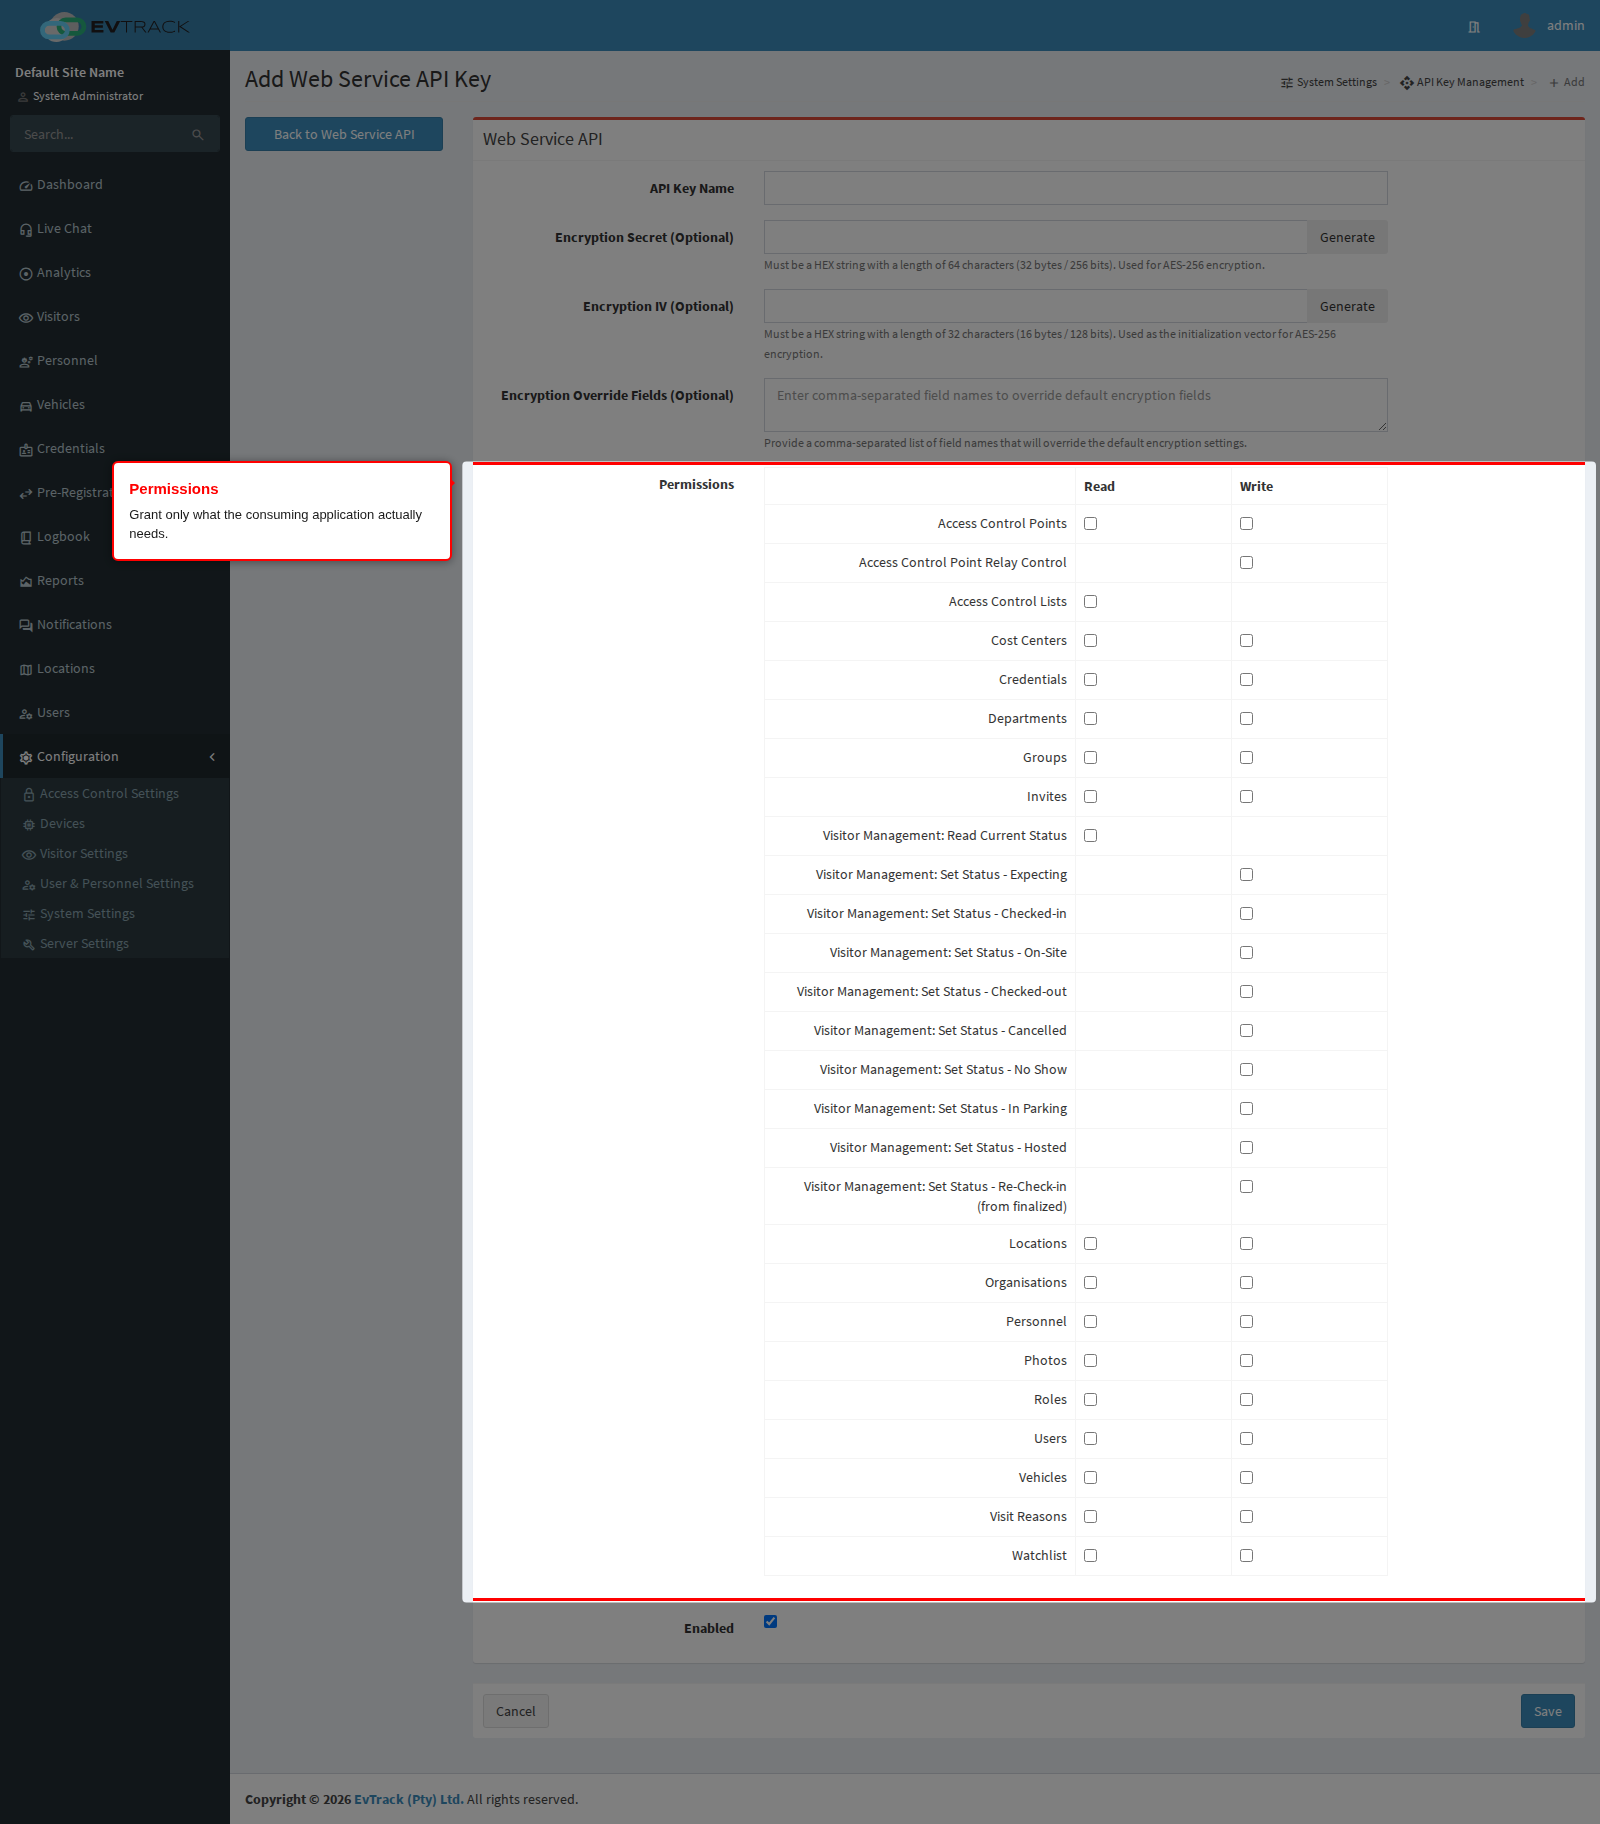
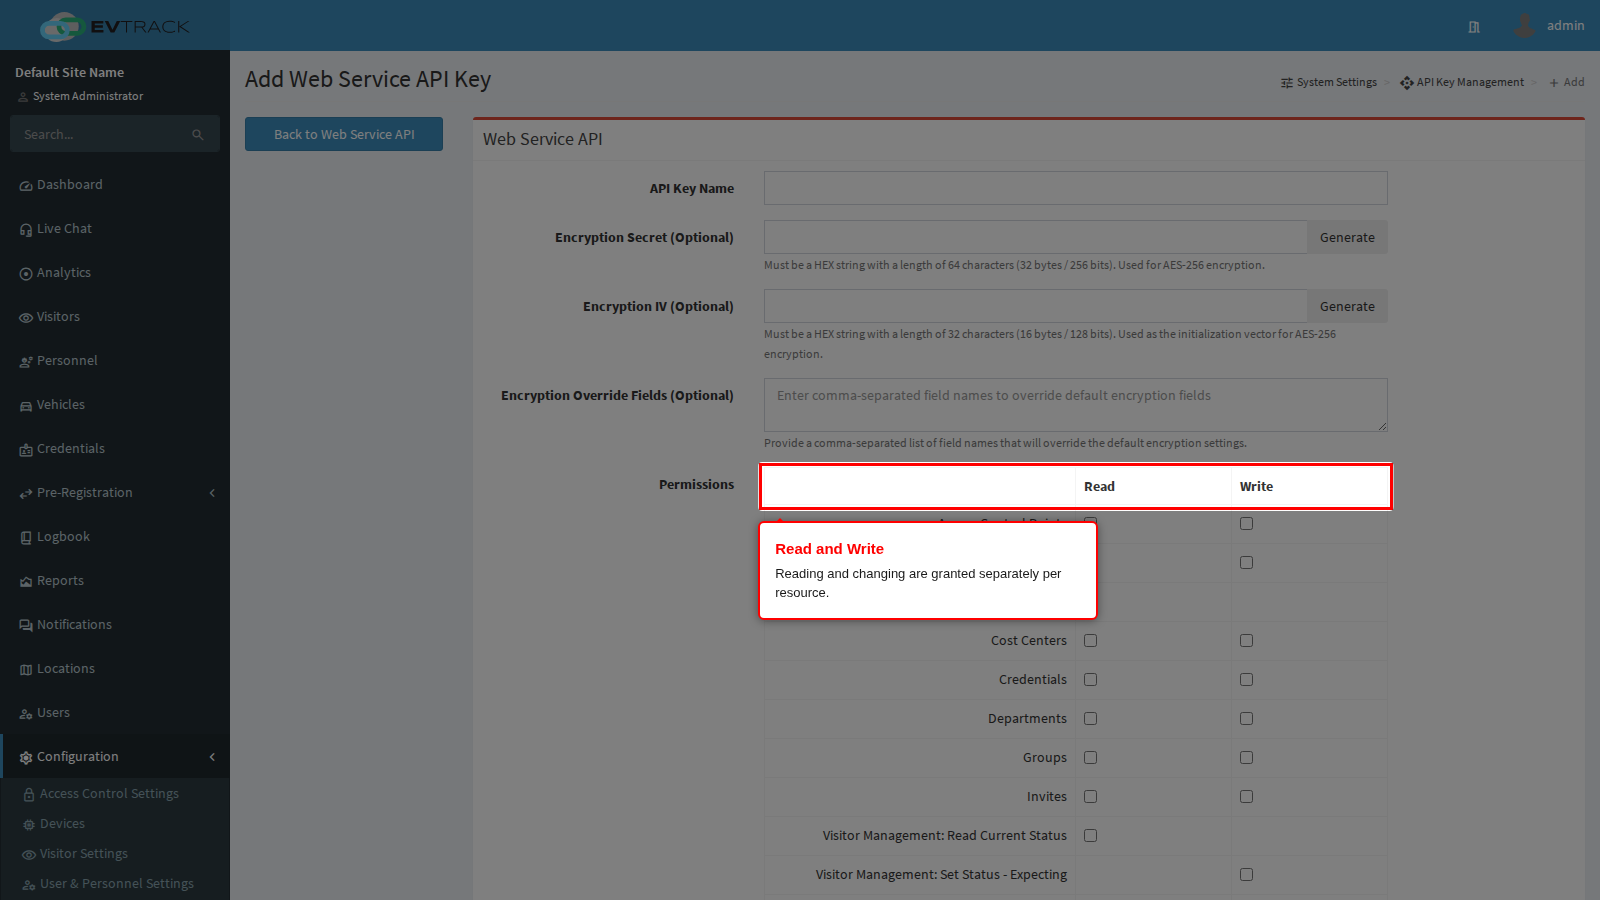
Rights are granted per resource and separately for Read and Write. A call to an endpoint whose right is not ticked fails with a permission error and nothing is read or changed - so tightening a key by clearing a checkbox takes effect on the application’s very next request, with no new token needed.
The resources covered are Access Control Points (plus a separate Access Control Point Relay Control right, which lets the integration trigger a door), Access Control Lists (read only, so an integration can resolve the lists it needs but cannot rewrite them), Cost Centers, Credentials, Departments, Groups, Invites, Locations, Organisations, Personnel, Photos, Roles, Users, Vehicles, Visit Reasons and Watchlists.
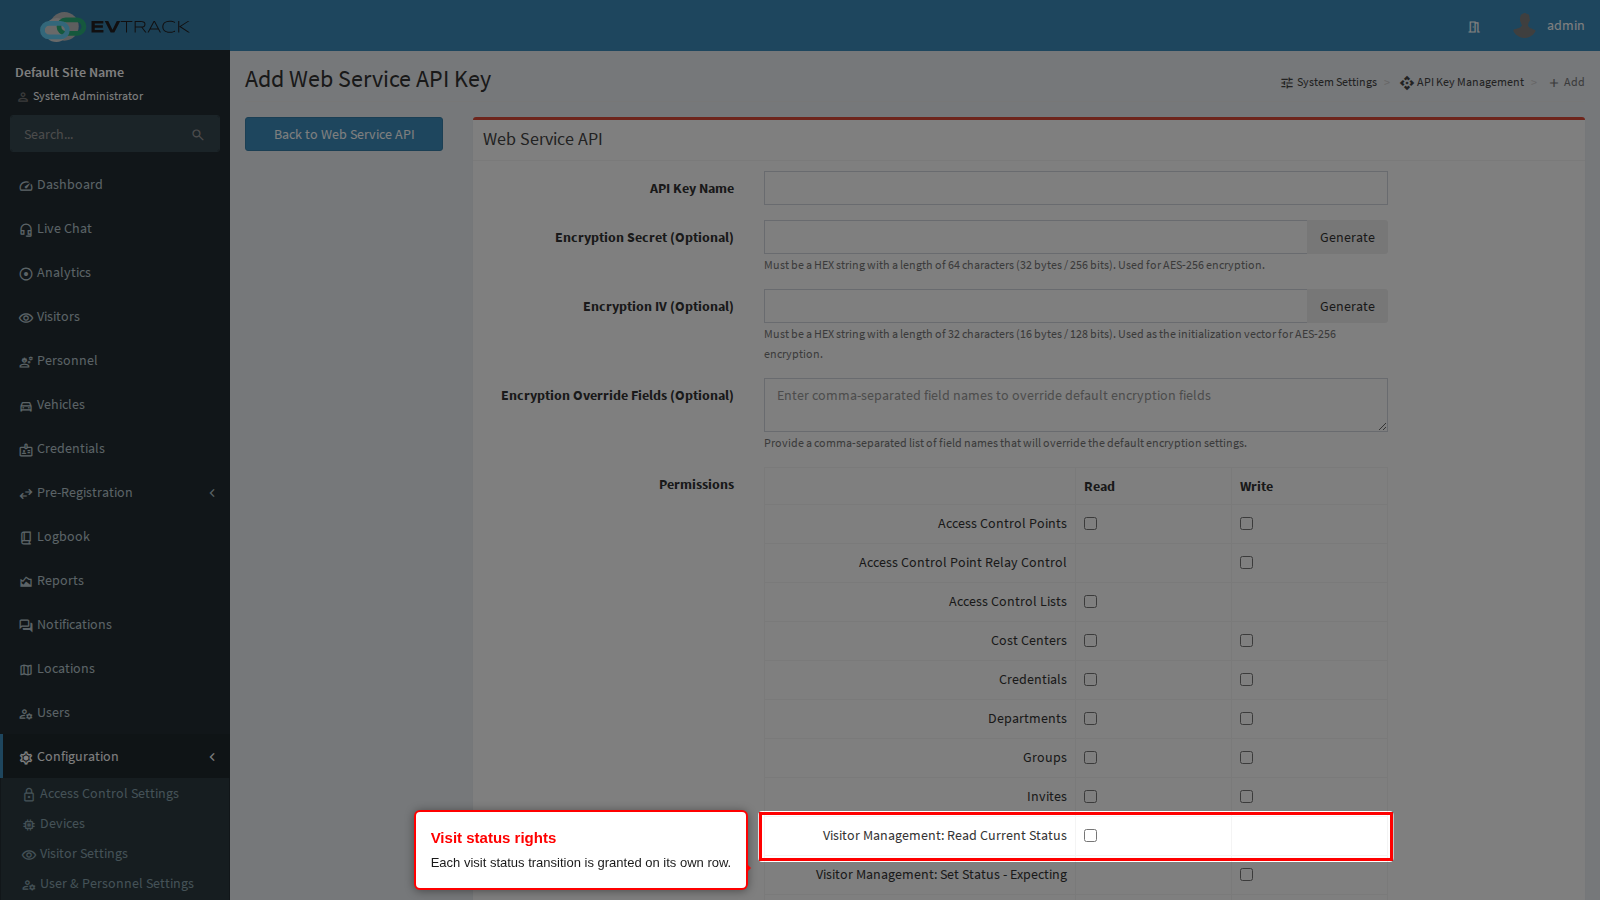
Below those sit the fine-grained Visitor Management rights. Reading the current status of a visit is one right; each status transition the integration may perform is another - Expecting, Checked-in, On-Site, Checked-out, Cancelled, No Show, In Parking, Hosted and Re-Check-in. This lets you allow a booking system to create and cancel visits without letting it check anybody in, or allow a turnstile integration to check people in without letting it cancel visits.
Enabling and saving
Enable is the master switch for the key. Leave it clear to prepare a key without activating it, or clear it later to suspend an integration immediately while keeping the key and all its permissions - ticking it again restores access with the same value. This is the reversible alternative to deleting a key.
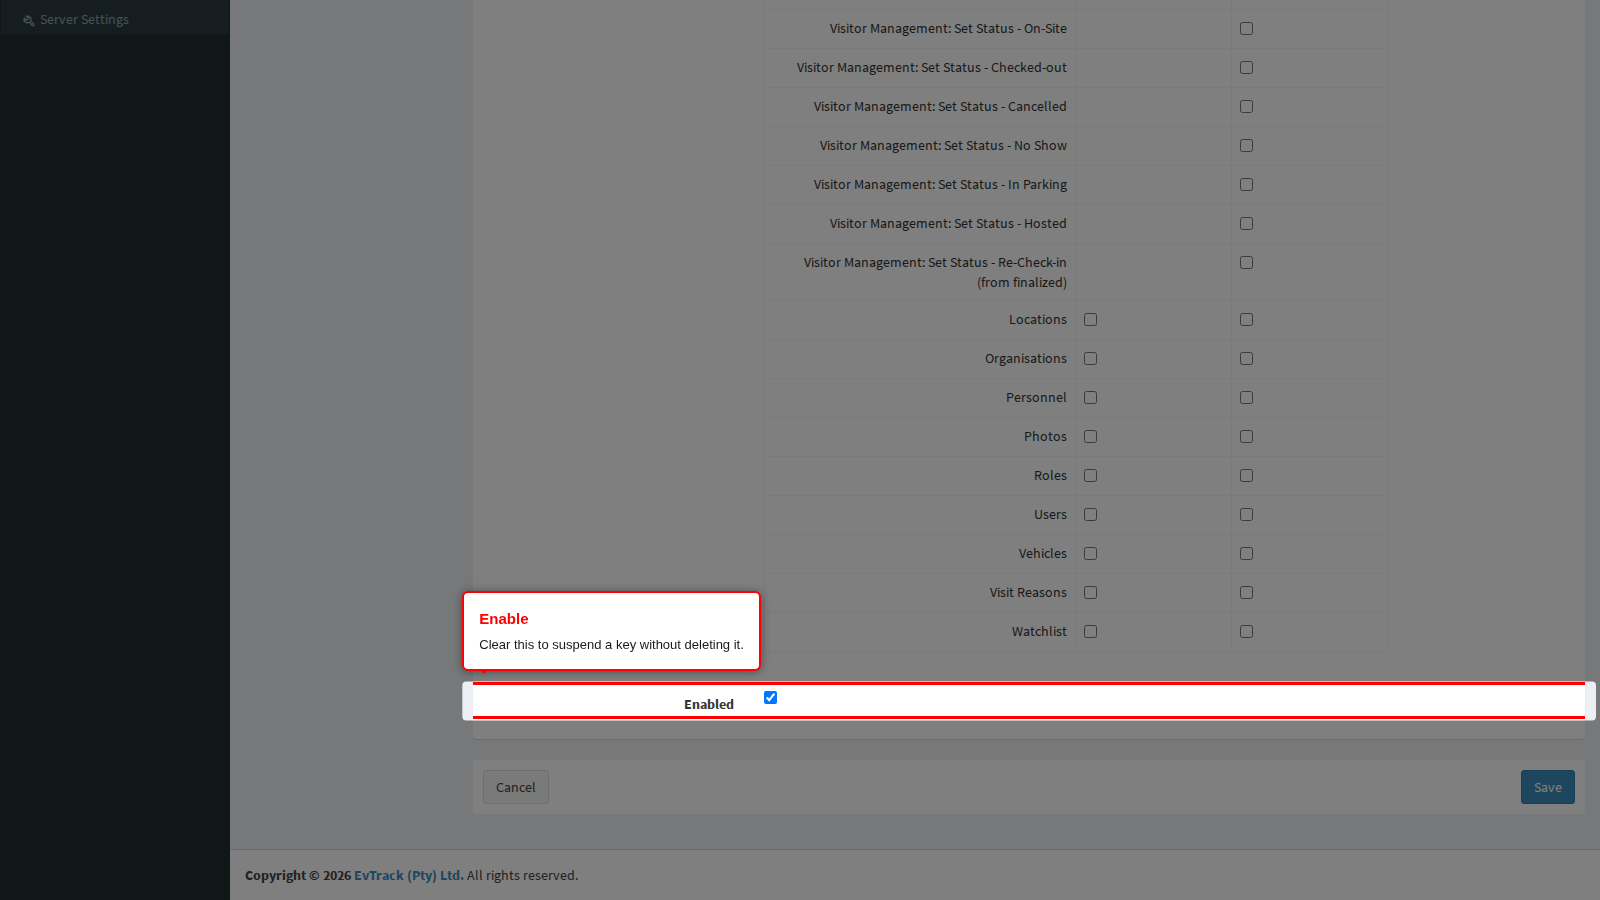
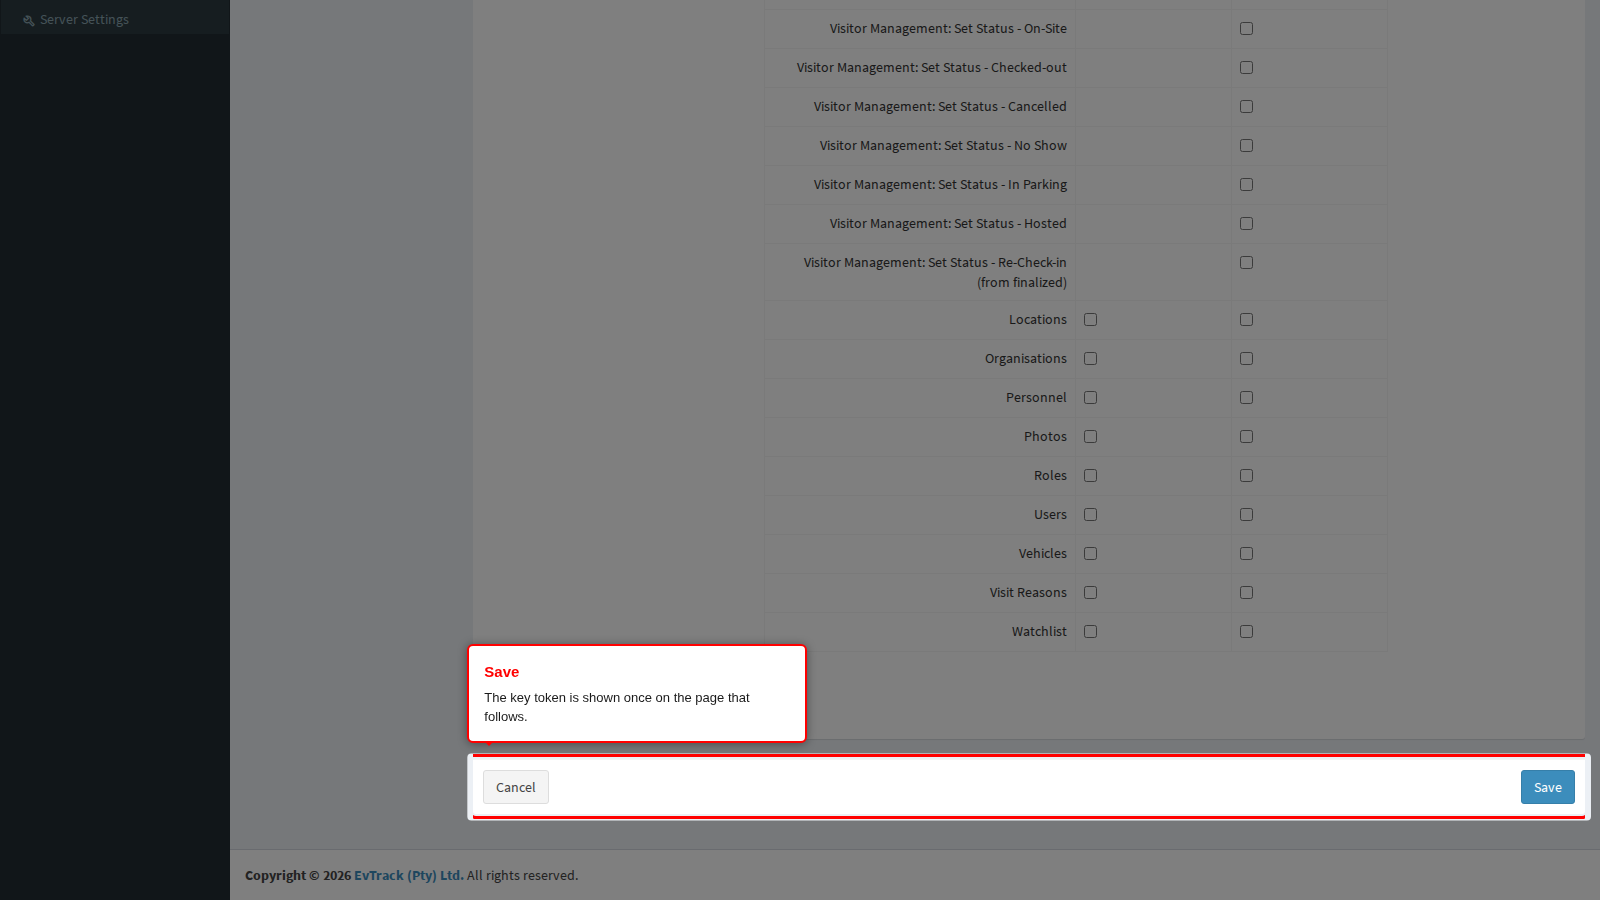
Click Save. On a new key, the page that follows shows the key value once, with a copy-to-clipboard button and a warning that it cannot be shown again. Copy it into the consuming application’s configuration before you leave that page. Cancel returns to the list without creating anything.
How the key is used
- Endpoints live under
/api/ws/v1/.... The consuming application sends the key value in theAuthorizationheader of every request; aBearerprefix is accepted and stripped. There is no login call, no session and no cookie. - A value shorter than 64 or longer than 256 characters is rejected as unauthorized before it is even parsed.
- Each key has its own rate-limit allowance, so one noisy integration cannot starve the others.
Restricting the interface to the local machine
An onsite installation whose only API caller runs on the EvTrack server itself can close the interface to the network completely with a server property:
evtrack.security.config.hardening.webservice-api.restrict-to-localhost=true
With it enabled, requests to /api/ws/** and /api/onsite/** are accepted only from the loopback address and are refused before authentication is even attempted. The default is false.
Do not enable it if any integration calls EvTrack from another host, including a reverse proxy that forwards from a different machine - the calls will simply stop working, with no clue in the key’s own configuration as to why. See Security Configuration.
Related pages
- API overview - base URL, authentication, error codes and rate limits.
- API Key Configuration - the step-by-step create, edit, regenerate and delete walkthrough, plus the encrypted-field list and code examples.
- Configuration > Visitor Settings > Web Service API - which visitor fields registrations submitted through the API must carry.
- The machine-generated endpoint reference is published at https://api.docs.evtrack.com/.