Site documents are the files that belong to the whole site rather than to one person, location or vehicle: the site map, the induction pack, the terms and conditions, the emergency procedure. They are stored once here, and they are also the documents the companion mobile app offers its users, so an employee or contractor with the app can open the current version on their phone instead of asking for a copy.
Documents that belong to a single record (a visitor’s identity document, a contractor’s induction certificate, a vehicle licence document) are stored on that record’s own Documents tab instead - see Documents on Records.
Before you start
- Have the file ready as a JPG, PNG or PDF of up to 10 MB.
- Viewing, uploading and deleting documents are three separate permissions. If the Upload or Delete button described below is missing, ask an administrator to extend your role.
Step 1: Open the Site Documents page
Open Configuration > System Settings > Site Documents. The page lists every document stored for the site. A newly installed system has none, so the list shows a “no data available” message until you upload the first file.
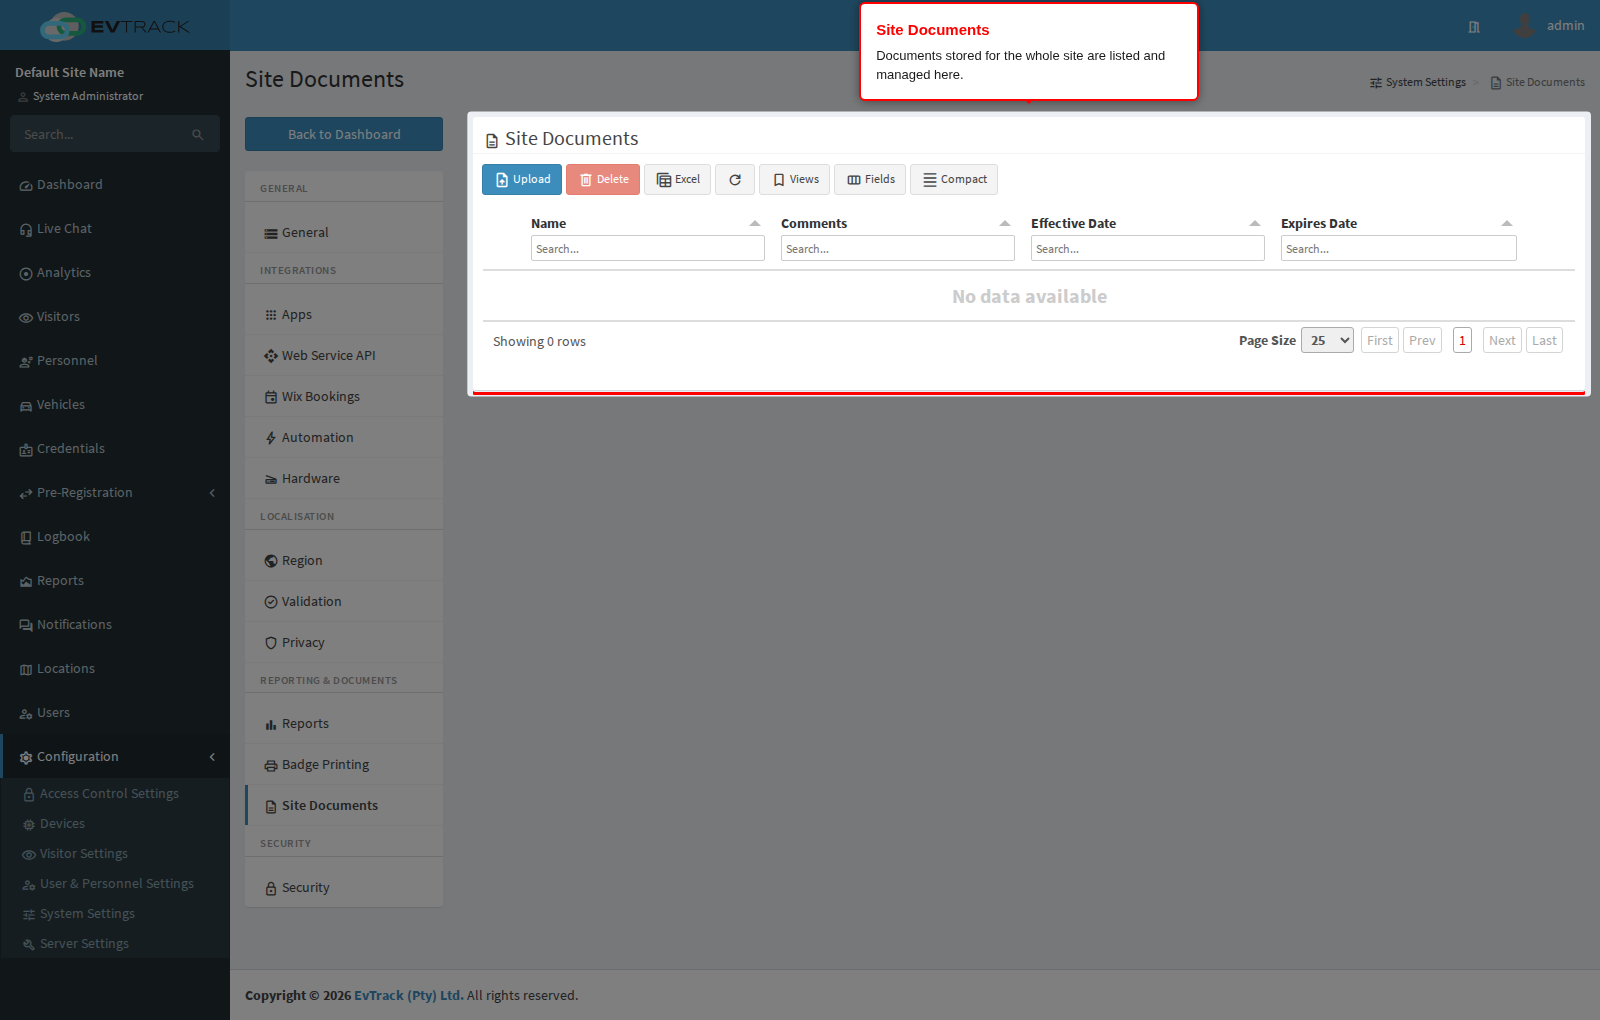
Each row shows:
- Name - the file name of the stored document. Click it to open or download the file.
- Comments - the note captured at upload time, describing what the document is or when it applies.
- Effective Date - the date from which the document is considered current.
- Expires Date - the optional date after which the document is considered outdated.
- The download icon at the end of the row saves a copy to your computer.
Step 2: Click Upload
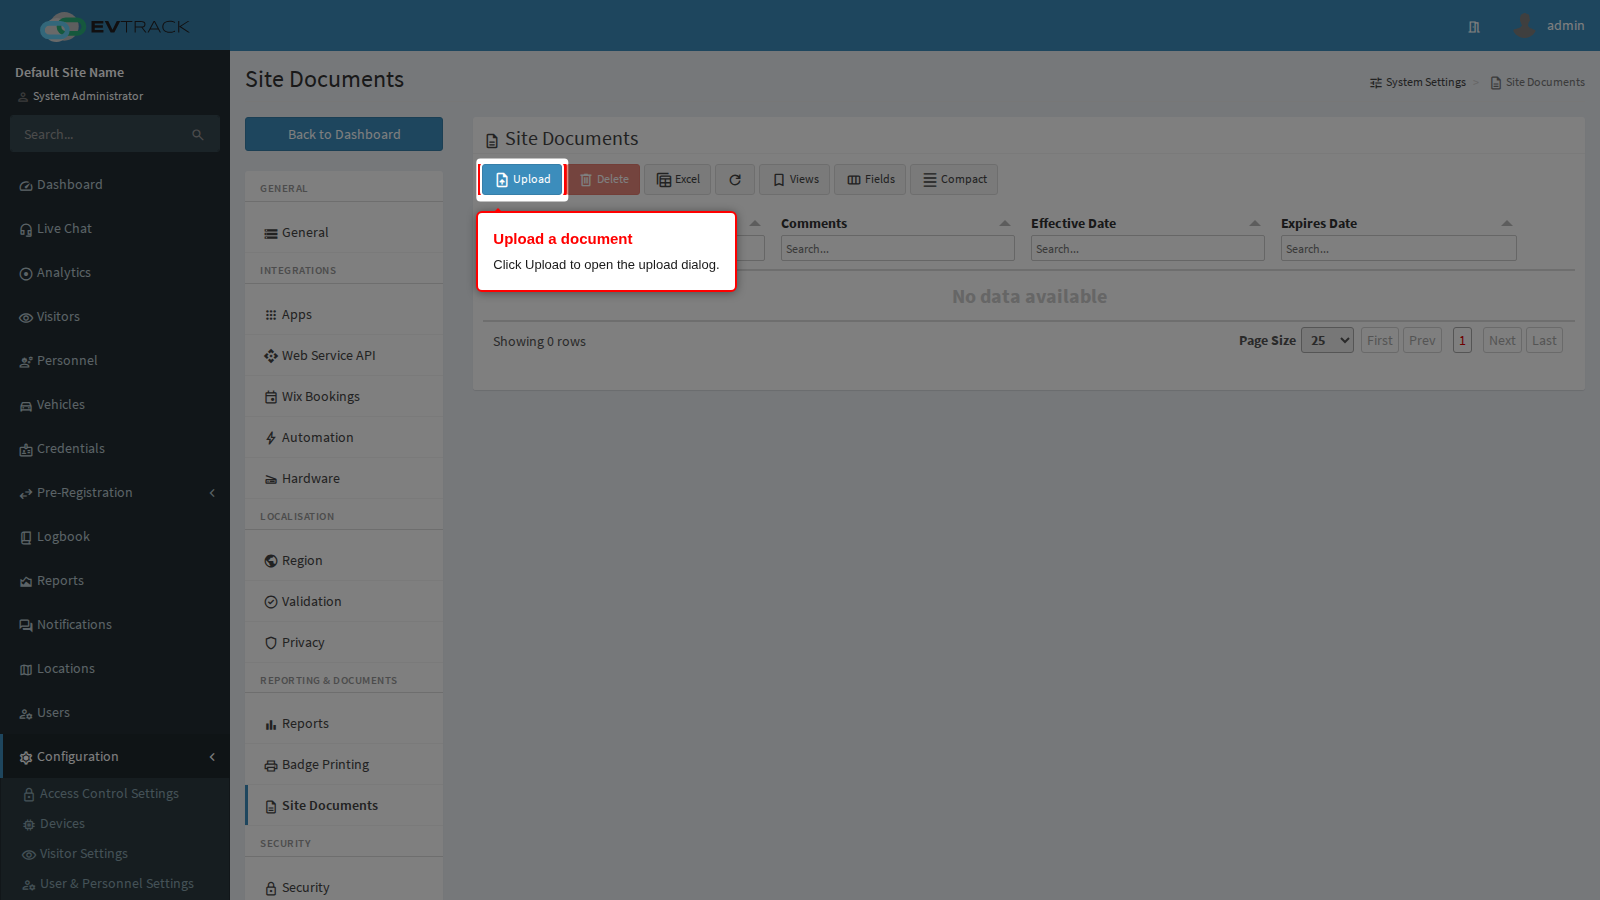
Click the blue Upload button in the toolbar above the list. The upload dialog opens.
Step 3: Complete the upload dialog
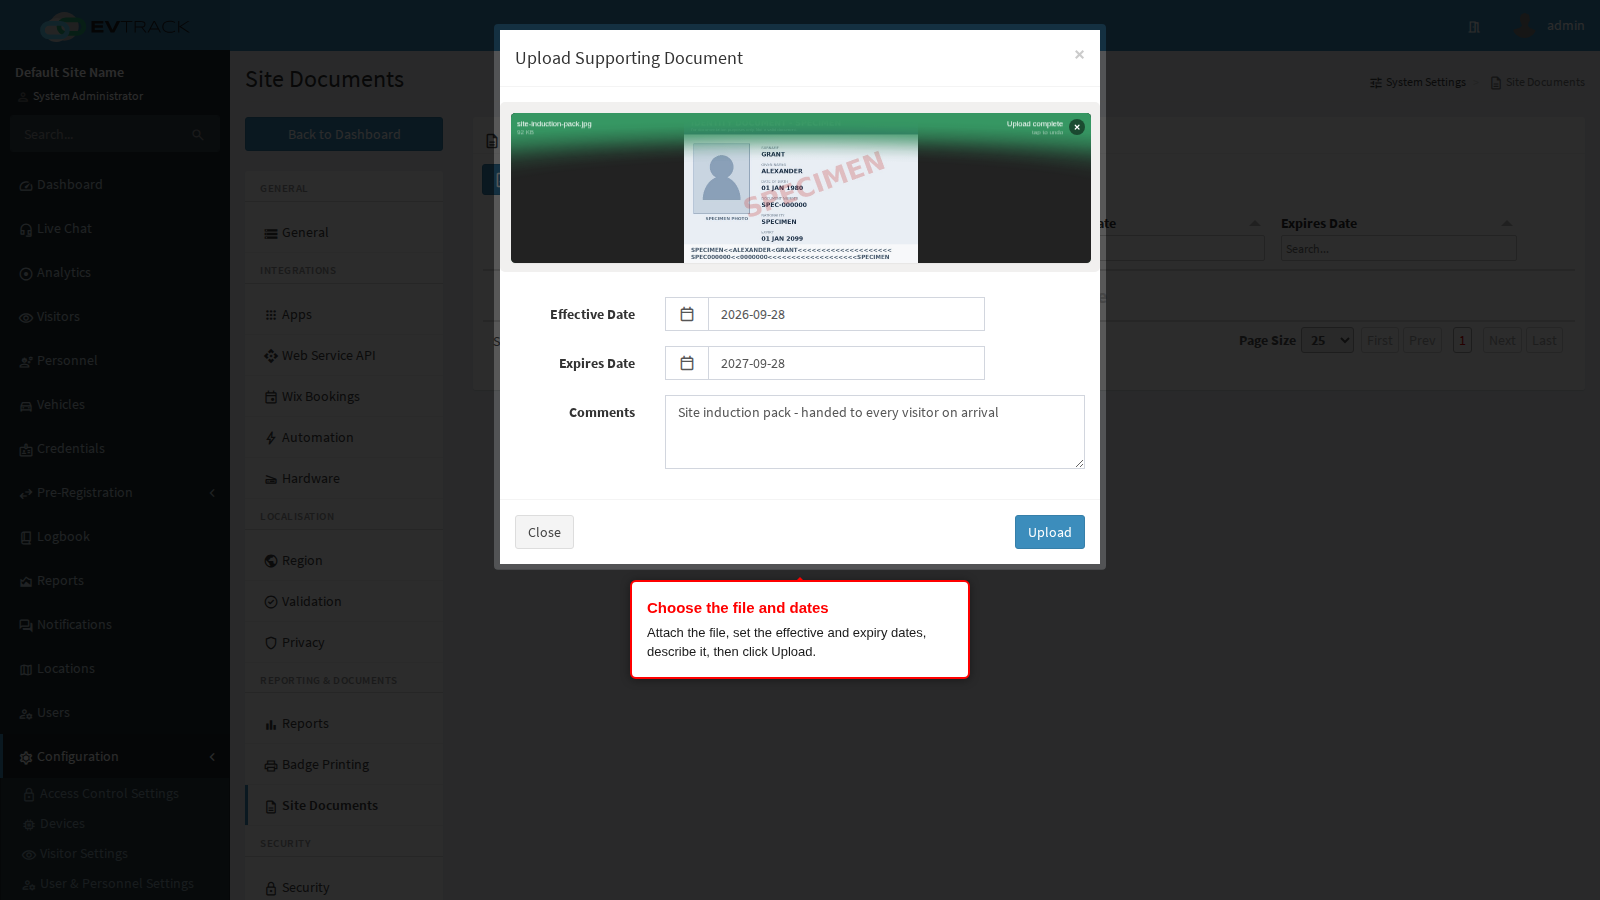
- Drag and drop your file or Browse - drop the file onto the panel, or click Browse and pick it from your computer. Wait for the upload progress to finish before continuing; the file is only attached once it completes.
- Effective Date - required. It defaults to today, which is normally what you want. Set it to a future date when a new revision only takes effect later.
- Expires Date - optional. Set it to the date the document must be replaced, for example the annual review date of an induction pack. It is recorded and displayed for information, so you can spot lapsed paperwork at a glance.
- Comments - a short description of the document. This is the text everyone else sees next to the file name, so describe the document rather than the file.
Click Upload. The dialog closes and the list refreshes.
Step 4: The document is stored
The document now appears in the list with its comments and dates.
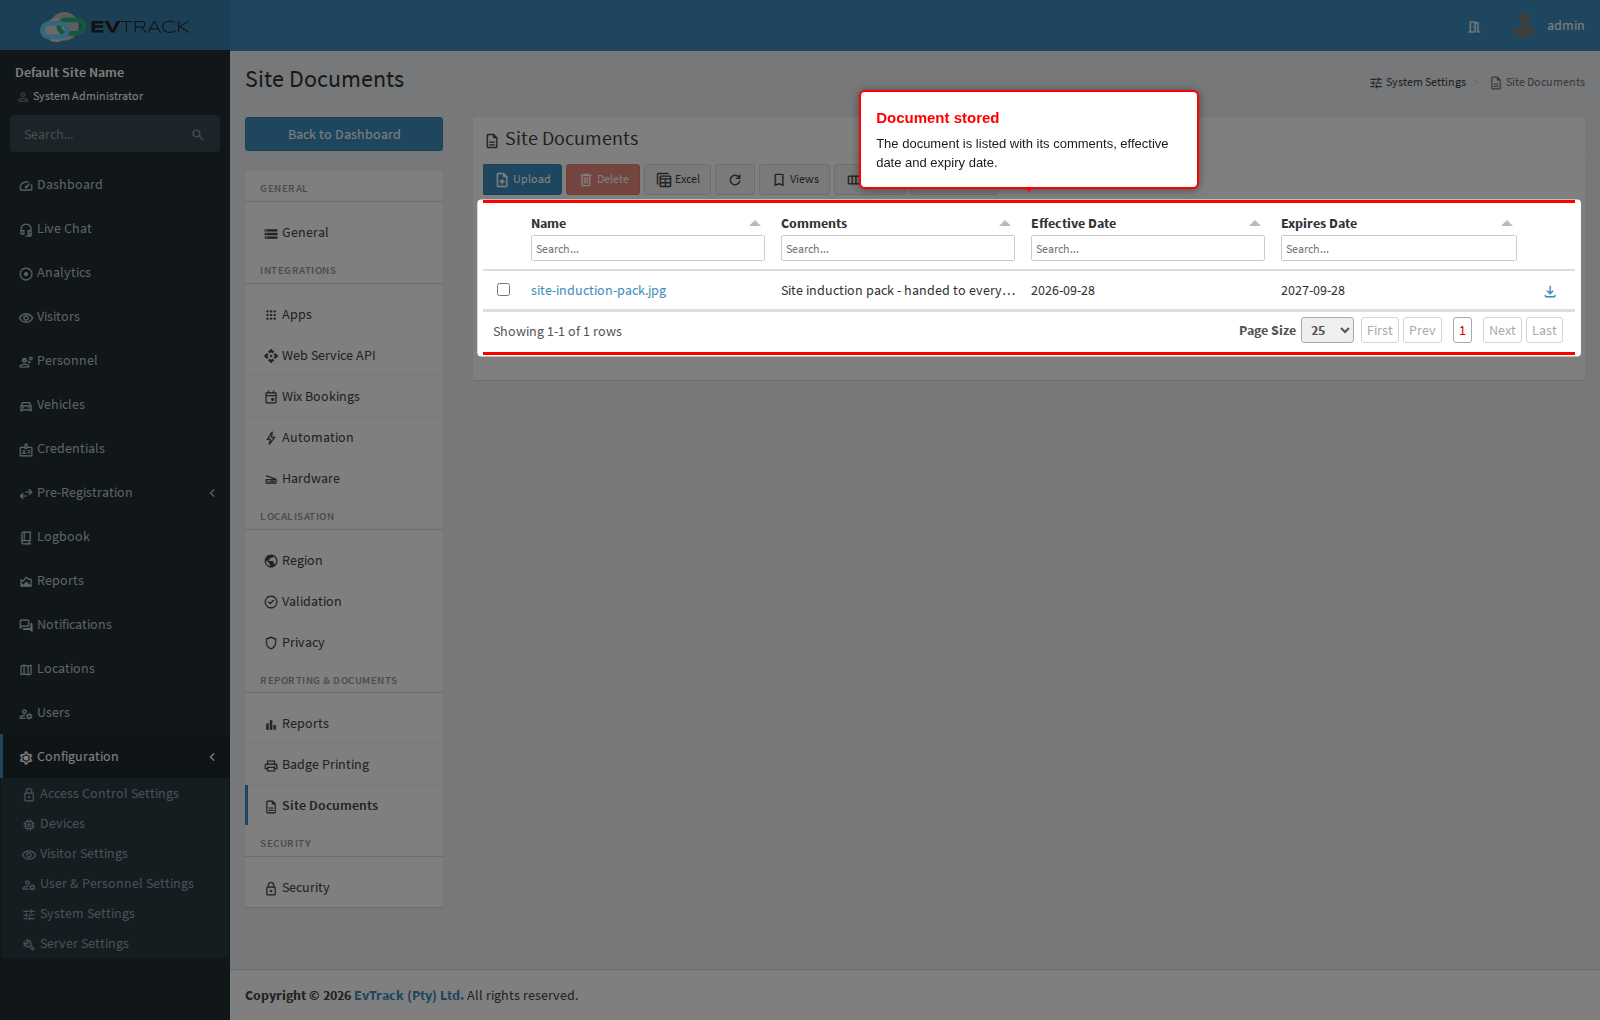
To retrieve a stored document later, click its name or the download icon at the end of its row.
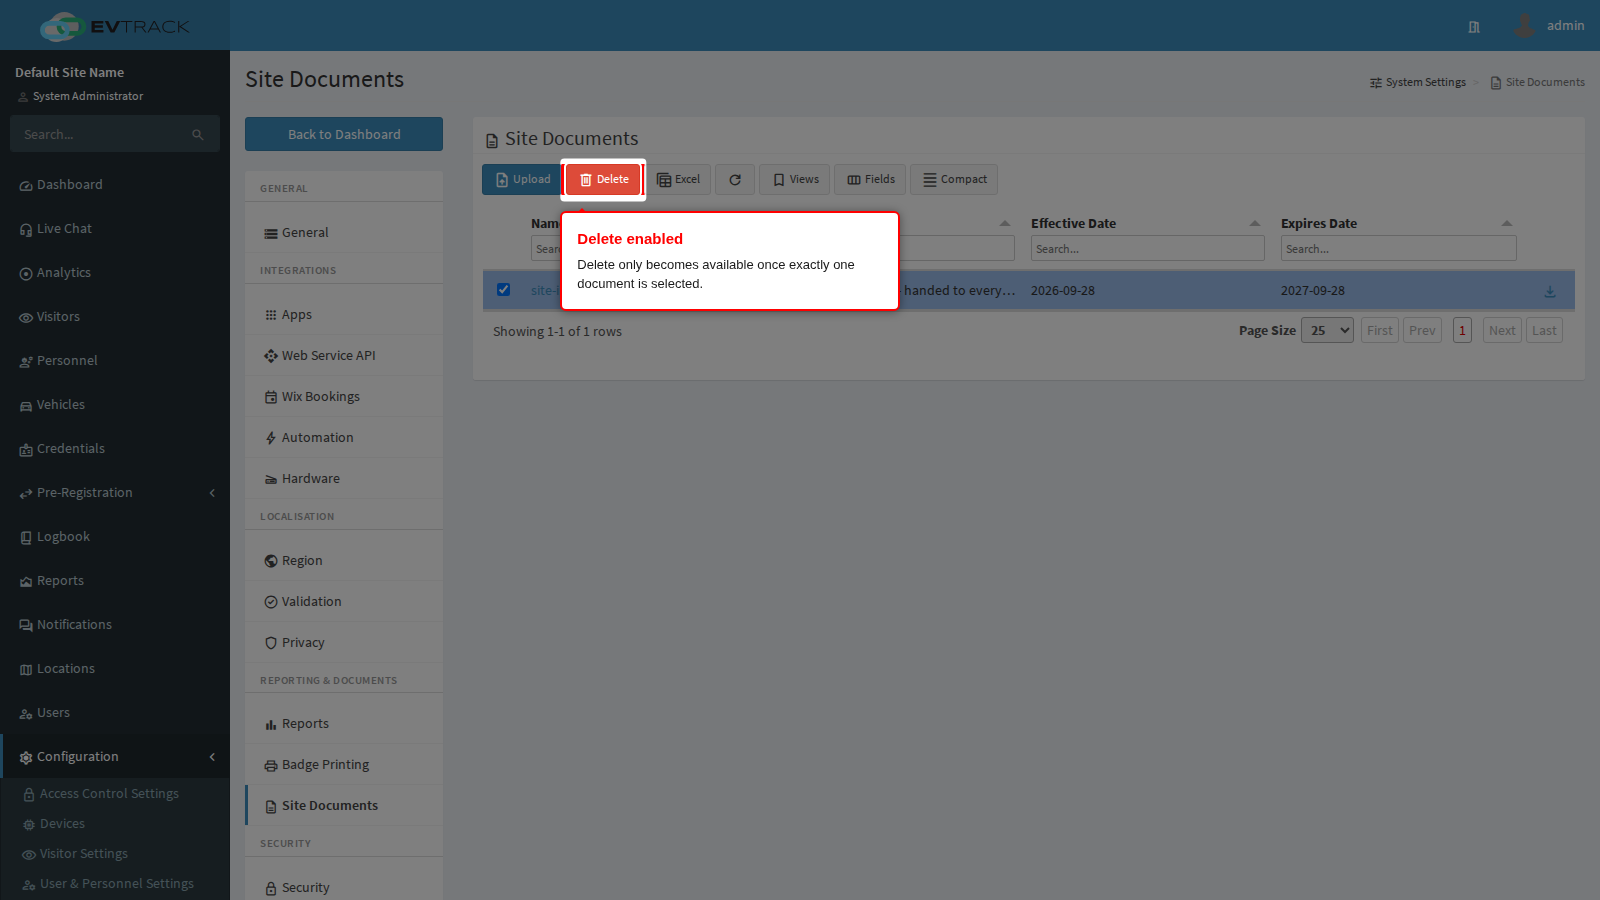
Step 5: Select the document you want to remove
Tick the selection box at the start of the document’s row. The red Delete button remains disabled until exactly one document is selected.
Step 6: Confirm the deletion
Click Delete. A confirmation window asks you to confirm.
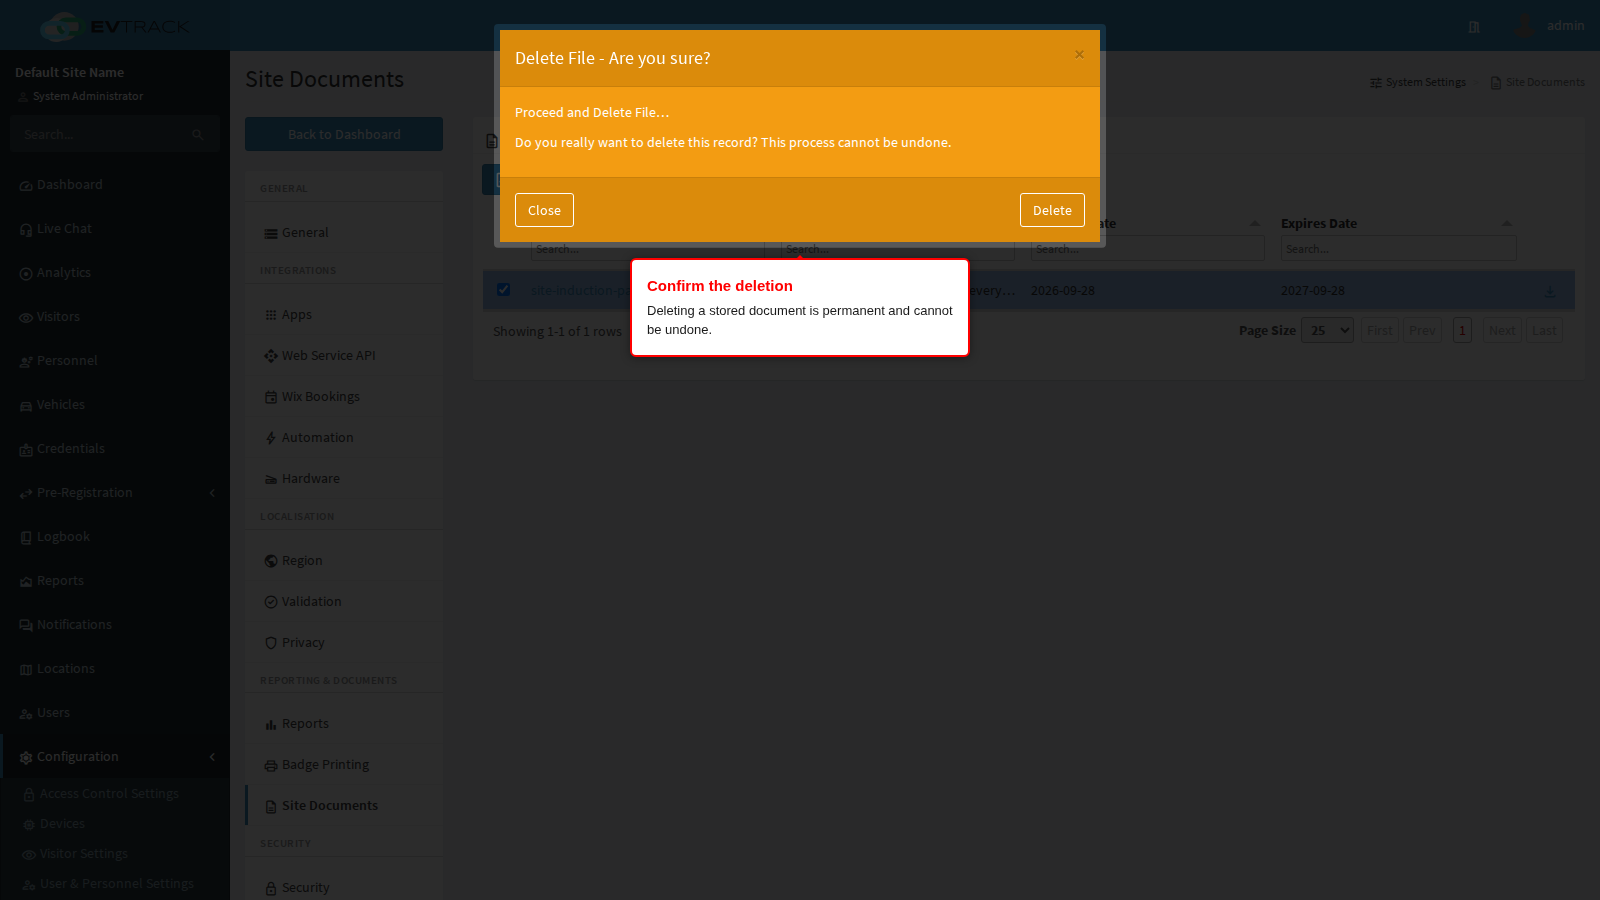
Deleting a document is permanent and cannot be undone, and app users stop seeing it immediately. Download a copy first if you may need the file again. Click Delete in the confirmation window to proceed, or Close to keep the document.
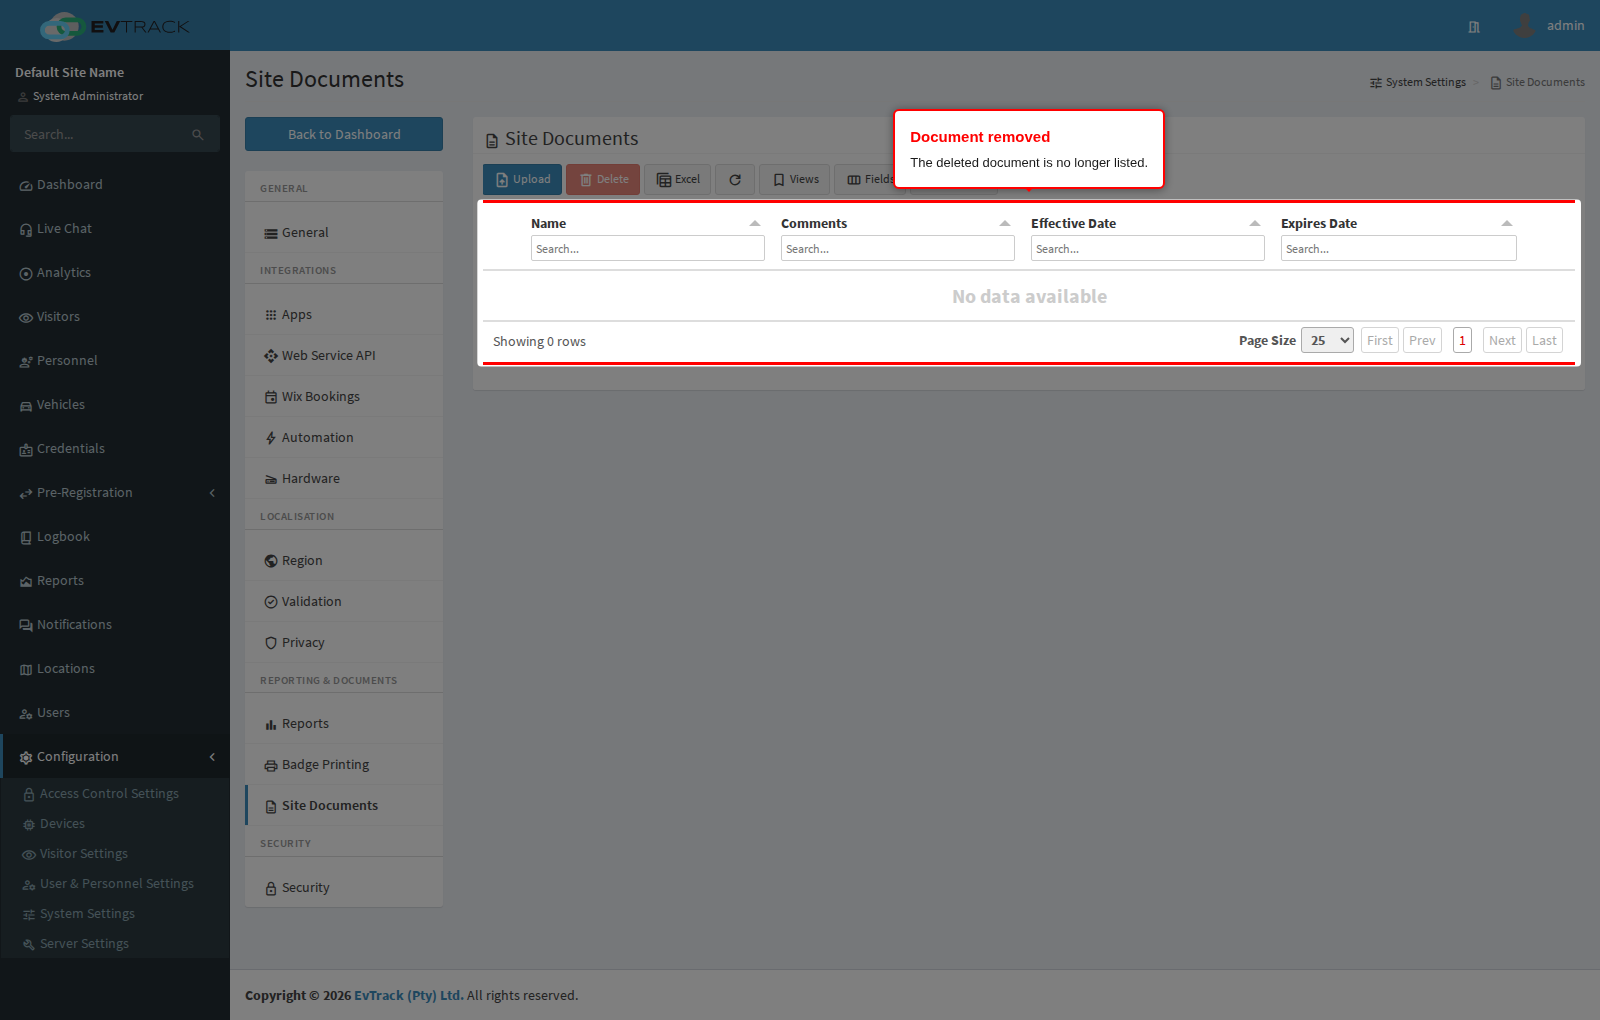
Step 7: The document is removed
The list refreshes and the document is no longer there.
What site documents are not
- They are not the invitation email attachments. Files that go out with a visitor invitation are uploaded on the invitation email page itself - see Invitation Email Guide.
- They are not per-building paperwork. A site map or evacuation plan that only applies to one building belongs on that location’s own Documents tab, where it is also offered to app users assigned to that location. See Documents on Records.
See also
- Documents on Records - the shared Documents panel, plus location and vehicle documents
- Documents on a Visitor
- Documents on a User
- Documents on Personnel