EvTrack can carry your own logo, browser icon and colour scheme, so the admin pages your staff use every day look like your organisation rather than the default product.
Before you start: you need access to the server EvTrack runs on and the ability to restart the service. Branding is read once when the server starts, so it is configured on the server itself, not in the web UI.
Step 1: Put your artwork on the server
Create a theme folder on the server and copy your files into it. Set the folder with:
evtrack.settings.files.theme.location- the folder holding your artwork, for example./files/theme/
An SVG logo is preferred because it remains sharp on every screen size. A browser icon may be .png or .ico.
Step 2: Point the settings at your files
Set these on the server and restart the EvTrack service:
evtrack.settings.app.logoLarge- the logo shown in the page header, for example/files/theme/customer_logo.svgevtrack.settings.app.favicon- the small icon browsers show on the tab, for example/files/theme/favicon.pngevtrack.settings.theme.skin- the colour scheme, for examplepurple-light
Leaving any of them unset keeps the EvTrack default for that item, so you can replace the logo alone and keep the standard colours.
Step 3: Check the result
Log in and look at the page header. The logo appears at the top of the sidebar, and the skin sets the header and sidebar colours.
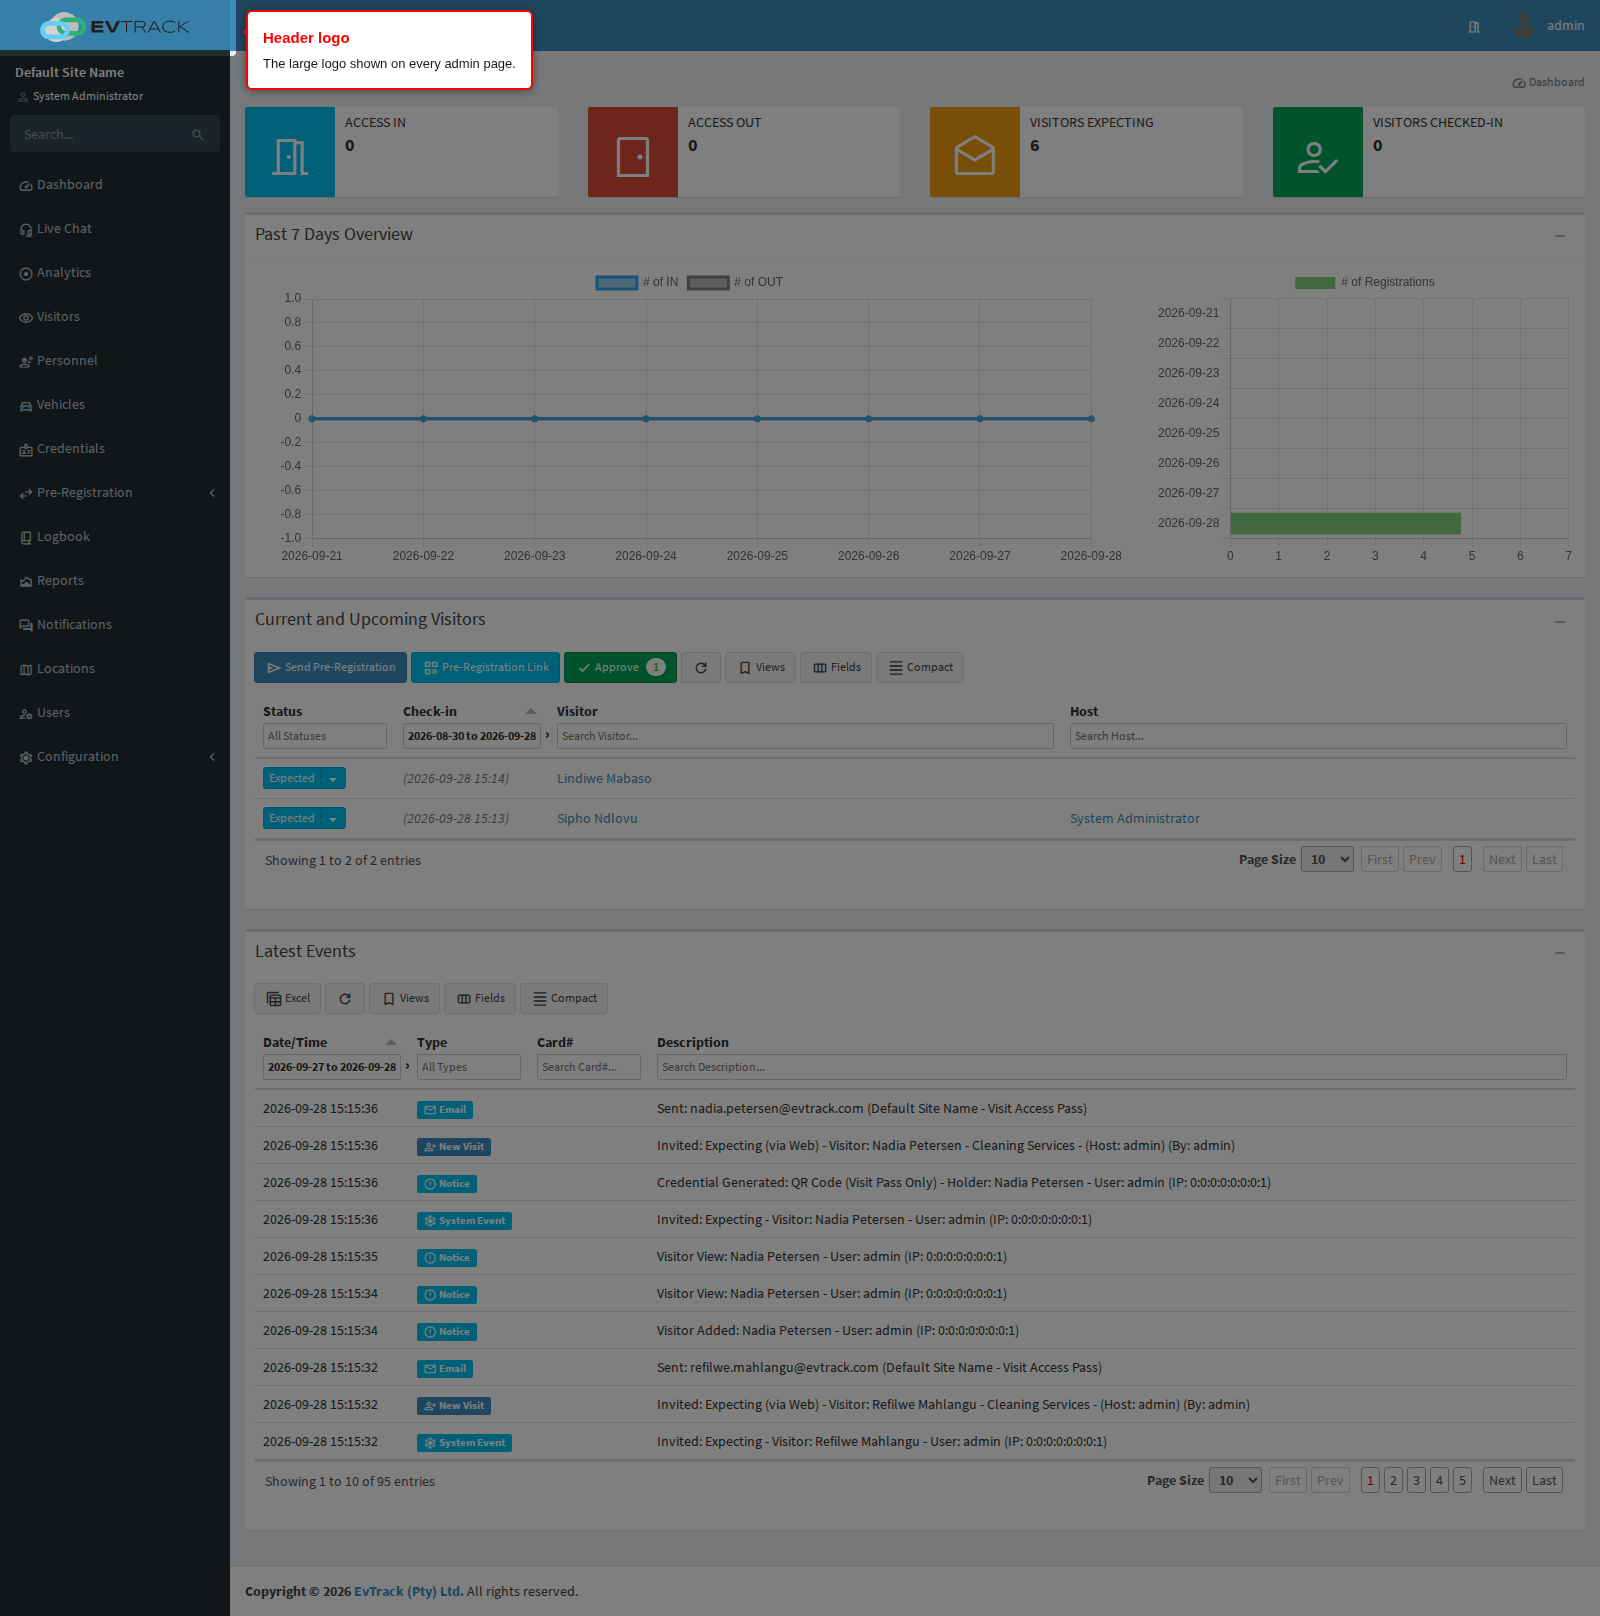
The skin sets the colour of the header and sidebar.
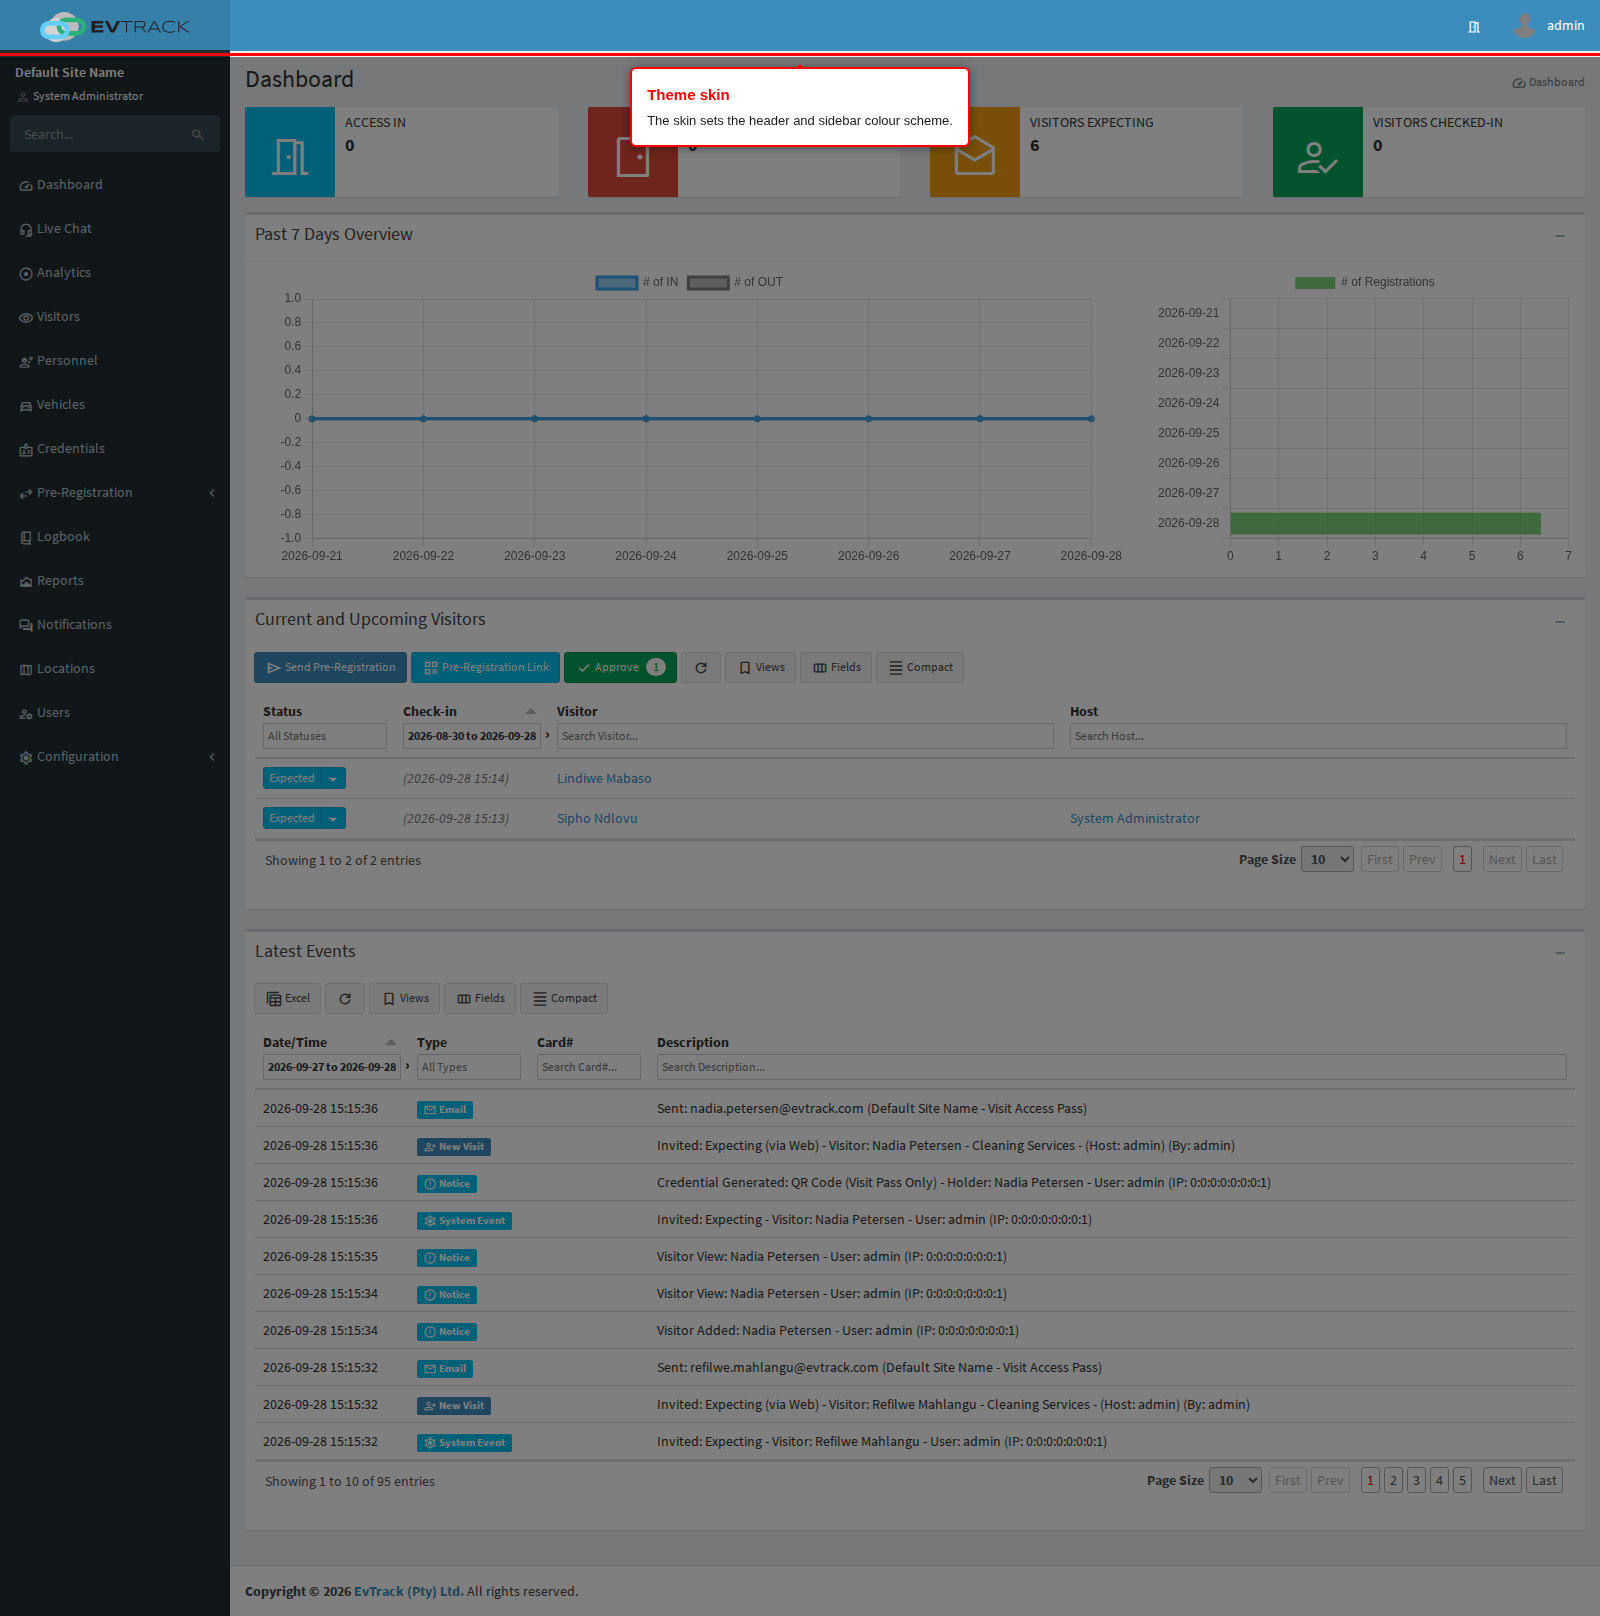
The browser icon appears on the tab itself rather than inside the page, so confirm that one by looking at your browser tab after a refresh.
Notes
- Branding is read at start-up. After changing any of these settings, restart the service before checking the result, and refresh the browser so it picks up the new icon.
- Keep the artwork inside the theme folder. Files referenced from elsewhere on disk are not served to the browser.
- The skin name is the colour part only, such as
blue,purple-lightorgreen.