RFID cards (Mifare contactless cards) can be issued to system users the same way as to personnel. This page covers the full card lifecycle for users: add, assign access, review and delete.
Before you start you need the card’s number (32-bit HEX, printed on the card or read from a desktop reader) and a role that may manage users and credentials - if the Credentials tab or the Add button described below is missing, ask an administrator to extend your role.
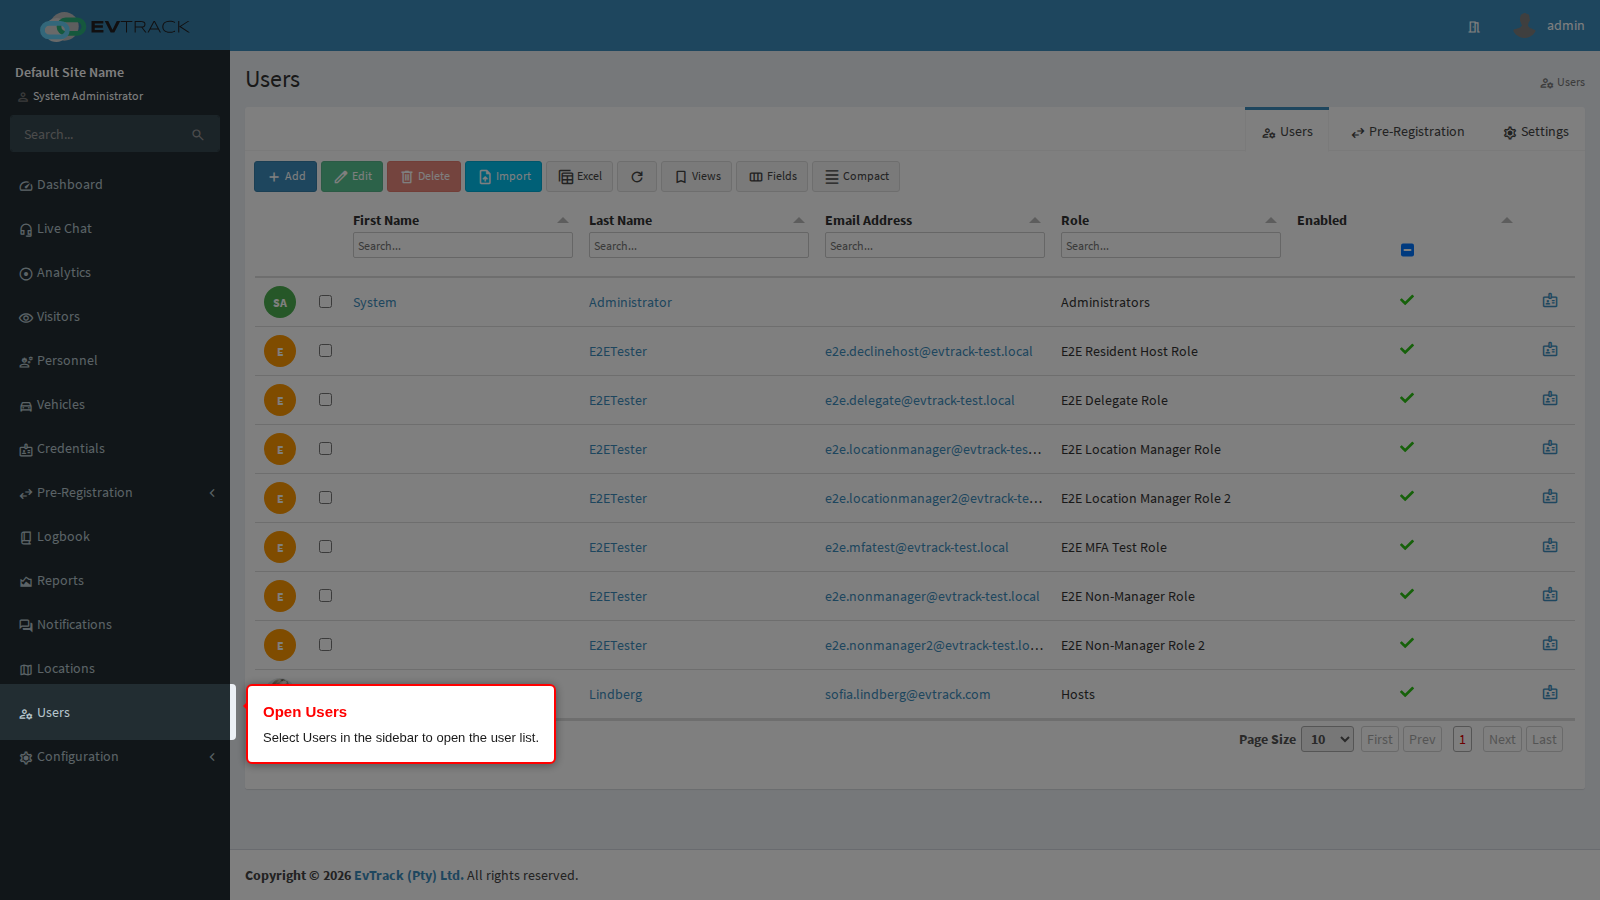
Step 1: Open Users
Select Users in the sidebar. The user list opens, showing every system user with search fields above each column.
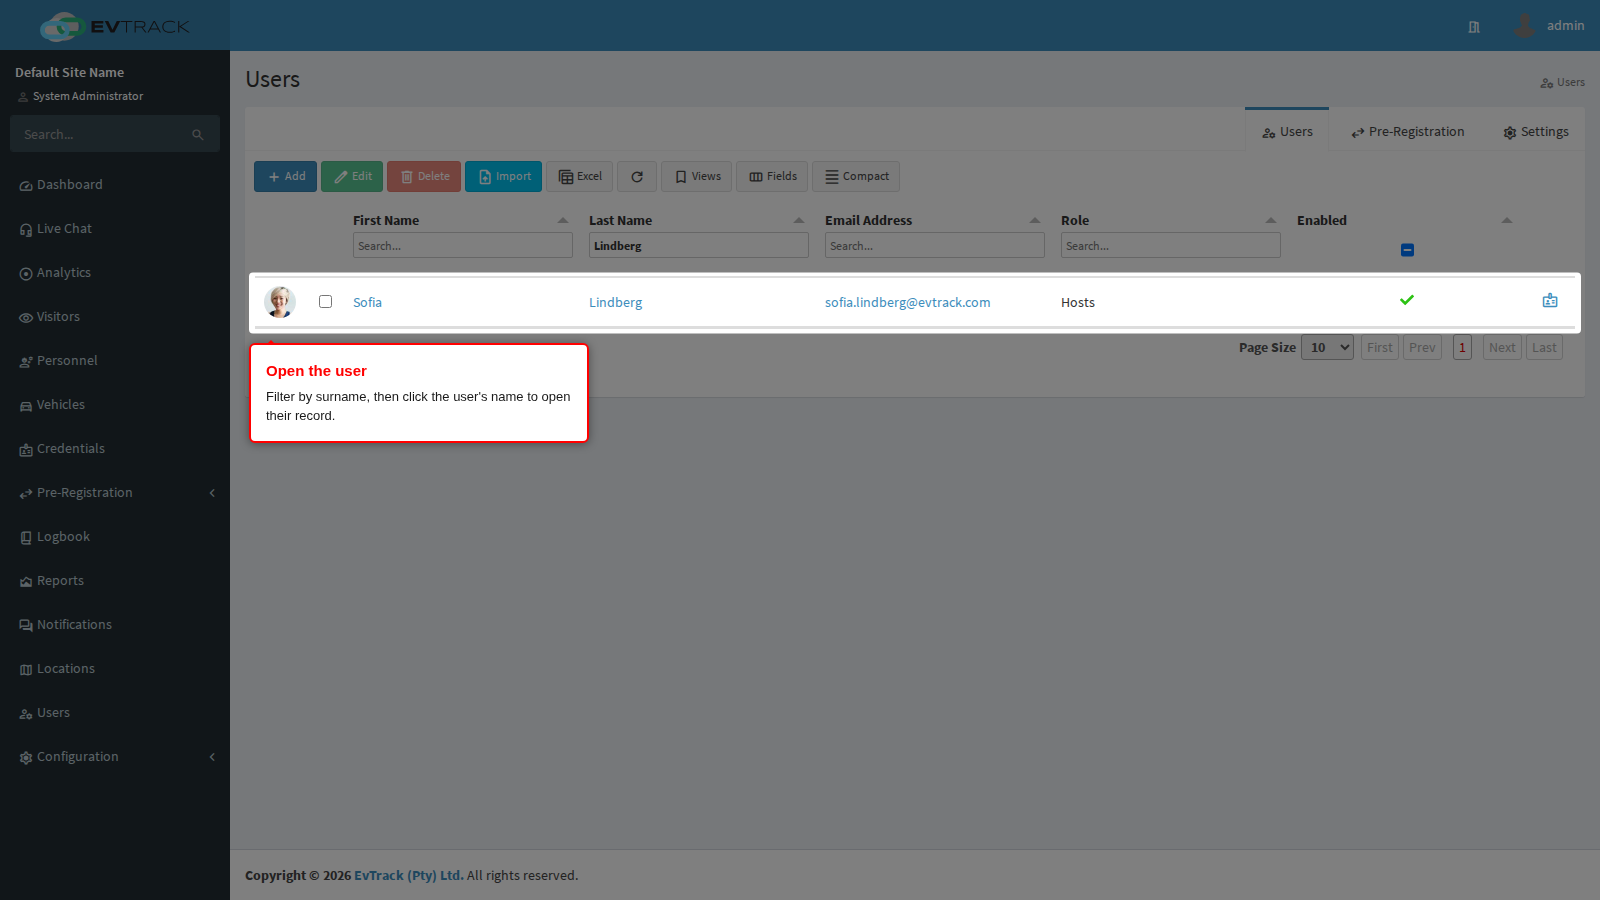
Step 2: Open the user
Type the user’s surname into the search field above the Surname column - the list narrows as you type. Click the user’s name to open their record; the user’s edit page opens on the Overview tab.
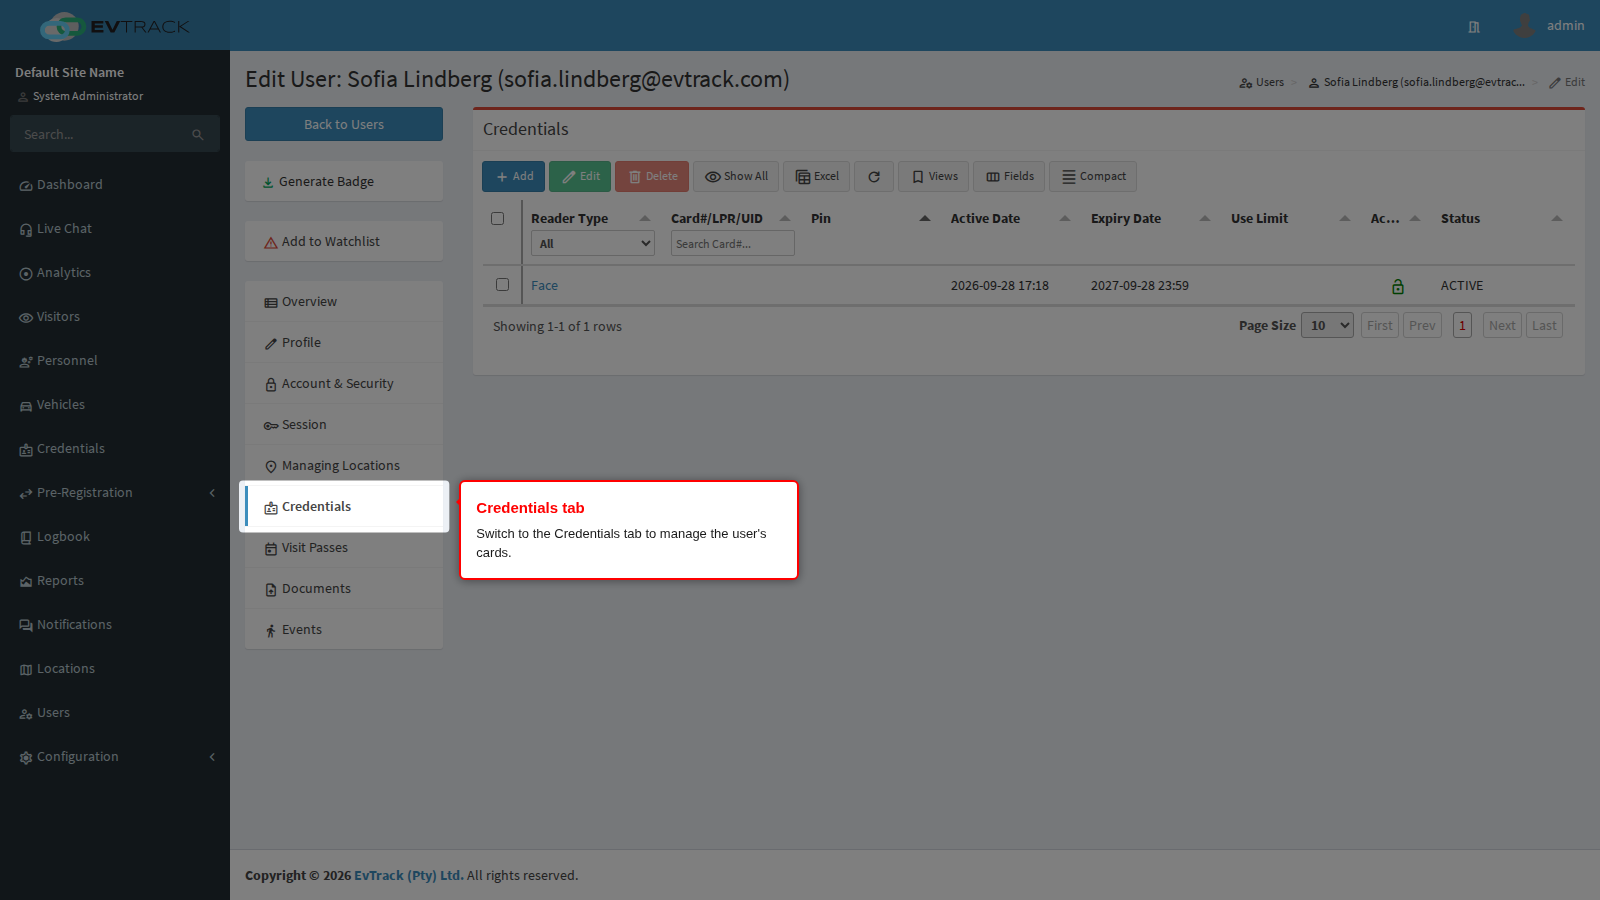
Step 3: Go to the Credentials tab
In the tab list on the left of the user’s record, select Credentials. The tab shows a table of the user’s existing credentials (empty for a user without any) with a toolbar above it.
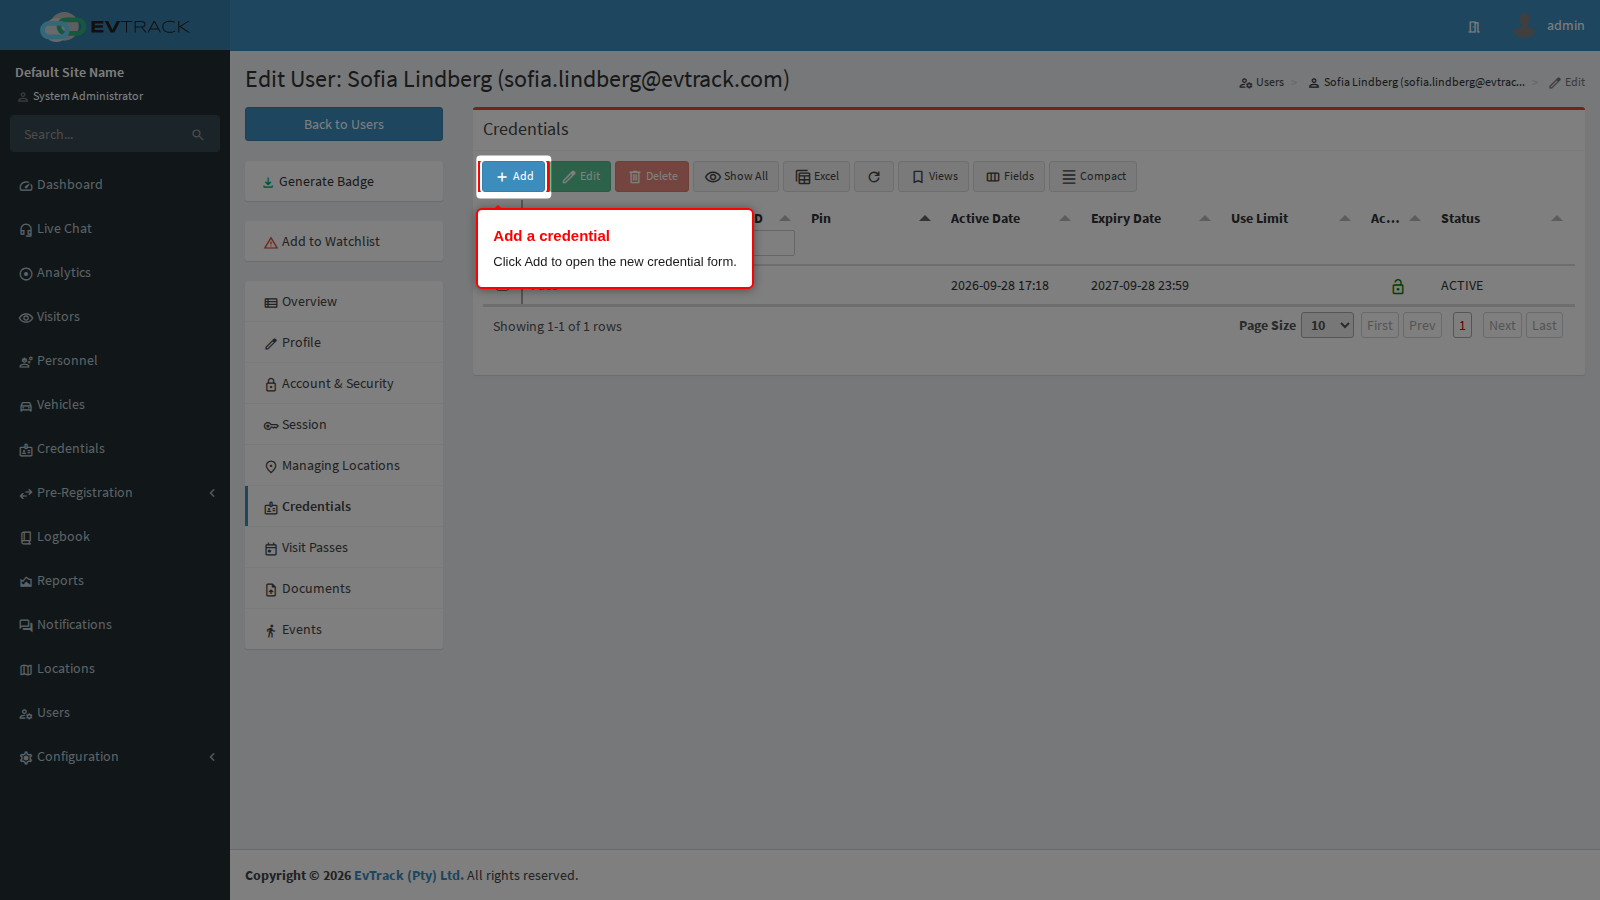
Step 4: Click Add
Click the Add button in the credentials toolbar. The new-credential form opens.
Step 5: Complete the card details
Choose Contactless Card as the reader type and enter the card’s value as a 32-bit HEX number (8 hex characters, for example A1B2C3D4). Activation and expiry pre-fill from the user’s validity window. Click Save - the saved credential opens on its edit page.
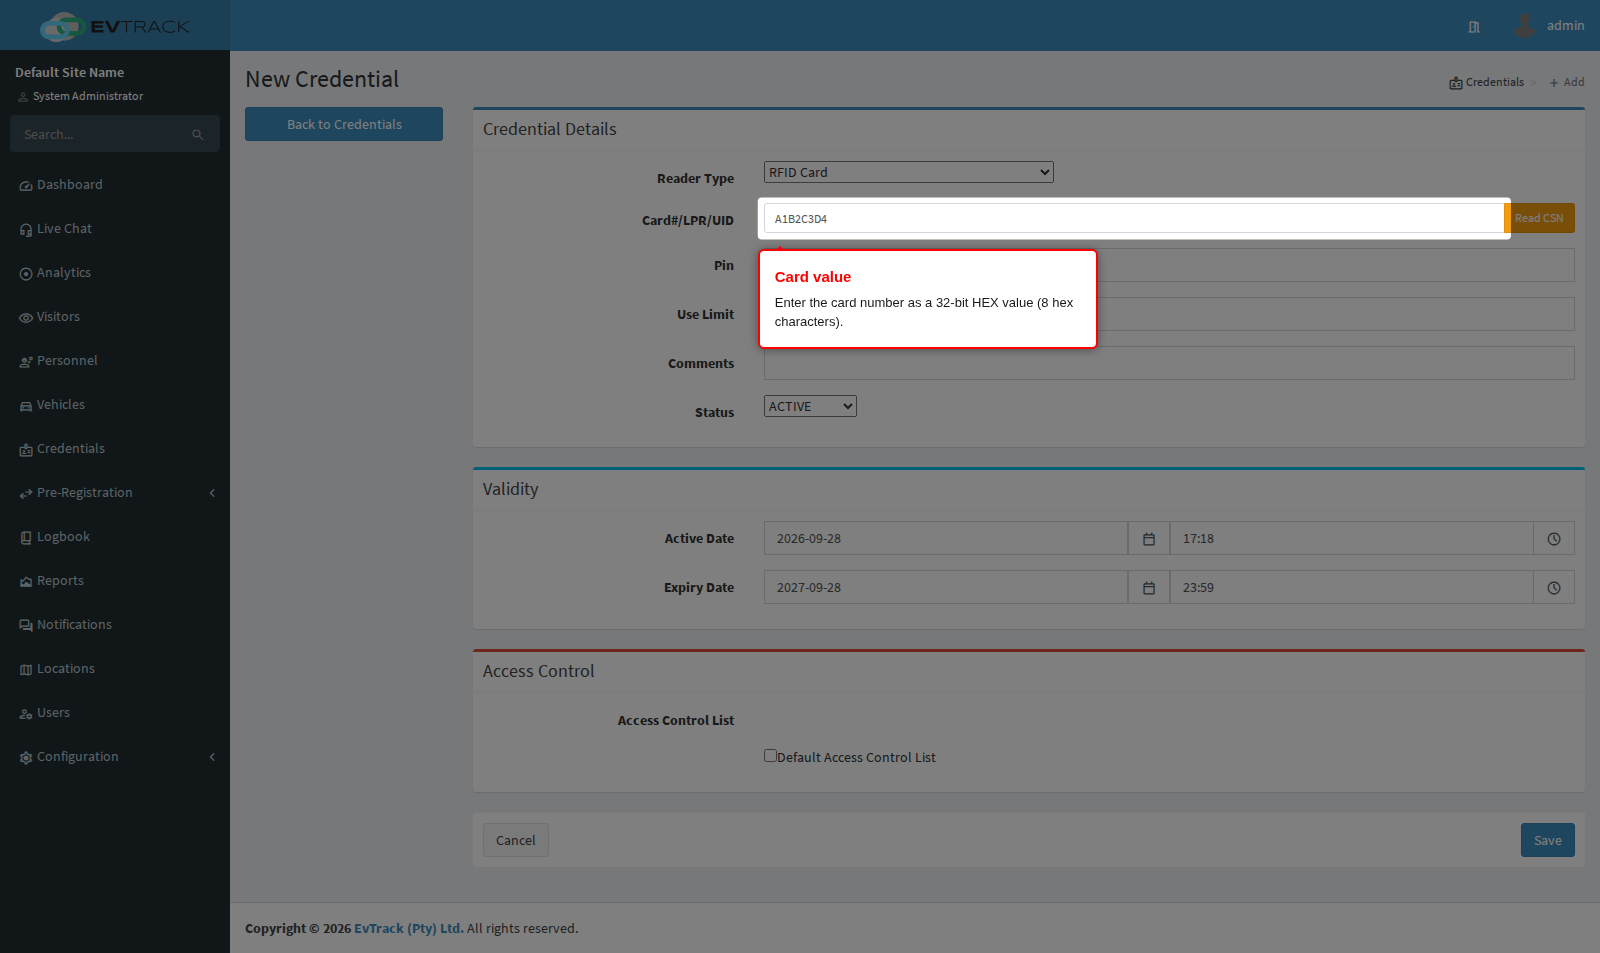
Note: enter the value in the format your readers report. 32-bit HEX is the common Mifare format; the card number printed on the card may be decimal and need conversion.
Step 6: Assign an Access Control List
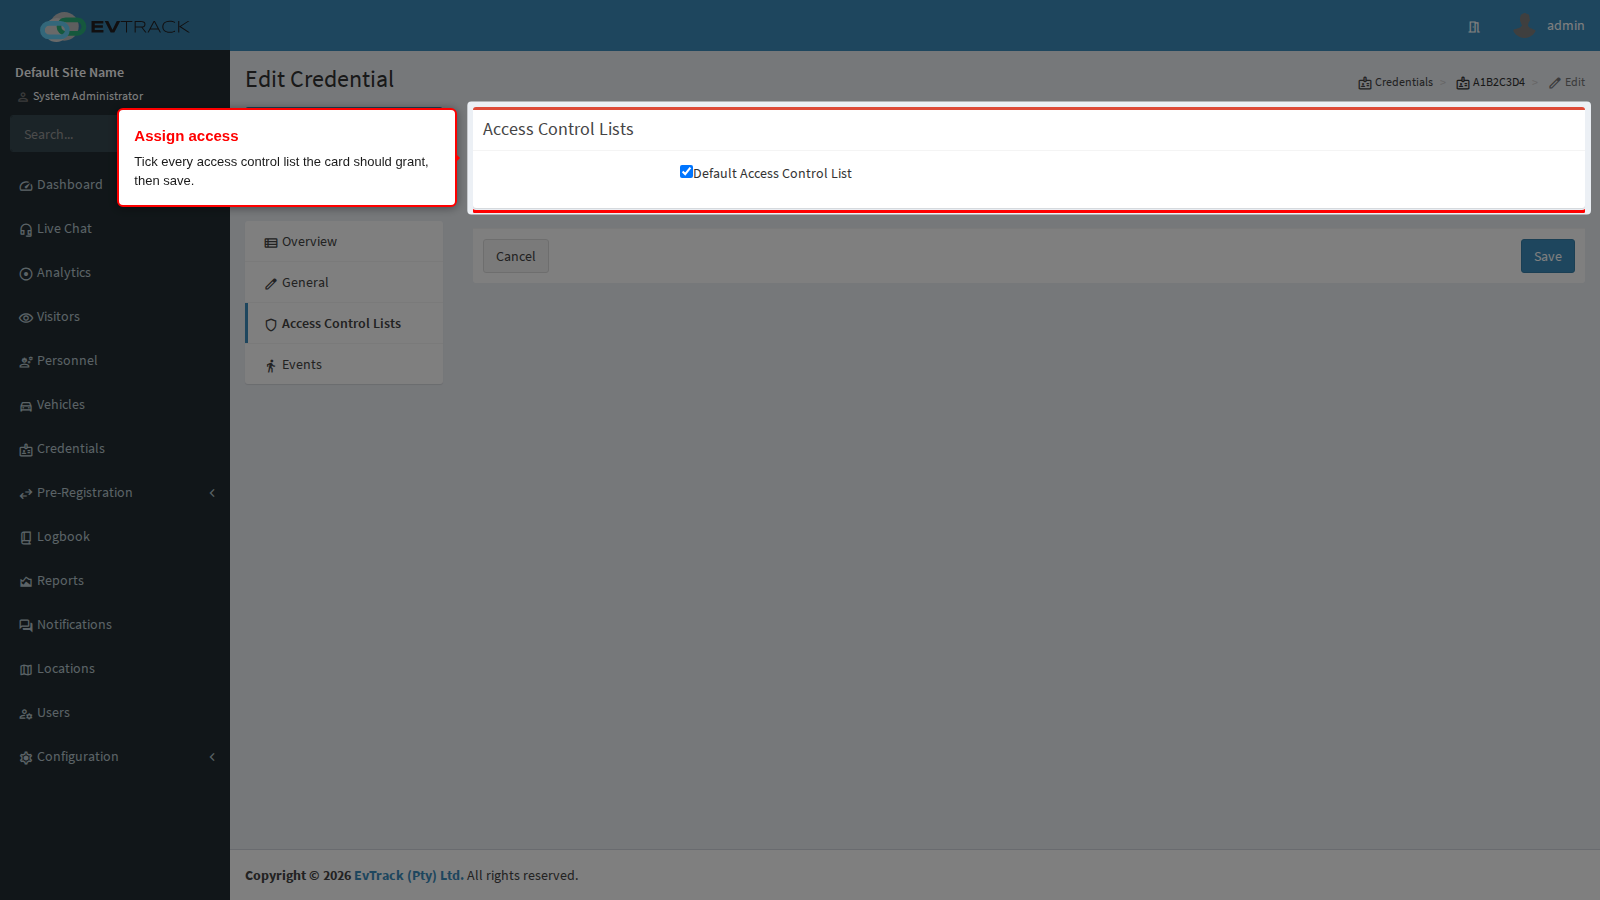
On the saved credential’s ACL tab, tick the access control lists the card should grant and save again. A credential with no ACLs assigned identifies the user but opens nothing. After saving, the assignment is pushed to the connected hardware.
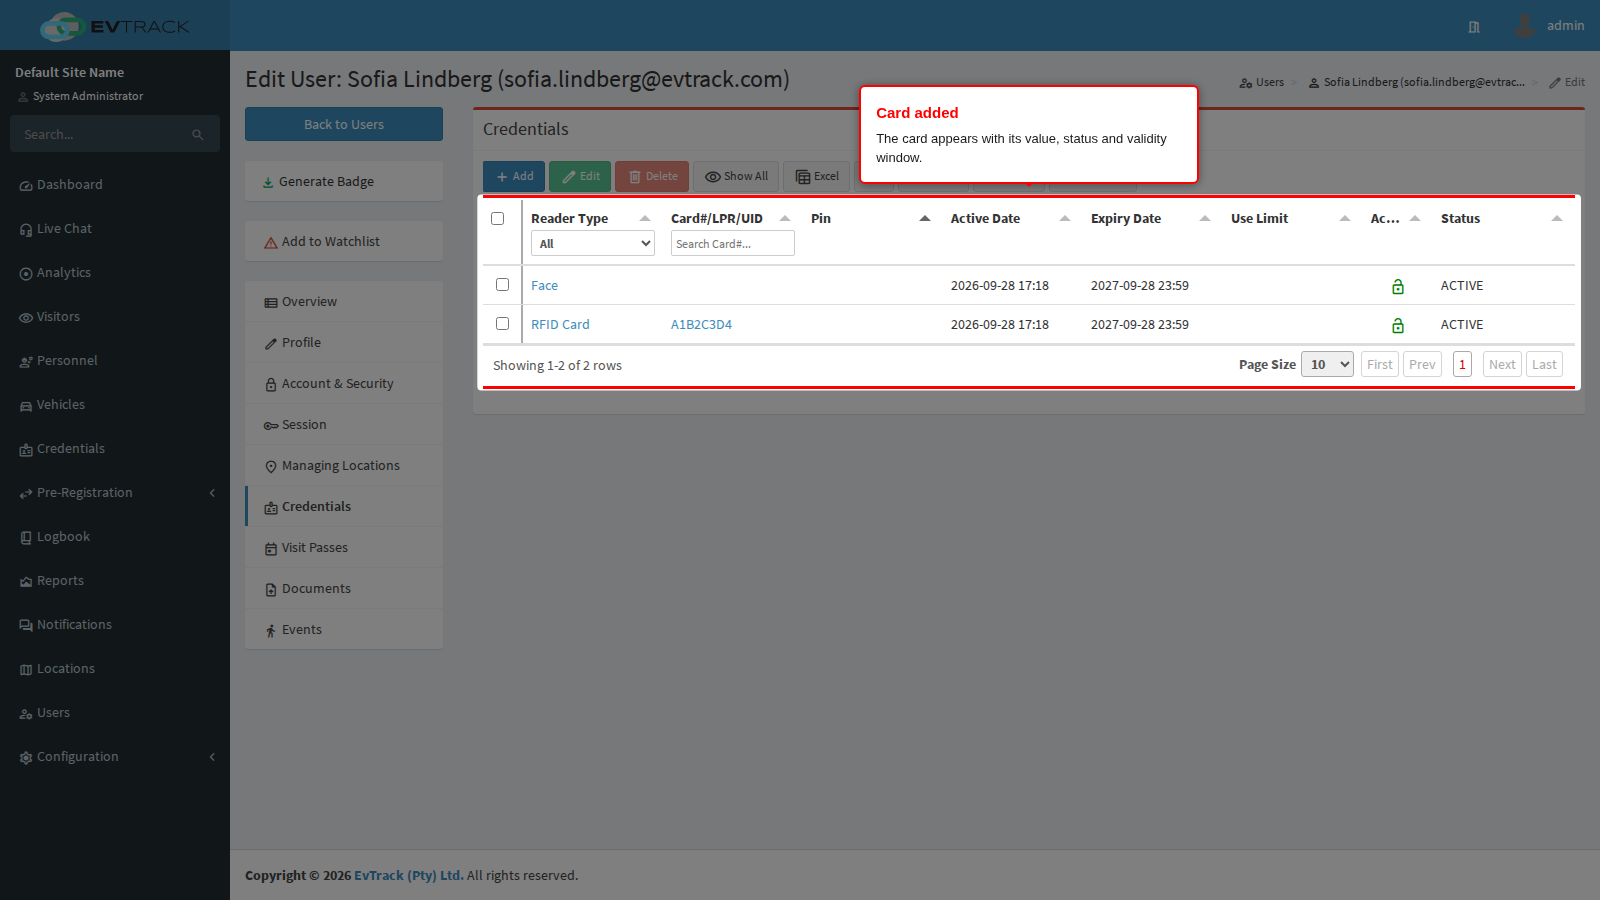
Step 7: The card on the credentials tab
Back on the user’s Credentials tab, the card now appears in the list with its value, status and validity window.
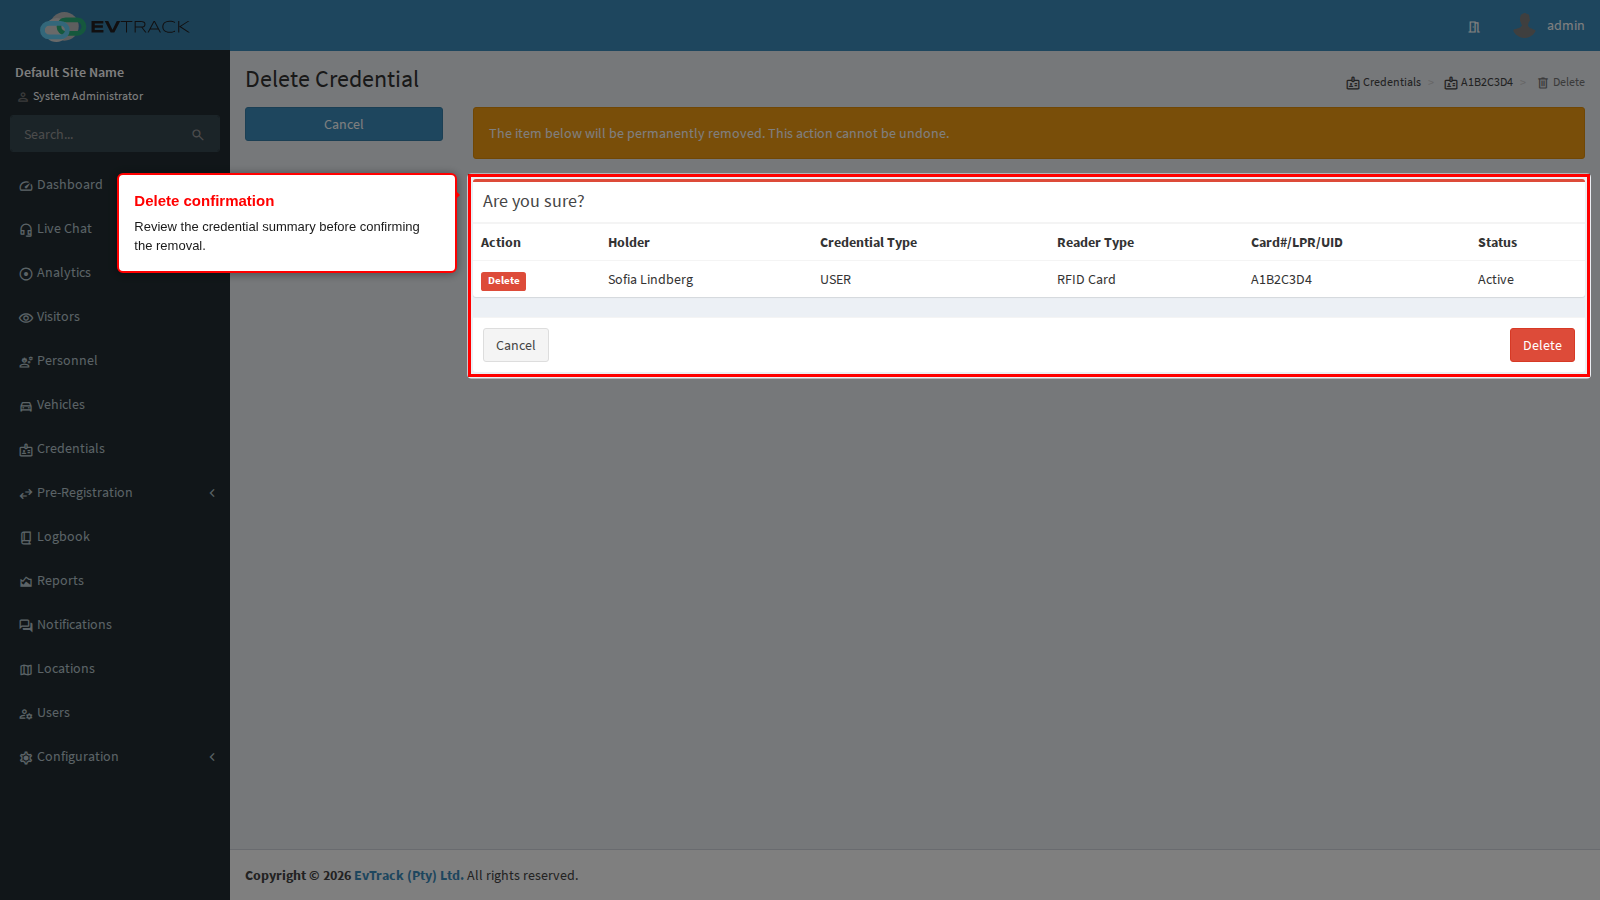
Step 8: Deleting a card
Deleting or disabling the credential withdraws it from the connected hardware. Select the card on the Credentials tab and click Delete in the toolbar - a confirmation page summarises the credential before removal.
The lifecycle and reader behaviour are identical to personnel cards - see RFID Card Credentials (Personnel).
The credential lifecycle diagram - what Valid, Active, Expired, Disabled and Deleted mean, and how a credential moves between them - is on Personnel Validity and Credential Expiry and applies to user credentials unchanged. For why a reader refuses a card, see Access Control Lists.