A group is the team or staff category a user, a personnel record or an asset belongs to - Permanent Staff, Contractors, Security, Night Shift. It is the narrowest of the three groupings under Organisational Structure, below the organisation someone belongs to and the department they sit in.
The list is a simple set of names. It is worth naming groups carefully because user and personnel badges print the group on the badge face.
A group here does not grant anything. It is a label used for reporting, badges and messages. It does not give anyone access to a door, does not decide what they may do in the product and does not change who approves their visits. Access is granted by access control lists on the record itself, and what someone may do in the product comes from their role.
It is also not visitor group registration. The group registrations made when several visitors arrive together are a separate feature and are unrelated to this list.
Before you start: you need an administrator account that can manage user and personnel settings. If Groups is missing from the section menu, your account does not hold that permission - pages you cannot use are hidden rather than greyed out.
Step 1: Open Groups
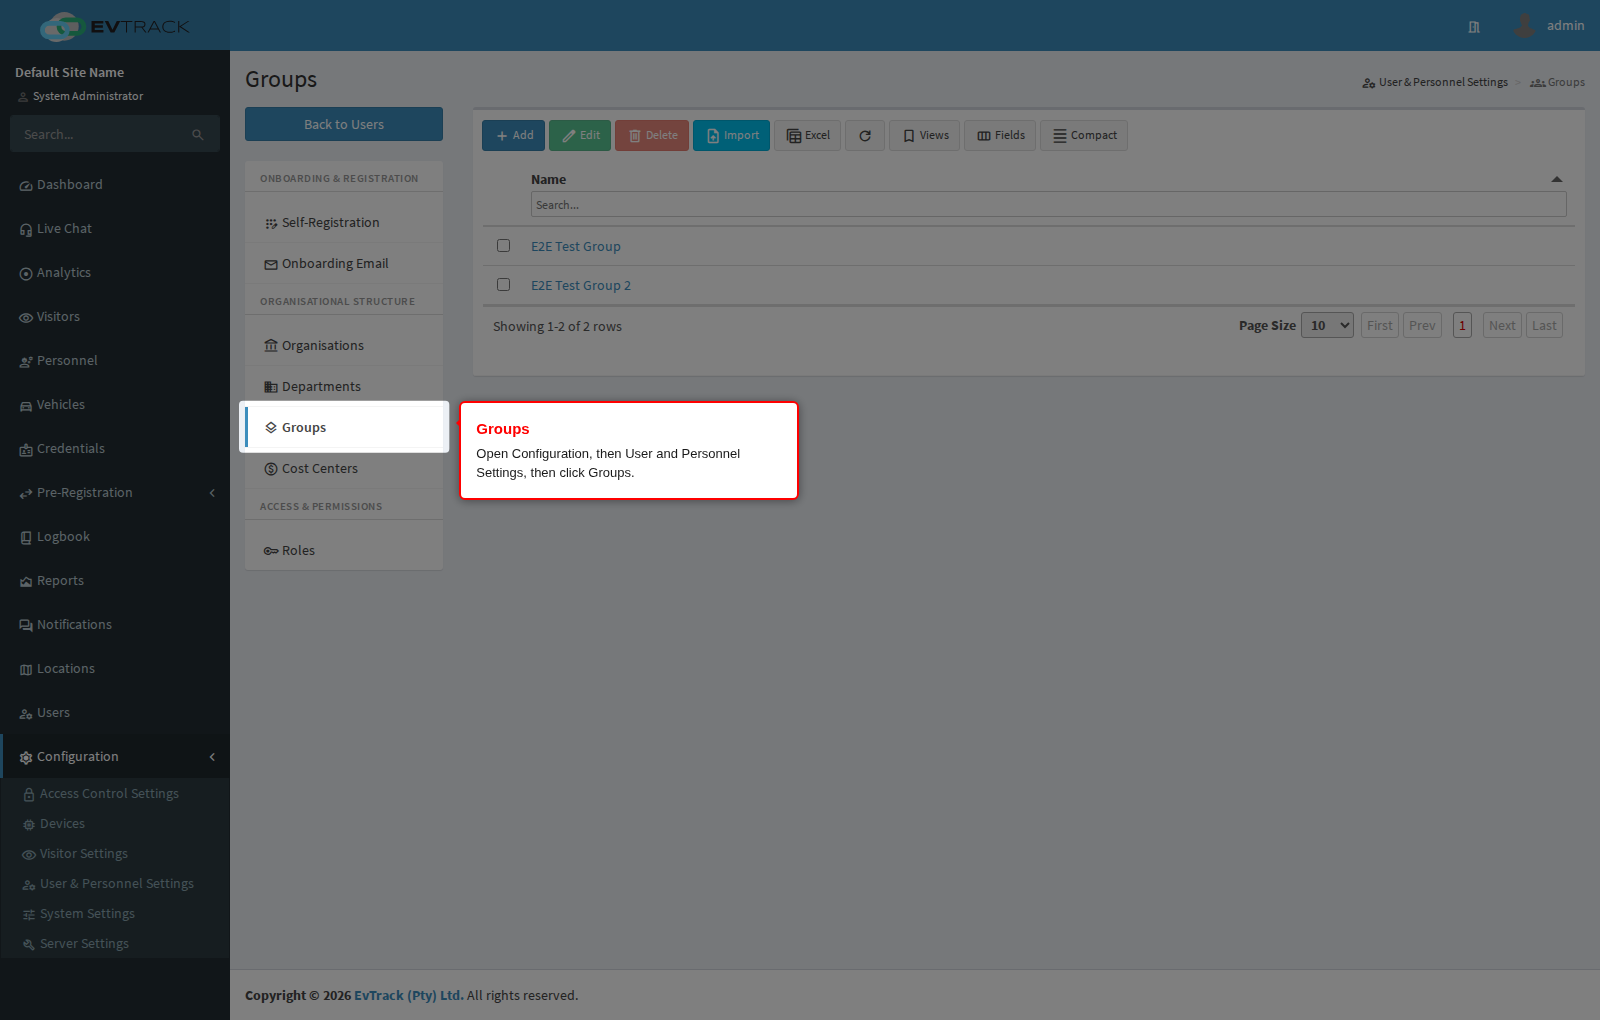
In the left sidebar open Configuration, click User & Personnel Settings, then click Groups under Organisational Structure in the section menu. The Groups page opens.
Step 2: Review the groups
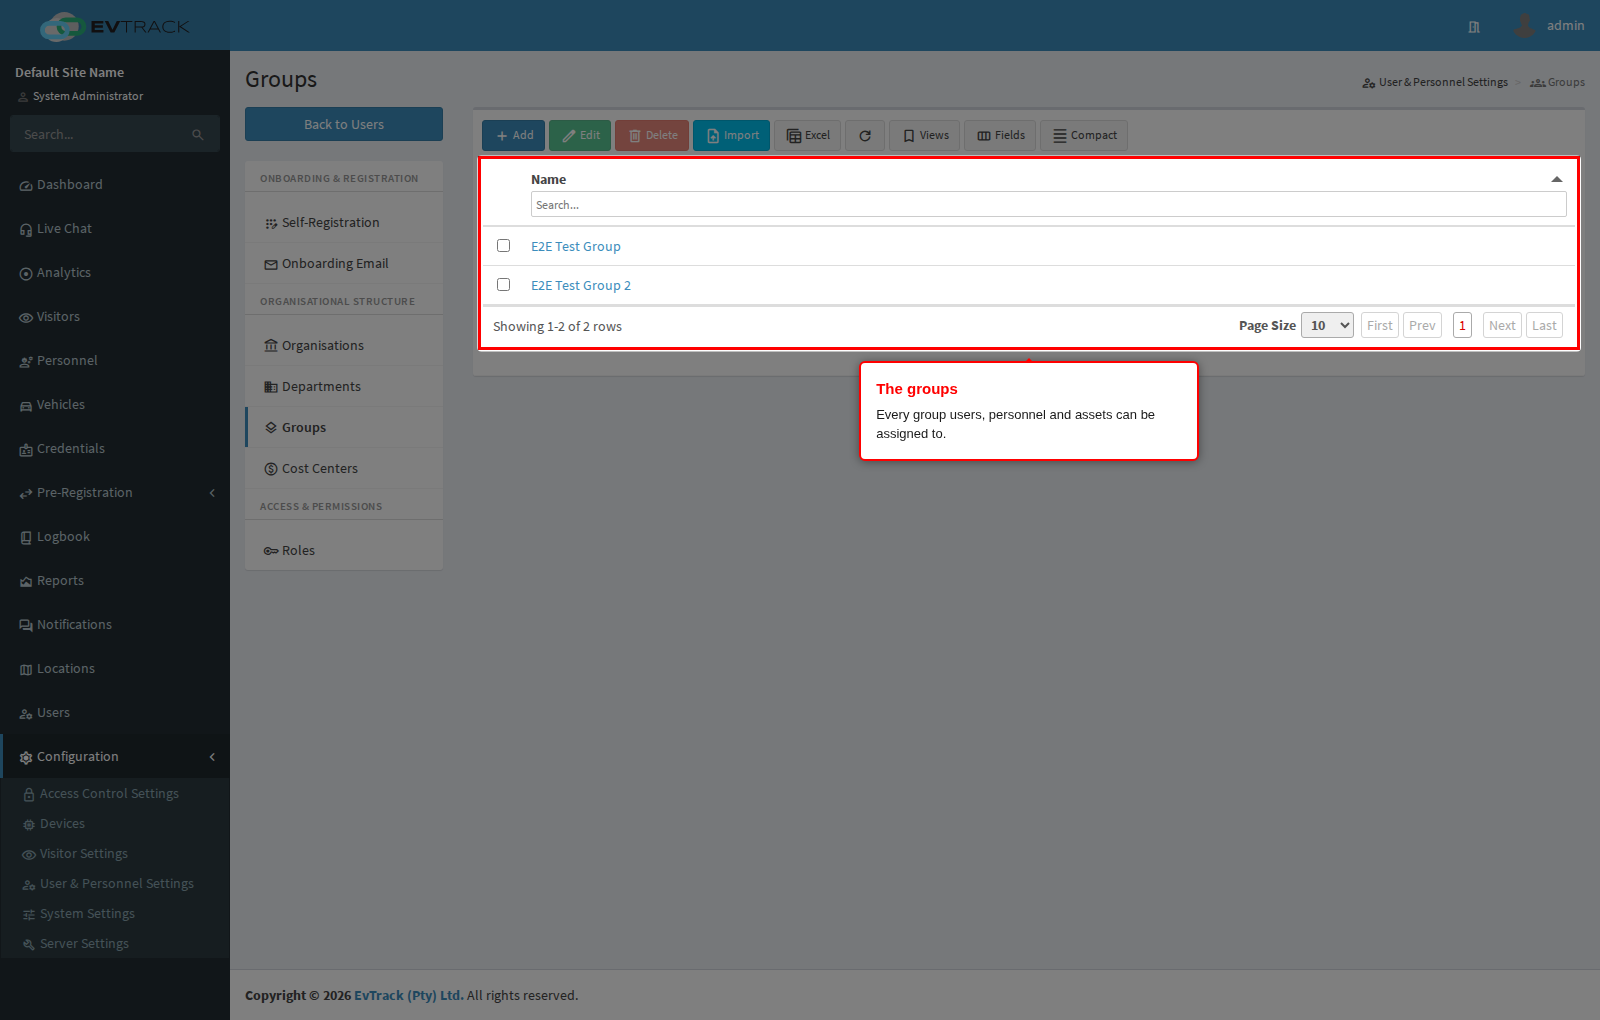
The table lists every group by Name, sorted alphabetically, with a search box in the column header. Click a name to open it. The list is paginated at 10 rows and the page-size selector offers 10, 25, 50 or 100.
A selection column on the left picks a row, and the toolbar above the table offers Add, Edit, Delete, an Excel export of the list and Refresh.
Step 3: Click Add
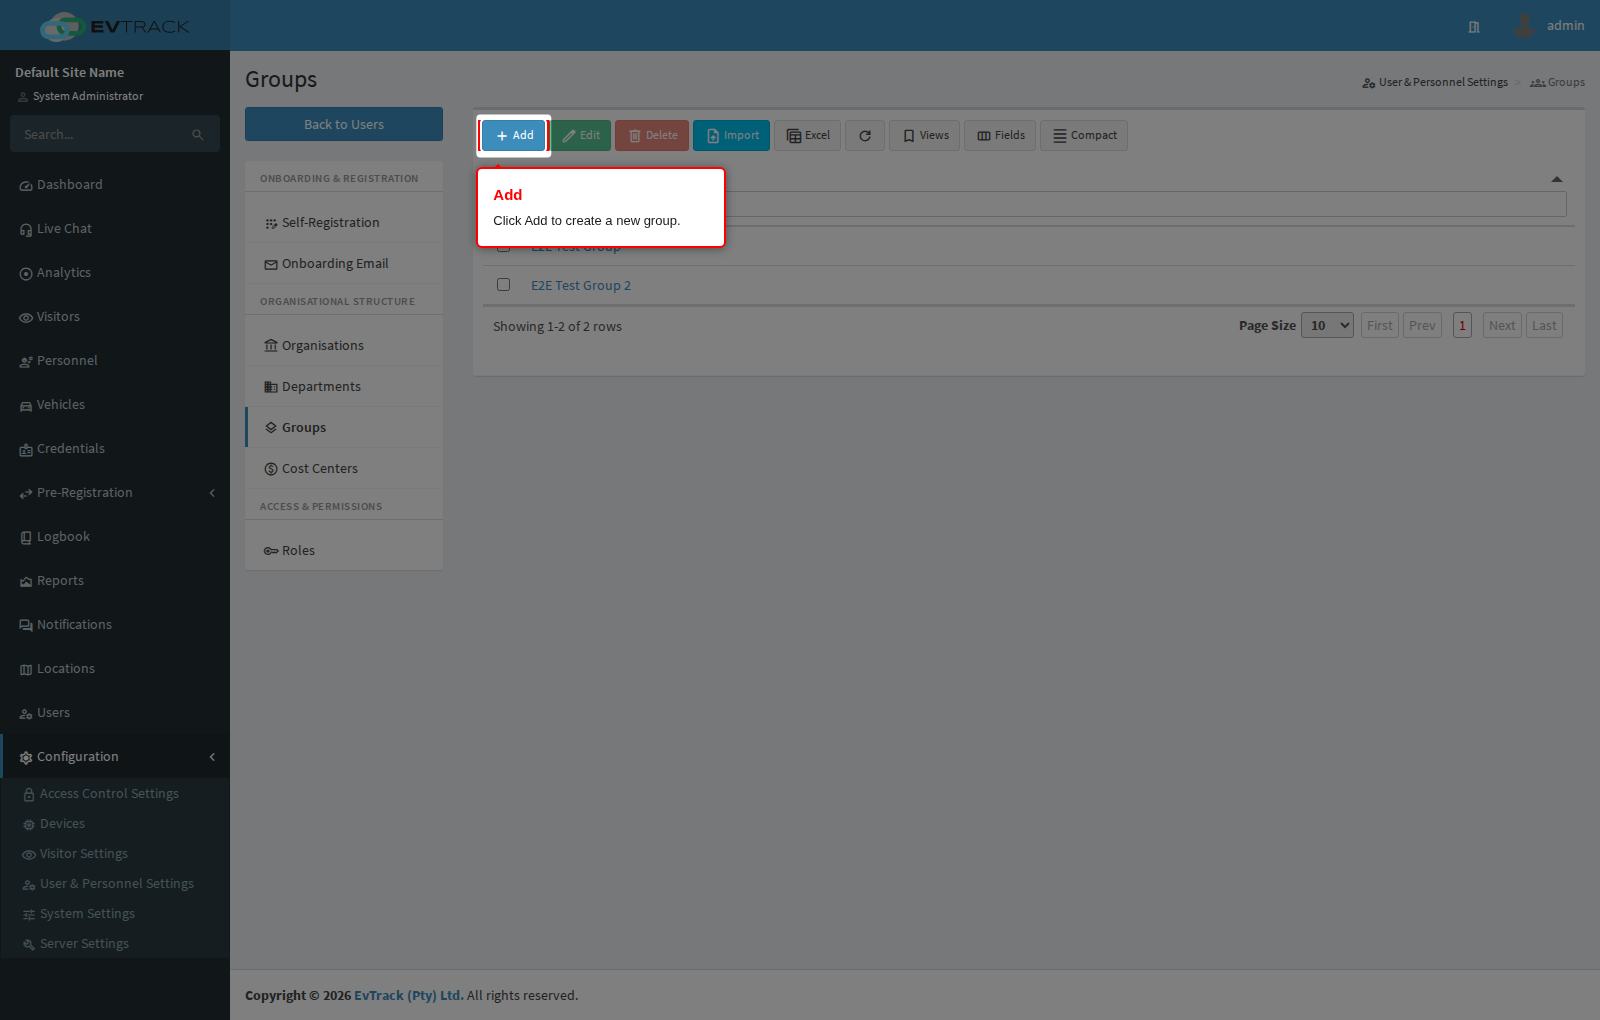
Click the Add button above the table. The new group form opens.
Step 4: Name the group and save
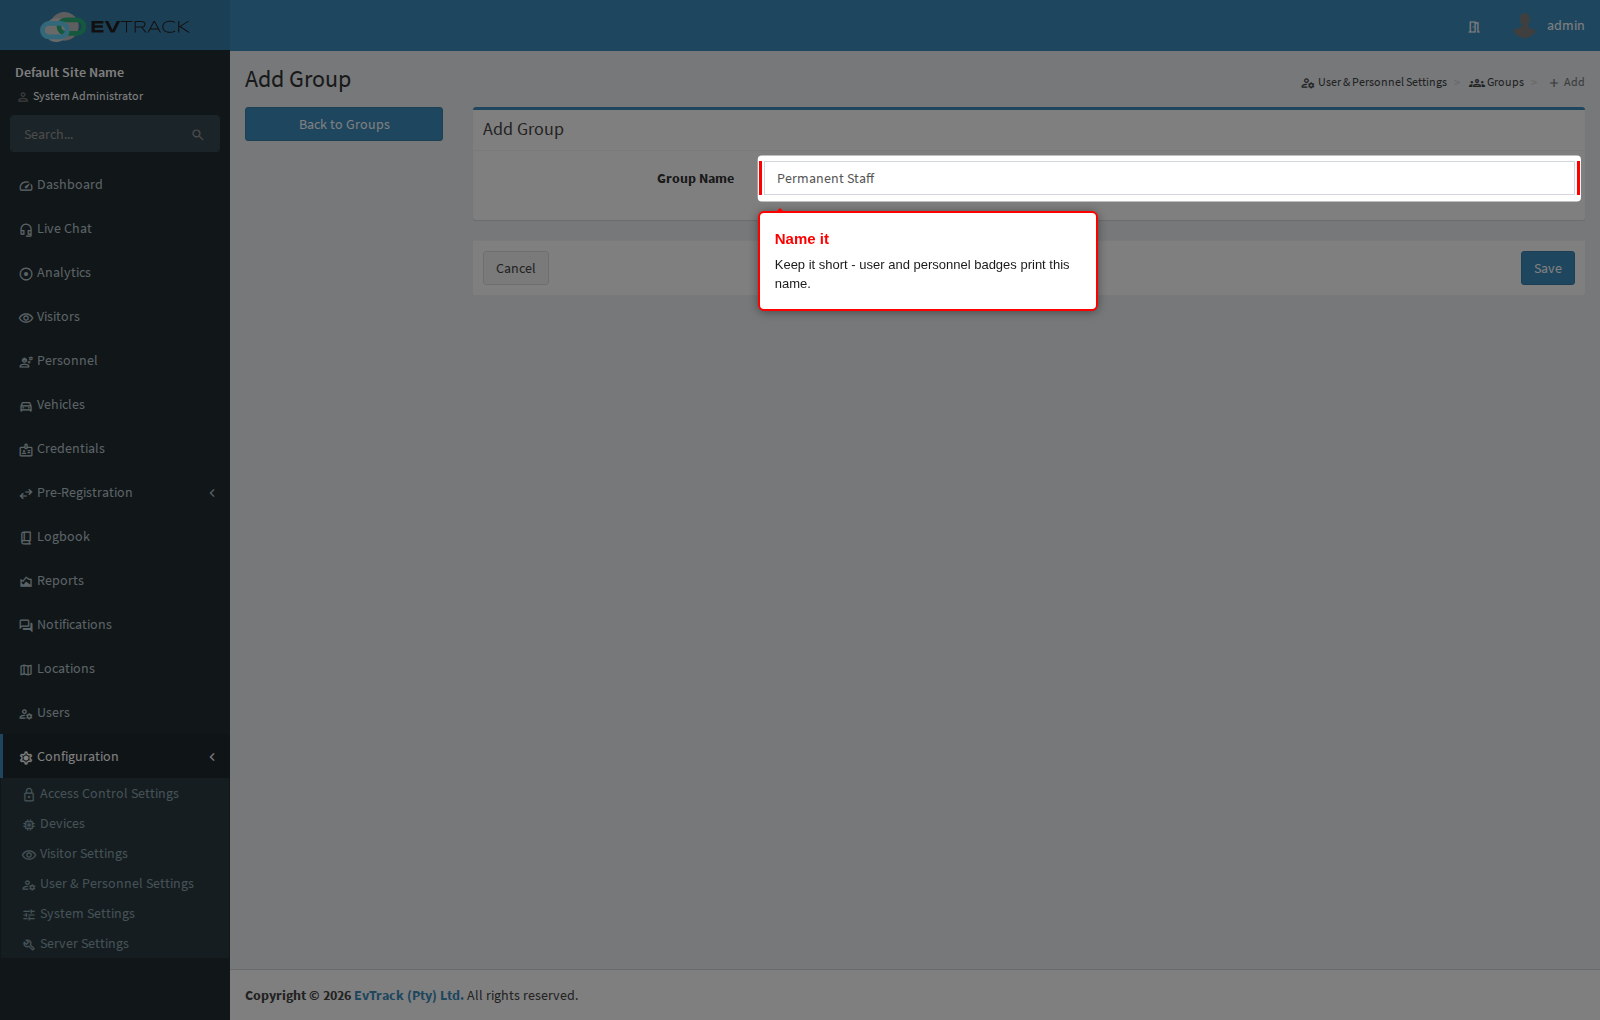
Enter the Group Name and click Save. The name is the only value a group carries.
- It is required and may be up to 50 characters long. Keep it short: badges print the group name in capitals, and a long name may not fit the space on the badge template.
- Letters, digits, spaces and the punctuation
/ . , - ' ( ) & : ; _are accepted. Other symbols are rejected with a message under the field. - Two groups cannot share a name, and the check ignores capitalisation, so “Contractors” and “contractors” count as the same name. If it is already taken you are returned to the list with a red message.
Step 5: Confirm the result
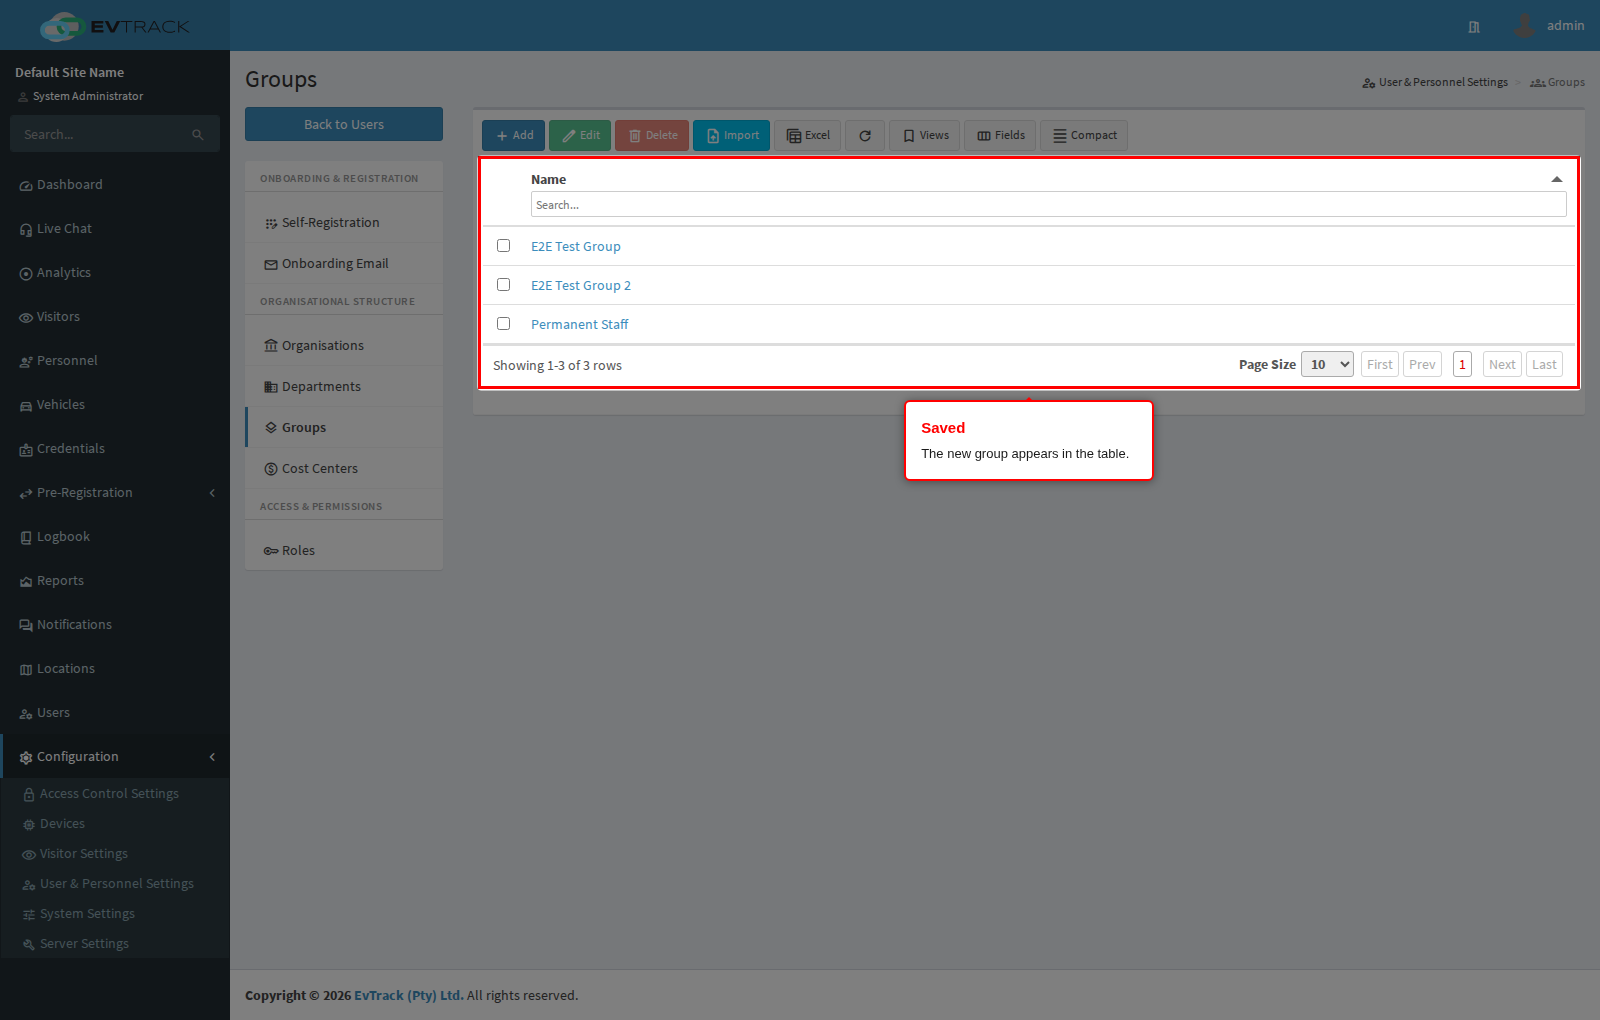
Back on Groups, the new group appears in the table and can be selected on user, personnel and asset records straight away.
Step 6: Open an existing group to edit it
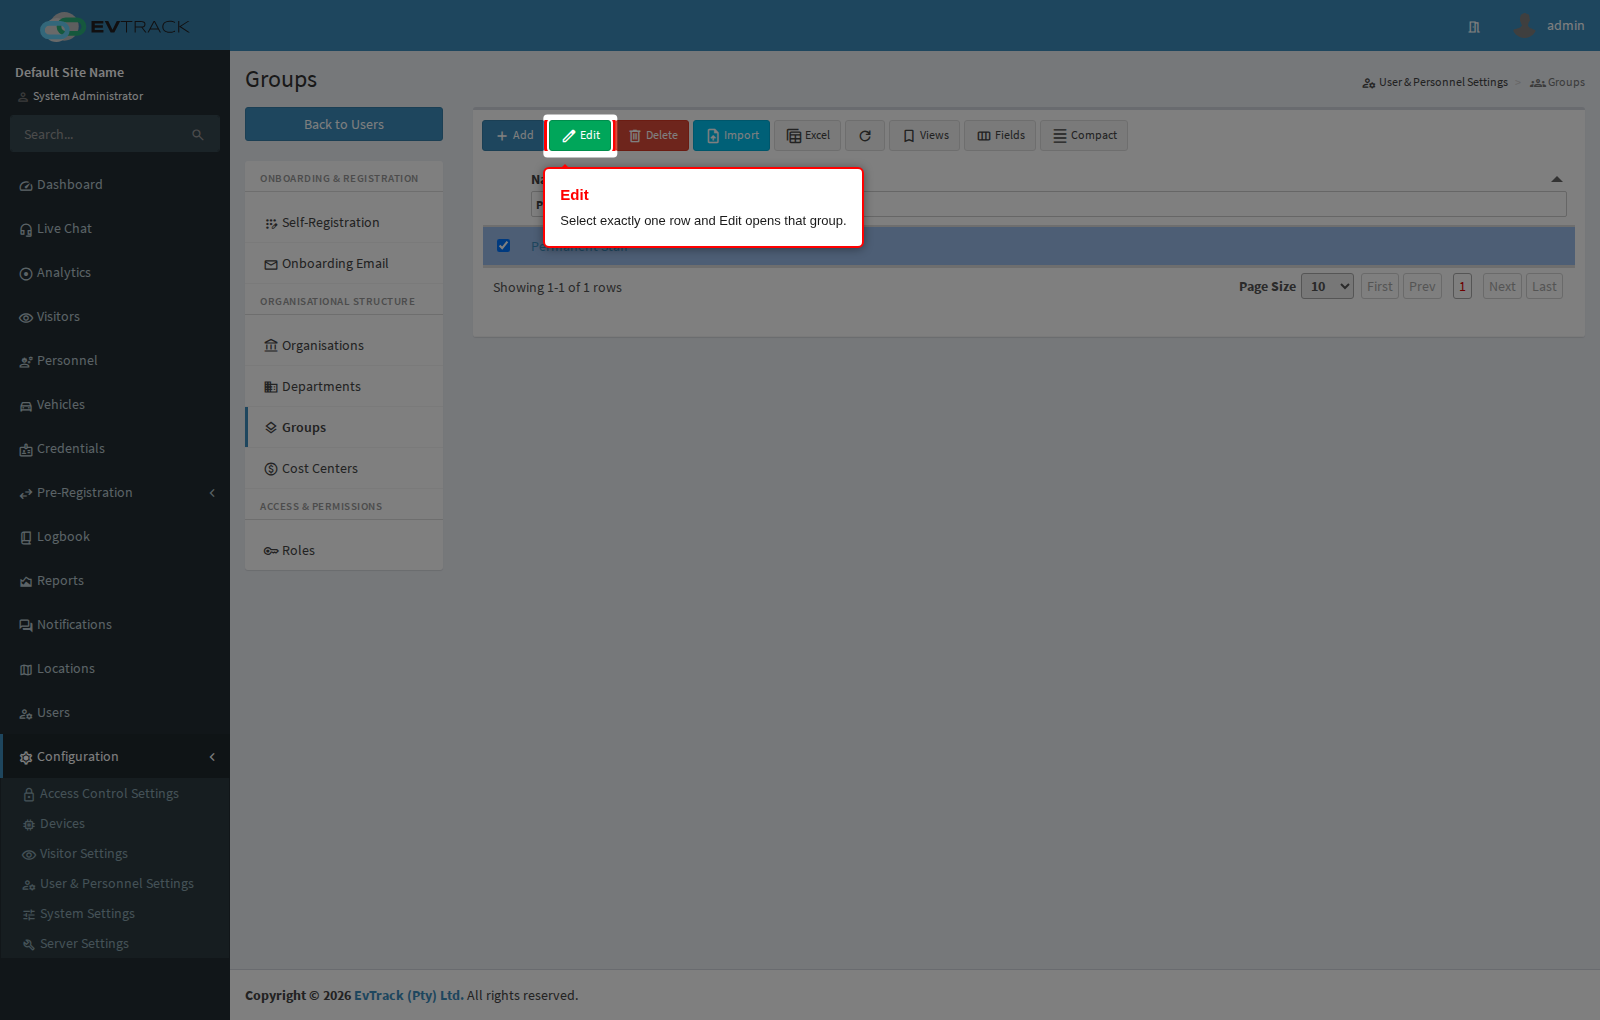
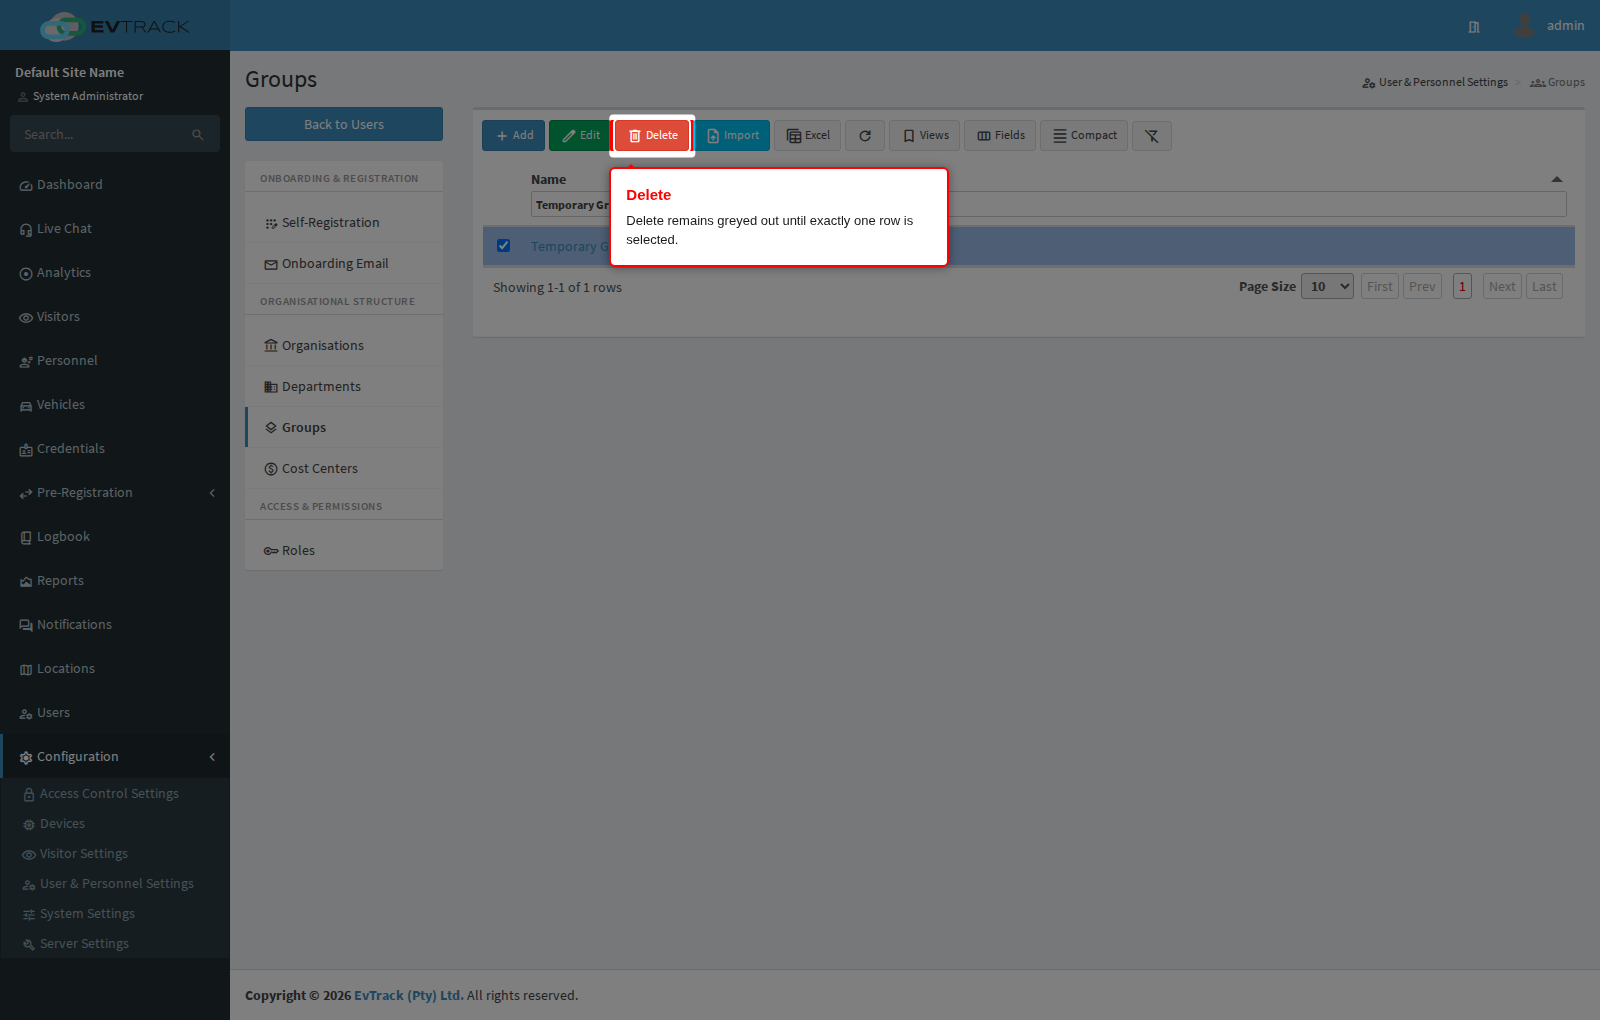
Click the row of the group you want to change. The toolbar Edit and Delete buttons remain greyed out until exactly one row is selected. Click Edit (clicking the name in the table does the same thing).
Step 7: Rename it
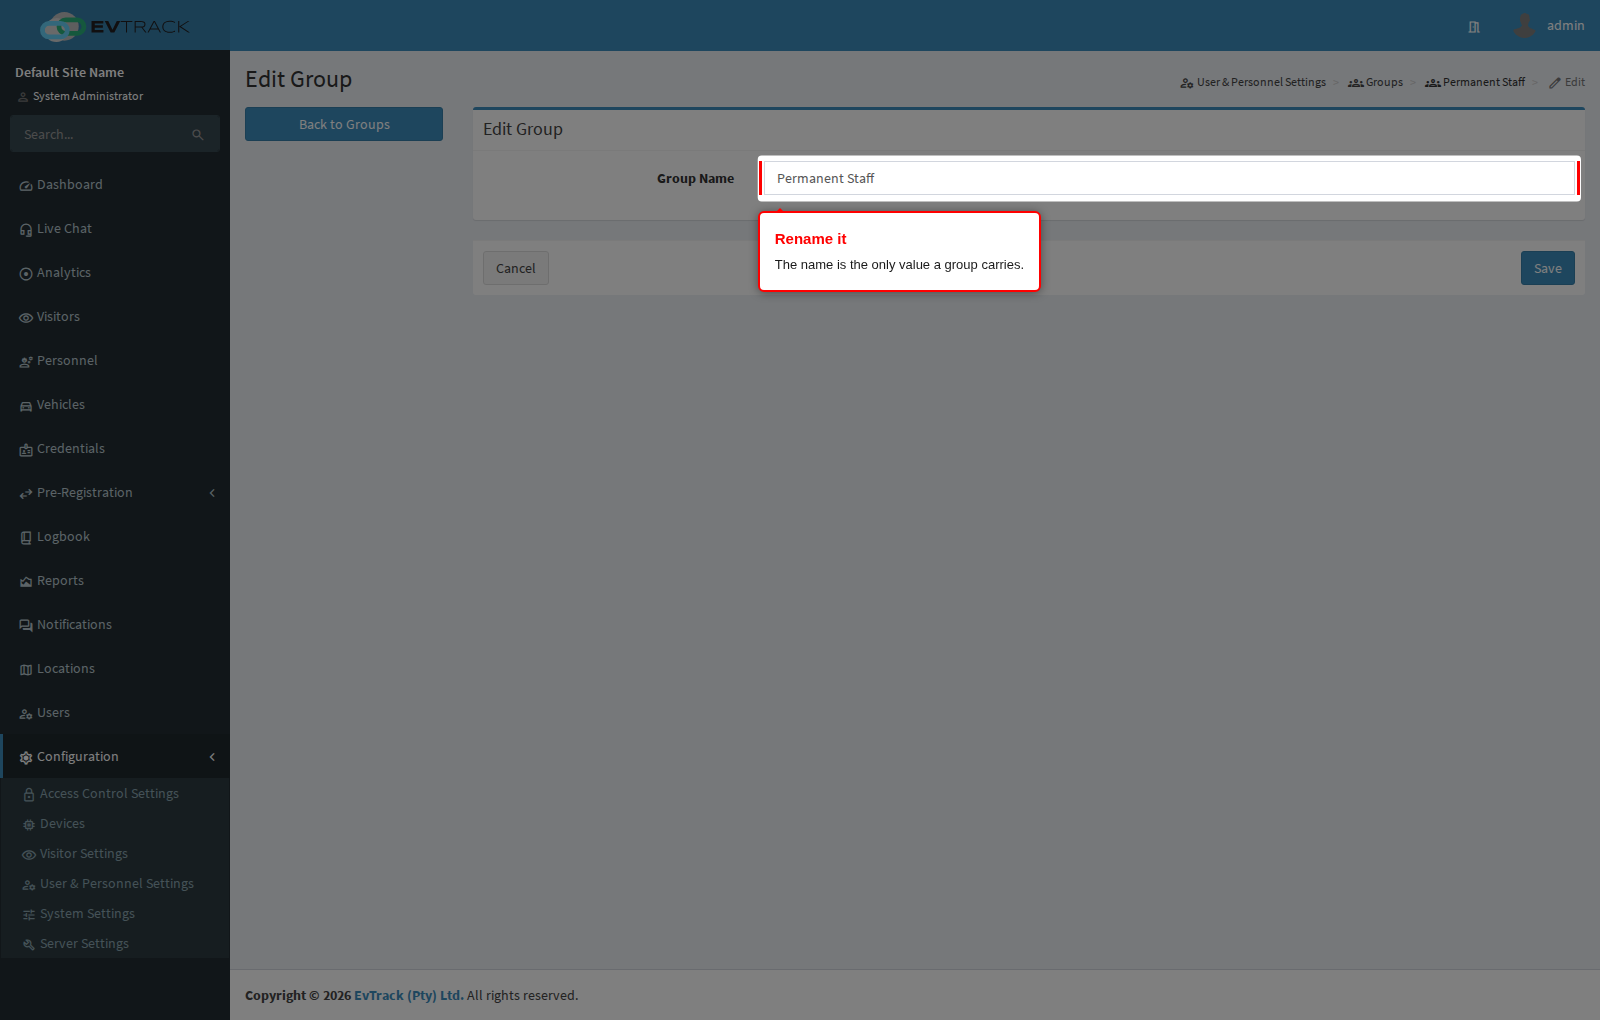
The edit form holds a single field, the Group Name. Change it and click Save, or click Cancel to leave it as it was.
The rename follows the records: everyone already assigned to this group remains assigned to it, and screens and reports rendered from the live data show the new name. Badges already printed keep the old name, because the name was printed onto them at the time - reprint the badges if the new name has to appear on them.
Step 8: Confirm the change
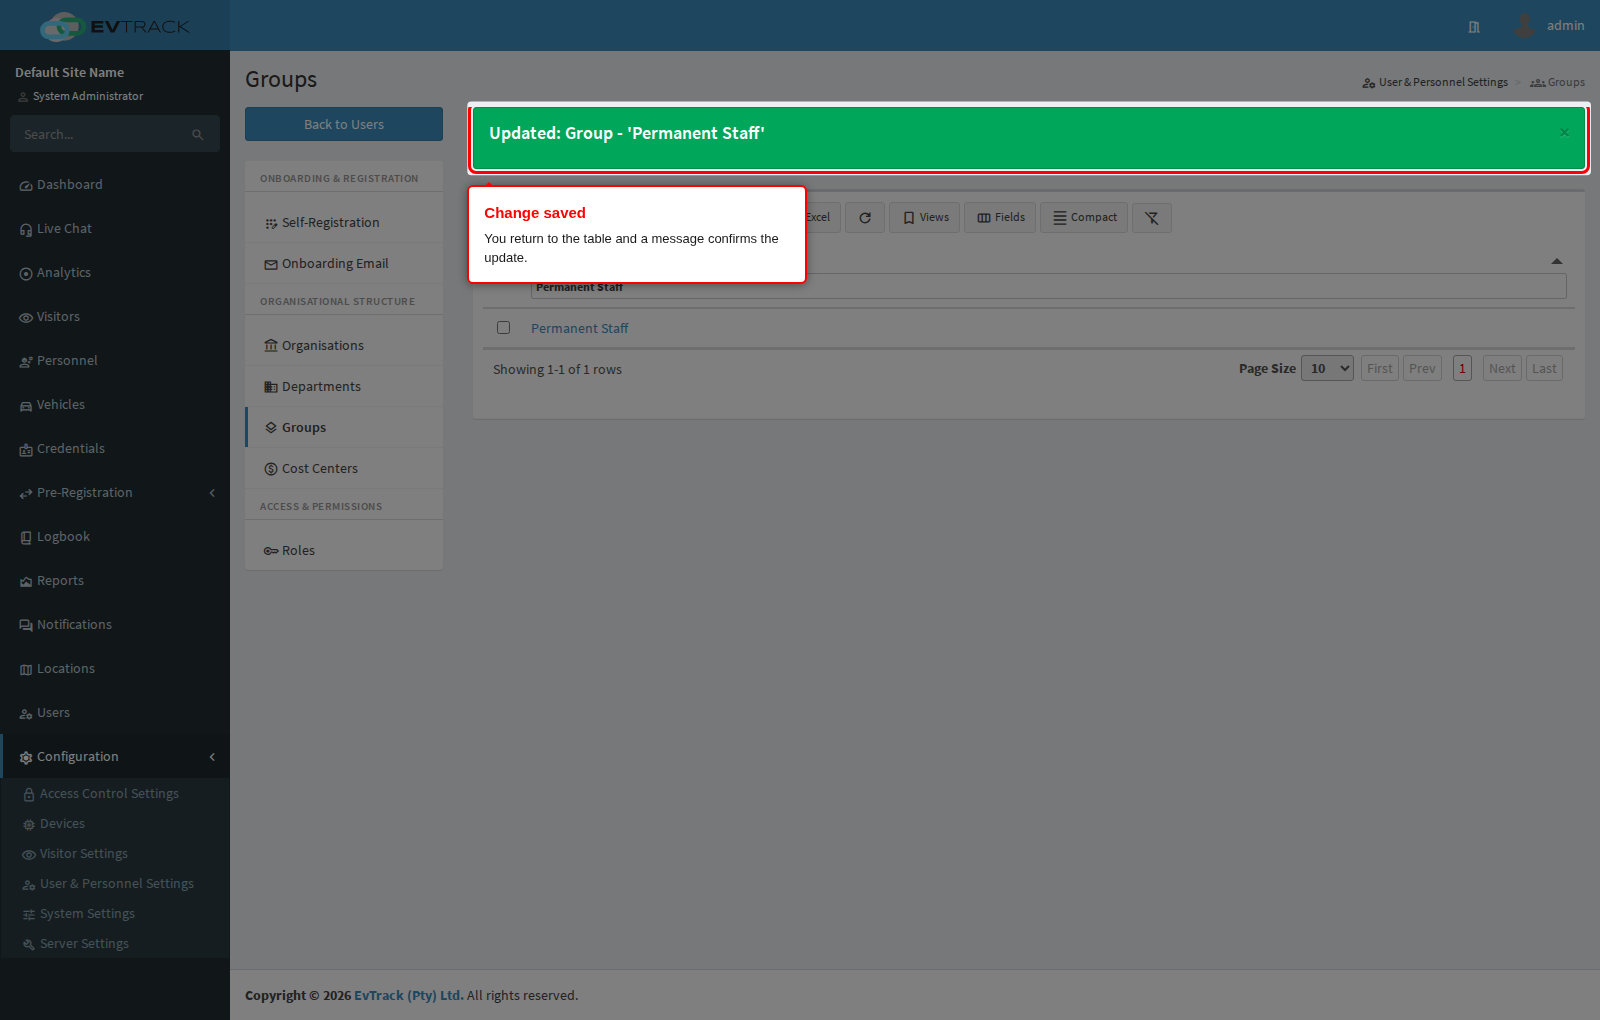
You return to the table with a success message and the row shows the new name.
Step 9: Select a group to delete it
To remove a group, select its row and click Delete. Like Edit, the button only becomes active with exactly one row selected. In the example below a disposable group, “Temporary Group for deletion”, is being removed.
Step 10: Confirm the deletion
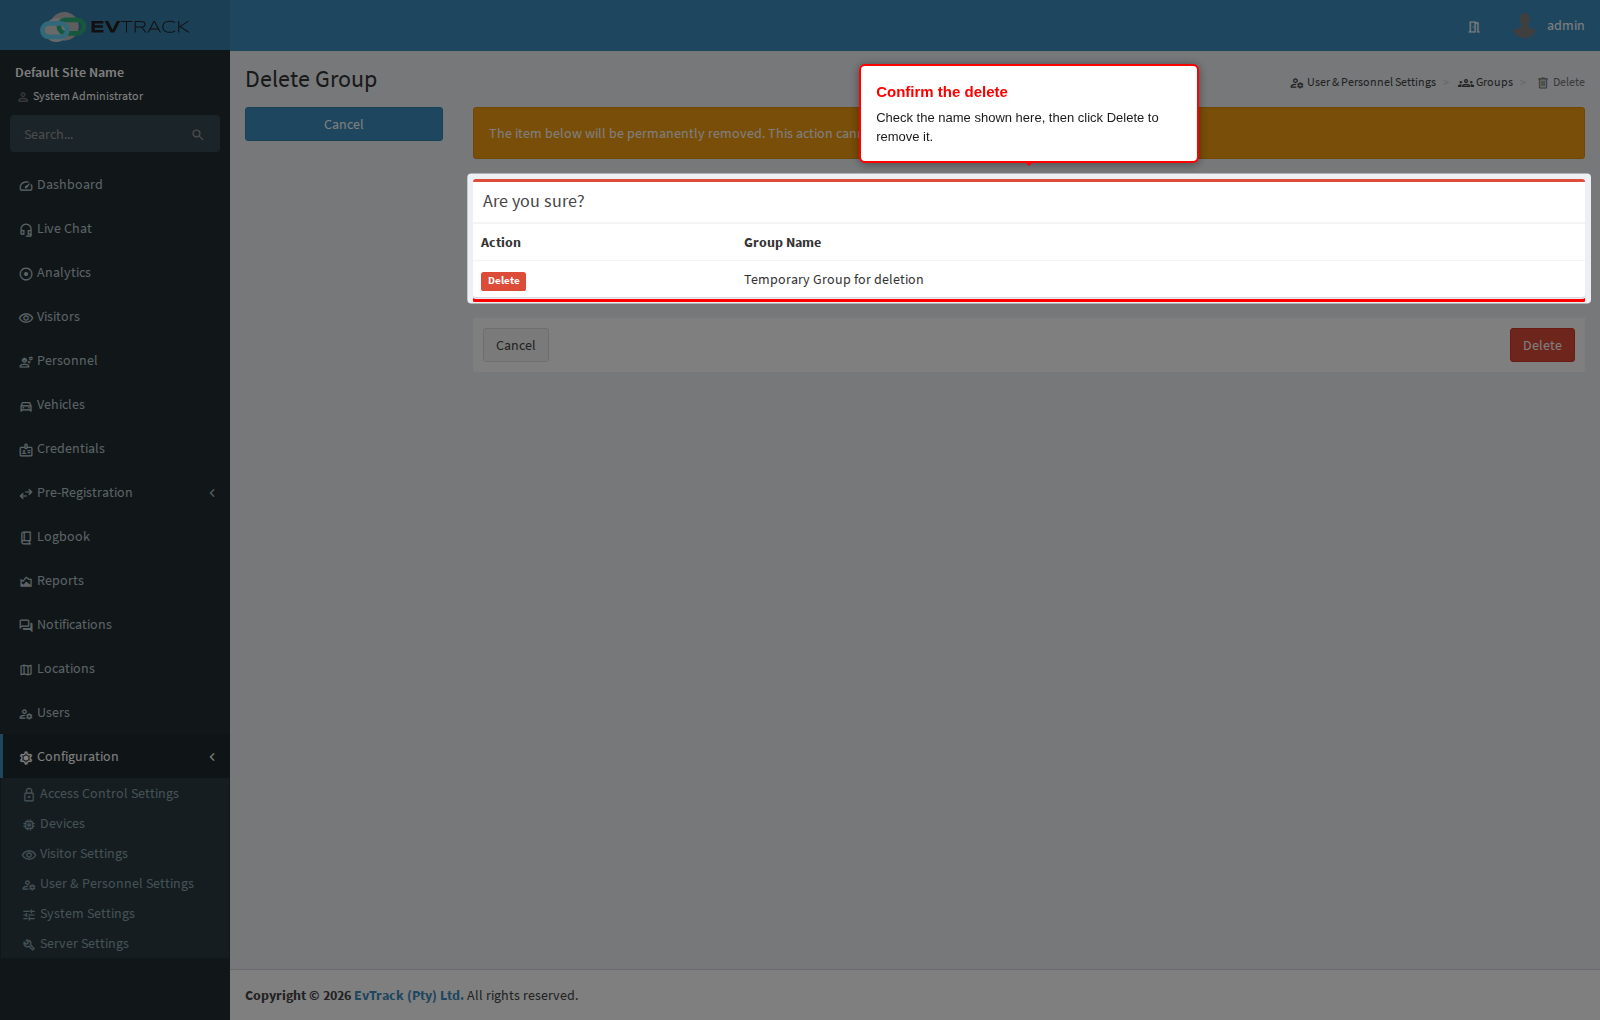
A confirmation page opens showing the group’s reference and name so you can check you picked the right one. Click Delete to remove it, or Cancel (or Back to Groups) to leave it alone. Deletion is permanent - there is no undo.
Nothing blocks a group from being deleted, including one that users, personnel or assets are still assigned to, and the confirmation page does not warn you that it is in use. Check first: reassign those records to another group, otherwise their Group field is simply left empty, they drop out of any report that relies on it, and their next badge prints the fallback wording described below.
Step 11: Confirm the result
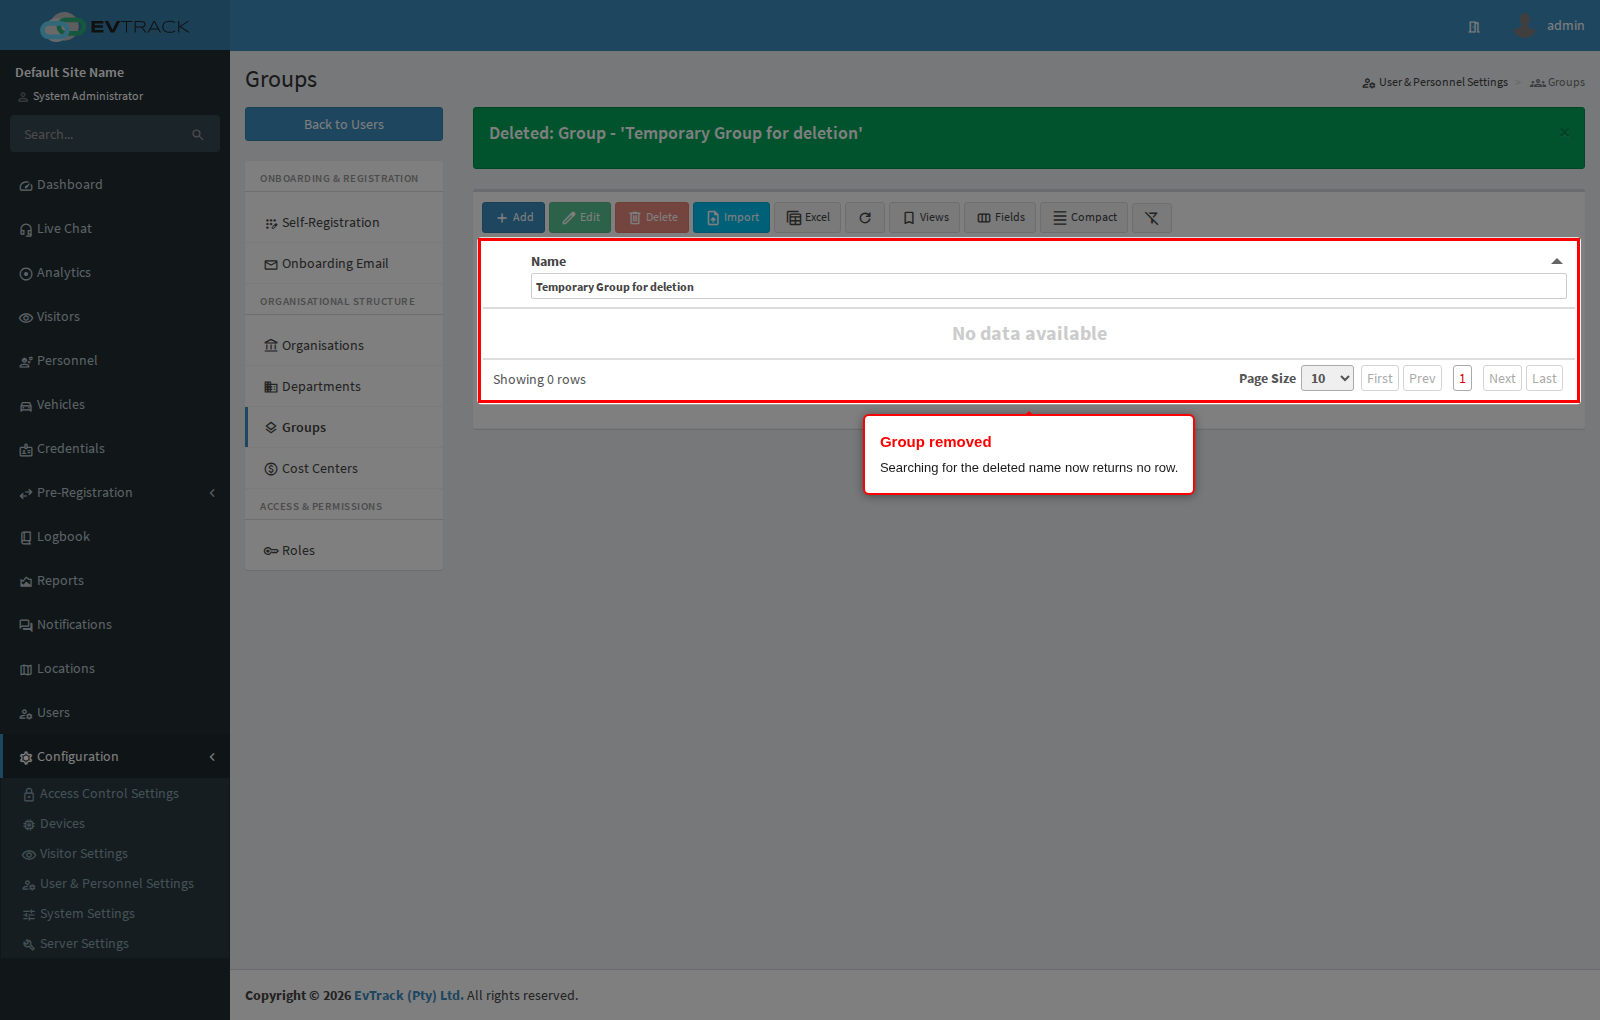
You return to the table with a success message and the group is gone: search for its name and no row is found. It no longer appears in the group list on user, personnel and asset records.
Step 12: Assign the group to a record
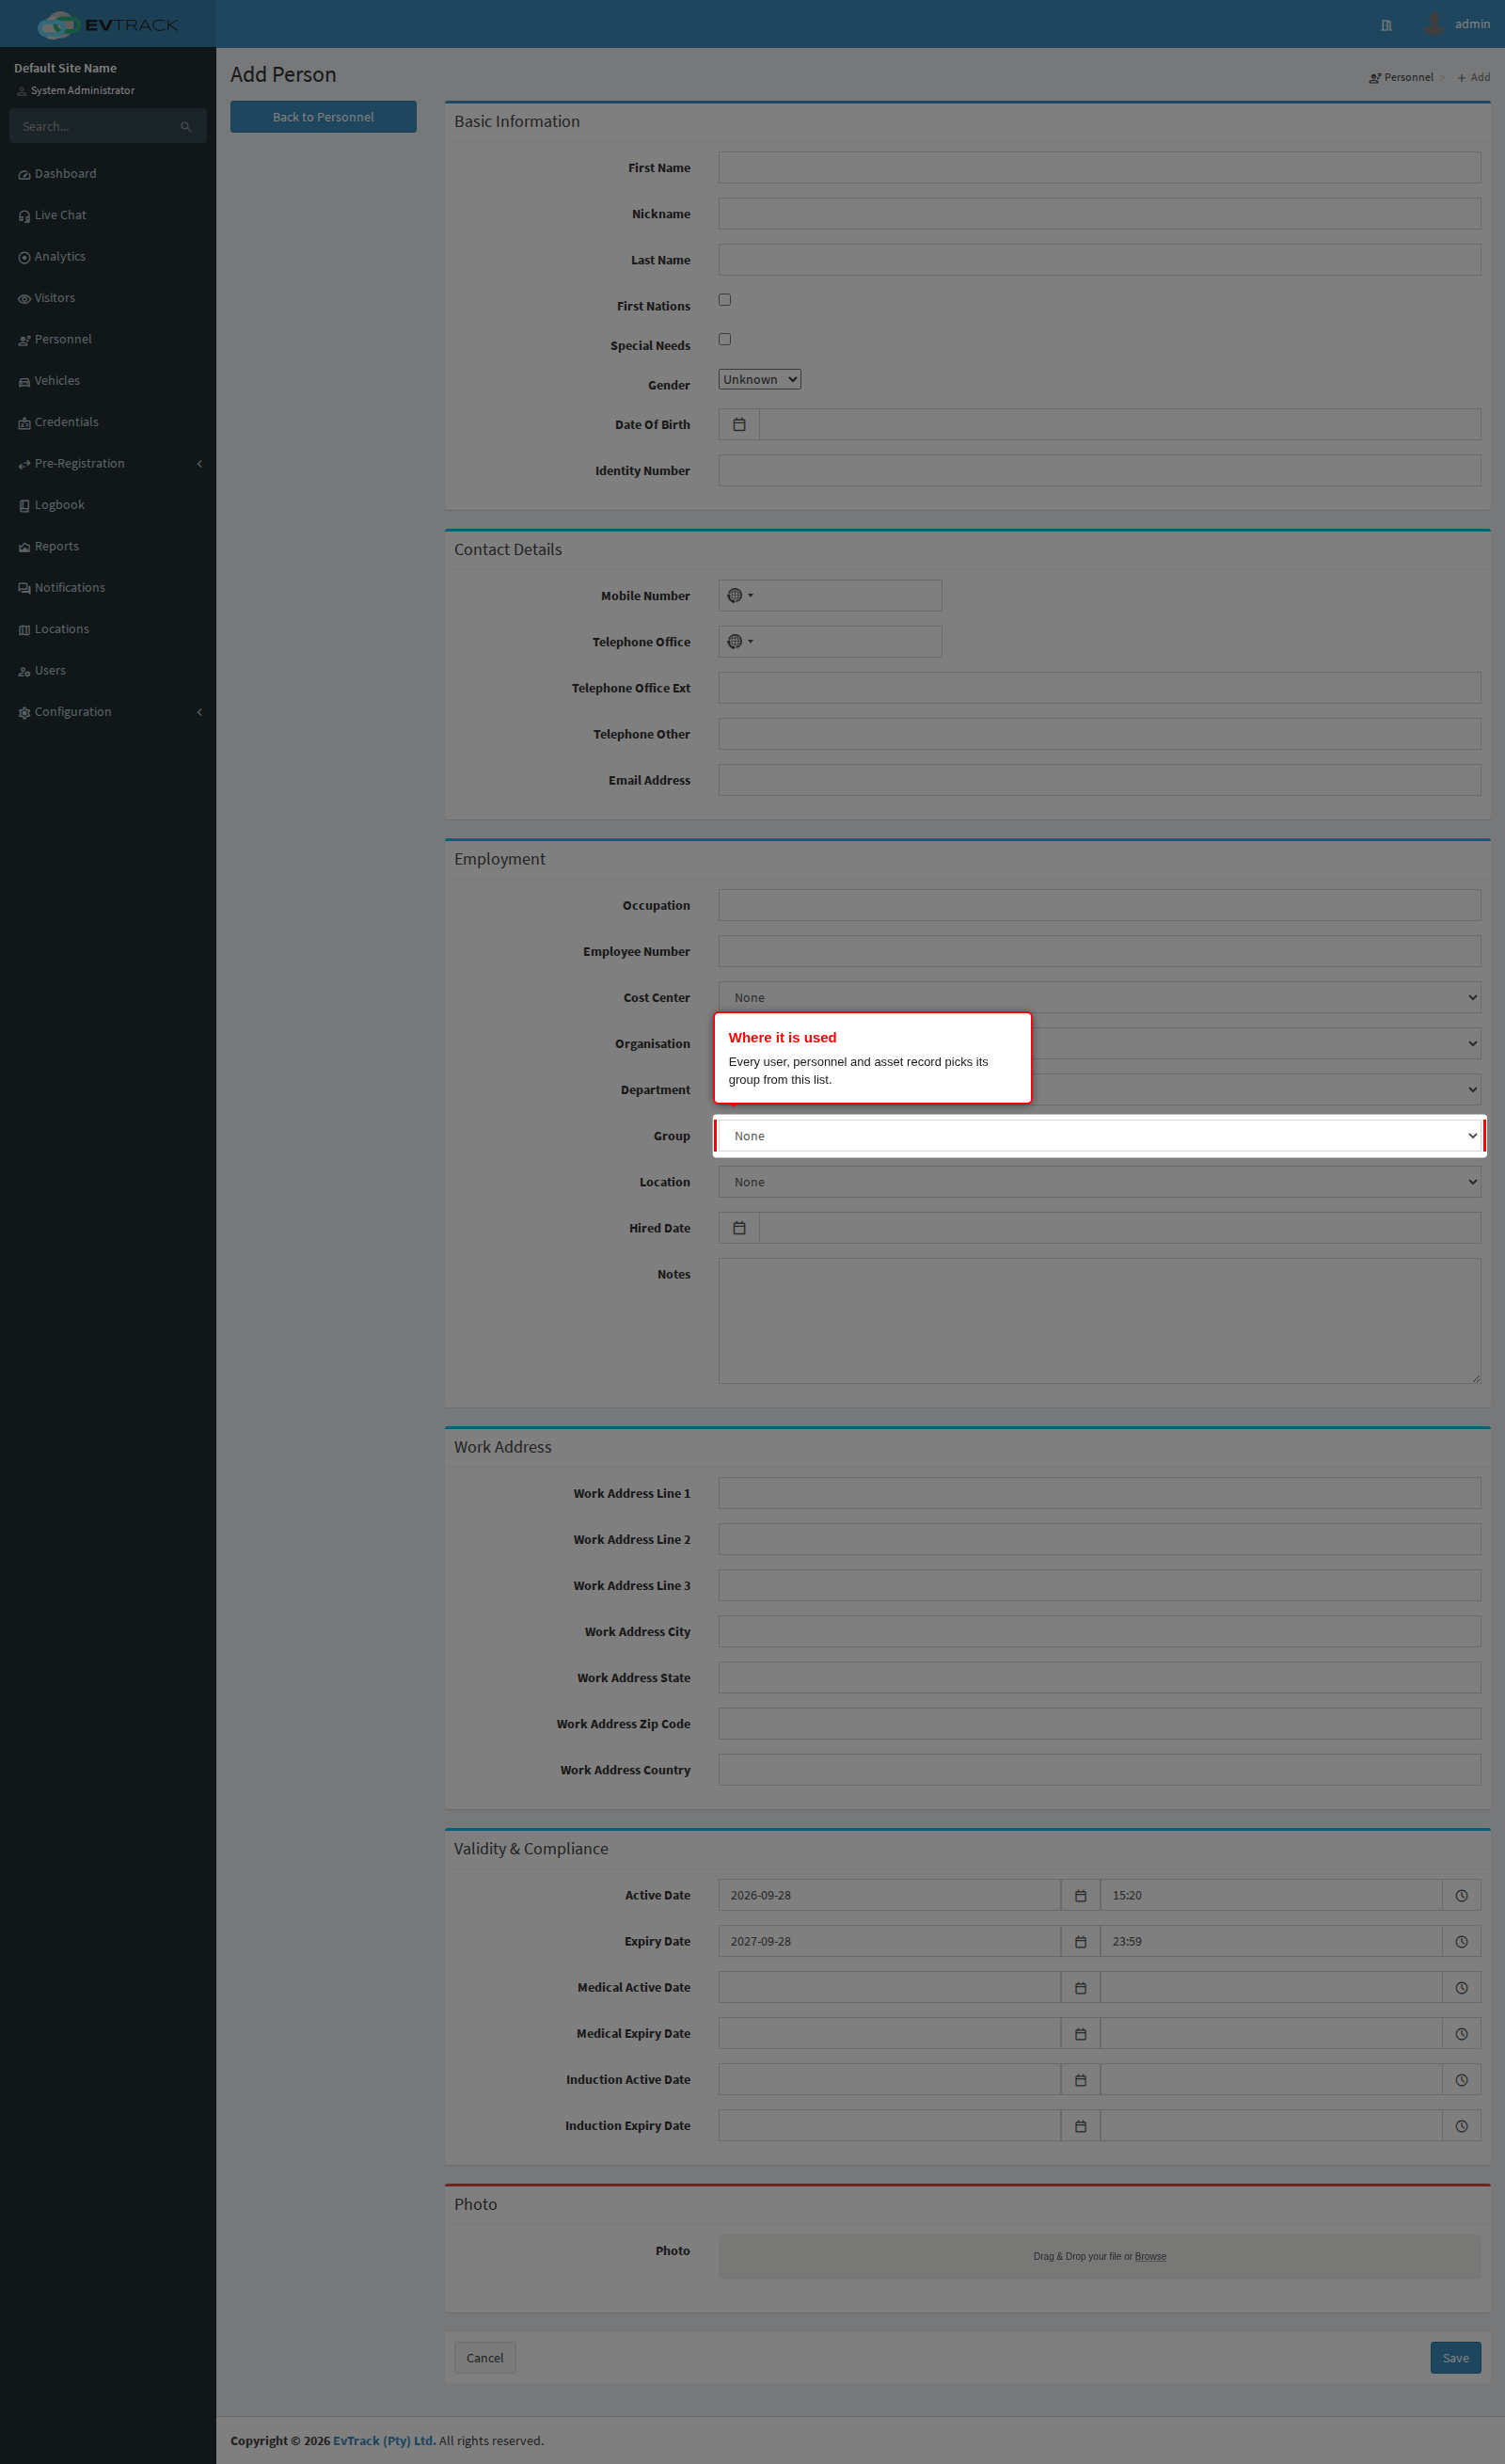
The list exists so that records can point at it. On a user or personnel record open the Profile tab, pick the group from the Group list and save; the same field is on the Add User, Add Personnel and asset forms. The list always starts with None, so the assignment is optional.
Where the group is used
Once assigned, the group is more than a label:
- Lists and searches. The personnel list can show a Group column with its own search box: switch it on from the Show/Hide column menu above the table. The user list has no group column at all - open the user’s Profile tab to see their group.
- Bulk assignment. Select more than one row in the user list and click Edit: the Bulk Edit Users page opens and can set the same group on all of them at once.
- Badges. Badge templates can print the group through the
${group}variable. It is printed in capital letters, and a user or personnel badge for someone with no group prints STAFF instead of leaving the space blank. - Reports. The events and movement reports carry a Group column, the compliance report includes it per person, and the Time Attendance report lists it beside each person.
- Emails and messages. The
${host_group}merge tag inserts the host’s group into invitation and notification templates, and${registrationGroup}does the same for self-registration approval emails. - Connected access control. When credentials are pushed to connected door controllers and access-control systems they carry the holder’s group as descriptive information. It is a label on those systems too and does not open anything on its own.
Note that the group printed in the events report and sent to connected systems is the one recorded on the credential when it was issued, so re-issuing a credential is what picks up a later reassignment.
Public self-registration
If users register themselves through the public form, a Group list can be shown there too. Switch on Require Group under Configuration > User & Personnel Settings > Registration Fields to add the field, and the applicant must then choose one of the groups maintained here before they can submit.
Bulk import
The personnel and user import sheets have a Group column, and the importer also accepts the column heading Team for it. A value that does not match an existing group is created automatically during the import, so review this list after a large import and merge any duplicates that spelling differences introduced.
Web service API
Groups can also be maintained from outside the product through /api/ws/v1/groups, which supports listing, reading, creating, updating and deleting by reference. The calling API key needs the group read or write permission, set on the key under Configuration > System Settings > Web Service API.