A role is the set of things a user account may do once it has logged in. It is the answer to “what is this person allowed to work with?” - which screens open, which buttons appear, which records can be added, changed or removed.
Every user account carries exactly one role, and the role is the only thing that decides what the product lets them do. Two people with the same role see the same product.
A role is not access to a door. It governs the software, not the hardware. Whether someone can open a barrier, a turnstile or a lift comes from the access control lists on their record, and the two are set up separately. Someone can hold a full administrator role and still open nothing on site, and a person with no login at all can hold credentials that open every door.
It is also not a group, an organisation or a department. Those are labels used for reporting, badges and billing attribution. They grant nothing. Roles are the only one of these lists that changes what a person can do.
Before you start: you need an administrator account that can manage user and personnel settings. If Roles is missing from the section menu, your account does not hold that permission - screens you cannot use are hidden rather than shown greyed out. The one place you will see something greyed rather than hidden is the permission list on this screen, and there is a good reason for it - see “Permissions you cannot grant” below.
Step 1: Open Roles
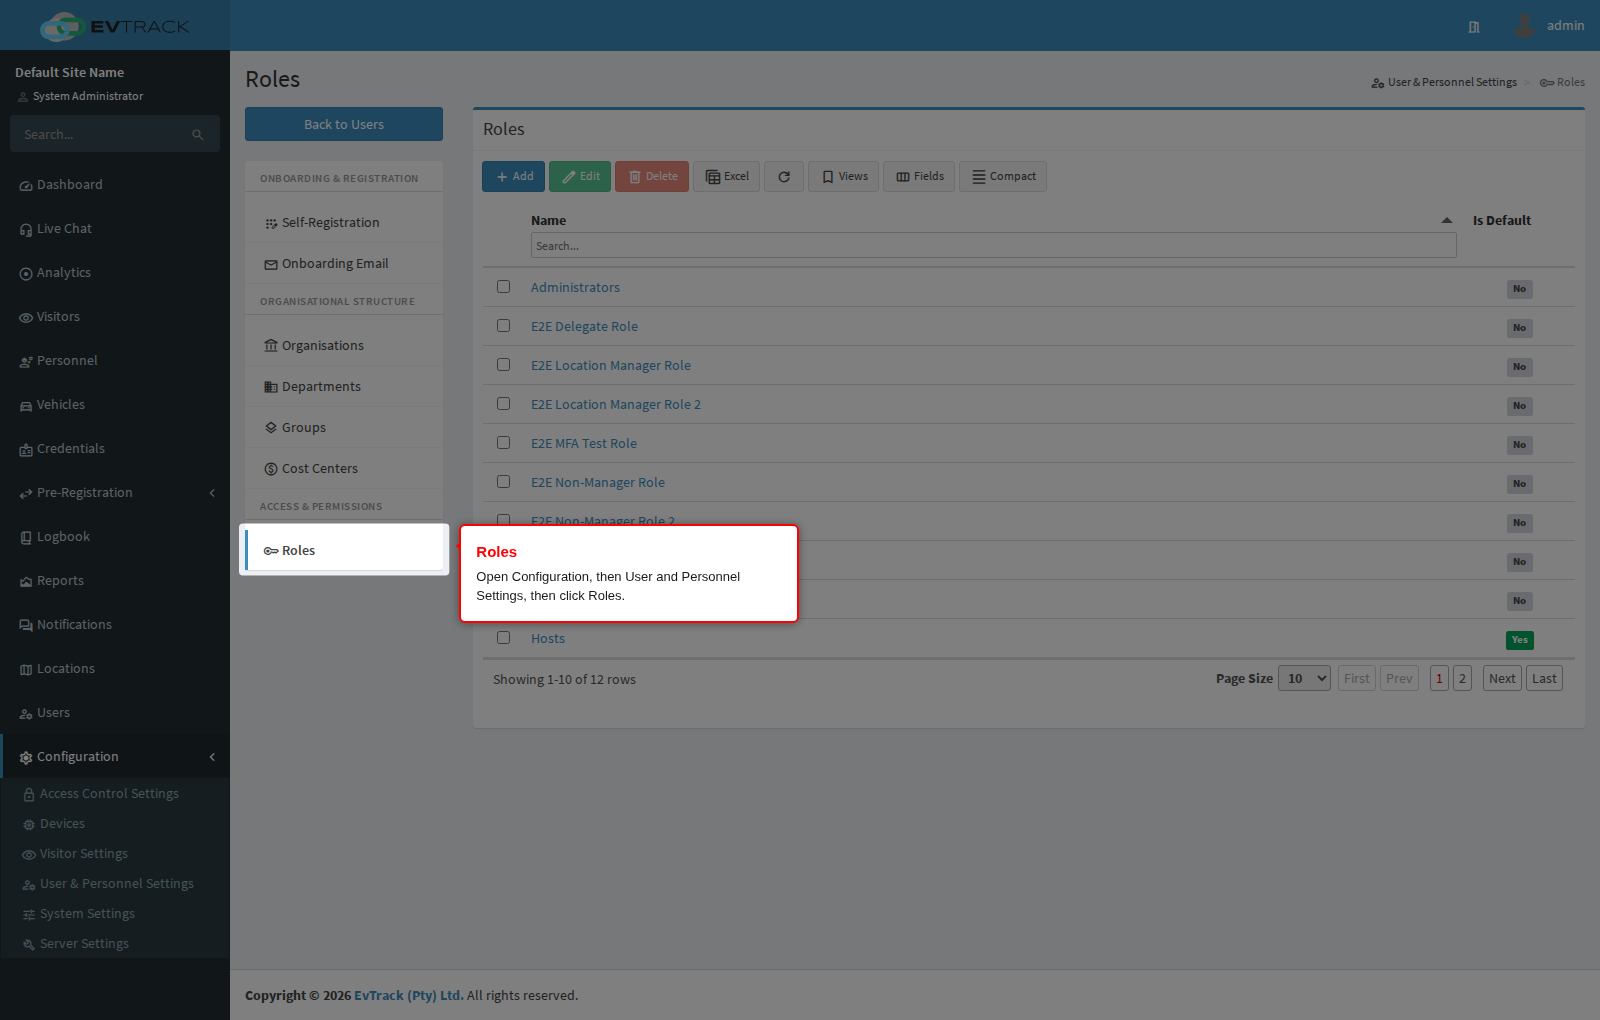
In the left sidebar open Configuration, click User & Personnel Settings, then click Roles in the section menu. The Roles page opens.
Step 2: Review the roles
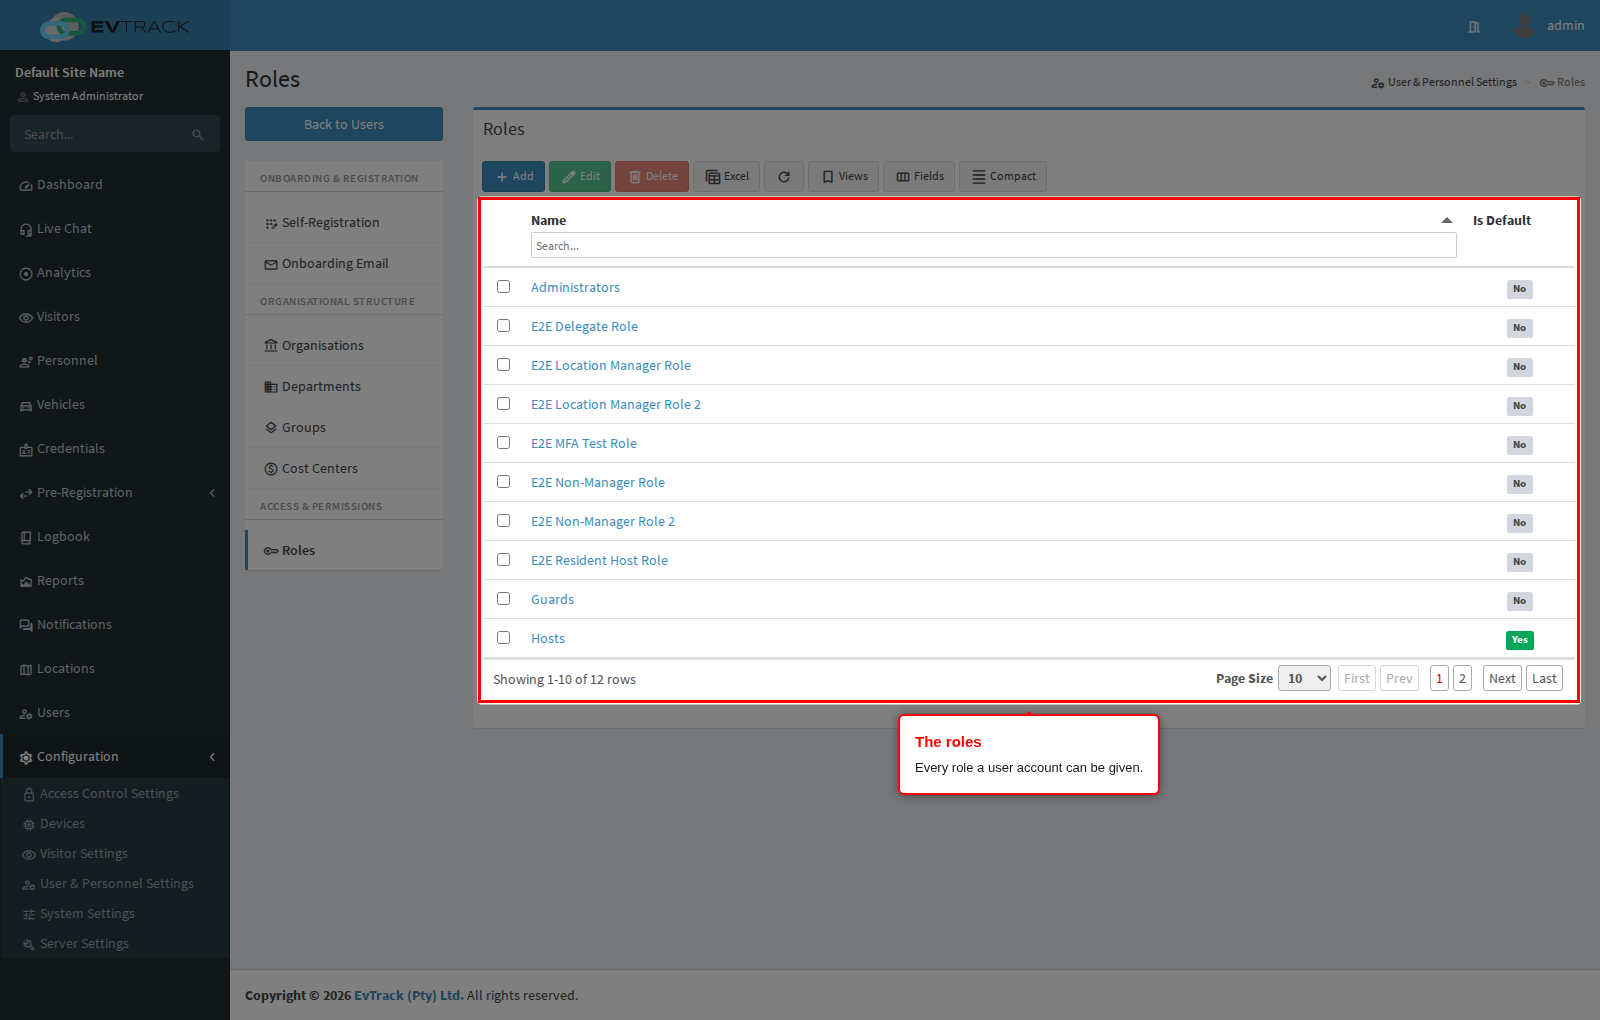
The table lists every role by Name, with a search box in the column header. Click a name to open it. A selection column on the left picks a row, and the toolbar above the table offers Add, Edit, Delete, an Excel export of the list and Refresh.
A new system does not start empty. Alongside the administrator role it ships with four ready-made roles, one for each job people actually do:
- Receptionists run Reception: the visitor dashboard with quick check-in and check-out, visitor records and invitations, downloading pass permits, and handing out and taking back cards from the card pools.
- Hosts invite and manage their own visitors and see only those visitors. This is the default role, so it is what a new account holds until someone chooses otherwise.
- Power Users hold the wide day-to-day set: everything operational, without user management or system settings.
- Guards exist for accounts that log in from the guard app at the checkpoint. They can work the app fully and see nothing in the web product.
They are ordinary roles: rename them, change what they hold, or delete the ones your site does not need. Because Receptionists and Power Users can view every visitor, assigning either asks for the confirmation described further down this page.
Step 3: Click Add
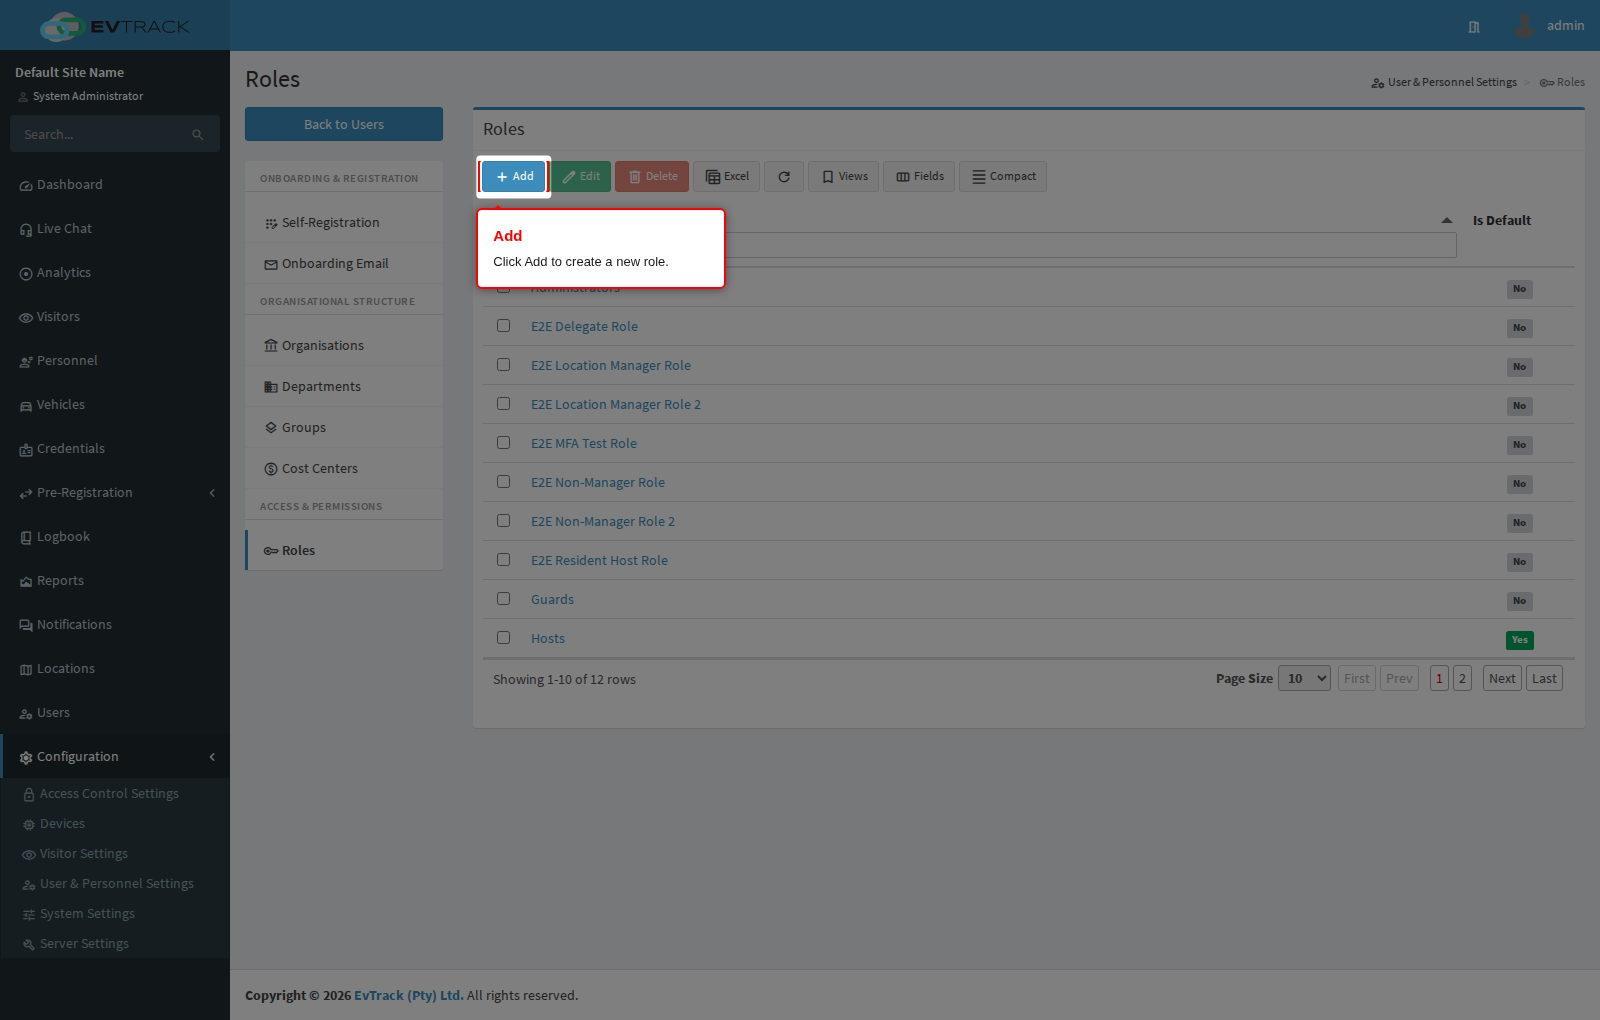
Click the Add button above the table. The new role form opens.
Step 4: Name the role
Enter the Name and choose its permissions before saving. Name the role for the job it describes rather than the person holding it: “Reception” survives a change of staff, “Mary’s role” does not.

Step 5: Confirm the result
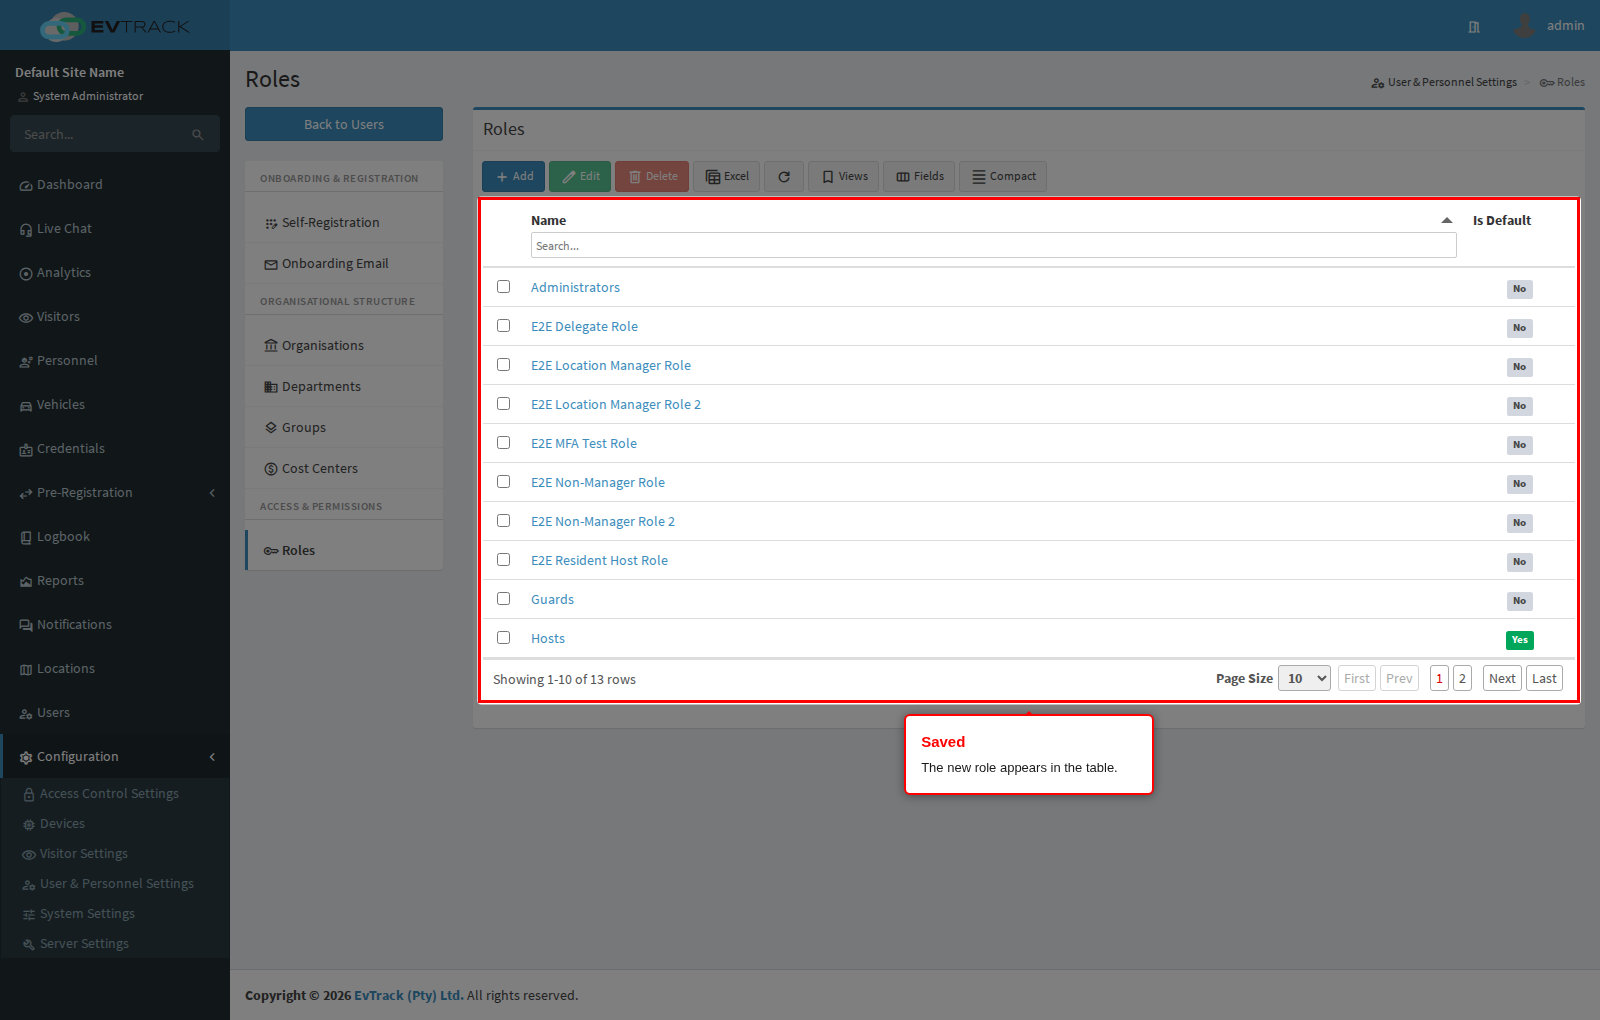
Back on Roles, the new role appears in the table and can be selected on user records straight away.
Step 6: Open an existing role to edit it
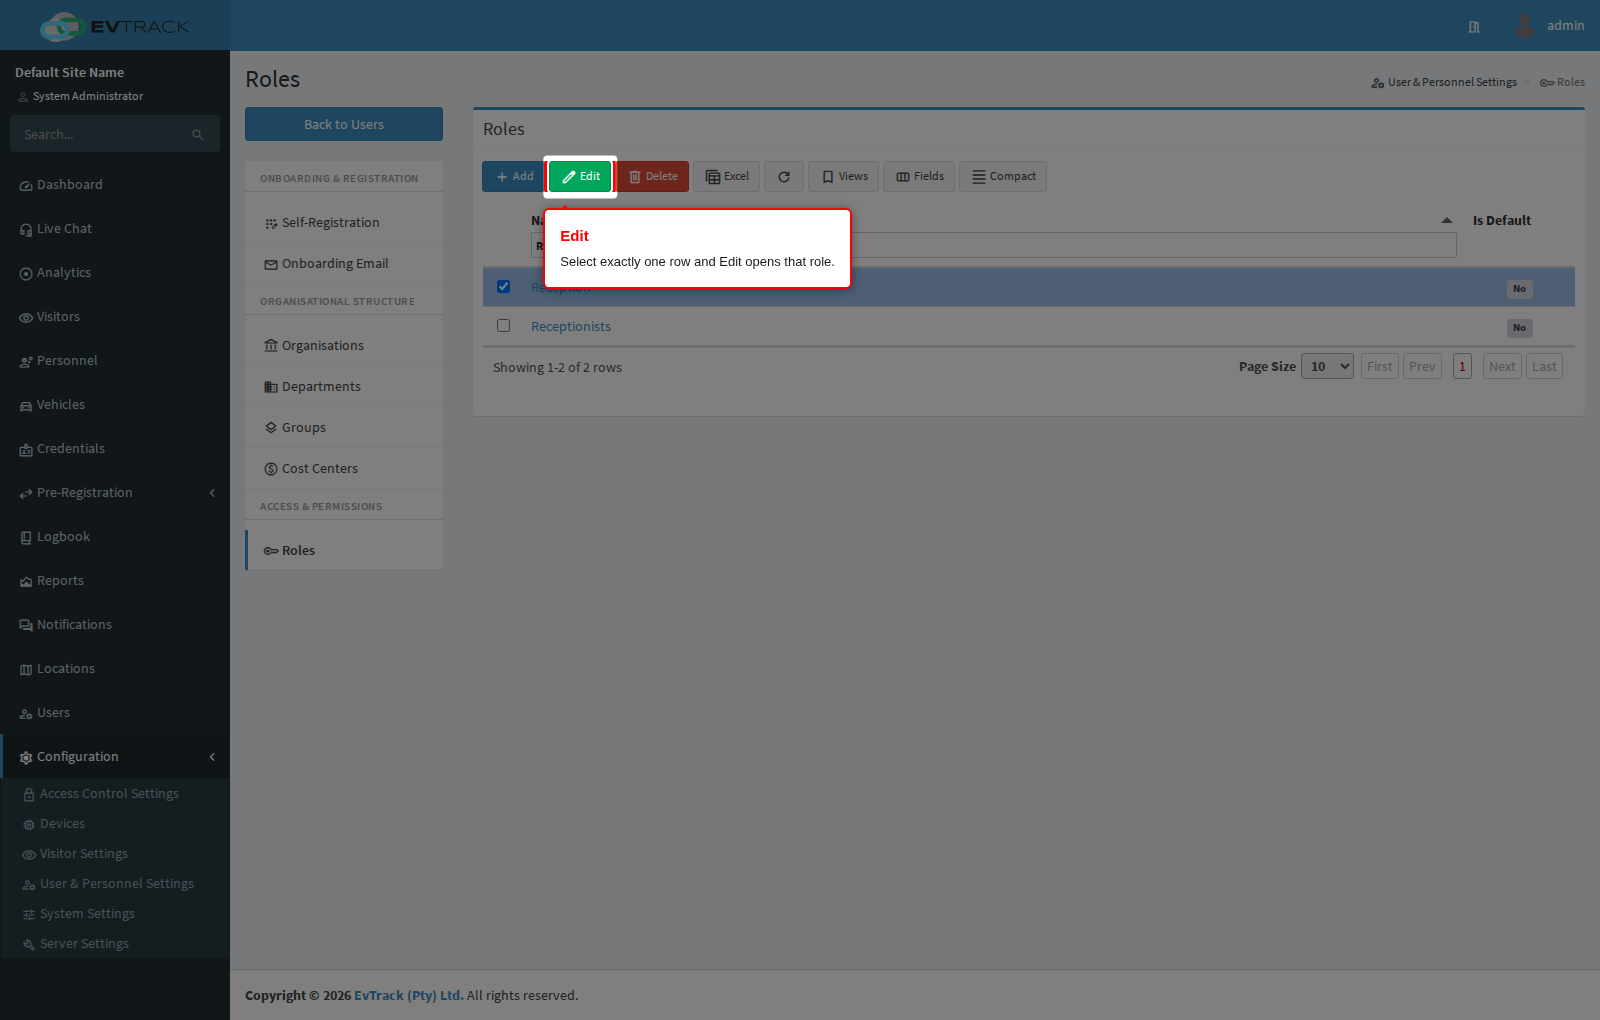
Click the row of the role you want to change. The toolbar Edit and Delete buttons remain greyed out until exactly one row is selected. Click Edit (clicking the name in the table does the same thing).
Step 7: Choose the permissions
The permissions are grouped by the part of the product they cover - Visitor Management, Personnel, Credentials, Reports and so on. Tick a permission to grant it and untick it to take it away. Each row shows what kind of action it is:
- Read - open and view the screen without changing anything.
- Write - add records and save changes.
- Delete - remove records.
Grant the narrowest set that lets someone do their job. A reception role that can read visitor records and check people in does not also need to delete them.
Some permissions may appear greyed out with the tick box locked. Those are permissions your own role does not hold, so you cannot pass them on. They are shown rather than hidden on purpose - see the next section.

Permissions you cannot grant
You can only grant permissions your own role holds. An administrator holds everything, so an administrator sees nothing greyed out and can assign any permission. Anyone else sees the permissions beyond their own role locked.
This is the one screen where the product shows you something you cannot use instead of hiding it. Hiding these would mean two people looking at the same role saw different lists with no explanation, and neither would know who to ask. Greying them out tells you the permission exists, that it is simply not yours to hand out, and that an administrator can do it for you.
On a system running multiple sites, a few permissions that only apply to single-site systems are not offered at all.

Editing a role that includes a permission you cannot grant
If a role already holds a permission your role cannot grant, the tick box shows as ticked and locked, and a message at the top of the form names the permission and tells you the role cannot be saved.
This is deliberate. Saving would quietly strip that permission from the role, because a locked tick box is not sent back when you save. Rather than lose it silently, the whole save is refused. Ask an administrator to make the change, or to remove that permission first if it is no longer needed.

Confirming a role that can see every visitor
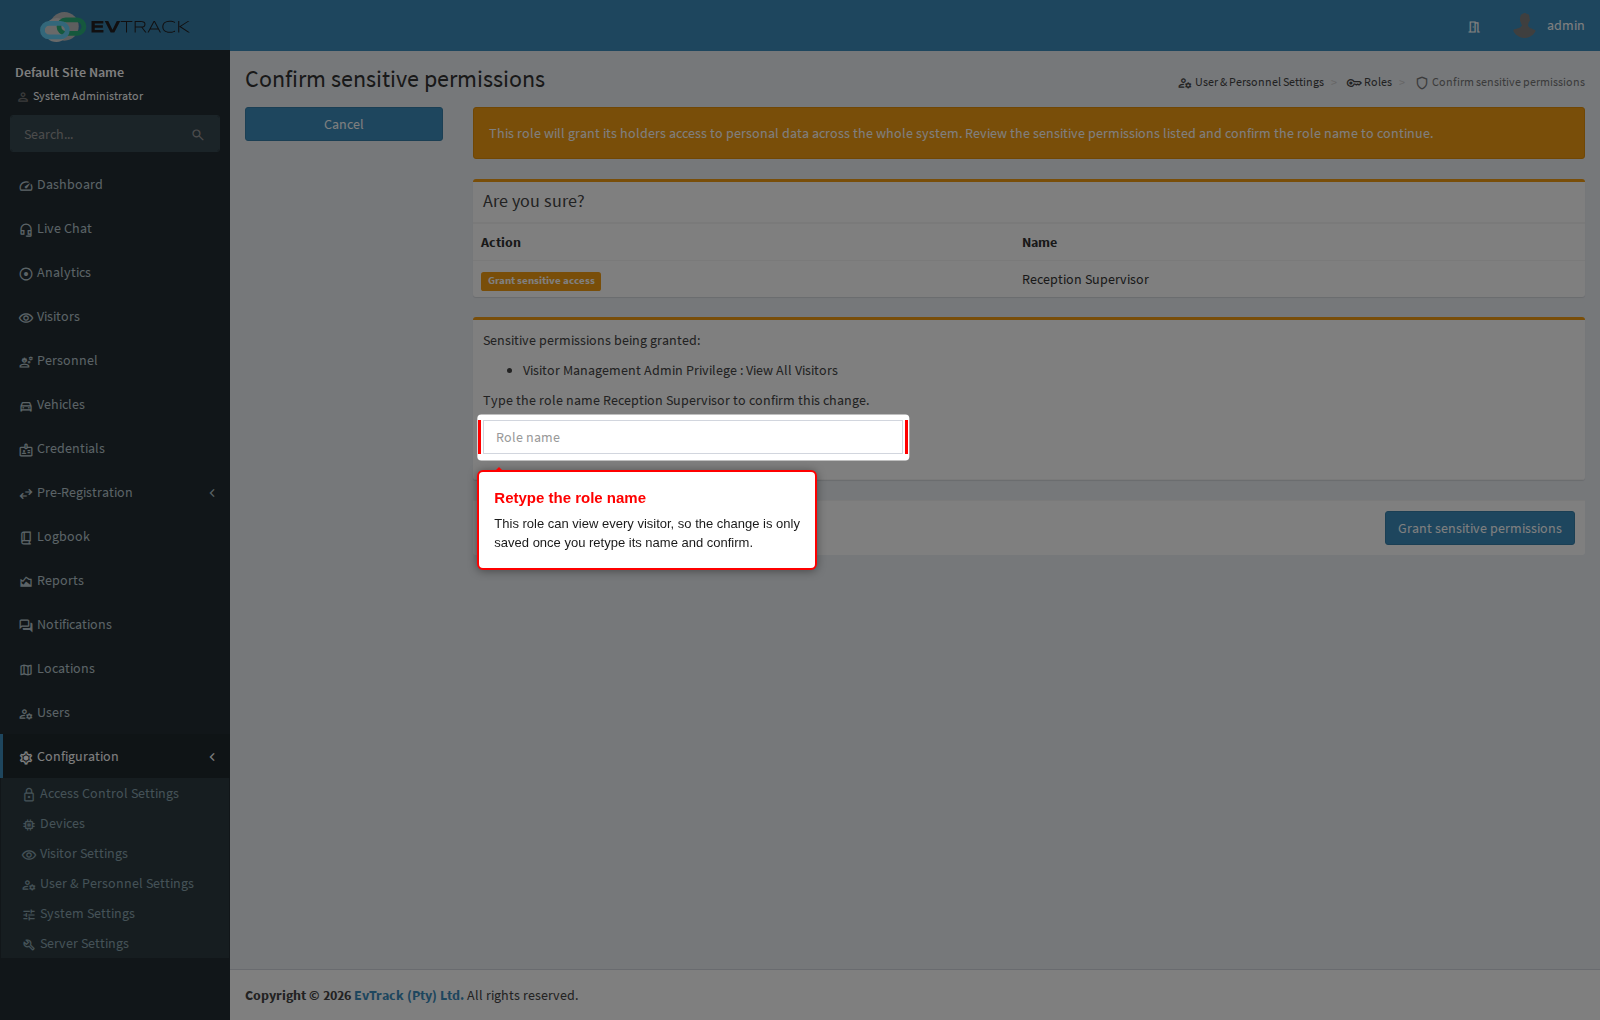
One permission is treated differently from all the others: Visitor Management Admin Privilege: View All Visitors. A role that holds it lets everyone with that role open the details of every visitor in the system, including visitors that other people added. That is a large amount of personal information, so the product does not simply save the change in the background.
When you tick that permission and save, a confirmation page opens before anything is stored. It explains, in plain words, what the permission does, and - if people already hold this role - how many of them will gain the access. To go ahead, you retype the role’s name in the box and confirm. If you change your mind, use Cancel and nothing is saved.
Why the extra step exists. The confirmation is checked on the server, not just shown as a pop-up in the page. The name you type is compared against the role you are actually editing, so the permission cannot be added by a mis-click, by an old browser tab left open, or by anything other than a deliberate choice. The change is also written to the activity log, together with who made it and how many accounts it affected, so it can always be traced later.
Step 8: Start from a typical job
The buttons above the list show only the permissions a typical job needs: Resident/Host, Security Guard, Receptionist, Power User and Administrator. They filter the list you are looking at, so you can work through one job’s permissions without scrolling past everything else. All Permissions puts the full list back.
These are a starting point, not a template that fills itself in - you still tick what the role should hold.

Step 9: Find one permission quickly
Type part of a permission name into the search box to filter the whole list, across every group. Select All and Deselect All apply to what is currently shown, which makes them safe to use together with the search box and the job buttons.

Step 10: Decide whether it is the default
Is Default marks the role that every new user account is given automatically - accounts created by an administrator, by bulk import and by self-registration alike.
Only one role can be the default. Marking a second role as the default moves the flag rather than adding another, and the previous default keeps its permissions and simply stops being handed out. Make the default the most limited role that is still useful: it is what someone gets before anyone reviews their account. On a new system the shipped Hosts role starts as the default, for exactly that reason.

Step 11: Save
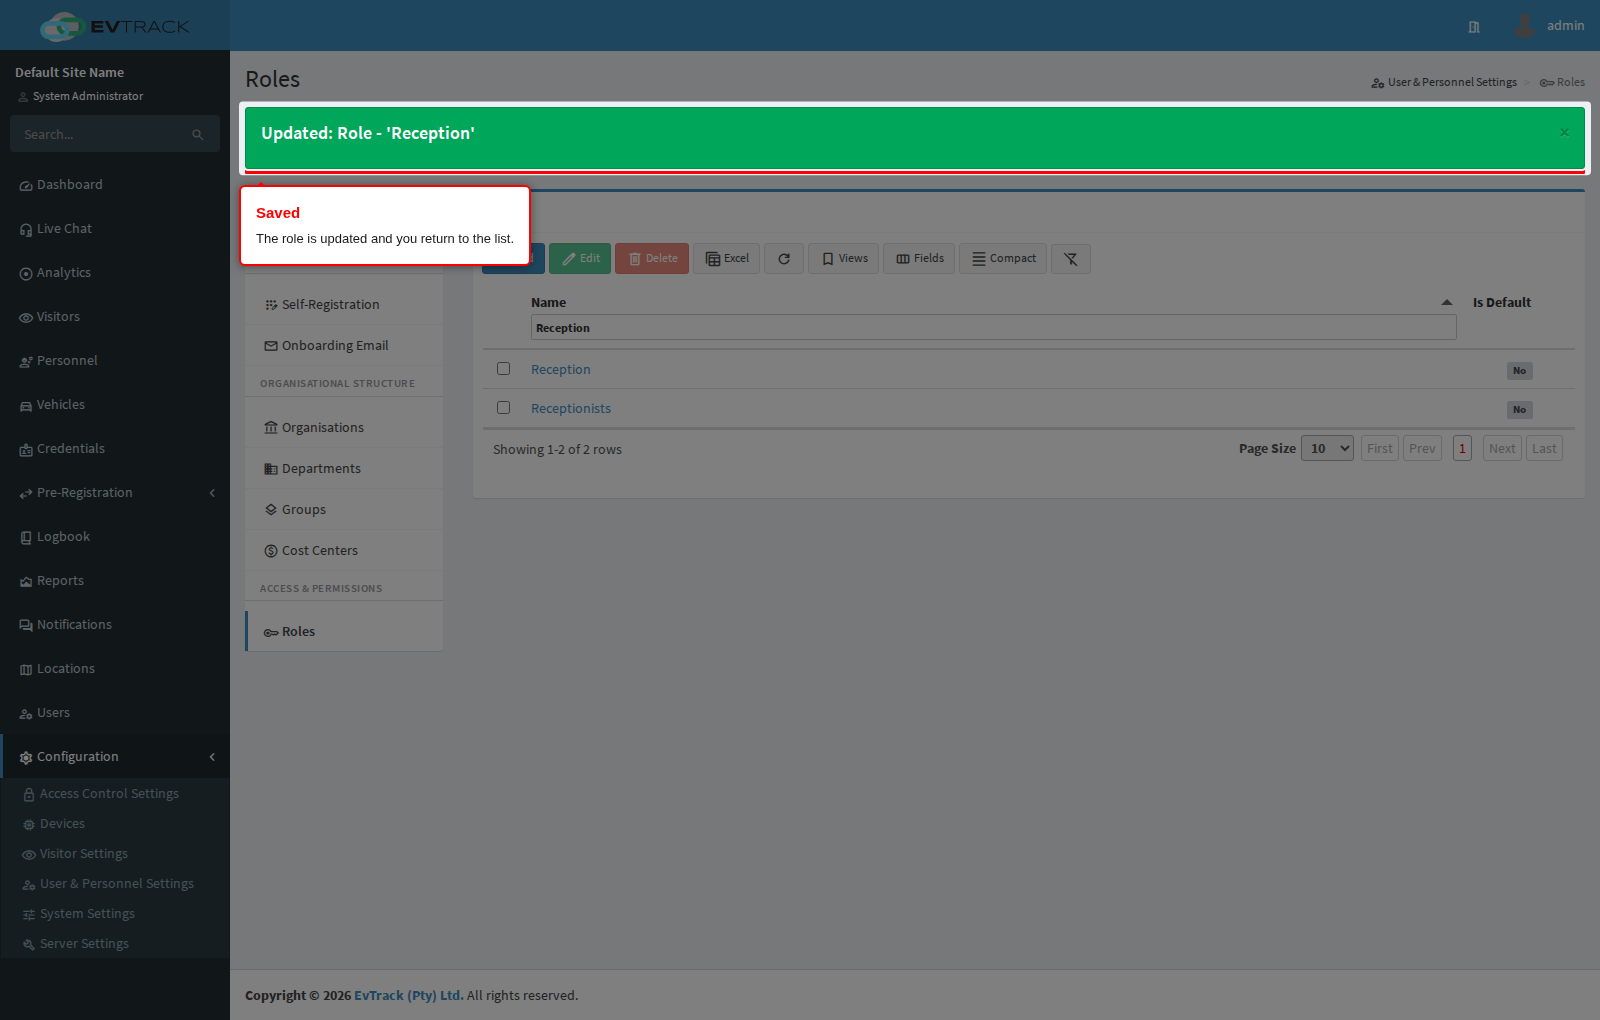
Click Save. You return to the table with a success message.
A permission change takes effect for the people holding that role the next time they log in. Someone logged in while you edit their role keeps the product as it was until their session ends.
Step 12: Select a role to delete it
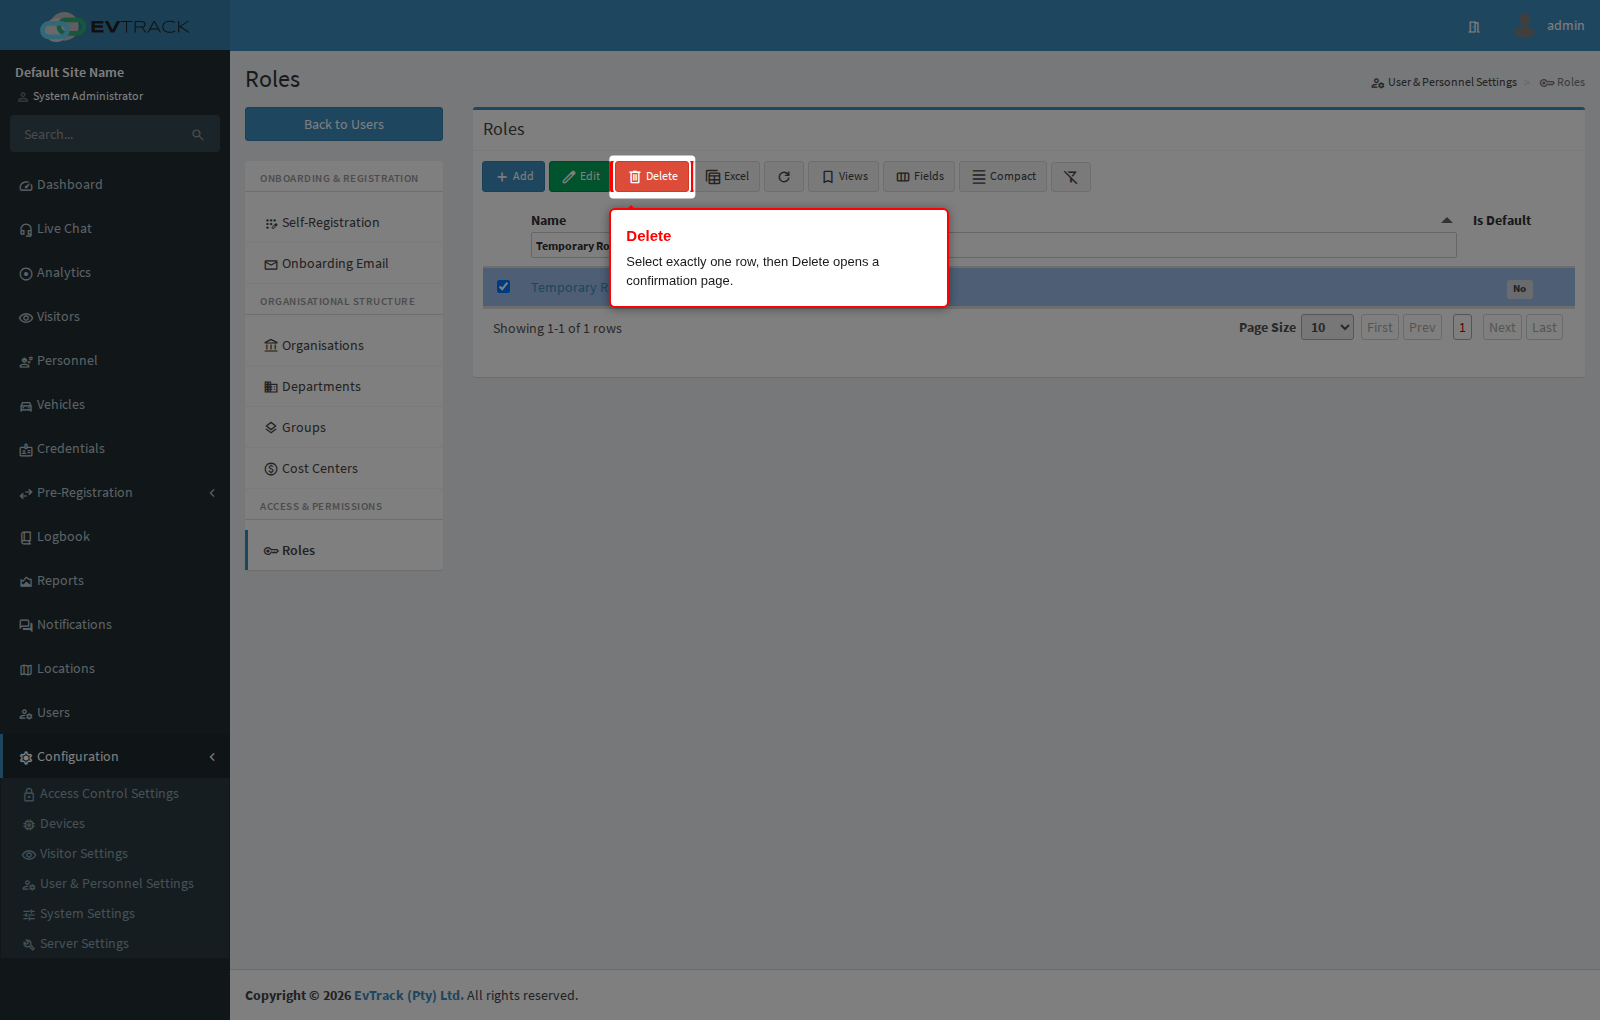
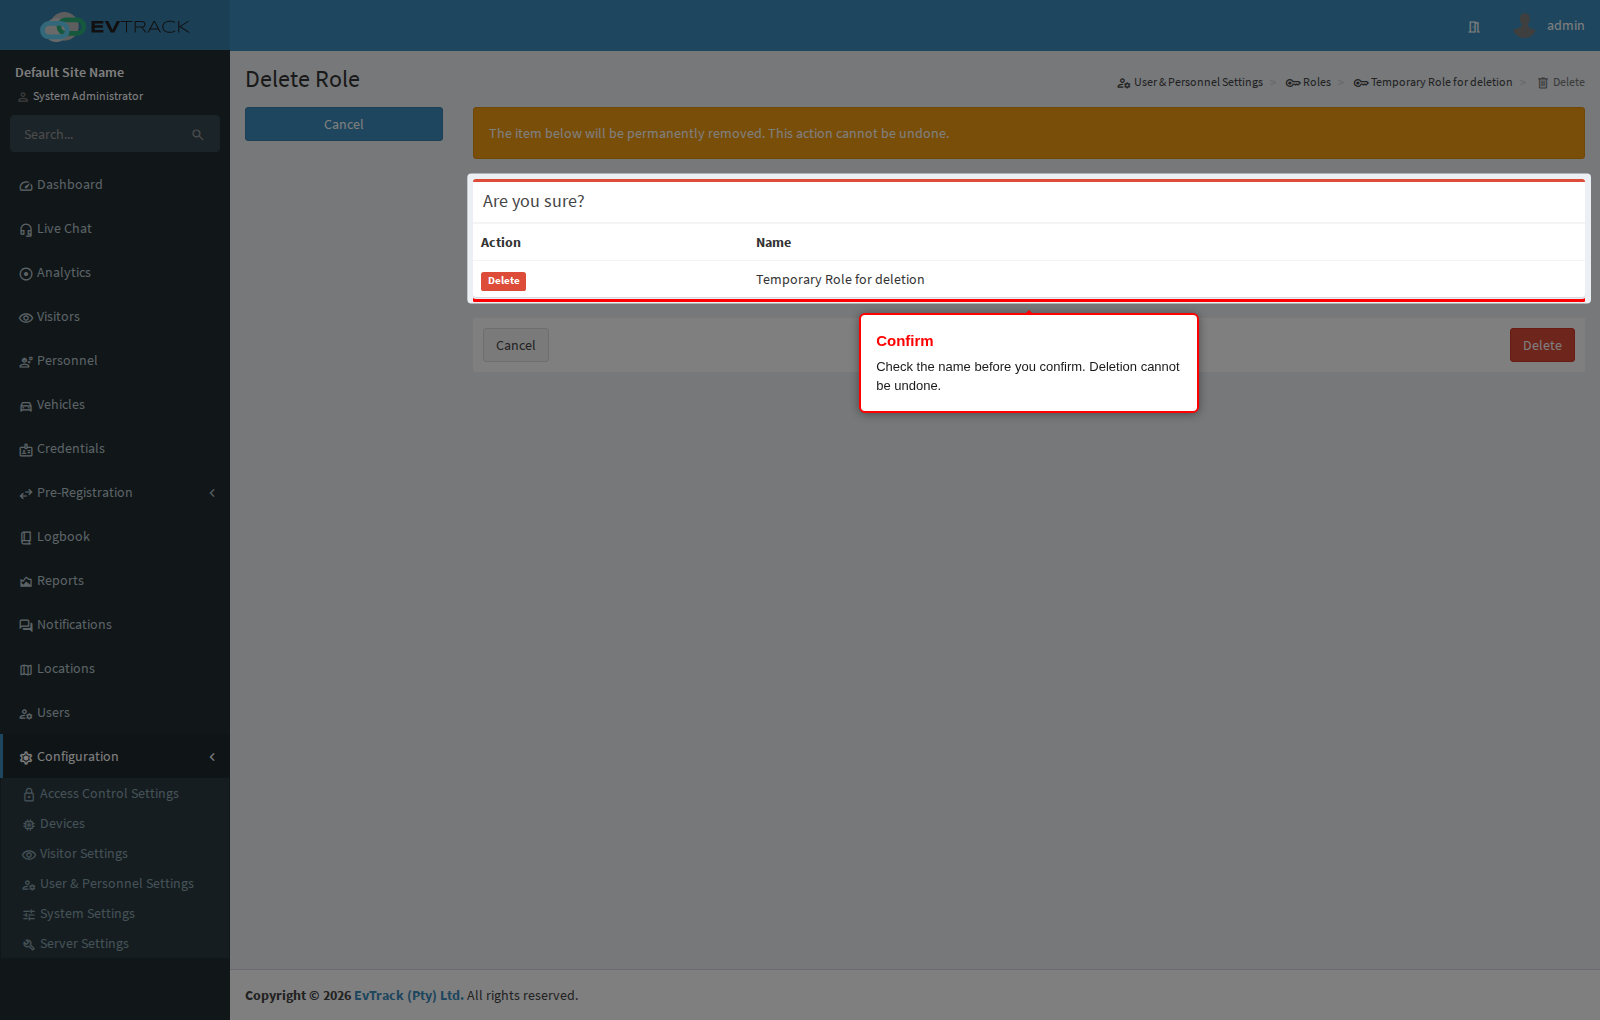
To remove a role, select its row and click Delete. Like Edit, the button only becomes active with exactly one row selected. In the example below a disposable role, “Temporary Role for deletion”, is being removed.
Step 13: Confirm the deletion
A confirmation page opens showing the role so you can check you picked the right one. Click Delete to remove it, or Cancel (or Back to Roles) to leave it alone. Deletion is permanent - there is no undo.
Check who holds the role before you remove it. Reassign those accounts to another role first, otherwise you are changing what those people can do in the product as a side effect of tidying up a list.
Step 14: Confirm the result
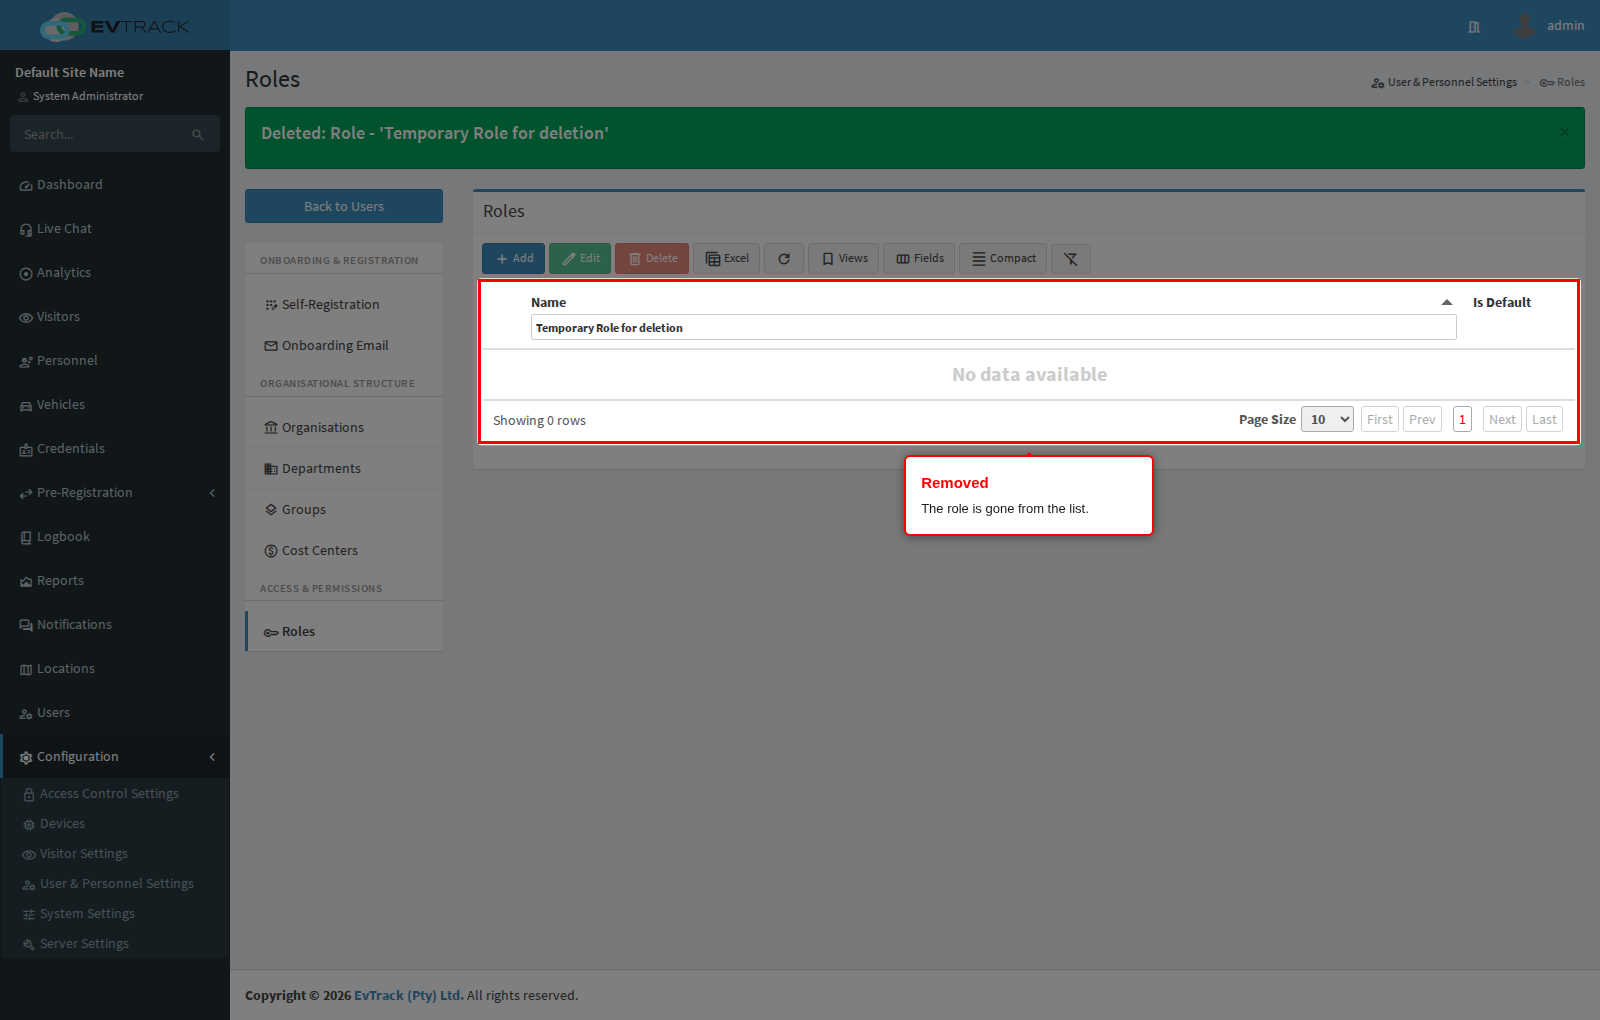
You return to the table with a success message and the role is gone: search for its name and no row is found. It no longer appears in the role list on user records.
Step 15: Assign the role to a user
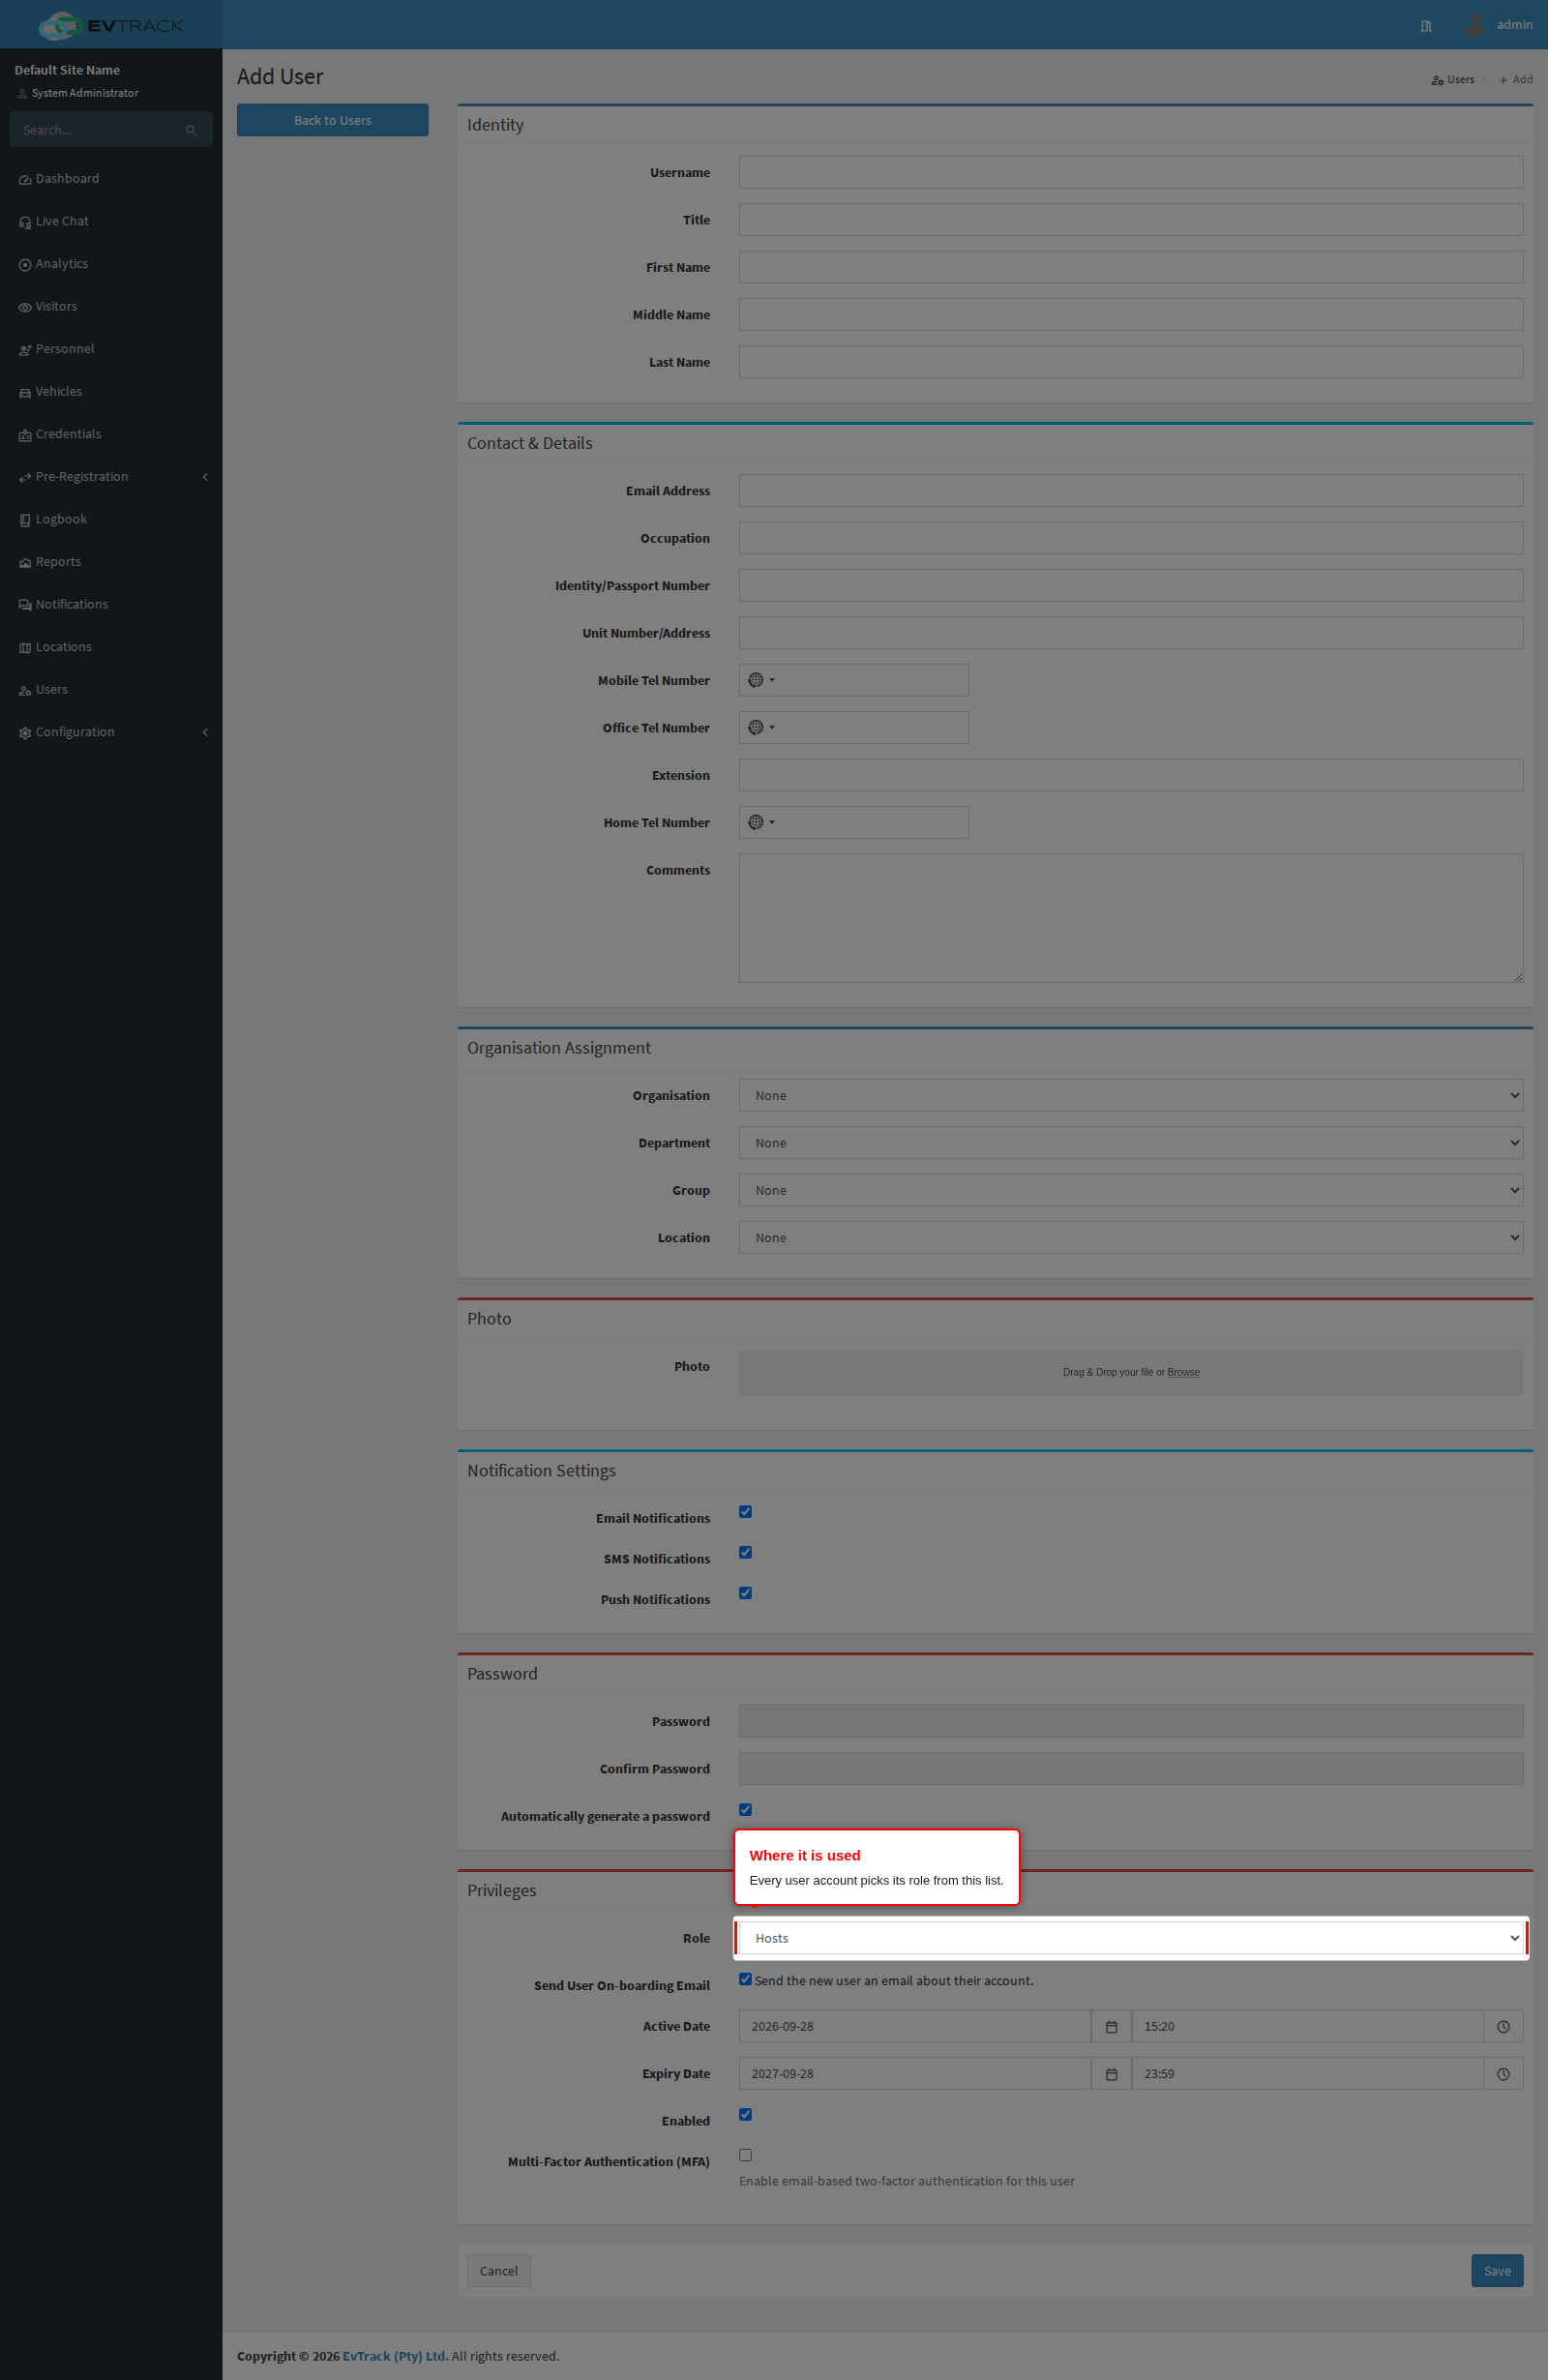
The list exists so that user accounts can point at it. On a user record open the Profile tab, pick the role from the Role list and save; the same field is on the Add User form. A user account always has a role - if nobody chooses one, the account is given the default role from Step 10.
Two kinds of role ask for one extra step when you assign them, because of how much they allow: an administrator role, which can manage everything in the system, and any role that can view all visitors, which exposes every visitor’s personal details. When you pick one of these and save, a confirmation page opens first. To continue you retype the person’s email address and confirm. This is a deliberate pause, so that handing someone powerful access is always something you chose to do and never something that slips through. As on the role screen, the email you type is checked on the server and the grant is recorded in the activity log.
Changing what a role may do
Editing a role changes it for everyone holding it at once. That is the point of roles, and it is also the risk: widening “Reception” gives every receptionist the new permission, and narrowing it takes the permission away from all of them.
When only one person needs something different, give them a different role rather than widening the one everybody shares.
Roles and what people see
A user who does not hold a permission does not see a greyed-out button - the screen, the menu entry or the button is simply not there. This is deliberate: the product does not advertise what someone cannot use. If a colleague reports that a page described in this manual is missing for them, the usual answer is their role, not a fault.
The permission list on the role form is the deliberate exception. There you are not being offered a feature to use, you are being shown the full catalogue of what a role can be given, so the ones beyond your own role are greyed rather than hidden. Hiding them would make the catalogue itself differ from administrator to administrator.
The check is also enforced on the server, so a hidden screen cannot be reached by typing its address.
Where roles are used
- User records. The Role field on the Profile tab of every user, and on the Add User form.
- Bulk assignment. Select more than one row in the user list and click Edit: the Bulk Edit Users page can set the same role on all of them at once.
- New accounts. Self-registration and bulk import both give new accounts the default role unless the import sheet names one.