Devices are the hardware and apps that enforce access control - kiosks, the guard app, IP intercoms, ANPR cameras, QR readers and access controllers.
Before you start: you need an administrator account with device administration rights, and the device’s connection details (address, credentials) from its vendor setup.
Step 1: Open Devices
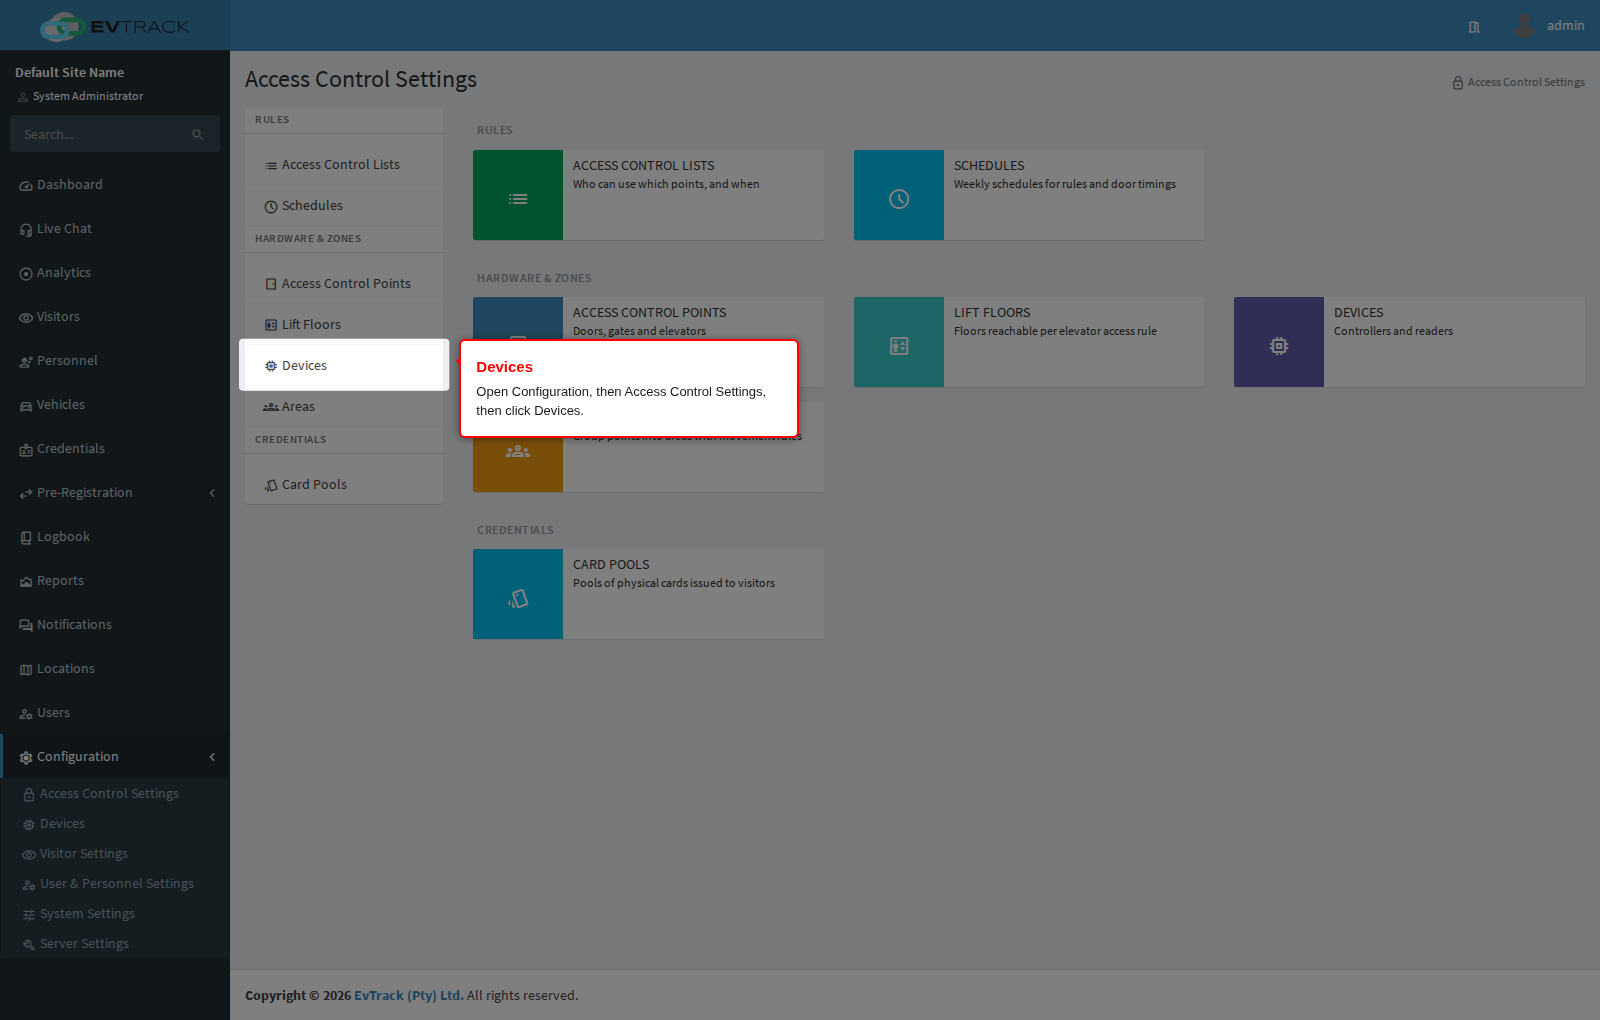
In the left sidebar open Configuration, click Access Control Settings, then click Devices (Devices also appears directly in the Configuration menu). The device list opens.
Step 2: Review the device list
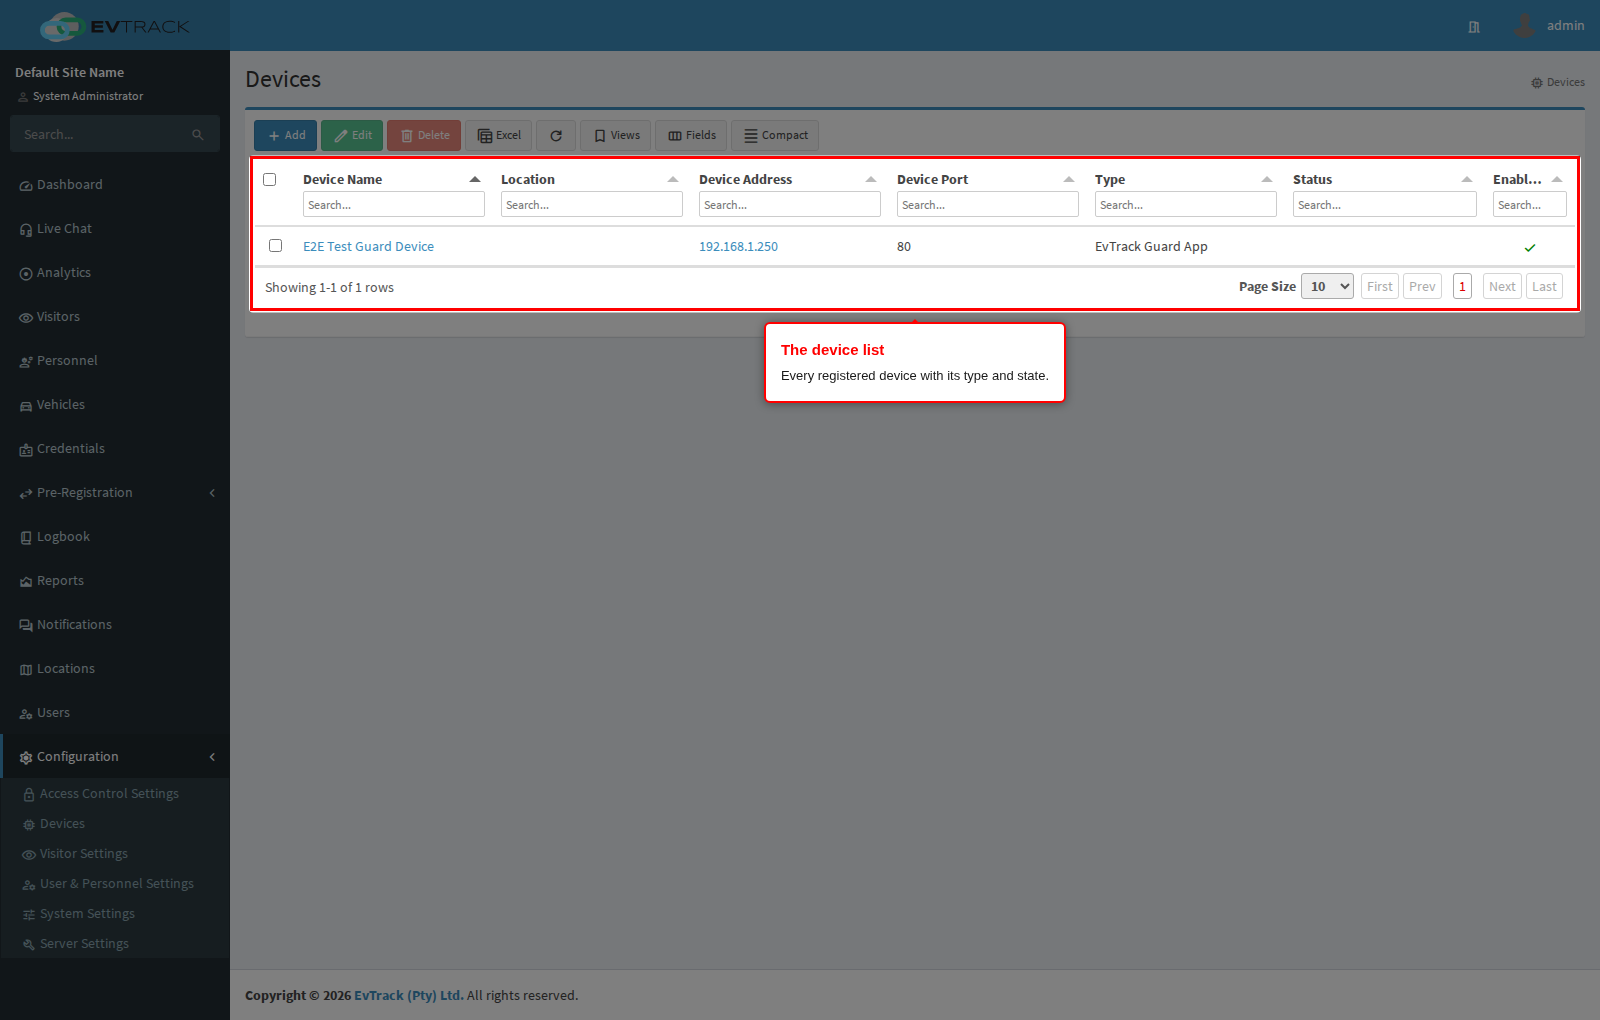
The table lists every registered device with its type and state.
Step 3: Click Add
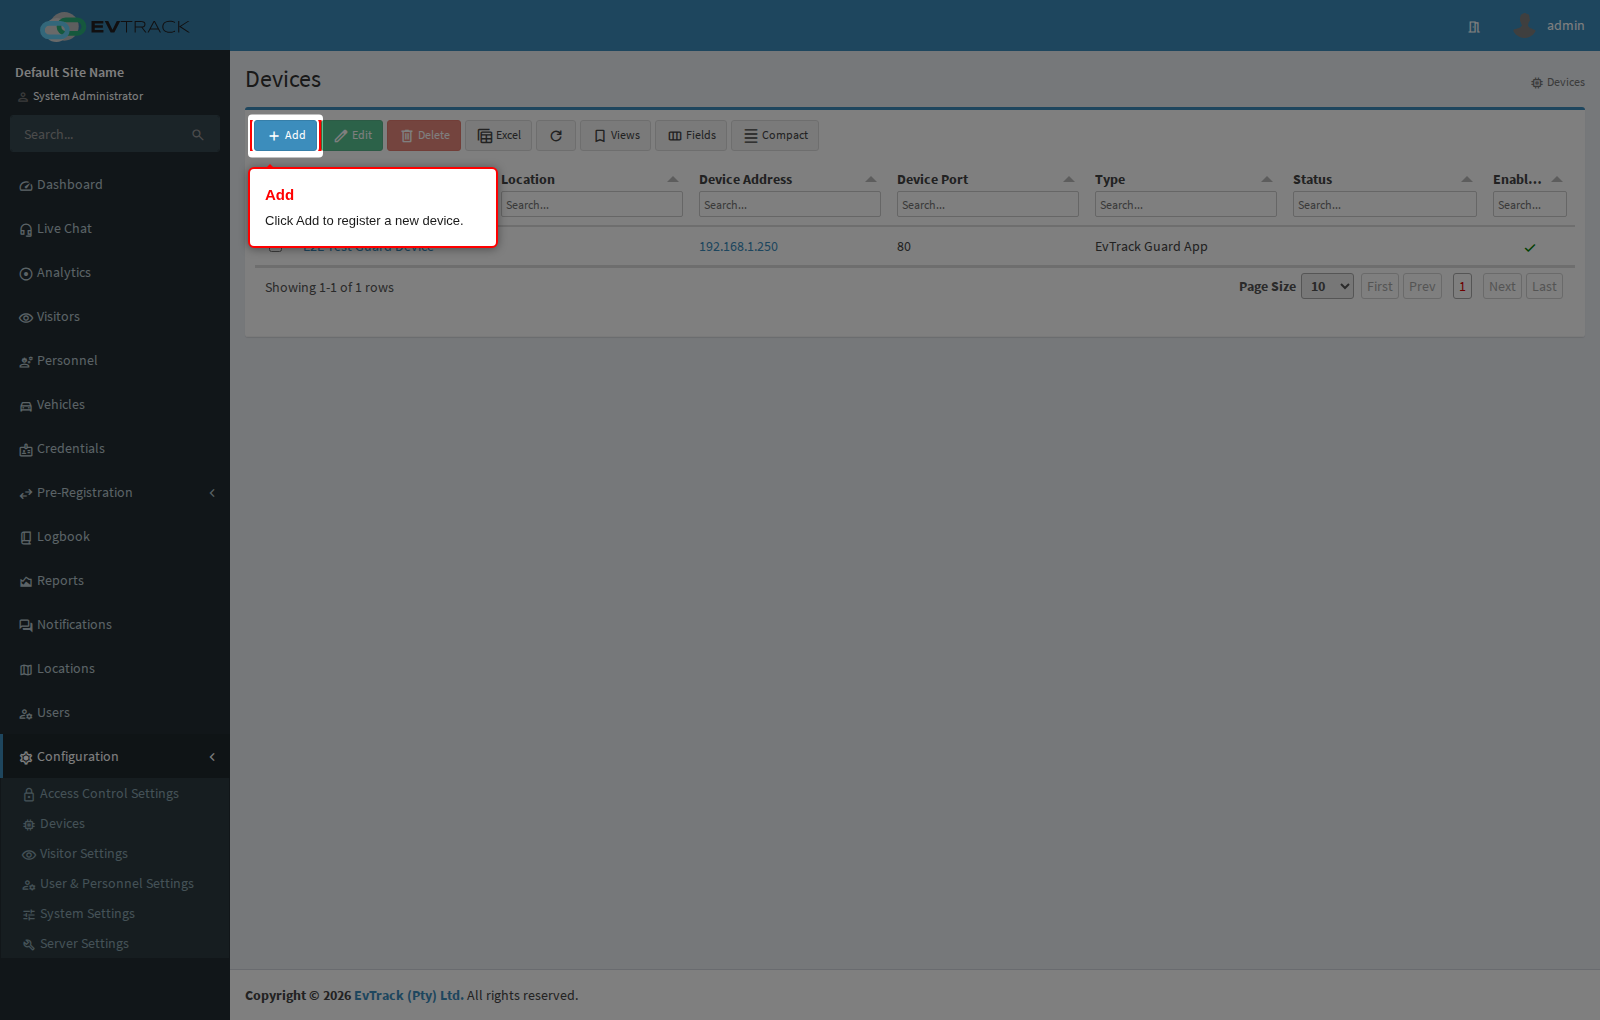
Click the Add button above the table. The new device form opens.
Step 4: Choose the device type
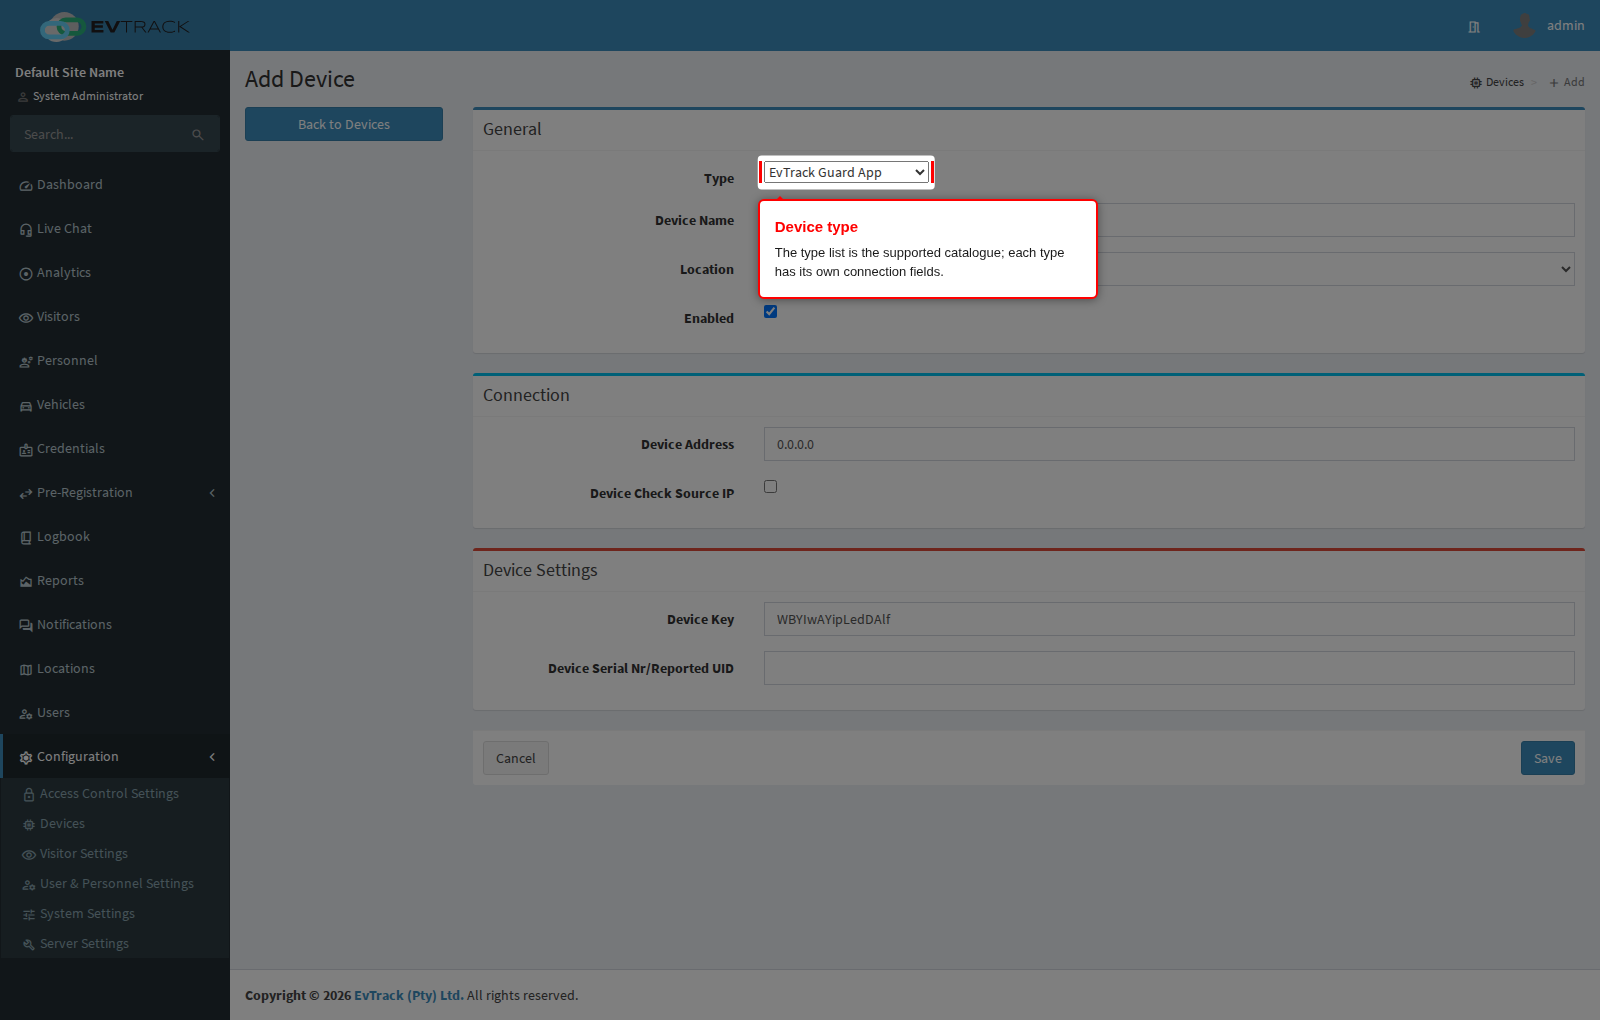
The add page’s type list is the supported catalogue - EvTrack FrontDesk kiosks, EvTrack Guard, 2N intercoms, Hikvision ACS and ANPR, Dahua, Akuvox, AXIS (A9188 relay, barcode/QR readers), Fondvision, virtual readers and more. Choosing a type reloads the form with that type’s own connection fields.
Pick the type first: the fields below the list change with it, and the type cannot be changed after the device is saved.
Step 5: Complete the connection details and save
Fill in the fields the chosen type asks for. Every type asks for a Name and an Address; most also ask for a port, a device key or a device username and password, and some ask for a reported unique ID. Tick Enabled so the system starts talking to the device, then click Save.
The example below uses Virtual Reader WS, the one type that has no hardware behind it - useful for a first walkthrough because it needs nothing but a name. For real hardware, the address must be reachable from the server and the credentials must match what was set during the vendor’s own setup.
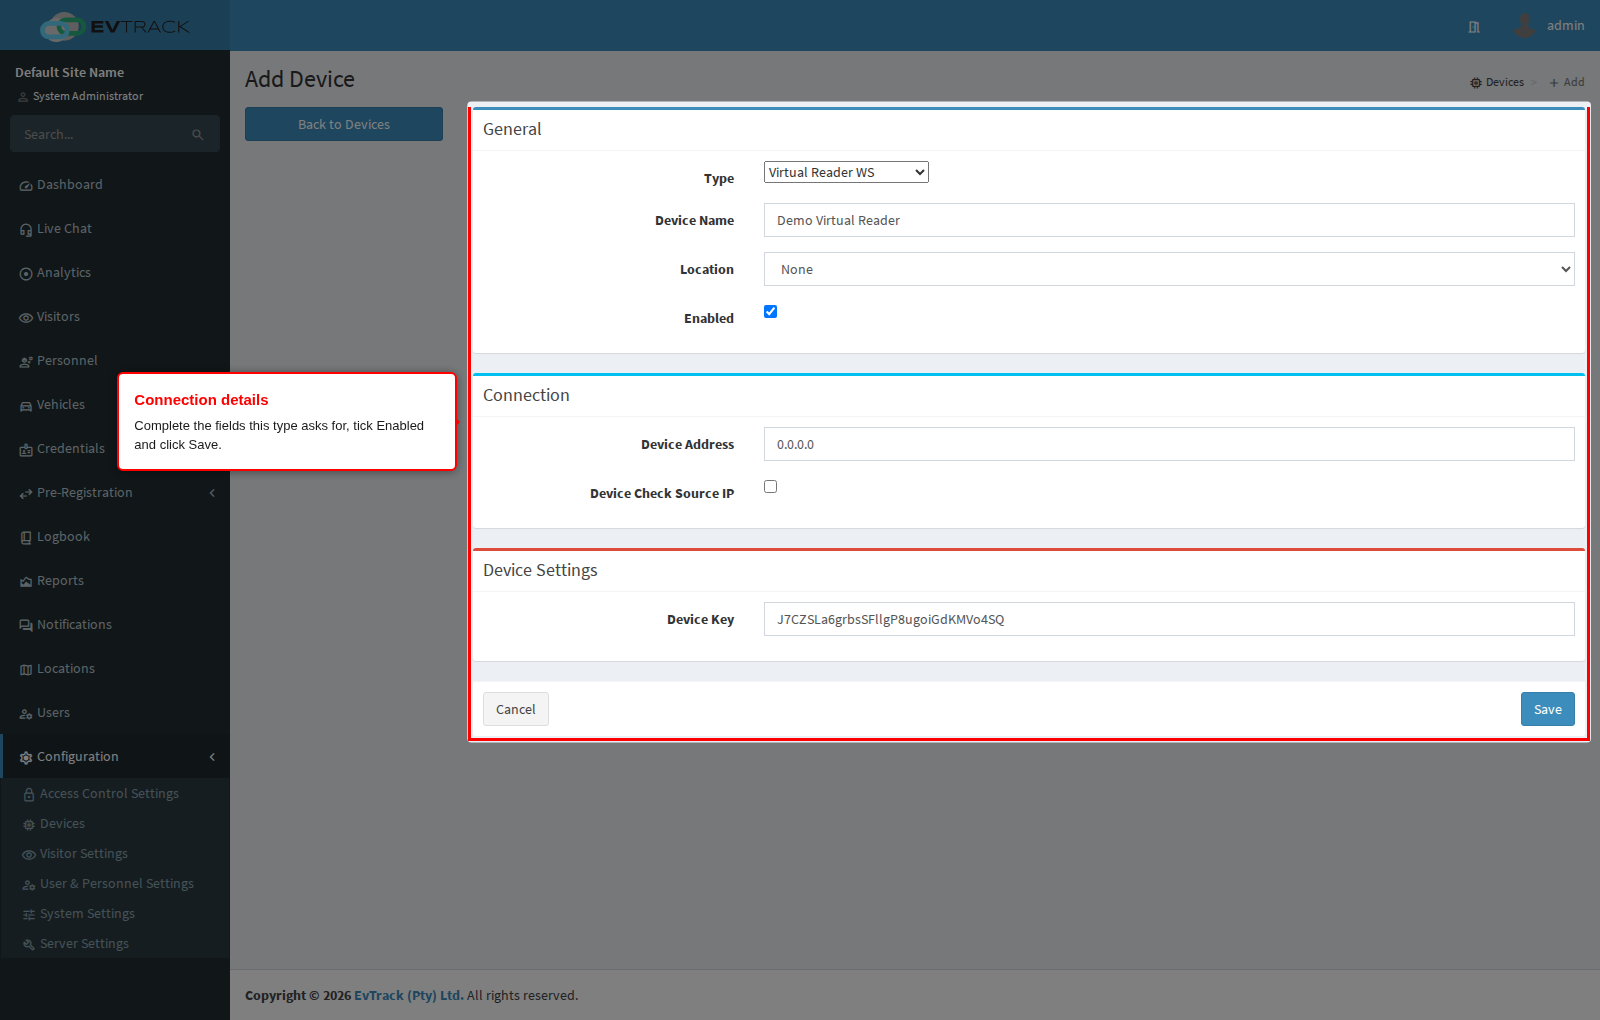
Step 6: Confirm the result
You land on the saved device and, back on Devices, the new device appears in the table with its type, address and state. The status column updates on its own as the system connects.
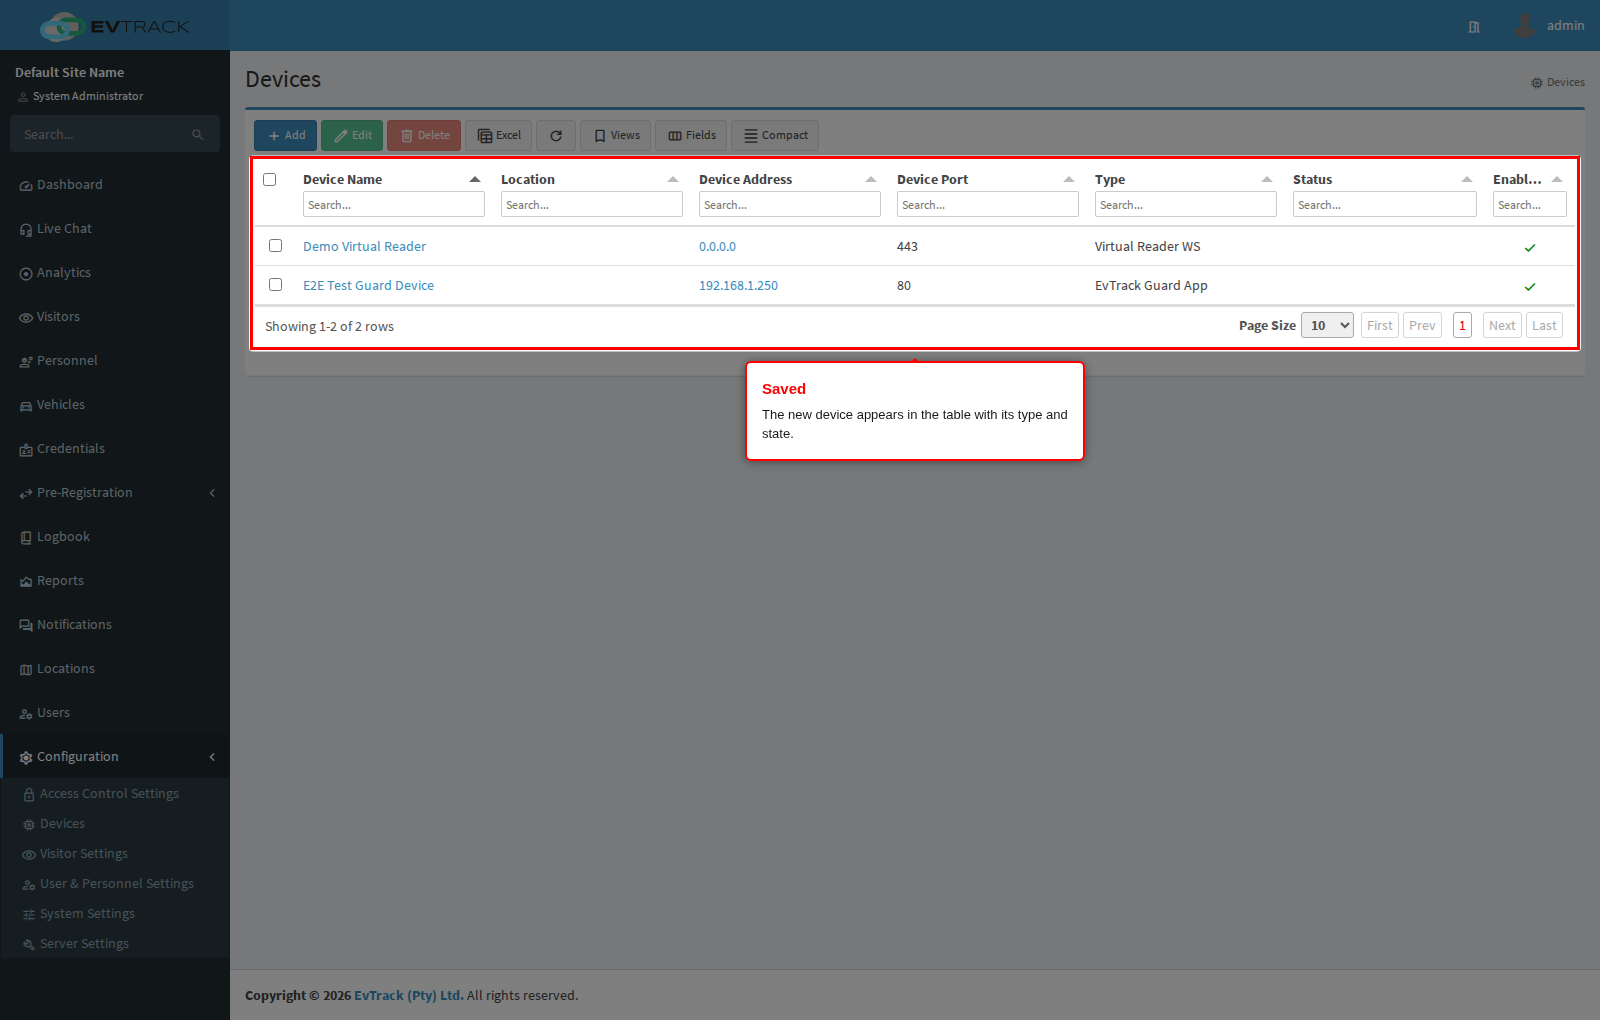
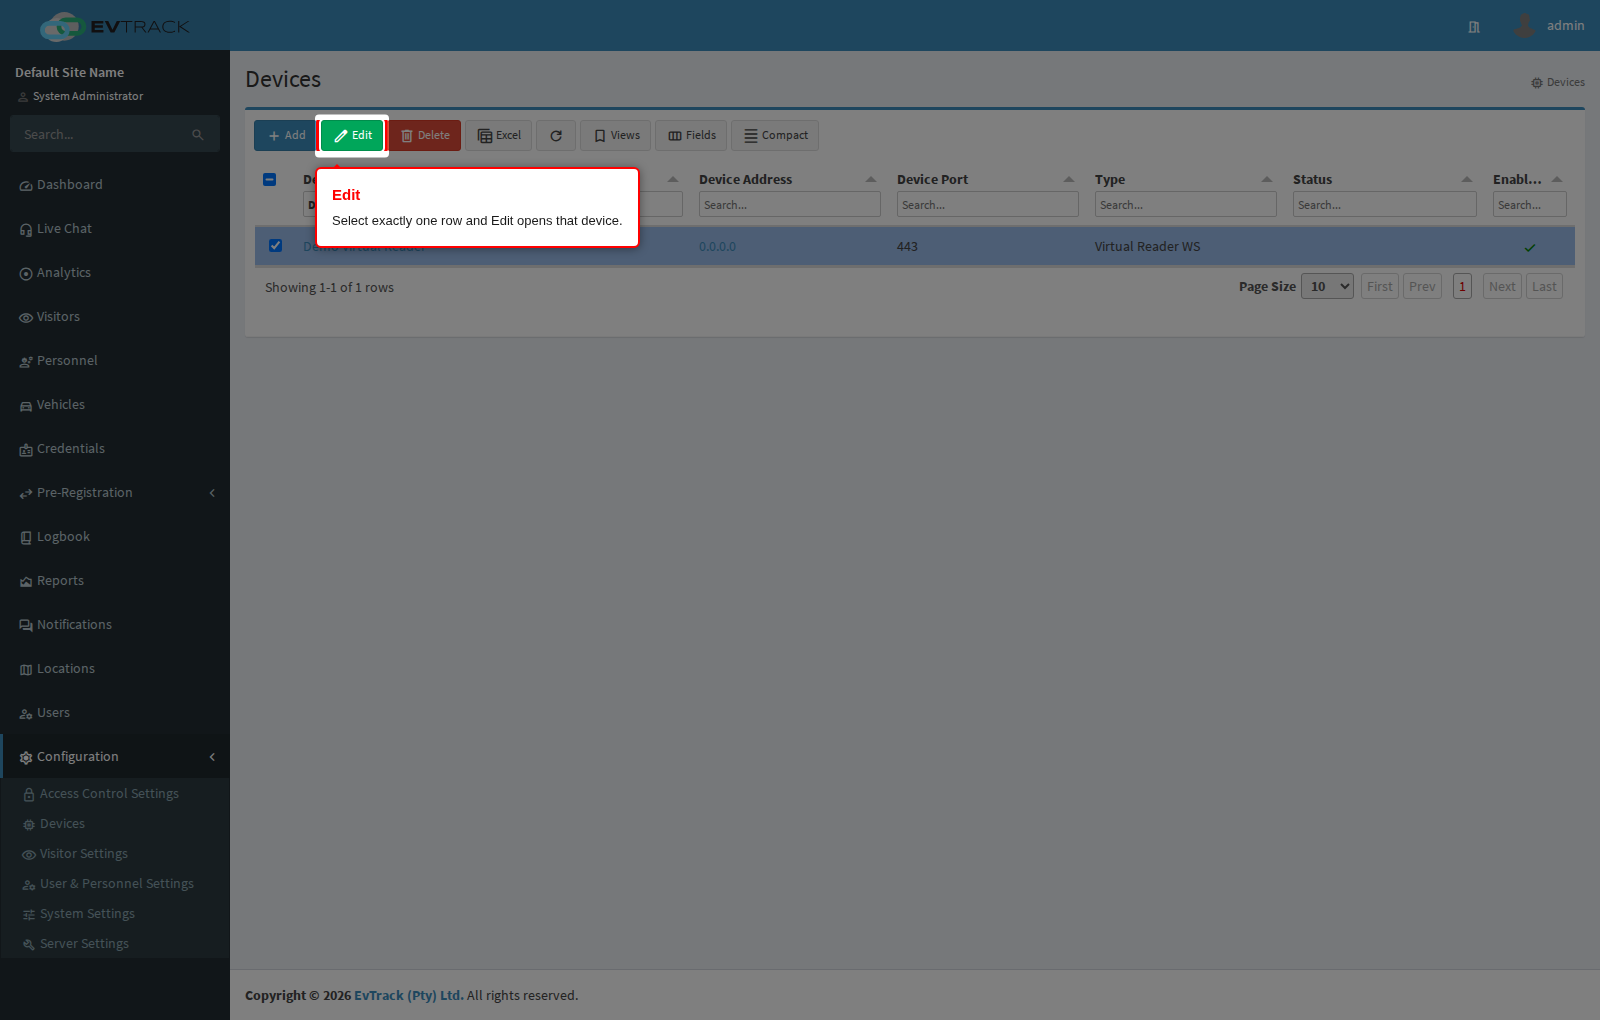
Step 7: Open an existing device to edit it
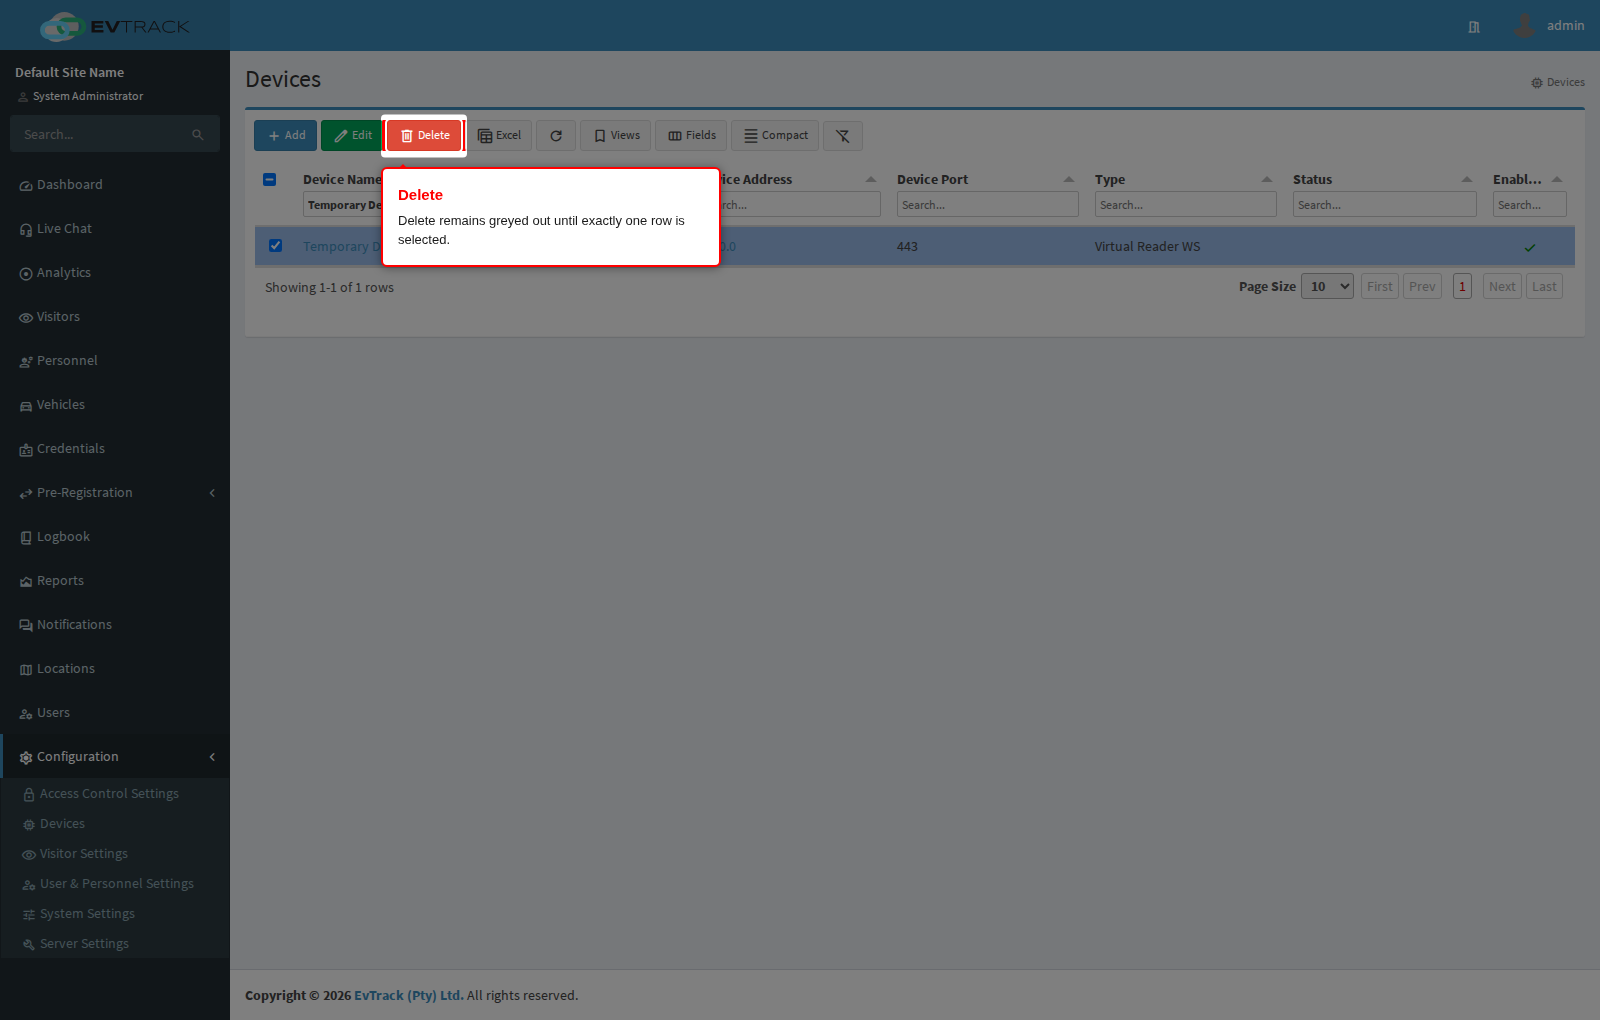
Click the row of the device you want to change. The toolbar Edit and Delete buttons remain greyed out until exactly one row is selected. Click Edit (clicking the device’s name in the table does the same thing).
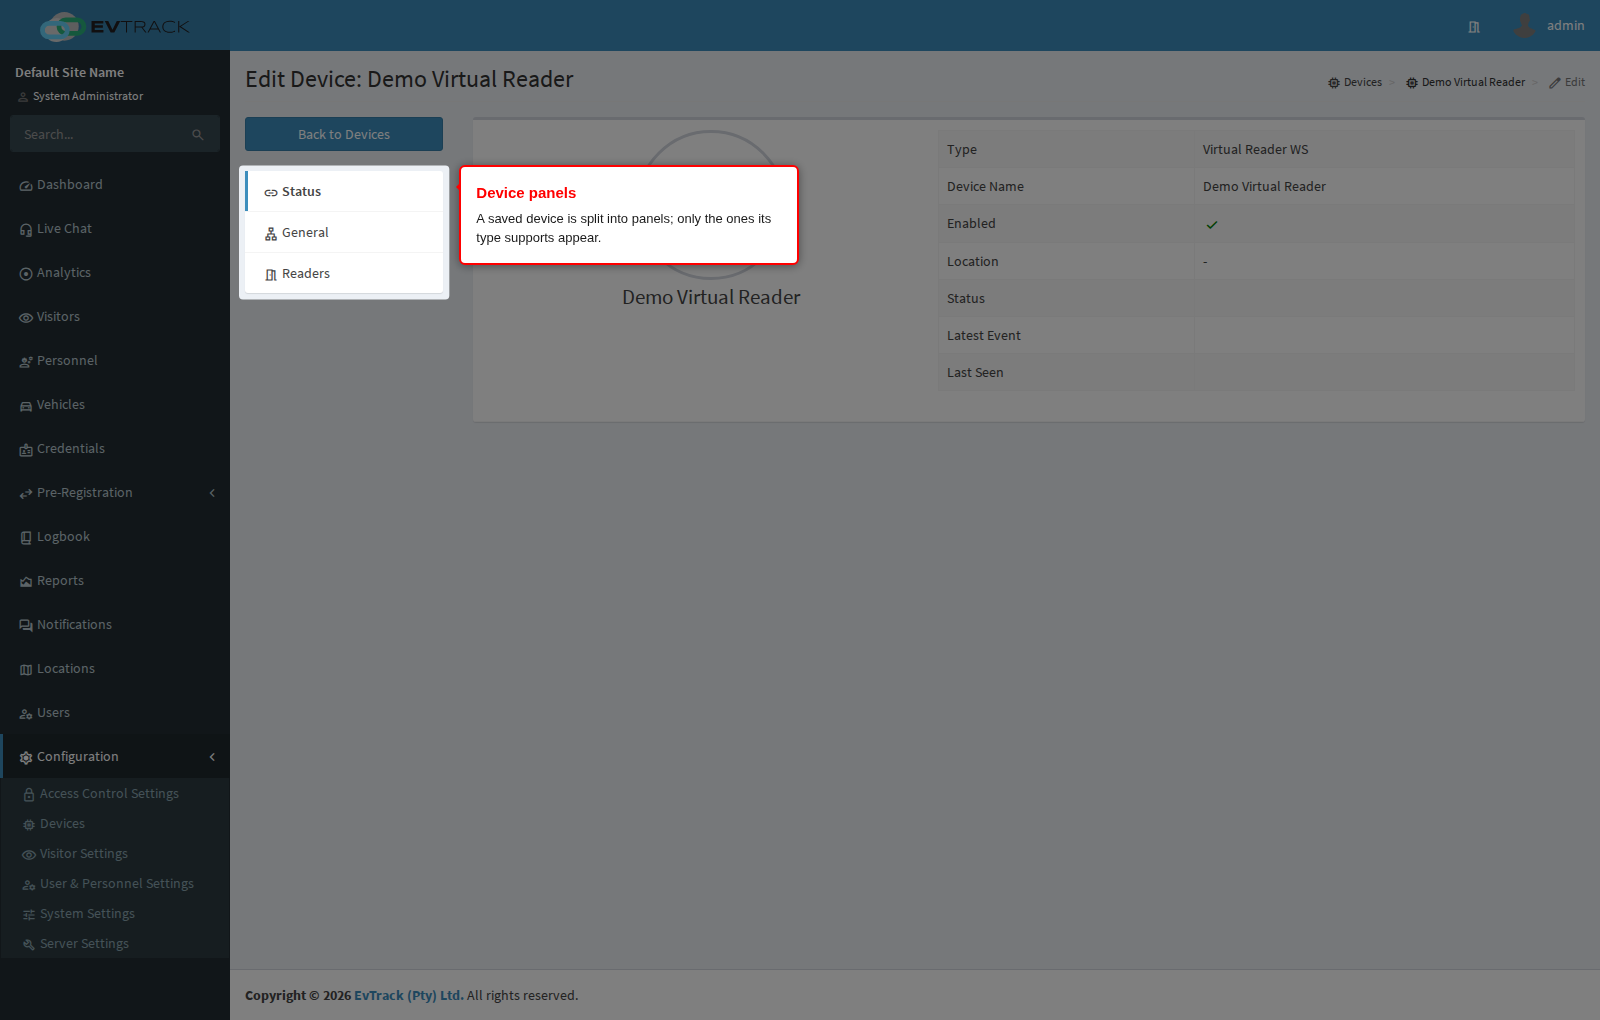
Step 8: The device panels
A saved device opens on a menu of panels, and only the panels its type supports appear:
- Status - the live connection state, last contact and the device key used for pairing.
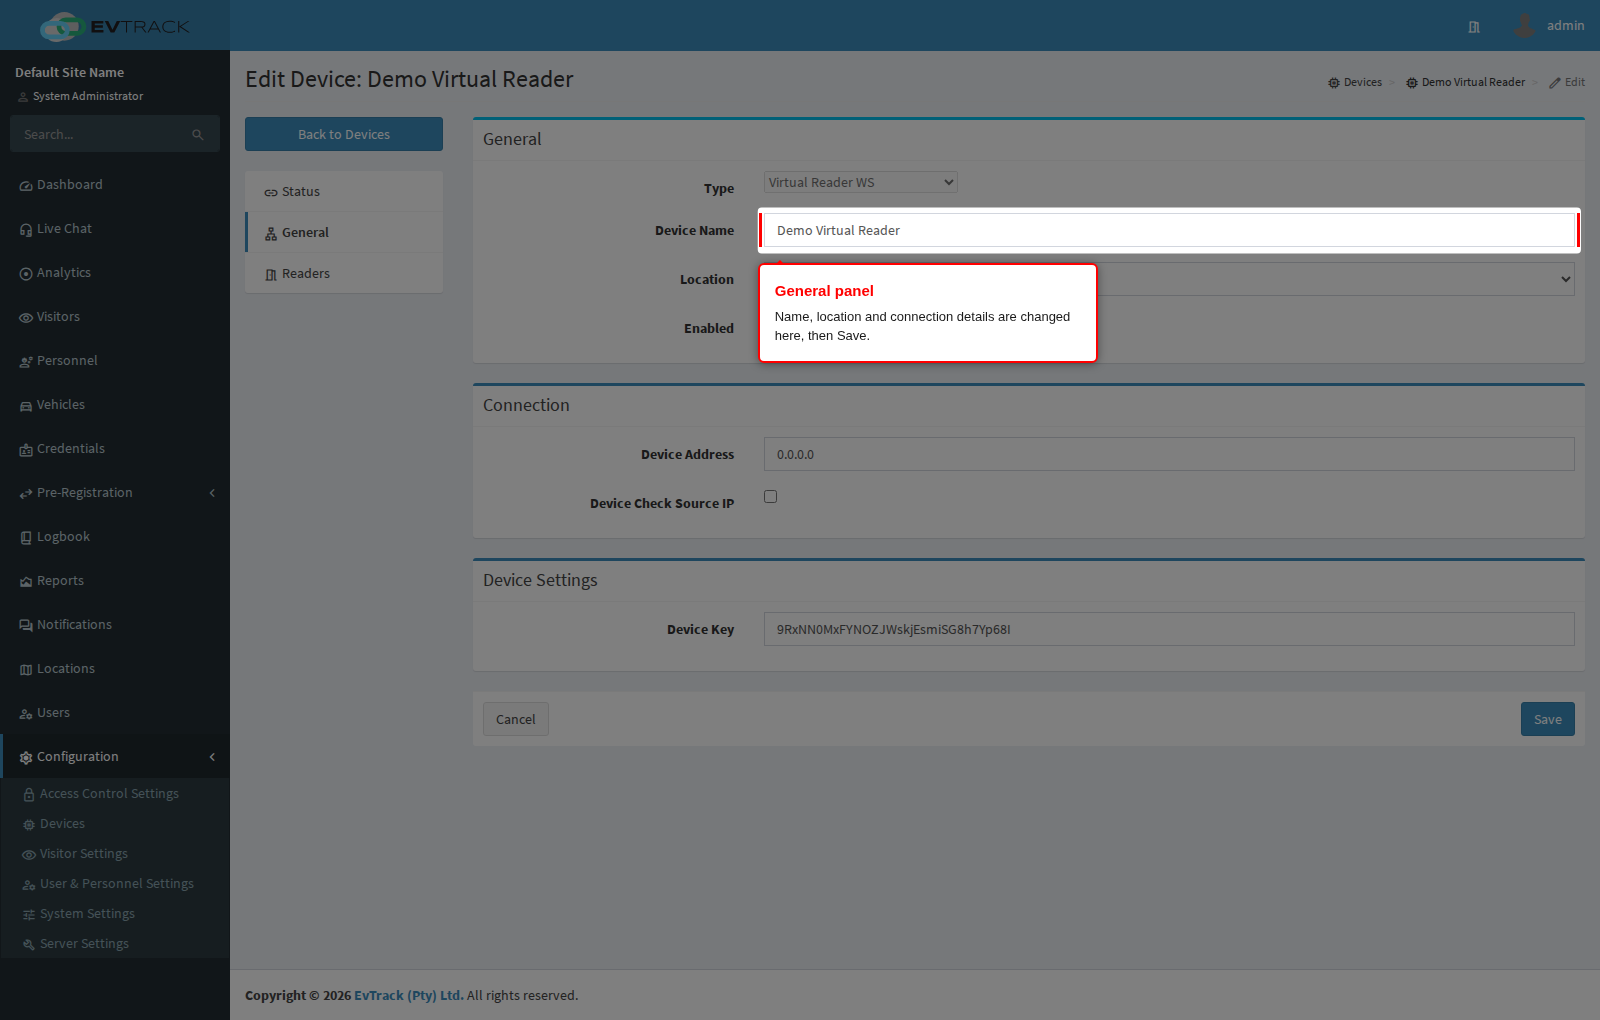
- General - the device’s own settings: name, location, address and connection credentials.
- Encryption - the pass keys used for encrypted traffic, where the type supports it.
- Readers, Inputs, Outputs, Buttons - the physical interfaces the device exposes. Readers are bound to openings from the Access Control Point side, not from here.
- Elevator, Kiosk Options, SIP - type-specific configuration.
- Advanced - polling, synchronisation and diagnostic options.
- Downloads - the Android package and pairing QR code, for kiosk and guard devices.
Step 9: Change the device
Open General to change the name, the location the device belongs to, or its connection details after the hardware is re-addressed or its password rotated. The Type is shown but cannot be changed - a device of the wrong type has to be deleted and re-added.
Change what you need and click Save.
Step 10: Confirm the change
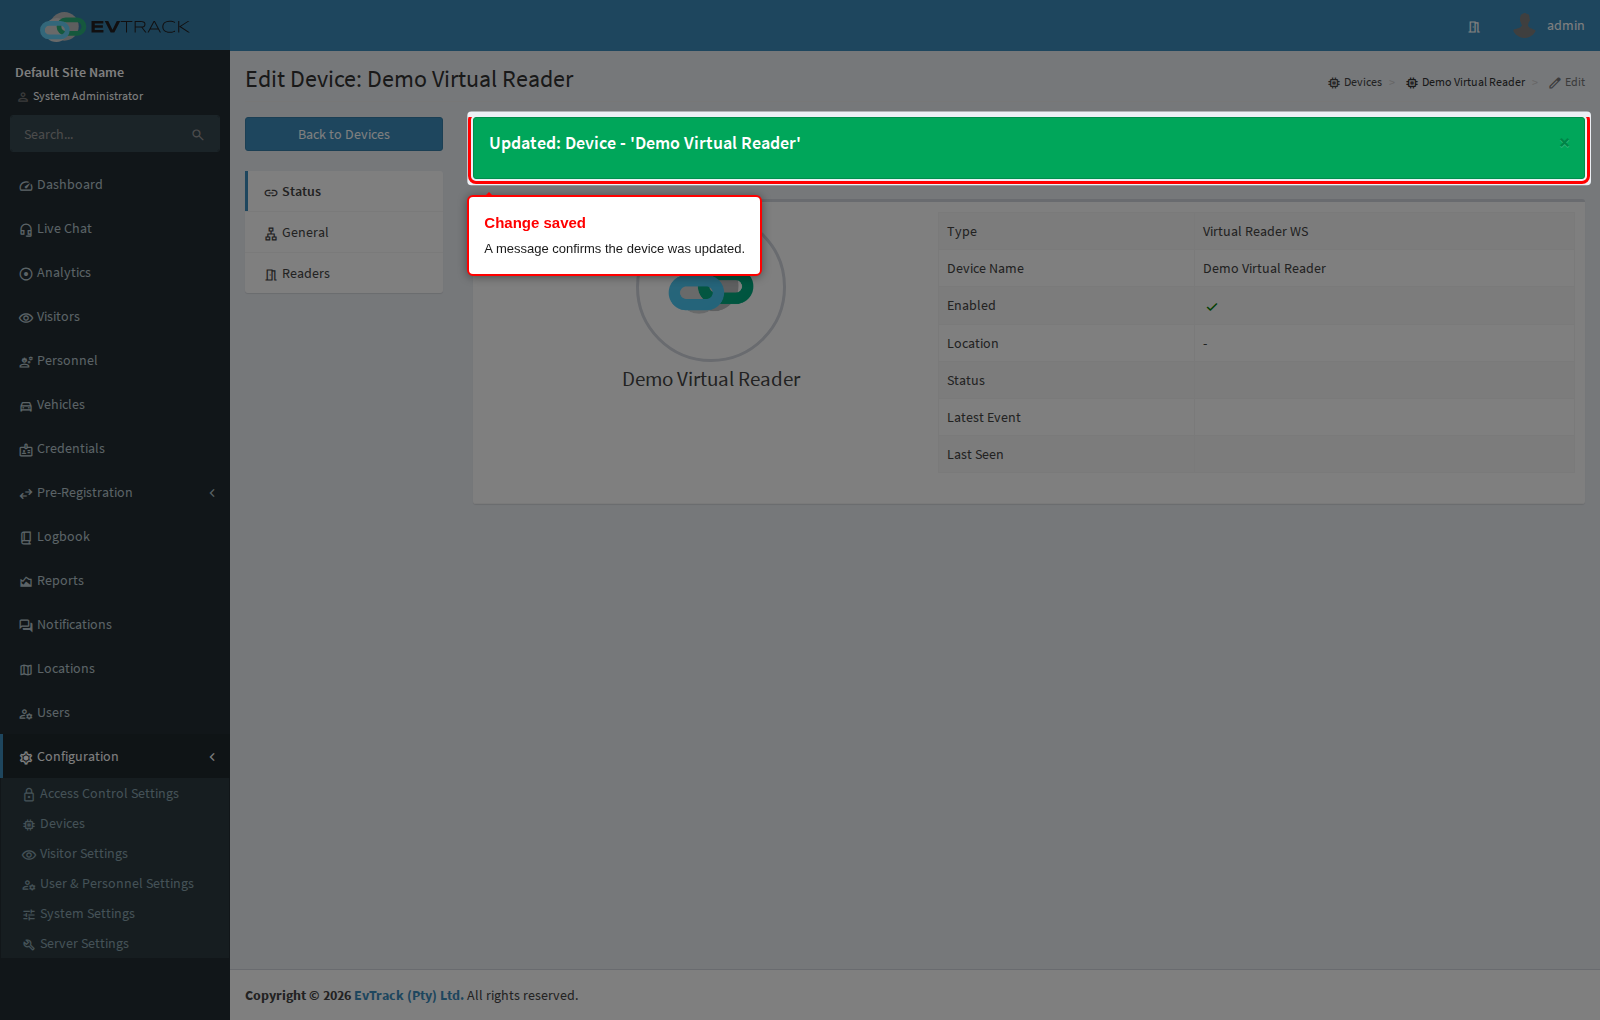
A success message confirms the update. Connection changes take effect on the next synchronisation cycle, so allow a moment before judging the status column.
Step 11: Select a device to delete it
To remove a device, select its row and click Delete. Like Edit, the button only becomes active with exactly one row selected. In the example below a disposable device, “Temporary Device for deletion”, is being removed.
Step 12: Confirm the deletion
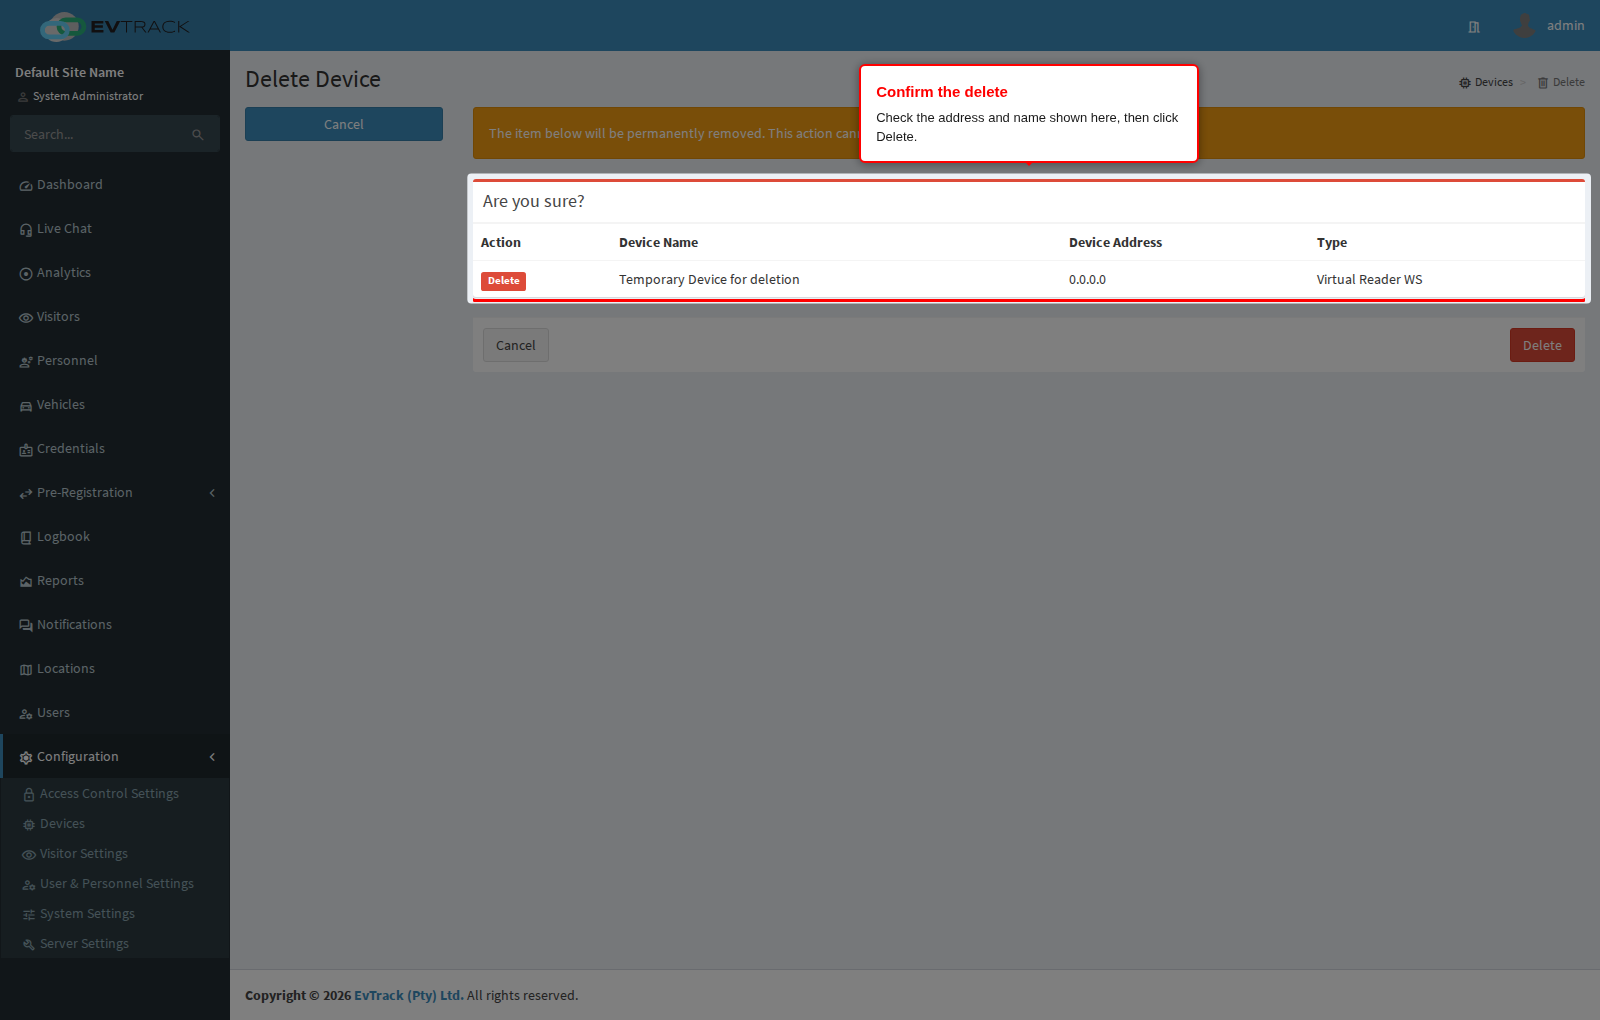
A confirmation page opens showing the device’s reference, address and name so you can check you picked the right one. Click Delete to remove it, or Cancel (or Back to Devices) to leave it alone.
Deletion is permanent and it takes the device’s readers with it: any reader this device provided is unbound from the access control point it served, and that opening stops admitting anyone until another reader is bound in its place. The hardware itself is untouched - it simply stops being managed. If you only want to take a device offline, clear Enabled on the General panel instead.
Step 13: Confirm the result
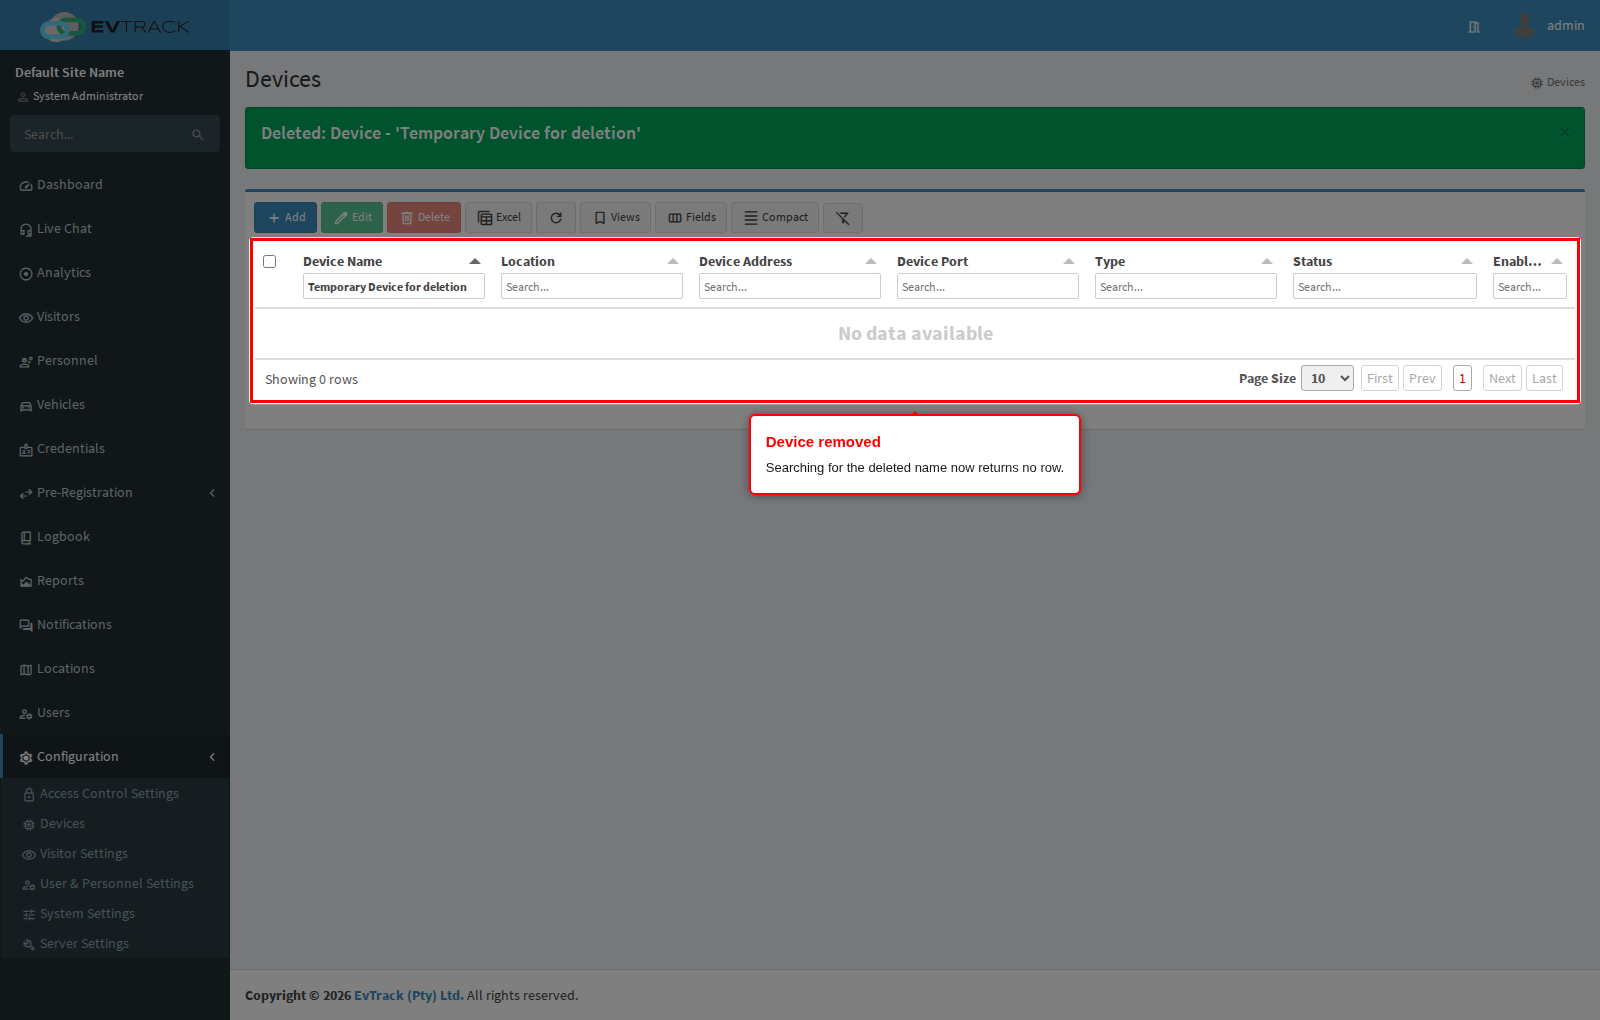
You return to the table with a success message and the device is gone: search for its name and no row is found.
When a device cannot be deleted
An EvTrack Onsite Gateway that still has devices attached to it cannot be deleted. The confirmation page opens as usual, but clicking Delete returns you to the table with a red message saying the device has associations that must be removed first. Move the attached devices to another gateway, or delete them, and then delete the gateway.
Every other device type deletes without a precondition, including one whose readers are still bound to an access control point - so check the openings a device serves before removing it.
For step-by-step kiosk and guard setup incl. pairing and the default ACL, see the Getting Started device guide. Vendor-specific integration platforms (BioStar 2, HikCentral, Gallagher, Genetec) live under Integrations.