The Visitors Dashboard is the screen Reception works from all day. It lists visits rather than visitors: one row per visit, with the status of that visit, when the visitor is expected or arrived, who they are visiting and where. Everything an operator does to a visit in bulk starts here.
Before you start: you need an account with permission to see visitors. The status actions you can use (Check-in, Check-out and the bulk status list) each depend on their own permission, so a colleague may see fewer options than you do. Nothing on this page refreshes by itself - it loads once and then updates when you refresh, filter, sort or page through it.
Step 1: Open the dashboard
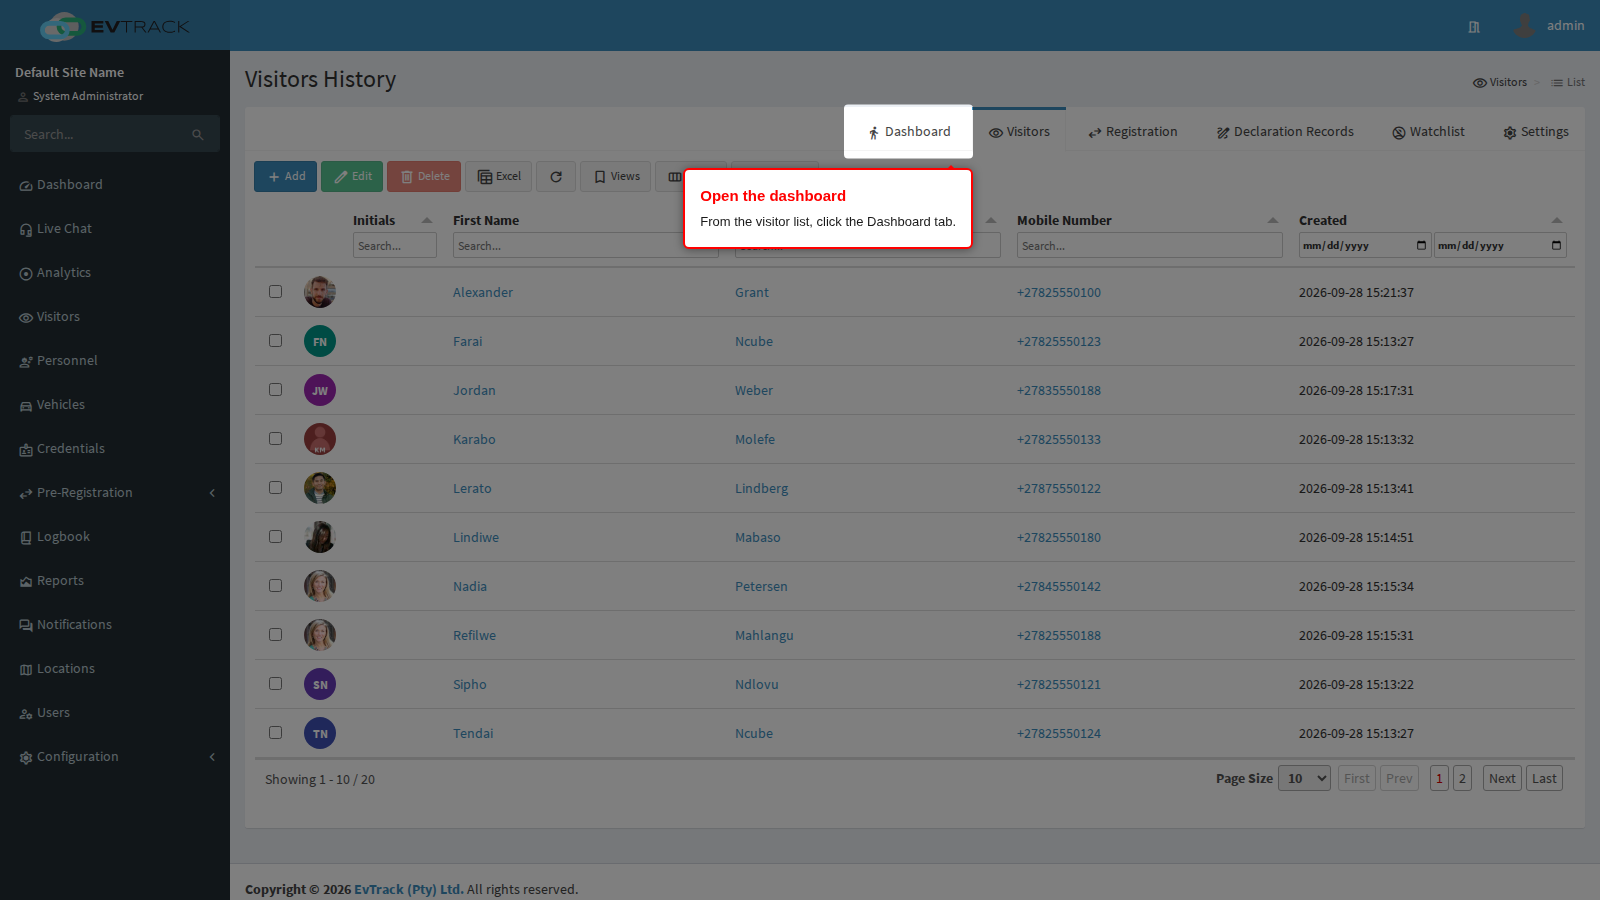
In the left sidebar click Visitors to open the visitor list, then click the Dashboard tab at the top right. The Visitors Dashboard opens.
Step 2: Read the list
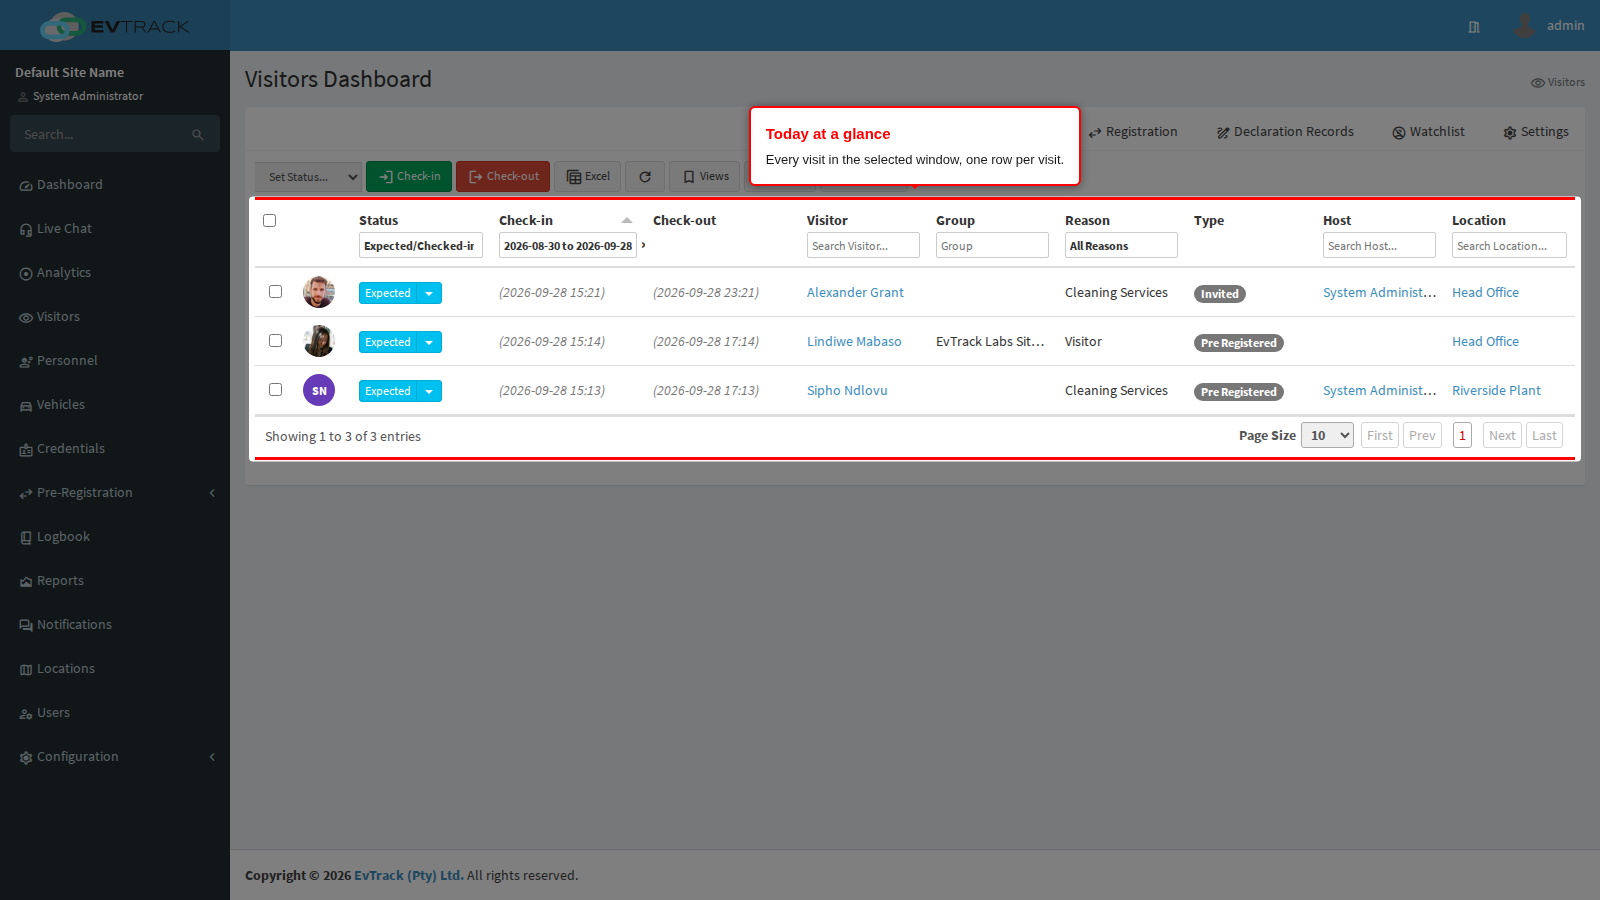
Each row is one visit. The list opens on the visits that matter right now: Expected/Checked-in, over the last 30 days up to today. The columns you get by default are the status, the check-in and check-out times, the visitor, their group (if they arrived as part of one), the visit reason, the pass type, the host and the location.
Two things are worth knowing about the row itself:
- Clicking anywhere on a row (other than a link) opens a small summary panel with the visit details. Click the row again to close it.
- The coloured status pill is a button. If the visit can move to another status, the pill carries a small arrow: click it for the actions available on that one visit.
At the bottom you get the usual paging controls and a count of how many visits matched. Ten rows show at a time; you can raise that to 25, 50 or 100.
Step 3: Narrow the list
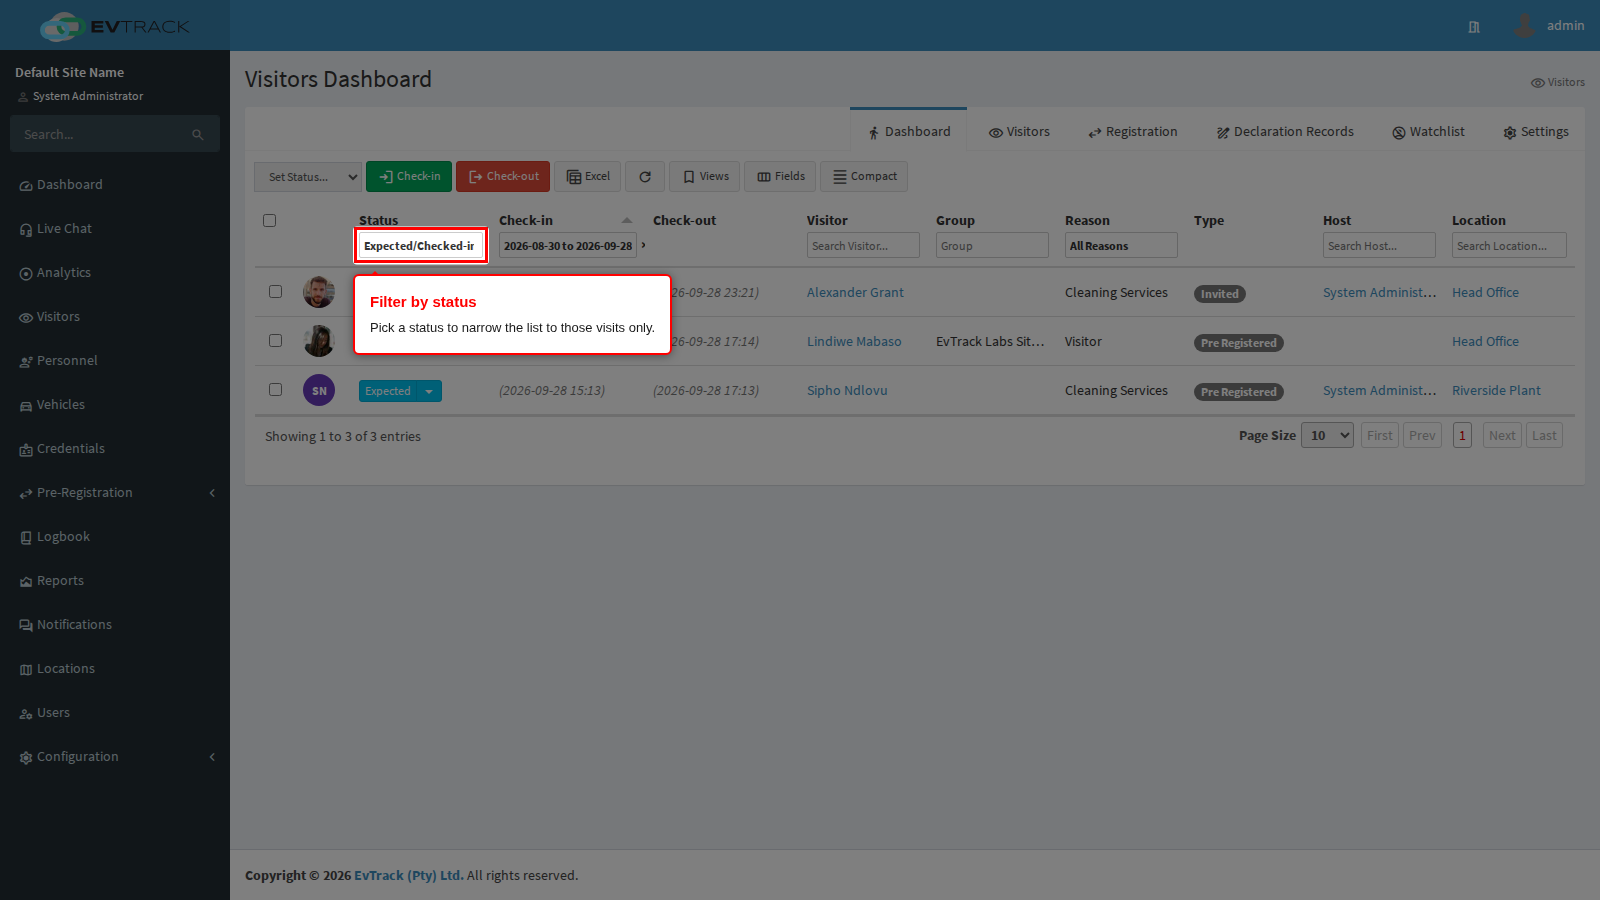
Every filter lives in the header of its own column, just under the column name. There are no separate filter tabs.
- Status is a dropdown: All Visitors, Expected/Checked-in (the default), Expected, Checked-in, Checked-out, Cancelled and Auto Checked-out.
- Check-in is a date range. Pick a from and a to date to move the window. The window cannot be wider than about a month, so choose a narrower range rather than trying to pull a year at once.
- Reason is a dropdown of your configured visit reasons, with All Reasons to clear it.
- Visitor, Group, Host and Location are free-text boxes: type part of a name and the list narrows as you type.
If a combination of filters returns nothing, the empty list offers a Clear filters button to put you back where you started.
Step 4: Choose which columns you see
Click Fields in the toolbar above the list.
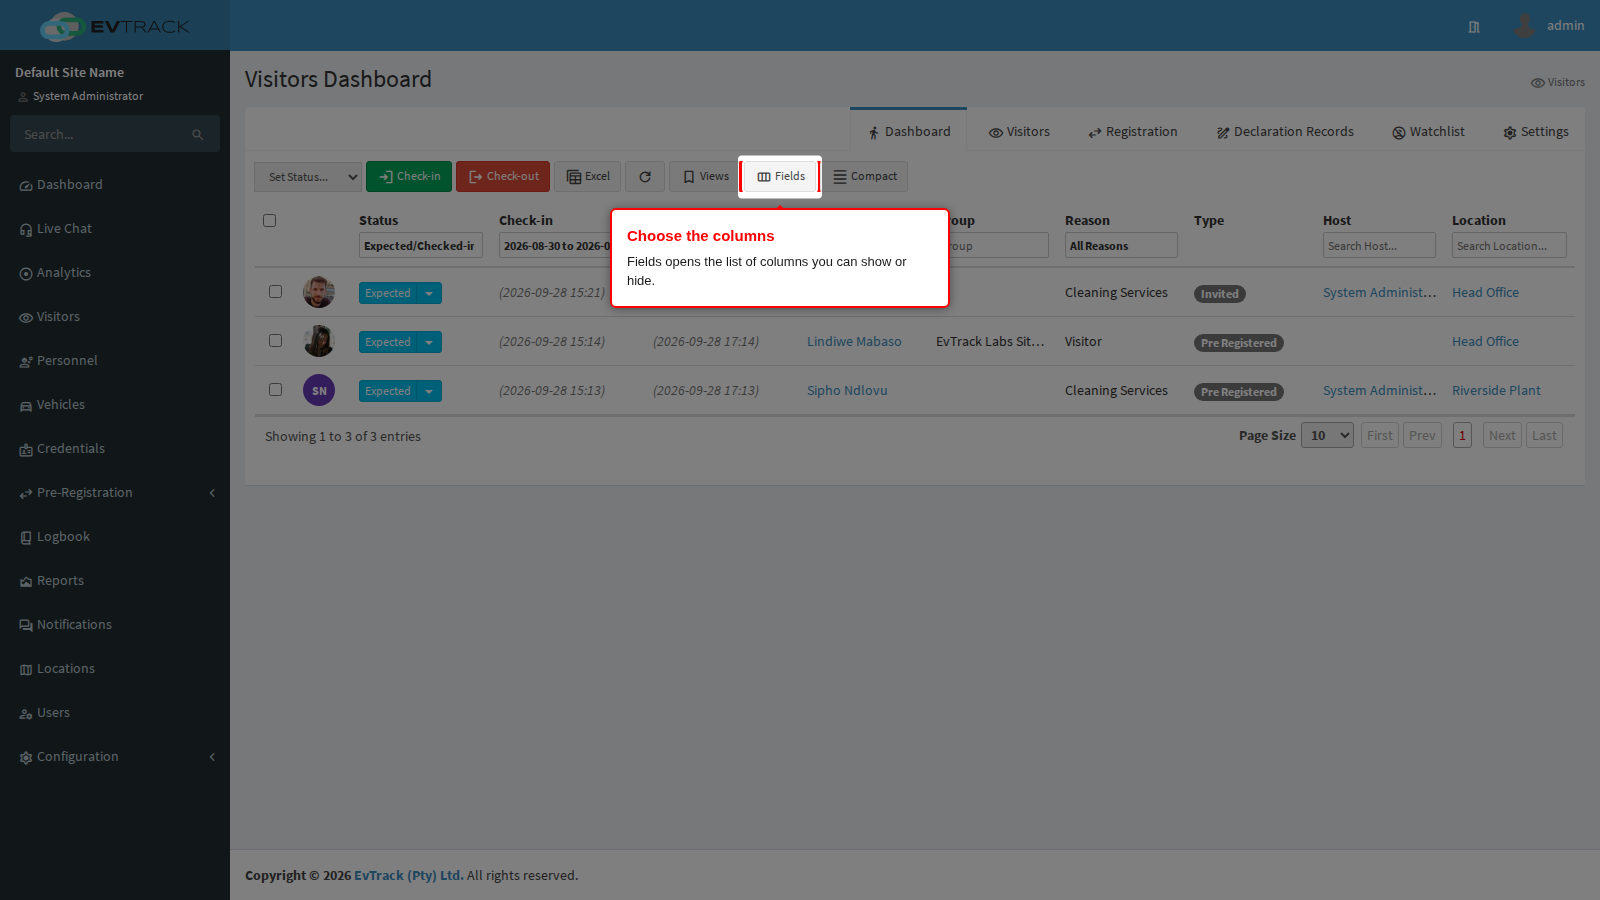
A panel opens listing every available column with a tick box. Ticked columns show, unticked ones are hidden.
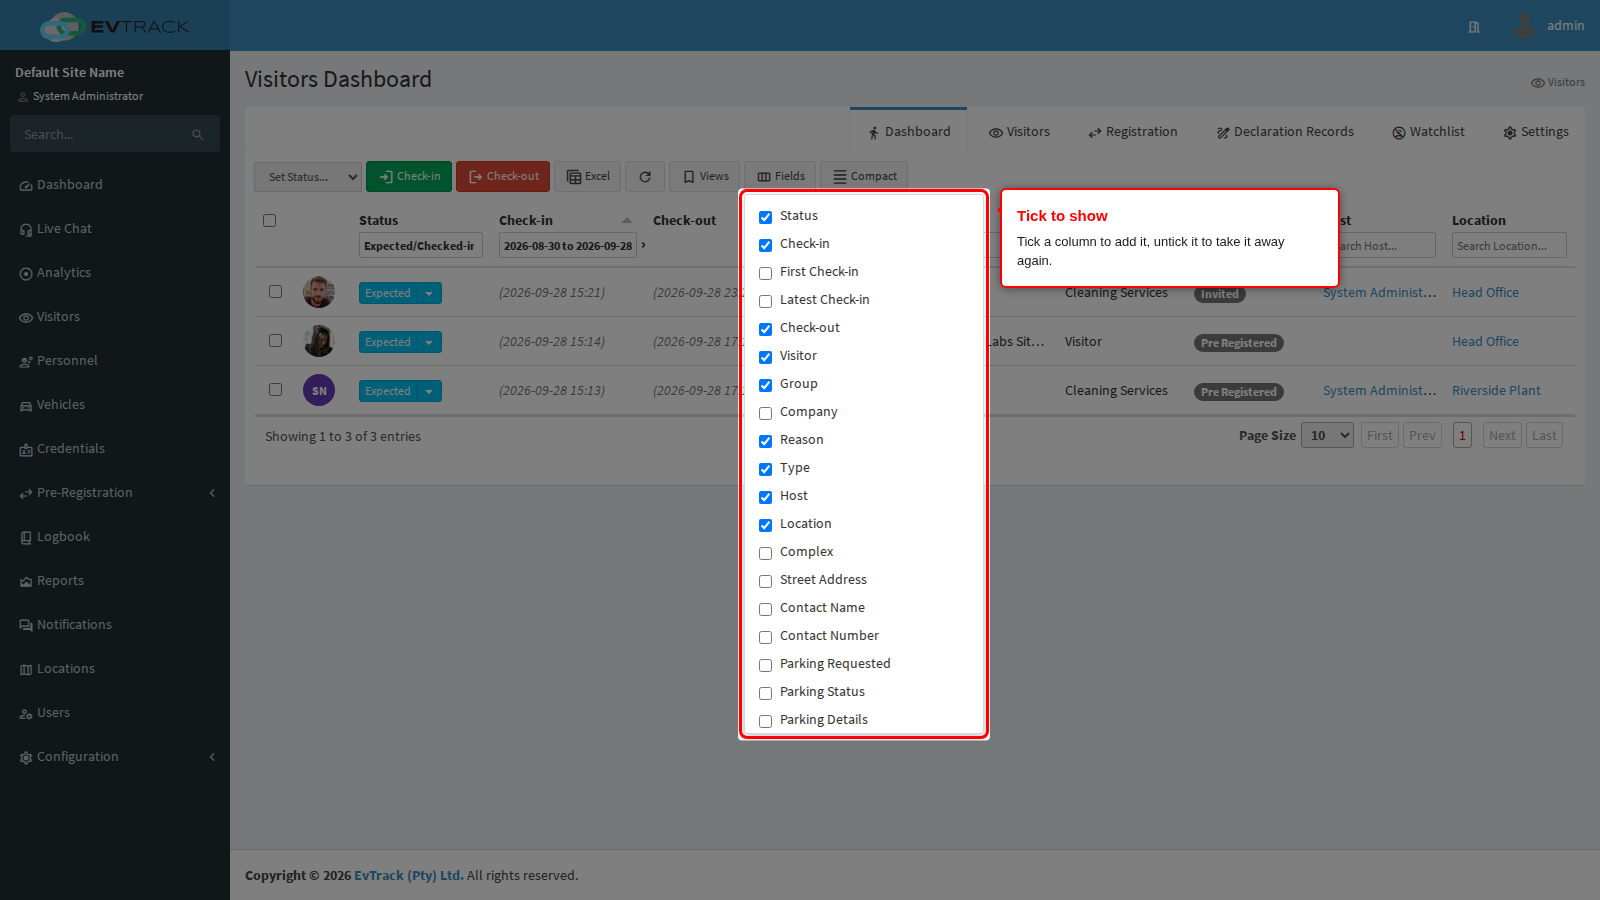
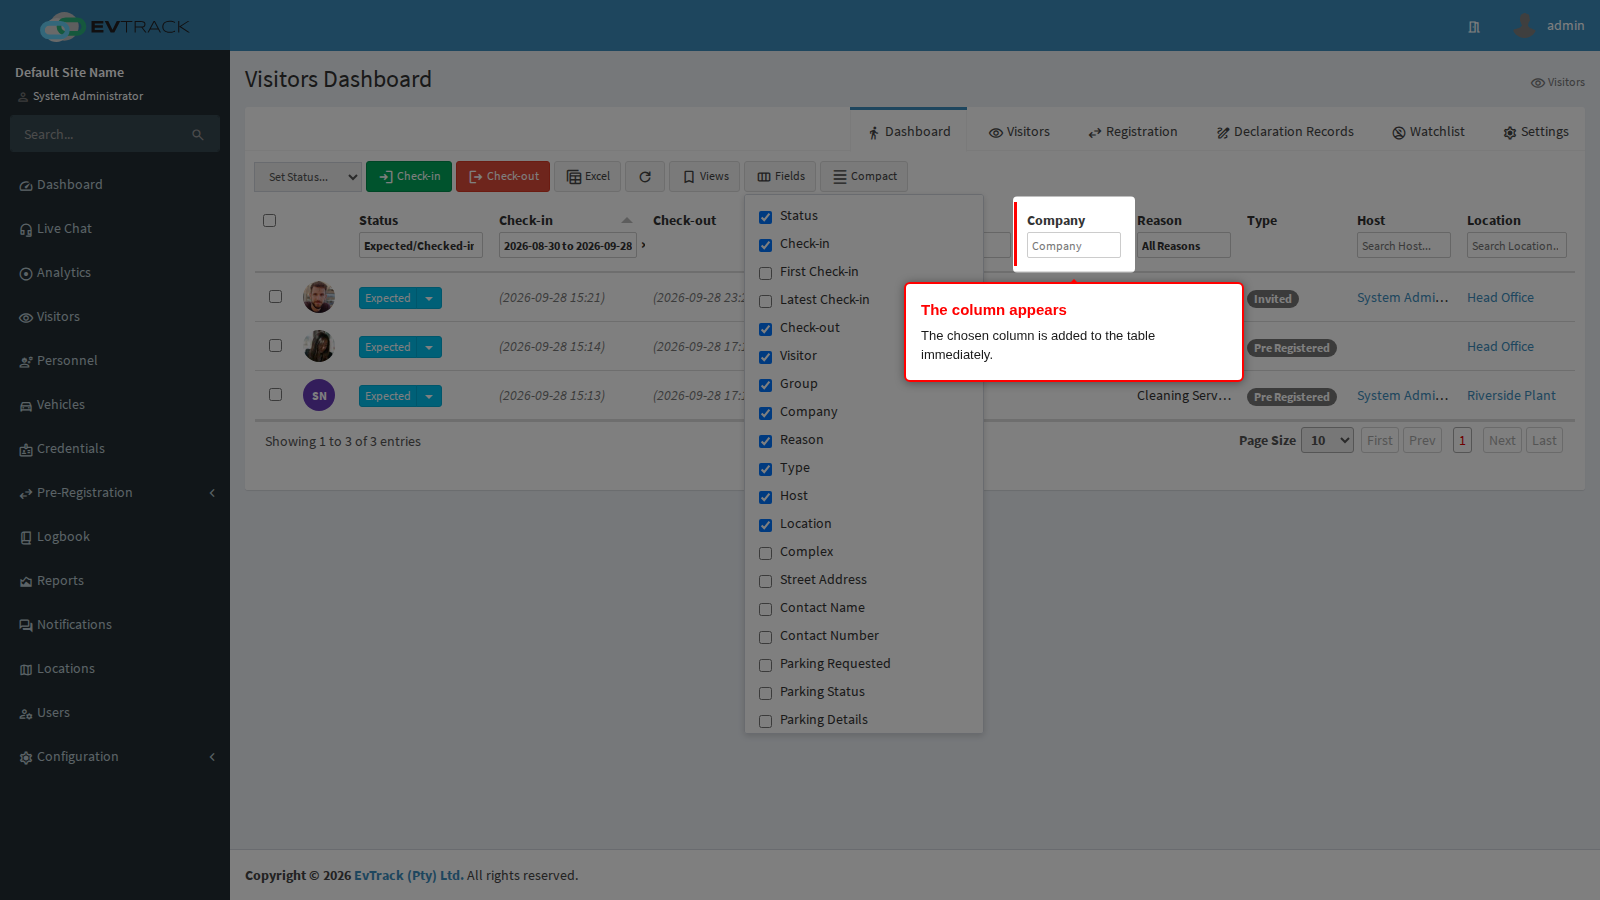
Beyond the default columns you can add Company, First Check-in, Latest Check-in, the location’s Complex, Street Address, Contact Name and Contact Number, the parking columns (Requested, which shows whether parking was asked for, plus Parking Status and Parking Details) and, when you issue cards to visitors, Card Number and Card Name.
Tick a column and it appears in the table straight away. Untick it and it is gone again.
Column choices are not remembered on their own. To keep a layout, save it as a view (step 6).
Step 5: Fit more rows on screen
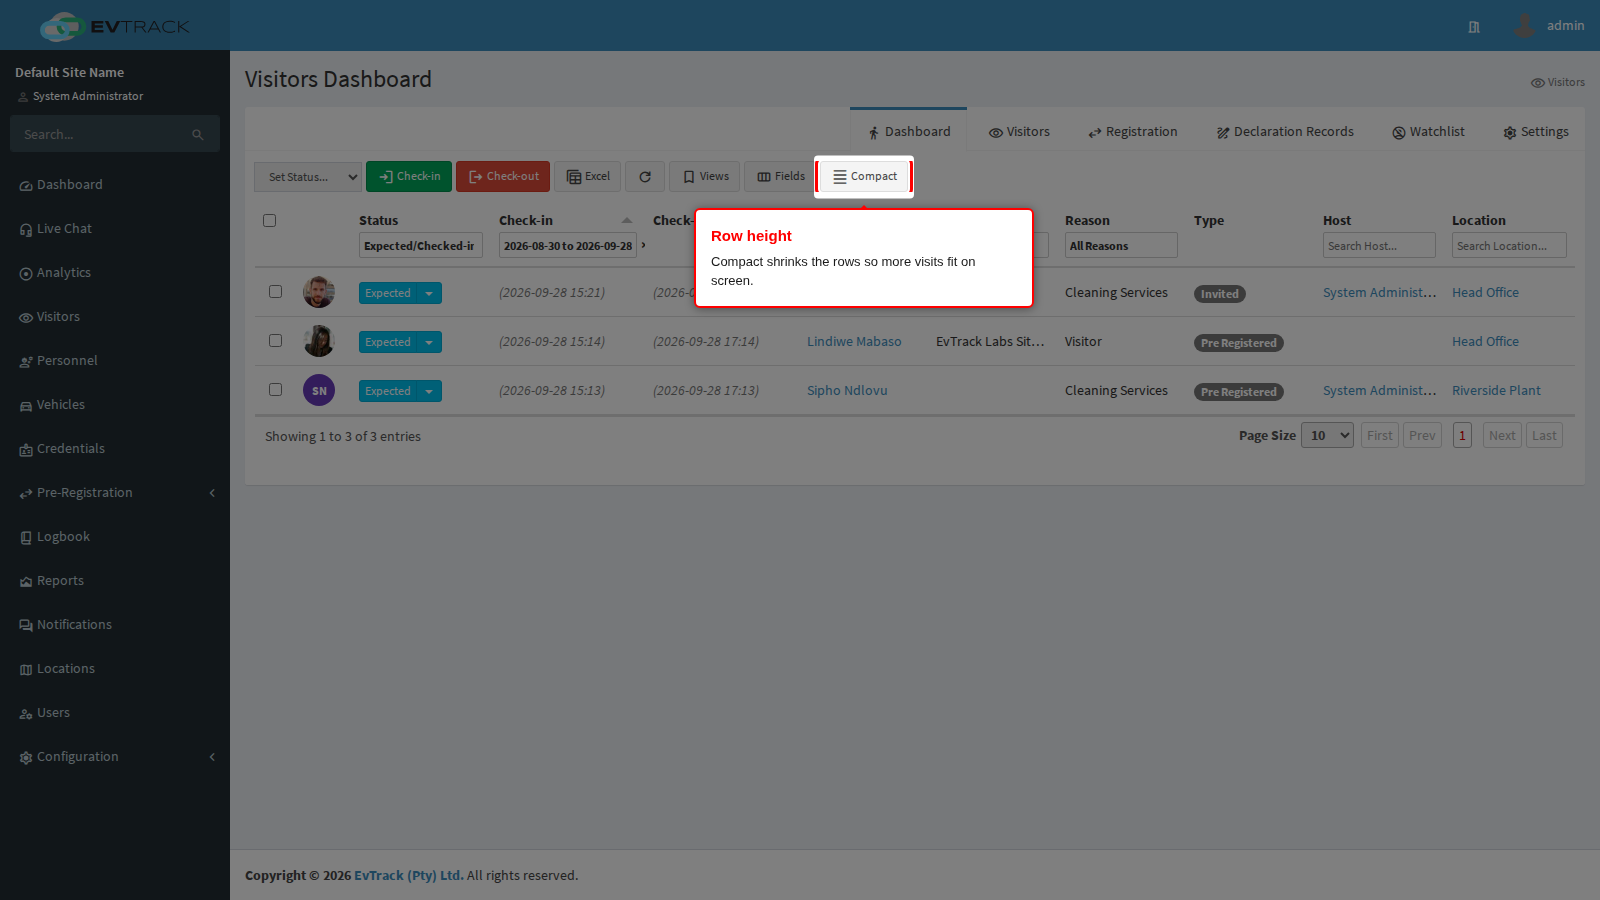
The toolbar button on the right switches the row height. It is labelled with what it will do next: click Compact for tighter rows and smaller text, then Comfortable to go back.
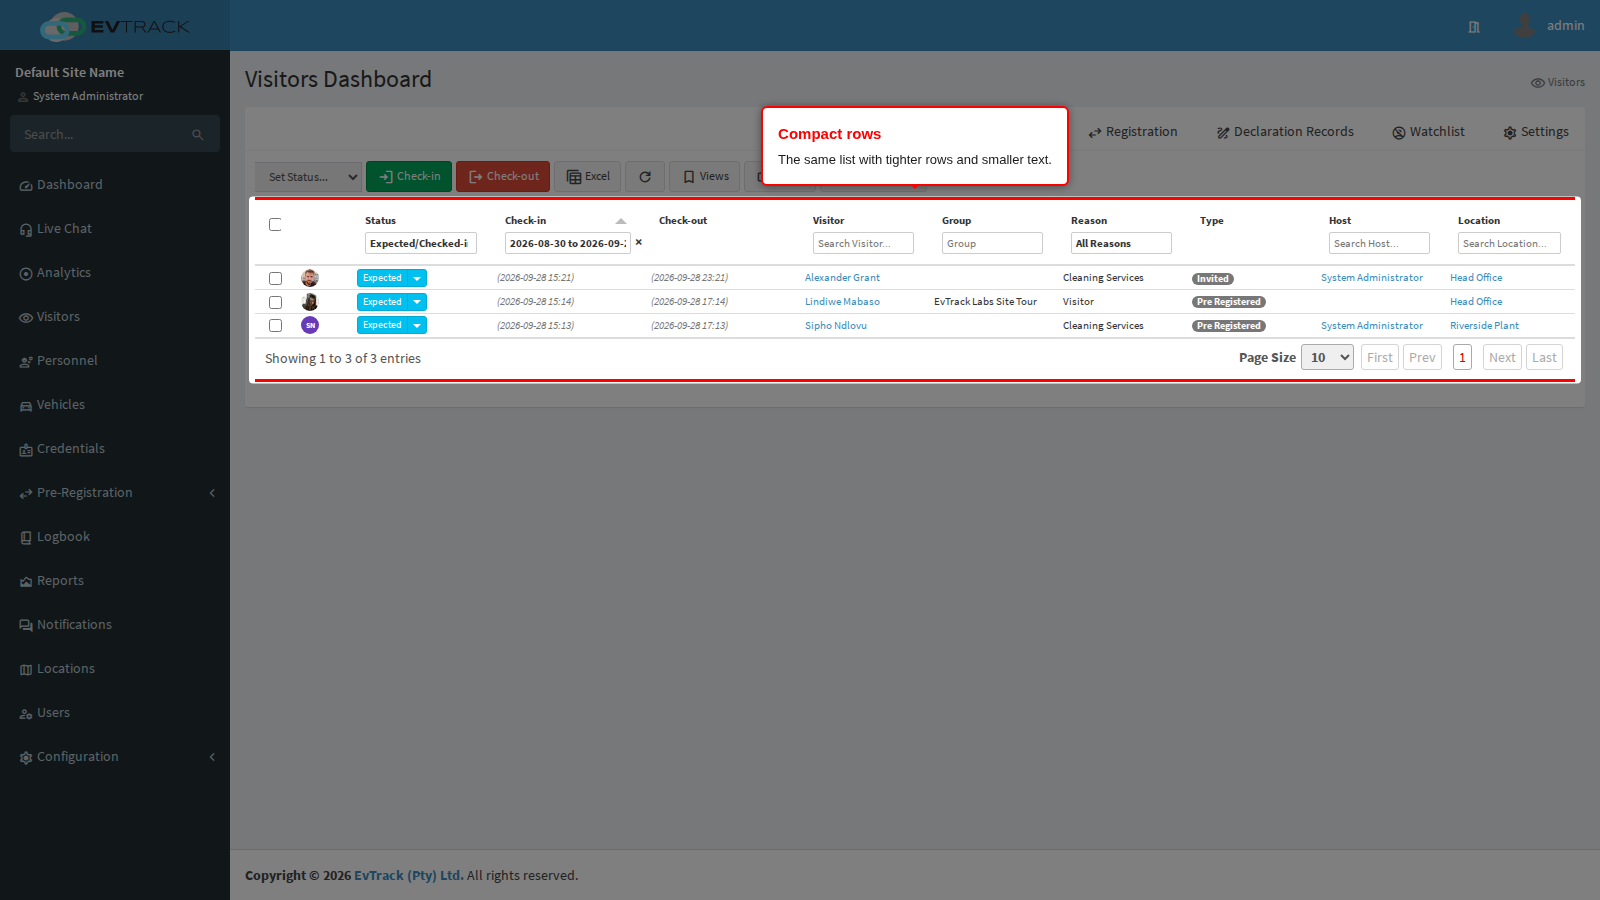
Unlike the column choices, this one is remembered for you: the dashboard opens in the density you last chose, on this browser and for your own login only. A colleague sharing the same workstation keeps their own setting.
Step 6: Save a view you use every day
A view is a named combination of filters and visible columns. Click Views in the toolbar.
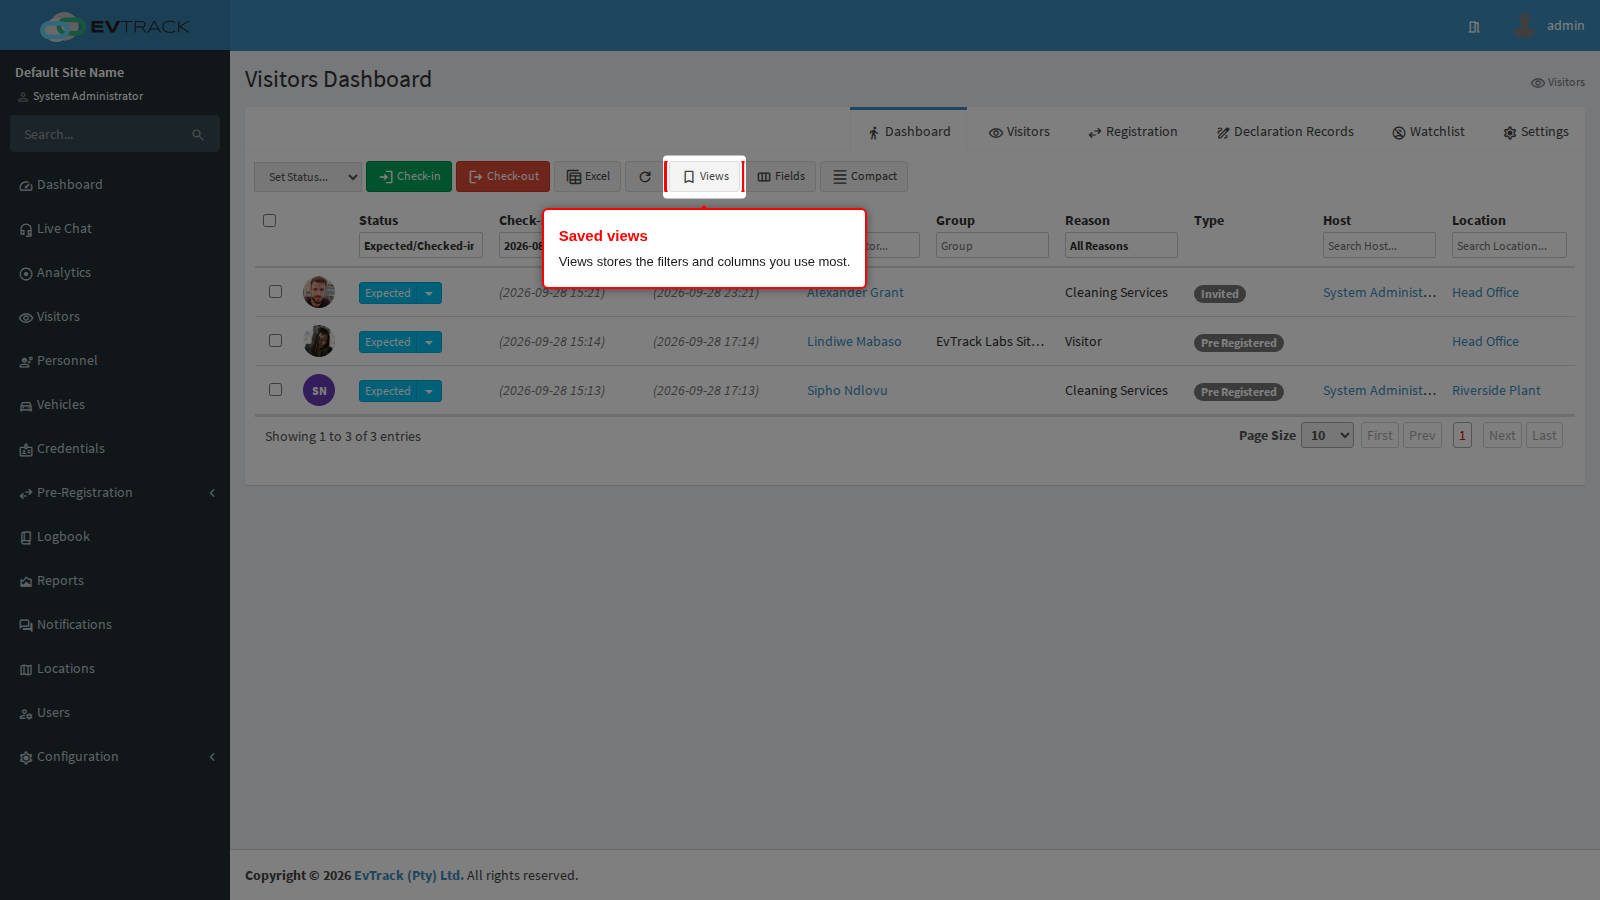
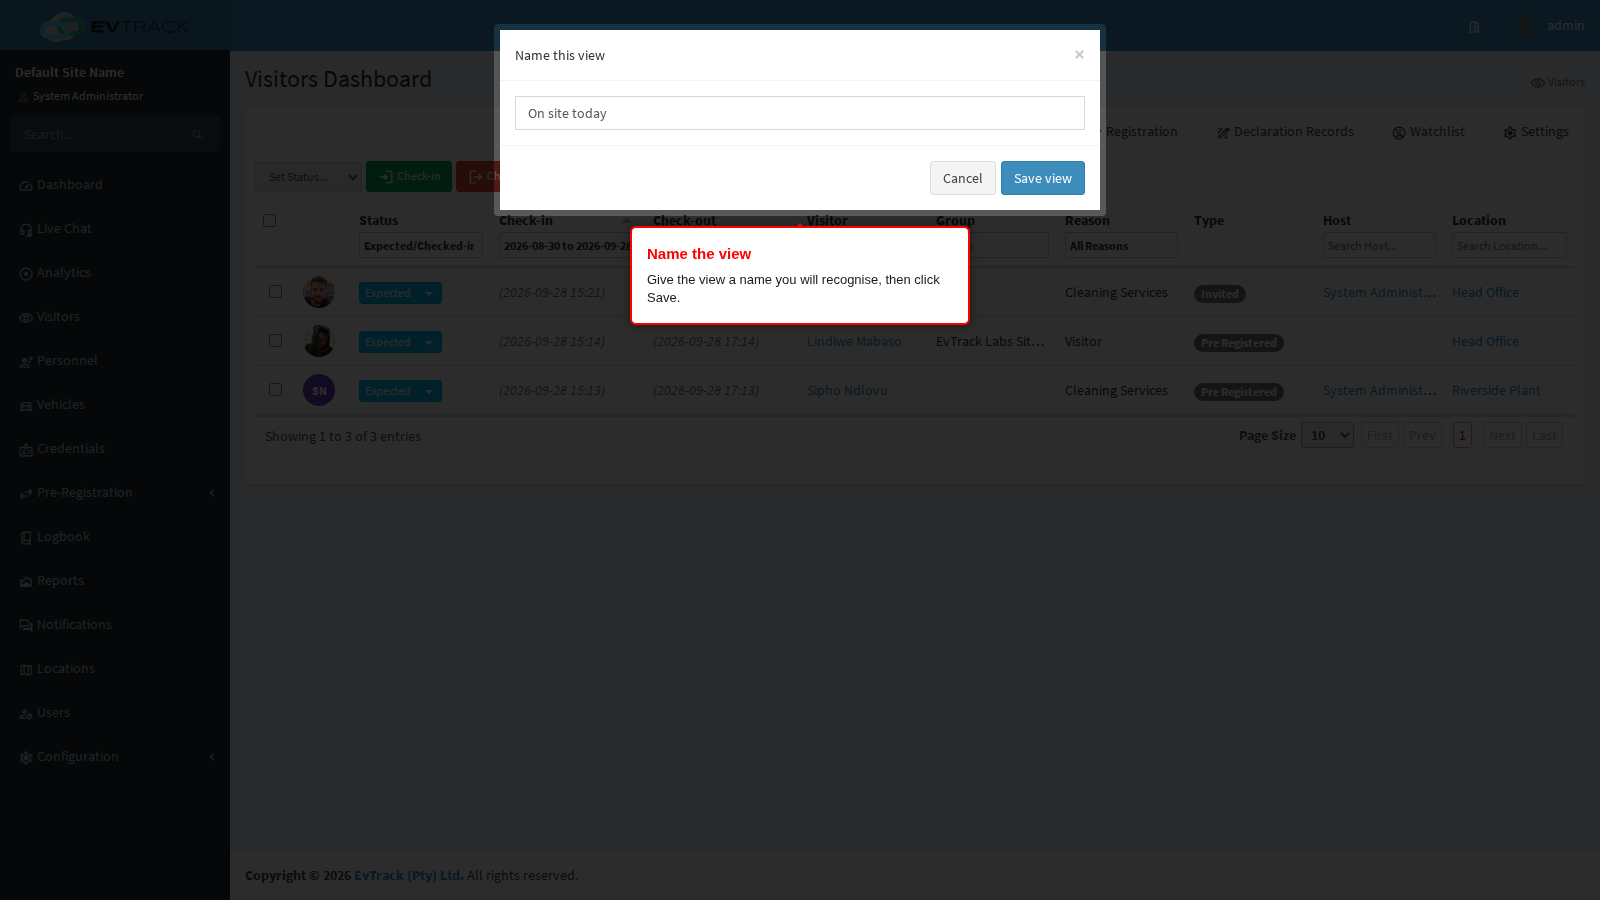
Set up the list the way you want it first (filters in step 3, columns in step 4), then open Views and click Save view. Give it a name and click Save.
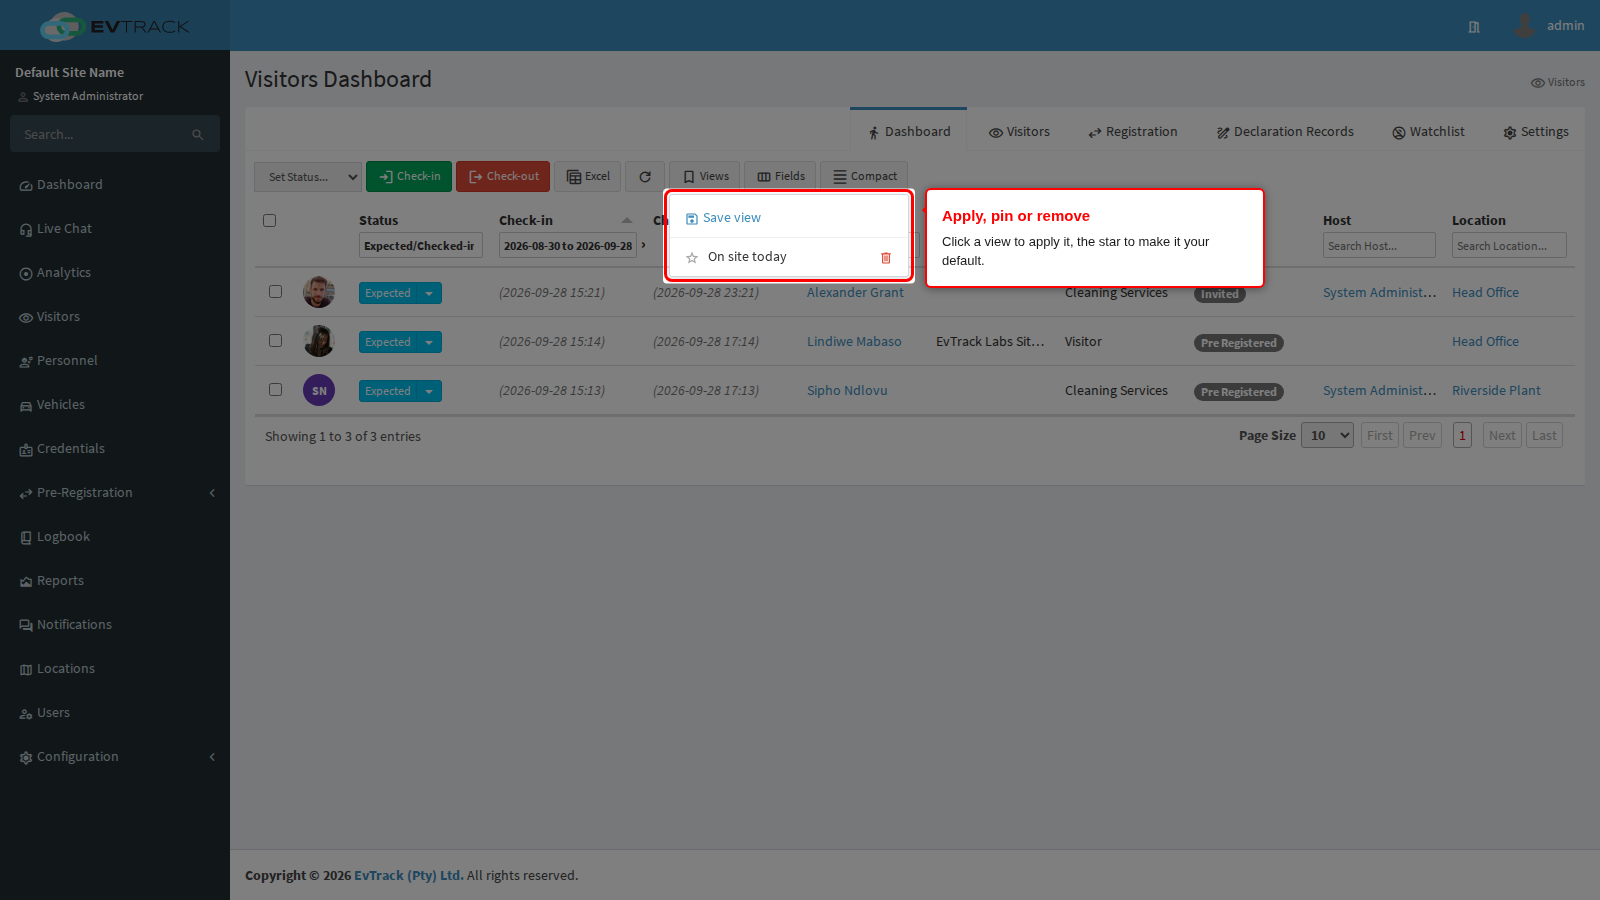
Open Views again and your saved view is listed. From here you can:
- click the name to apply it,
- click the star to make it your default, so the dashboard opens on it from now on (clicking the star also applies the view immediately; clicking a filled star unpins it),
- click the red bin to remove it.
Two things to expect from views:
- Views are stored in your browser for your own login. They are not shared with colleagues and they do not follow you to another computer.
- A view never stores a date range. Ranges go stale and would leave you looking at an empty window weeks later, so the live default window is applied instead and only the other filters and the column layout come back.
- A view is only applied automatically once you have starred it. Saving a view leaves the list exactly as it is until you choose to apply it.
The same toolbar on other lists
Views, Fields and Density are not unique to the dashboard. The same three buttons appear on the other list screens, including Pre-Registered Visitors, People, Users, Locations, Credentials, Vehicles, Devices, the Logbook, Agreement Records and Documents. They behave identically everywhere, and each screen keeps its own separate set of views and its own column and density choices.
Your filters come back while you are working
If you filter a list, open one of the records and then use your browser’s Back button, the list comes back the way you left it: the same filters, the same sort order and the same page. A short note appears above the list to tell you the filters were restored, with a Clear filters link beside it if you would rather start fresh. Clearing resets the filters and sort only; your column choices and density setting are preferences and remain as they are.
Restored filters last for as long as the browser tab is open. Close the tab and the next visit to the screen starts clean, so a filter you set on Friday is never still applied on Monday.
Step 7: Work on several visits at once
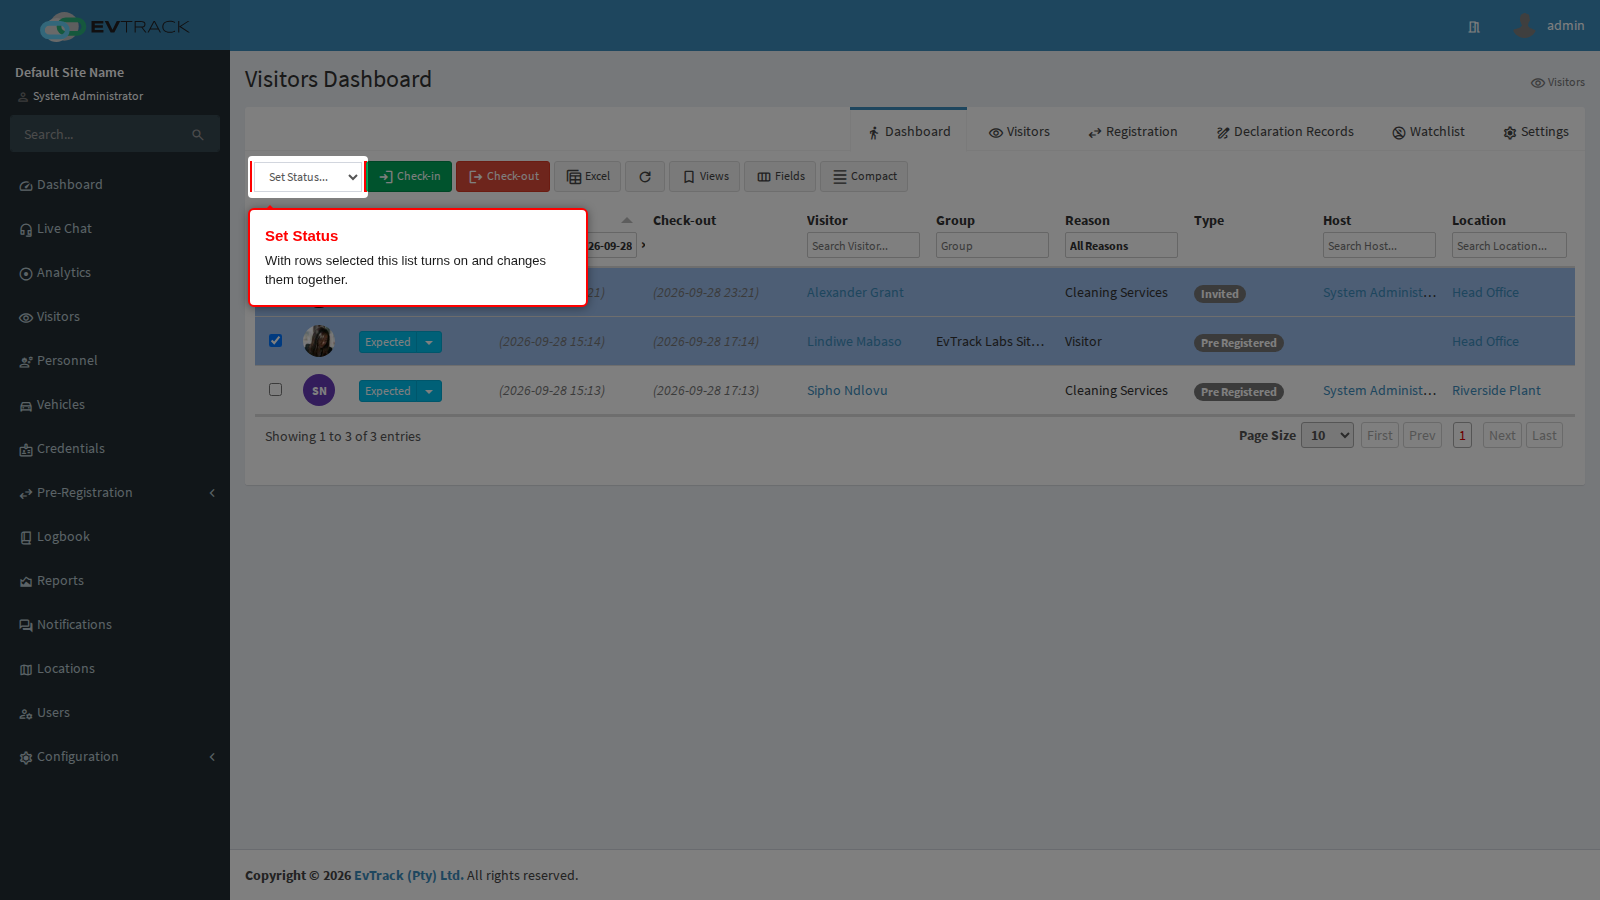
Each row has a tick box on the left, and the tick box in the header selects everything on the page. Select up to 50 visits.
With at least one row selected, the Set Status… list at the left of the toolbar turns on. It offers the statuses your permissions allow: Checked-in, On-Site, In Parking, Expecting and Checked-out.
Choose a status and a confirmation page opens. It lists every visit you selected, the status each one is on now, the visit window, and the new status they will all move to. If any of the selected visits cannot make that move (a visit that is already finished, for example) they are listed separately in a warning panel above, with the reason, and they are left alone.
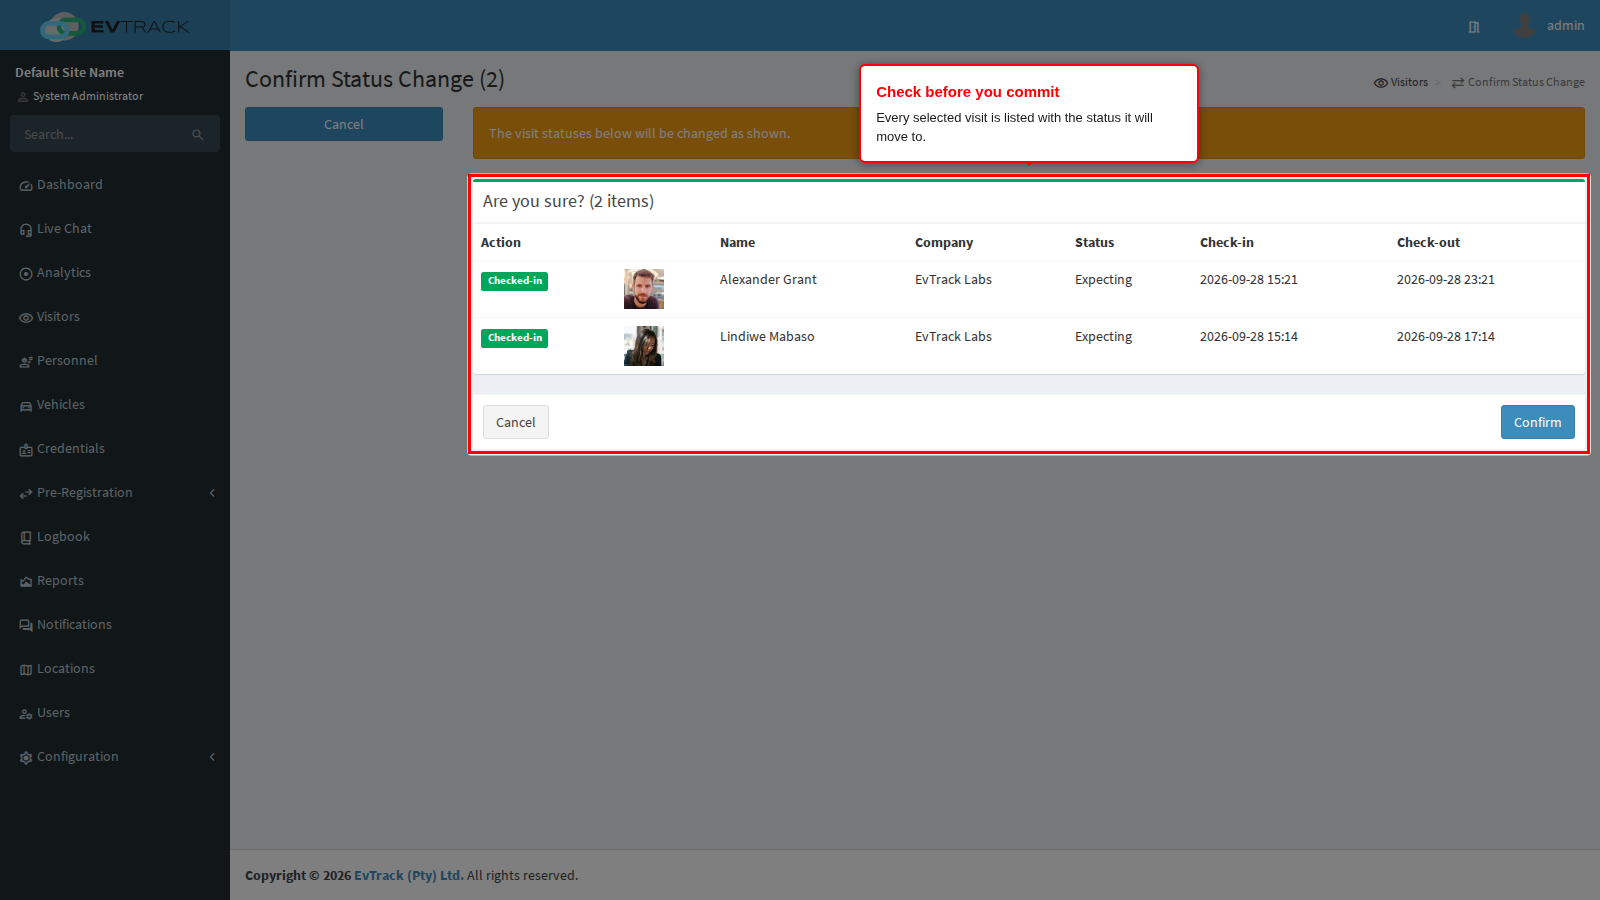
Click Confirm to apply the change: you are returned to the dashboard and every eligible visit now shows the new status. Click Cancel to go back without changing anything.
Two shortcuts worth knowing:
- Selecting exactly one row and choosing a status takes you to the single-visit confirmation page instead, the same one described in Check-in and Check-out.
- The green Check-in and red Check-out buttons work on the selected row when exactly one is selected. With nothing selected they open the quick lookup so you can find the visitor by mobile number, pass or ID. With more than one row selected they ask you to use the Set Status… list instead.
Approving new registration requests is a separate screen: see Visitor Registration.
Step 8: Export what you are looking at
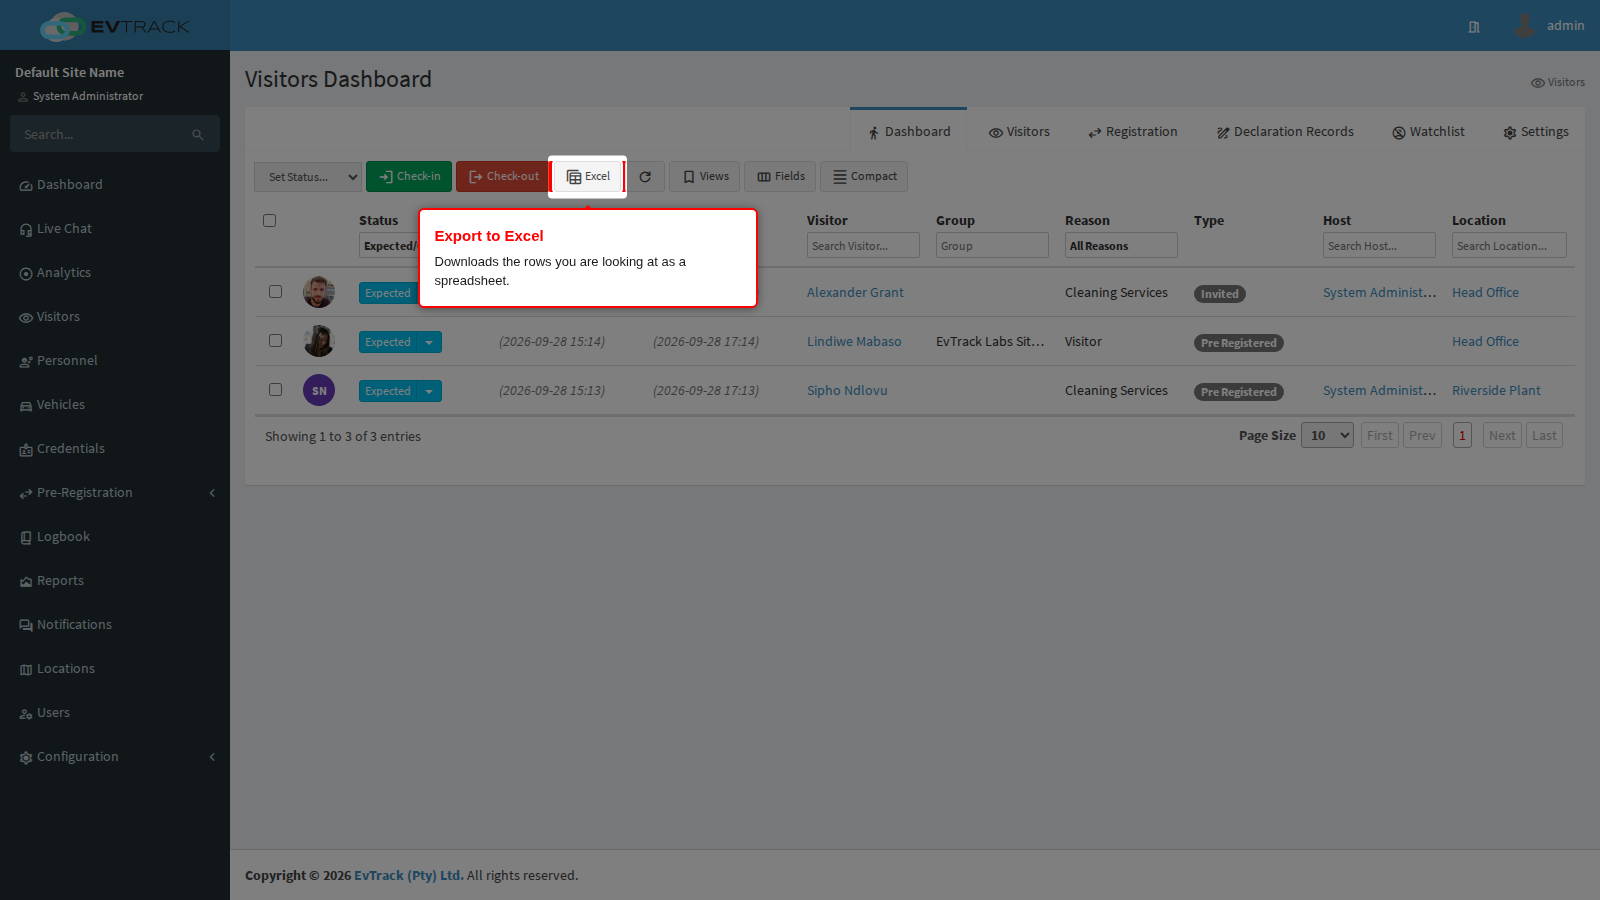
Click Excel in the toolbar to download the list as a spreadsheet. The export contains the rows currently on screen, with the columns you have chosen, so filter and pick your columns first.
Related pages
- Add Visitor - register a walk-in visitor
- Check-in and Check-out - the single-visit status flow and the quick lookup
- Watchlist - how flagged identities are highlighted
- The Main Dashboard - the smaller visitor panel on the landing screen