Group registrations can be managed entirely from the admin panel: create a group leader, add members, correct their details, remove members who drop out, and load a whole delegation from a spreadsheet. No public self-registration link is involved. This page is the reference for group leader and member management, and it covers the full member lifecycle from first member to bulk import.
Before you start:
- Group registration must be switched on. Open Configuration > Visitor Settings > Self-Registration and enable it on the Group Registration tab. While it is off, the Group Leader toggle and the members panel never appear. See Self-Registration Settings.
- Decide which member fields are required on that same tab before you start capturing people. The member form only shows the fields you ask for, and the same list decides which columns an import treats as mandatory.
- You need rights to add and edit visitor registrations. Adding and importing members needs the add right; editing and removing members needs the edit right. If the buttons described below are missing, that is why.
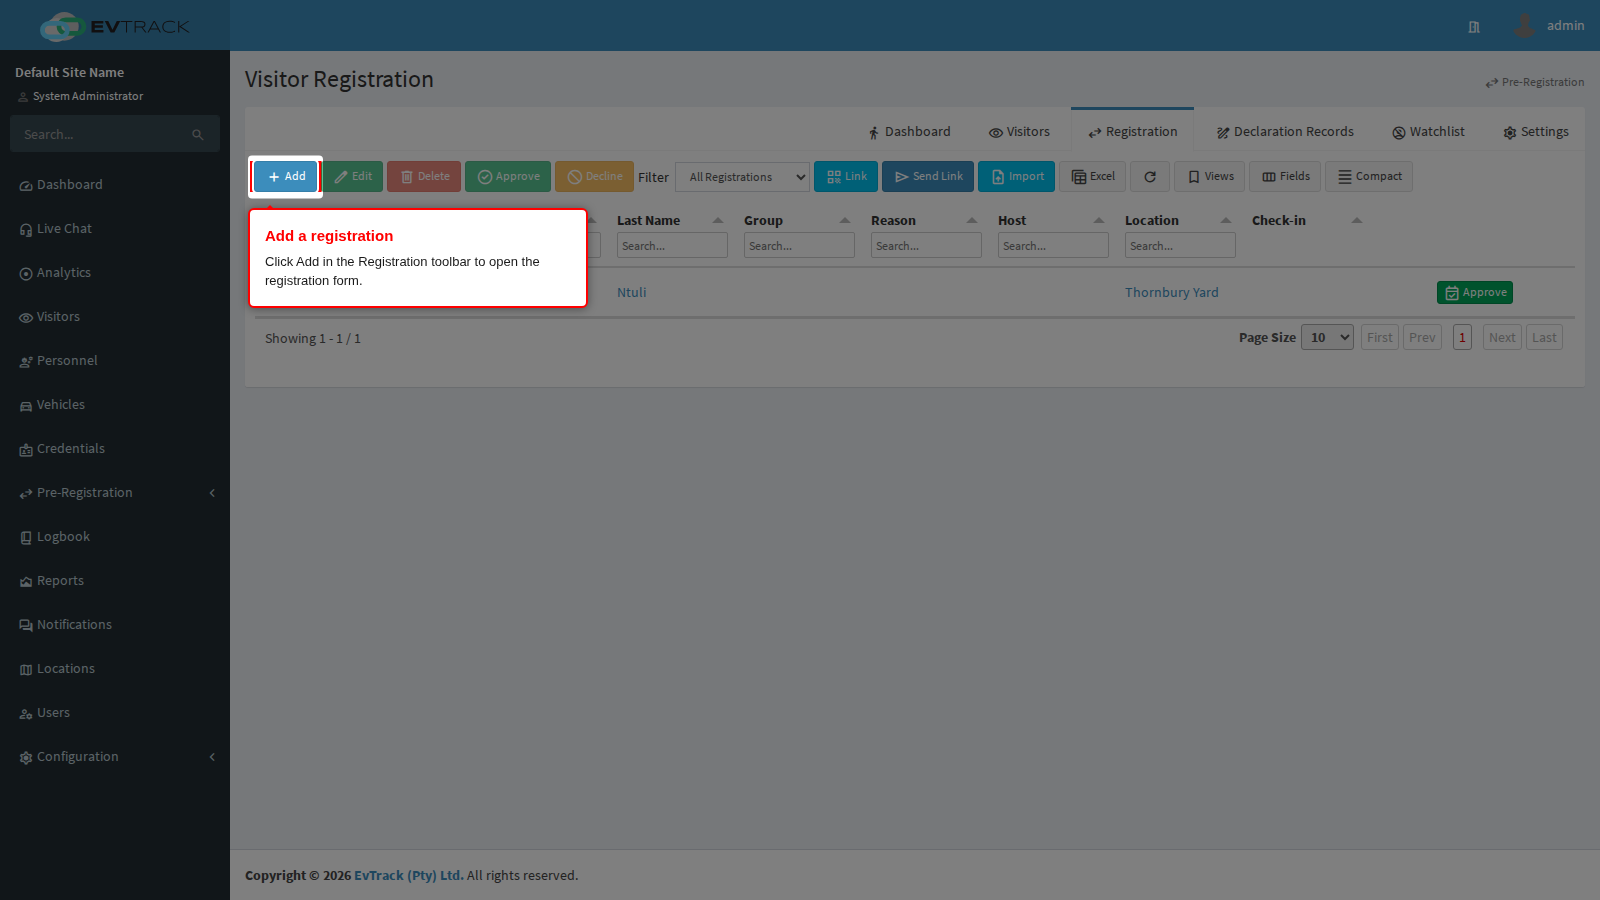
Step 1: Open the Registration list and click Add
Select Visitors in the sidebar, open Registration, then click the Add button in the toolbar above the list.
End state: the new-registration form opens.
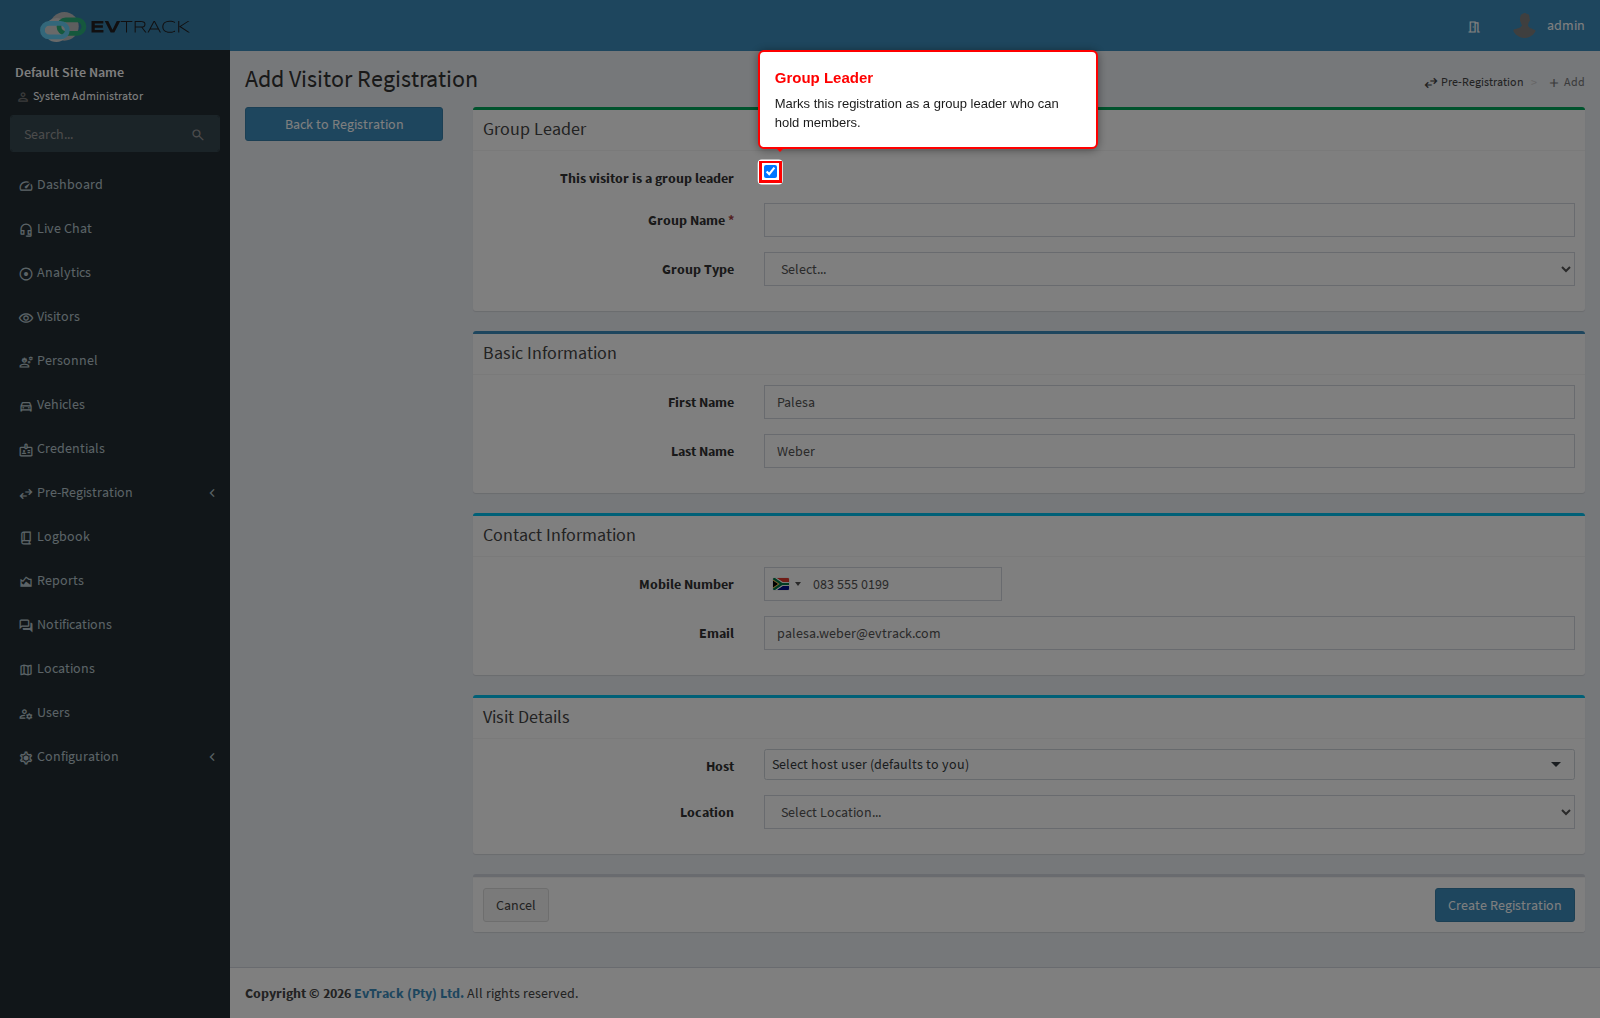
Step 2: Create a group leader
Complete the person’s details, enable the Group Leader toggle, give the group a name and expected size, then save. The leader is the group’s contact person and the record every member hangs off.
End state: the registration is saved and opens in edit mode, now showing a Group Members panel.
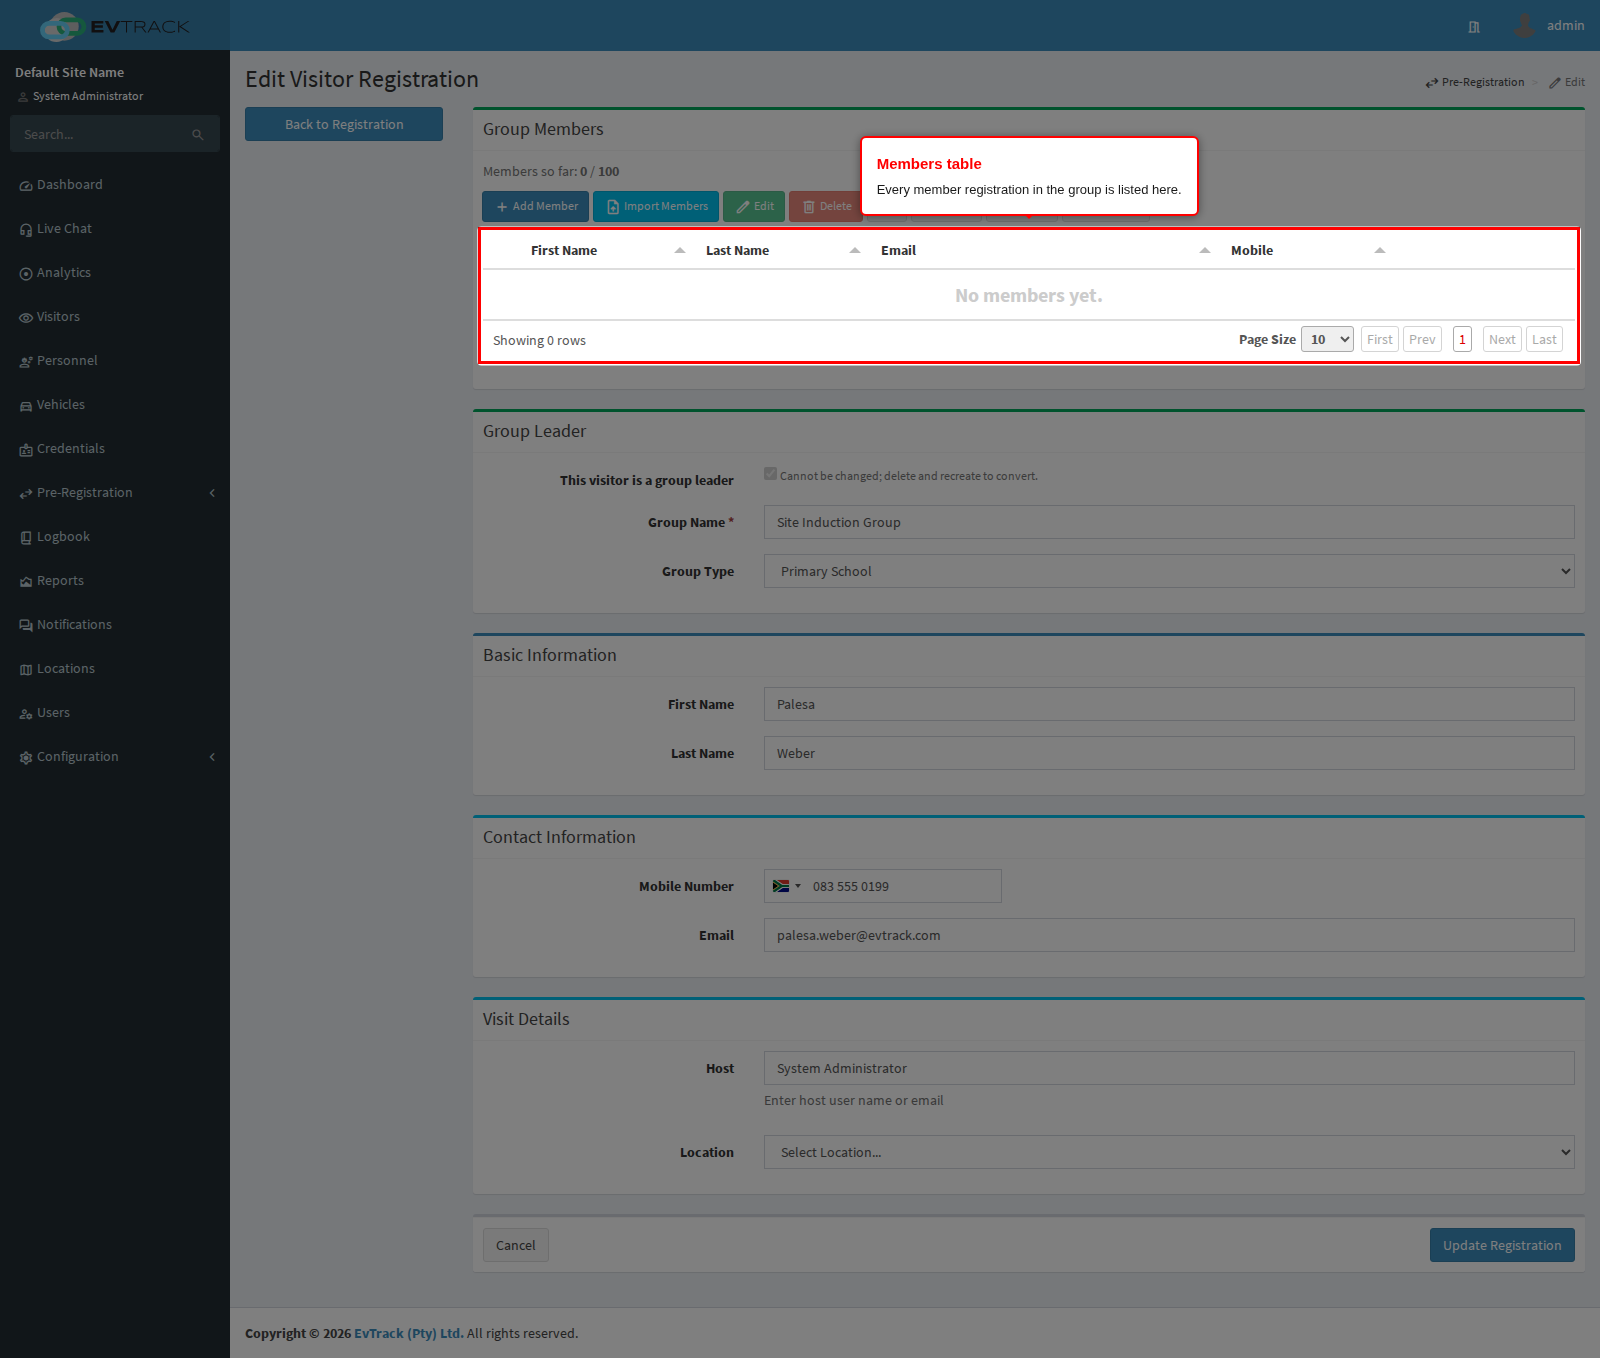
Step 3: The leader’s members table
Opening the leader’s registration from the Registration list shows the group’s members table. Each row carries the member’s name, email address and mobile number, and the counter above the table shows how many members the group has against the number expected. For a new leader the table is still empty.
Members flagged against the watchlist are highlighted in the table with a Watchlist Match badge, and a details button appears on those rows for operators allowed to see the match. See Watchlist.
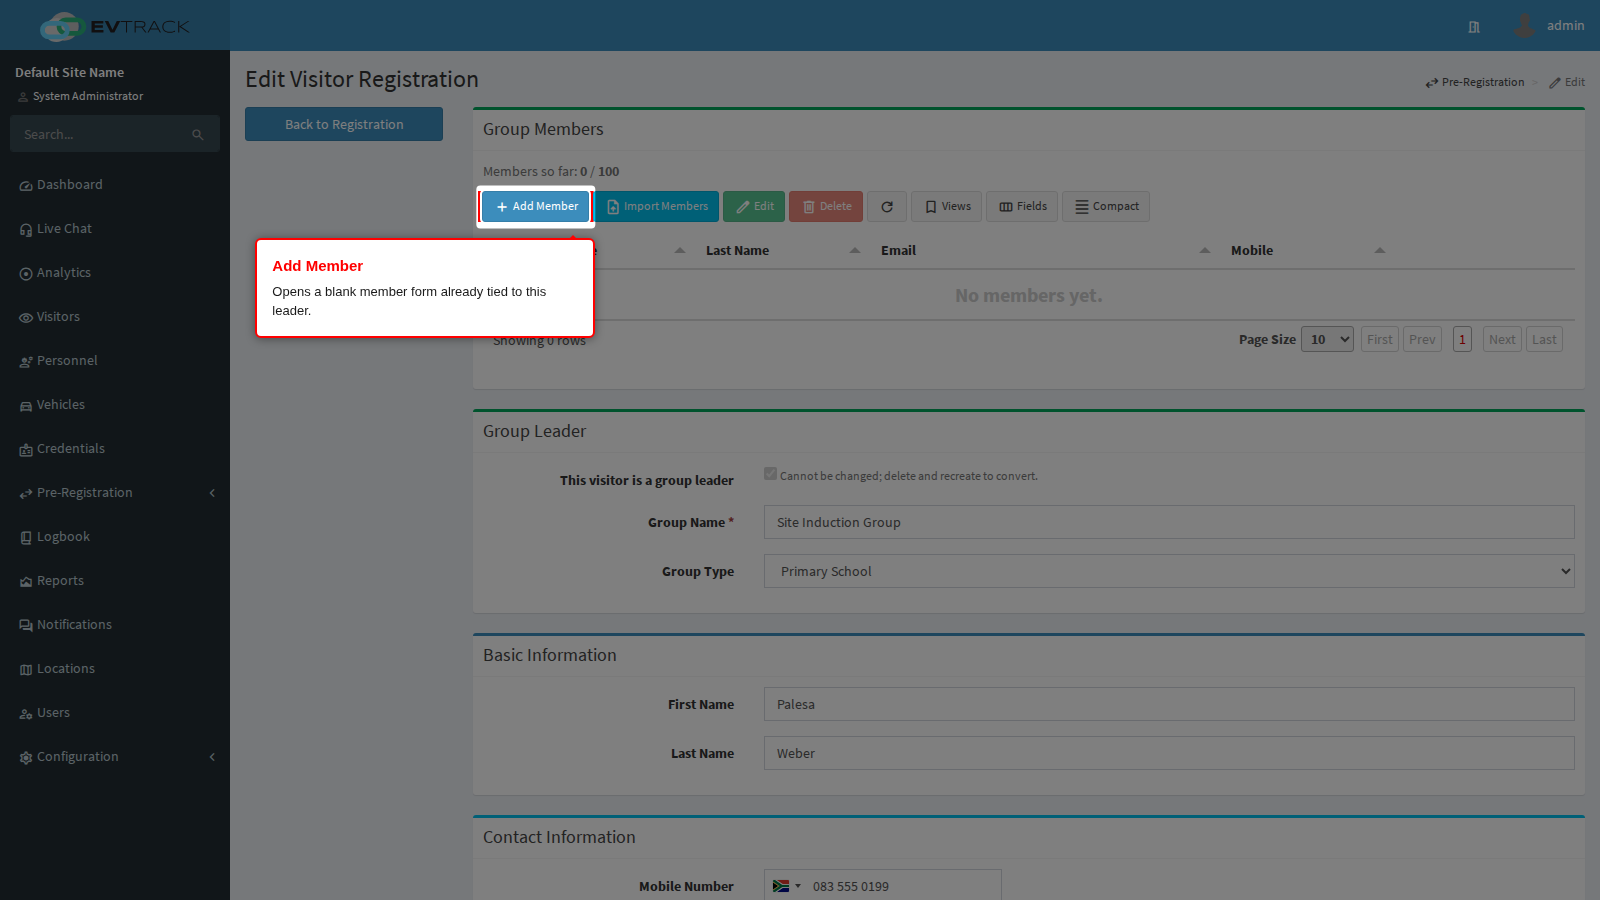
Step 4: Click Add Member
Add Member sits at the top right of the Group Members panel.
End state: a blank member form opens, already tied to this leader.
Step 5: Complete the member form
Fill in the member’s details and upload their photo and identity document where the form asks for them. Fields marked with a red asterisk are the ones required by your group member settings. The member does not need visit details: the host, location, visit reason and visit times are taken from the leader.
Click Save when done.
End state: you are returned to the leader’s registration with a success message, and the member is in the table.
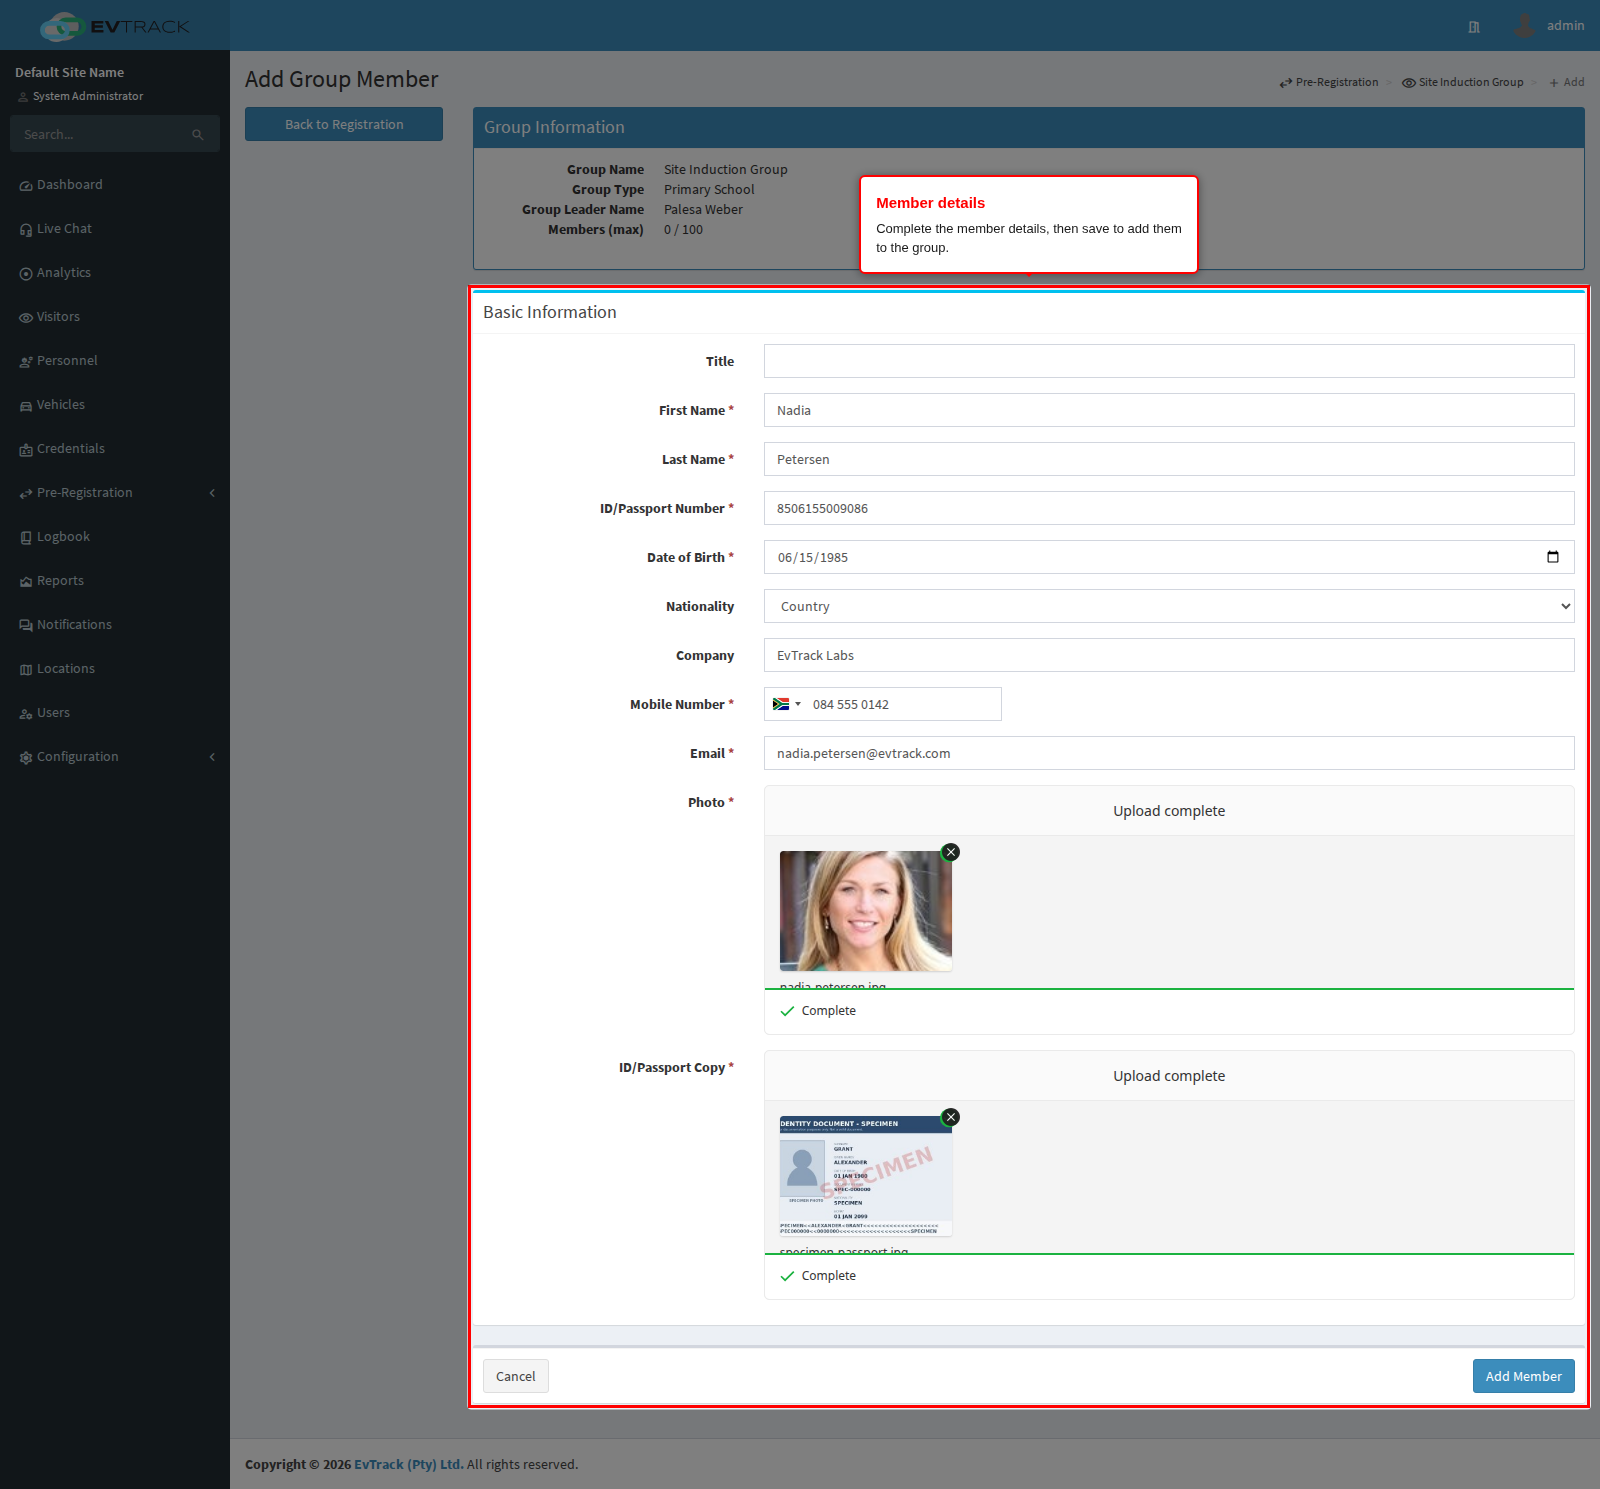
Step 6: The member joins the group
Each added member appears in the members table, and the counter above it goes up by one.
Adding members one at a time stops at the maximum group size configured in your group registration settings. Once the group is full the form refuses to save further members and tells you the limit.
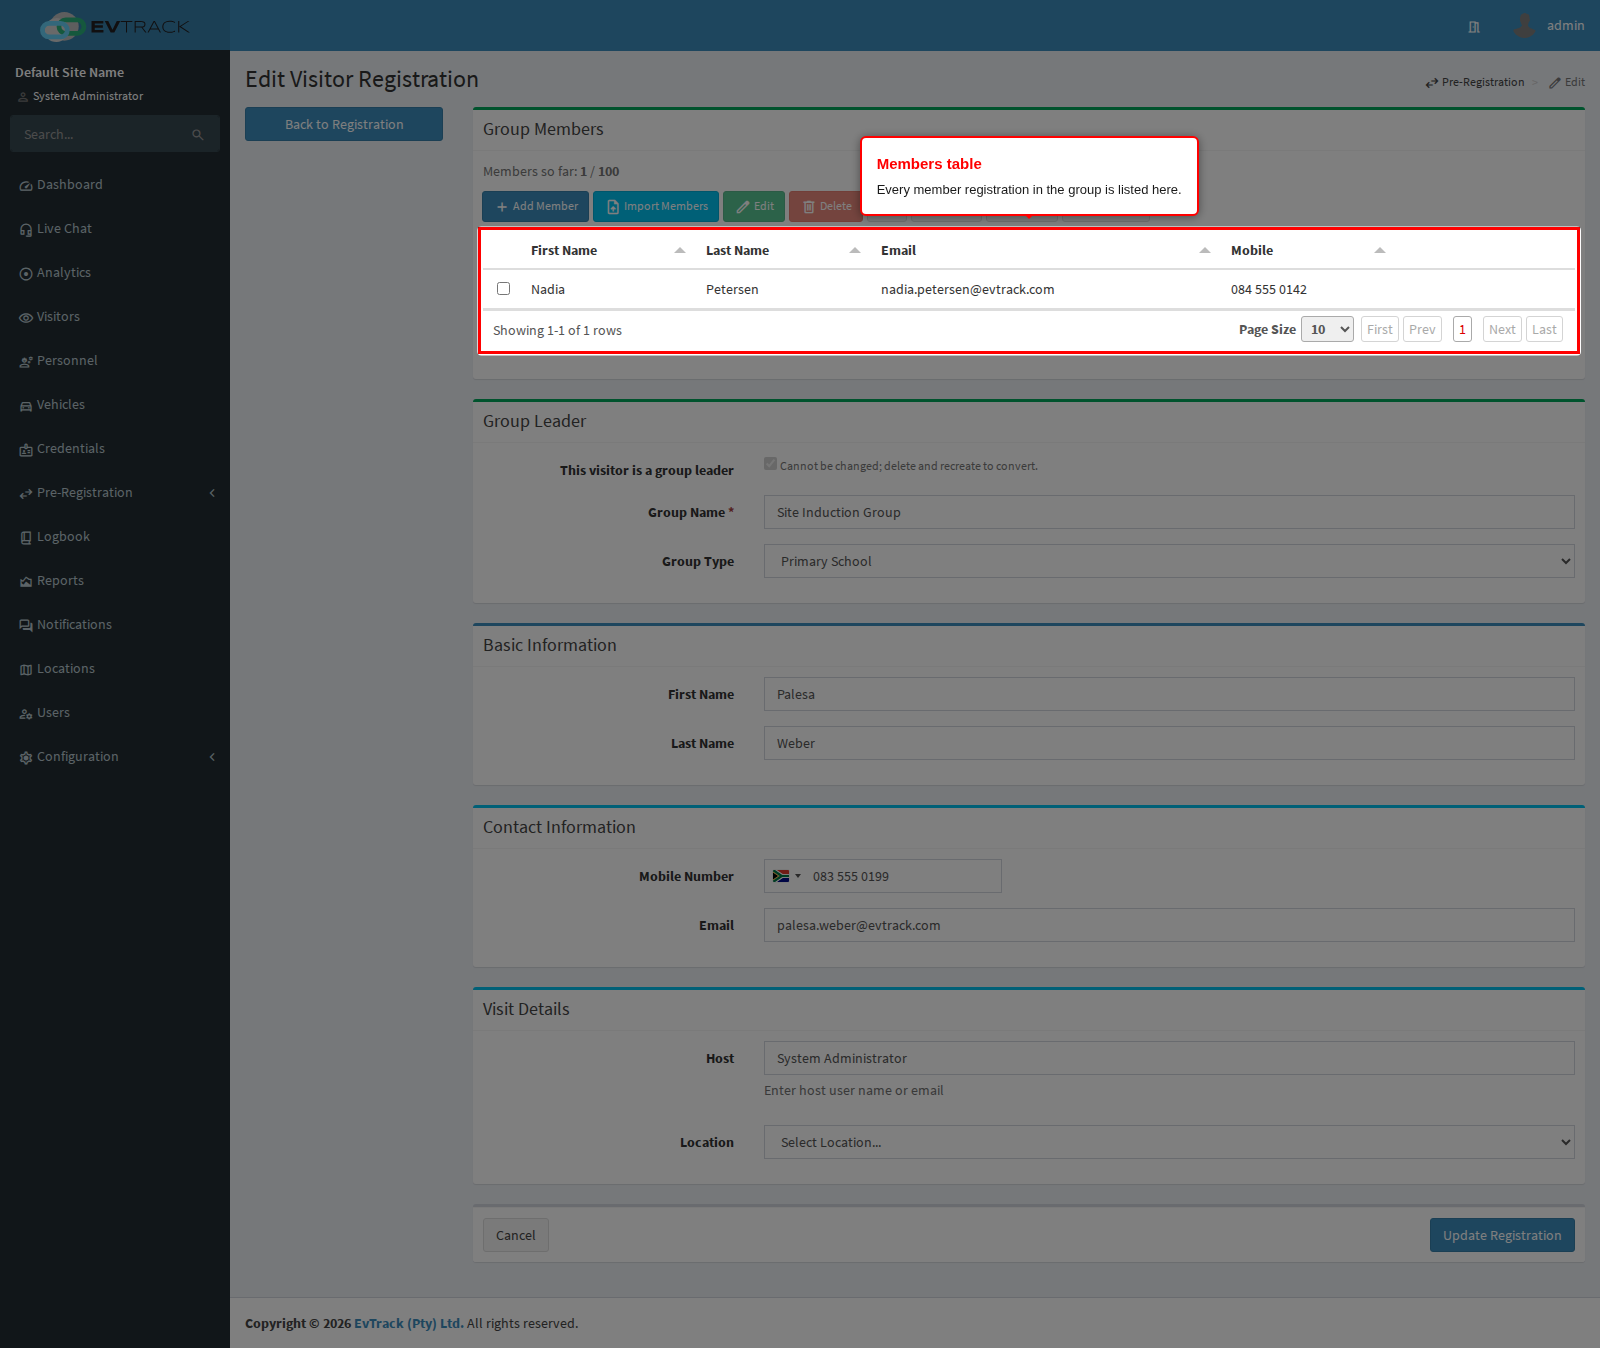
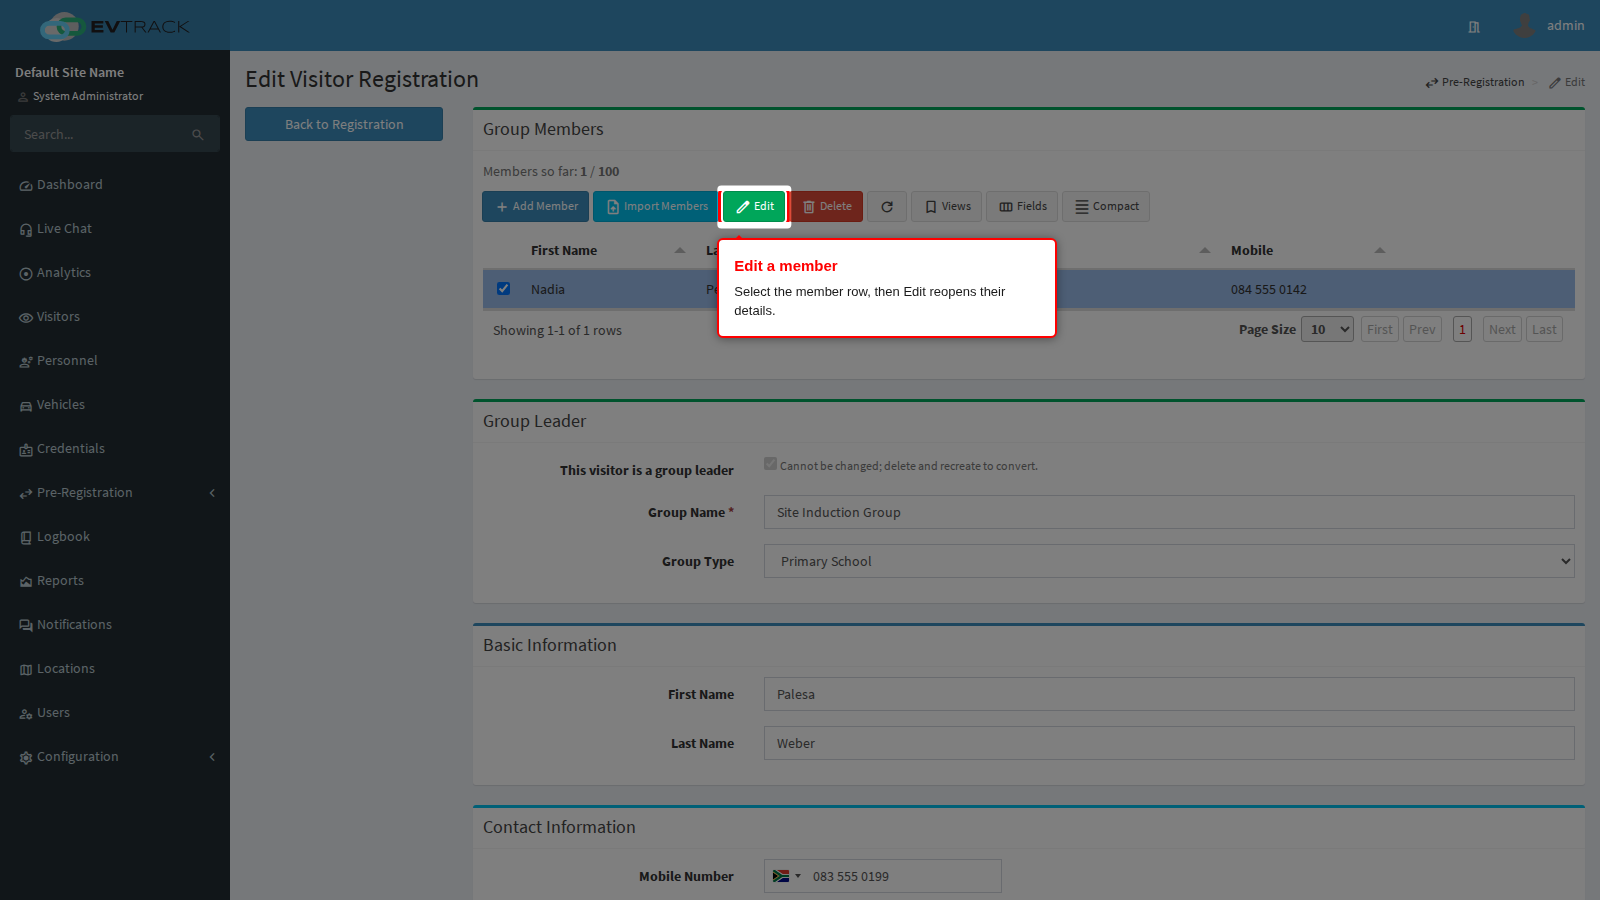
Step 7: Open a member for editing
Select the member’s row in the table, then click Edit in the toolbar above it to open that member for editing.
Step 8: Change the member and save
The member form reopens with everything that was captured, including the photo and identity document already on file. Correct whatever is wrong, for example a mistyped mobile number, and click Save.
Two things are worth knowing here:
- The member remains in the group. Editing never moves a member to another leader, and the visit details inherited from the leader are not editable on the member.
- Duplicates are still checked. If your change makes the member match somebody already in the same group, by name and identity number, name and date of birth, mobile number or email address, the save is refused and the form comes back with the reason.
End state: you are returned to the leader’s registration with a success message.
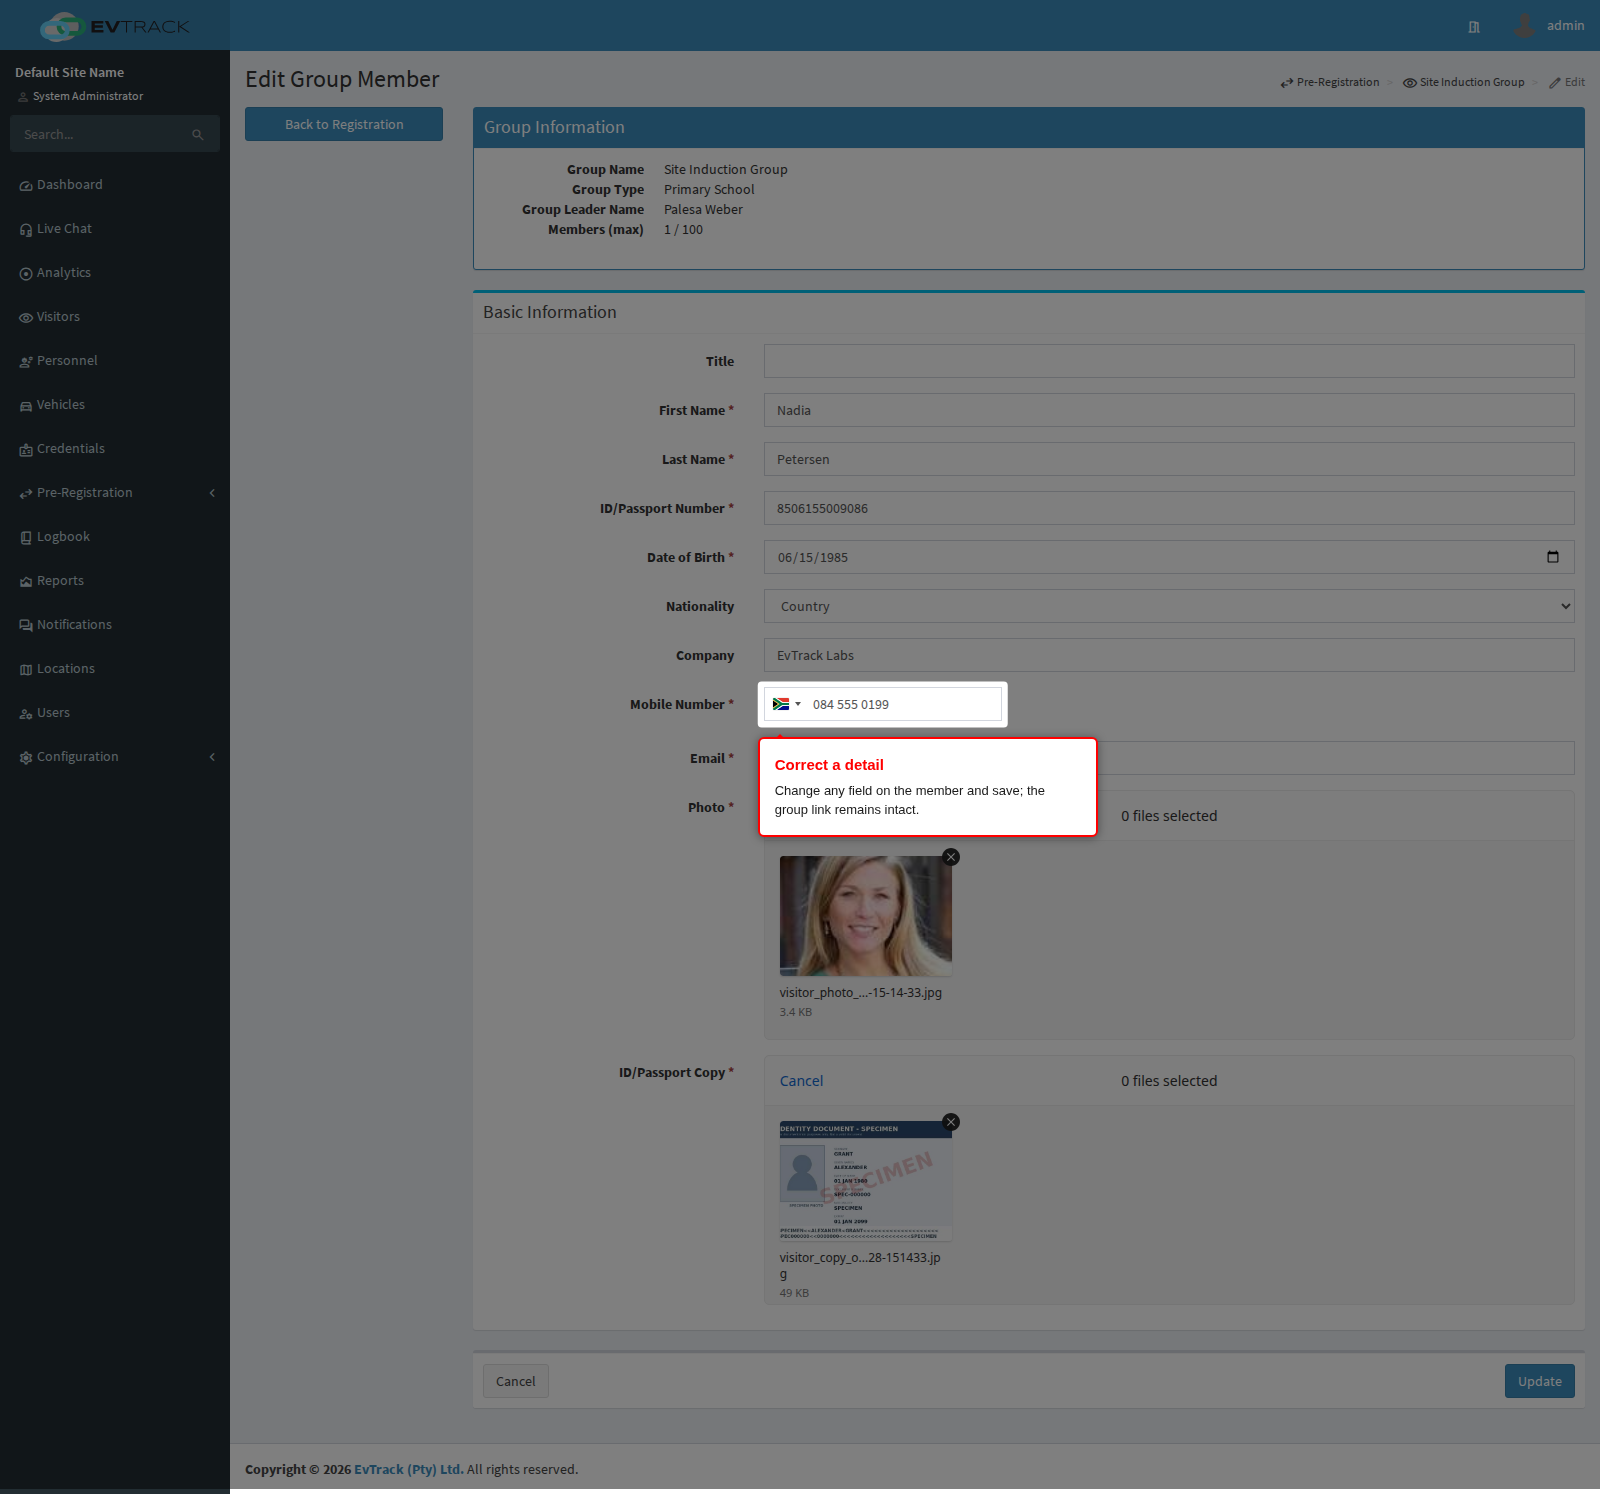
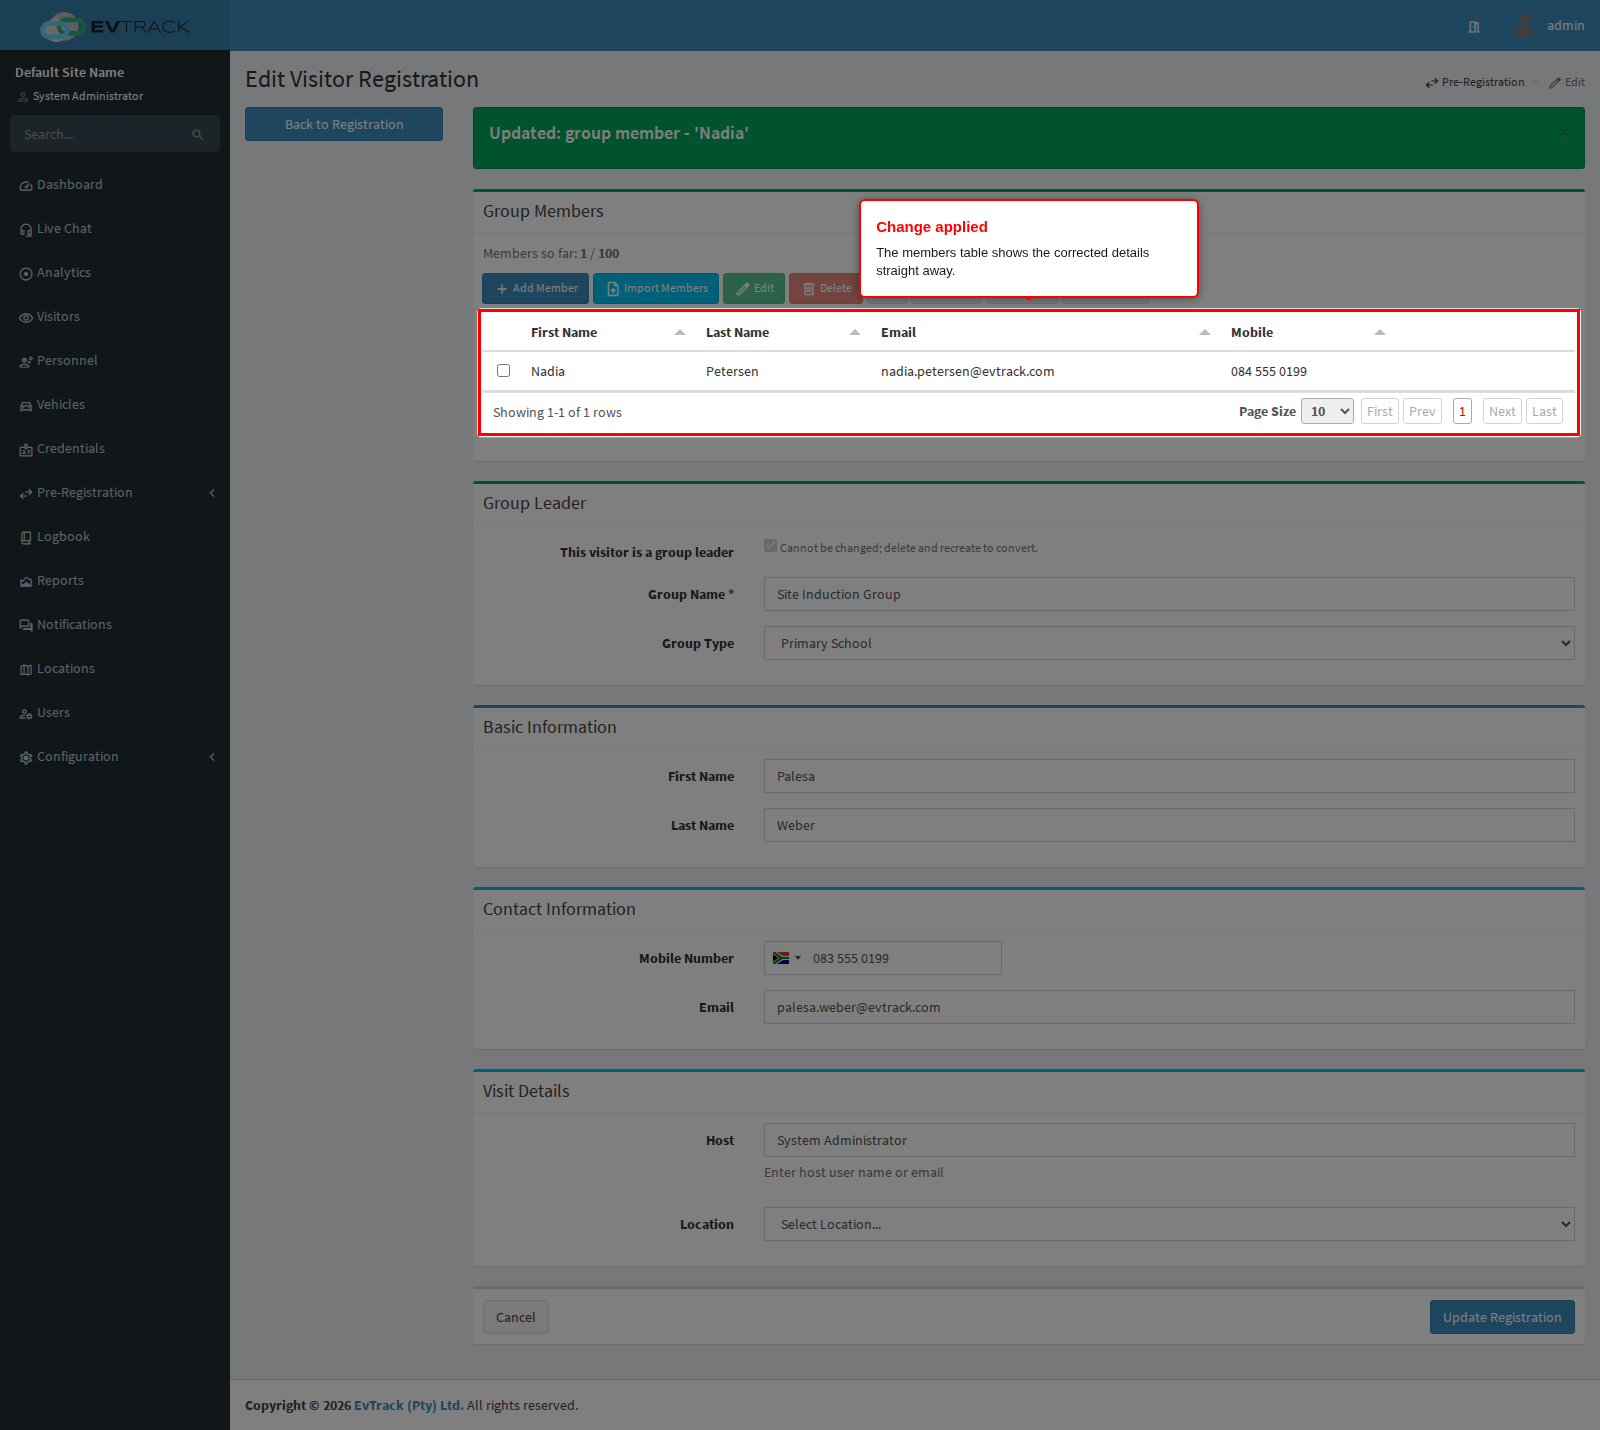
Step 9: The change shows in the table
The members table reflects the corrected details immediately.
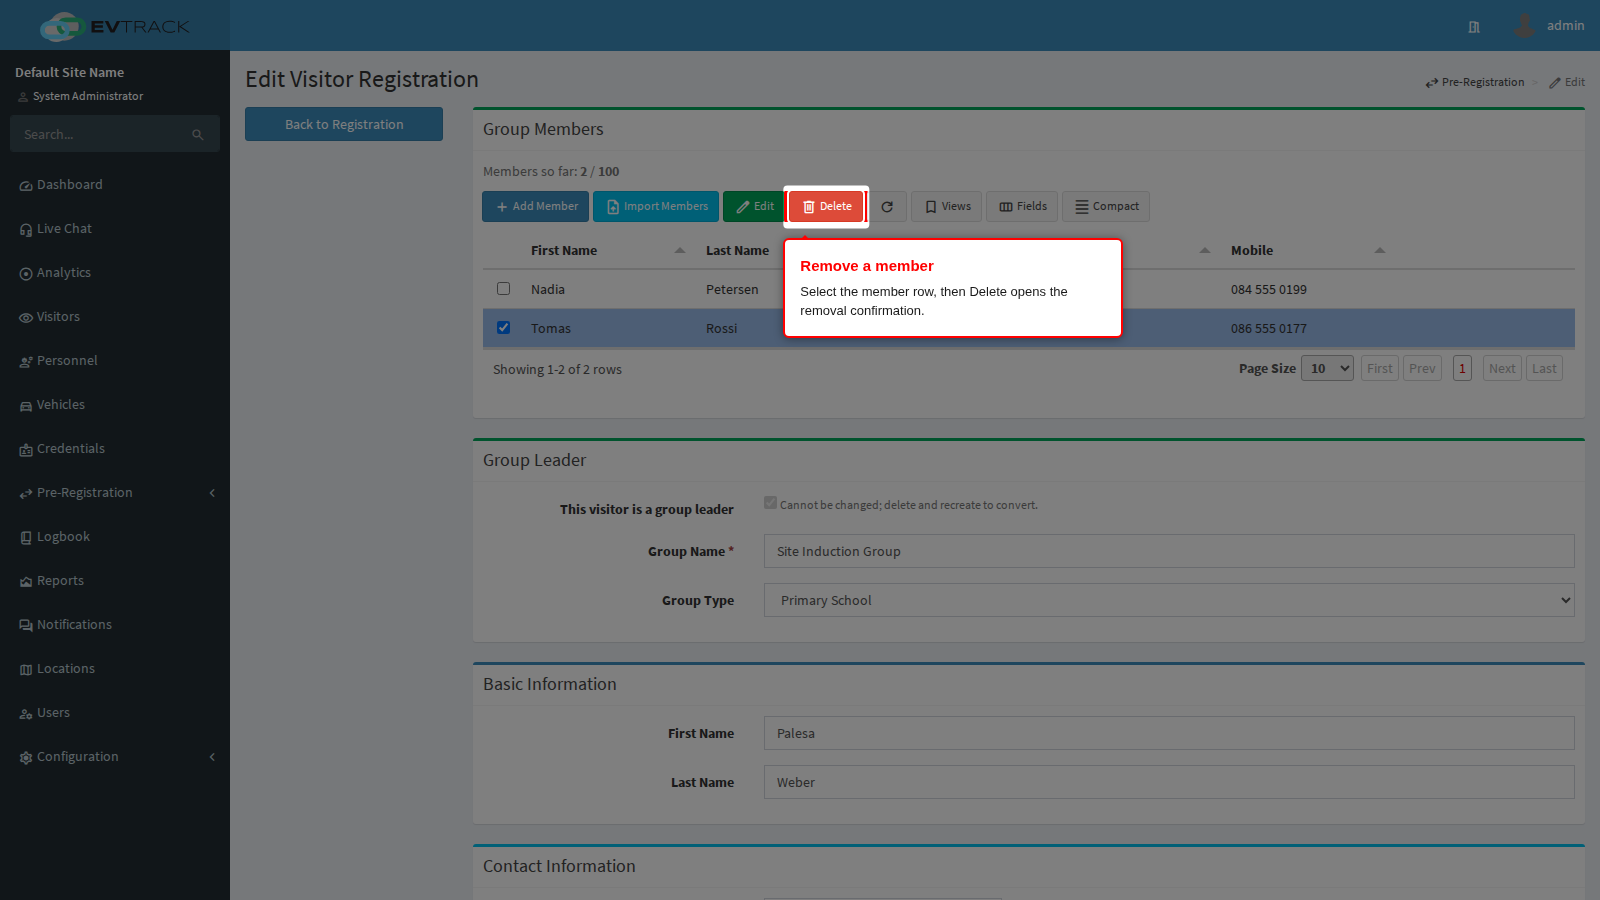
Step 10: Remove a member
Select the member’s row in the table, then click Delete in the toolbar above it to remove that member. Clicking it only opens a confirmation page: nothing is deleted yet.
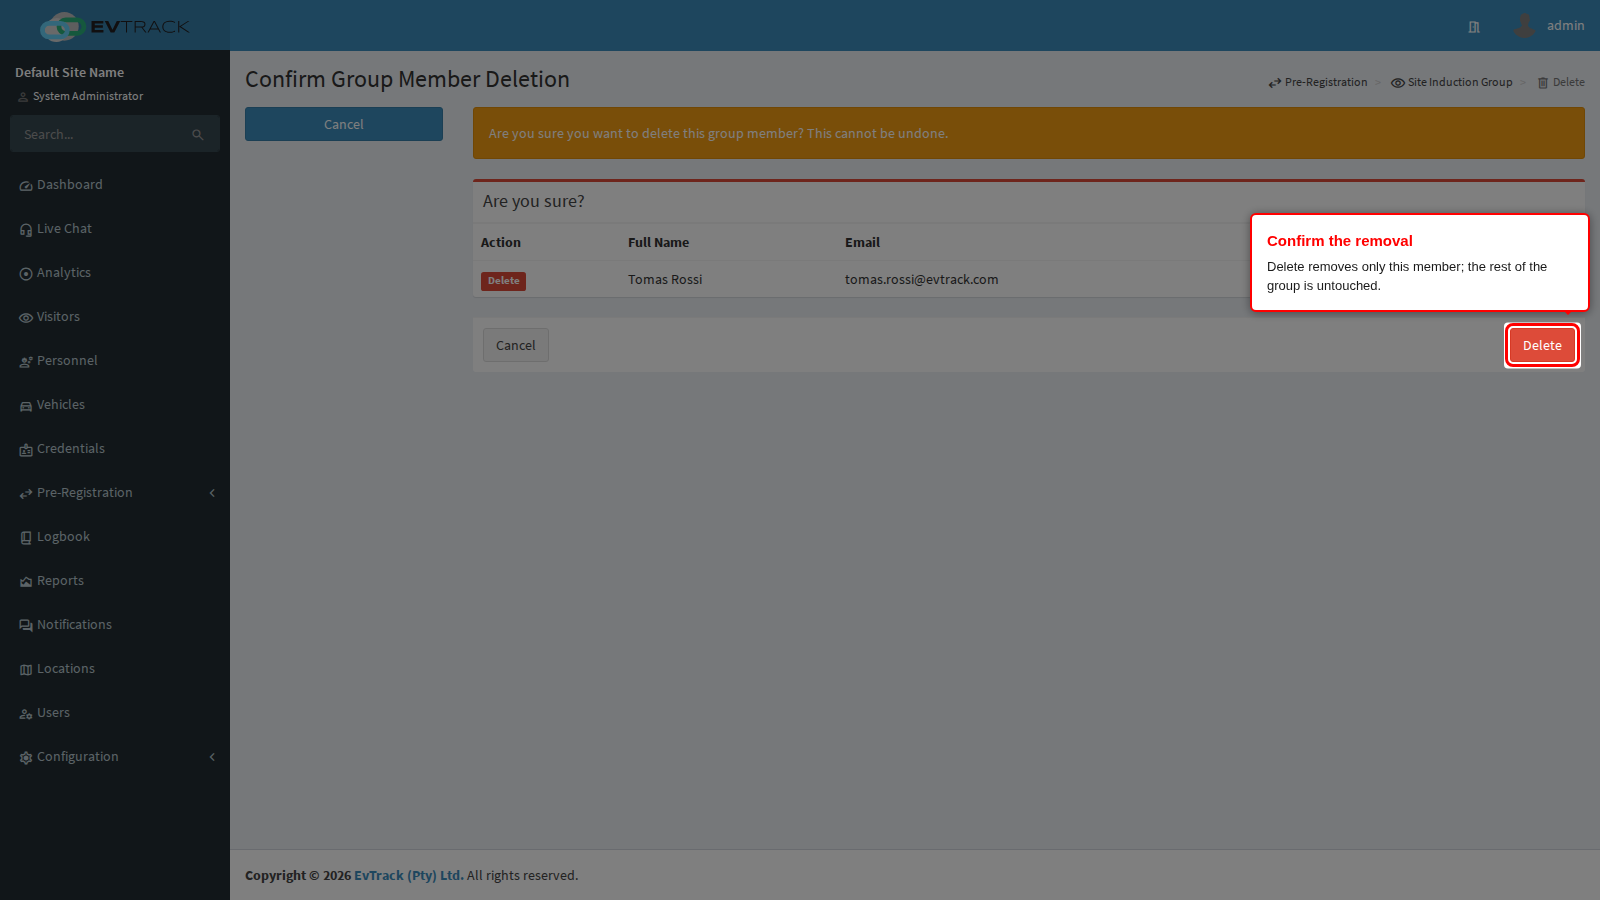
Step 11: Confirm the removal
The confirmation page shows the member’s name, email address and group so you can check you have the right person. Cancel returns you to the leader’s registration and changes nothing. Delete carries out the removal.
What removal does: the member’s registration record is deleted permanently, along with the photo held on it, and the group’s member count drops by one. The leader and every other member are untouched. There is no undo and no recycle bin, so a member removed by mistake has to be captured again.
Members can also be removed while you are processing the group’s request, from the group section of the processing screen. Both routes do the same thing.
End state: you are returned to the leader’s registration and the member is gone from the table.
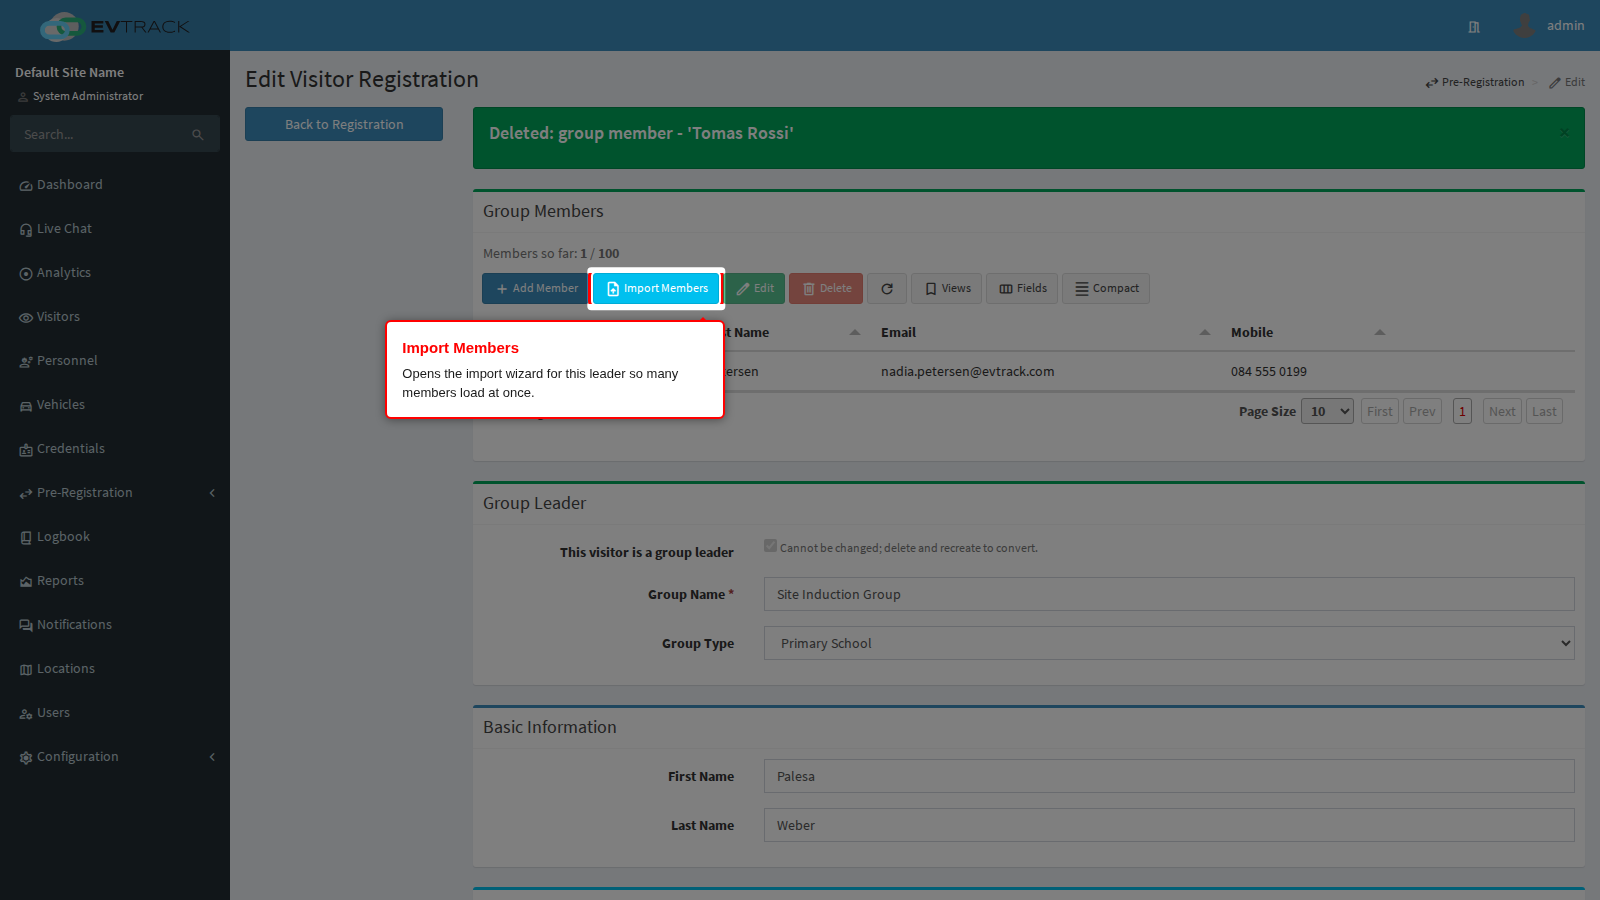
Step 12: Import many members at once
For anything larger than a handful of people, use Import Members next to Add Member at the top of the Group Members panel. The wizard is opened for this leader, so every row in your file joins this group. As with the single member form, host, location, visit reason and visit times come from the leader and cannot be set from the file.
Step 13: Download the template
Click Download Template. The file contains a header row and one worked example, and its columns are exactly the ones the import understands:
| Column | Notes |
|---|---|
| Title | Optional courtesy title |
| First Name | |
| Last Name | |
| ID/Passport Number | |
| Date of Birth | Written as YYYY-MM-DD |
| Nationality | |
| Company | |
| Mobile Number | Include the country code, for example +27 |
| Photo Filename | The image file for this person, when you upload photos with the file |
Which of these are compulsory follows your group member required fields. Keep the header row intact and add one row per person.
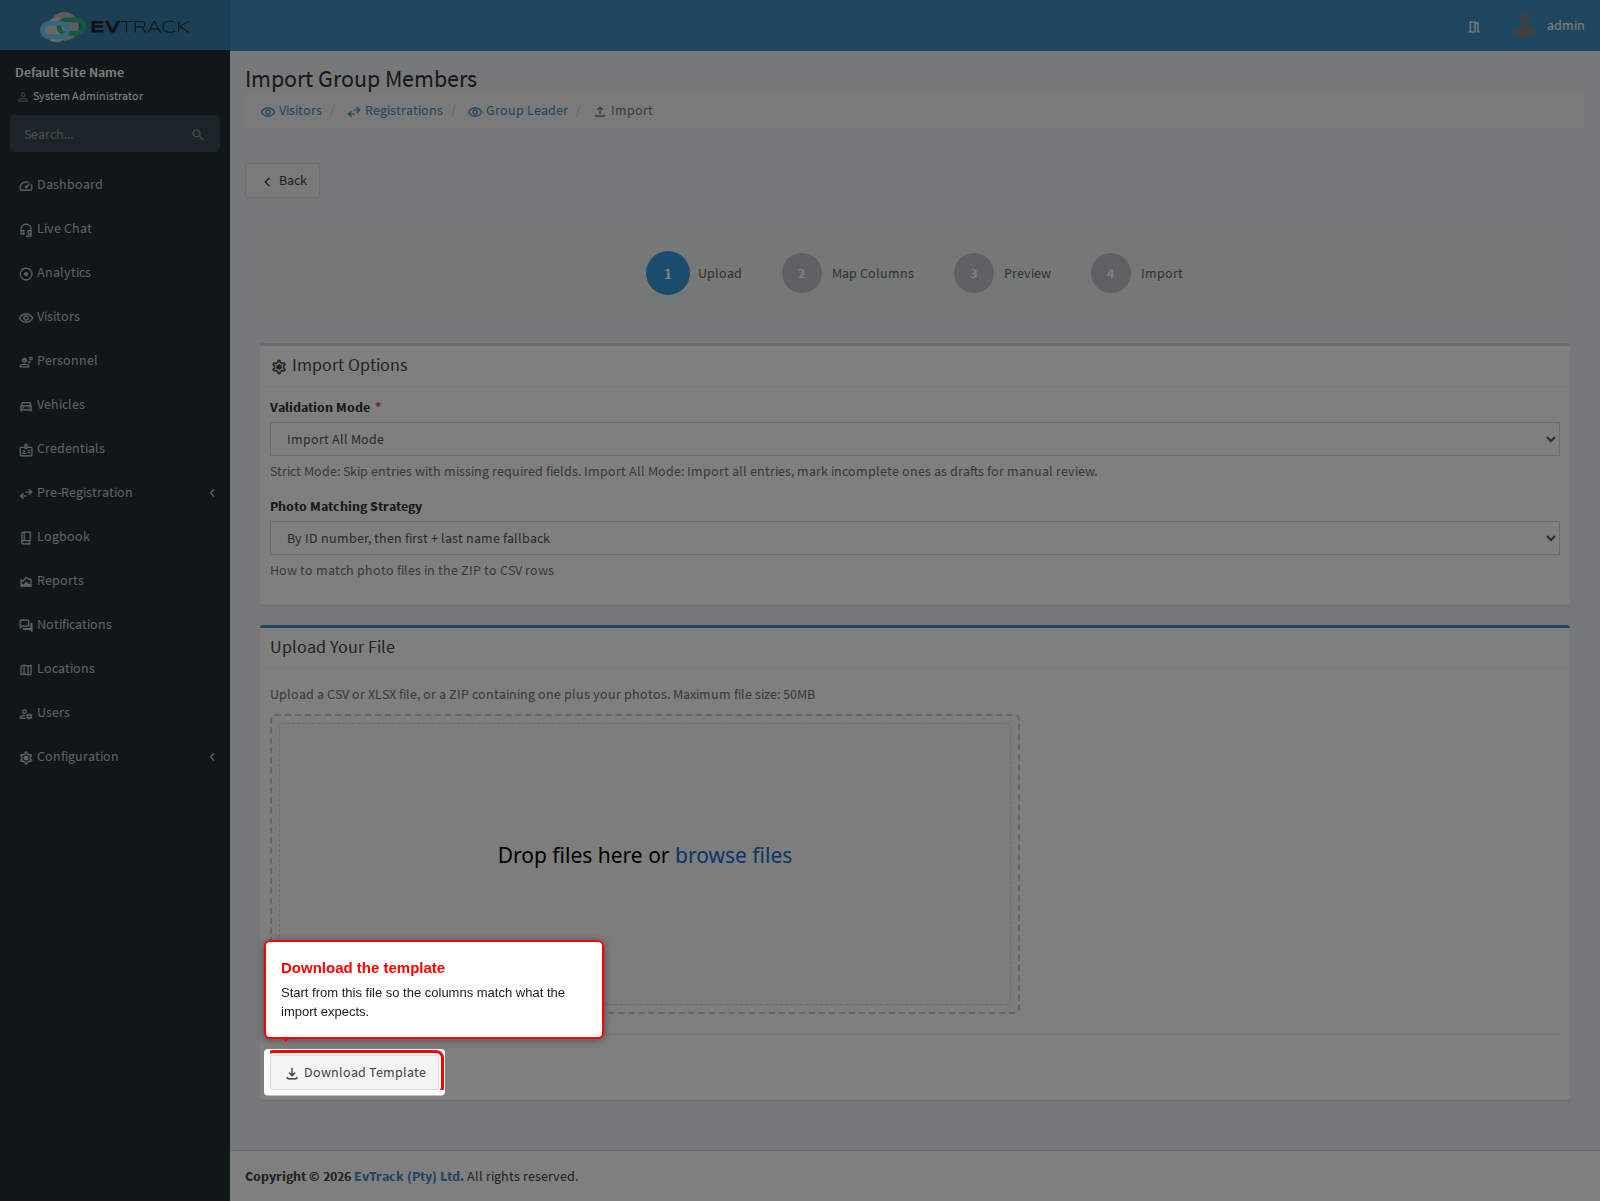
Step 14: Check the import options
Import Options sits beside the upload area.
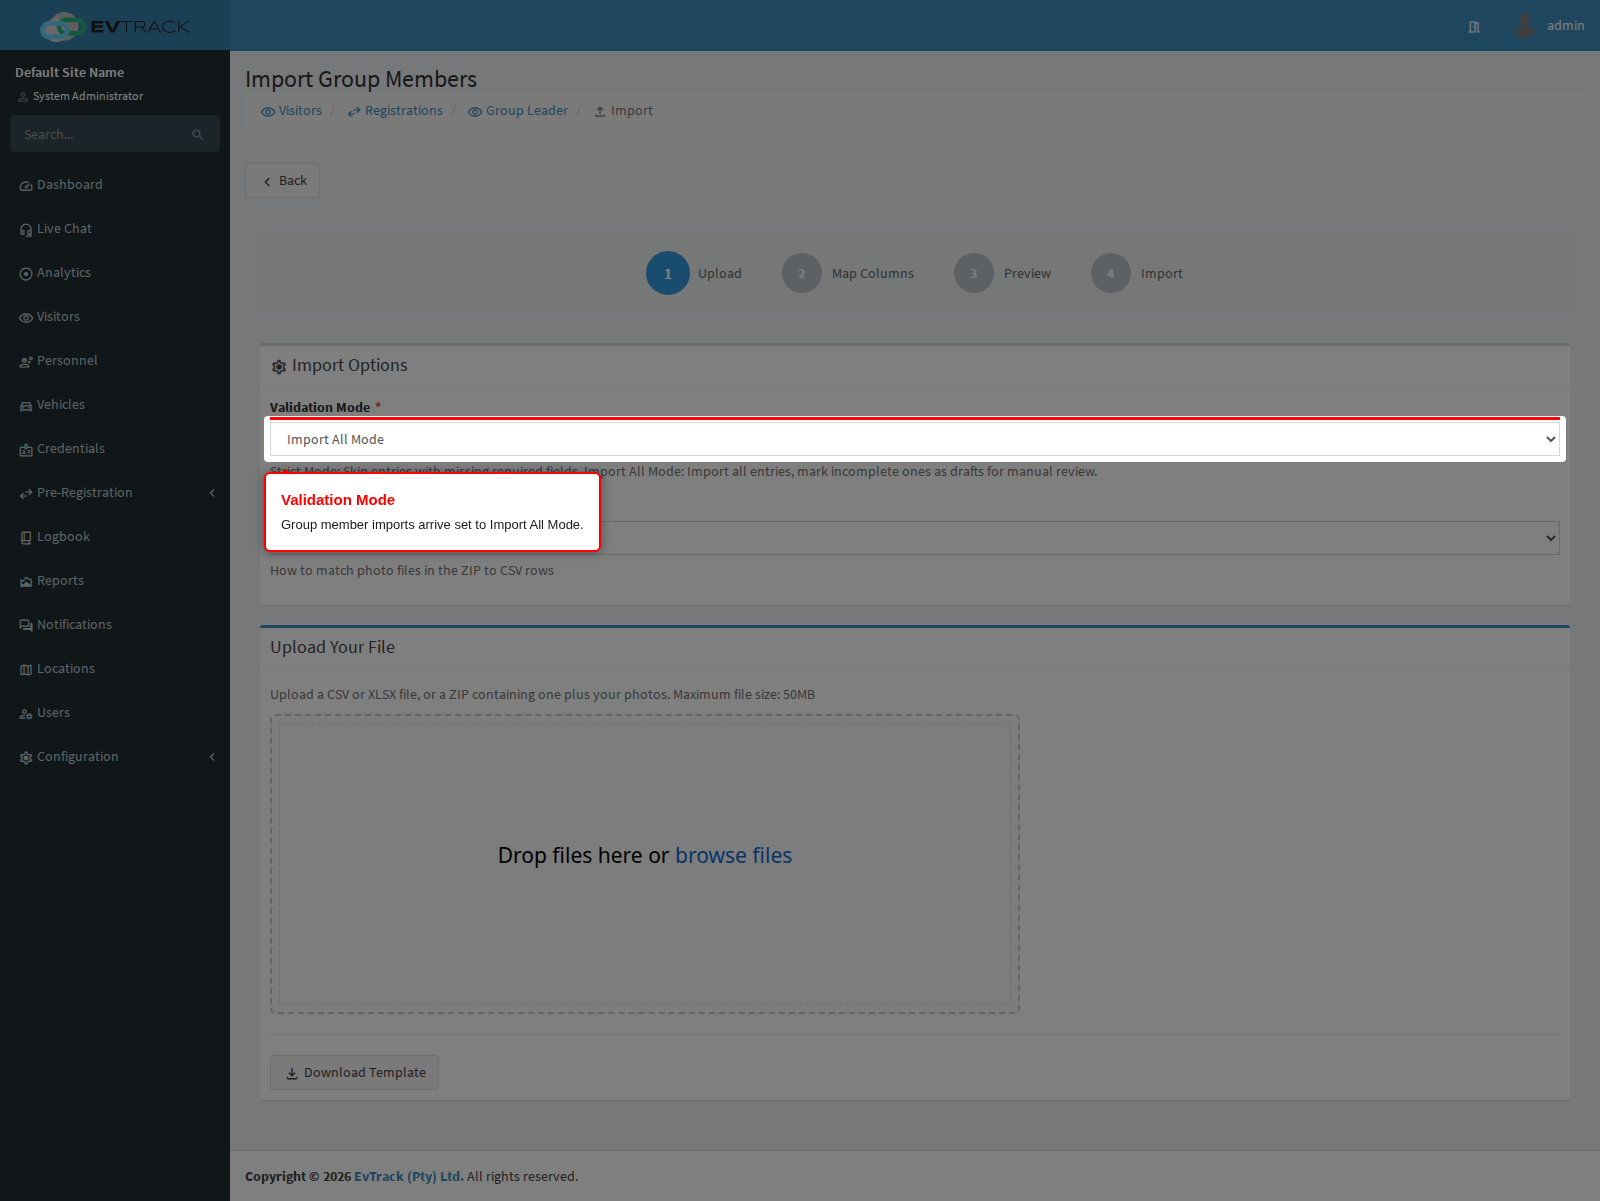
- Validation Mode decides what happens to a row that is missing a required detail. Group member imports arrive set to Import All Mode, which brings the row in and saves it as a draft for you to complete later. Switch it to Strict Mode if you would rather have incomplete rows rejected outright. Note that the visitor registration import defaults the other way round, so check the control rather than assuming.
- Photo Matching Strategy applies when you upload a ZIP containing your file plus the members’ photos instead of a bare spreadsheet. It tells the wizard which image belongs to which row. Preparing that ZIP is covered in Preparing a Photo ZIP.
Neither mode rescues a badly formatted value or a row that duplicates somebody already in the group. Those rows fail and are listed at the end of the run.
Step 15: Upload the file
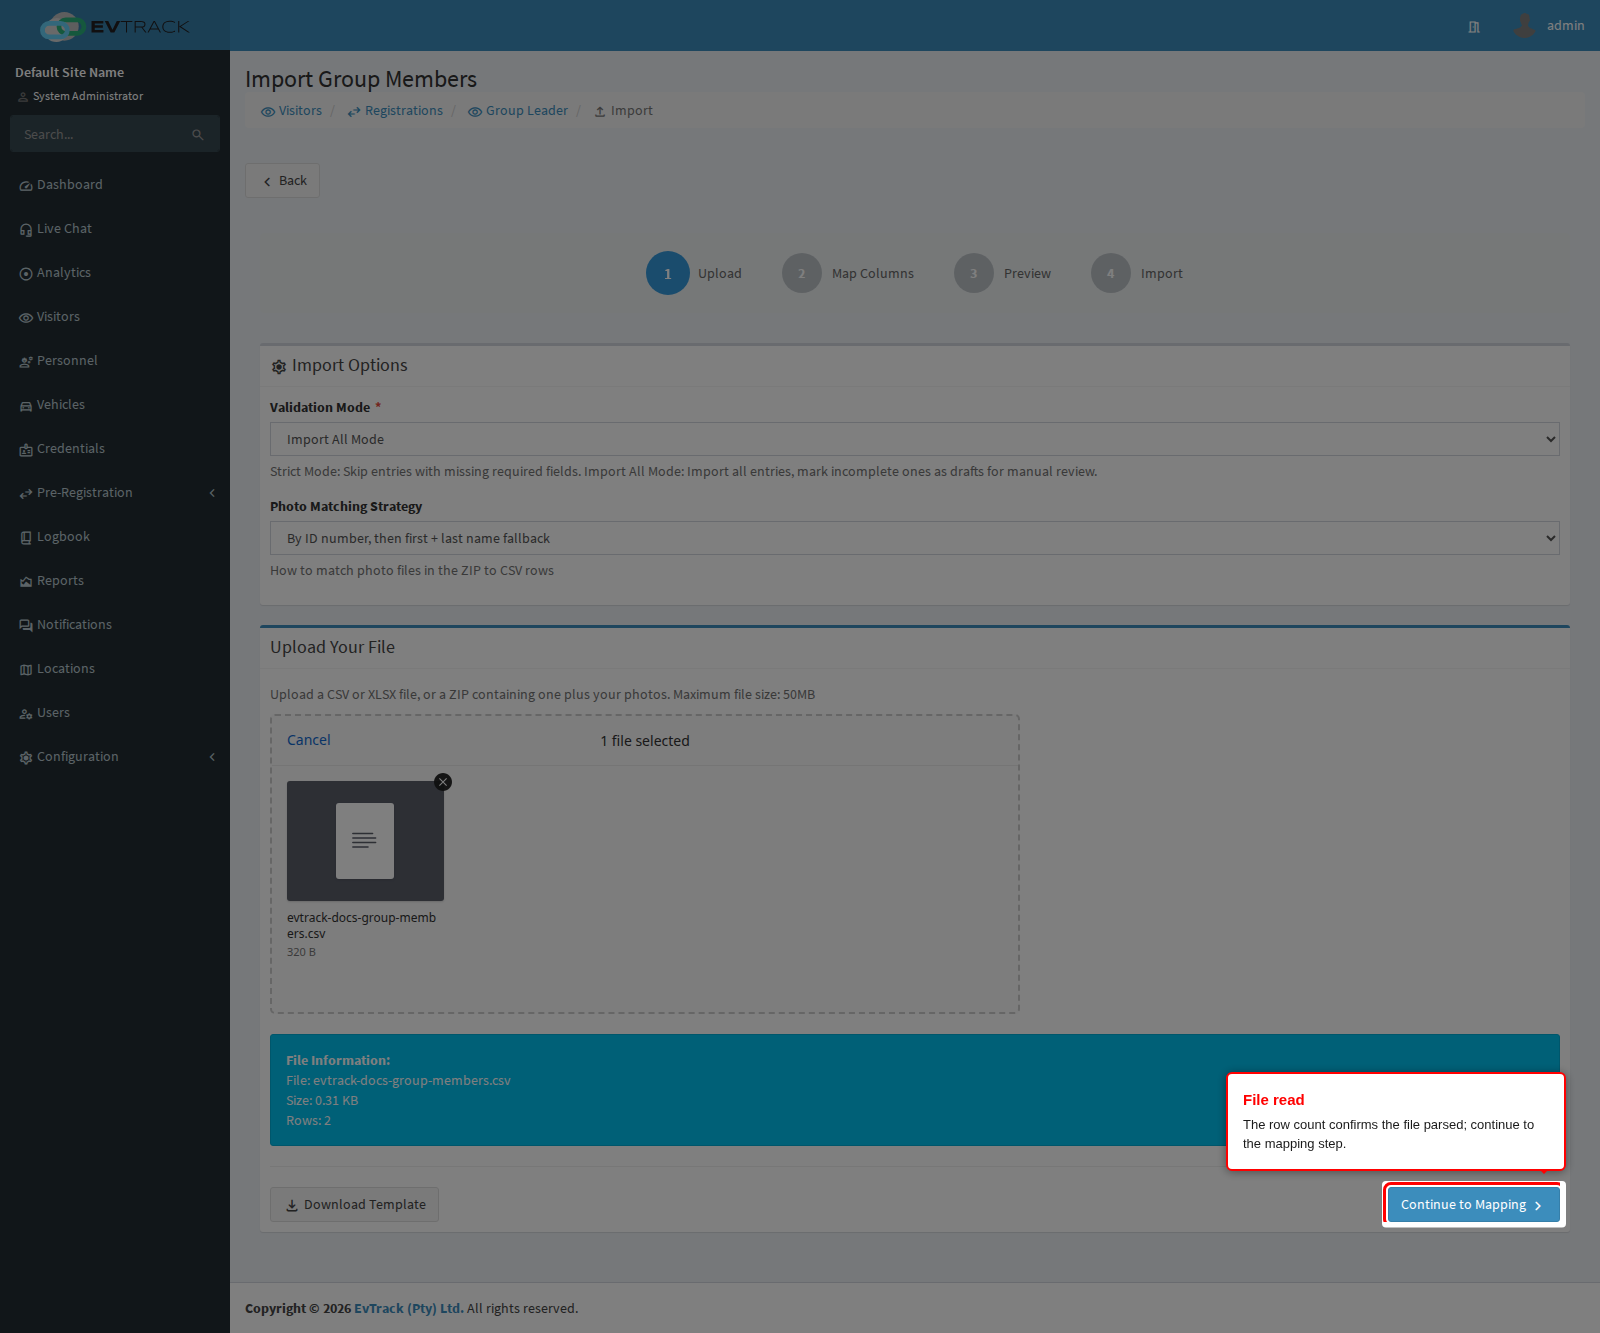
Drop your filled file into the upload area, or click it to browse. Upload the ZIP instead if you are bringing photos along.
End state: the wizard reports the file name, its size and the number of rows it read, and a Continue to Mapping button appears.
Step 16: Map the columns
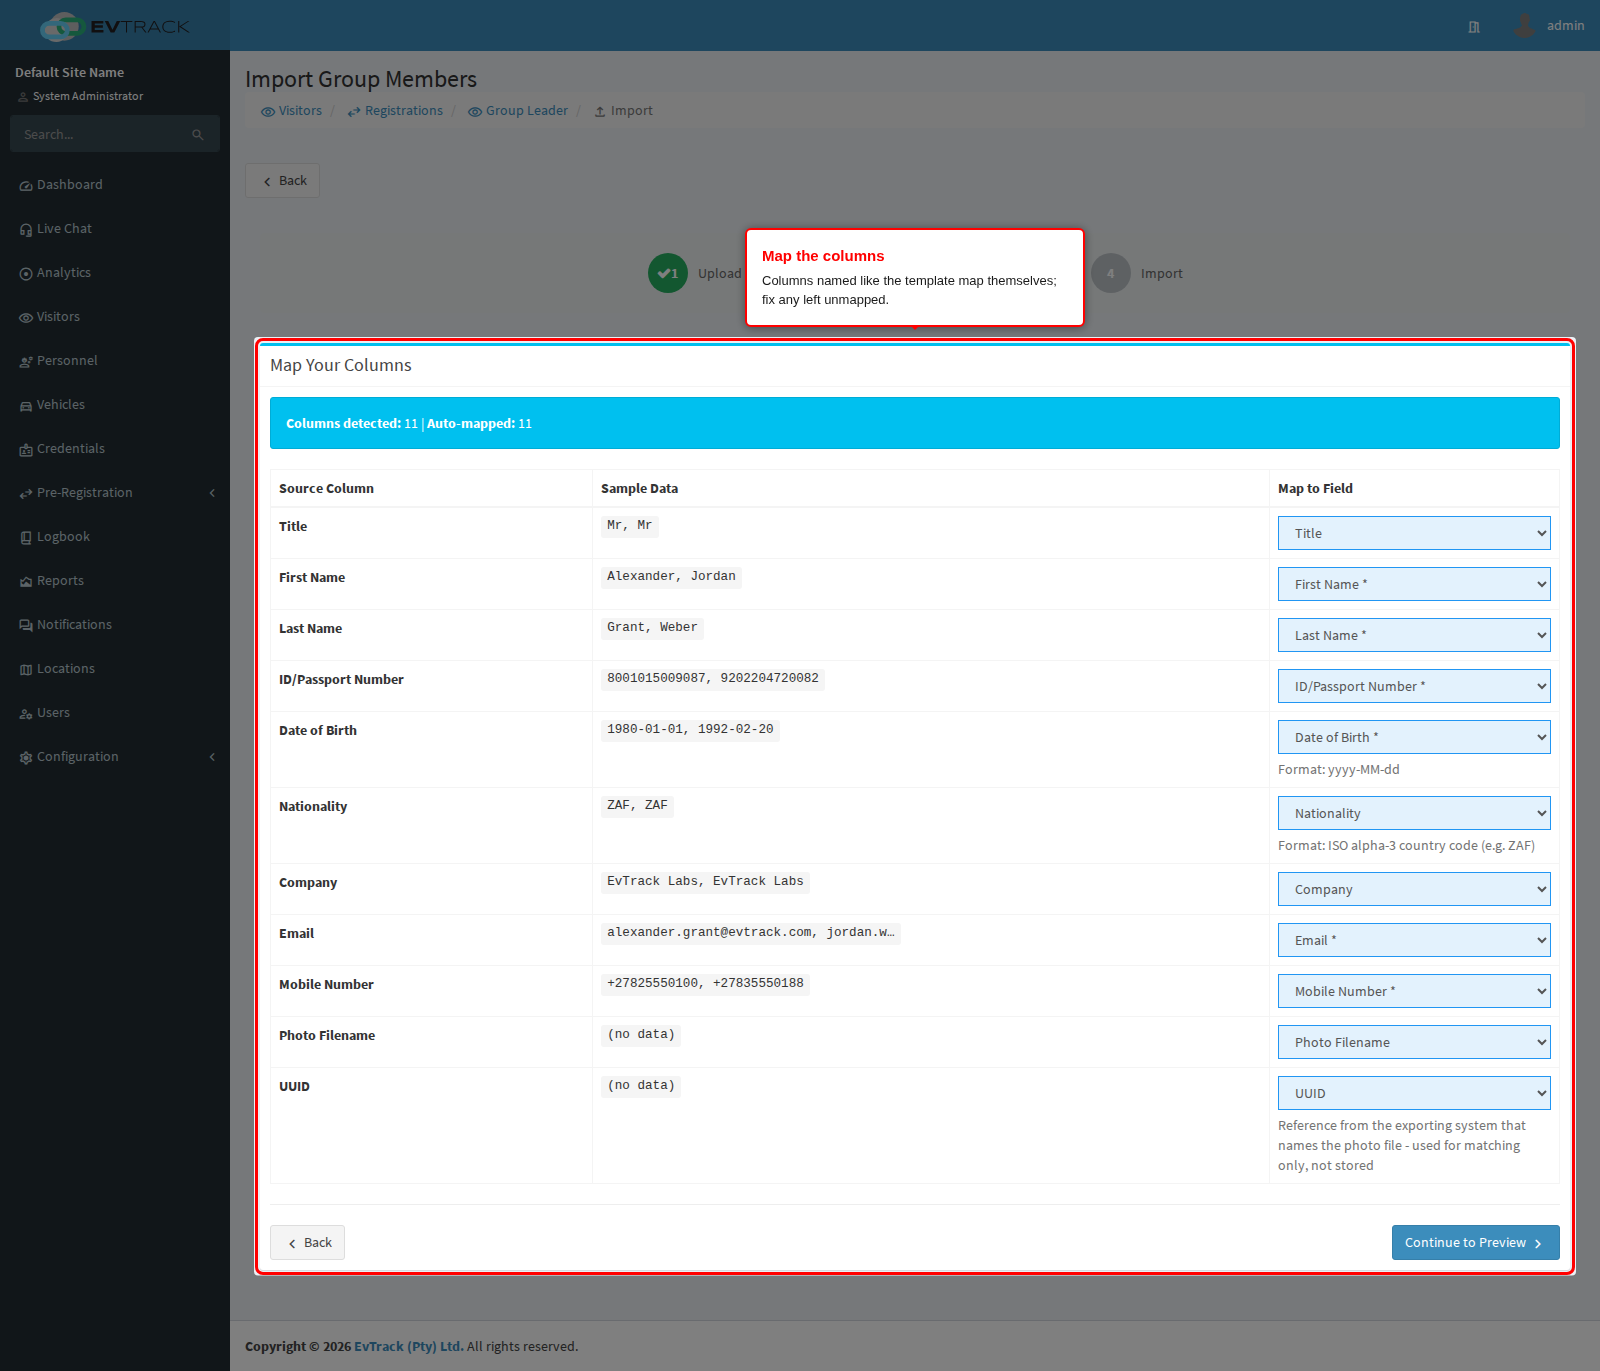
The mapping step lists every column found in your file next to sample data and the field it will be written to. Columns named like the template map themselves. Set any column left unmapped, or leave it unmapped to ignore it, then click Continue to Preview.
Step 17: Preview and run
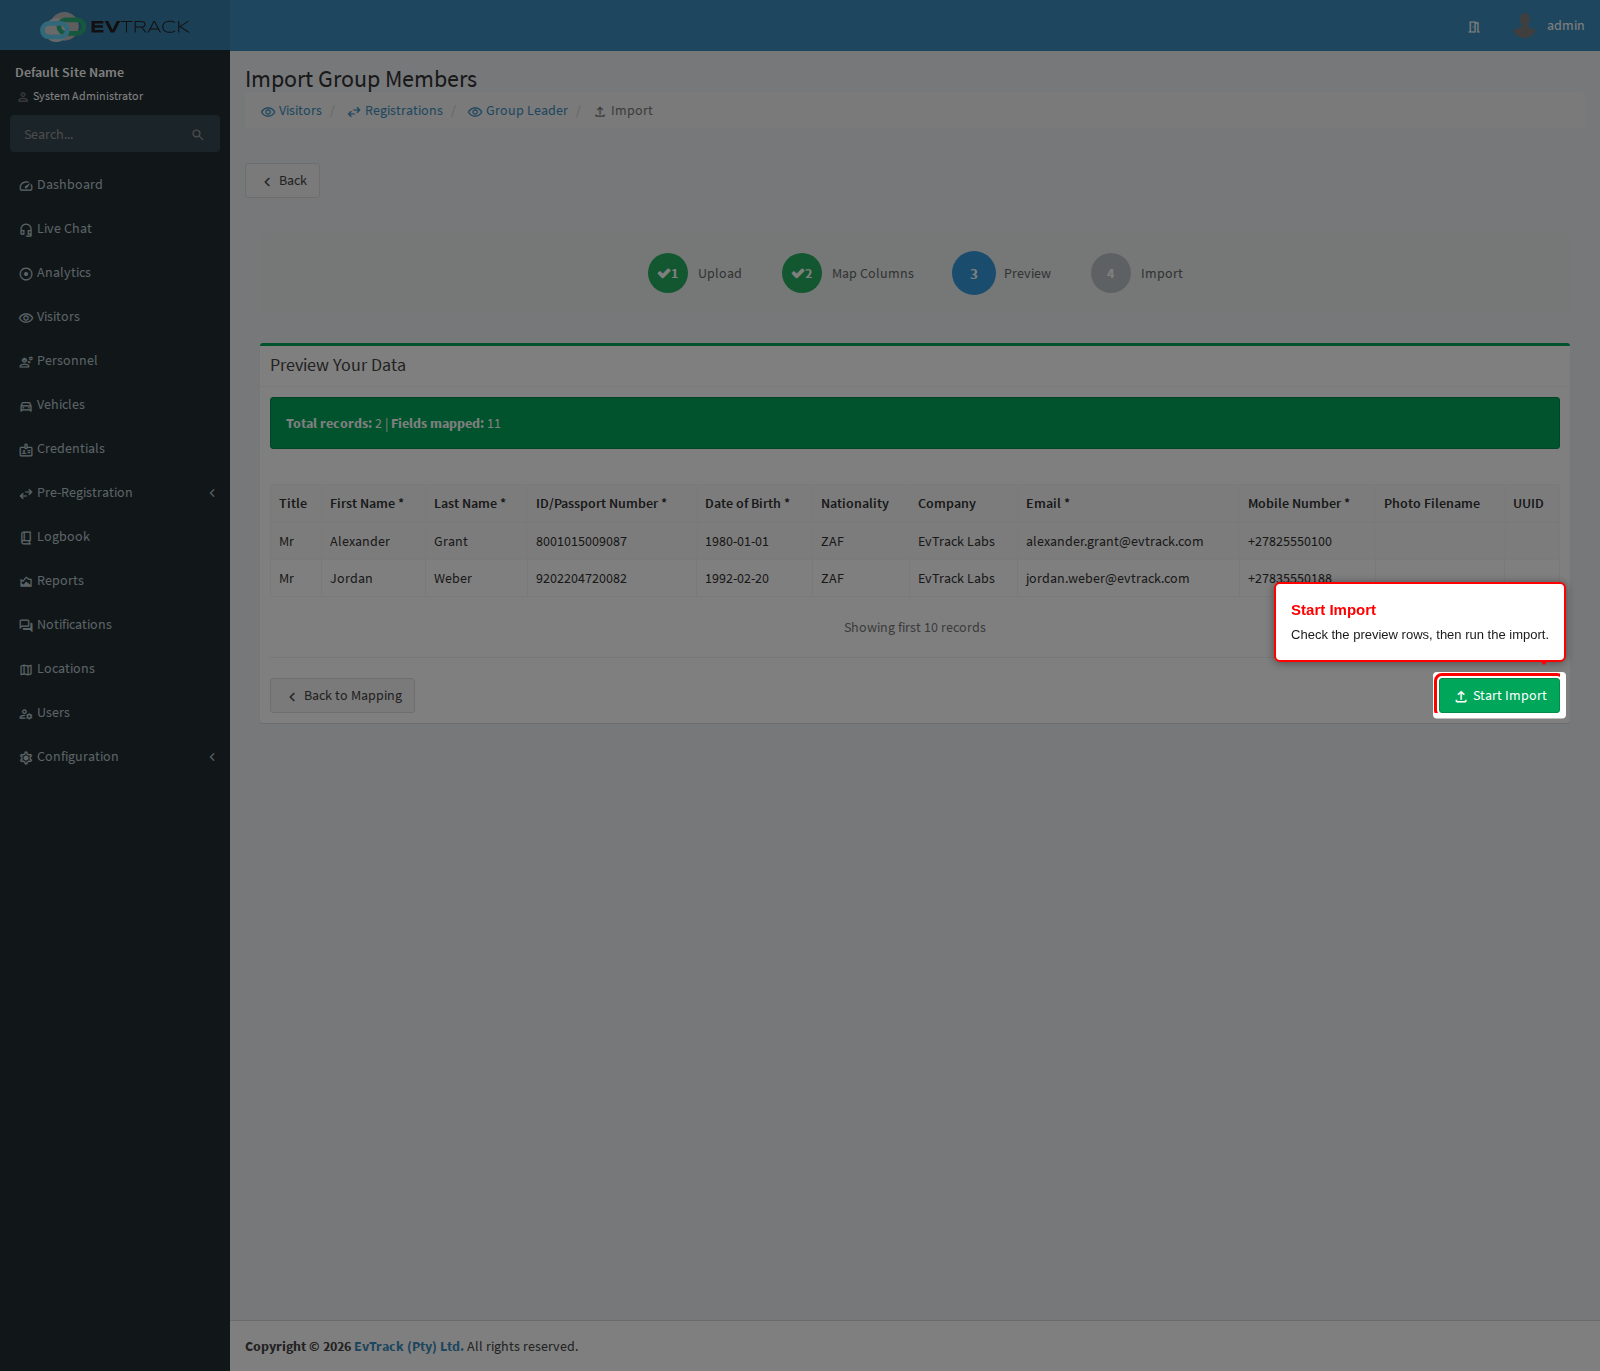
The preview shows the first rows exactly as they will be saved. When it looks right, click Start Import.
Step 18: Read the results
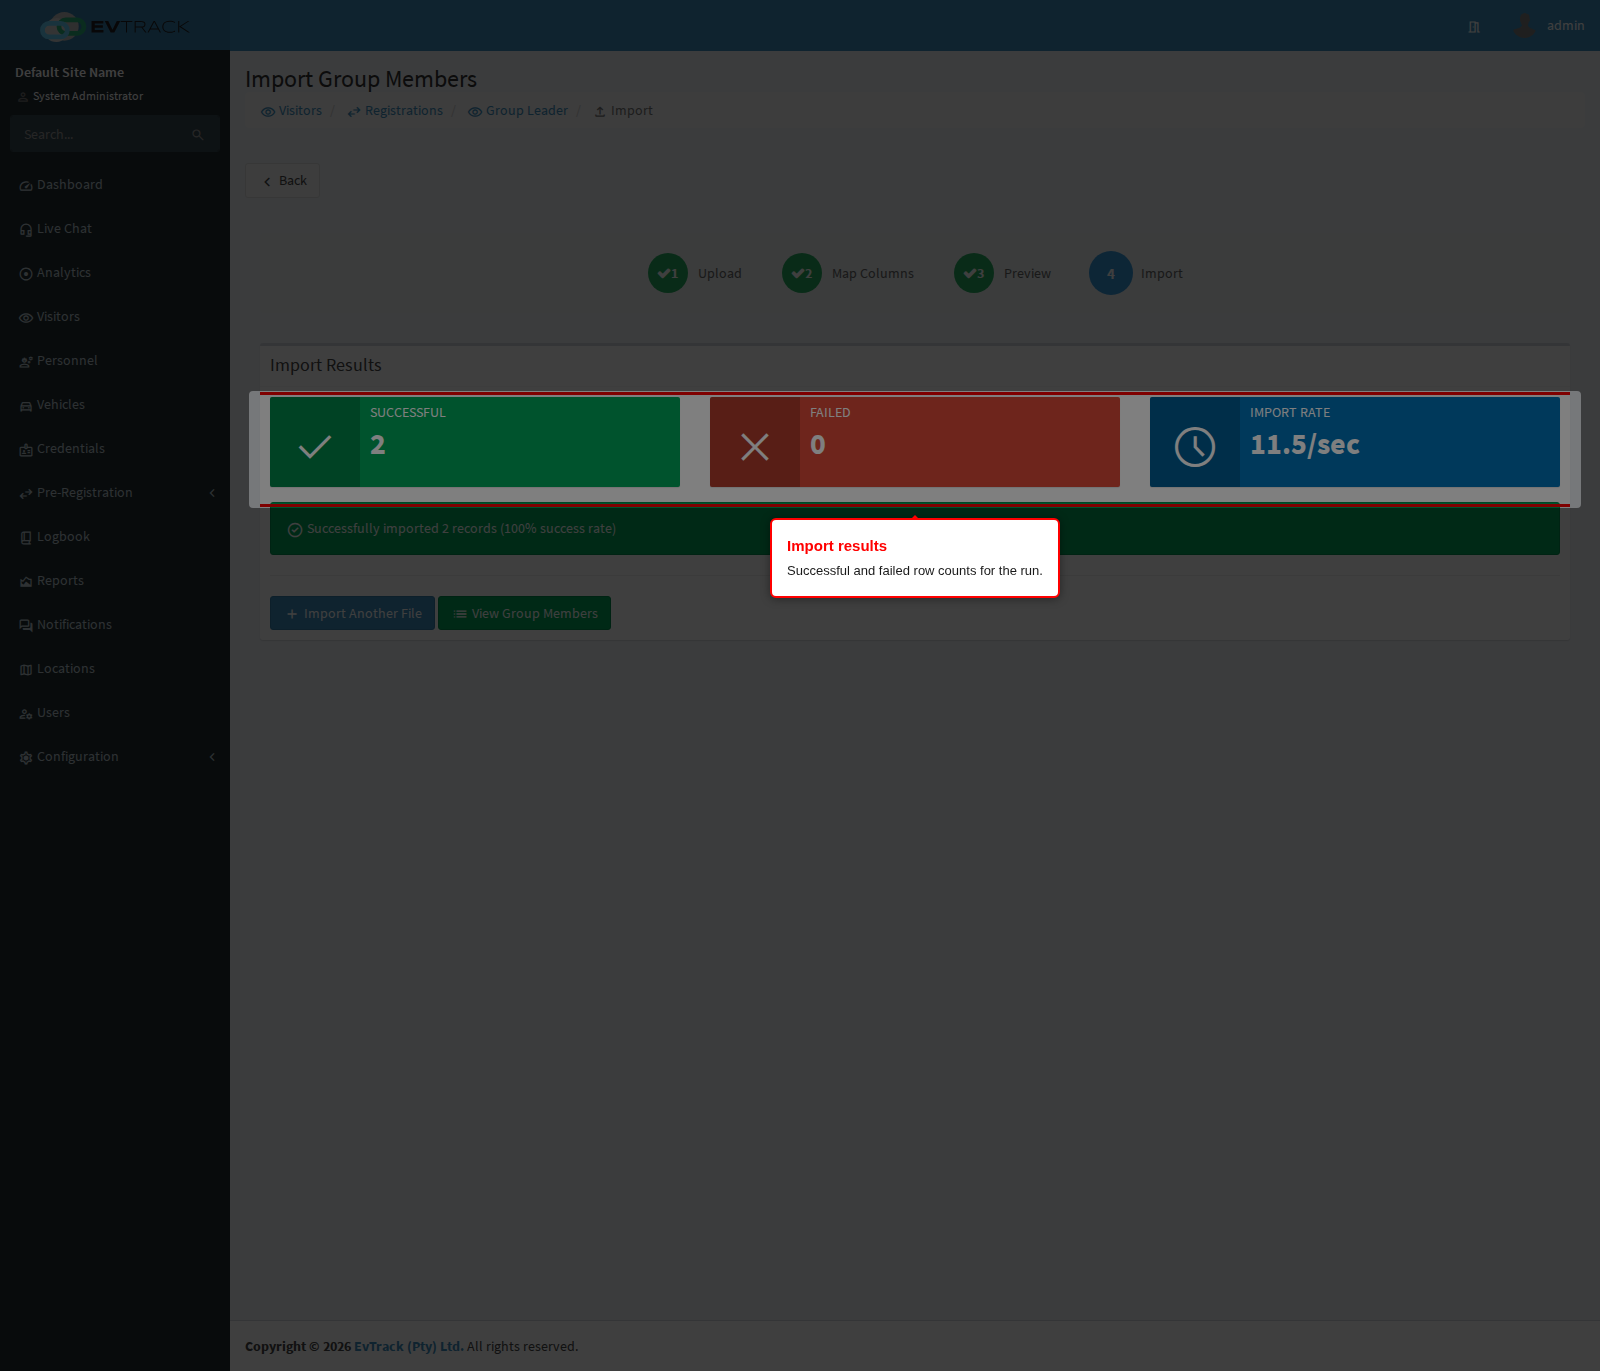
The results panel counts Successful and Failed rows. Rows are imported one at a time, so a failure never blocks the rest of the file. Failed rows are listed with the row number and the reason, and Download Failed Records exports just those rows so you can correct and upload them again.
Two things to check after a run:
- An import can take a group past its expected size. The counter above the members table is a guide, and the import does not stop at it, unlike adding members one at a time.
- Rows saved as drafts count as successful. After an Import All run, open the members and complete anything left half captured.
Step 19: Back to the members table
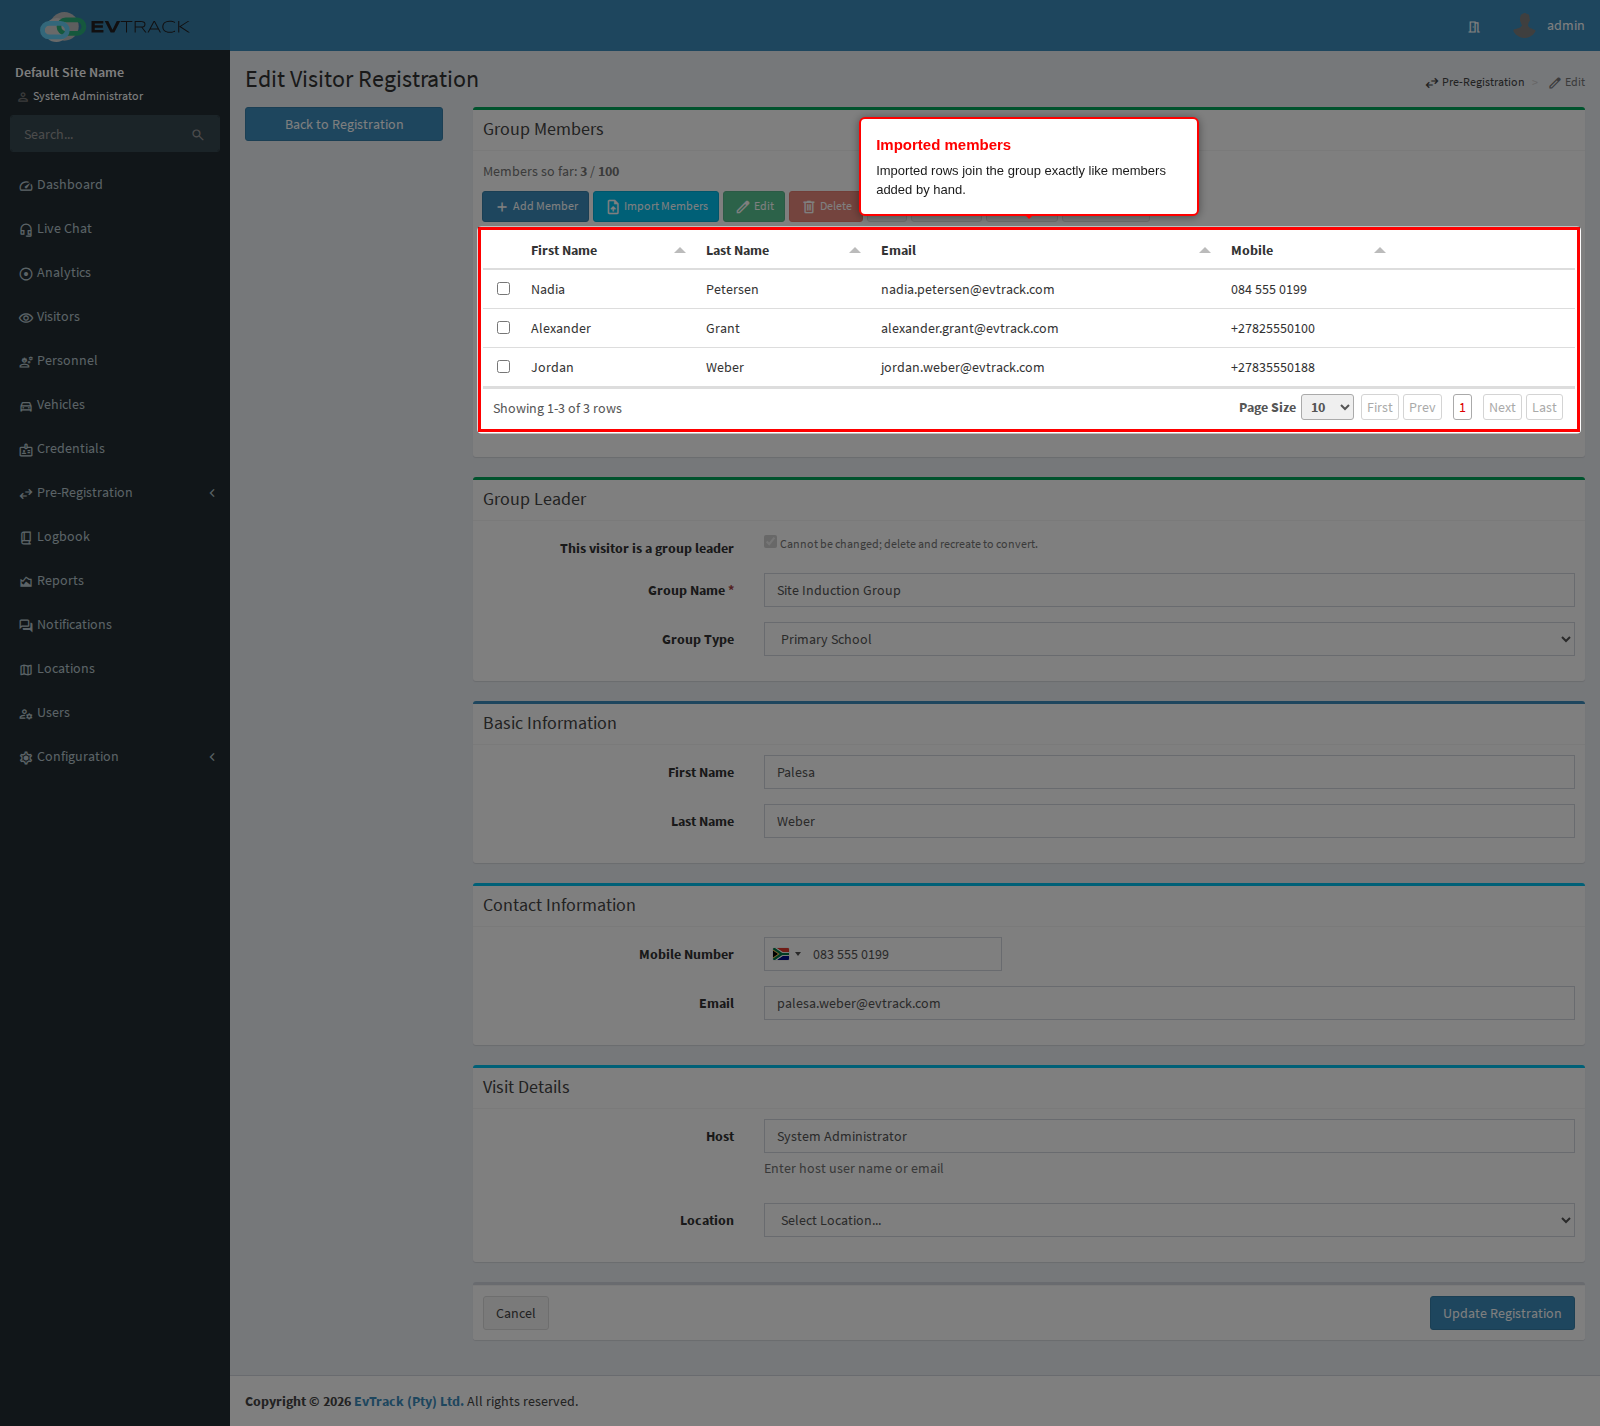
Click View Group Members on the results panel to return to the leader’s registration. Imported members sit in the table alongside the ones captured by hand and behave identically from here on.
Processing the group
Members are not processed individually: the group is approved or declined through the leader. Approving the leader approves every member with them, and declining the leader deletes the whole group. That cascade, along with the manager review path, is documented in Approval Workflow.
See also
- Group Pre-Registration for the visitor-facing flow, where the leader captures the group themselves.
- Importing Data for how the import wizard works across the rest of the system.
- Preparing a Photo ZIP for bringing member photos in with the file.
- Approval Workflow for approving, declining and the group cascade.
Note: members belong to their leader. Deleting the leader’s registration deletes the group with it. Members listed on a leader were either added by an operator, imported, or captured by the leader through the public group flow.