A visit pass permit is the printable A4 document a visitor can be asked to carry: their name, the dates the visit runs, a reference number, the vehicle they arrived in, and a QR code that matches the one on their pass. Sites that hand out paper at the checkpoint, or that need a contractor to show a permit to a supervisor on site, deliver this document alongside the electronic pass.
This page decides what that document looks like: the logo printed on it and which layout renders it. It does not decide whether the document is delivered. That is two switches on other panels, and they are covered at the end of this chapter.
Before you start: you need an operator account with settings permissions. Nothing else has to exist first; the built-in English layout works out of the box, so a permit is printable from the moment you turn on delivery.
What is affected: the layout and logo are read at the moment a permit is generated, which means every permit produced from now on. Documents that were already emailed or downloaded keep the layout they were built with; re-download a visit’s permit to get the new one.
Step 1: Open the Visit Pass Permit settings
Open Configuration in the sidebar, click Visitor Settings, and click the Visit Pass Permit tile.
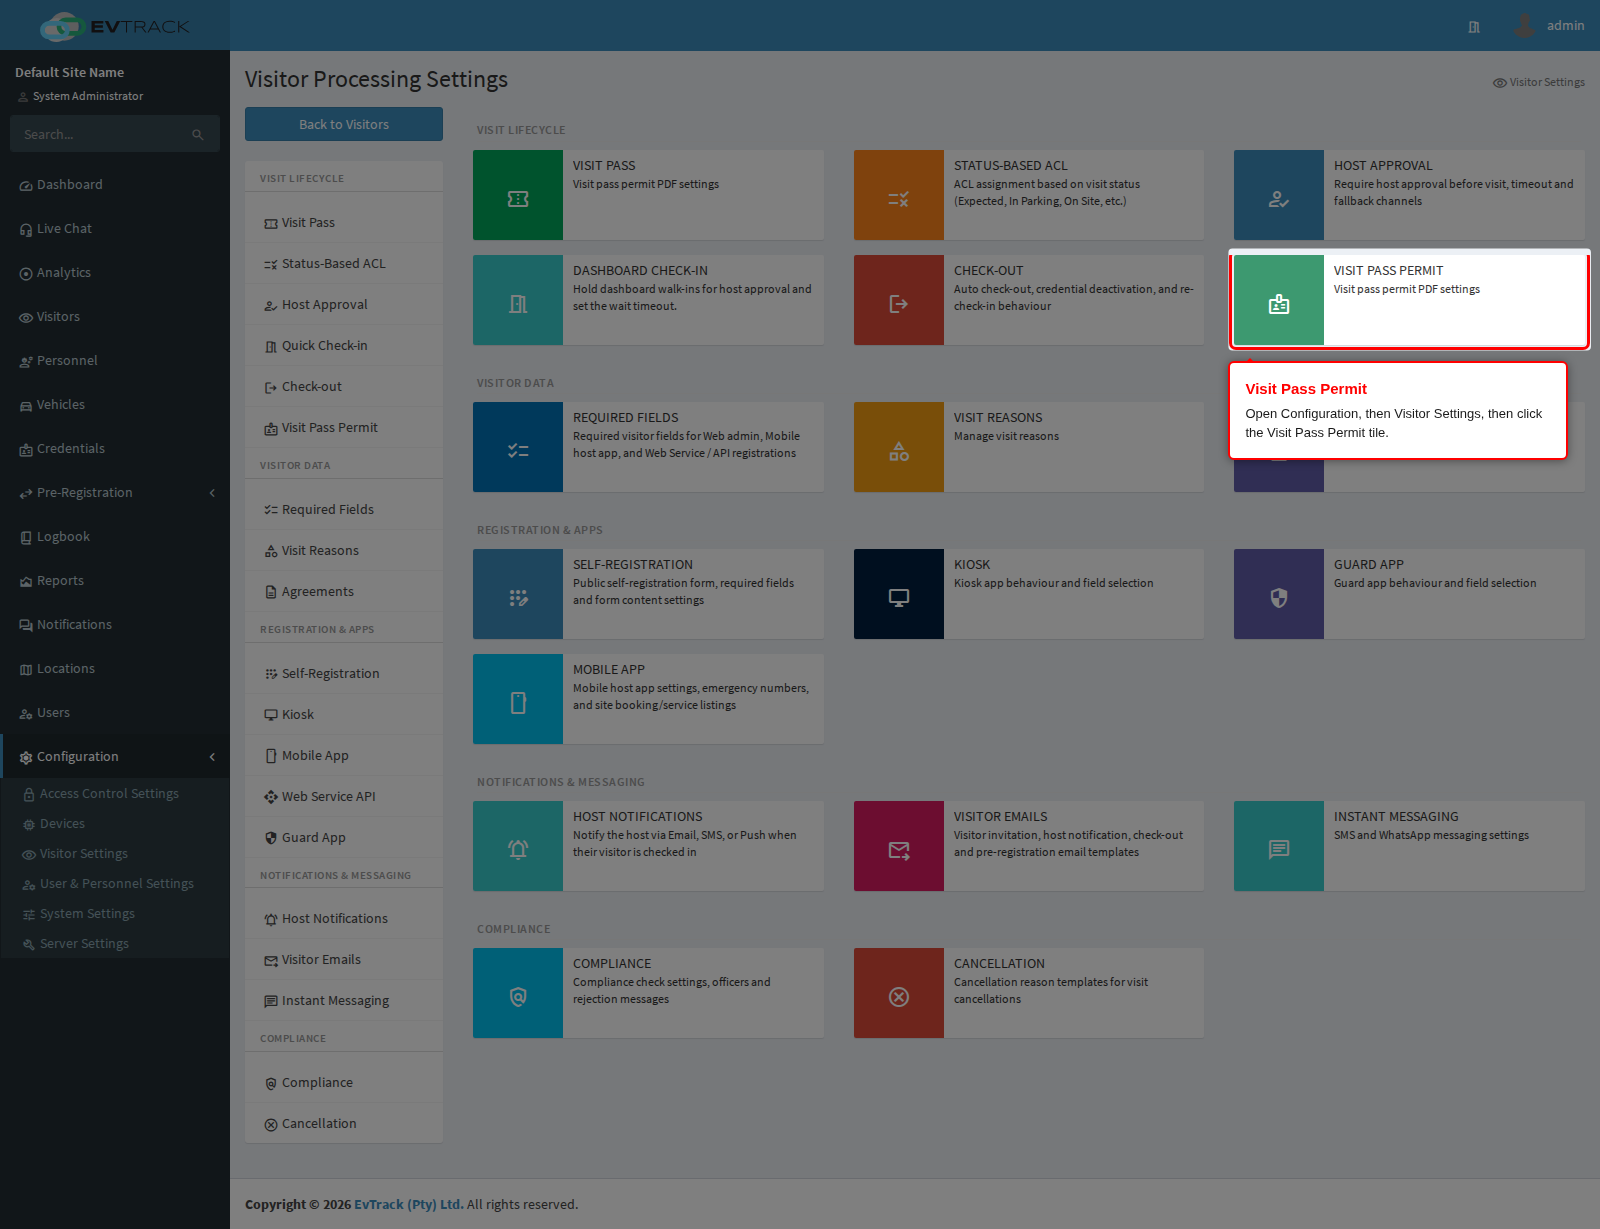
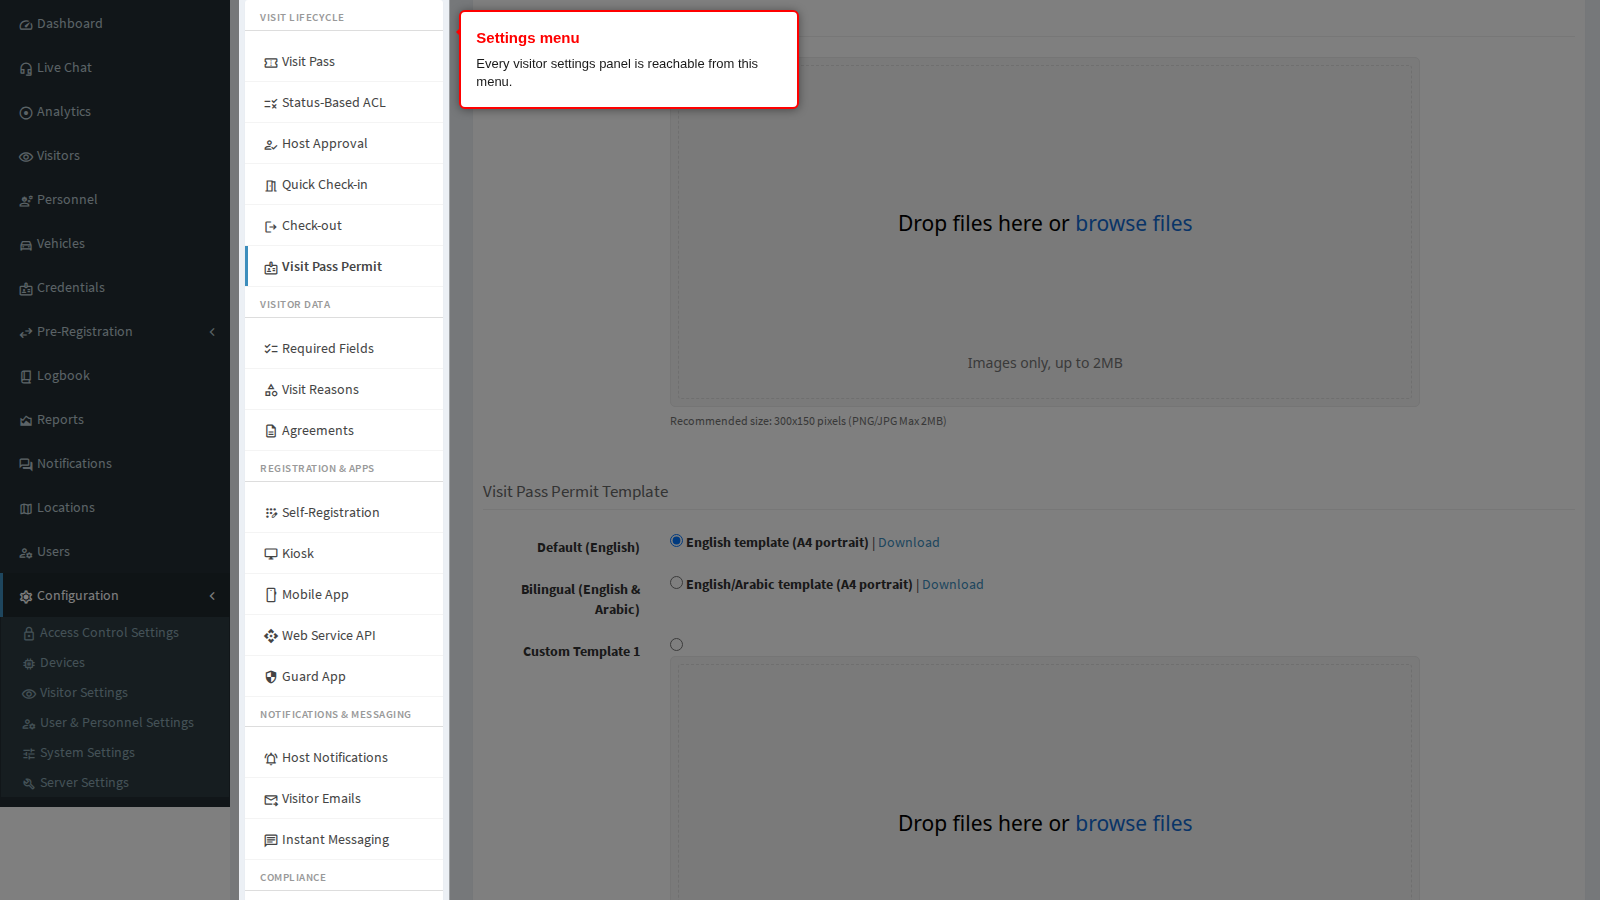
End state: the Visit Pass Permit PDF Settings panel opens. The menu on the left remains visible so you can move to any other visitor settings panel without going back to the tiles.
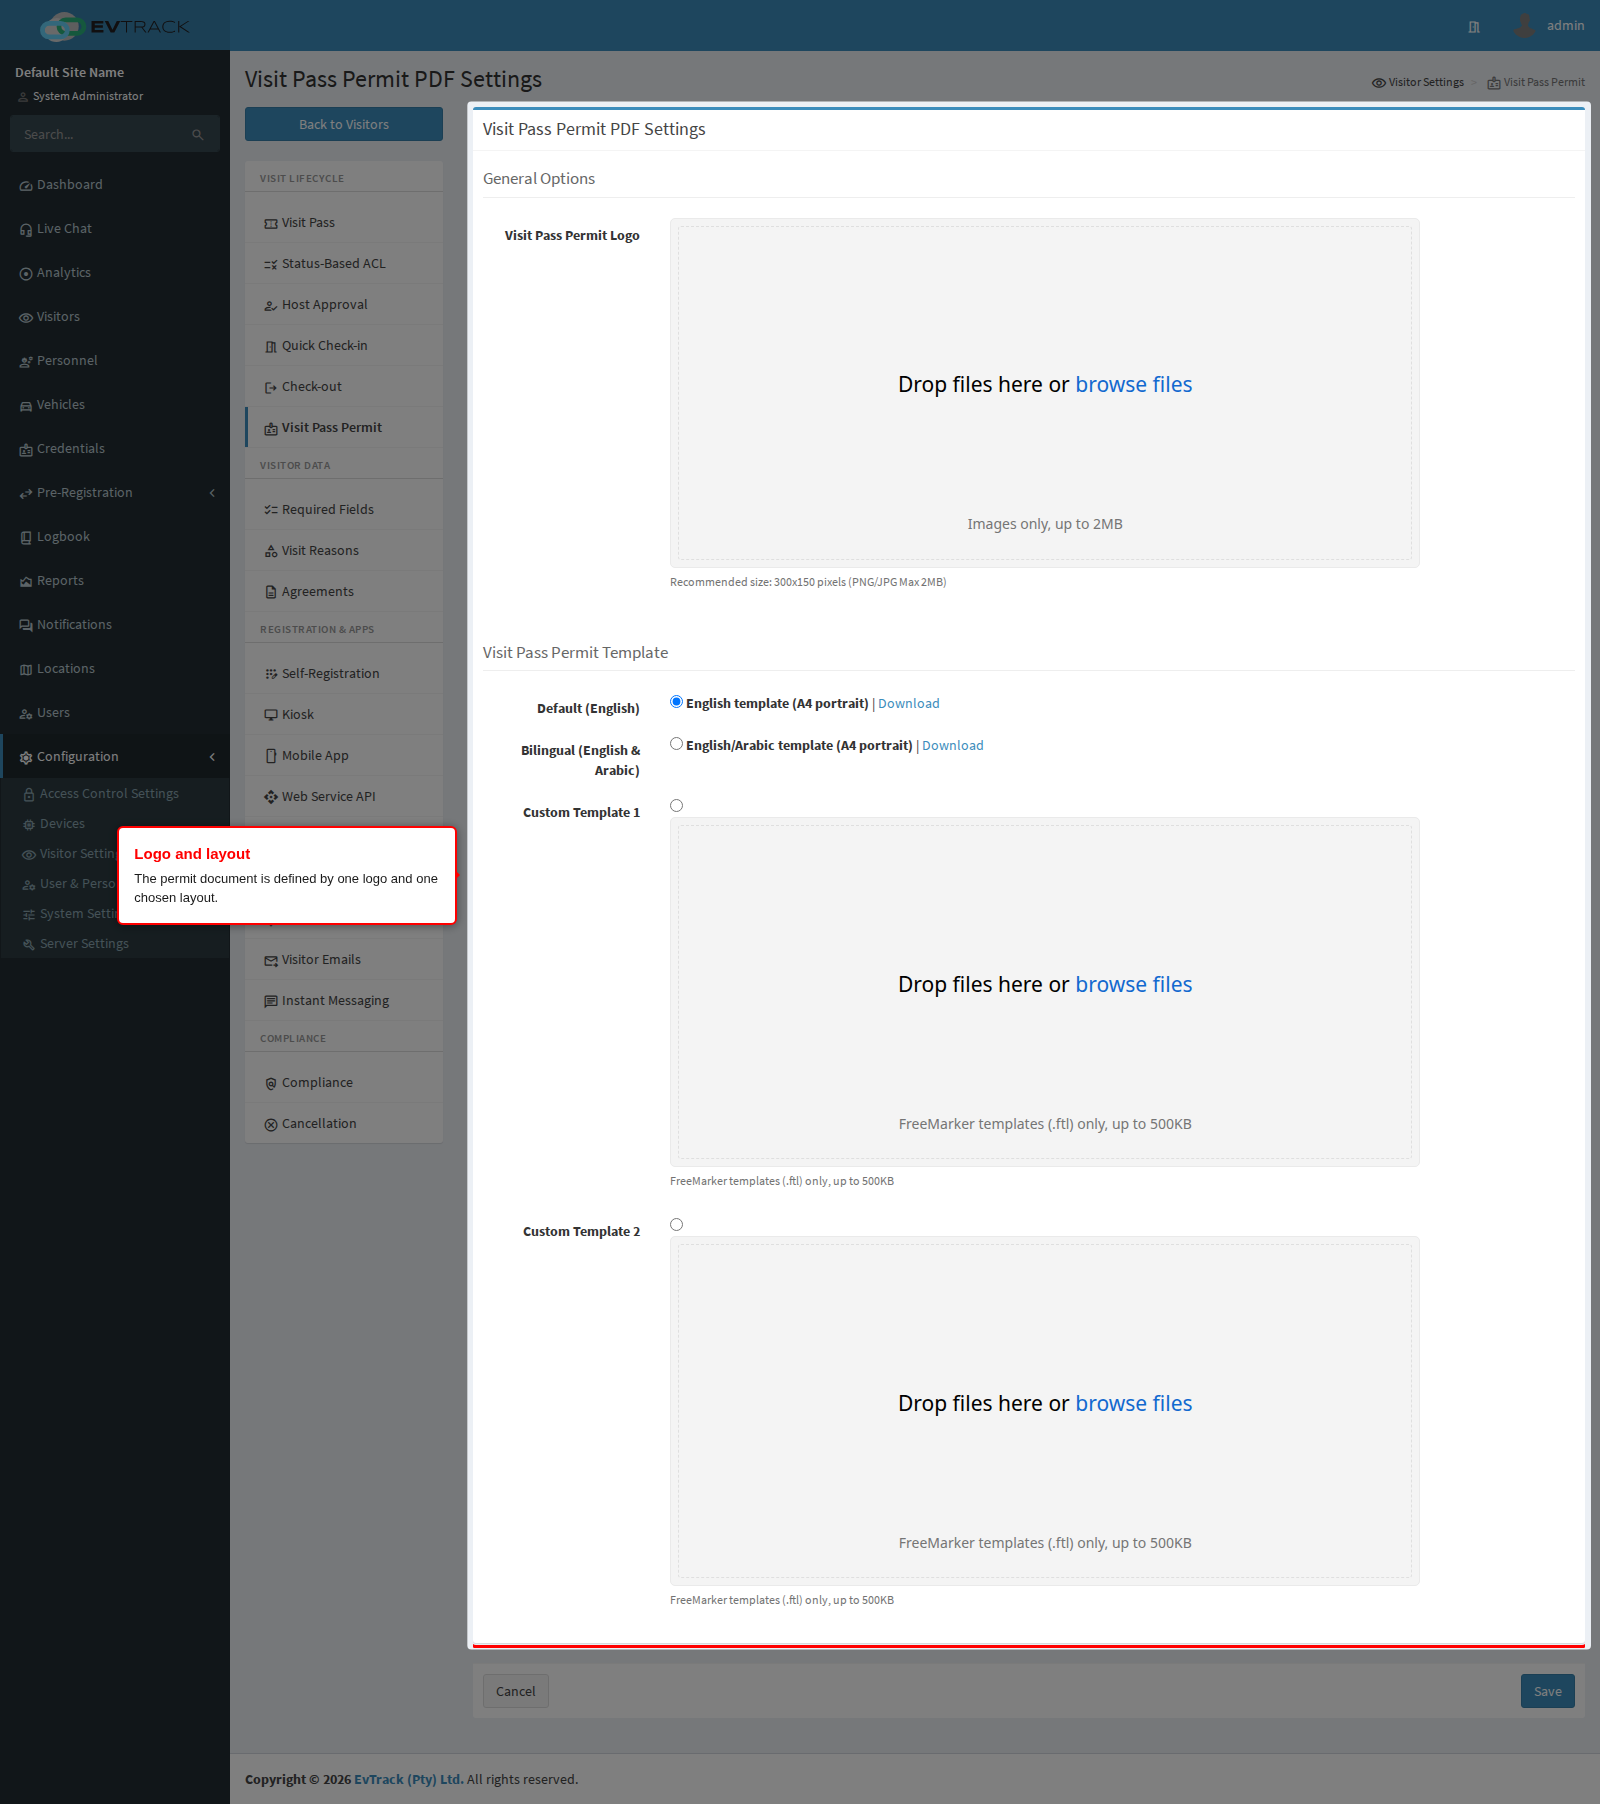
The panel has two groups: General Options, which is the logo, and Visit Pass Permit Template, which is the choice of layout.
Step 2: Upload the permit logo
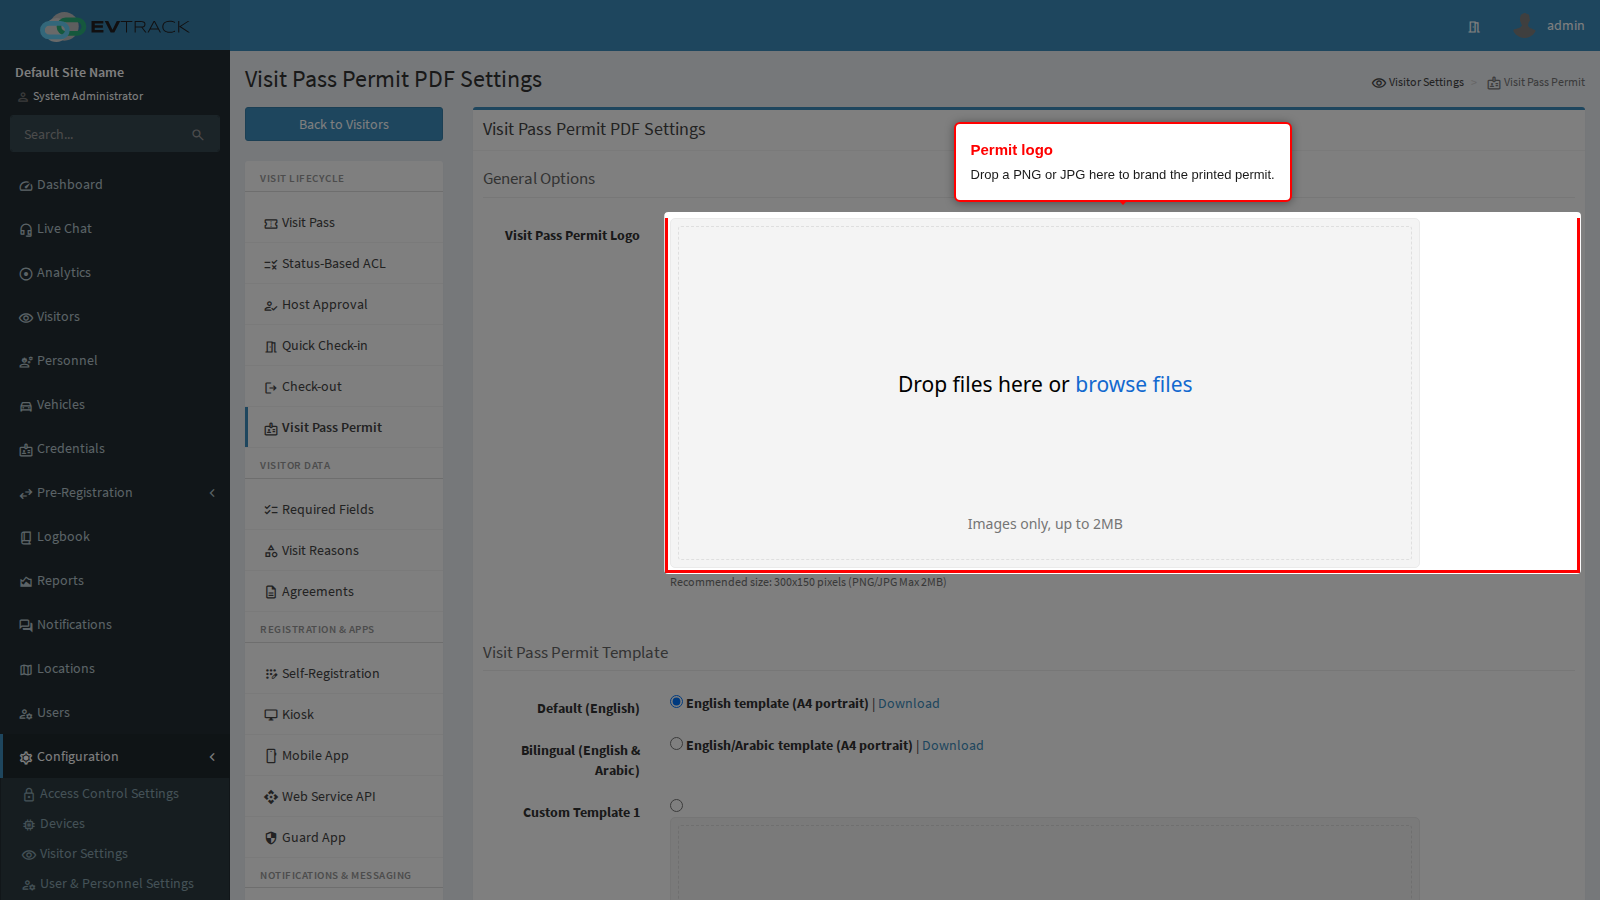
Visit Pass Permit Logo is the image printed at the top of the permit. Drag a file onto the dropzone or click it to browse. PNG and JPG are accepted, up to 2MB, and about 300 by 150 pixels reproduces well on paper. The image is stored exactly as you supply it, without resizing, so crop it to the shape you want before uploading.
The capture below shows the dropzone with no logo stored, which is how it looks on a fresh system. Once a logo is saved, the dropzone shows that file whenever you reopen the page; remove it there and save to go back to no logo.
If no permit logo is set, the permit falls back to your system logo. That is often the right answer, and the reason to set one here is when the permit needs different branding from the rest of the product, for example a site-specific or contractor-facing mark.
Step 3: Choose the layout
Exactly one of the four layouts is active at a time. Two are built in and two are slots you fill yourself.
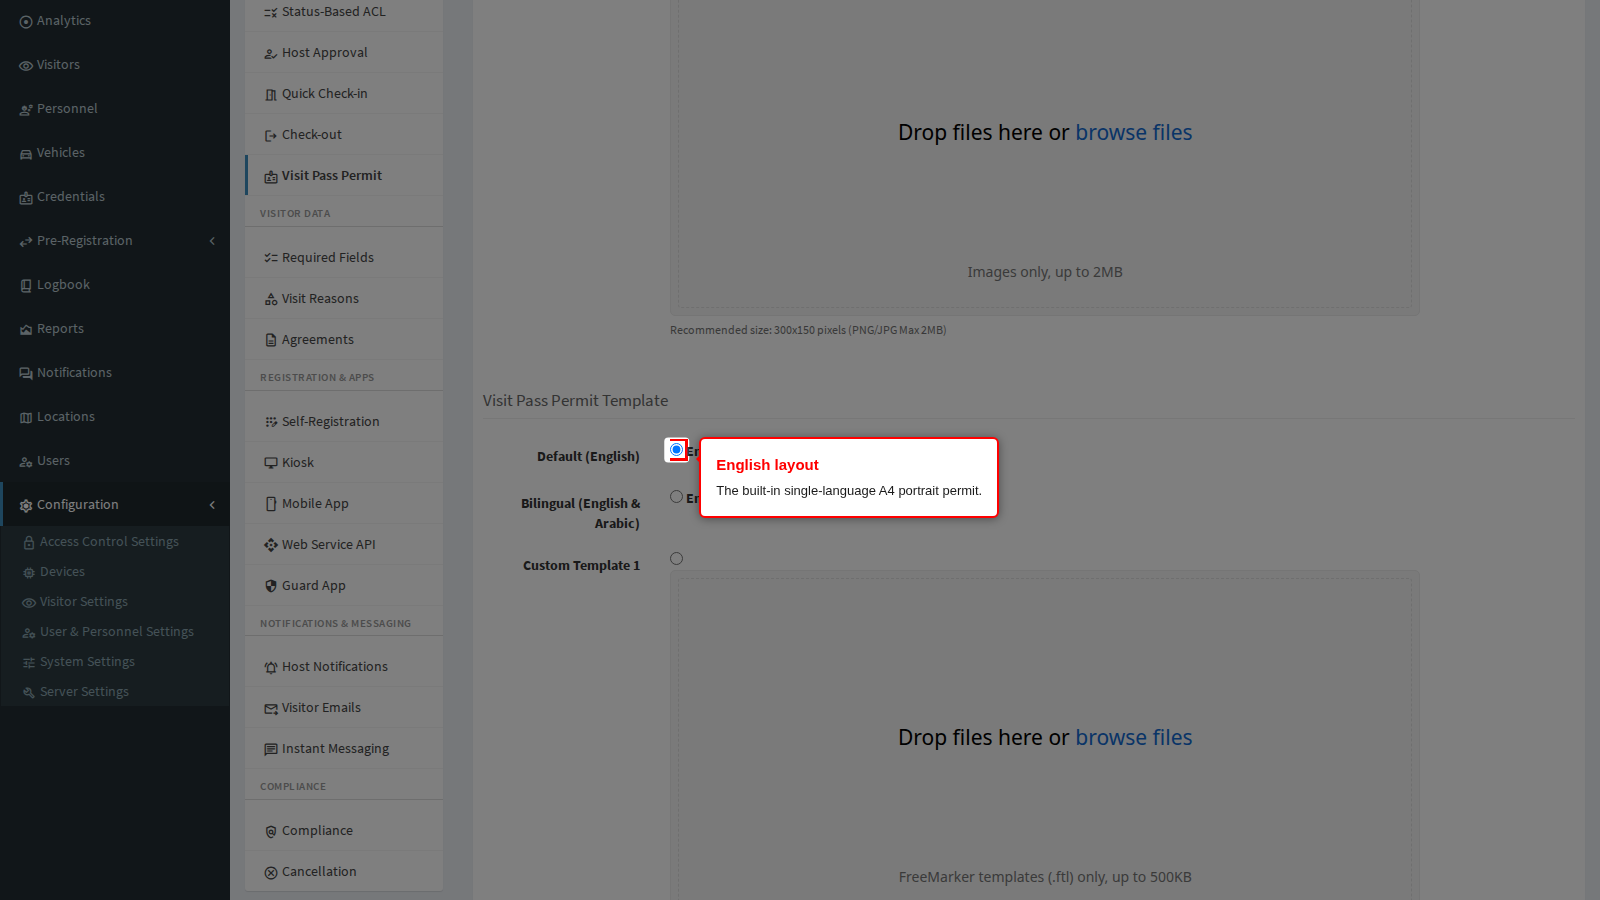
Default (English) is the built-in single-language A4 portrait permit, and it is what a new system uses. It carries the visitor name, the visit window, the reference number, the vehicle registration and the QR code.
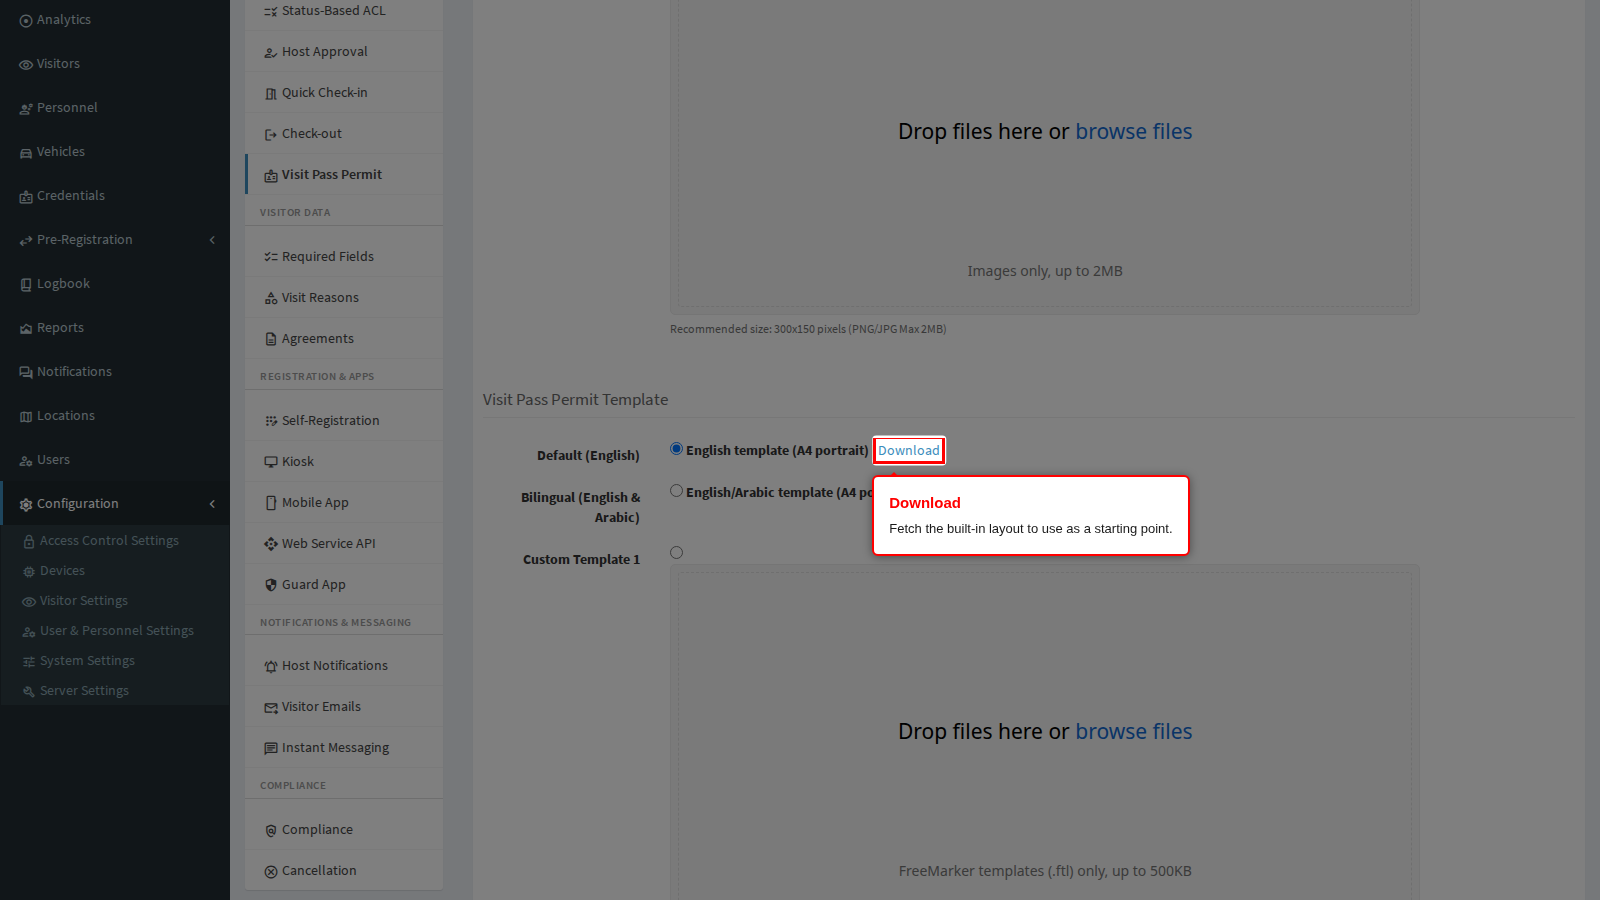
Next to each built-in layout is a Download link. Use it to fetch the layout file itself, which is the sensible way to start a customised version: download the built-in one, edit it, and upload the result into one of the custom slots. Building a layout from nothing means re-deriving the page geometry and the field names for no benefit.
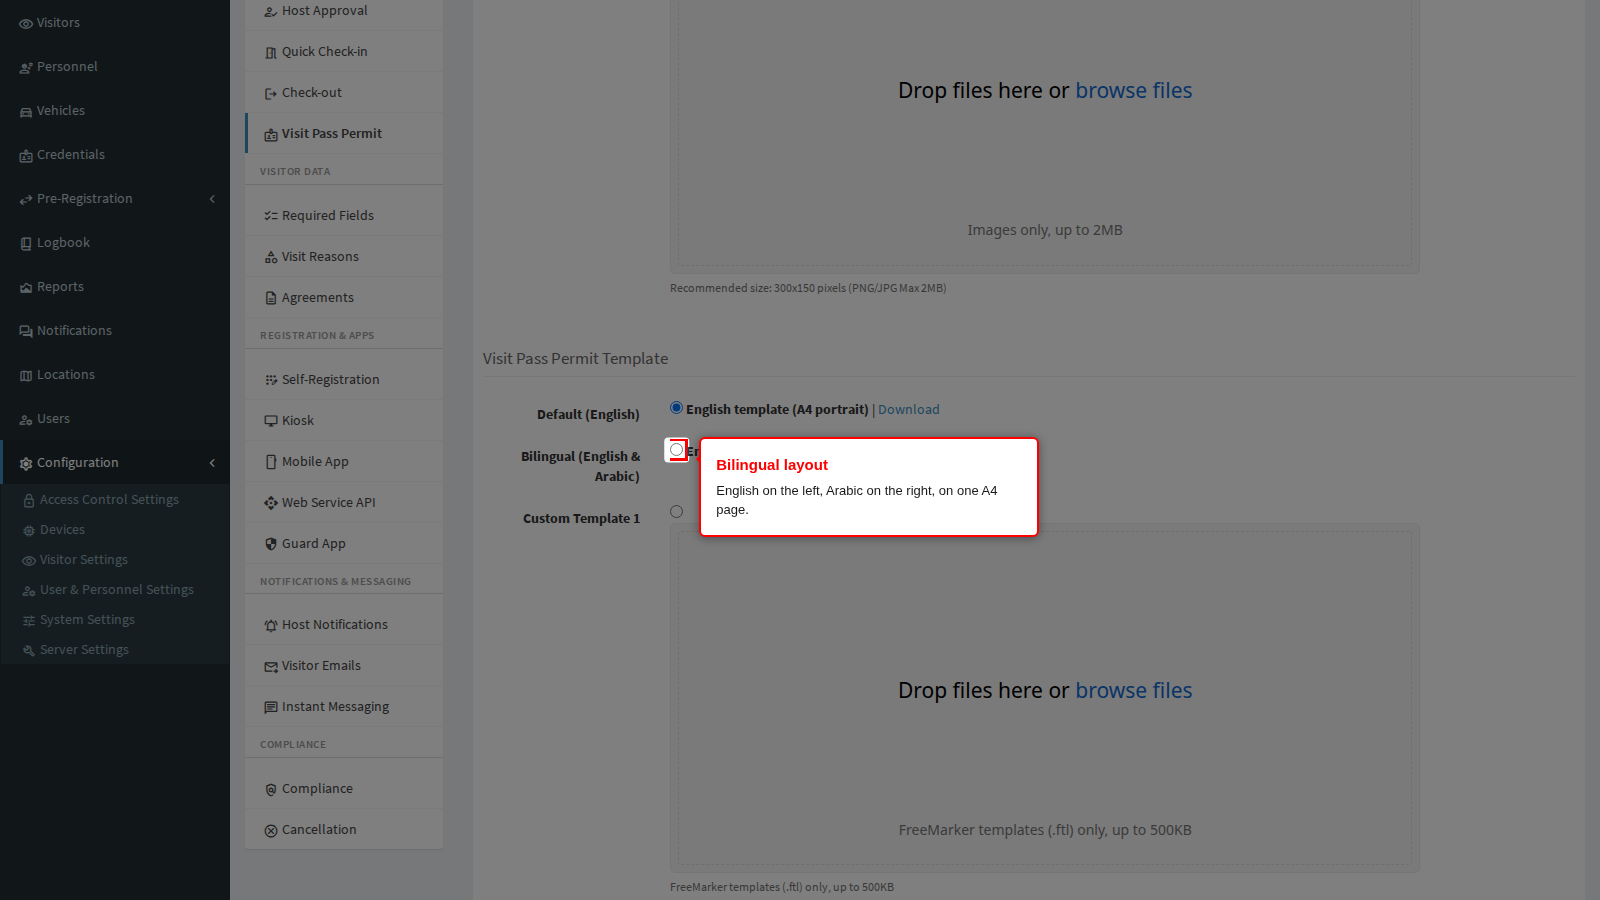
Bilingual (English & Arabic) is the built-in two-language A4 portrait permit, with the English text on the left and the Arabic on the right. Arabic fonts are embedded in the document, so it prints correctly on printers that have no Arabic font installed. When a visitor’s name contains both Latin and Arabic characters, the layout splits them onto their own lines rather than mixing the two directions on one.
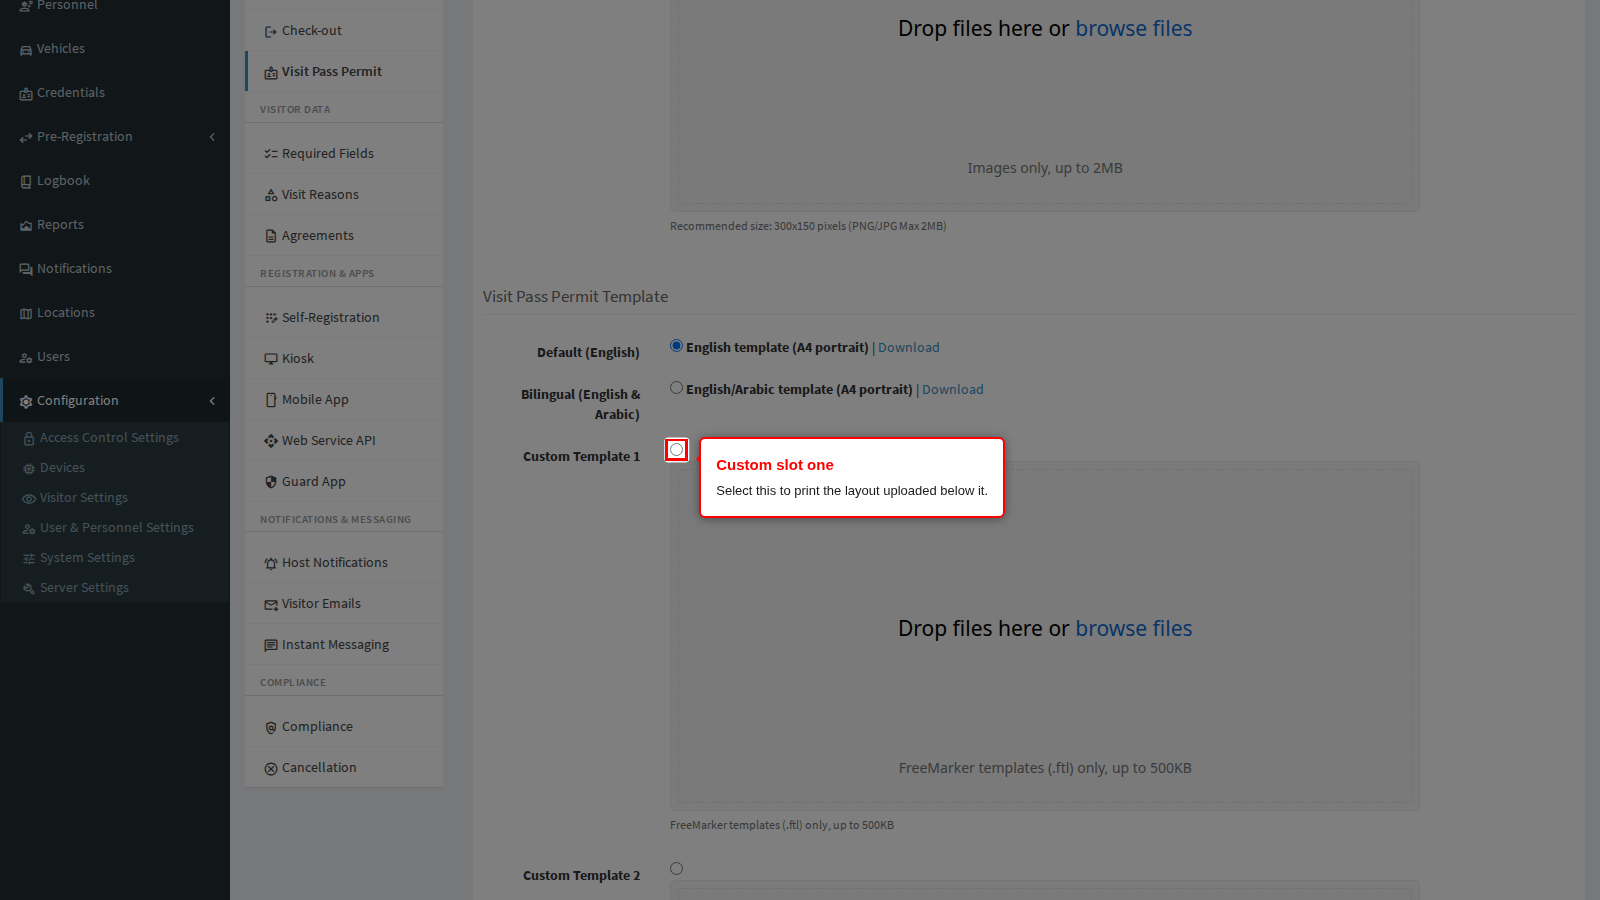
Custom Template 1 and Custom Template 2 are two independent slots for layouts you supply. Selecting the radio button makes that slot the active layout; the dropzone beneath it is where the file goes. Having two slots lets you stage a new version in the free slot, check it, and switch the selection over when you are happy, instead of overwriting the layout that is currently in use.
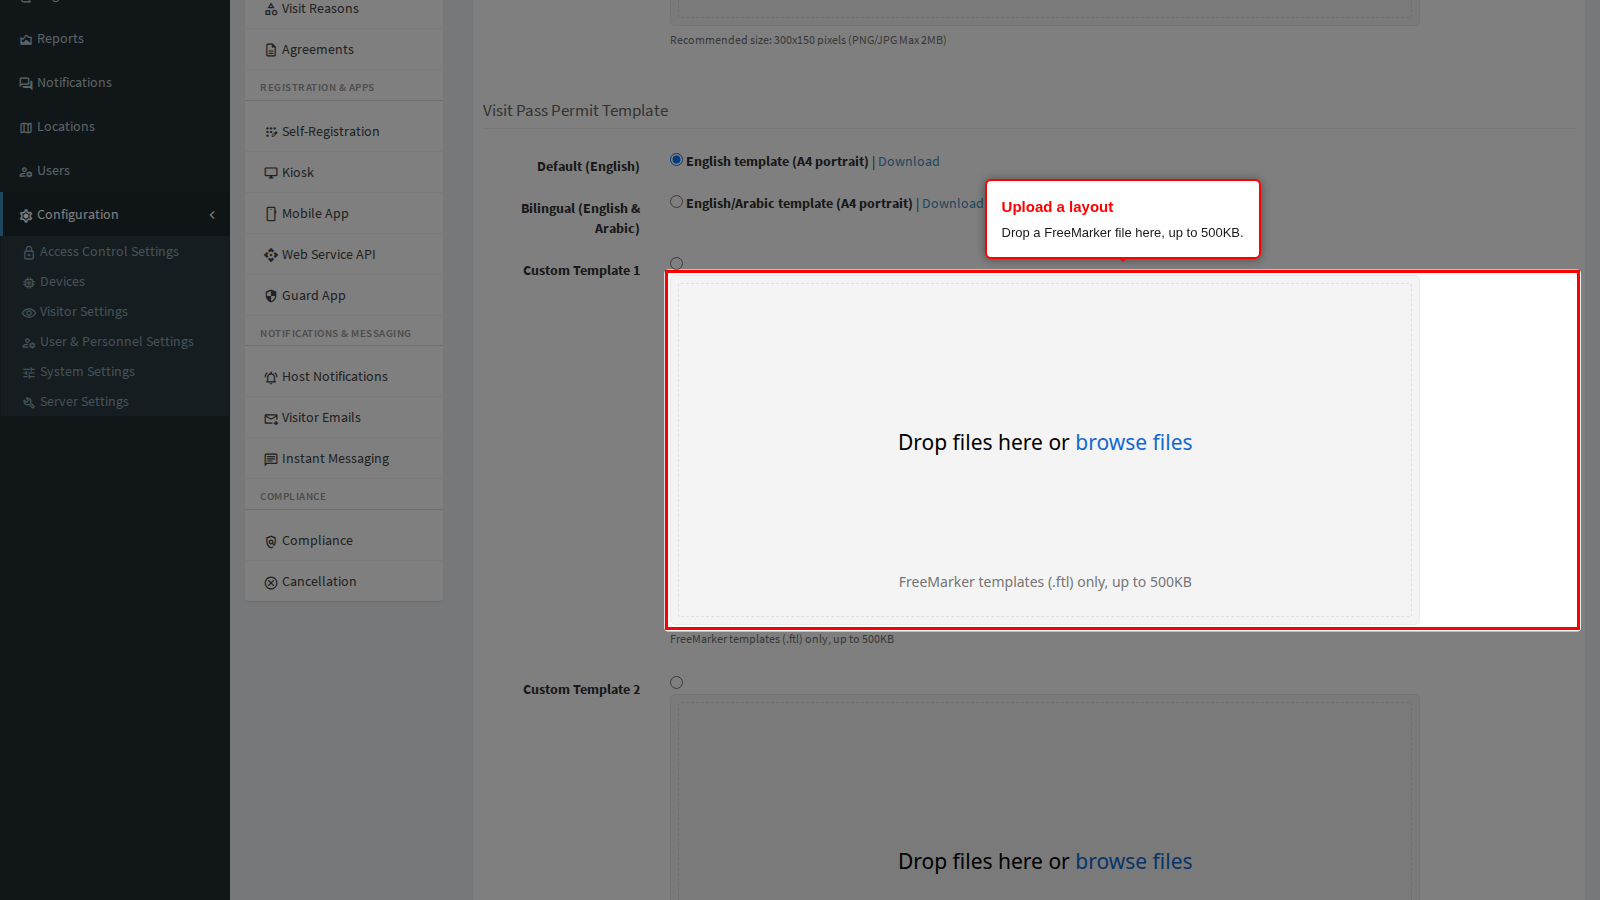
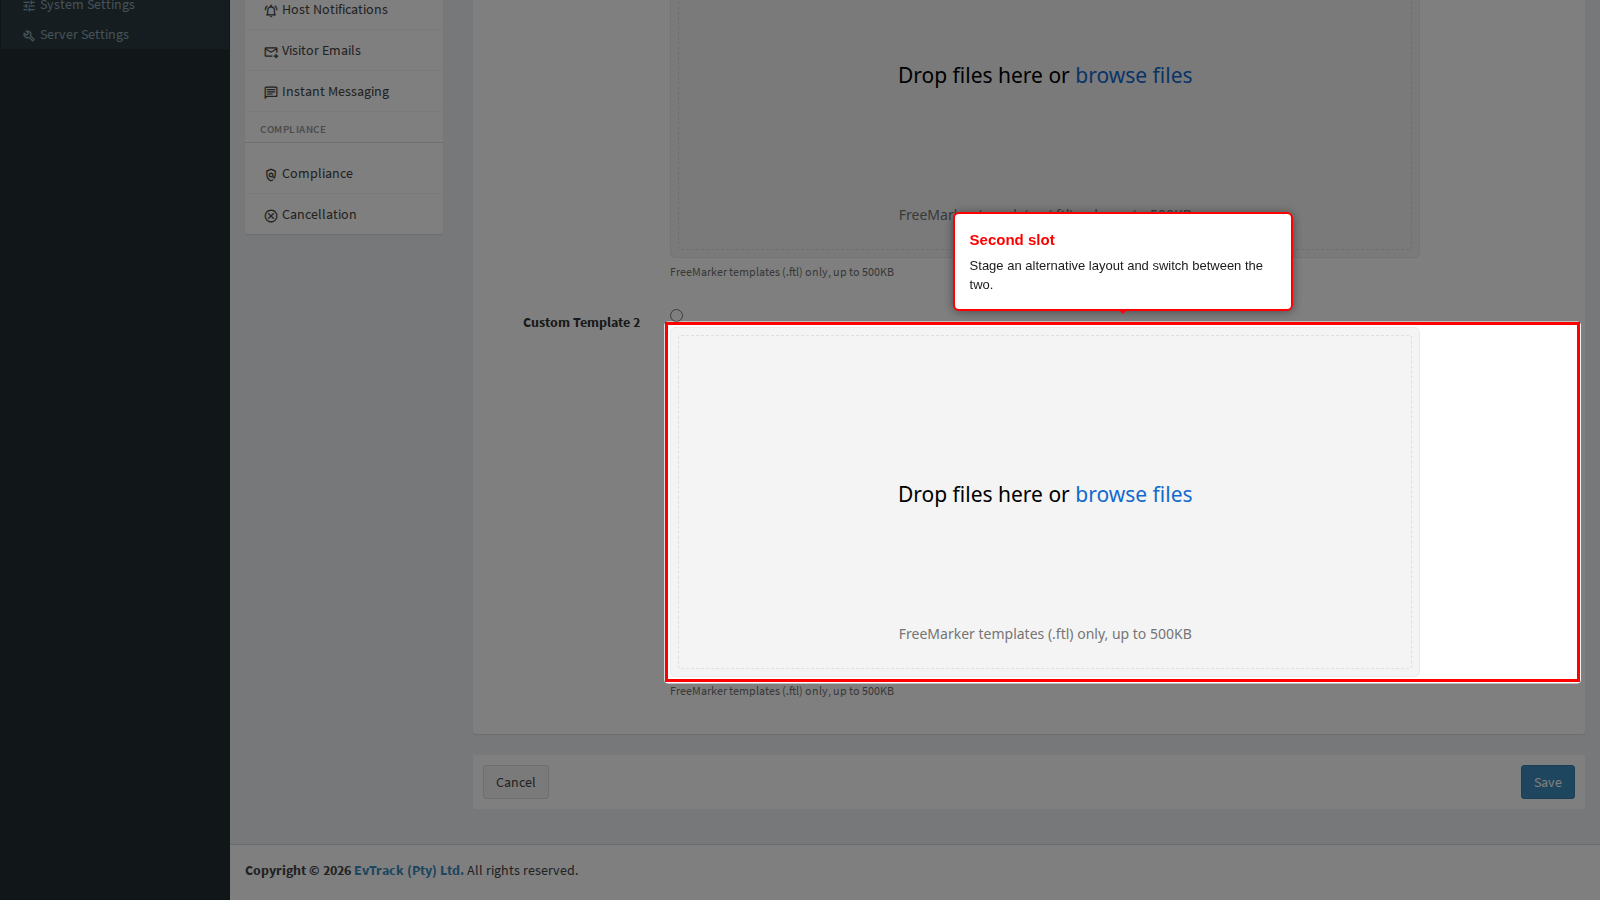
What a custom layout must be. It is a FreeMarker template file (.ftl), plain UTF-8 text, no larger than 500KB. The permit content is built from values the product supplies to the layout; the ones a usable permit is expected to reference are visitorFullName, qrCodeBase64, vehiclePlateNumber, referenceNumber, startDateFormatted and endDateFormatted. Dates are already formatted in the system time zone before they reach the layout, so you never have to convert them yourself. A logoBase64 value carries the logo from Step 2, or the system logo when none is set.
For safety, a layout may not read files from the server, construct objects, run commands, use reflection, or evaluate text as code. Any of those constructs causes the upload to be rejected.
Step 4: Save
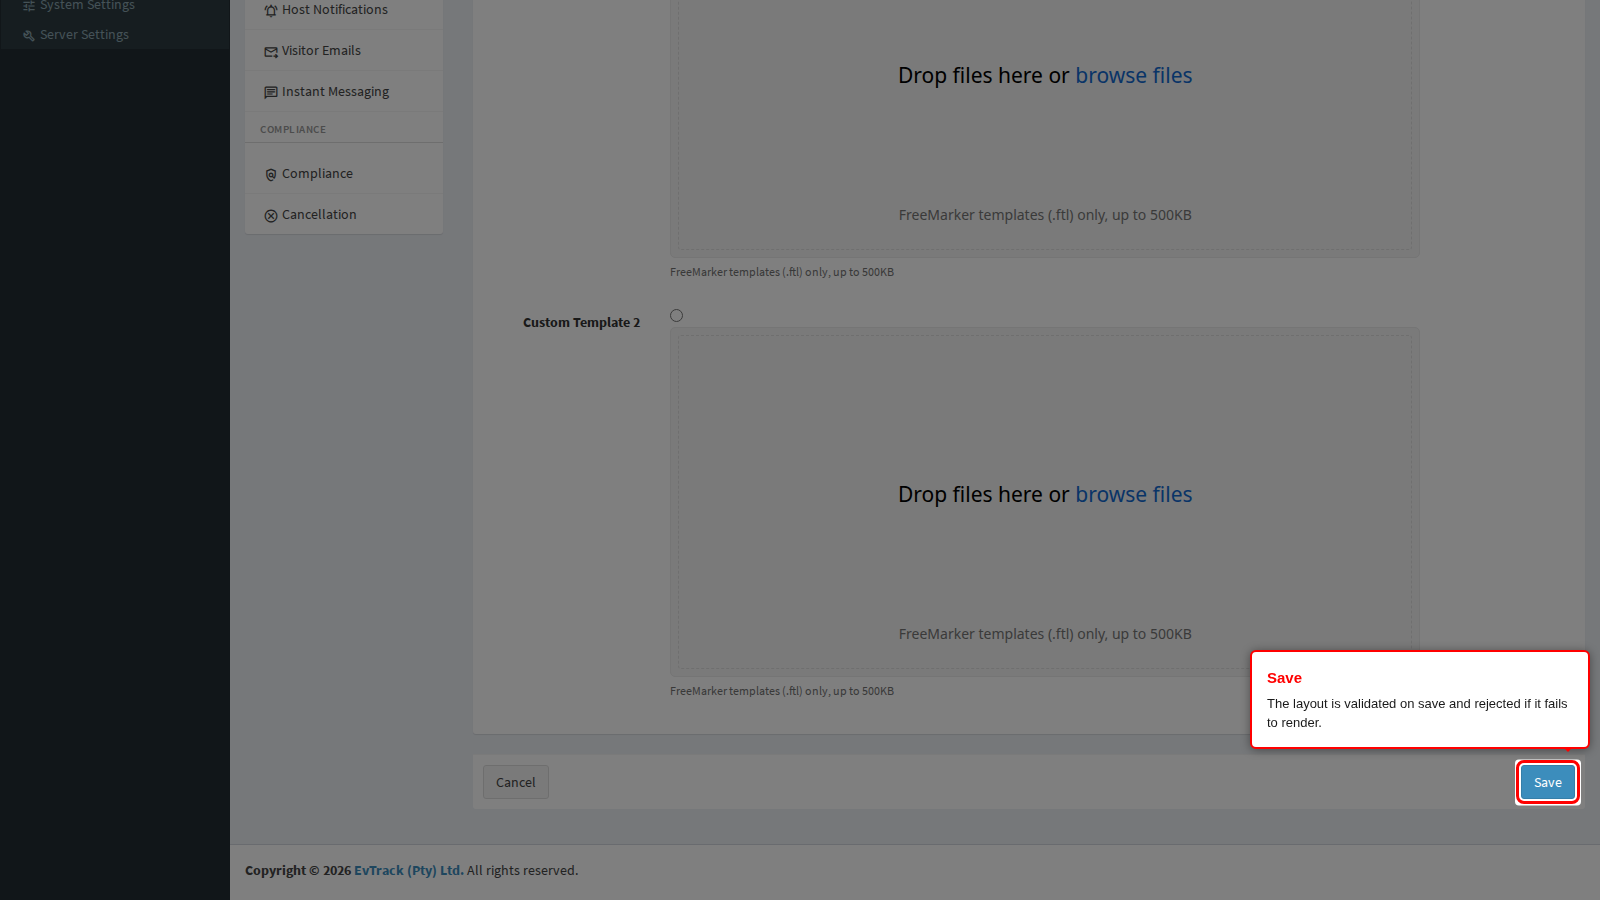
Click Save at the bottom of the panel. Cancel discards your edits and returns you to the settings home page.
An uploaded layout is not simply stored. On save the product parses it, renders a test permit with it, and only then keeps it. If it fails, a red banner names the problem, the file is discarded, and nothing else on the panel is saved either, so re-check your layout selection after a rejected upload. Common causes are a binary file renamed to .ftl, a template larger than 500KB, a syntax error, and a font the renderer cannot resolve.
End state: a green confirmation appears at the top of the panel and the next permit generated uses the new layout and logo.
If a custom slot is selected but its file was never uploaded or was removed, the permit falls back to the built-in English layout rather than failing. A permit that suddenly looks generic usually means exactly this.
Making sure the permit reaches somebody
Choosing a layout does not send anything. Two switches decide delivery, and both live on other panels.
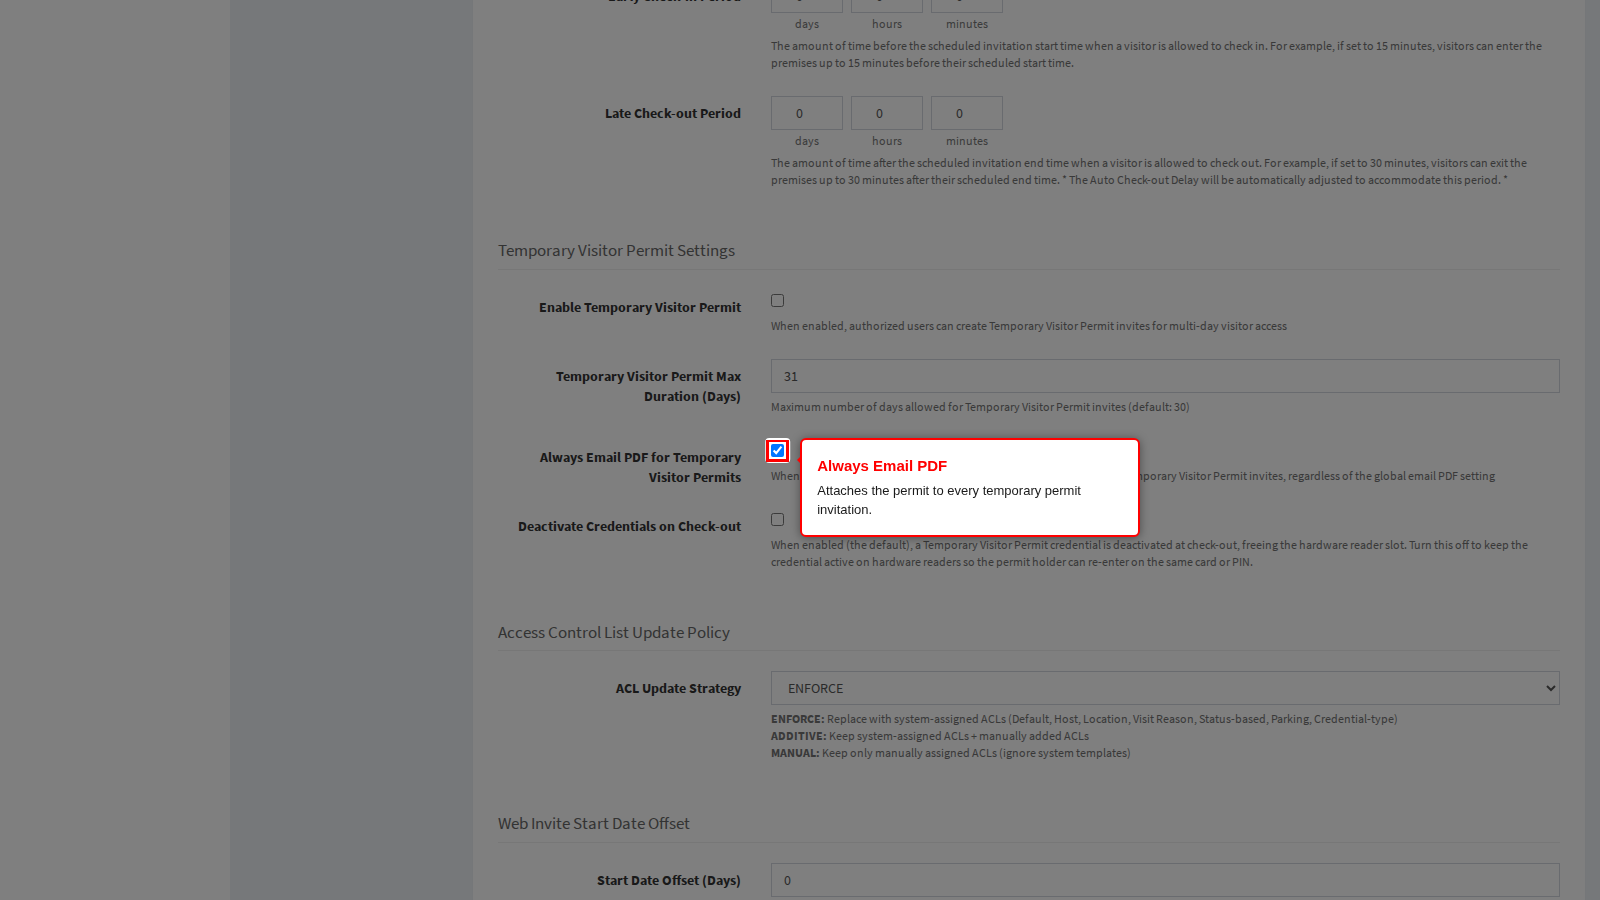
Always Email PDF, in the temporary visitor permit block on Visitor Settings > Visit Pass > General, attaches the permit to the invitation email of every temporary visitor permit. This is the usual choice for contractors, who are expected to carry a printed permit on site.
Attach Visit Pass Permit (PDF), on Visitor Settings > Emails > Invitations, attaches the permit to every visitor invitation email, not just permits. Turn it on where all visitors are expected to arrive with paper.
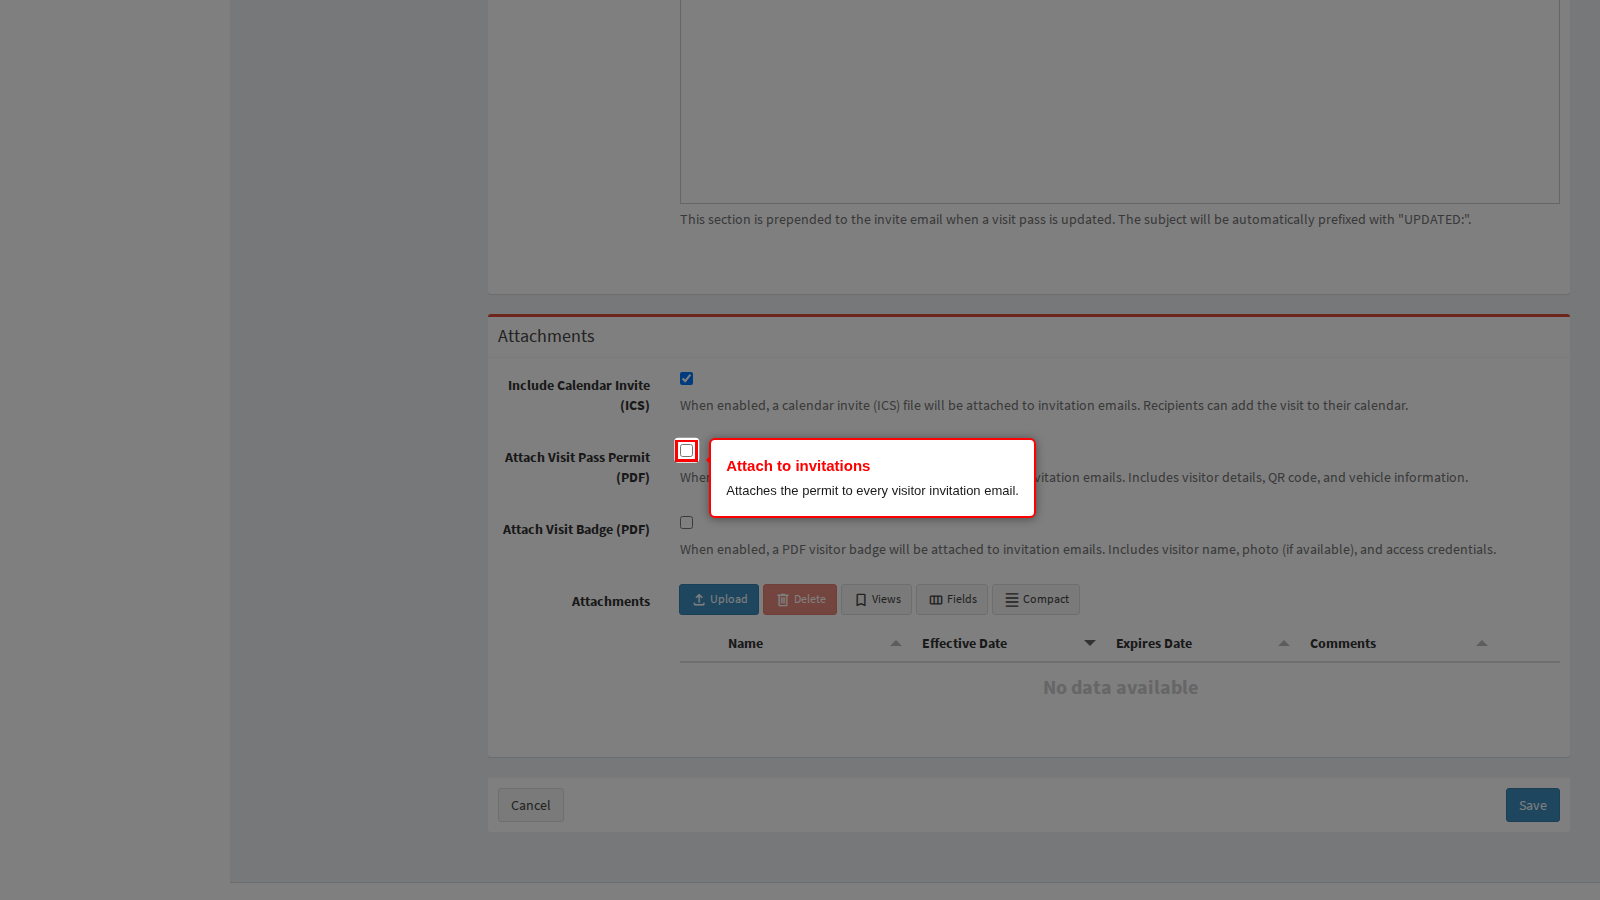
Independently of both, an operator with permission to download permits can fetch the document for any visit from the visit record at any time, which is the fastest way to check a new layout without sending an email.
If permit generation fails for one visit, the invitation email is still sent, just without the attachment. A visitor who reports “no permit attached” while others receive theirs points at that visit’s data rather than at these settings.
Troubleshooting
- The permit shows the wrong logo. No permit logo is stored, so the system logo is being used. Upload one in Step 2.
- The upload is rejected with a validation error. The file is not plain UTF-8 text, is over 500KB, has a syntax error, or uses a construct that is blocked for security. Start from a downloaded built-in layout.
- A custom layout was accepted but permits still look built-in. The matching radio button is not selected, or the slot is empty. Both the selection and the file are needed.
- Arabic text prints as boxes. Use the bilingual layout, or embed the same fonts in your custom layout; a layout that references a font the renderer cannot resolve is rejected on save.
- No permit is attached to any email. Neither delivery switch is on. See the section above.
Related chapters
- Visit Pass - temporary visitor permits, their maximum duration and the Always Email PDF switch.
- Emails - the invitation email itself, and the attachment switch described above.
- Badge Templates - the separate, card-sized badge document, which has its own layouts.
- Visit Passes - issuing and resending a pass, and downloading its permit.