The kiosk is the self-service tablet at reception: a visitor walks up to it, identifies themselves or registers, and walks away with a badge. What it asks for, what it scans, what it prints and what it refuses is decided entirely on the panels below. Nothing here reaches the tablet until it syncs, so a kiosk that is switched off keeps its old behaviour until it comes back.
Before you start: you need an operator account with settings permissions, and a paired kiosk device. If you have not paired one yet, work through the kiosk and guard device quickstart first: it creates the device record, installs the app, pairs it, and puts the kiosk readers on the Default Access Control List so passes actually open something.
Each panel is saved on its own. Changing a panel and moving to the next one without clicking Save loses the edit.
Step 1: Open the Kiosk settings
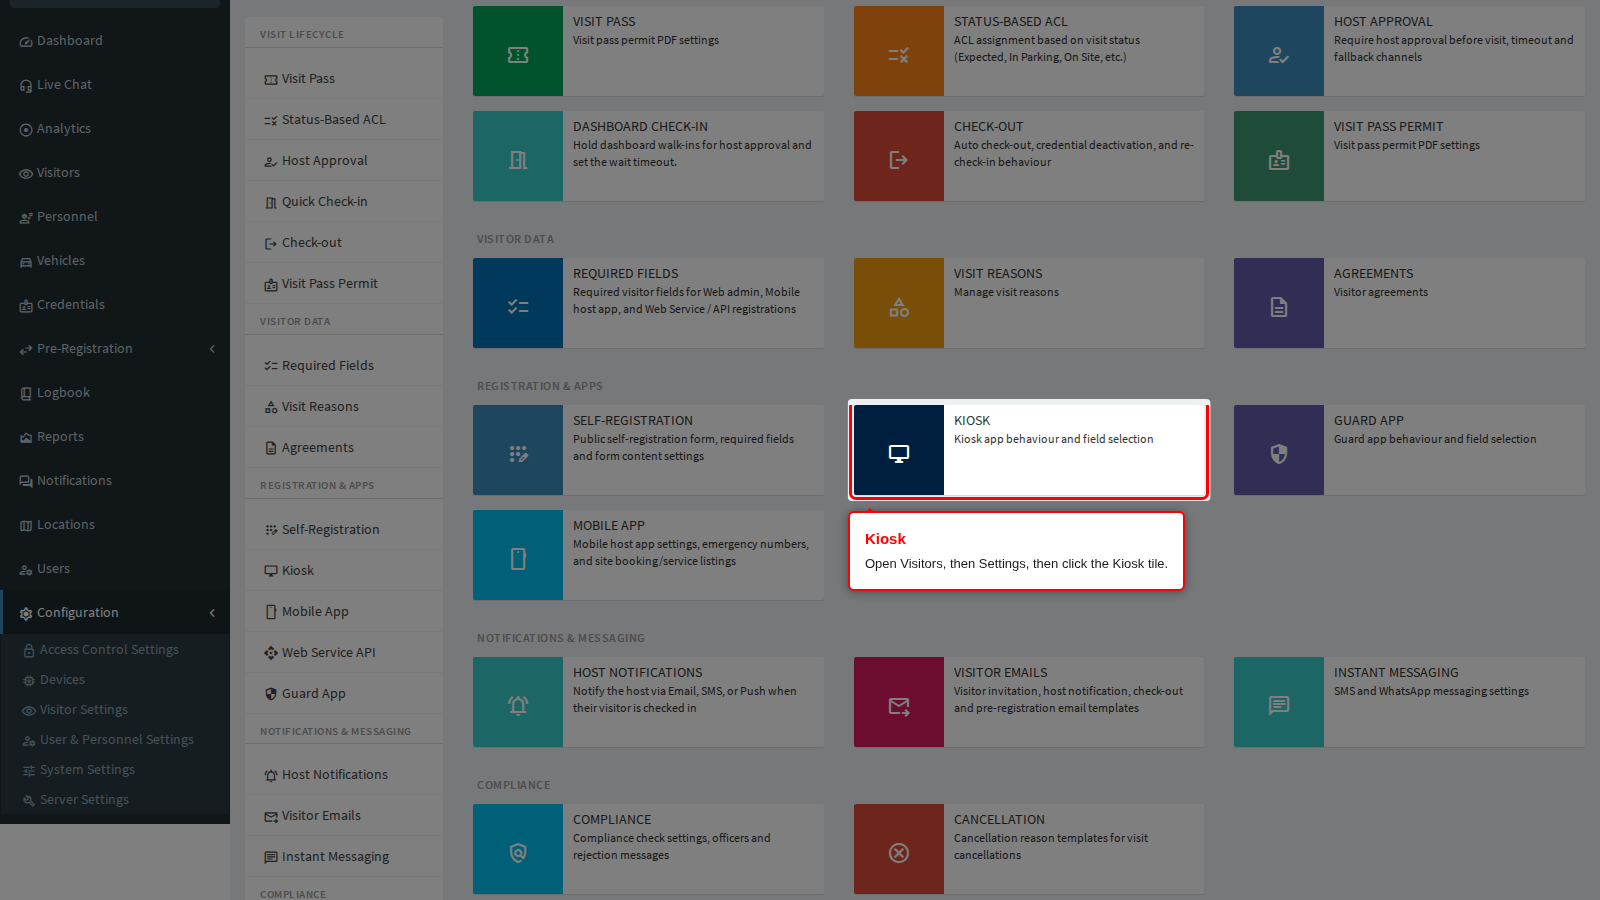
Open Visitors in the sidebar, click Settings, and click the Kiosk tile.
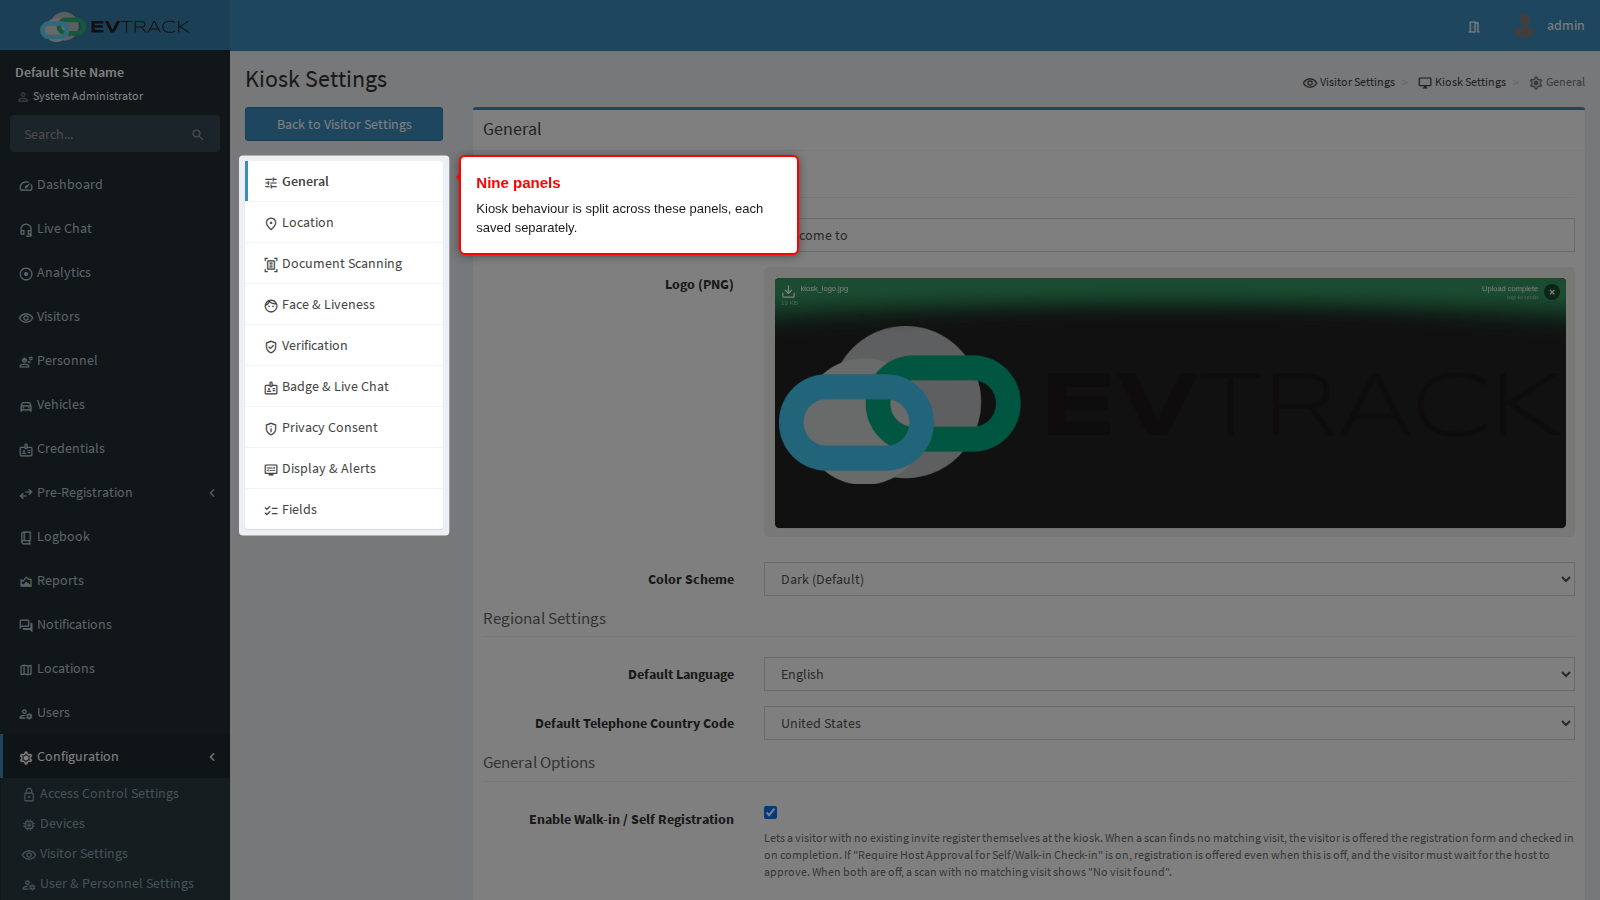
End state: the General panel opens with the kiosk menu on the left. That menu is the same on every kiosk panel, so you can move between panels from anywhere.
Save is at the bottom of every panel.
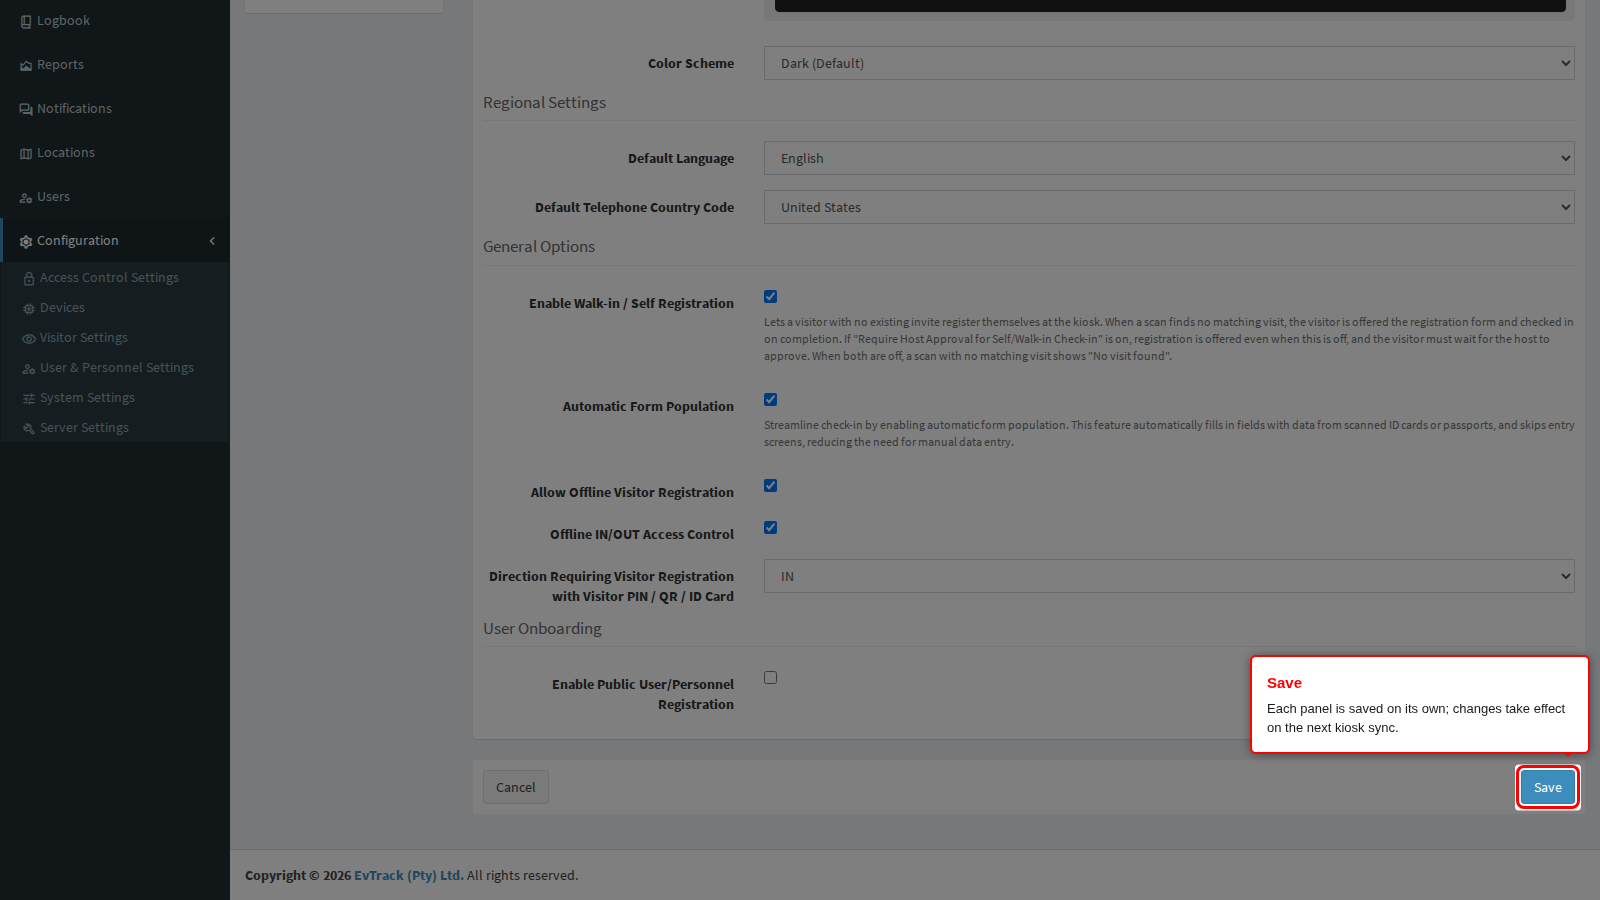
End state: a green confirmation appears at the top of the panel, and the tablet picks the change up on its next sync (restart the app to pull it immediately).
General: welcome screen and regional settings
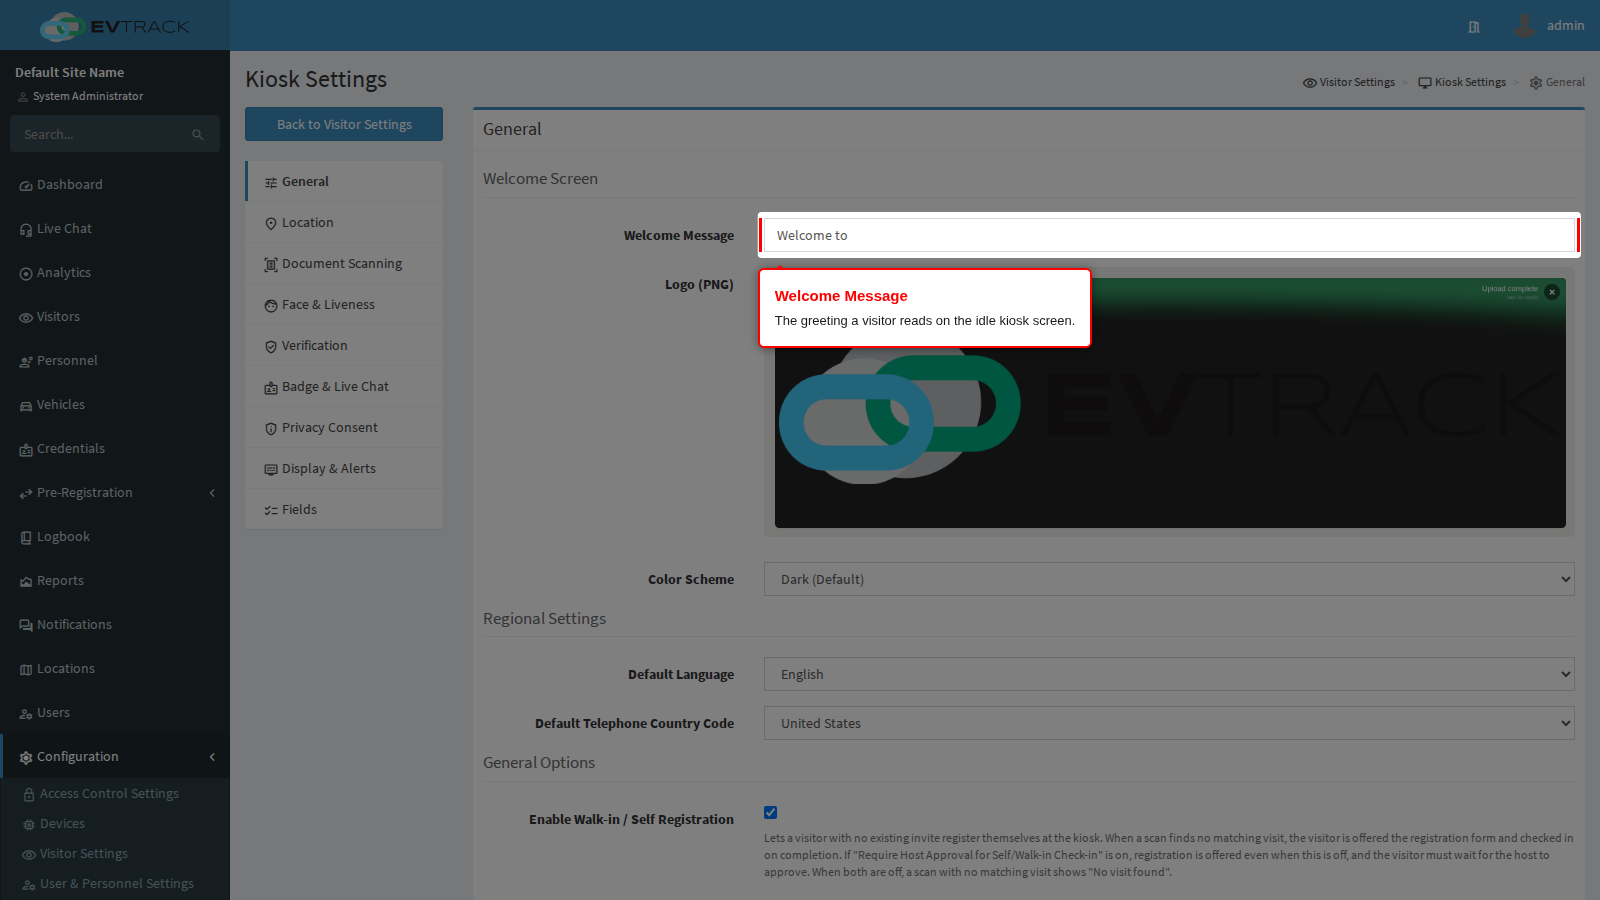
Welcome Message is the line a visitor reads on the idle screen before they touch anything. Use it to tell them what to do (“Touch the screen to check in”), not only to greet them.
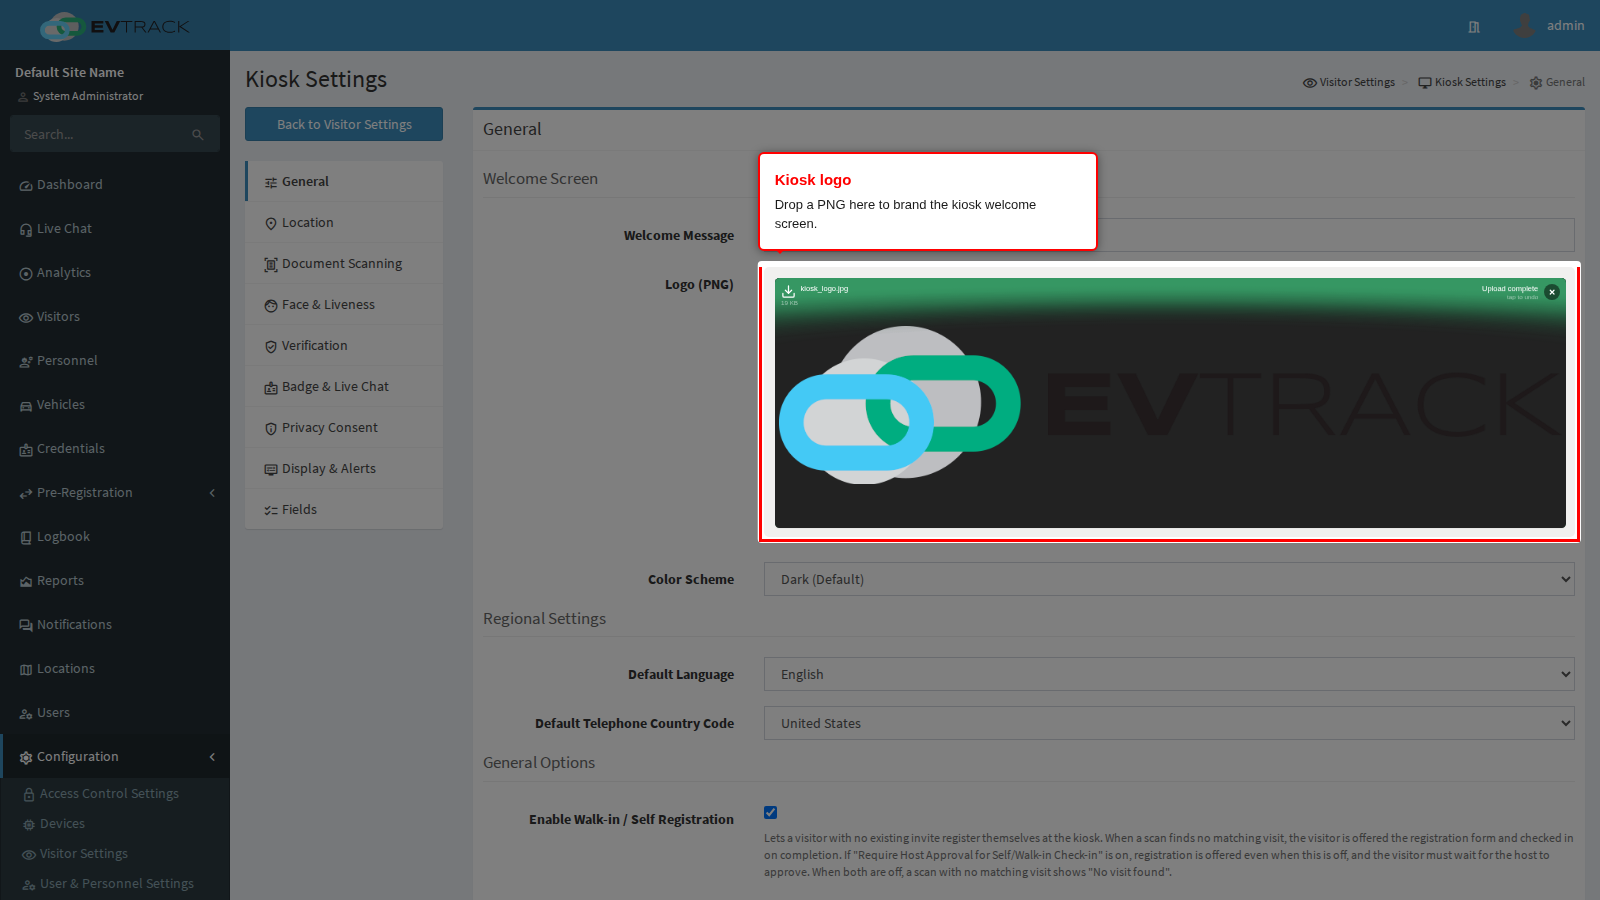
Logo (PNG) brands the welcome screen. Drop a PNG onto the upload area, or click it to browse. Use a transparent background so the logo works with whichever colour scheme you pick.
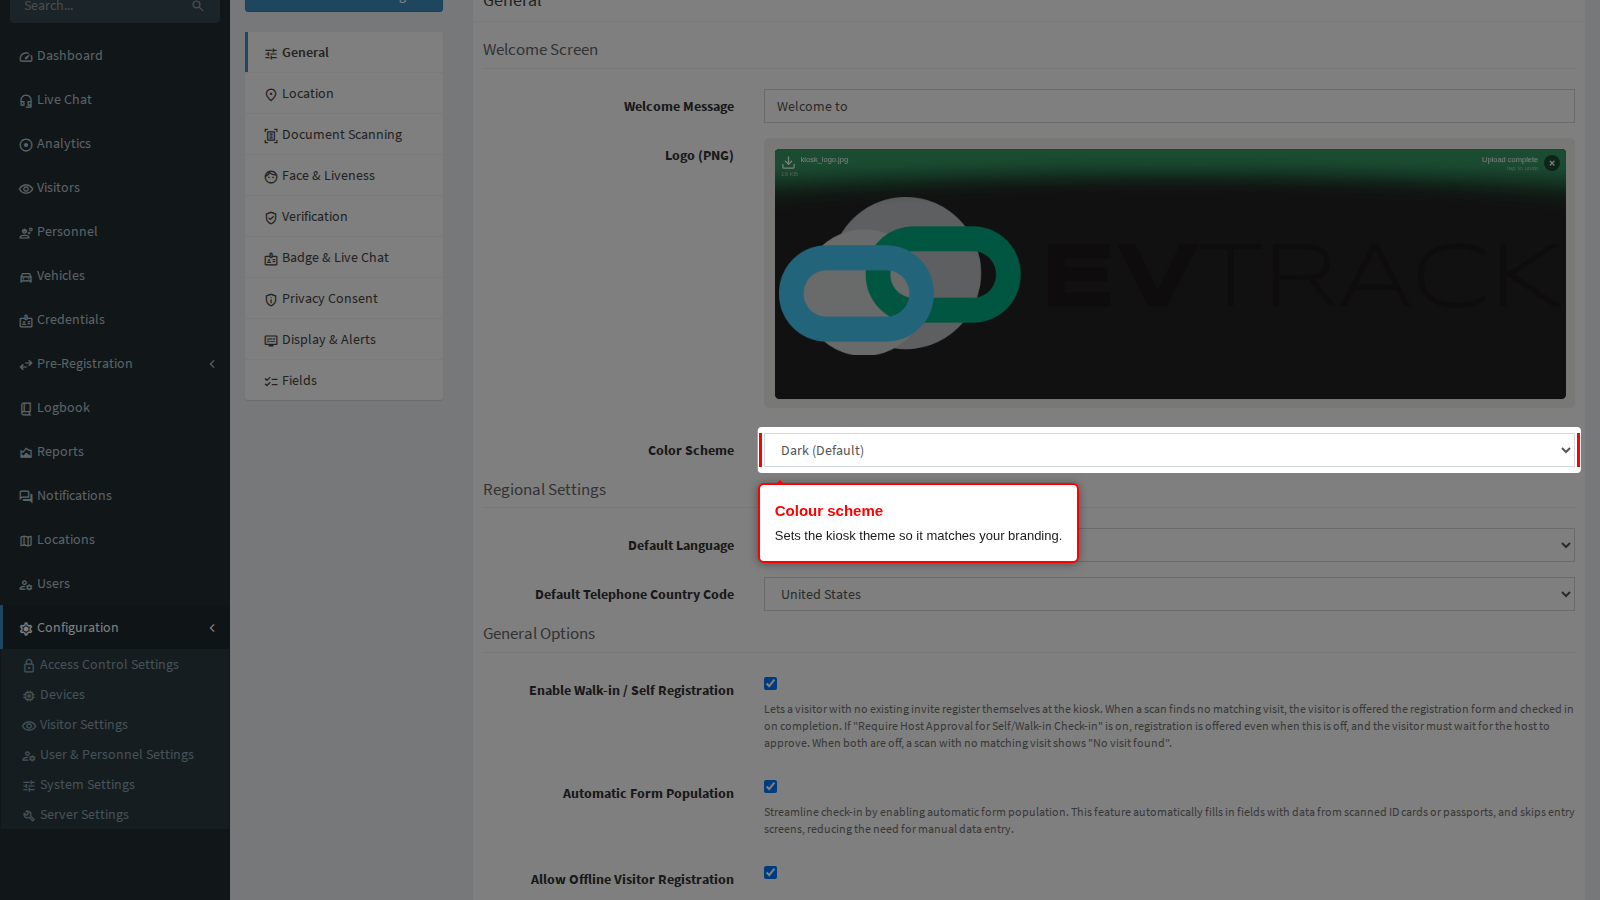
Color Scheme picks the kiosk theme. Choose the one closest to your reception area lighting: a dark scheme is easier on a bright screen in a dim lobby.
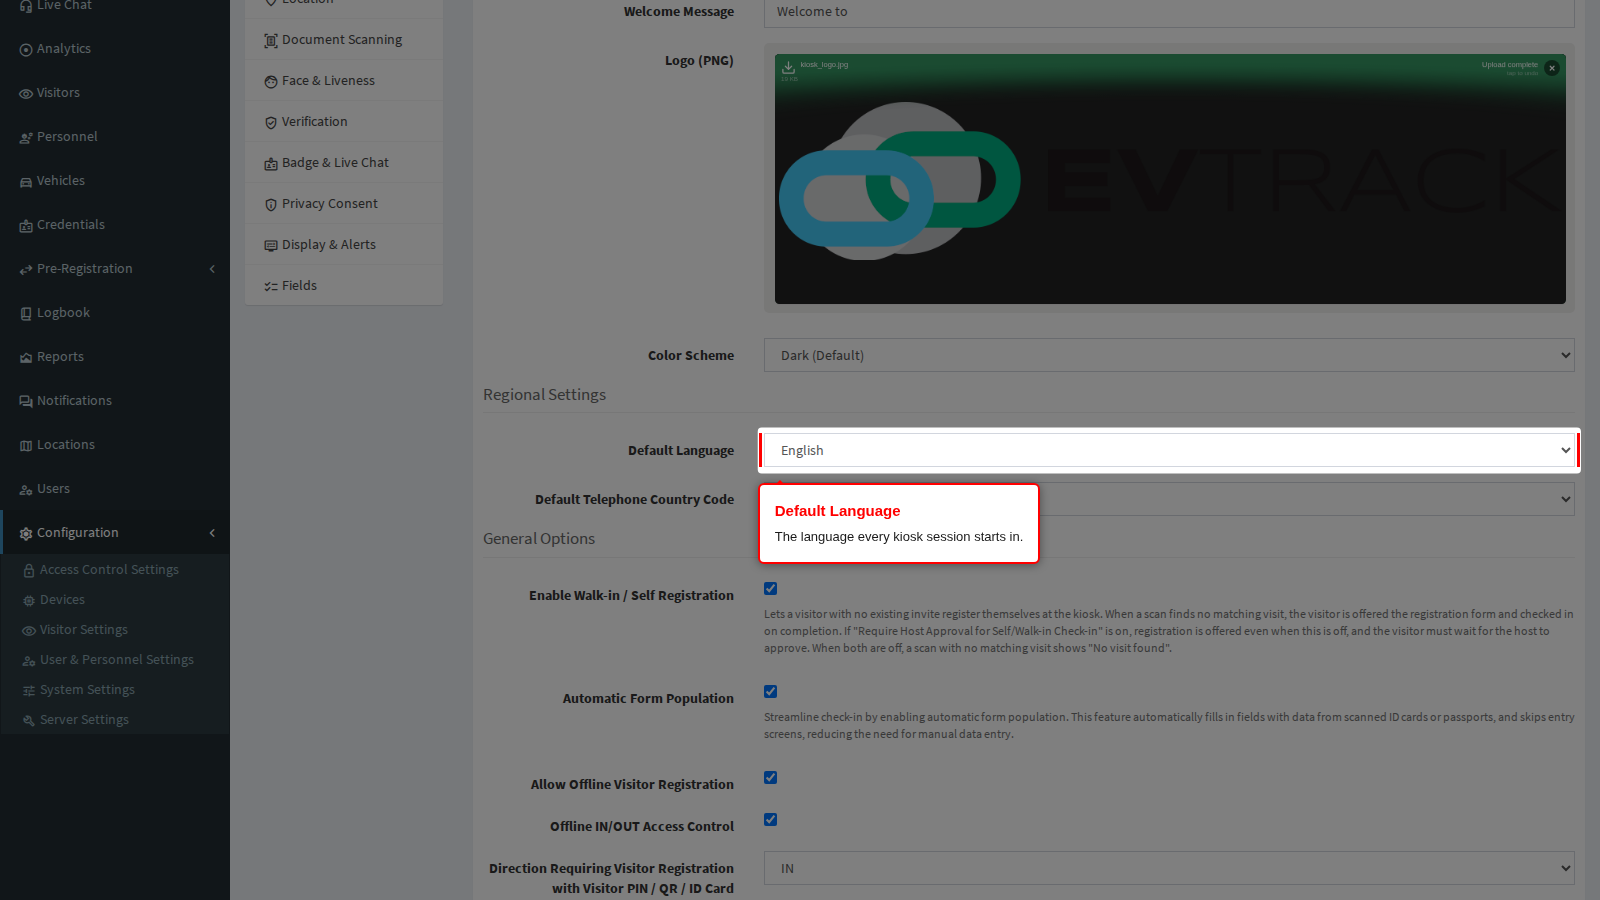
Default Language is the language each session starts in. A visitor can still change it for their own session; the kiosk returns to this language when it goes idle.
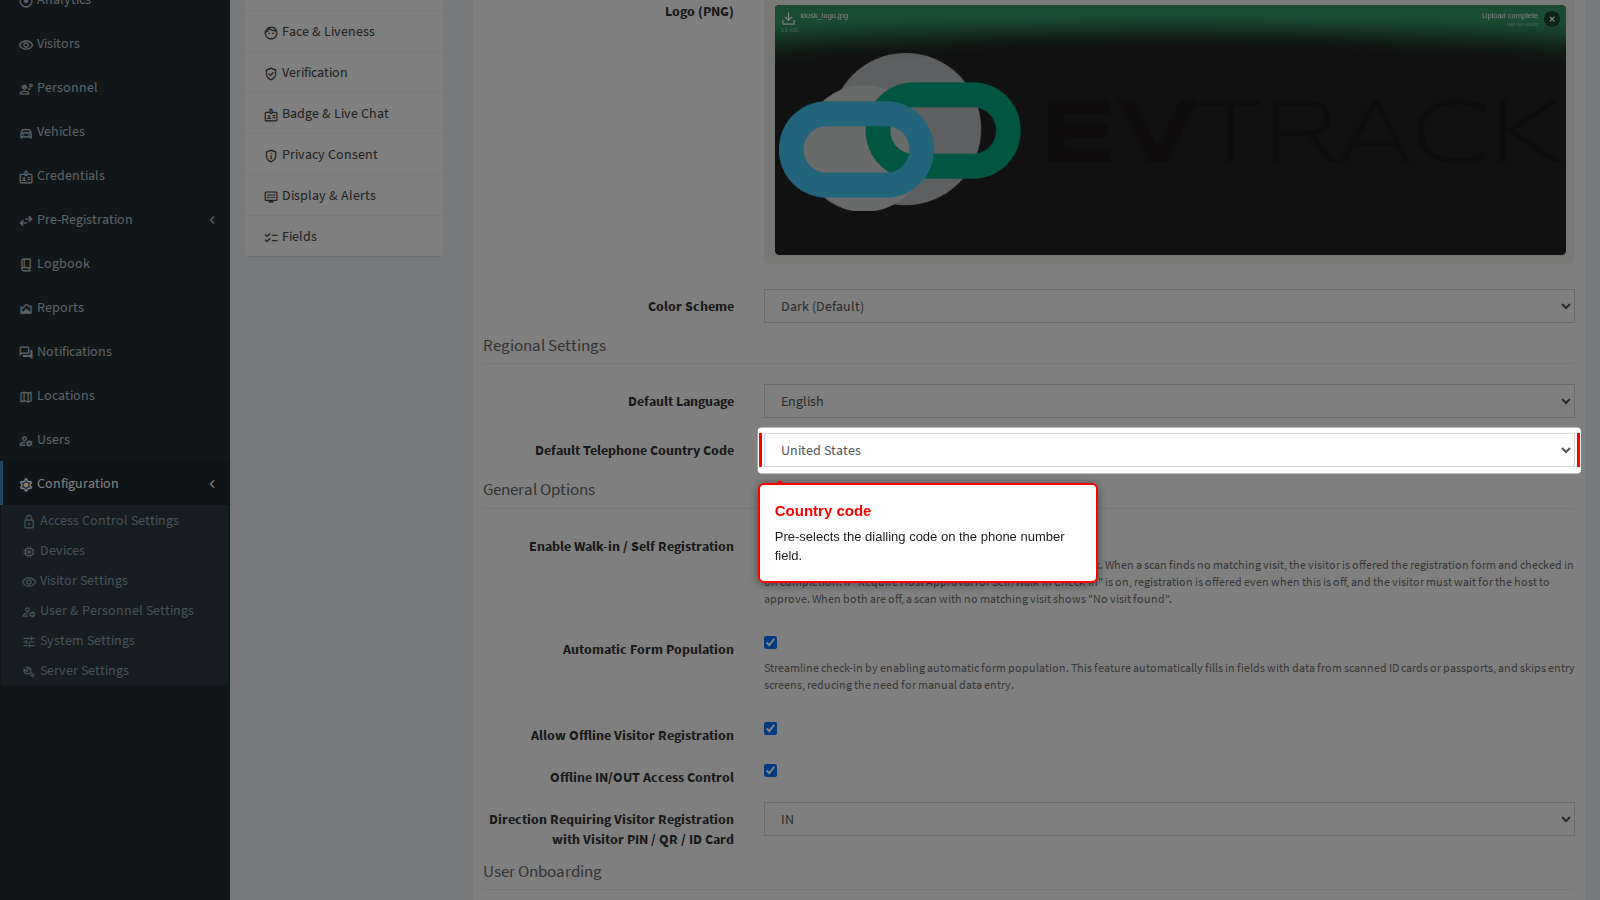
Default Telephone Country Code pre-selects the dialling code on the phone number field so local visitors do not have to find their country in a list. Leave it on Automatic at a site with international traffic.
General: walk-in registration and offline behaviour
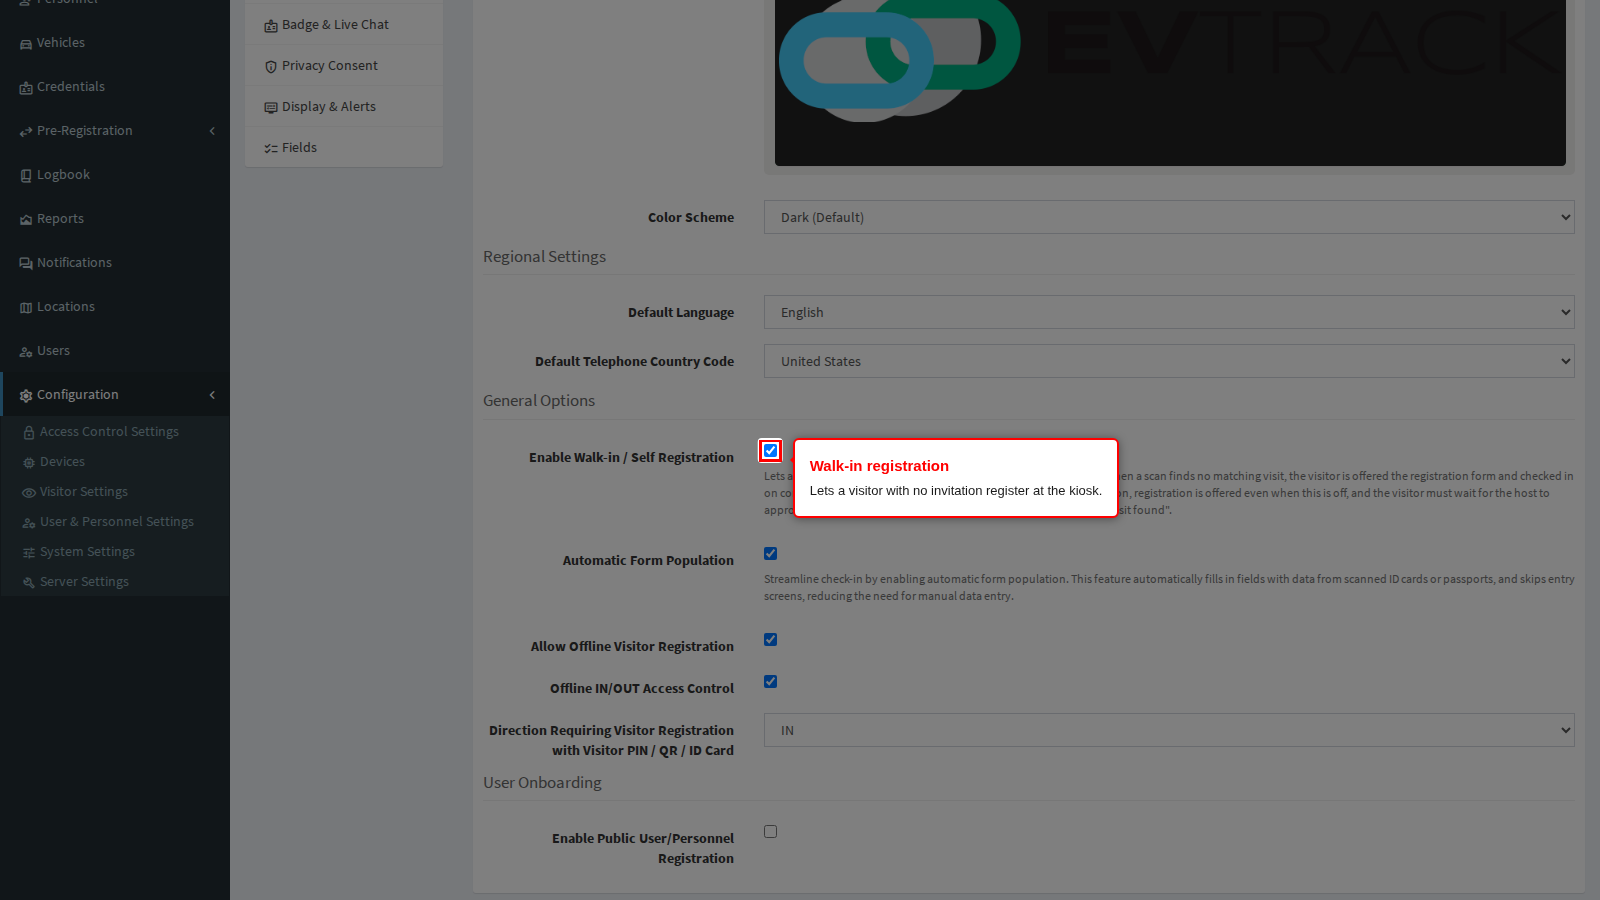
Enable Walk-in / Self Registration decides whether the kiosk can take a visitor who has no invitation. With it on, a scan that finds no matching visit opens the registration form and the visitor enrols themselves. With it off, the kiosk tells an unexpected visitor to see reception. Turn it on for a public lobby, off where every visitor must be invited in advance.
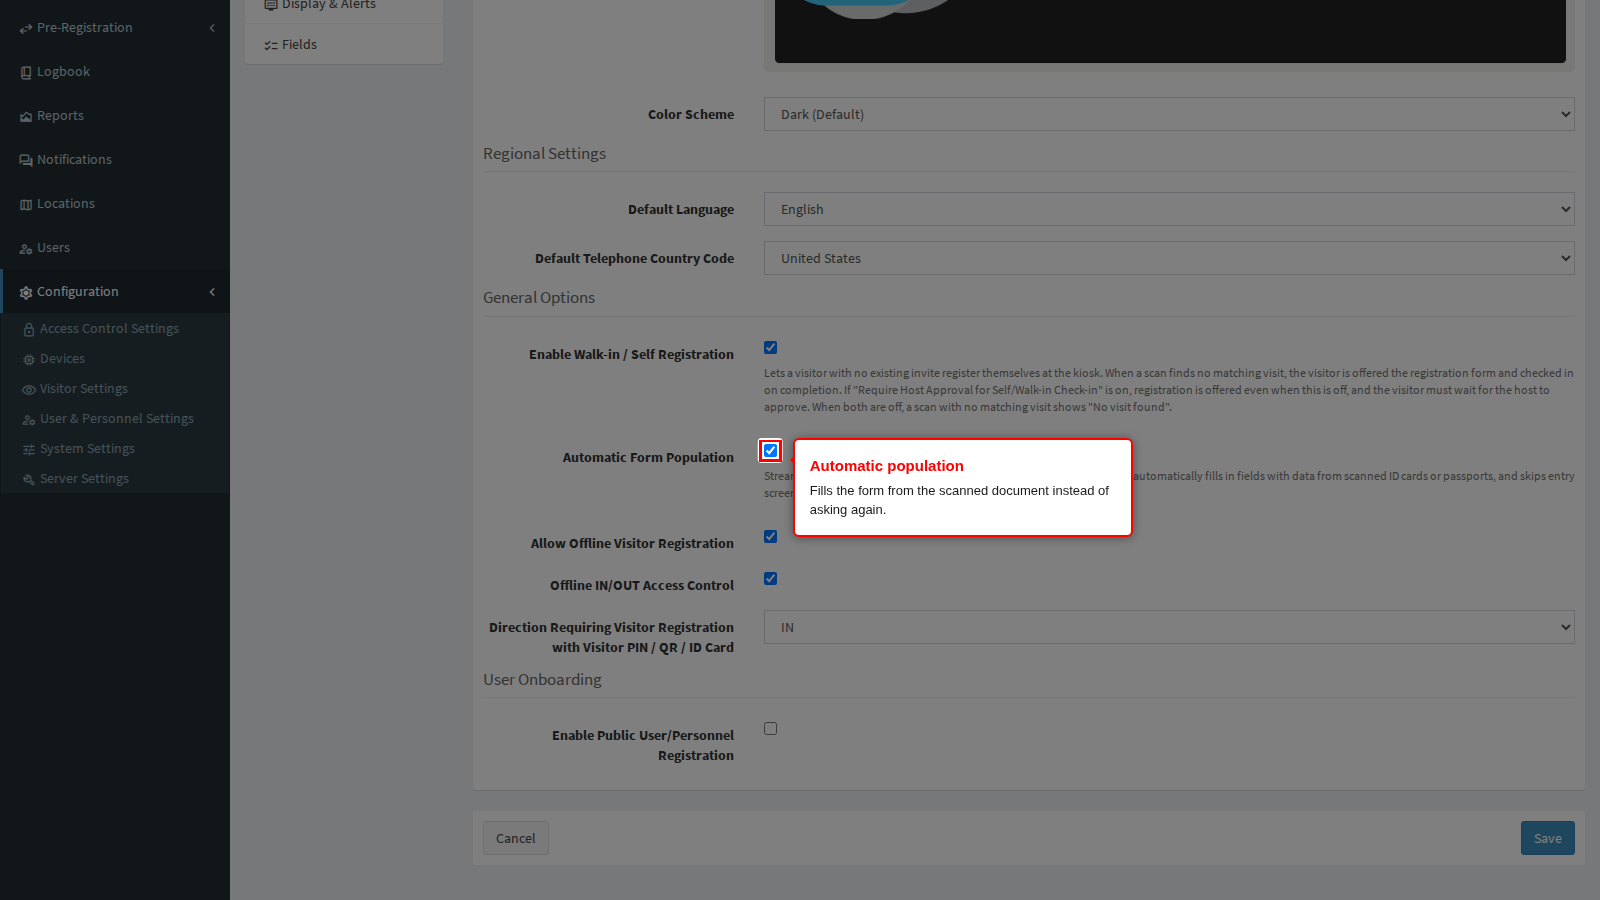
Automatic Form Population fills the registration form from whatever the kiosk has already read, most usefully a scanned document, instead of asking the visitor to type it again. It works together with the Document Scanning panel below: with scanning off there is nothing to populate from.
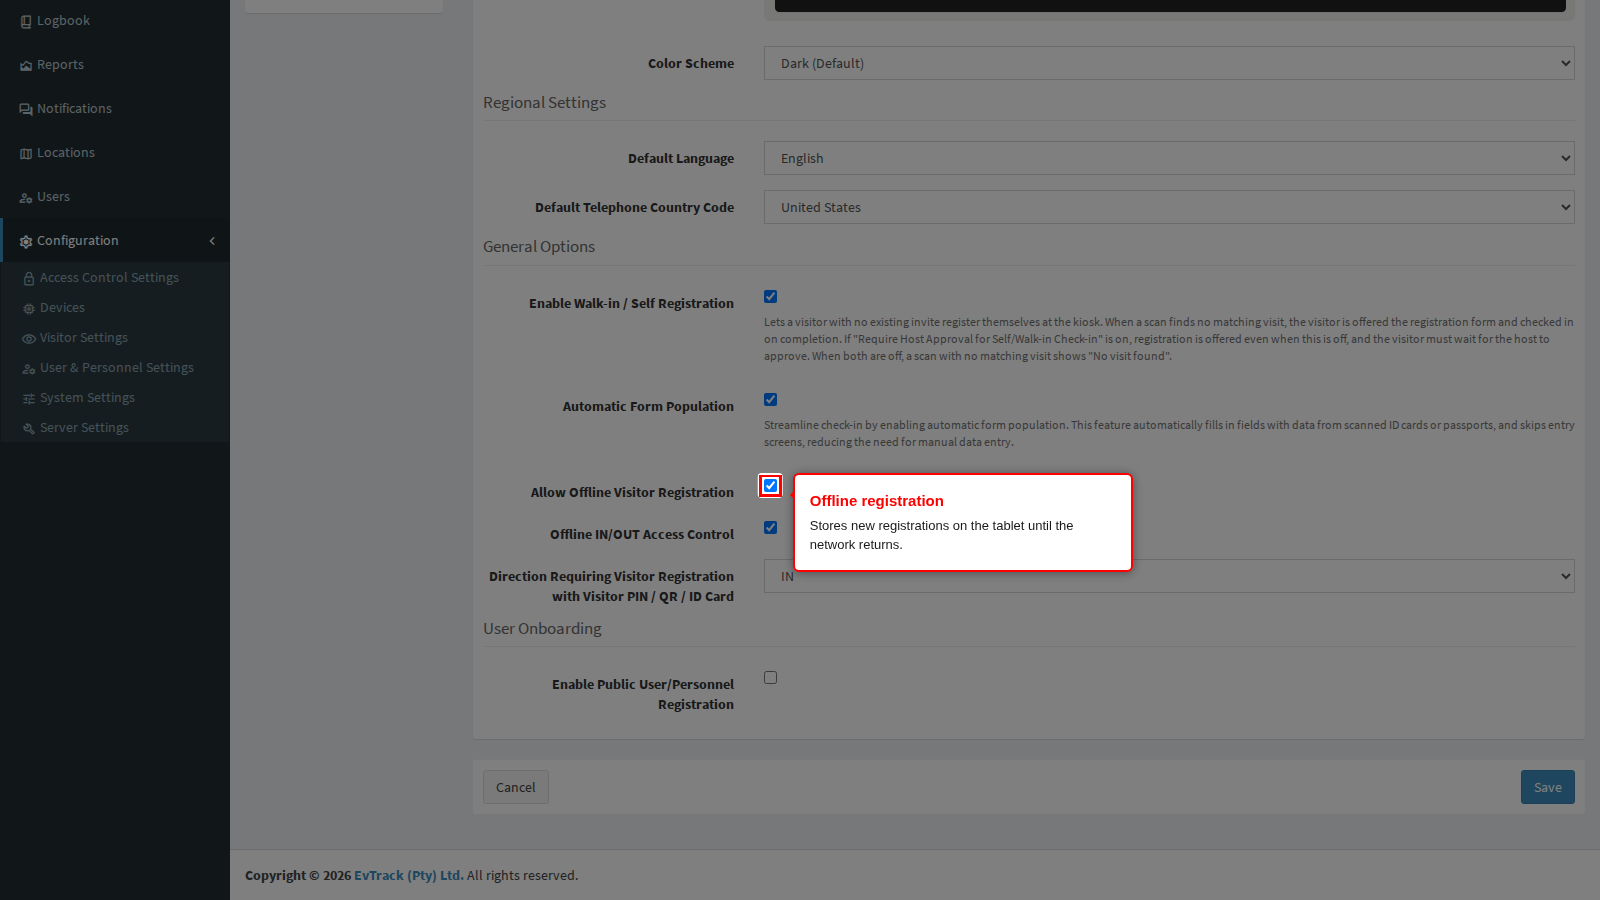
Allow Offline Visitor Registration lets the kiosk take new registrations while it cannot reach the server, holding them on the tablet and uploading them when the connection returns. Turn it on where the network is unreliable and a queue at reception is worse than a delayed record.
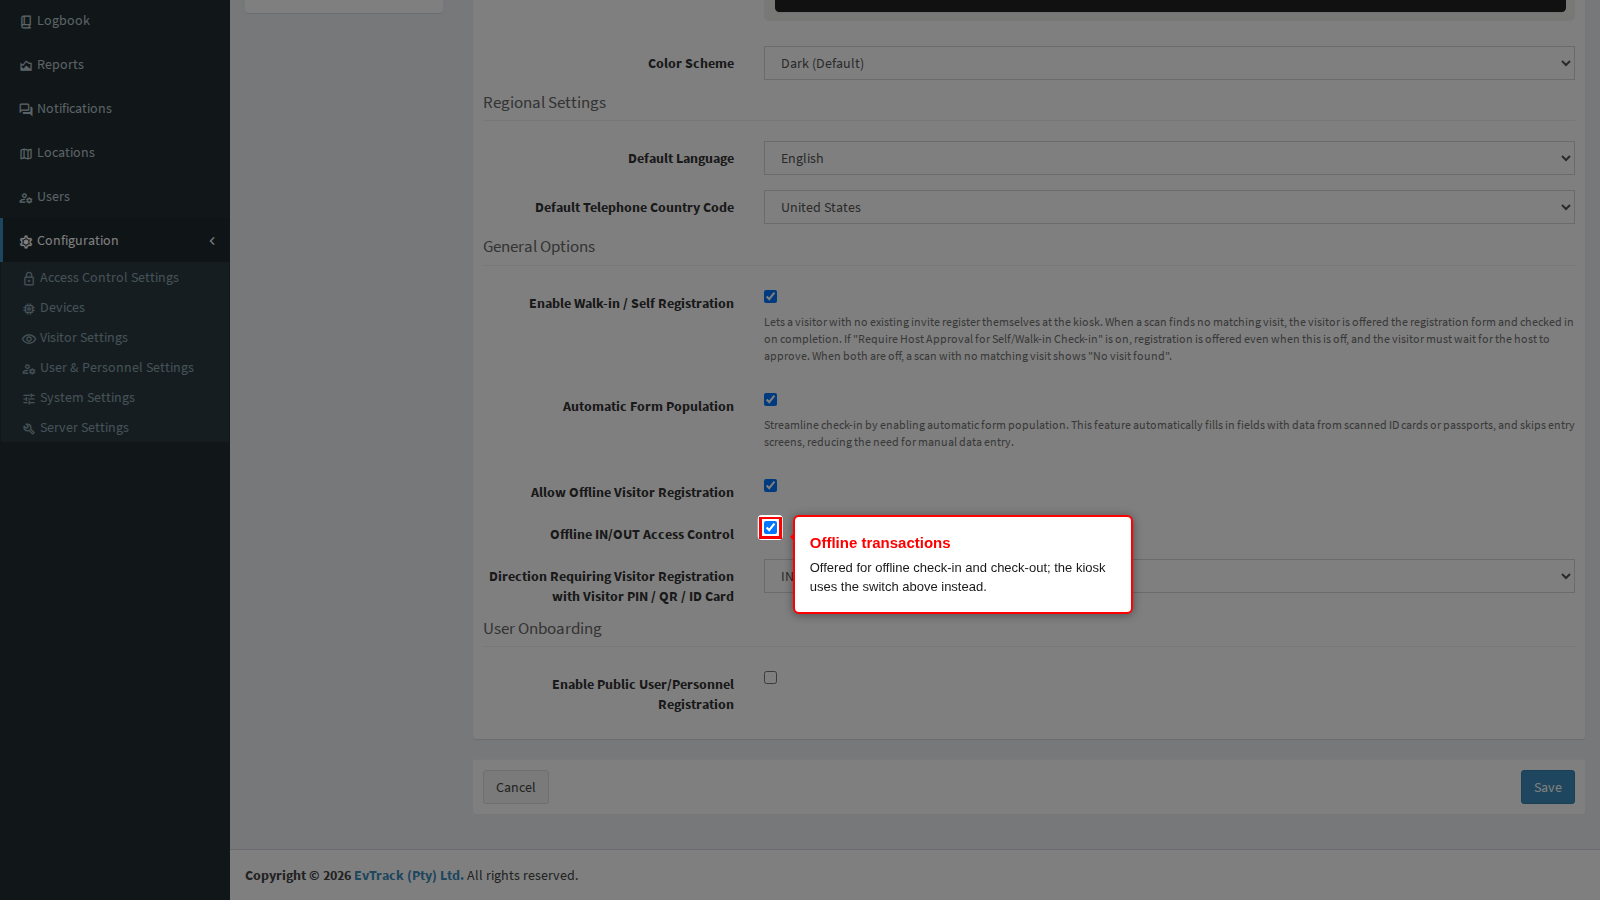
Offline IN/OUT Access Control is offered as the equivalent switch for the check-in and check-out of visitors who already exist. In the current app it is not the switch that decides: Allow Offline Visitor Registration above governs the offline queue for check-ins and check-outs as well as for new registrations, and the kiosk ignores this one. Set the switch above to whichever behaviour you want offline and treat this one as having no effect until that changes.
What a kiosk can and cannot check while it is offline. This matters more than either switch. The kiosk never checks the network in advance; it takes the visitor through the whole flow and only discovers the outage when it tries to submit. Everything that runs on the tablet still runs: document reading, required fields, face detection, liveness, the photo comparison with the document. Everything that lives on the server does not. The tablet holds no copy of your credentials, access control lists, validity windows, watchlists or visit records, so while it is offline it cannot tell whether a code is genuine, still valid, already used, cancelled, or belongs to somebody on a watchlist, and it cannot ask a host for approval.
With offline queueing on, the visitor sees a message thanking them and saying the information will be submitted later, and they are through. With it off they see a message saying the server is offline and their request could not be processed, and nothing is stored. Neither outcome is wrong; they are opposite risk decisions. A site that must never admit an unverified person turns queueing off and accepts that an outage closes the kiosk. A site where a queue at reception is the bigger problem turns it on and accepts that anything scannable gets in.
One consequence to plan for: when the queue is uploaded later, the server may well reject some of the movements it now sees in full, and by then the visitor has long gone. Treat a queued check-in as a record of what happened, not as an approved entry, and reconcile the movement log after an outage.
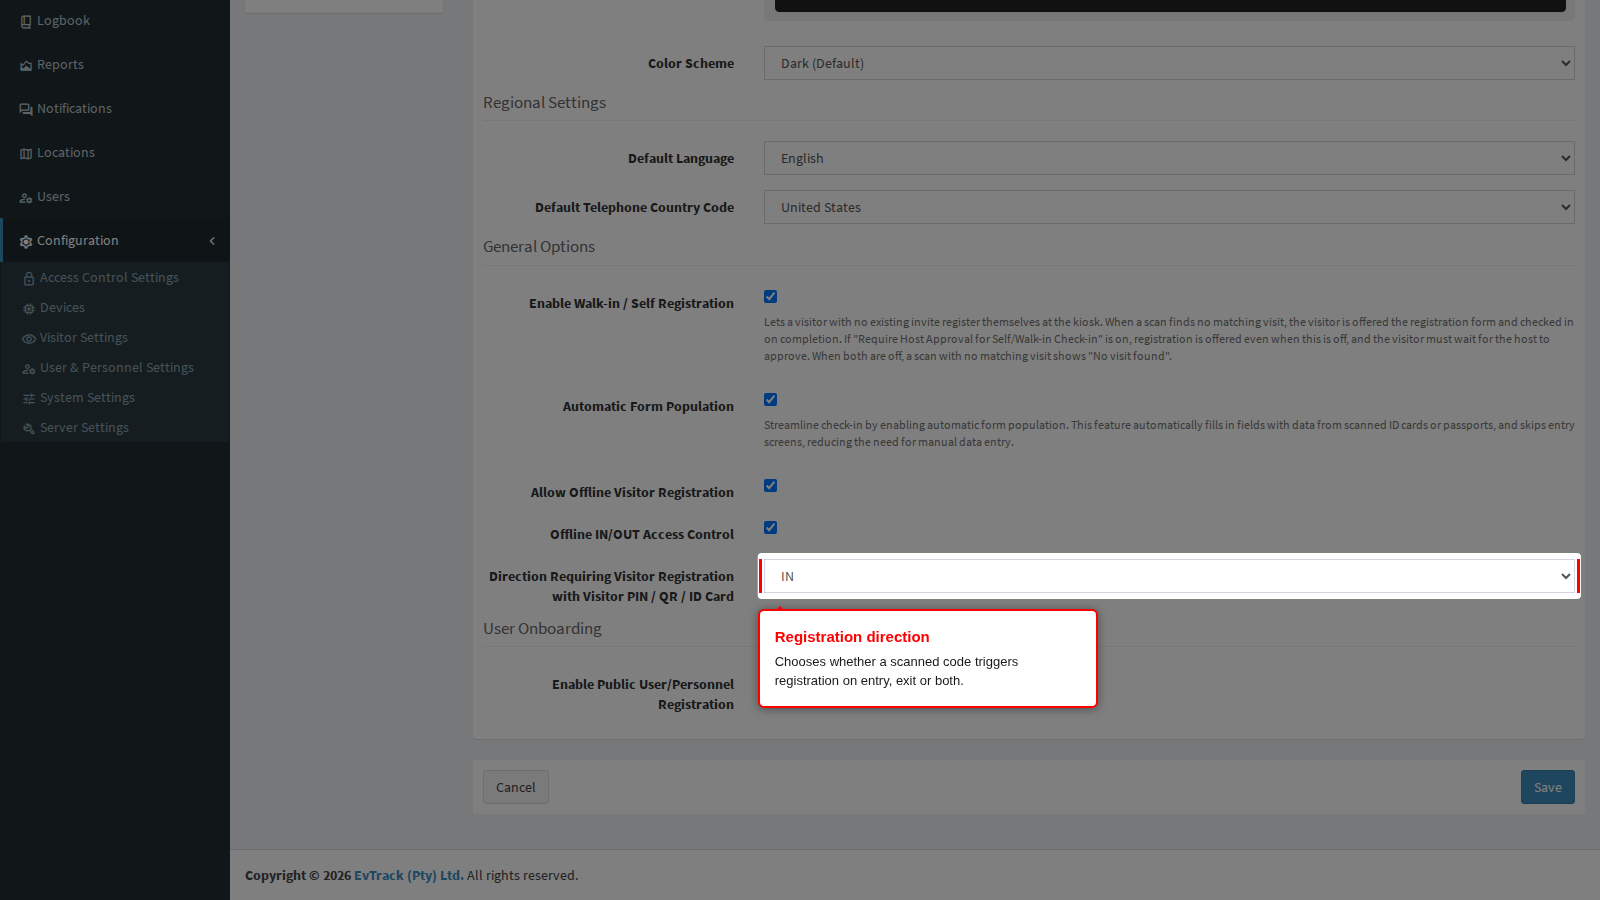
Direction Requiring Visitor Registration with Visitor PIN / QR / ID Card decides in which direction a presented PIN, QR code or ID card forces the visitor through the registration form: on the way in, on the way out, or both. Use the in-only setting so arriving visitors complete their details while departing ones just scan and go.
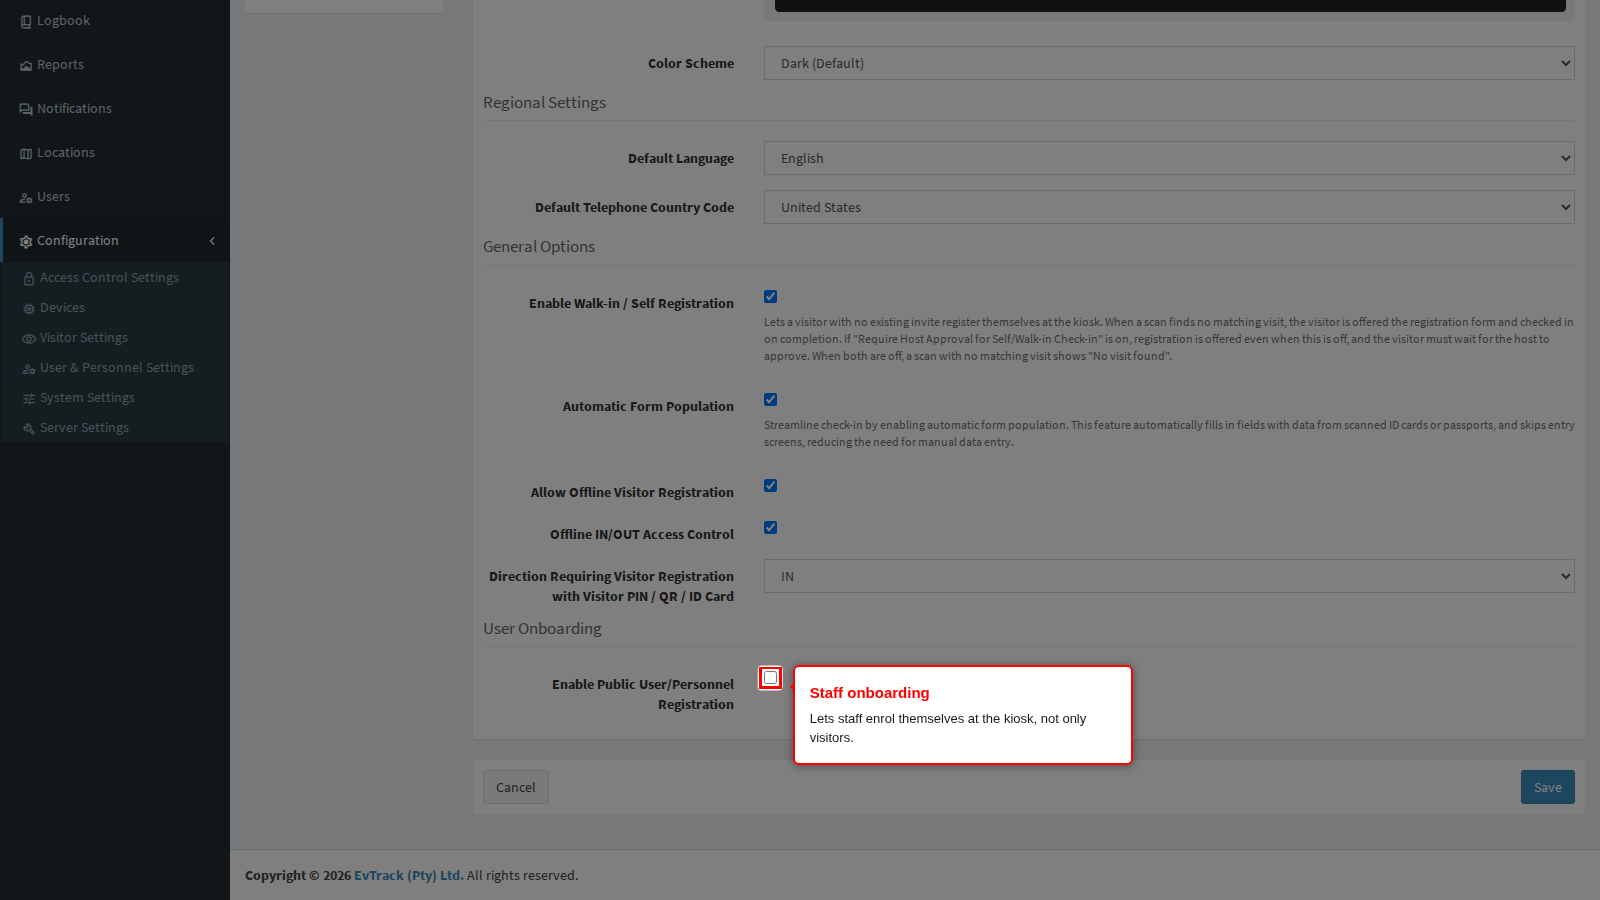
Enable Public User/Personnel Registration lets staff enrol themselves at the same kiosk instead of only visitors. Turn it on during an onboarding drive and off again afterwards, so the kiosk does not offer a staff option to the public. The fields that flow asks for are configured under User and Personnel Settings.
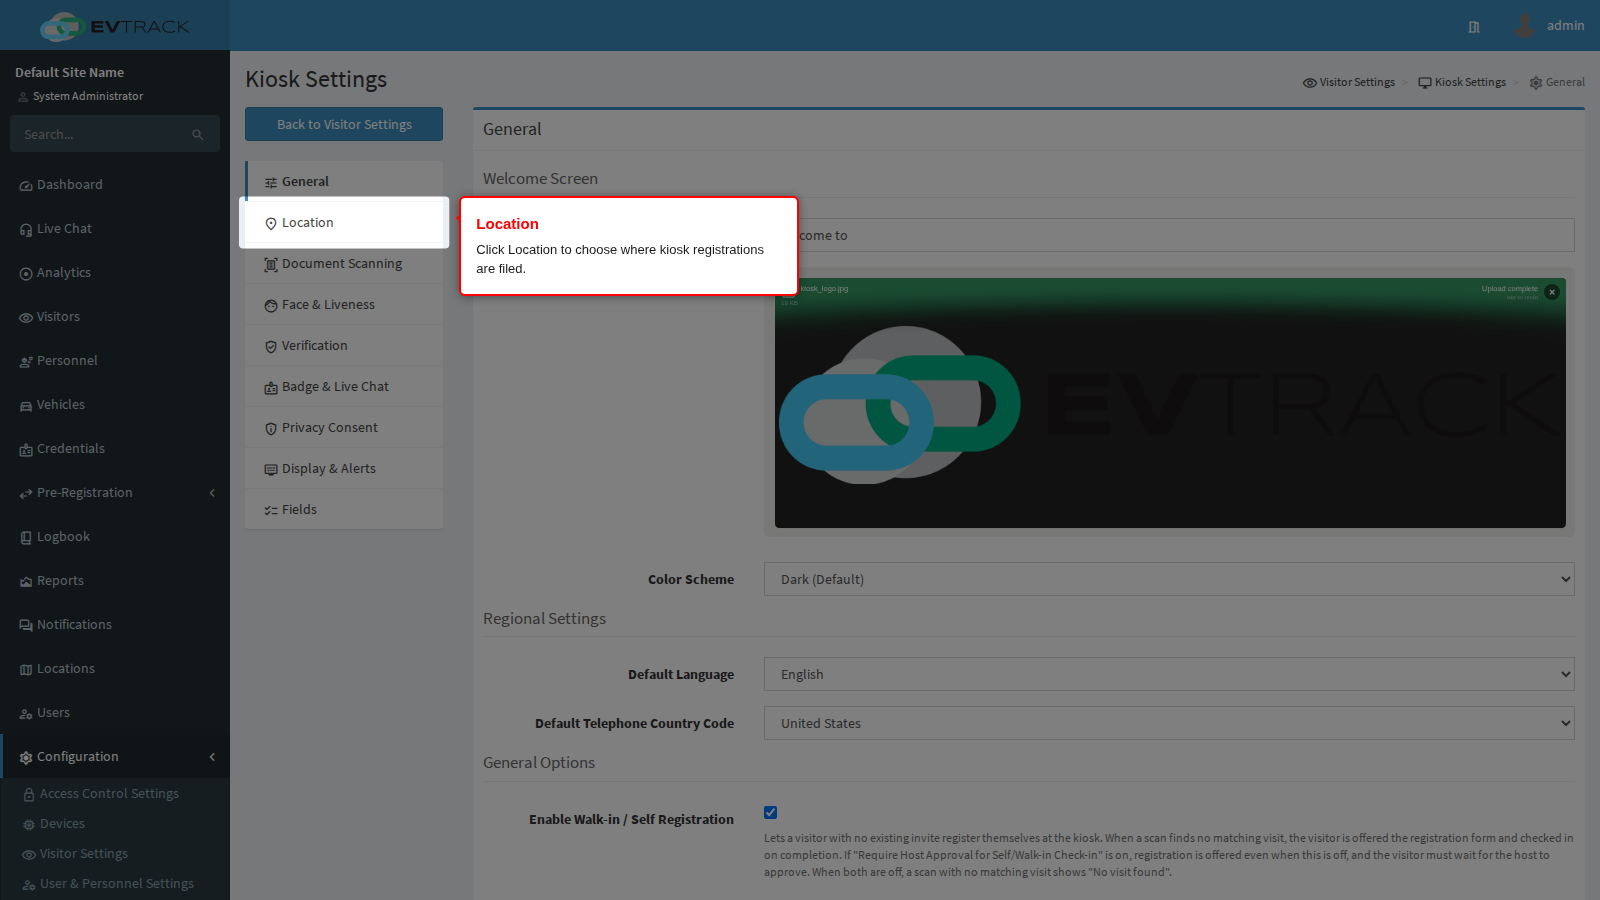
Location: where kiosk registrations are filed
Every visit is recorded against a location, and reports and access rules depend on it being right.
Inherit Kiosk Device Location makes a registration that arrives without a location fall back to the location assigned to the kiosk device record. Turn it on at multi-site installations so the tablet in the Cape Town lobby files its visitors against Cape Town without anyone choosing it.
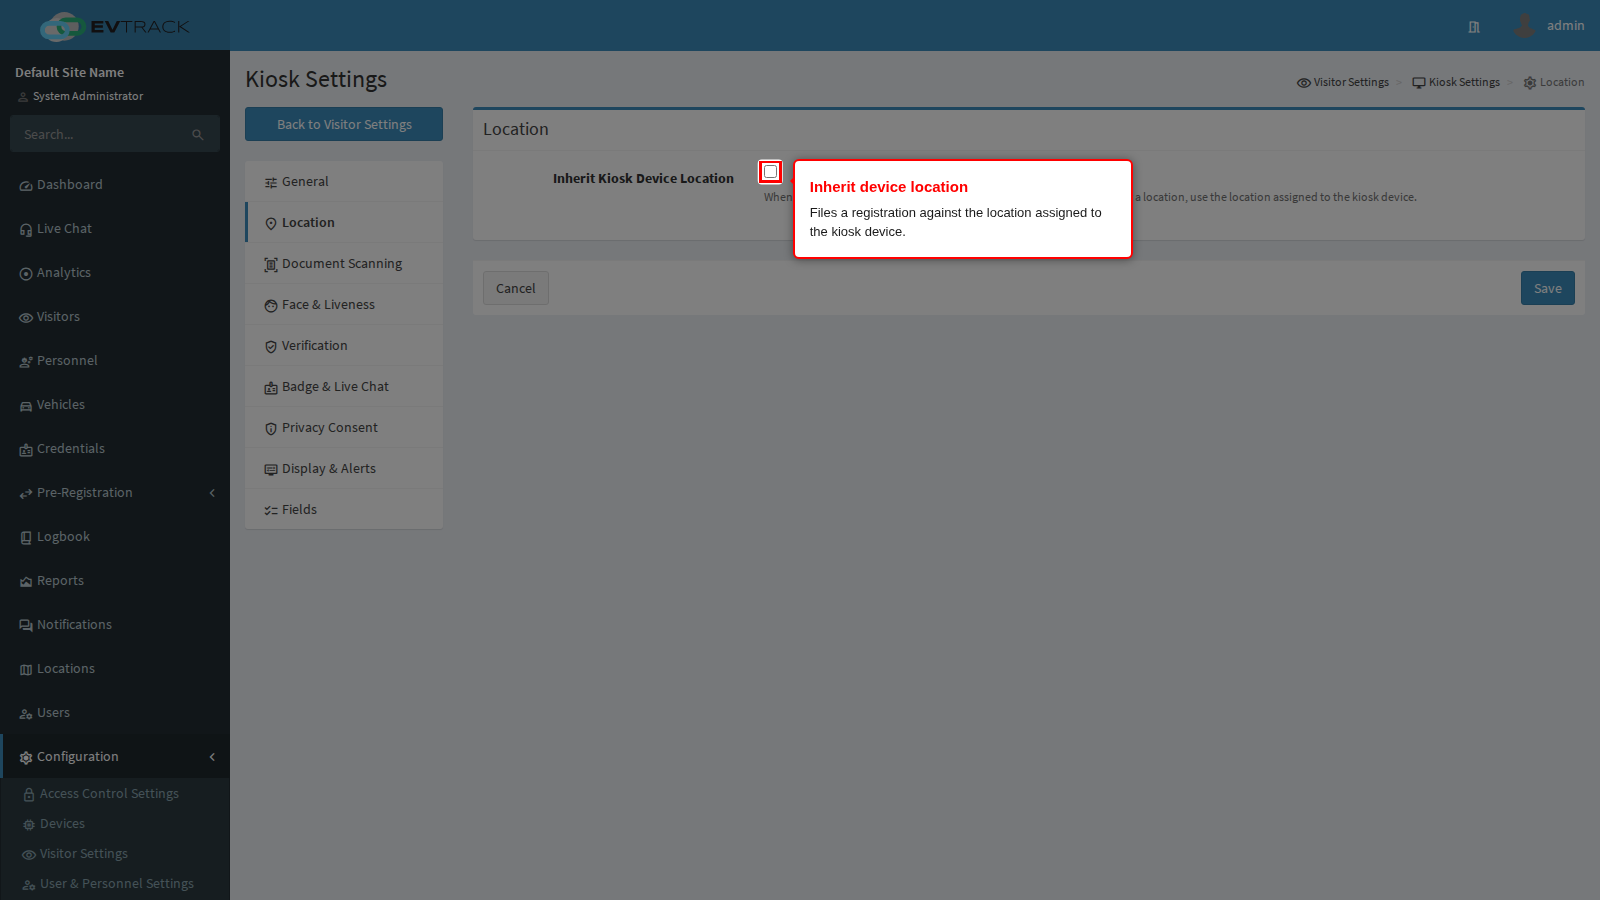
That fallback only matters when the visitor is not asked for a location themselves, which is the Location row on the Fields panel. Switch the field off and rely on the device, or switch it on and let the visitor choose; having both off is what produces visits with no location.
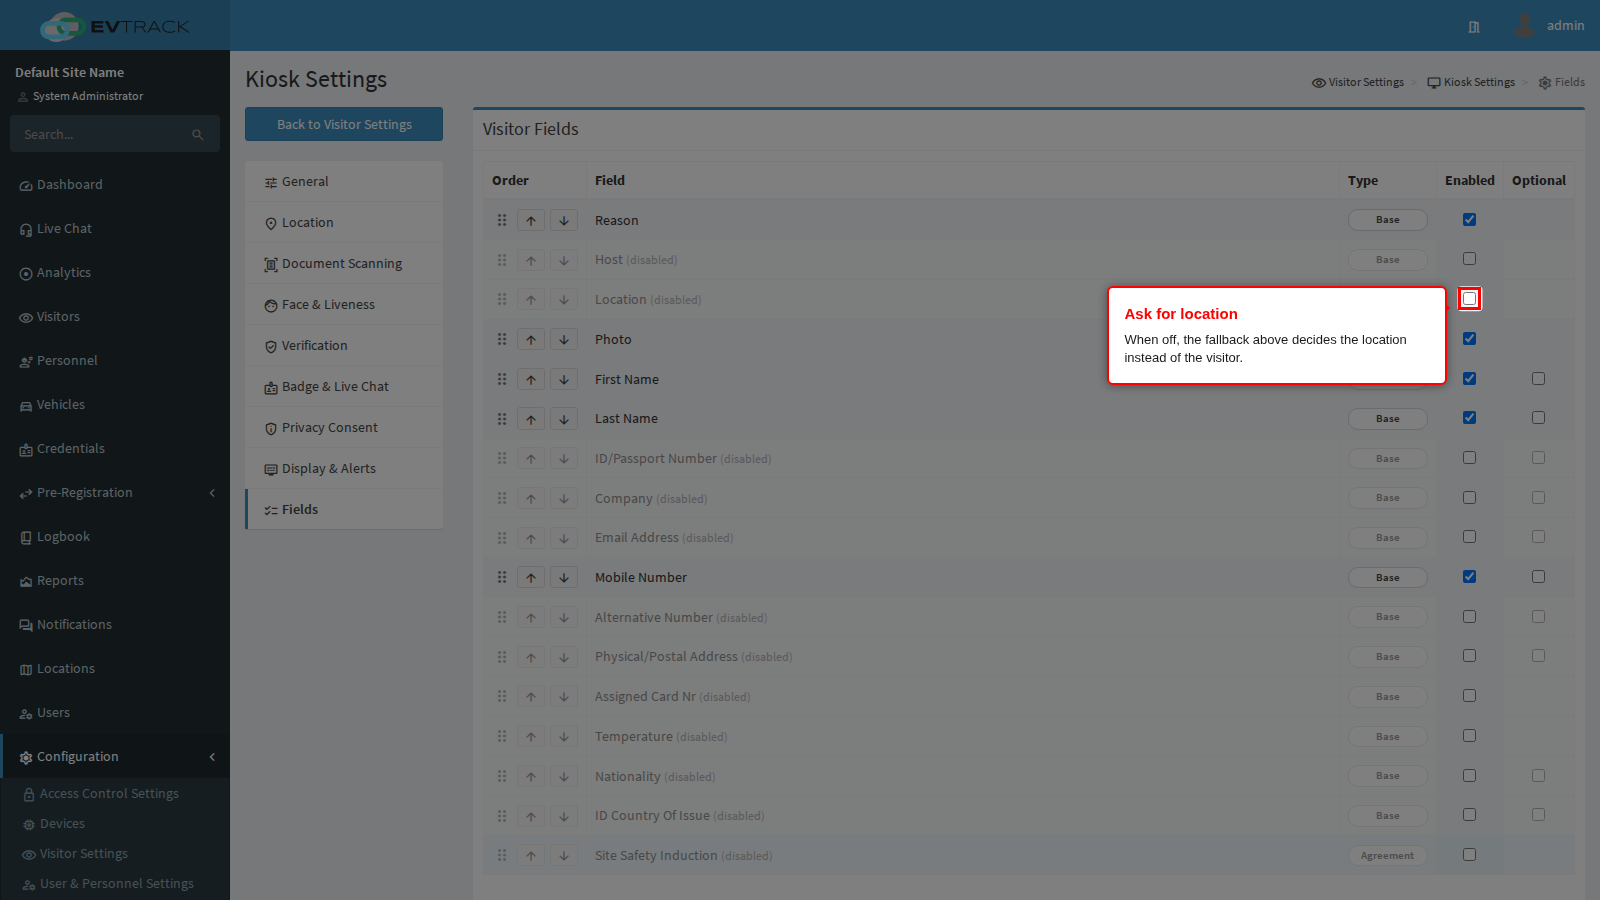
End state: with the device location assigned and the fallback on, every kiosk registration lands on the right site with no visitor input.
Document Scanning
This panel turns the kiosk camera into a document reader.
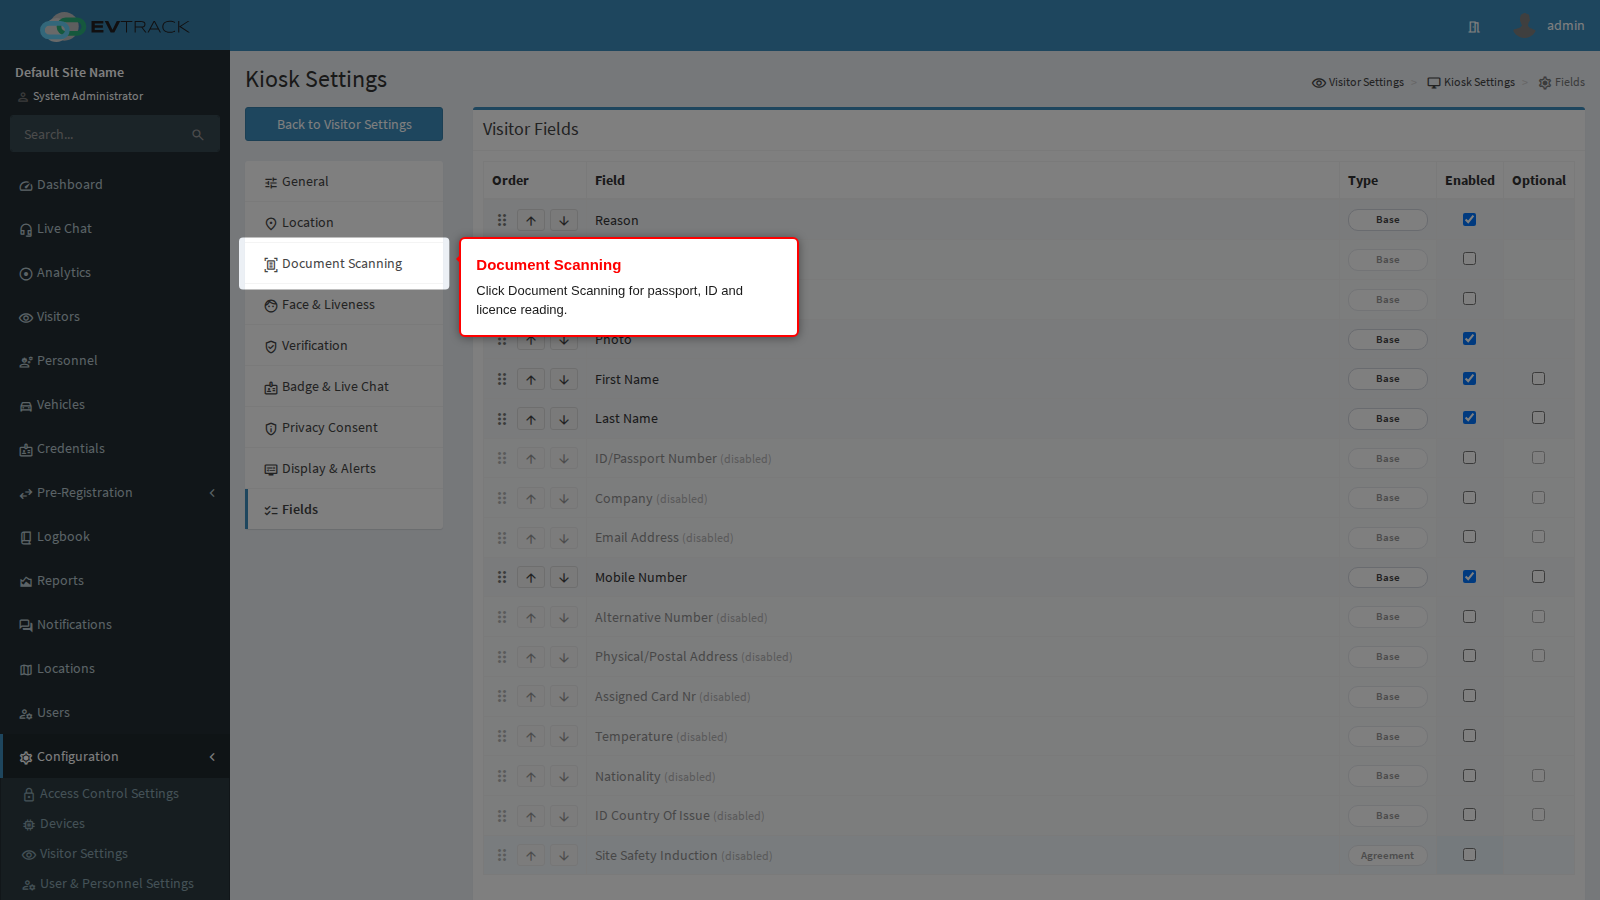
Check-in with ID/Passport Scanning offers document scanning as a way to check in, so a returning visitor holds up their passport instead of typing anything.
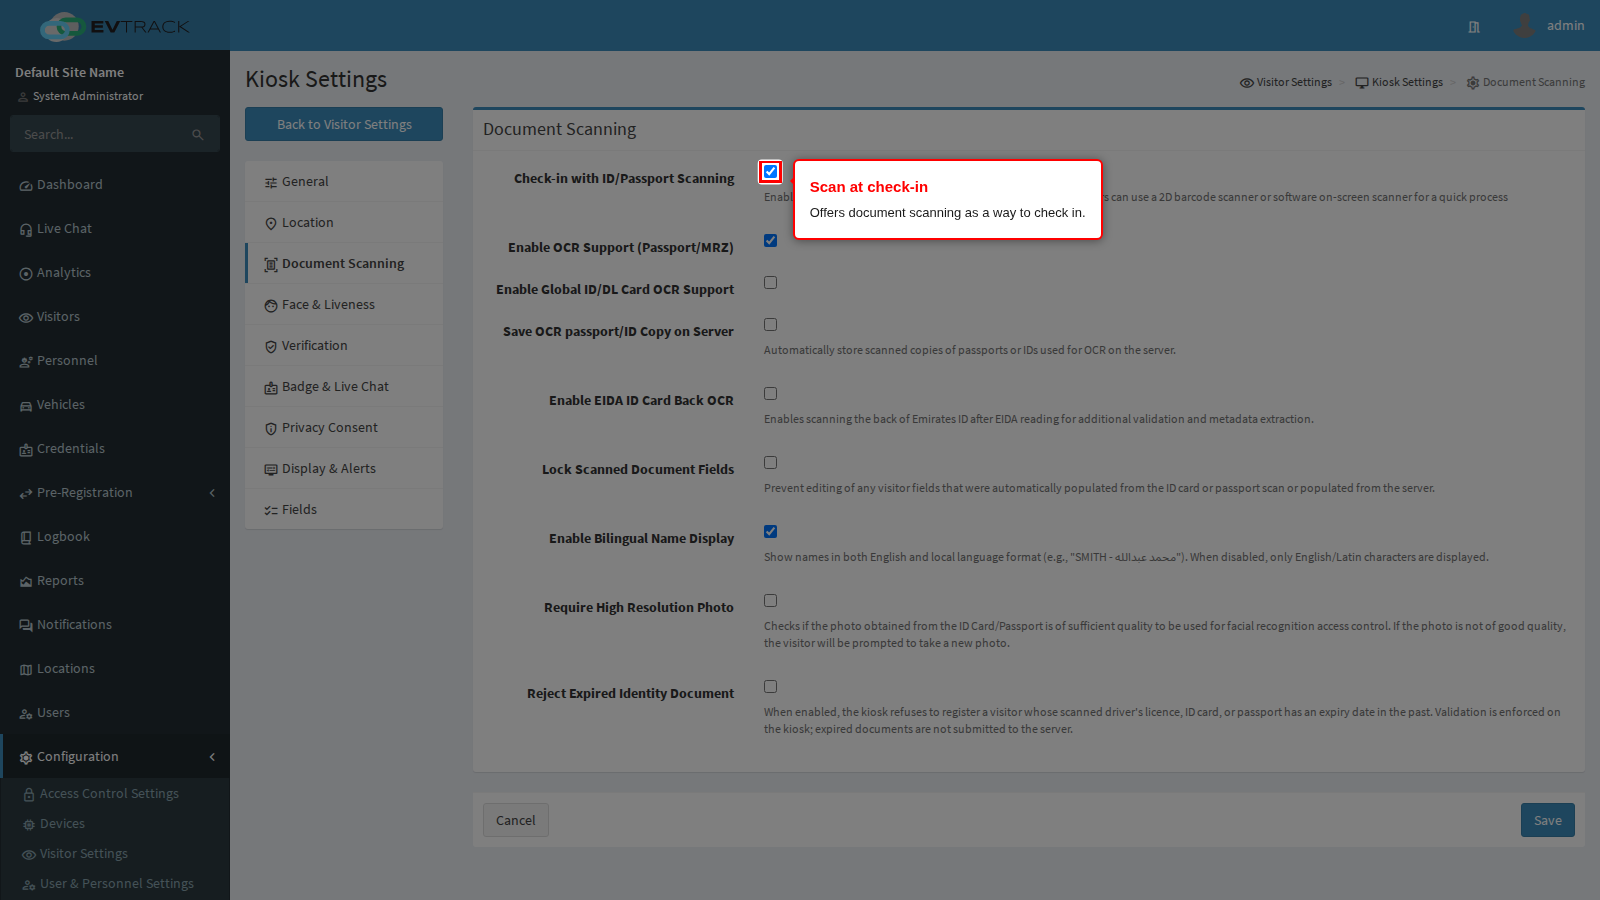
Enable OCR Support (Passport/MRZ) is what puts the ID Card or Passport tile on the kiosk. With it on, the visitor picks that tile and the kiosk opens a full-screen camera view that names the document type as it recognises it, then reads the details off the document and fills the form. There is always an escape route on that screen, I do not have a ID/Passport, which drops the visitor into the ordinary typed form, so nobody is trapped by a document the kiosk cannot read. It is on out of the box.
Three things decide whether it does anything:
- It needs Check-in with ID/Passport Scanning on as well. With document scanning off, the tile never appears no matter what this switch says. Turn both on.
- Enforce Same Document for Pre-Registration and Check-in, further down the Face and Liveness panel, narrows it: with that on, the document tile is offered on the way in only to visitors who pre-registered. A walk-in gets no document tile at all. Check-out is unaffected.
- Attached document hardware wins. If the kiosk has a dedicated document scanner plugged into it, that scanner handles the read and the reading options below make no difference. Only kiosks reading with their own camera are affected by the next setting.
The camera reading is done entirely on the tablet, so it keeps working with no network, and a failed read is never fatal: the visitor is offered a retry or can carry on, and the message clears itself after half a minute.
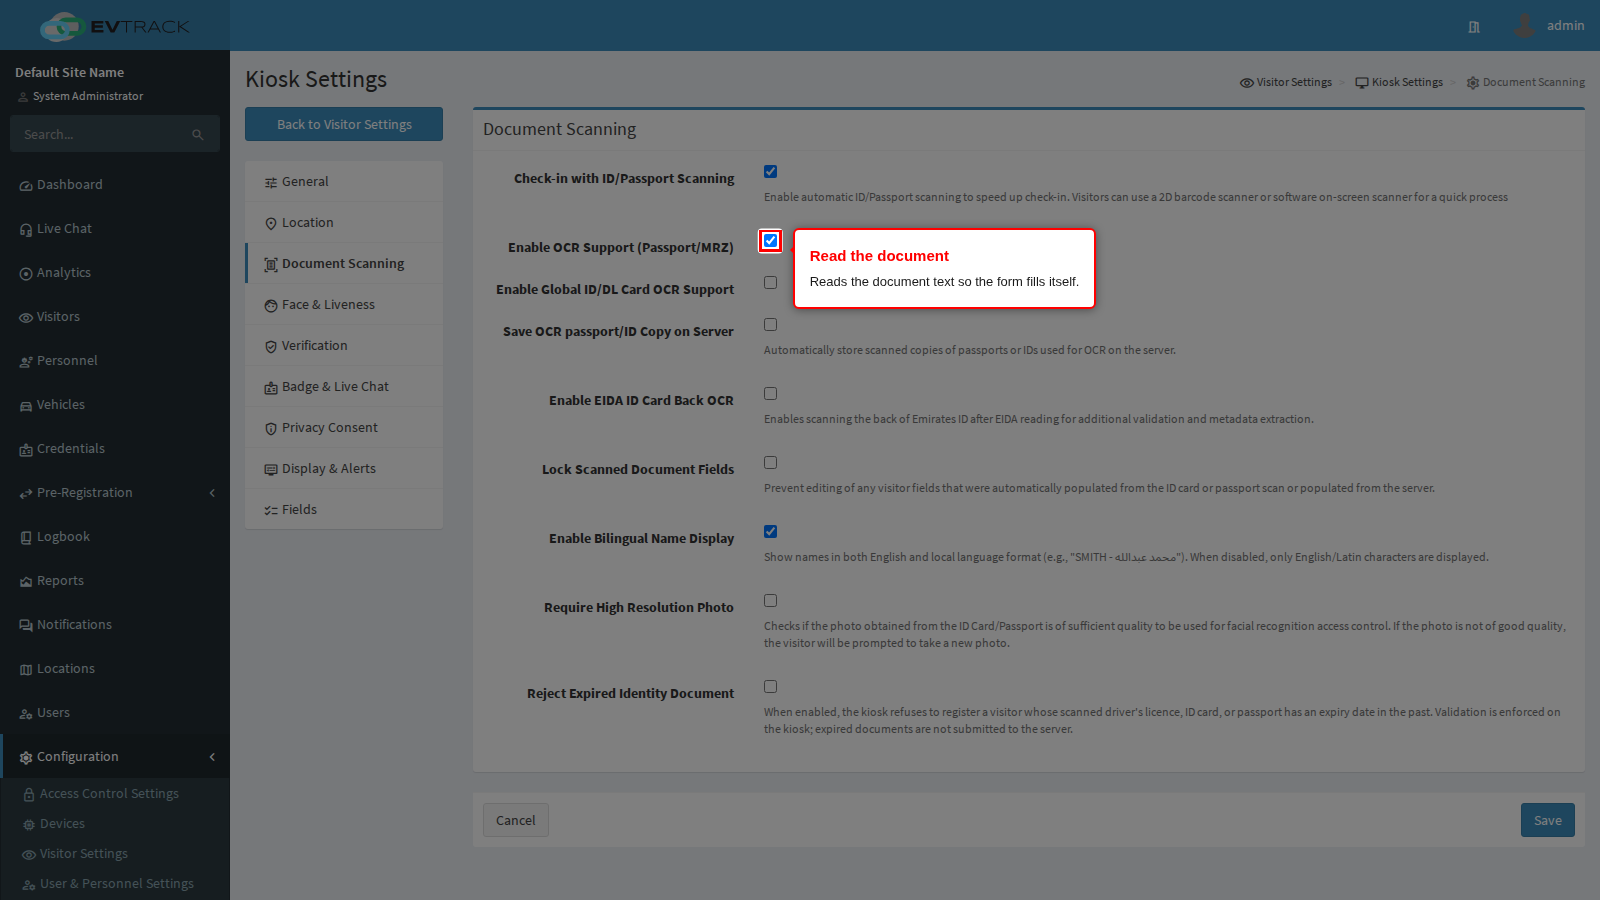
Enable Global ID/DL Card OCR Support is the switch directly below the one highlighted above, and it swaps the built-in camera reader for a wider one. The built-in reader is aimed at passports and the machine-readable strip at the bottom of them. The global reader adds national identity cards and driving licences from a much larger set of countries, tells the visitor which document type it has recognised, and is what produces names in both scripts when Enable Bilingual Name Display is on. It is off out of the box.
Turn it on wherever your visitors arrive with something other than a passport - a national ID card, a driving licence - and leave it off if every visitor presents a passport, since the narrower reader is one less moving part.
Two limits are worth knowing before you rely on it:
- It is ignored on a kiosk with a document scanner attached. The setting only chooses between the two camera readers. A site that standardises on scanner hardware can turn this on and see no change whatsoever.
- The wider reader is licensed, and it does not fall back. If its licence has lapsed or does not match the installed app, the visitor sees a message asking them to restart the device and try again, and the document route is unusable until the licence is fixed. The kiosk does not quietly drop back to the built-in reader. If document scanning suddenly stops working on every kiosk on the same day, this is the first thing to check.
Enable EIDA ID Card Back OCR reads the back of an Emirates ID for extra validation. It works on its own hardware path and is not affected by the global reader switch above.
Save OCR passport/ID Copy on Server stores the scanned image against the visitor record. It is useful evidence and it is personal data, so switch it on only where your privacy notice covers it, and pair it with the Privacy Consent panel below.
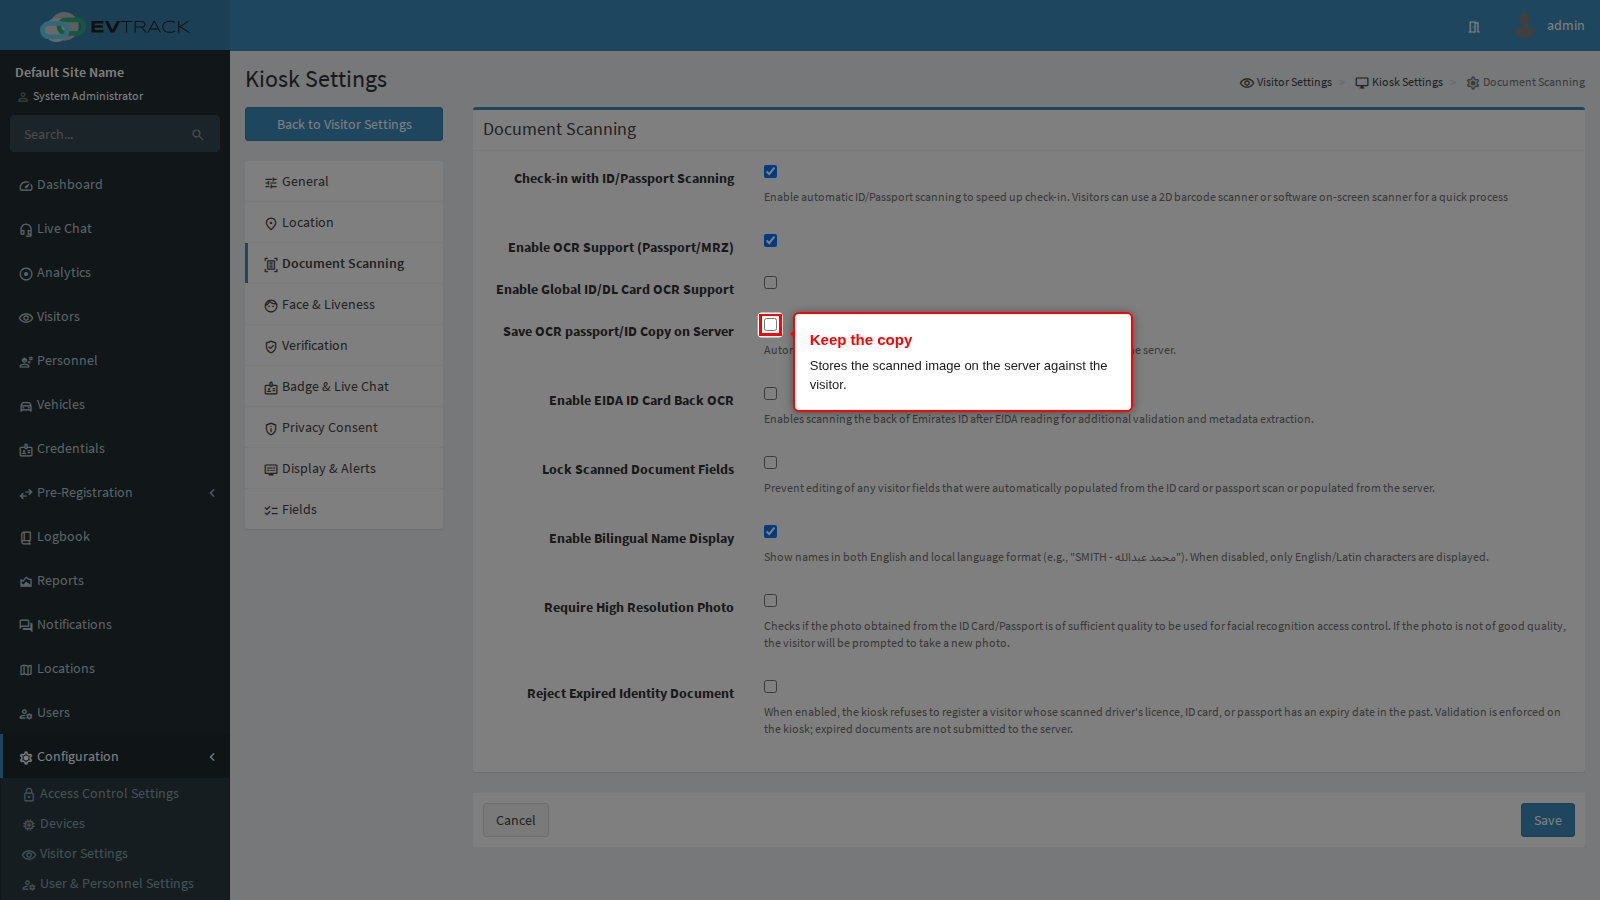
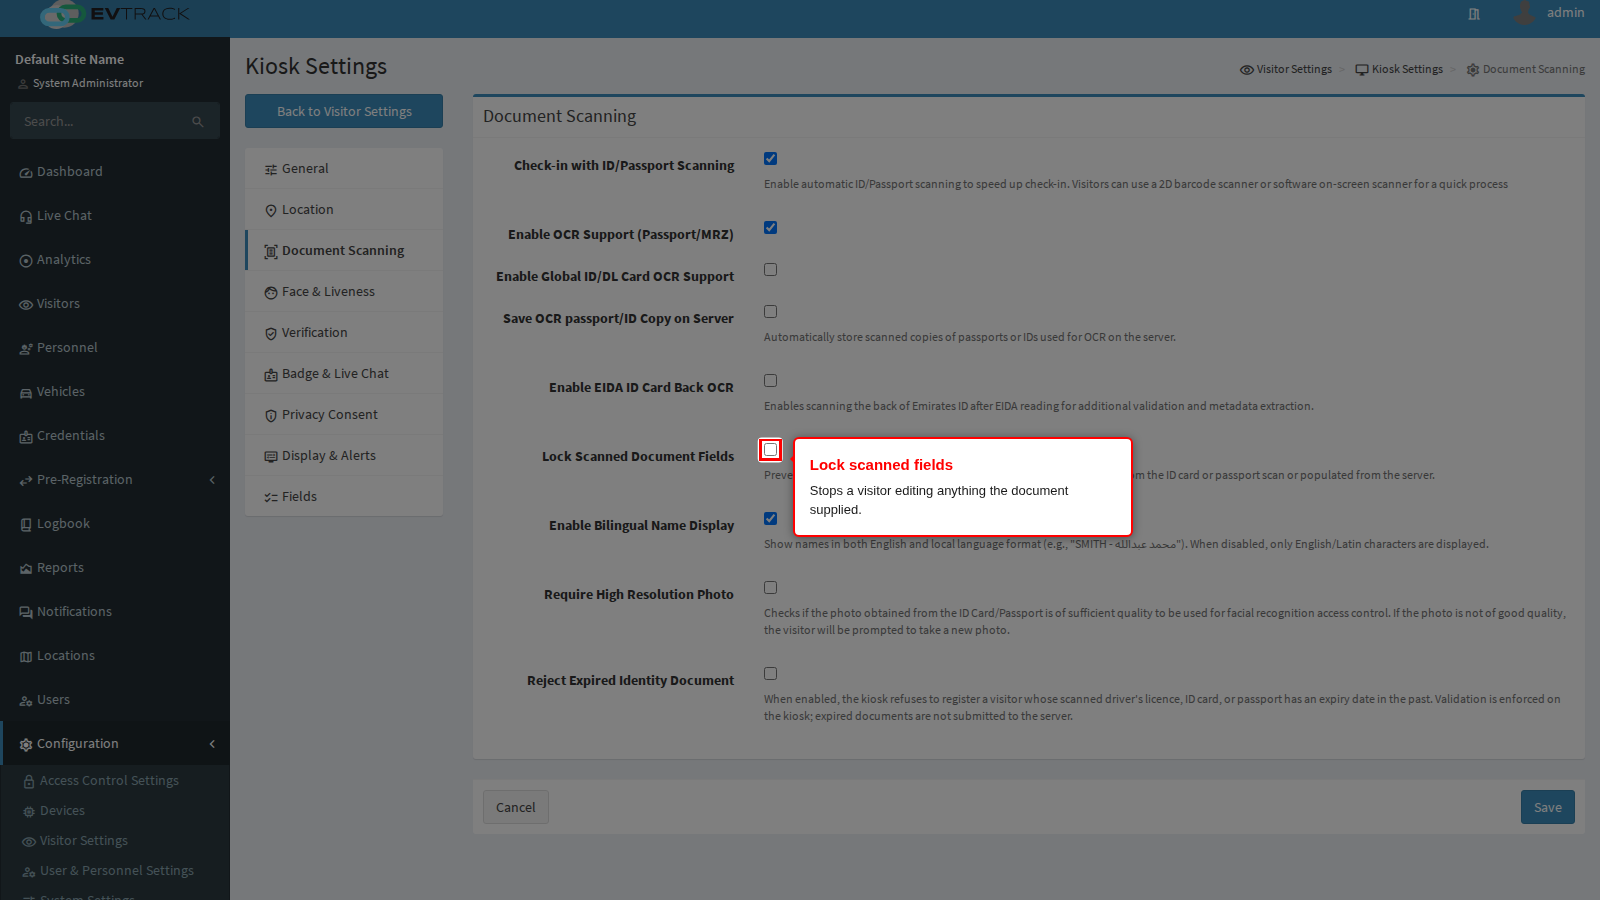
Lock Scanned Document Fields stops the visitor editing anything the document supplied. Turn it on where the point of scanning is that the visitor cannot invent a name. Enable Bilingual Name Display and Require High Resolution Photo are the other refinements on this panel: the first shows names in both scripts, the second insists the document photo is sharp enough to be used for face matching.
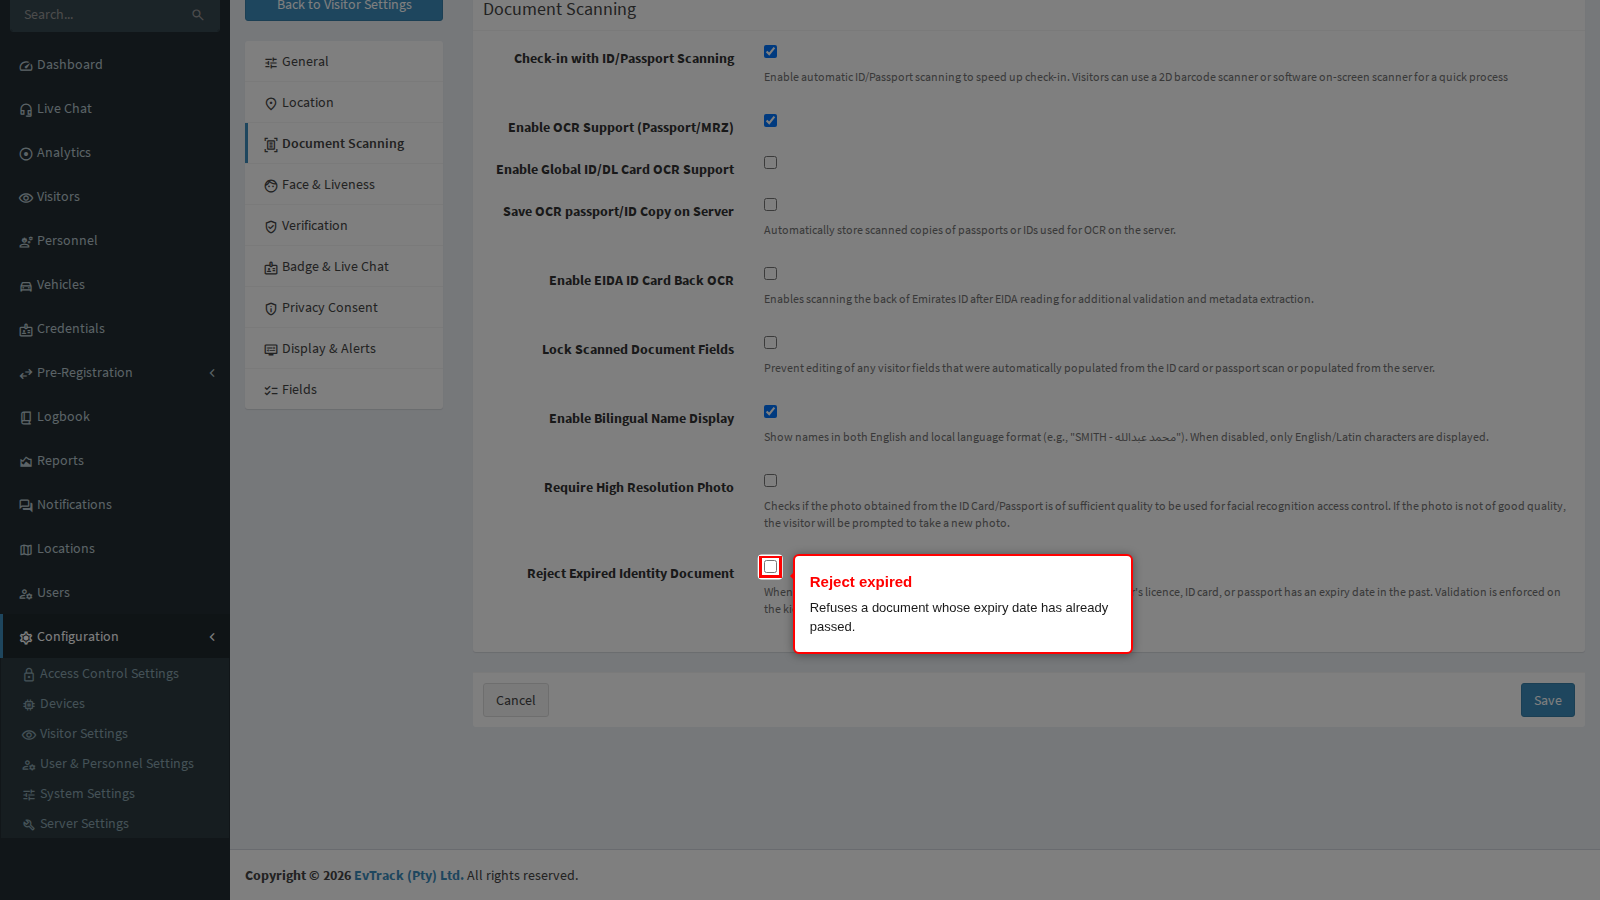
Reject Expired Identity Document refuses to register a visitor whose licence, ID card or passport expired in the past. The visitor sees the kiosk decline the document and is sent to reception.
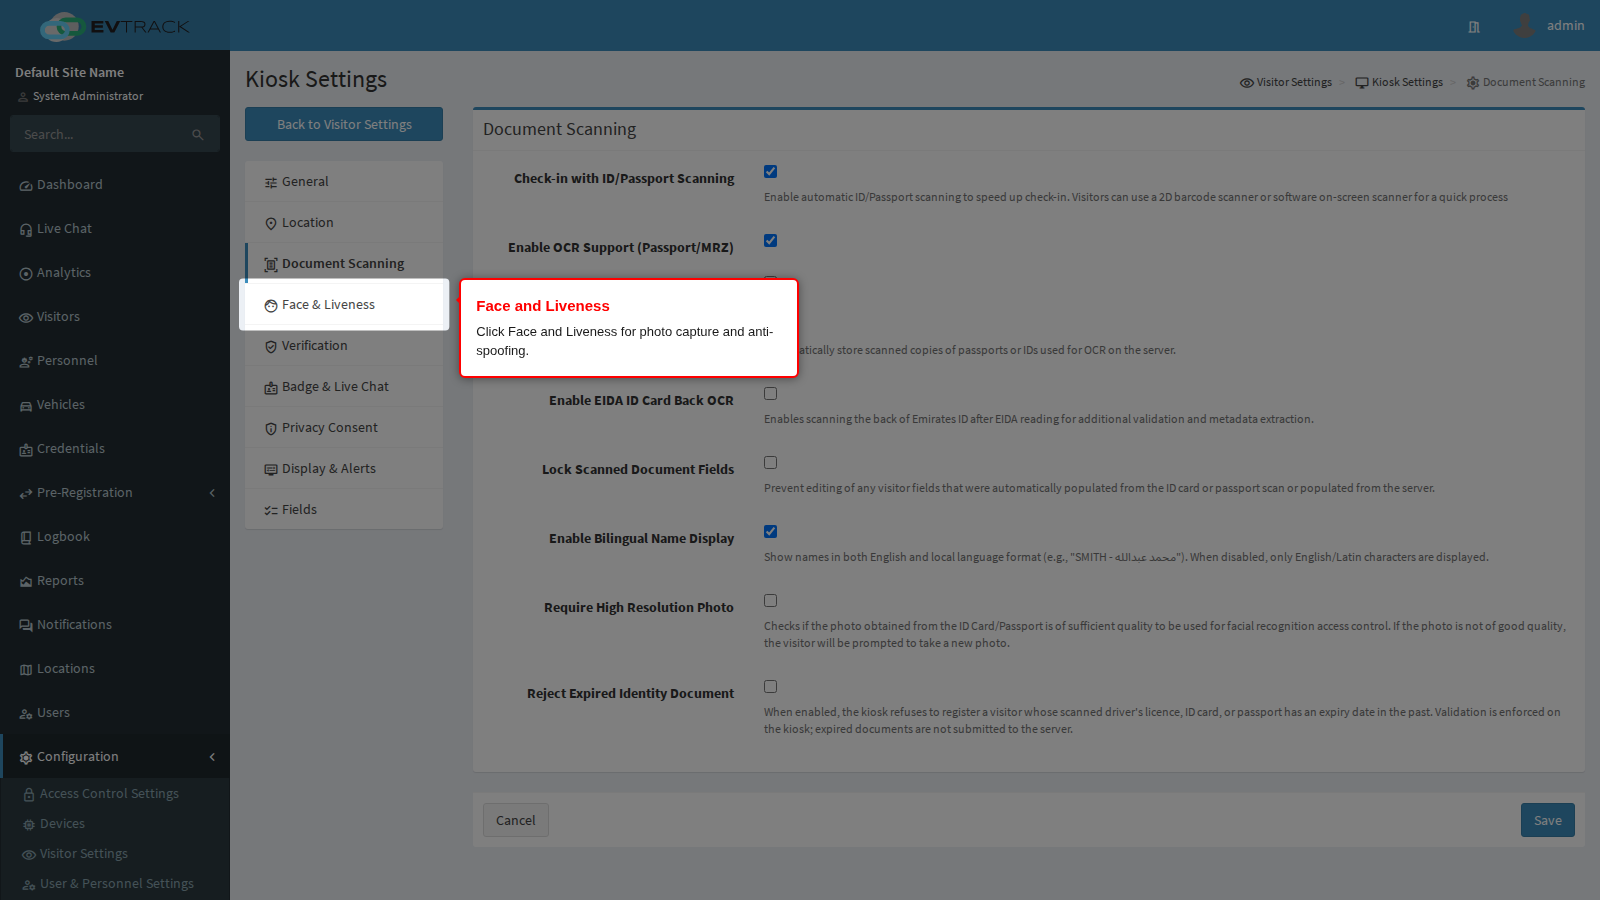
Face and Liveness
This panel governs the visitor photo: whether one is required, whether it is a real person, and whether it matches their document.
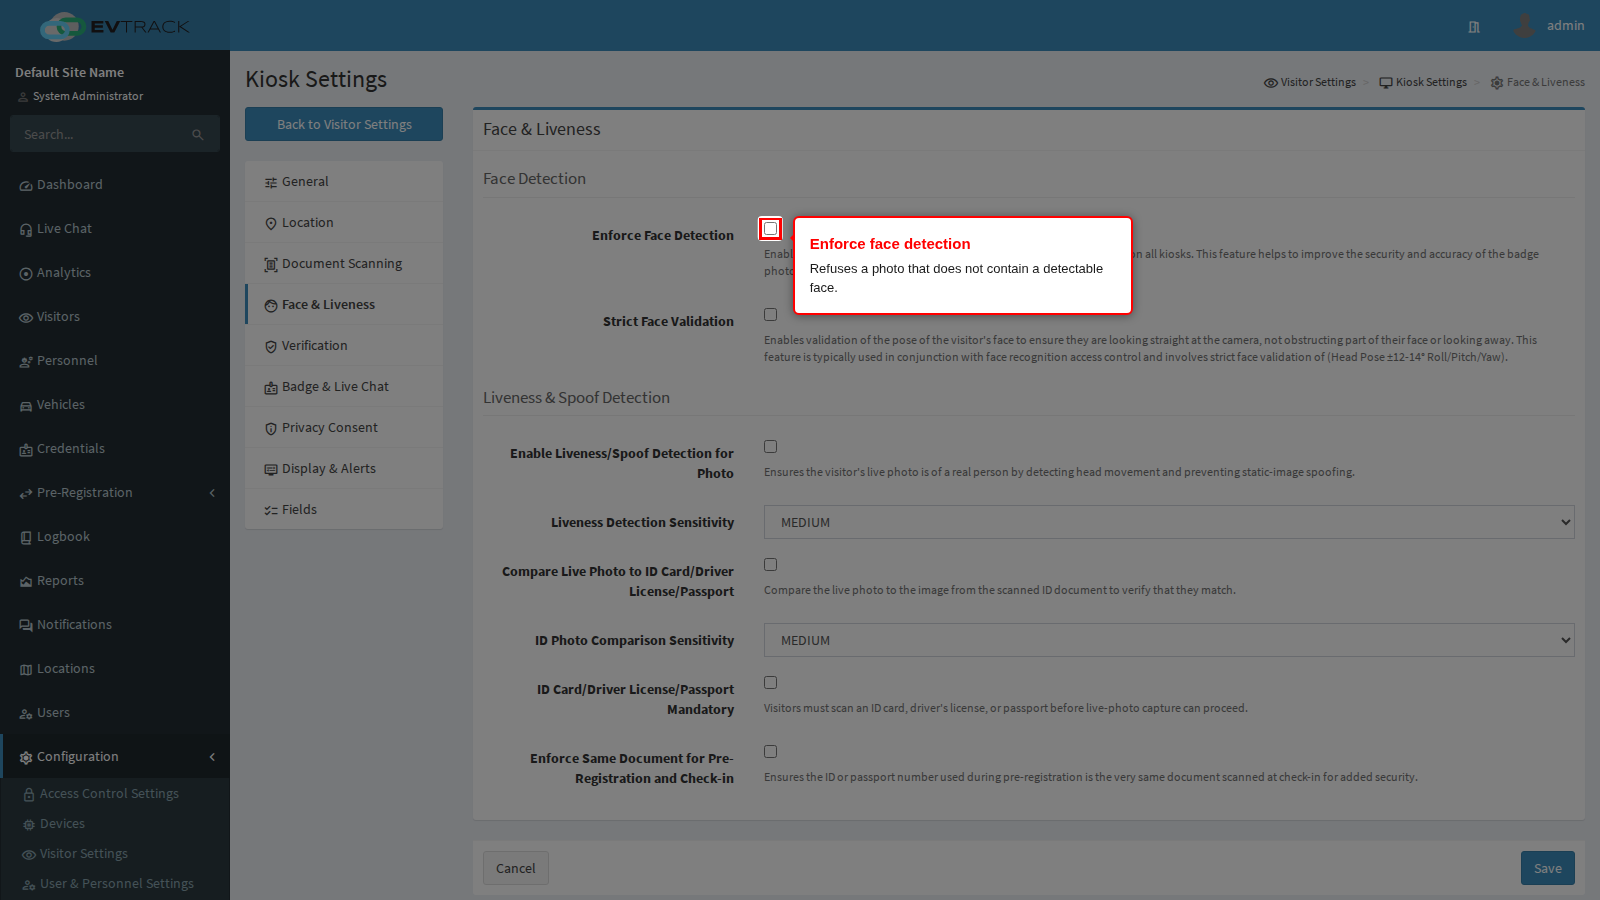
Enforce Face Detection refuses a photo with no detectable face, which is what stops a record being created with a picture of the ceiling. Strict Face Validation additionally checks head pose so the photo is usable by face readers later.
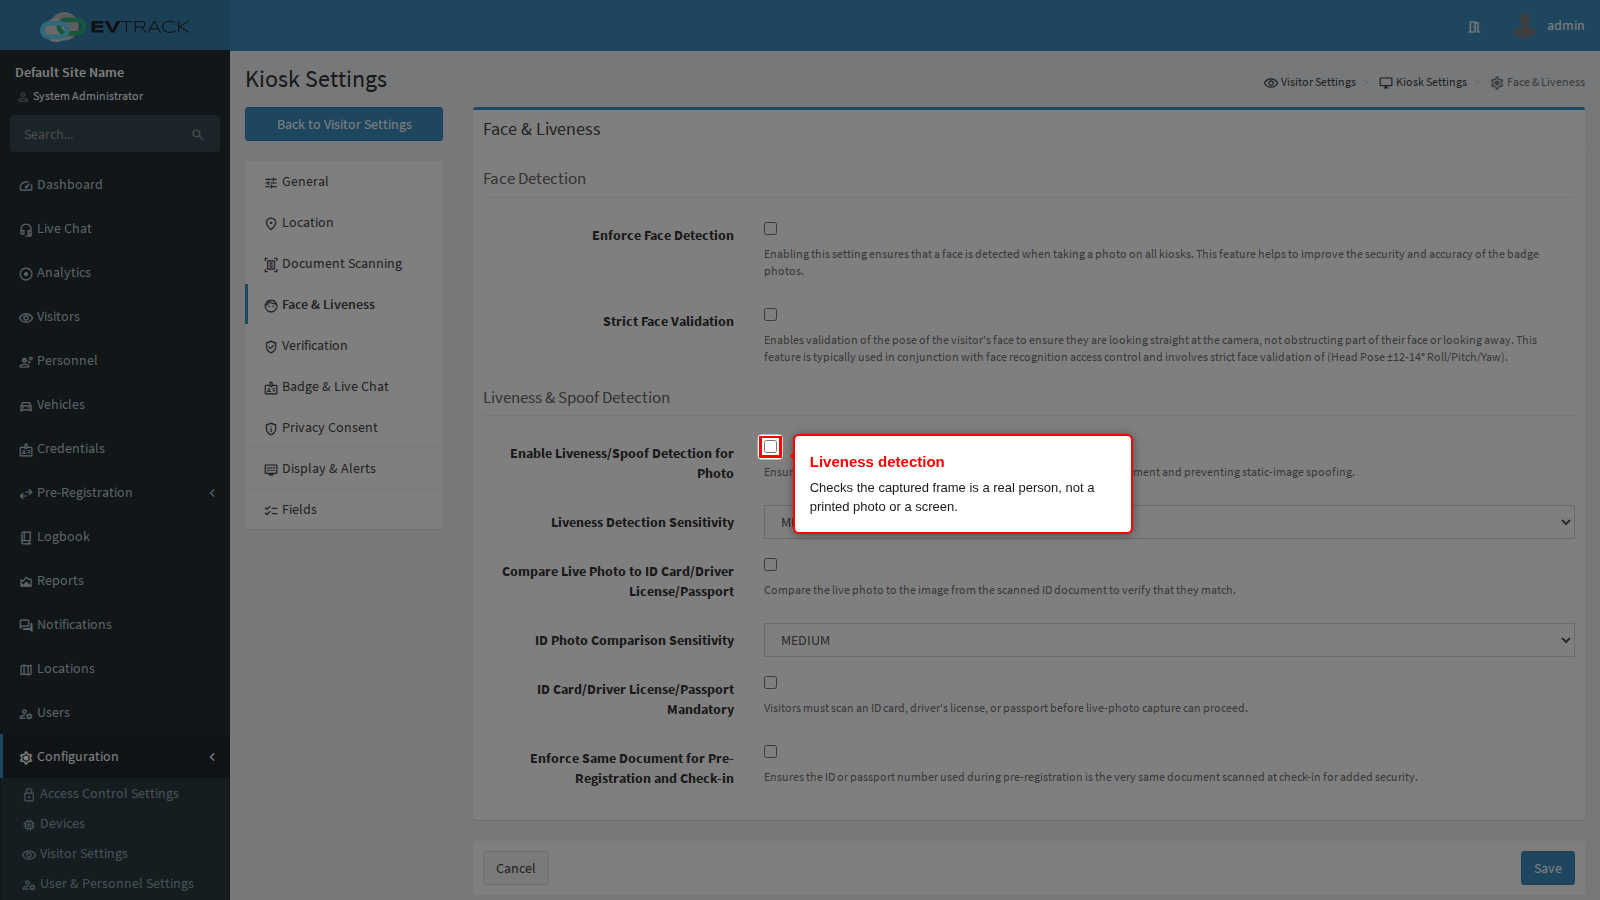
Enable Liveness/Spoof Detection for Photo checks that the photo the kiosk is about to take is of a real person in front of the camera and not a printed photograph or a picture held up on a phone screen. It is off out of the box.
The visitor is not asked to do anything: the check runs on the frame the kiosk was about to keep, so there is no instruction to follow and nothing extra to explain at reception. If the frame is judged not to be a live person, no photo is taken, an orange Live verification required banner appears, the countdown pauses for about three seconds and then starts again. There is no dialog, no limit on attempts and no way to skip, so a visitor who cannot get past it cannot finish registering and has to be helped by a person.
Turn it on wherever the photo is used as a credential - where it feeds face readers or is compared with a document - rather than where it only decorates a badge.
Four situations in which it quietly does nothing, all worth checking before you rely on it:
- A kiosk using an external or USB camera does not run the check at all. If the tablet is set to an external camera on the device record, or the visitor switches to one, the photo is captured with no liveness check and no warning anywhere in the admin screens.
- If Photo is not one of the fields the kiosk asks for, there is no capture to check.
- Automatic Form Population can skip the camera entirely. When the visitor scanned a document that carried a portrait, the photo field is filled from the document and submitted without opening the camera, so nothing is checked. Require High Resolution Photo on the Document Scanning panel is the counter-measure: it discards the document portrait and forces a fresh capture.
- If the camera loses the face at the moment the countdown reaches zero, the check is skipped and the photo is accepted.
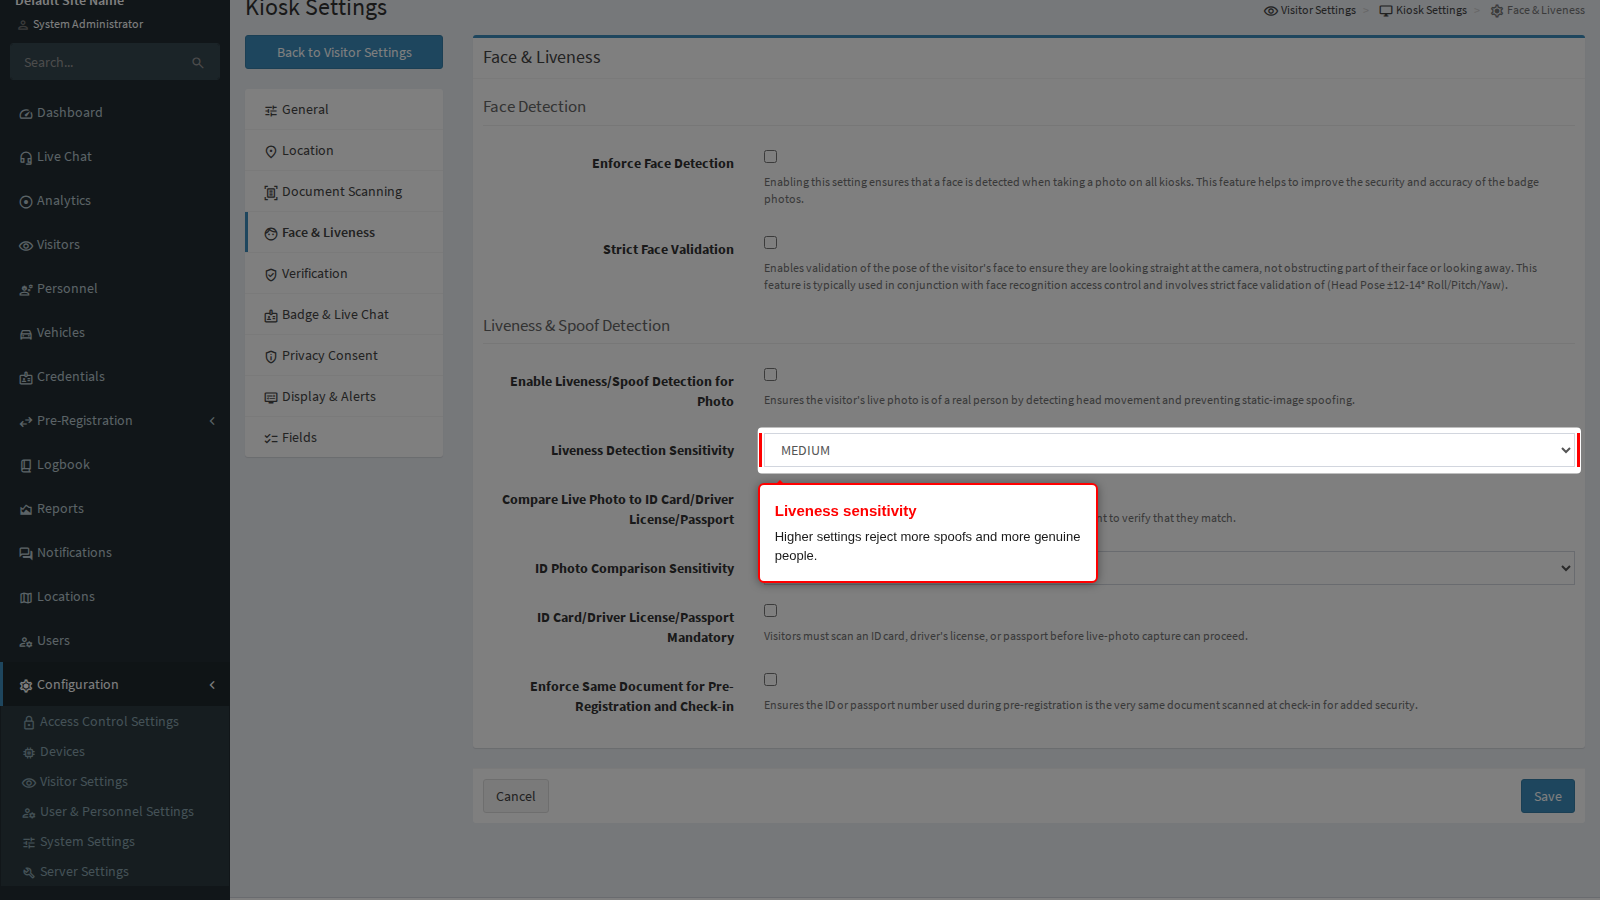
Liveness Detection Sensitivity is how certain the kiosk must be before it accepts the frame, offered as LOW, MEDIUM or HIGH. The supplied value is MEDIUM. HIGH rejects more spoofing attempts and also more genuine visitors in poor light or against a bright window, which shows up as visitors stuck at the photo step; LOW lets a queue move but is easier to defeat with a good print. Start at MEDIUM, and if you raise it, look at your lobby lighting at the same time.
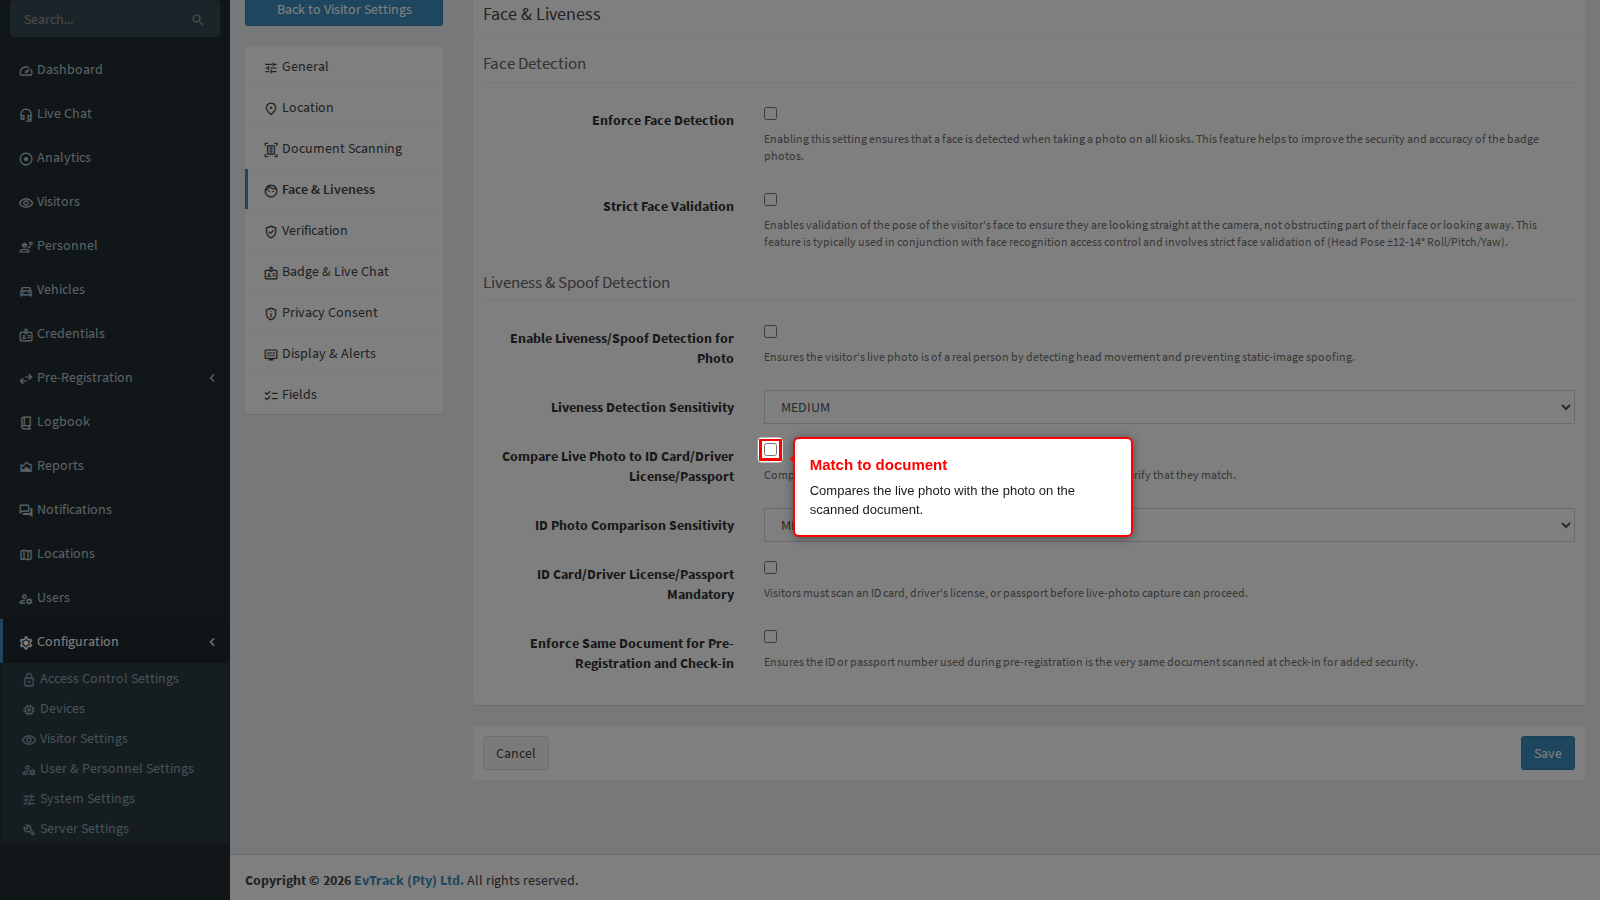
Compare Live Photo to ID Card/Driver License/Passport matches the photo just taken against the portrait read off the document, so somebody cannot check in on a borrowed passport. It is off out of the box.
This is the only kiosk option that turns a visitor away by itself. On a mismatch the visitor gets one warning, Face Verification Failed - the photo does not match your ID. Please try again, with a single Retry. If the second attempt also fails, the kiosk shows Face verification failed. Registration cancelled and abandons the registration. They have to be dealt with at reception, so tell reception what this looks like before you enable it.
Prerequisites and interactions:
- It needs a document portrait from the same session, which in practice means document scanning and the reading options above are on and the visitor chose the document route rather than a code or a PIN. A visitor who scans a QR code has no document photo to compare against.
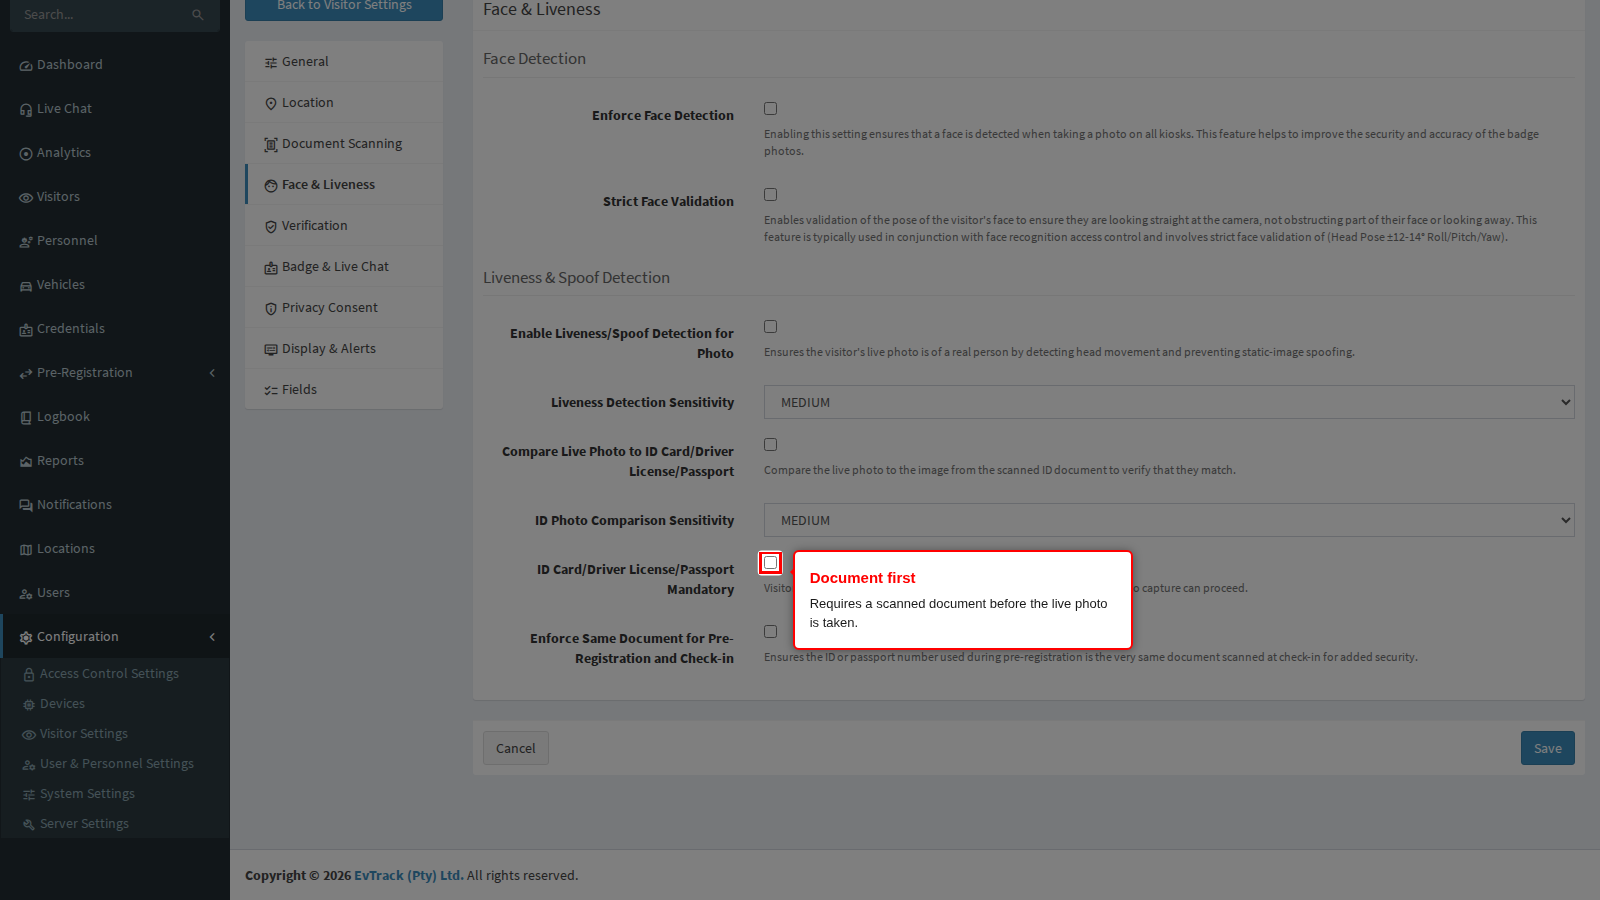
- Require ID/Passport for Photo Verification decides what happens when there is no document portrait. With it on, the visitor is stopped with a message that the document photo is not available. With it off, the comparison is skipped and check-in continues, which is the gentler setting and the one to choose unless every visitor really must present a document.
- Automatic Form Population skips it by the same route as liveness, and Require High Resolution Photo is again the counter-measure.
- Unlike liveness, this one does run on kiosks using an external camera.
ID Photo Comparison Sensitivity is offered as LOW, MEDIUM or HIGH and is supplied as MEDIUM. In the current app the strictness of the match is the same at all three levels, so changing it is not a way to loosen or tighten the comparison. If genuine visitors are being refused, the lever that works is the photo quality itself: better lighting at the camera, and Require High Resolution Photo so the comparison runs on a fresh capture rather than a small document portrait.
Require ID/Passport for Photo Verification insists on a scanned document before the live photo is taken, which is what makes the comparison above possible. Enforce Same Document for Pre-Registration and Check-in goes one step further and requires the visitor to arrive with the same document they pre-registered with.
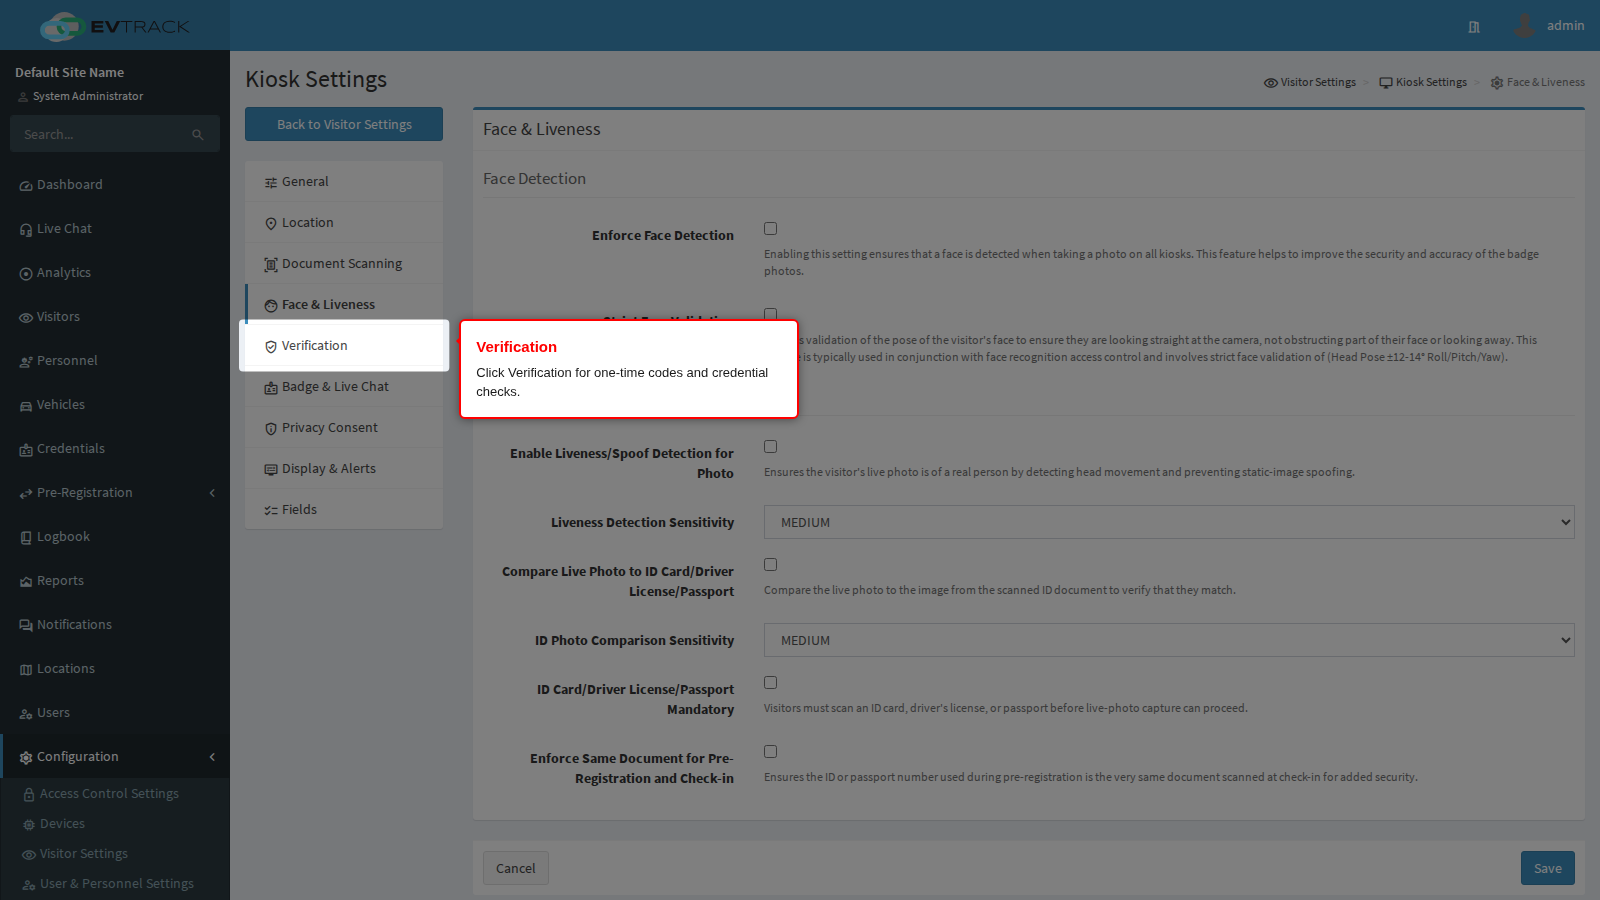
Verification
This panel decides how a visitor proves who they are at the kiosk.
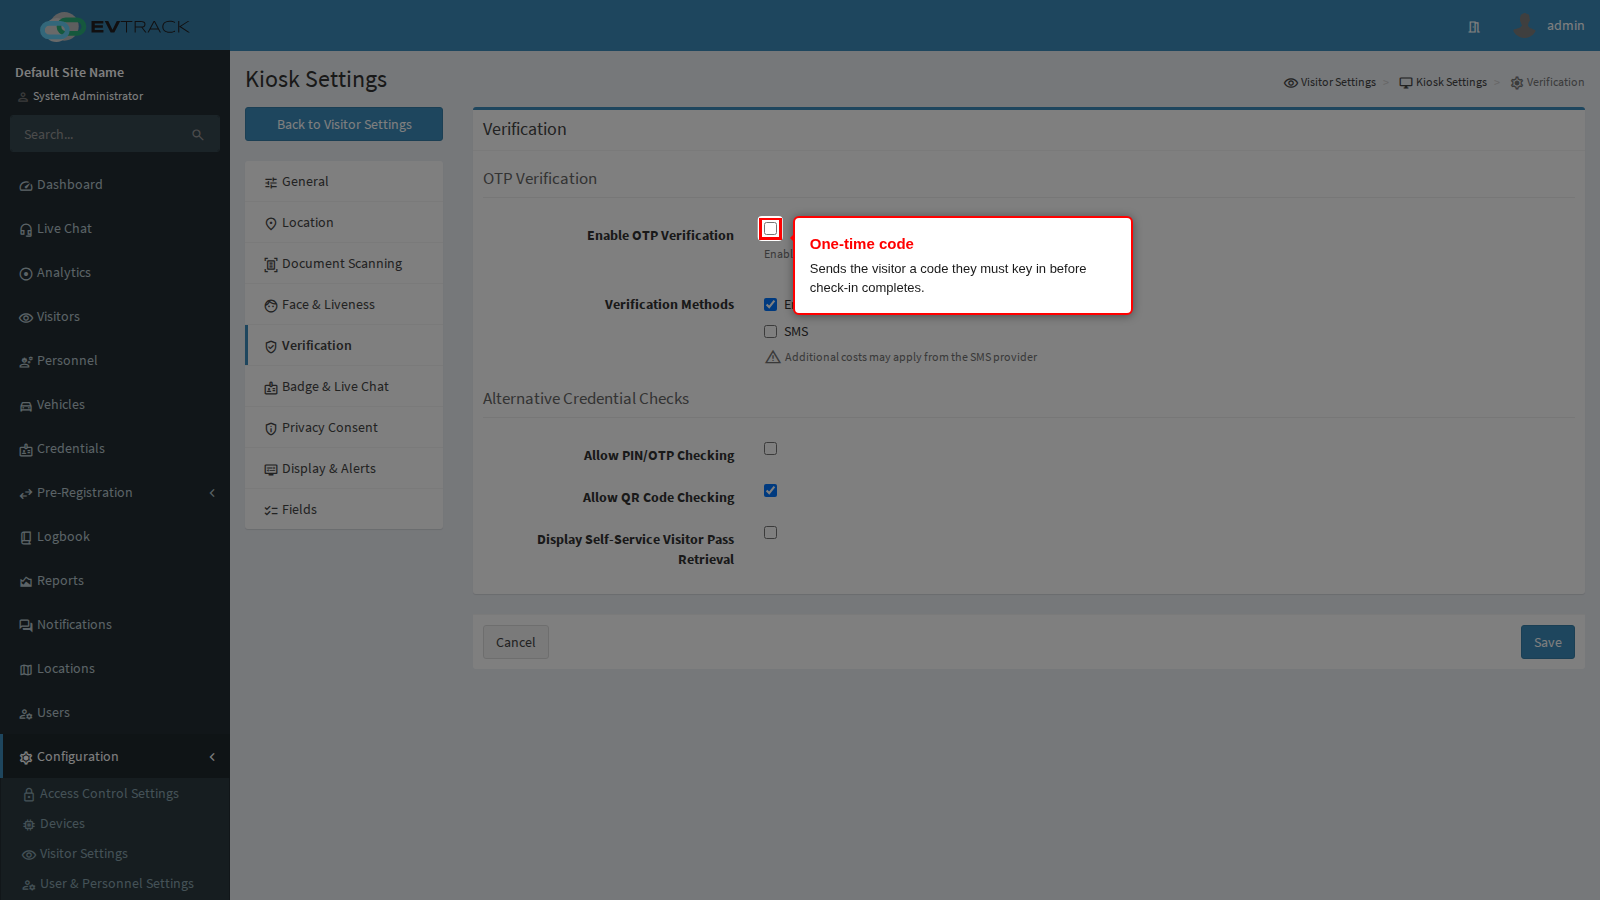
Enable OTP Verification sends the visitor a one-time code they must key in before check-in completes. It proves they are reachable on the contact details on file, which matters most for walk-ins nobody invited.
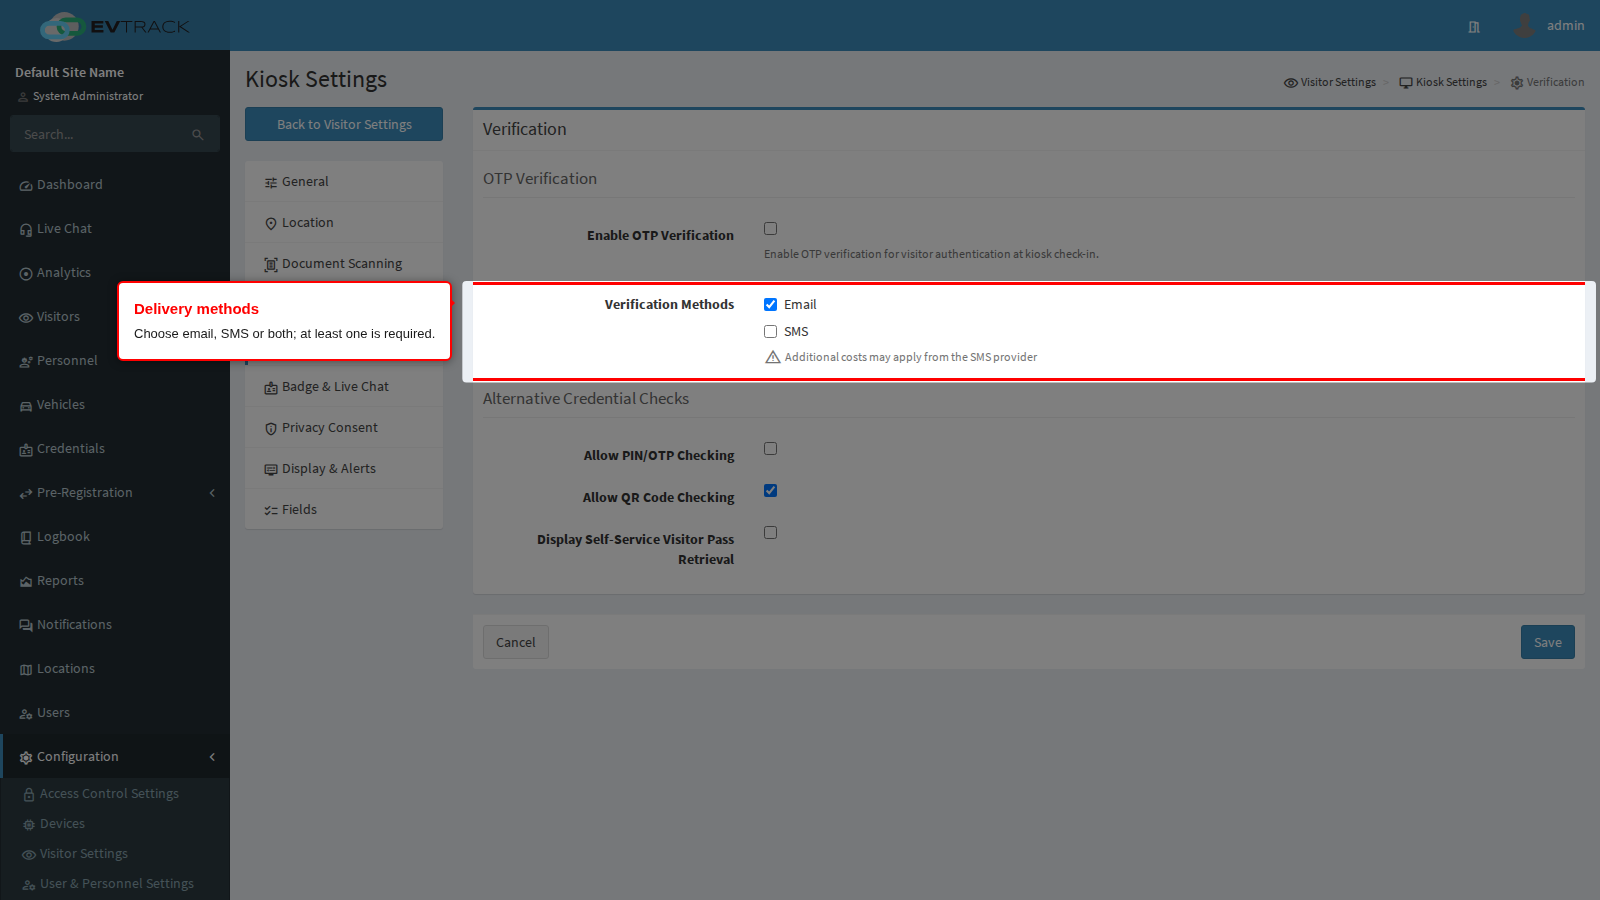
Verification Methods chooses how that code travels. At least one method must be ticked. Email is free and needs an email address on the visitor record; SMS reaches people who gave only a mobile number and costs money per message. Ticking a method whose field the kiosk never asks for produces visitors who cannot receive a code, so keep this consistent with the Fields panel.
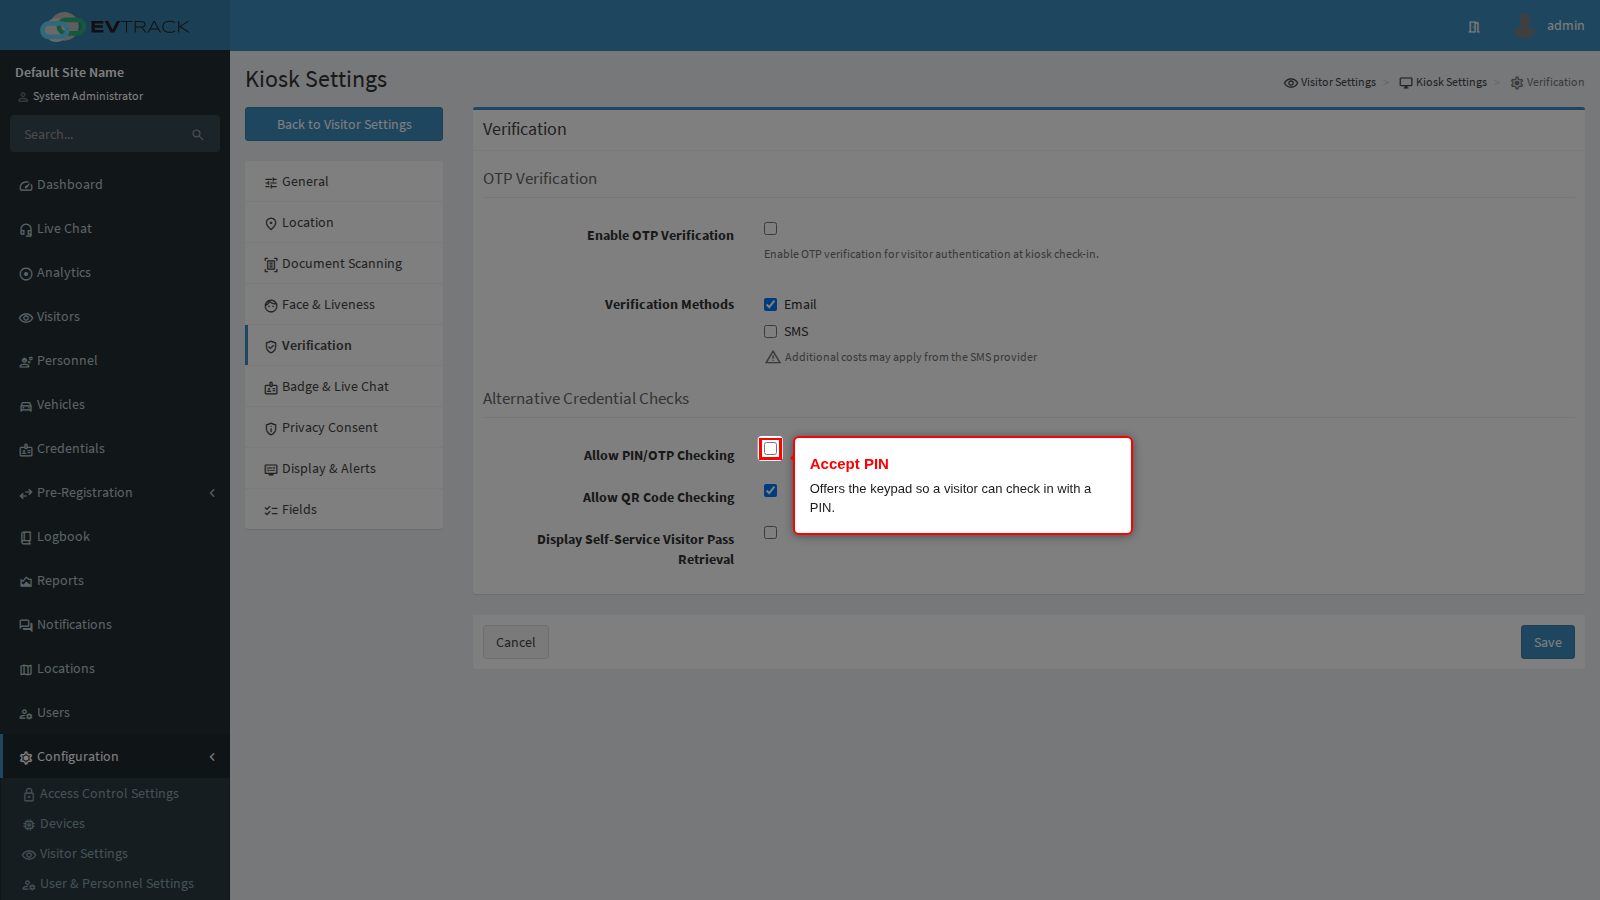
Allow PIN/OTP Checking offers the keypad so a visitor who was sent a PIN can key it in.
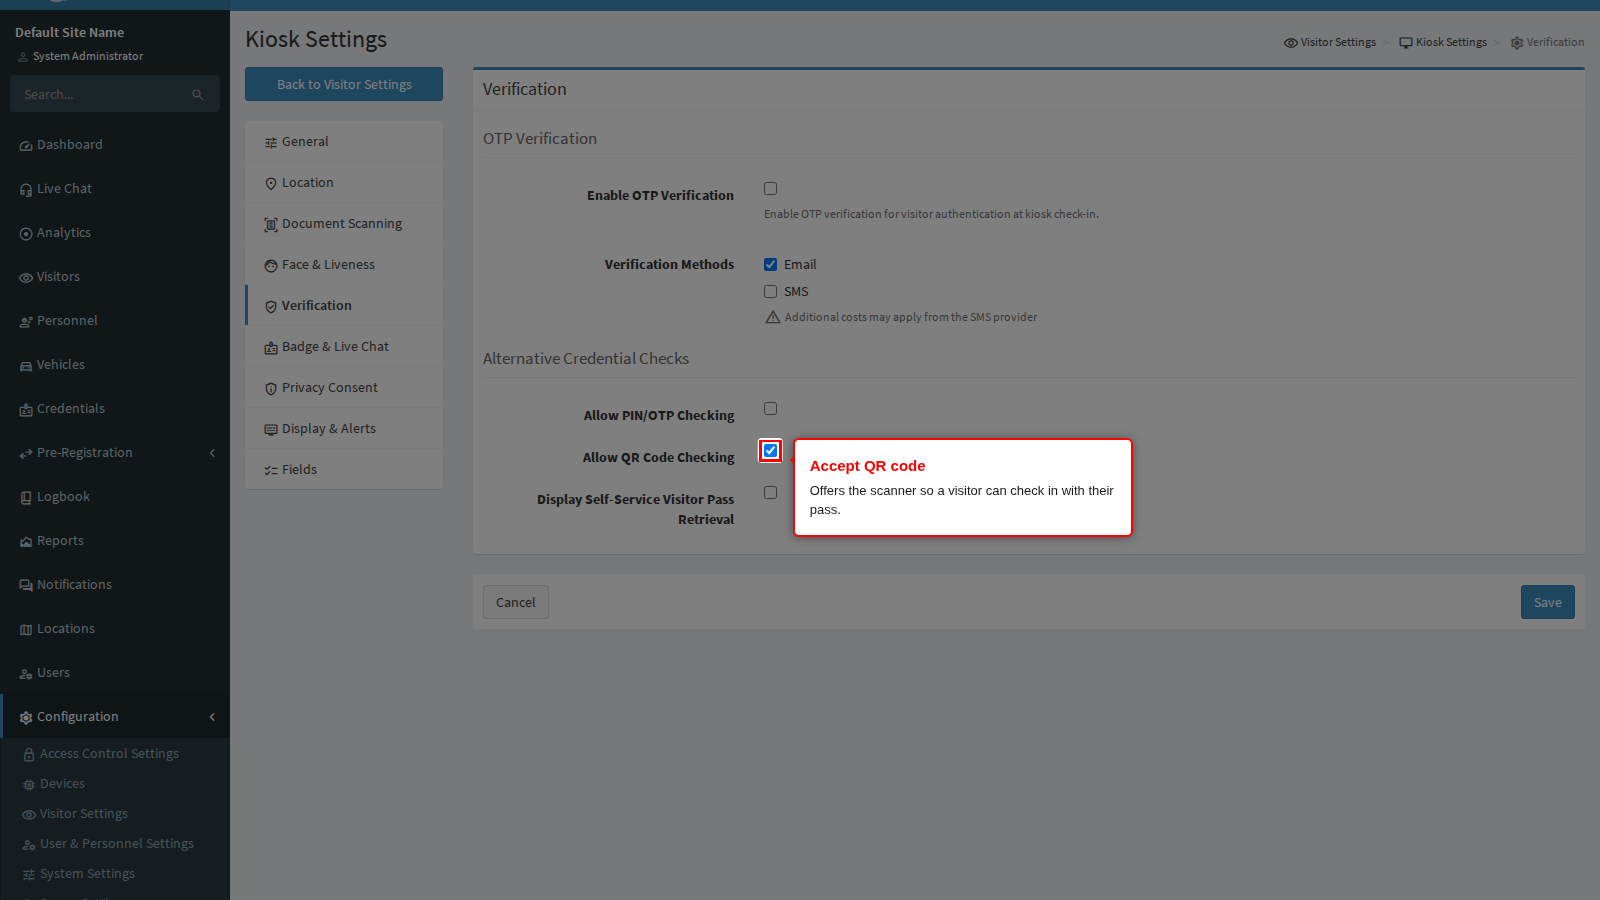
Allow QR Code Checking offers the scanner so a visitor with a pass can hold up their code. Between them these two decide what an invited visitor is able to present; turning both off leaves only document scanning and manual registration.
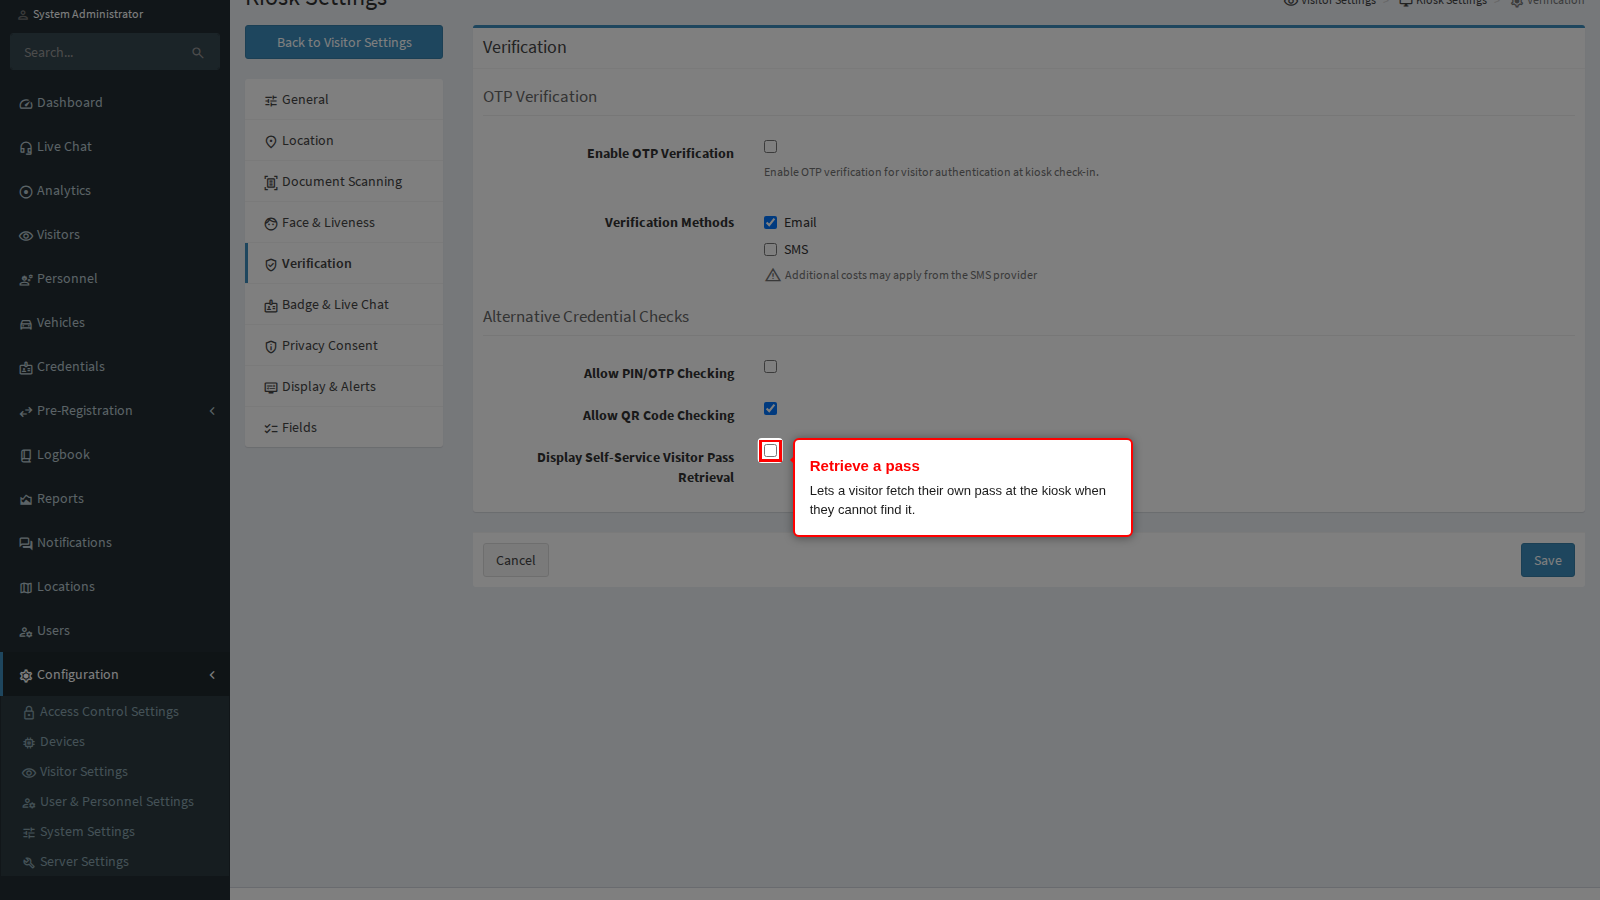
Display Self-Service Visitor Pass Retrieval adds an option for a visitor who cannot find their invitation to fetch their own pass at the kiosk after identifying themselves. It saves reception a phone call; leave it off where a pass must always be handed over by a person.
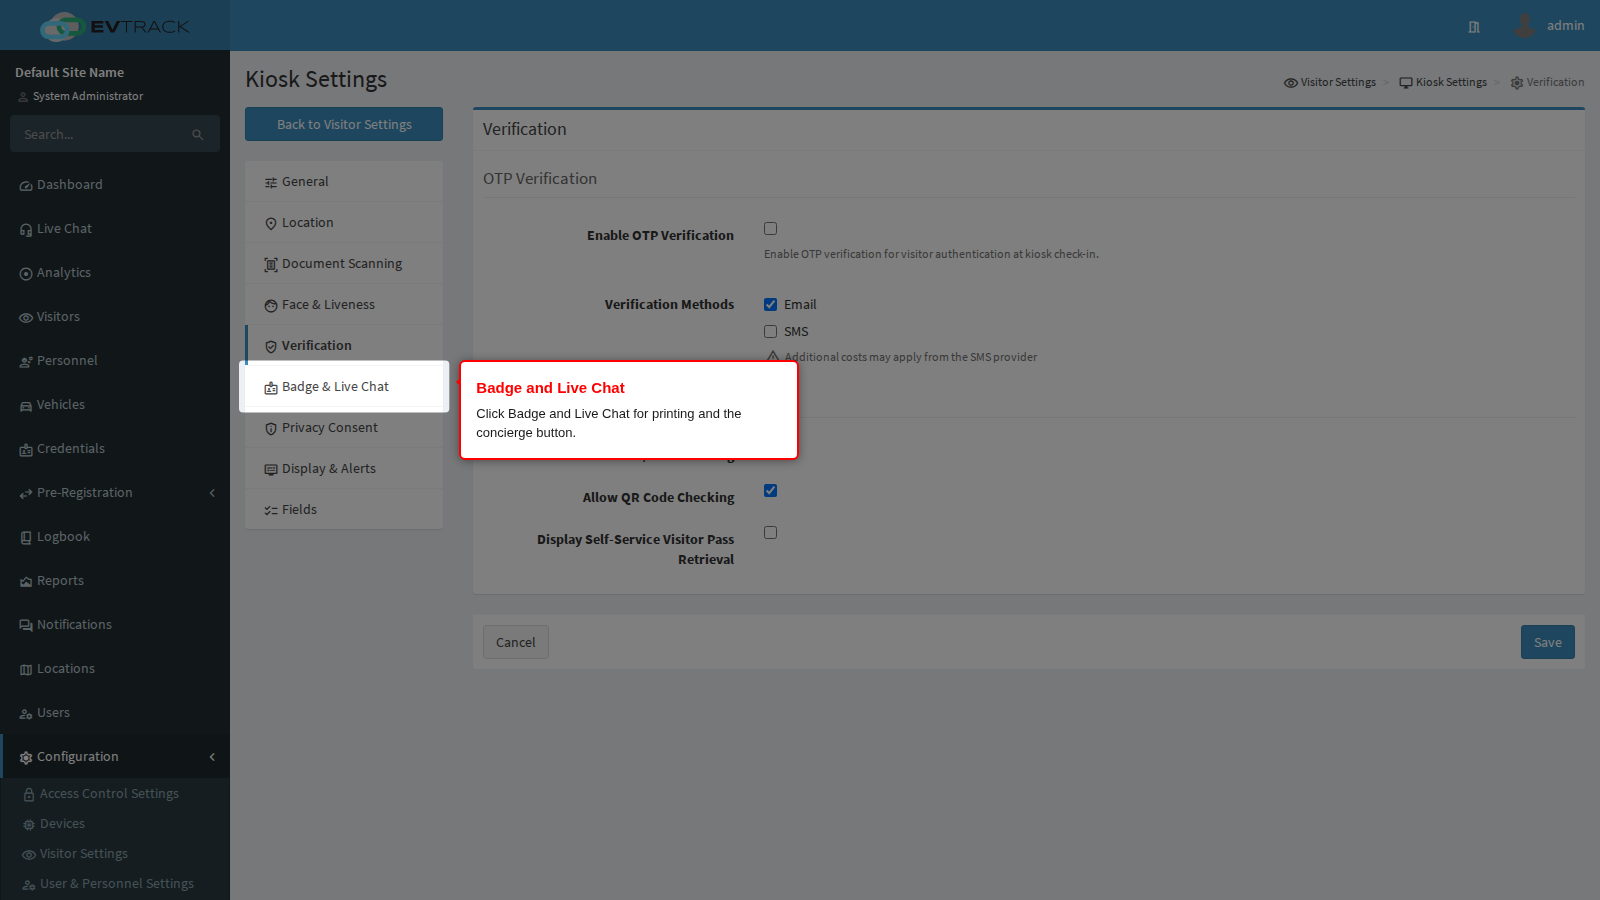
Badge and Live Chat
Enabled Badge Printing is the system-wide switch for kiosk badges, and it is off out of the box. With it off no kiosk prints, whatever any individual tablet is set to, and the product does not even build the badge, so there is nothing to print. With it on, each kiosk device record decides for itself, so you can run printers on the lobby kiosks and not on the ones in the workshop.
Two limits decide whether a given visitor actually gets a badge:
- Only a visitor who registers at the kiosk is offered one. A pre-registered visitor who simply scans their QR code or keys their PIN and is admitted does not get a badge. Nor does anyone at check-out, and nor does a member of staff enrolling themselves through the kiosk. If you need every visitor to leave the kiosk holding a badge, they have to be going through the registration flow.
- Nothing prints while the kiosk is offline, because the badge is built on the server. An offline check-in completes and says nothing about a badge.
A printer that is out of paper, out of cards, open, jammed or unreachable never blocks anybody: check-in has already succeeded, and the visitor sees a message that says so plainly, along with Retry Print and Skip, and is released automatically after two minutes.
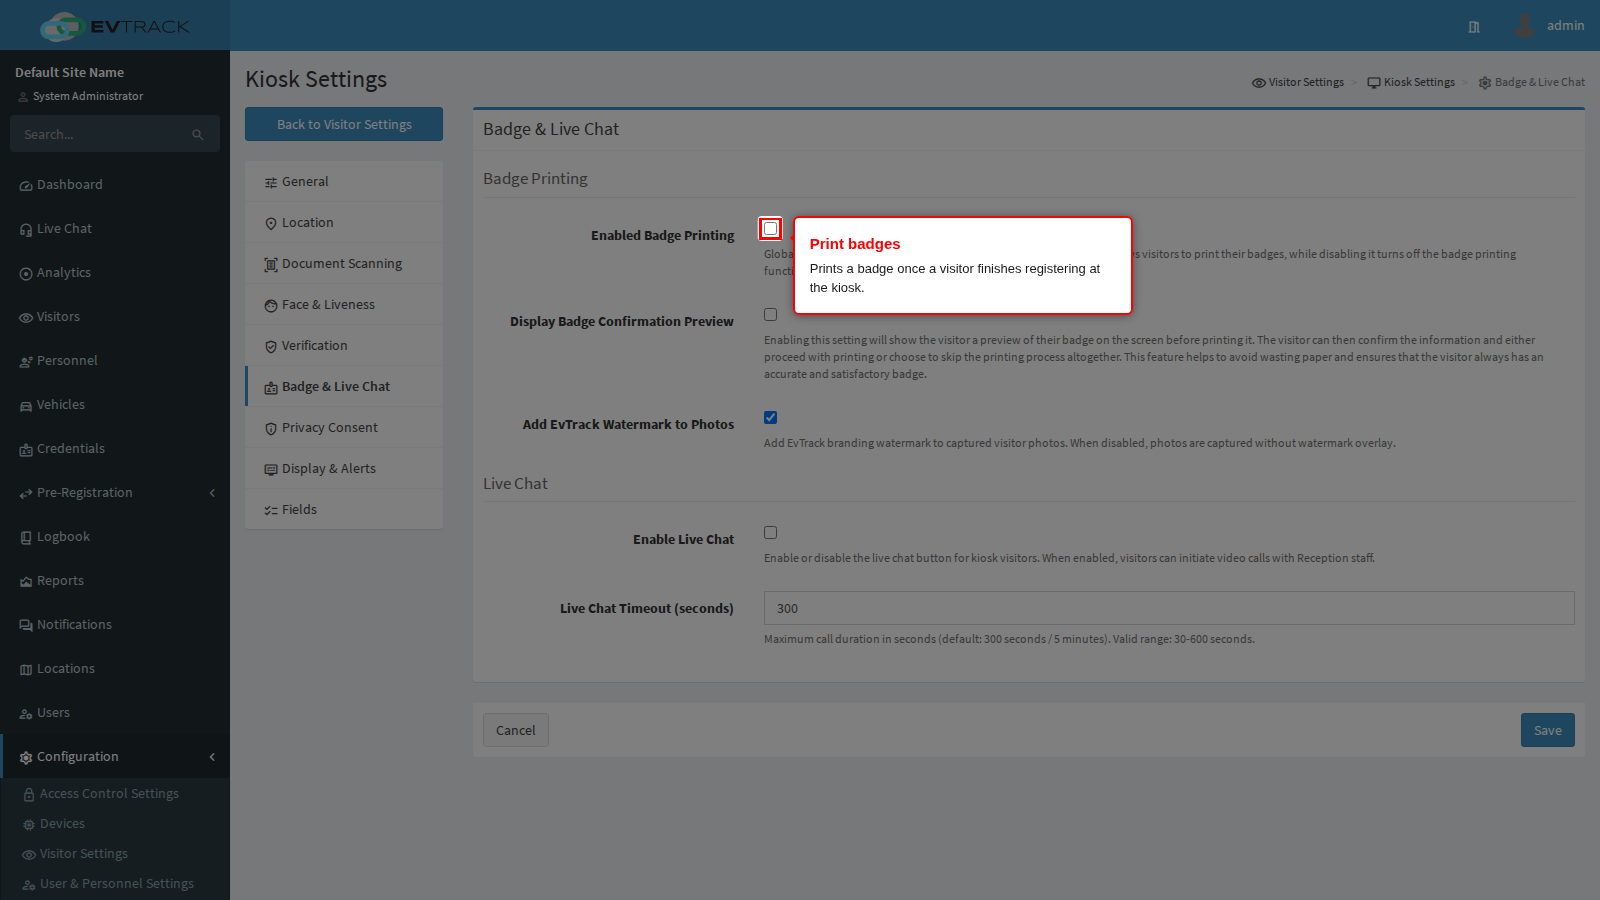
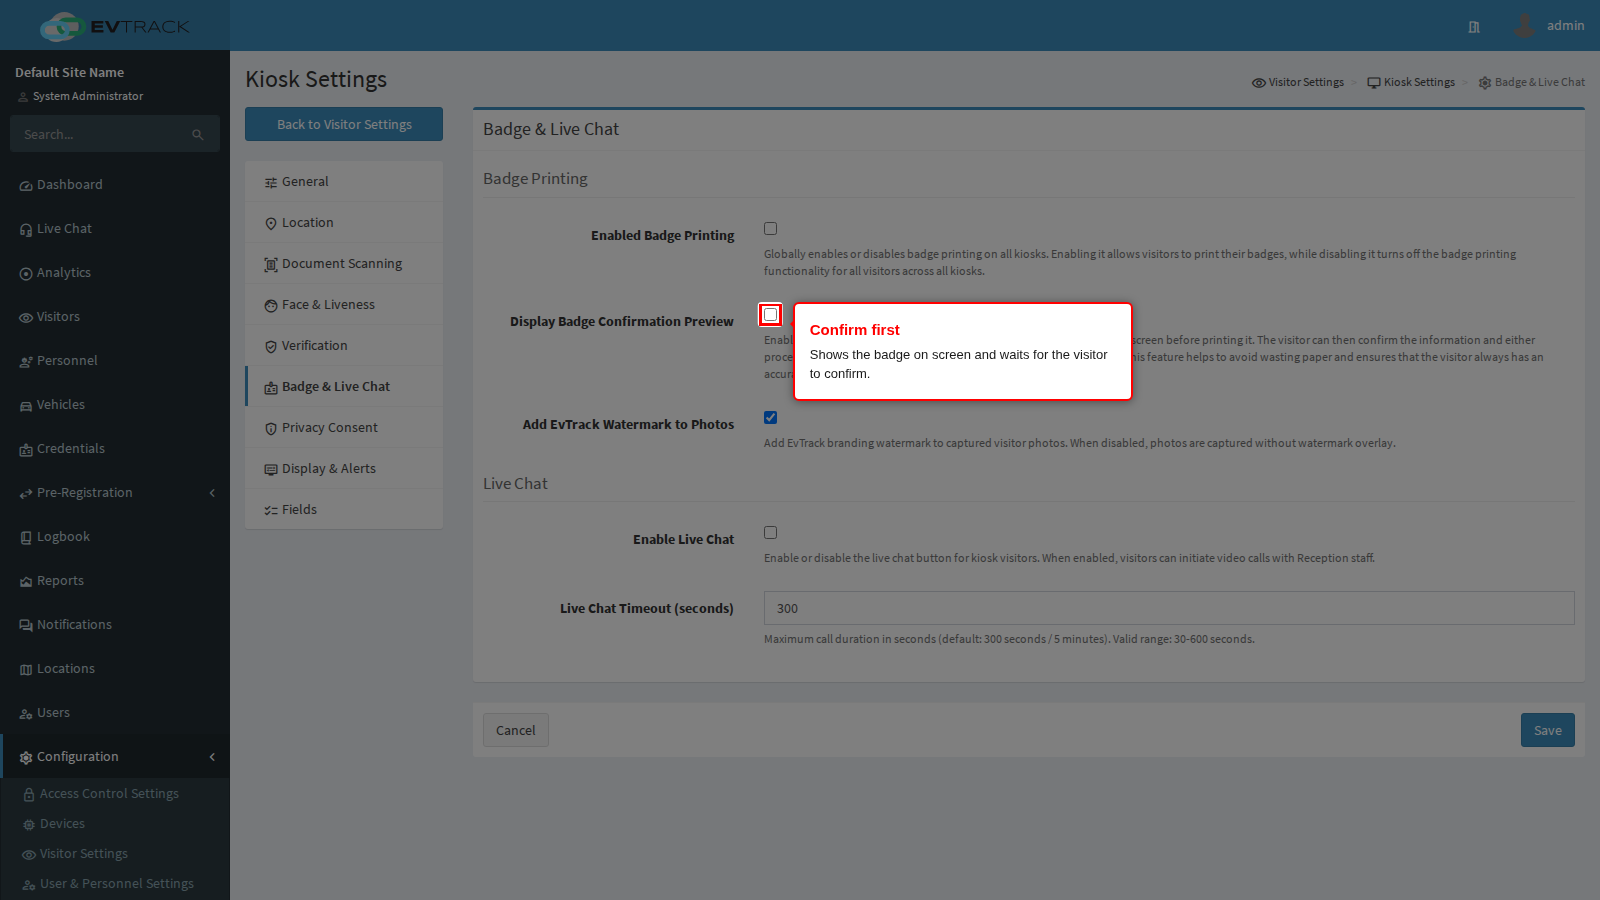
Display Badge Confirmation Preview shows the finished badge on screen and waits for the visitor to press Print Badge or Skip before anything is printed. Turn it on to stop wasted labels and cards when a name was mistyped or a photo came out badly; turn it off for a fully automatic print that keeps the queue moving. On a card printer the kiosk then counts down for a minute and asks the visitor to collect their badge.
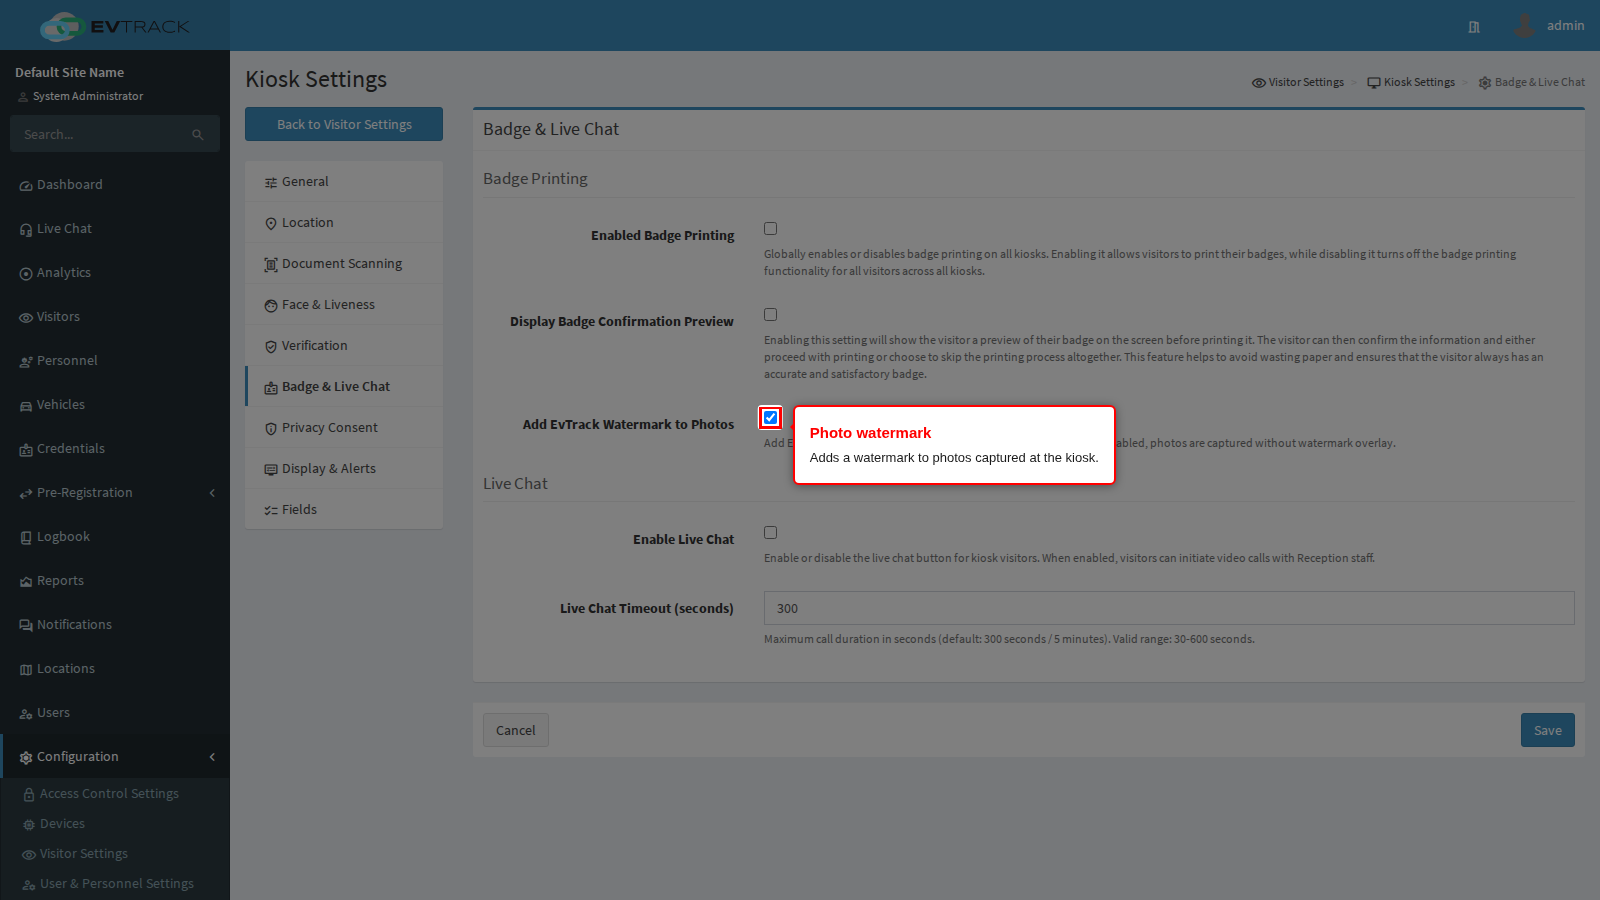
Add EvTrack Watermark to Photos watermarks the photos the kiosk captures, which makes a badge photo obviously a badge photo if it is copied elsewhere.
The printer itself is configured on the kiosk device, not here. Open Configuration > Access Control Settings > Devices, open the kiosk device record and use its kiosk options panel. There you set Printing Enabled, choose the Printer Driver (Brother QL over Bluetooth or network, Evolis, Zebra Link-OS, or Epson over network, USB or Bluetooth) and then complete only the fields that driver needs: a MAC address for the Bluetooth drivers, a network address and port for the network drivers, and a model and orientation for the Brother label printers. The fields appear as you choose the driver. What the badge looks like is a separate subject, covered in Badge Printing.
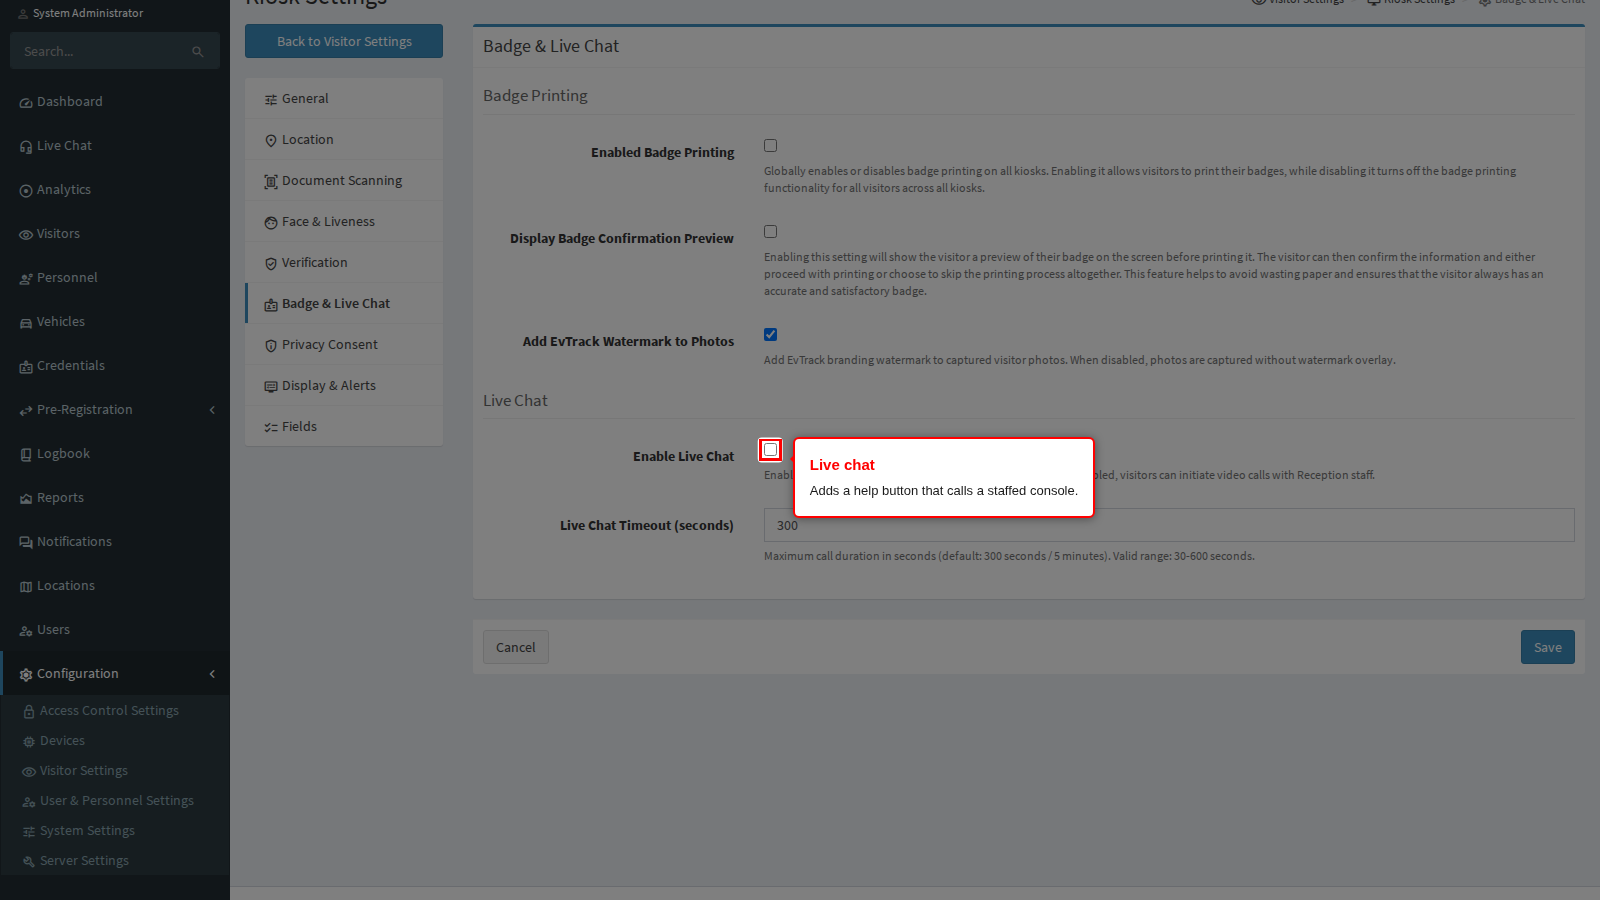
Enable Live Chat adds a help button that puts the visitor through to a staffed console, which is how an unattended lobby still offers a human. It needs somebody watching the console for it to be worth switching on.
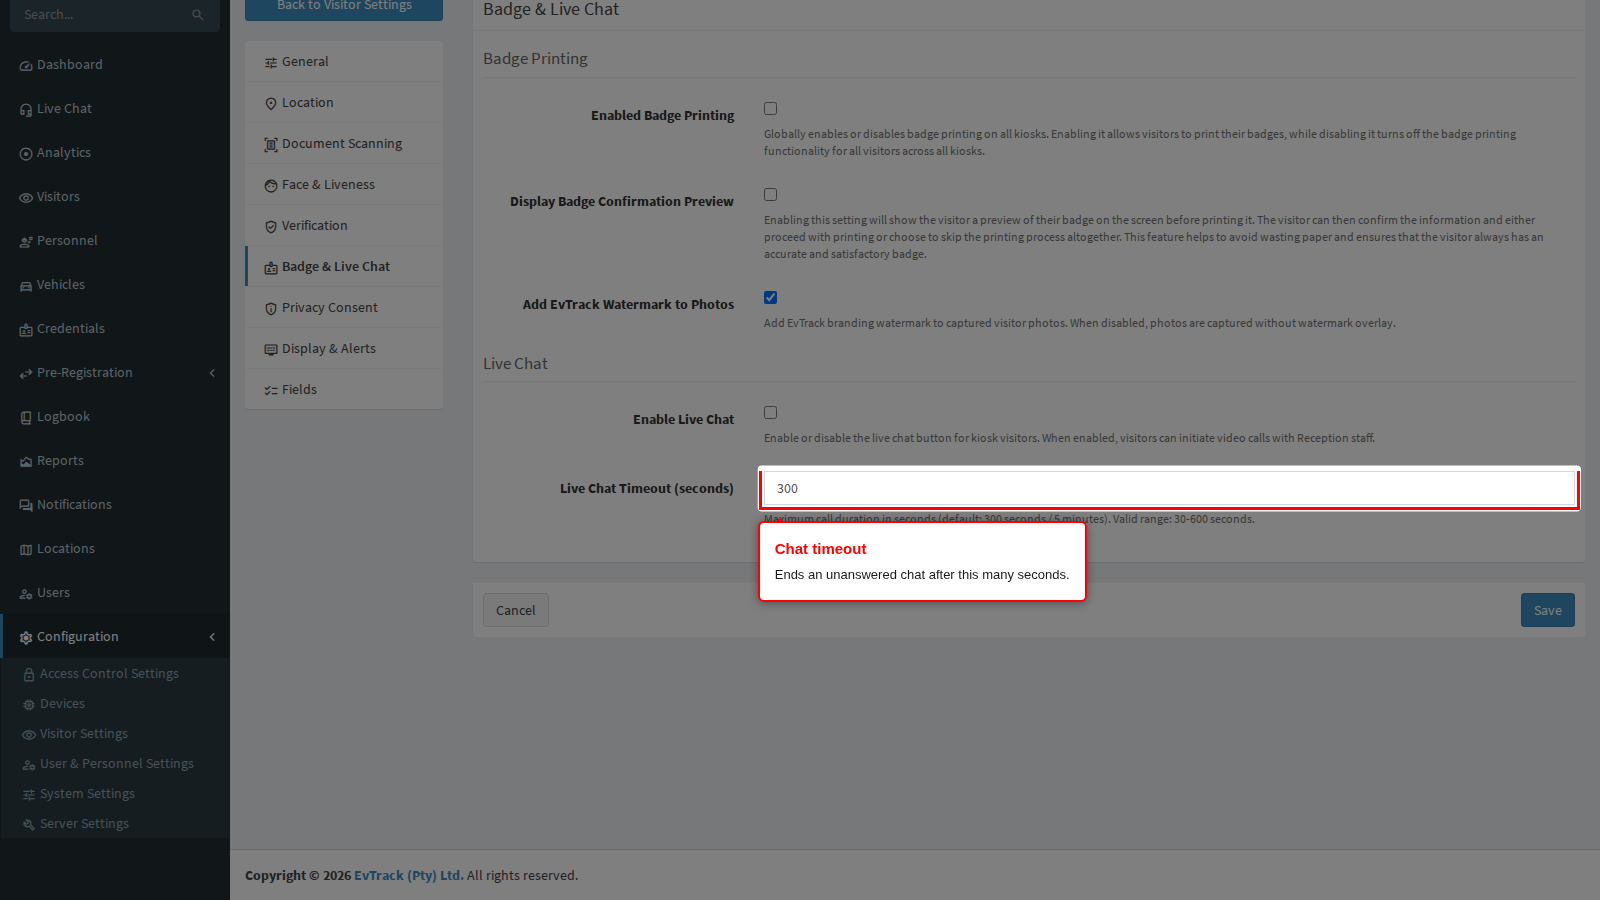
Live Chat Timeout (seconds) ends an unanswered chat and returns the kiosk to its idle screen, between 30 and 600 seconds. Without it an abandoned chat holds the kiosk open in front of the next visitor.
Privacy Consent
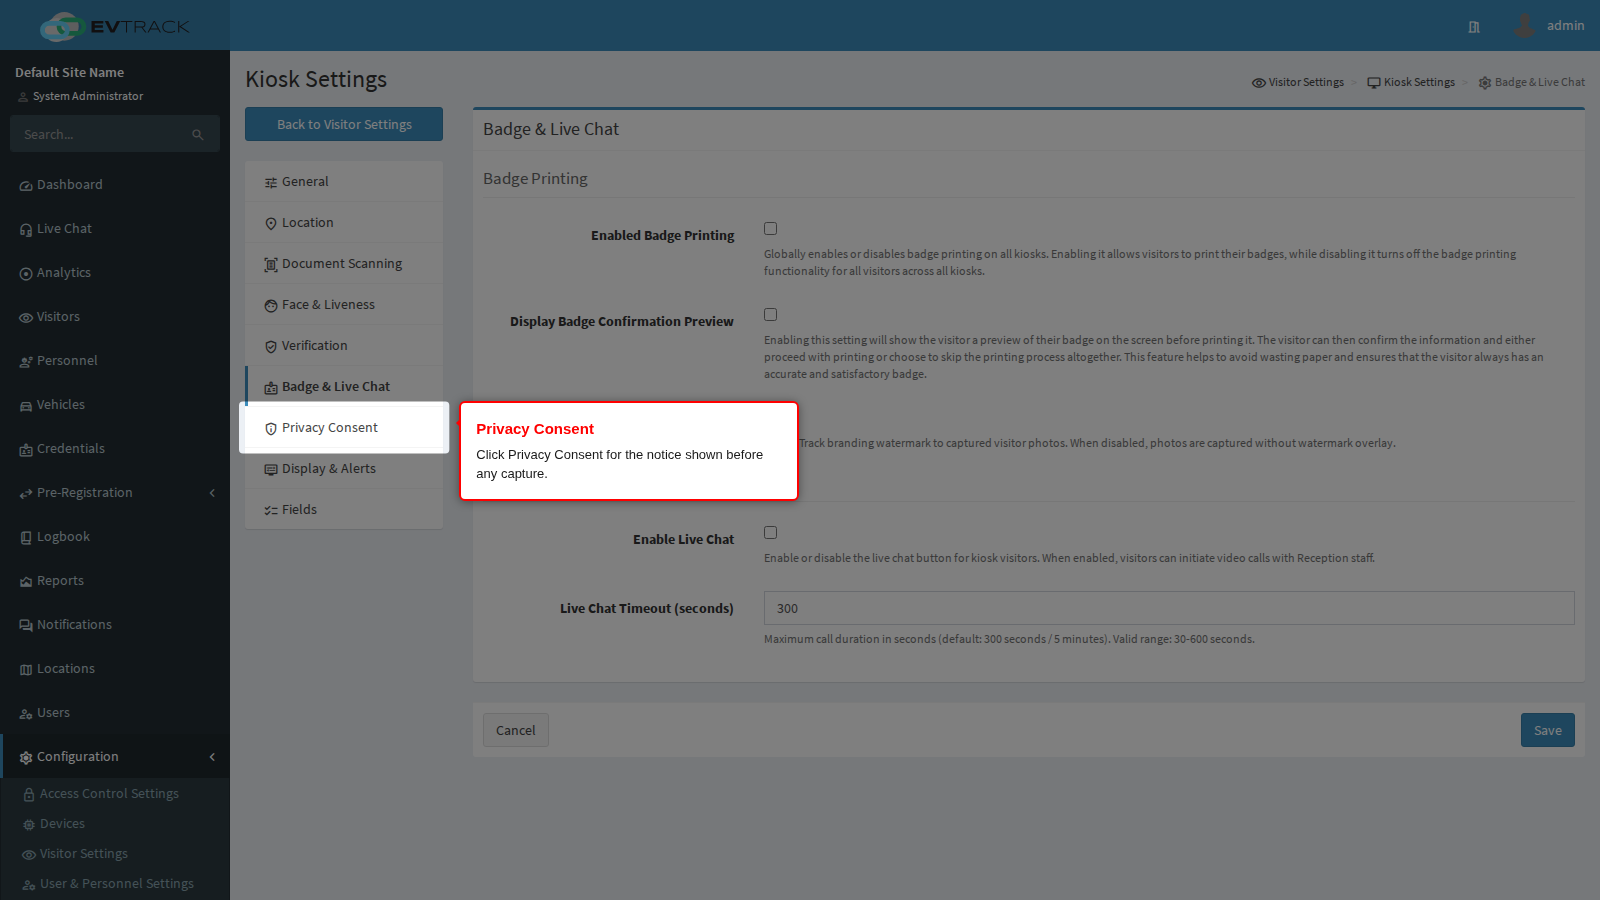
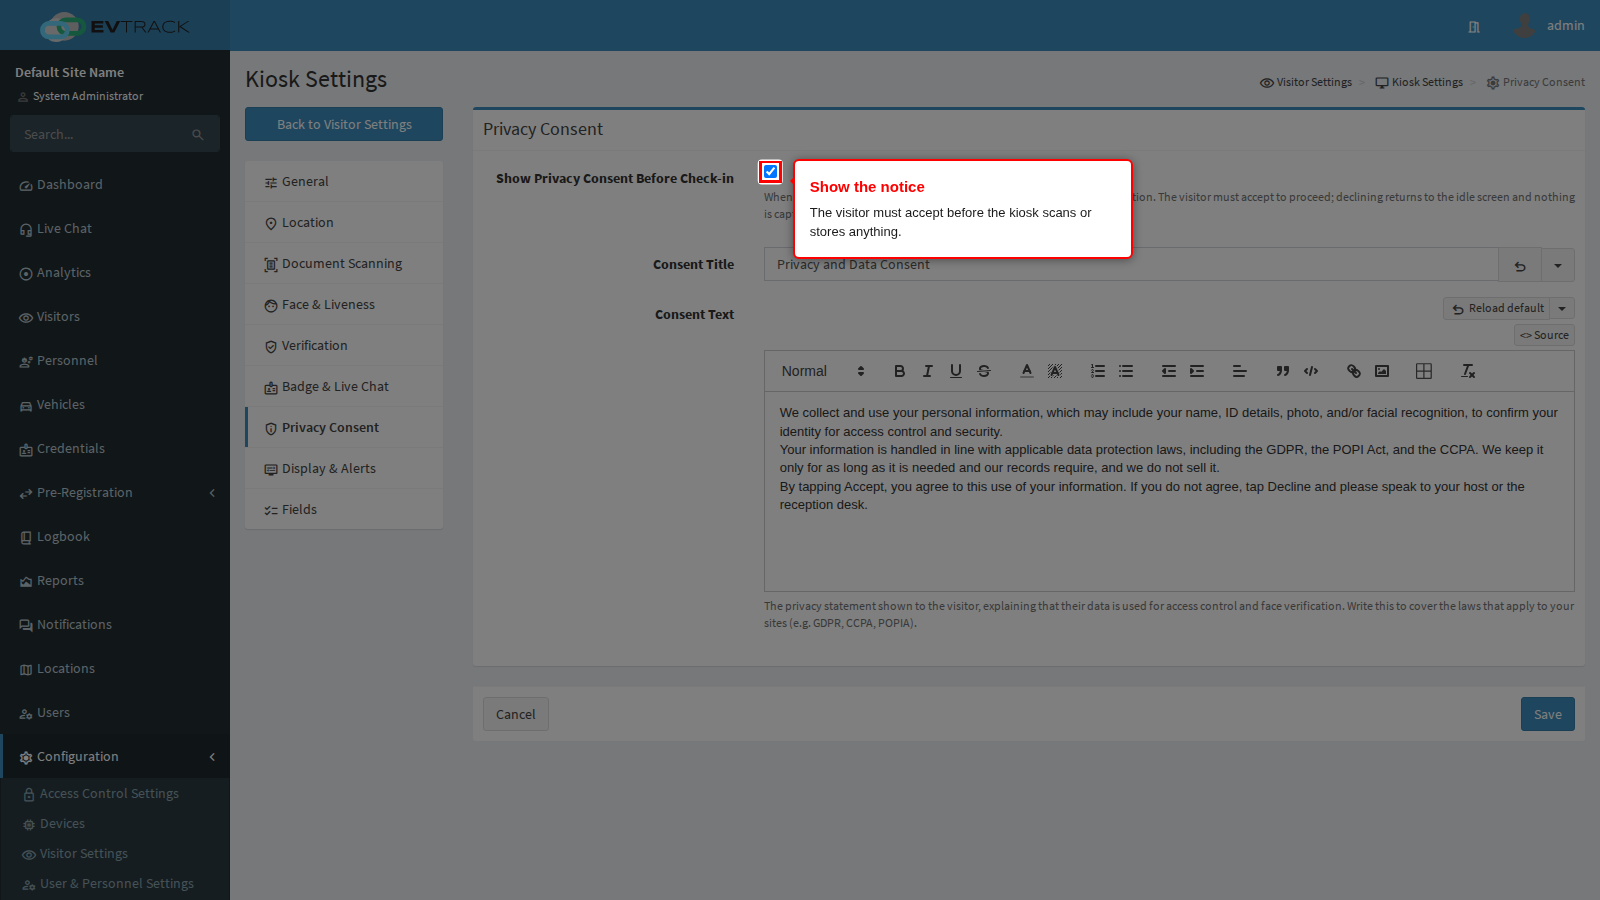
Show Privacy Consent Before Check-in puts a consent screen in front of everything else. The visitor must accept before the kiosk scans or stores anything; declining returns to the idle screen and nothing is captured. Turn it on wherever you scan documents, capture photos or store either.
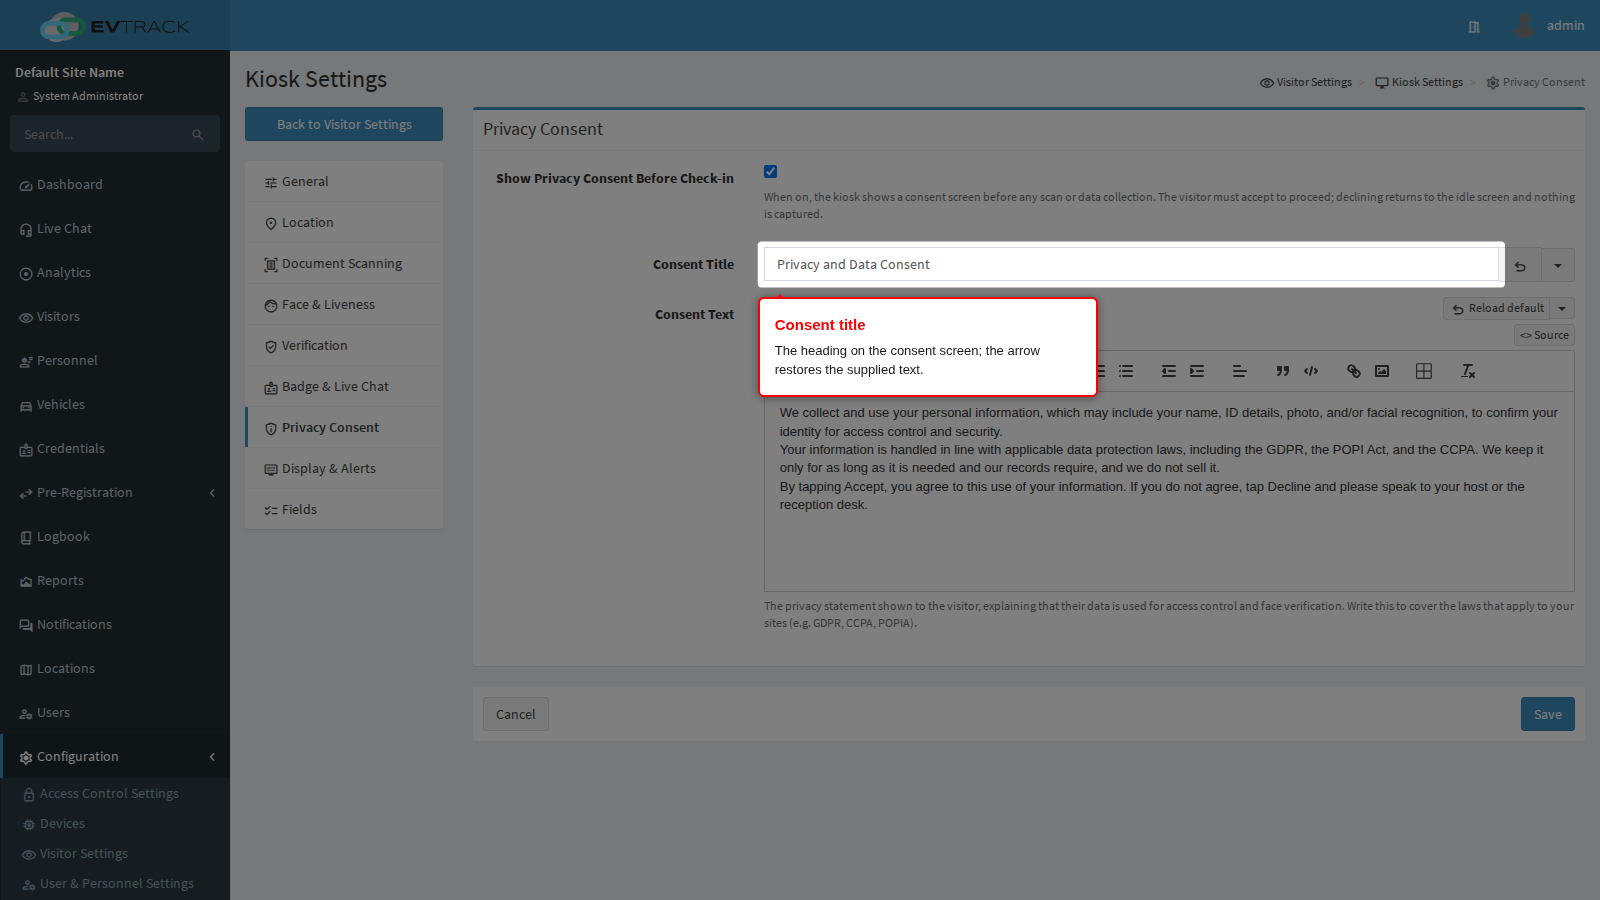
Consent Title is the heading on that screen. The arrow button beside it restores the supplied wording if you want to start again.
Consent Text is the statement itself, edited with formatting. Write it to cover the laws that apply to your sites, and say plainly what is collected, why, and how long it is kept.
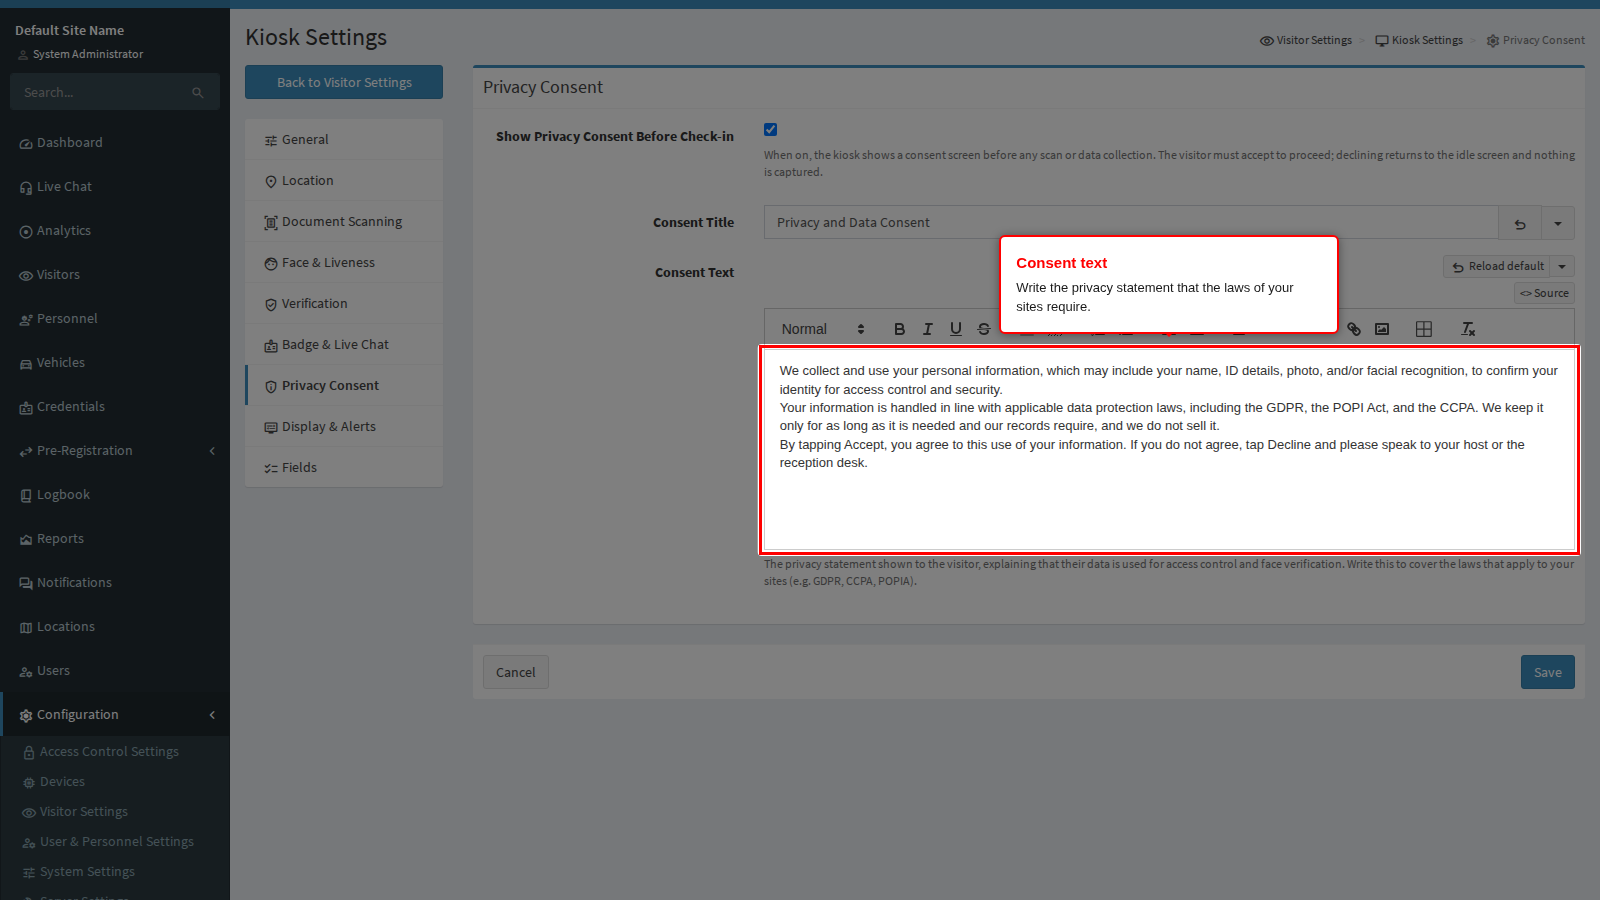
End state: the next visitor sees your notice before the kiosk does anything, and their acceptance is recorded with the visit.
Fields: what the kiosk asks for, and in what order
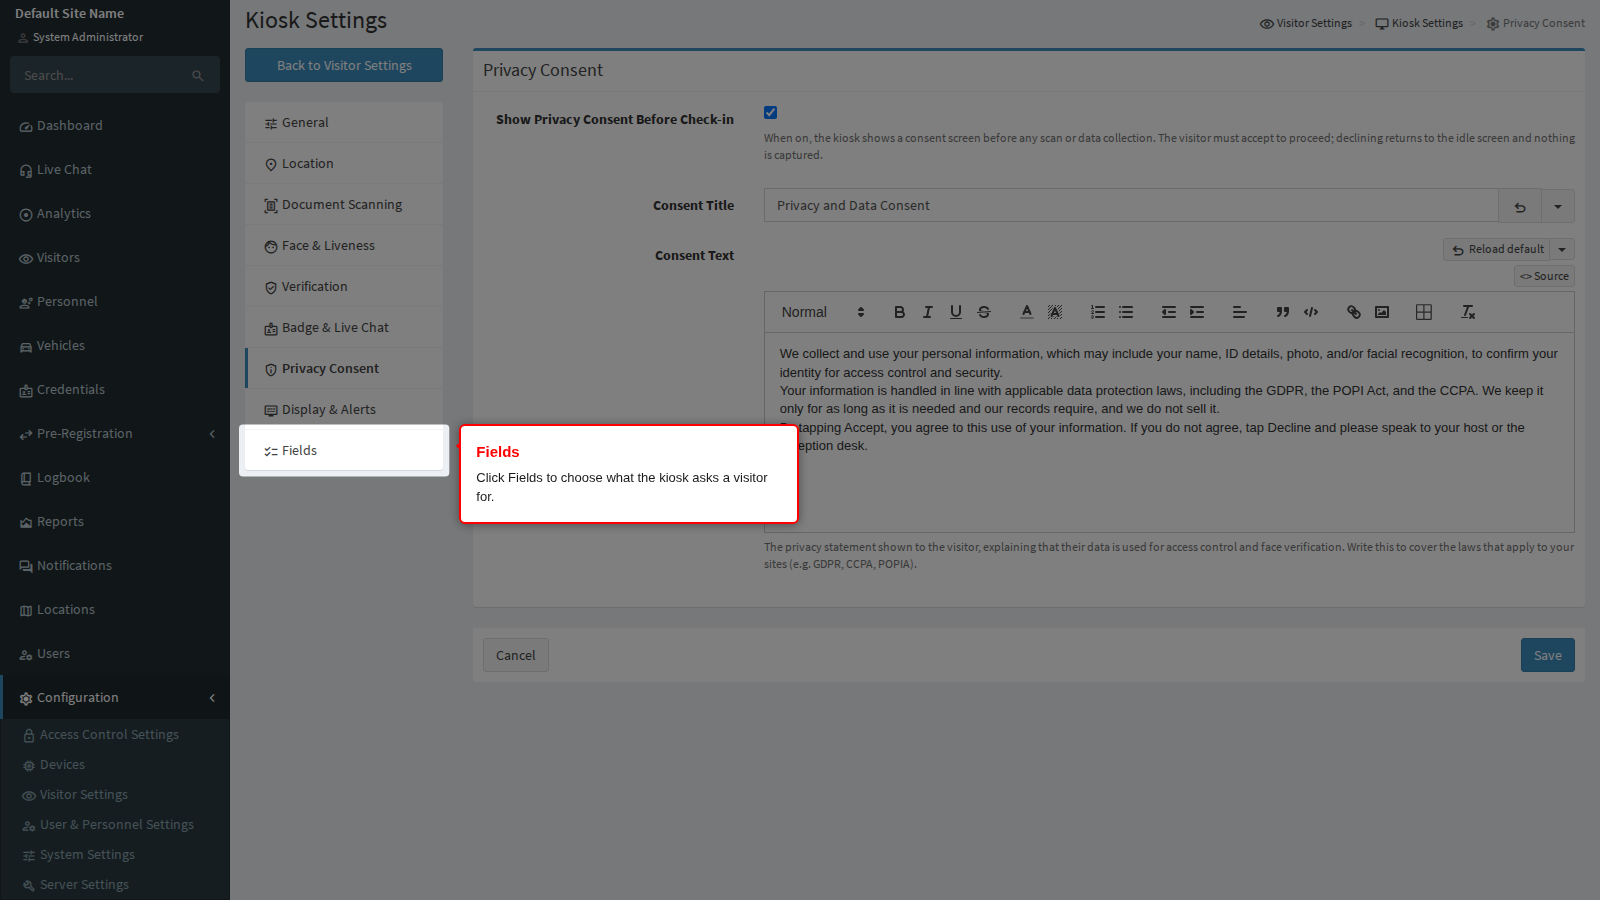
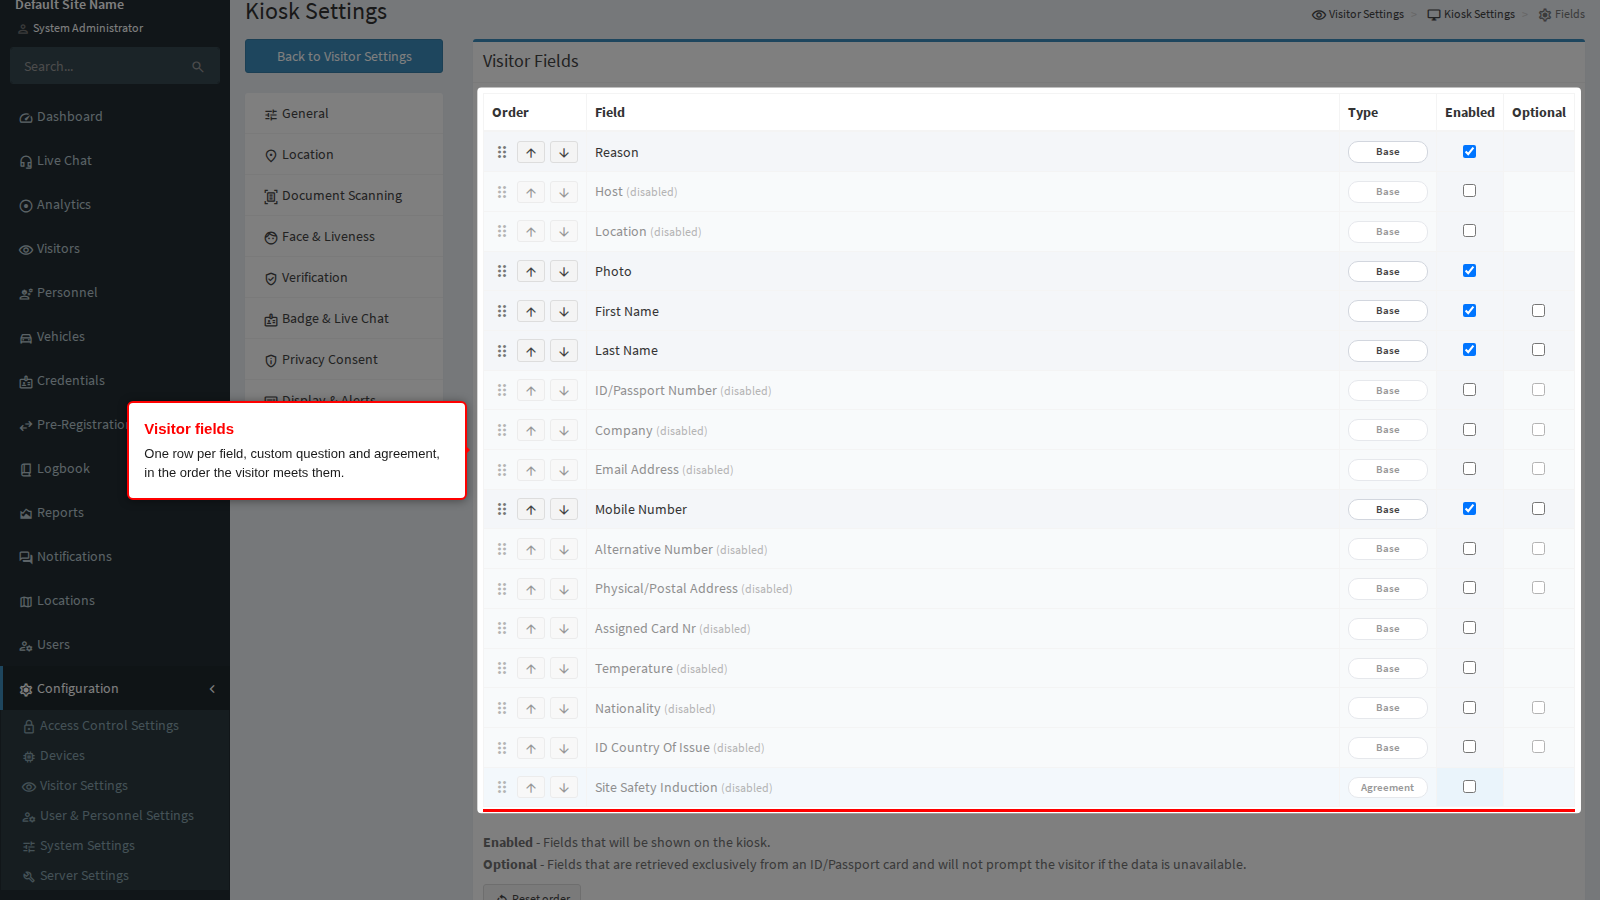
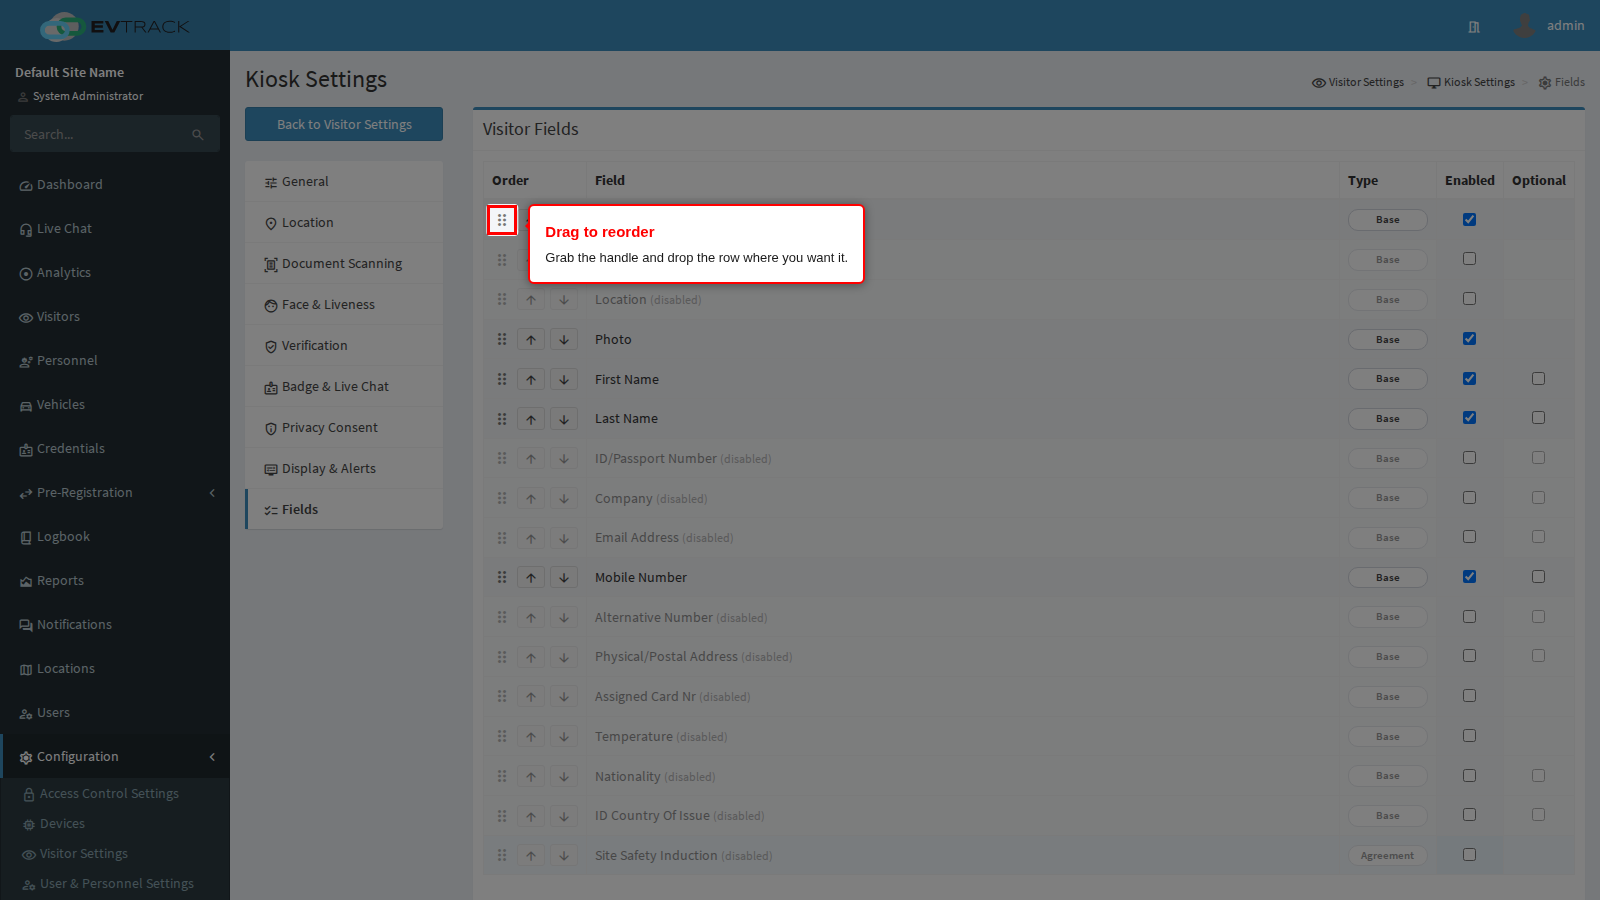
The Visitor Fields list has one row for every detail the kiosk can ask a visitor for: reason, host, location, photo, name, surname, ID number, company, email, mobile number, alternative number, address, assigned card number, temperature, nationality and country of issue. Your own custom questions and every agreement you have written sit in the same list, each labelled with its kind, so one list decides both what the kiosk asks and the order it asks in. One Save stores all of it.
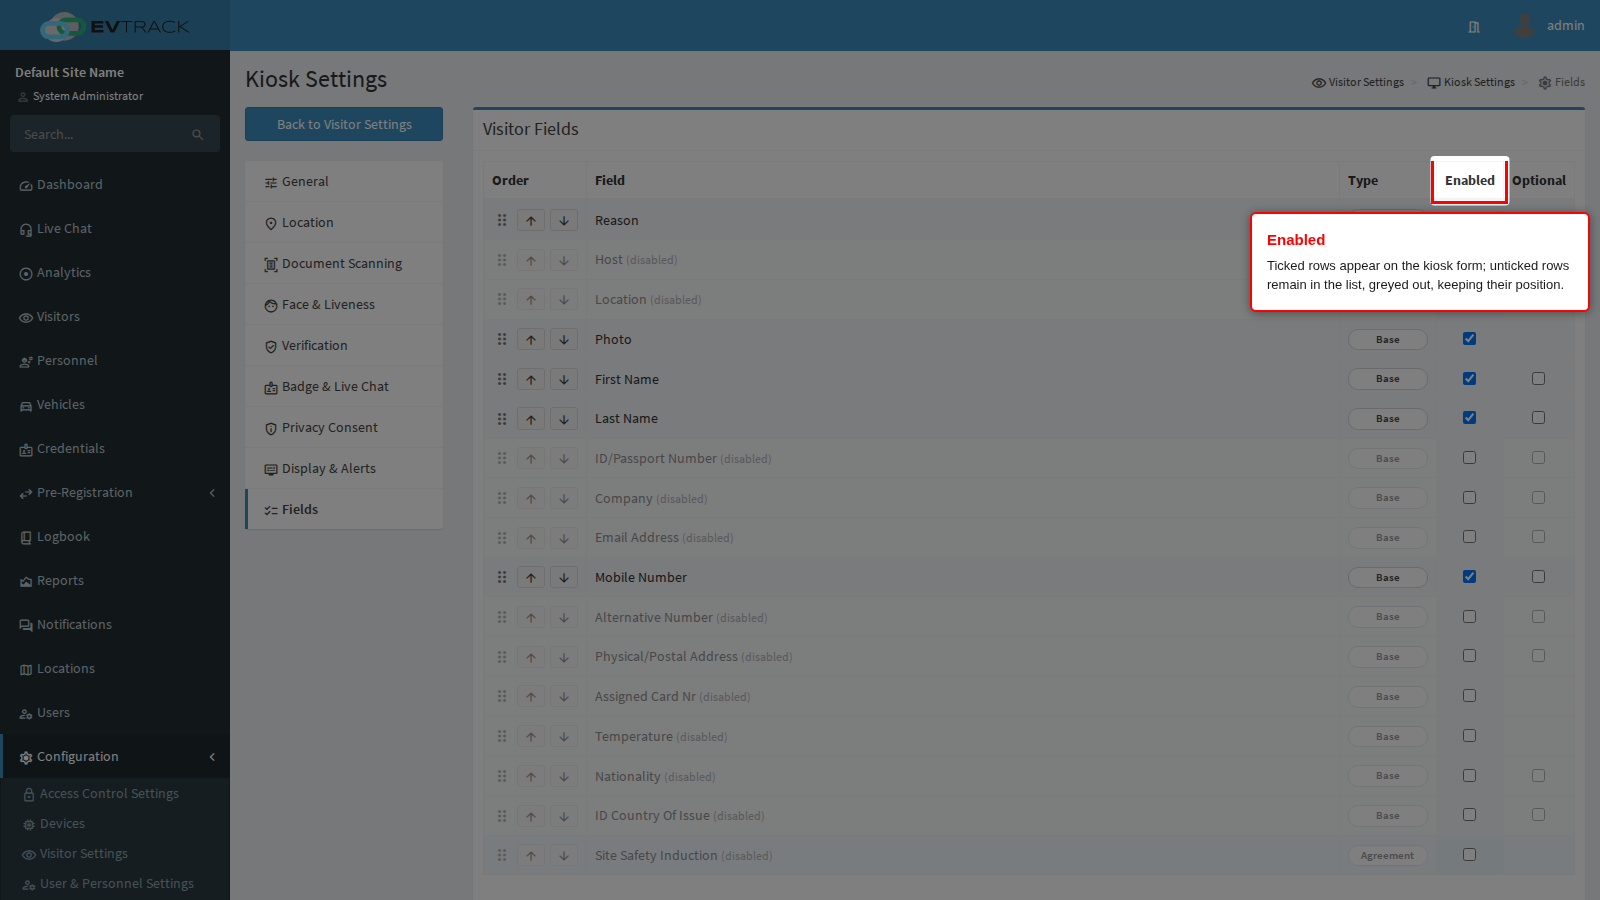
Enabled puts the row on the kiosk form and requires the visitor to complete it. Ask for as little as you can defend: every extra field is time in the queue and personal data you now hold. An unticked row remains in the list, greyed out and marked (disabled), so you can still position it before you switch it on.
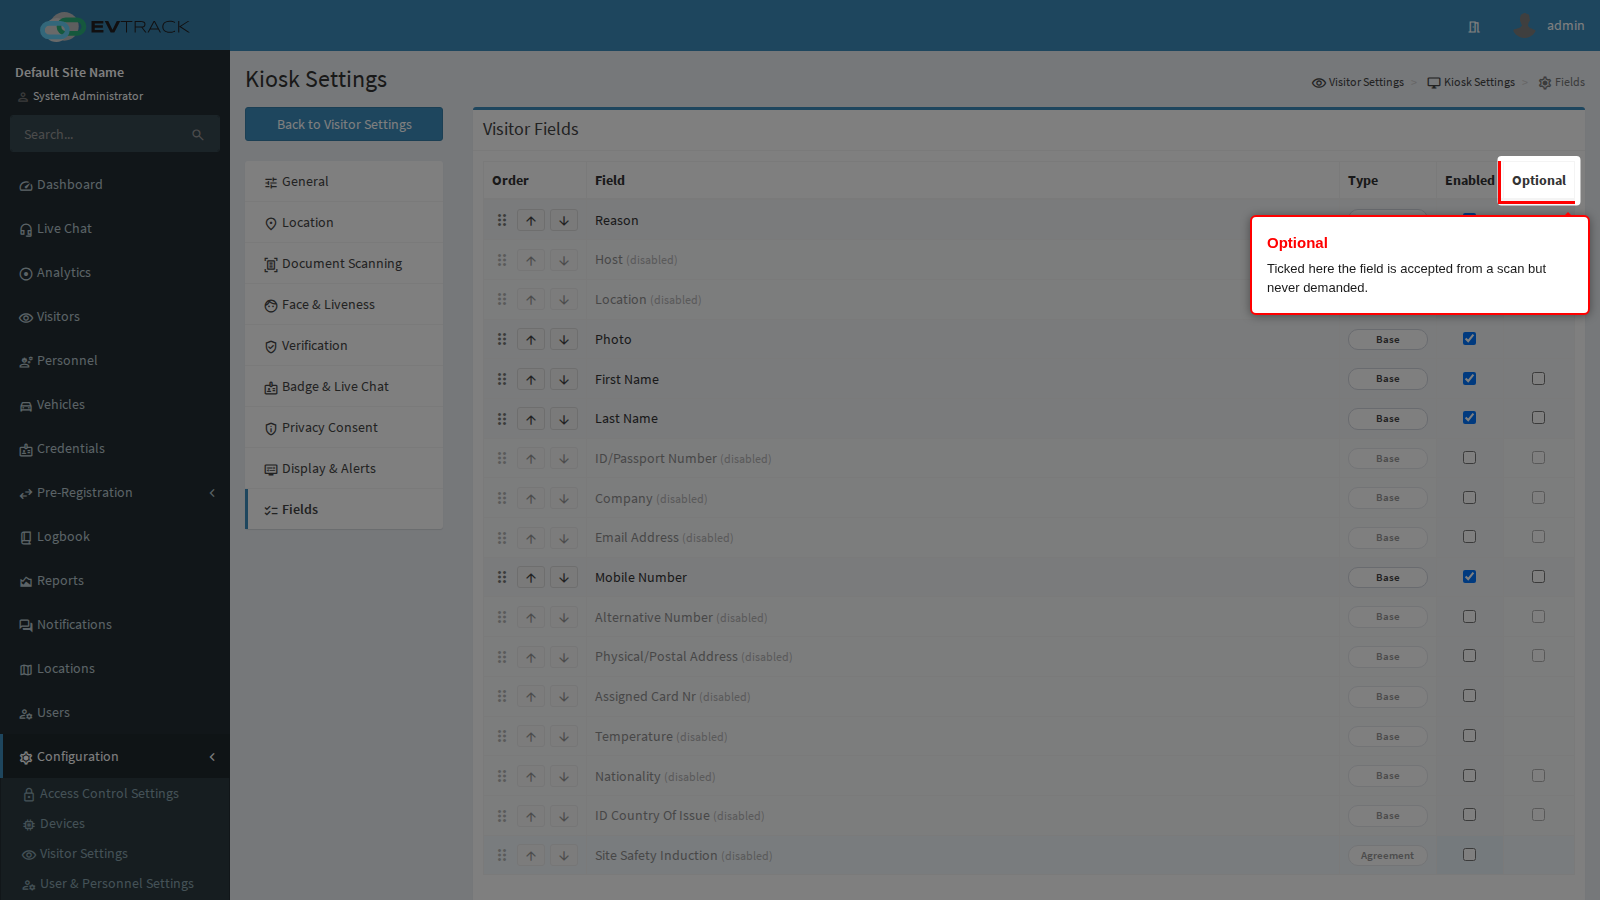
Optional softens a built-in field: it is still accepted and stored, typically from a scanned document, but the visitor is never stopped for it. Use it for details a passport supplies (nationality, country of issue) but that a visitor without a passport should not be blocked on. Rows with no Optional tick box are all or nothing.
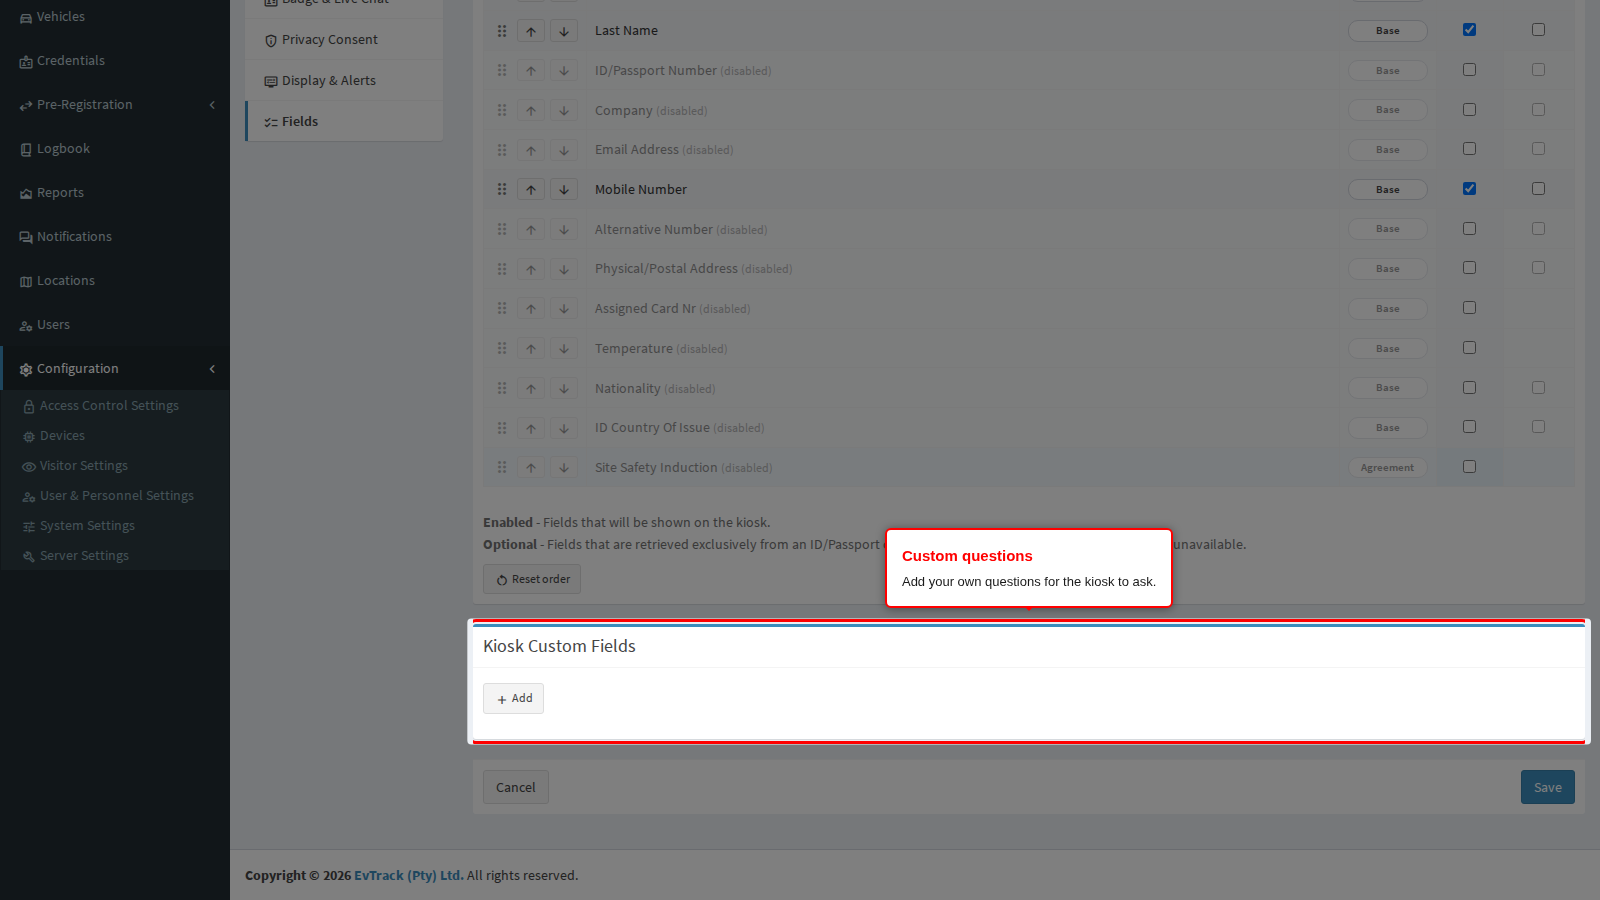
Kiosk Custom Fields below the list is where you add your own questions, for example a vehicle registration or a purpose of visit list. Each question has a type, a label and a required flag. A question joins the end of the list above as soon as it has a label, follows its label as you type, and leaves the list when you remove it. Custom questions have no Enabled tick box: remove a question you no longer want.
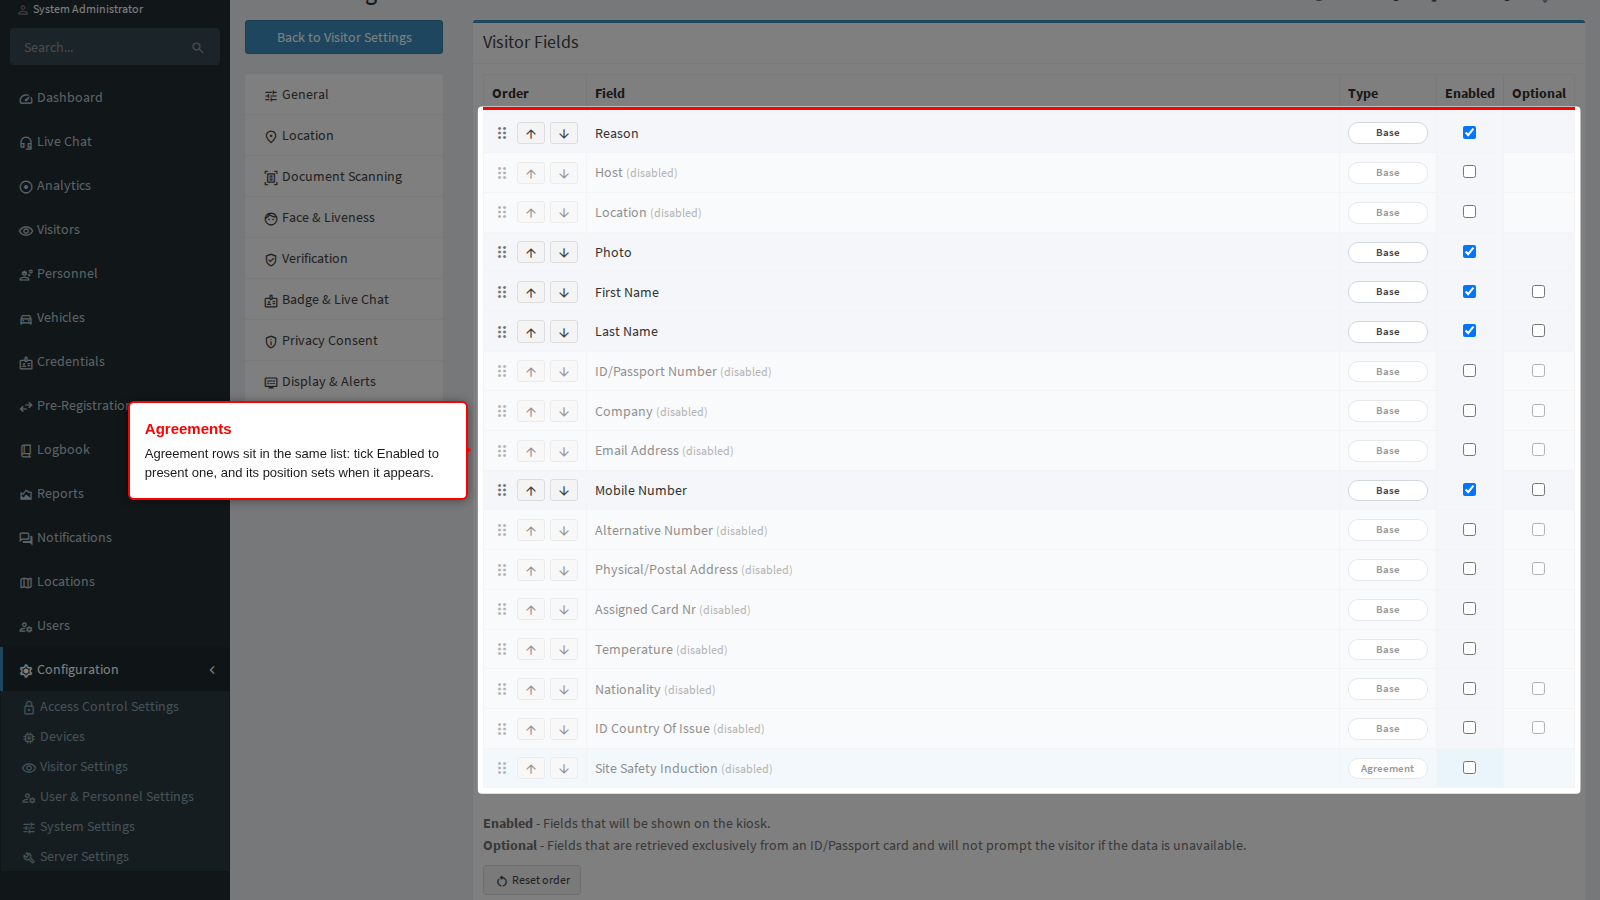
Agreement rows decide which of your agreements the visitor must accept during check-in. Tick Enabled on an agreement to present it; its position in the list is when the visitor meets it. If you enable no agreement at all, the kiosk falls back to the agreements enabled on the Guard App Fields page. The agreements themselves are written under Agreements.
The order of the rows is the order of the kiosk form.
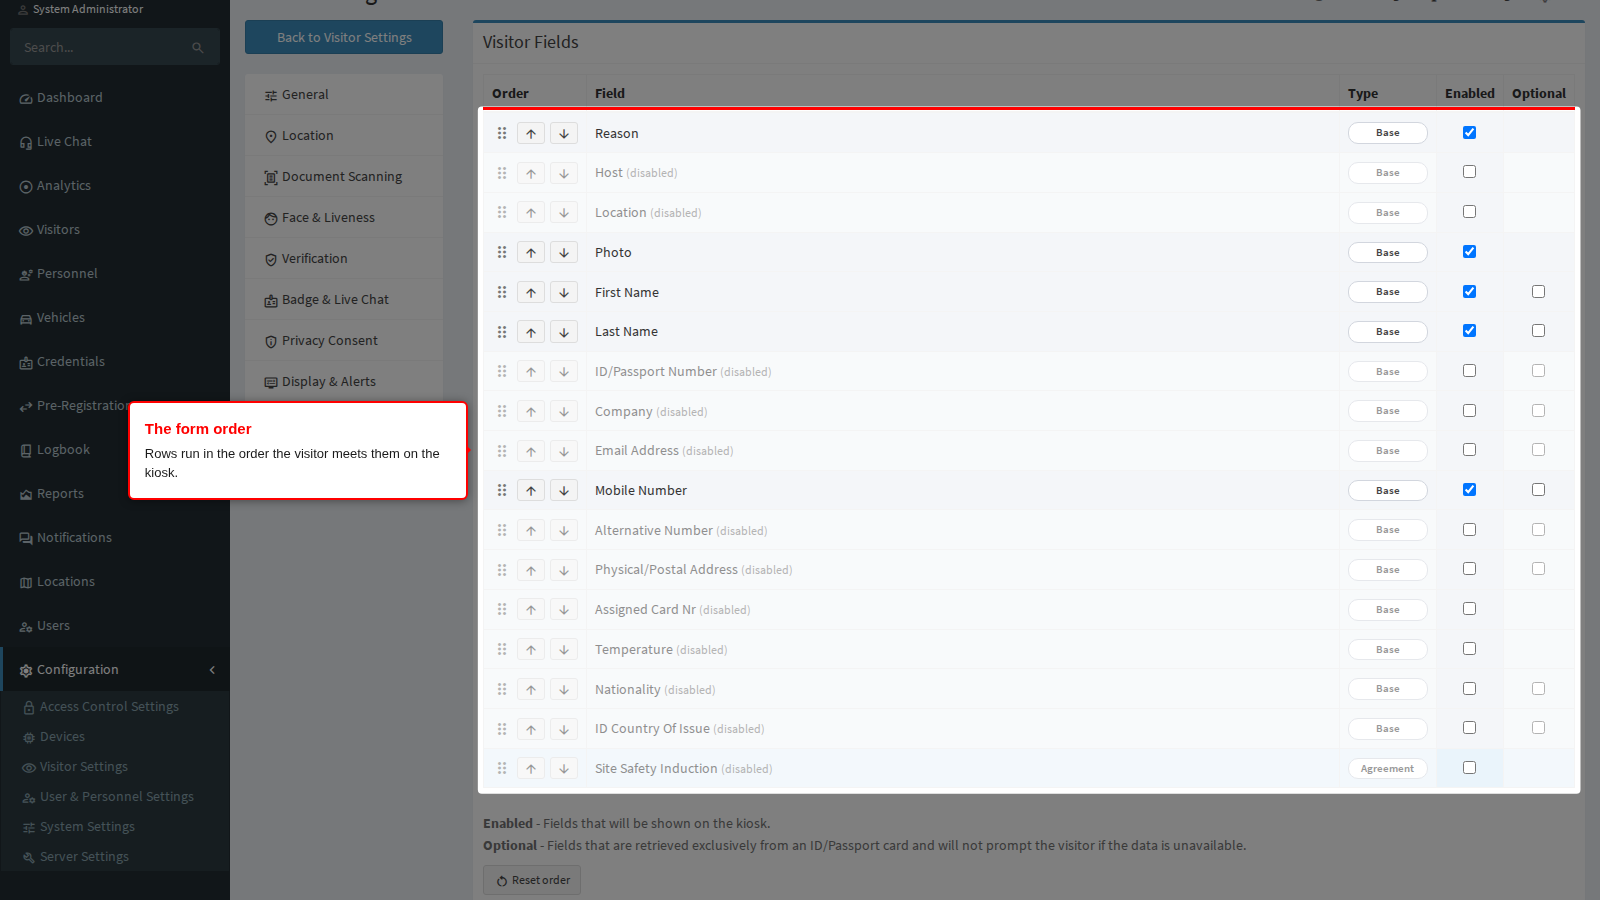
Grab a row by its handle and drop it where you want it. Put the fields you can populate from a document scan first, then your own questions, then the agreements, so a visitor who scans a passport barely types at all.
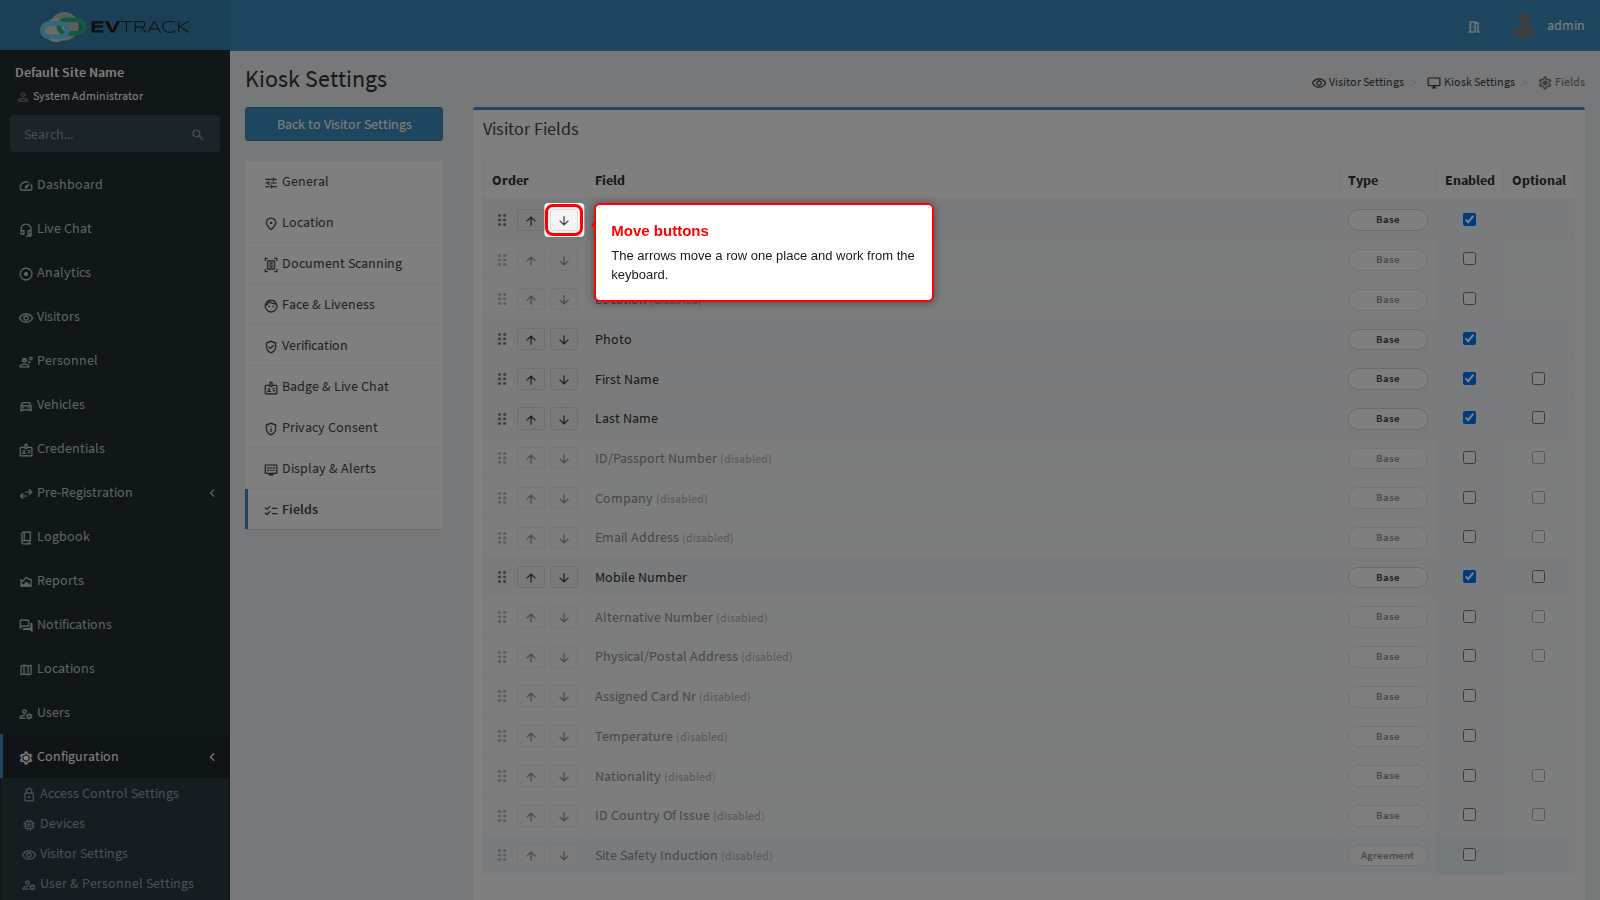
The arrow buttons on each row move it one place up or down, and work from the keyboard for operators who do not use a mouse.
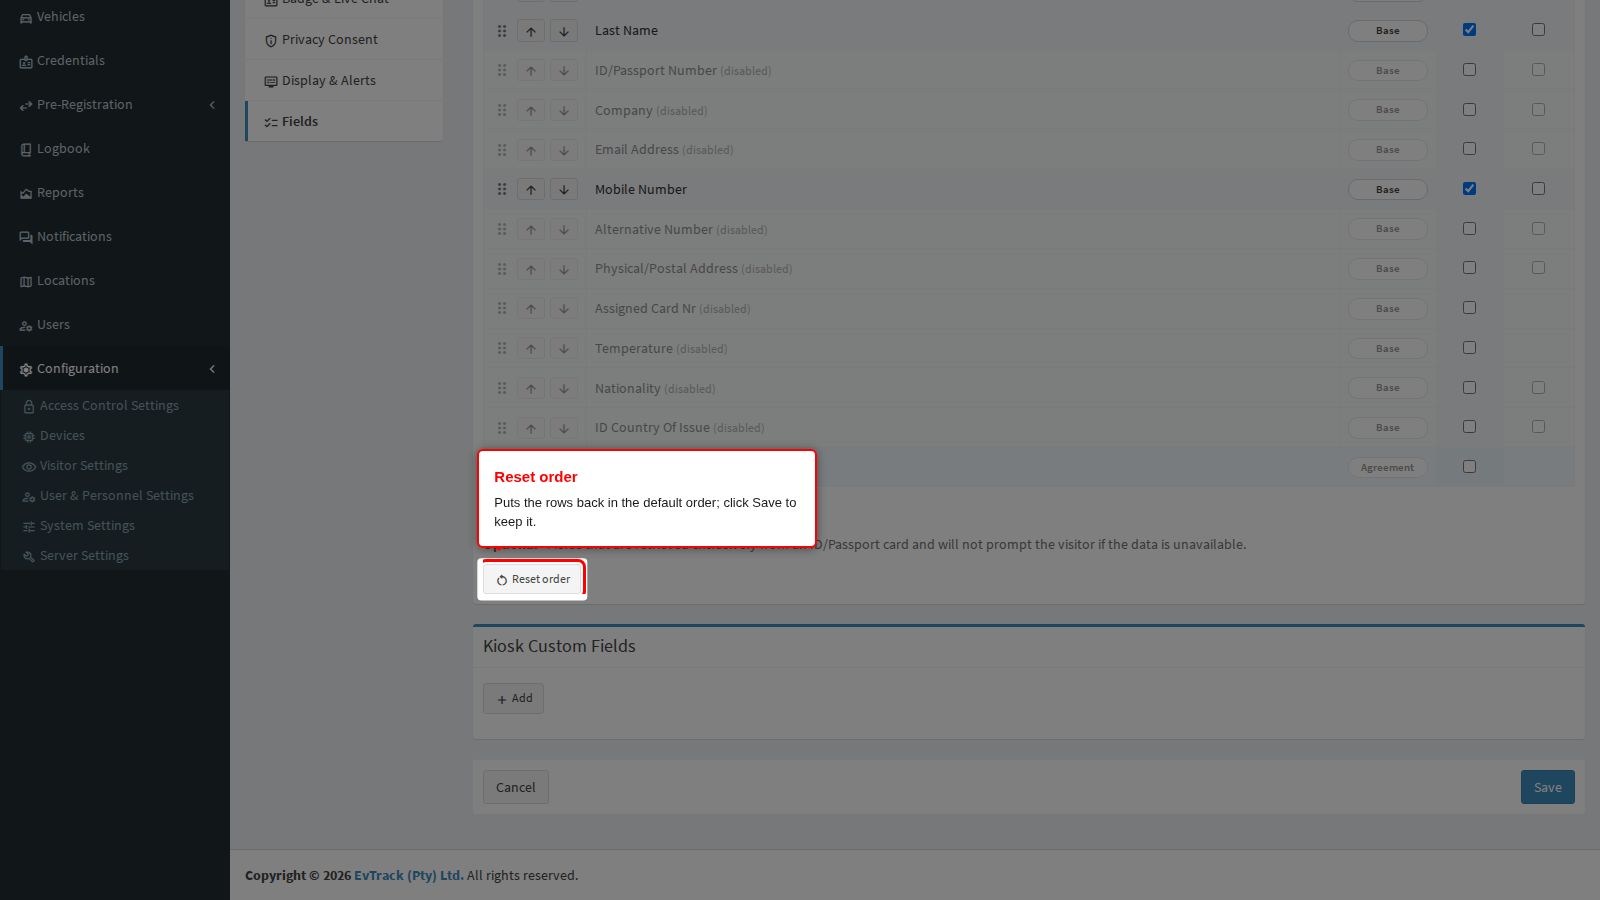
Reset order puts every row back in the default order: built-in fields, then custom questions, then agreements. Nothing changes on the kiosk until you click Save. Anything added later goes to the end of the list, so revisit the order after you add a question or an agreement.
Host approval prompts
Host approval is what makes a walk-in wait for a person rather than admitting themselves. It is configured under Visitors > Settings > Host Approval because it also covers the guard checkpoint, and it changes the kiosk flow, so it belongs in any kiosk decision.
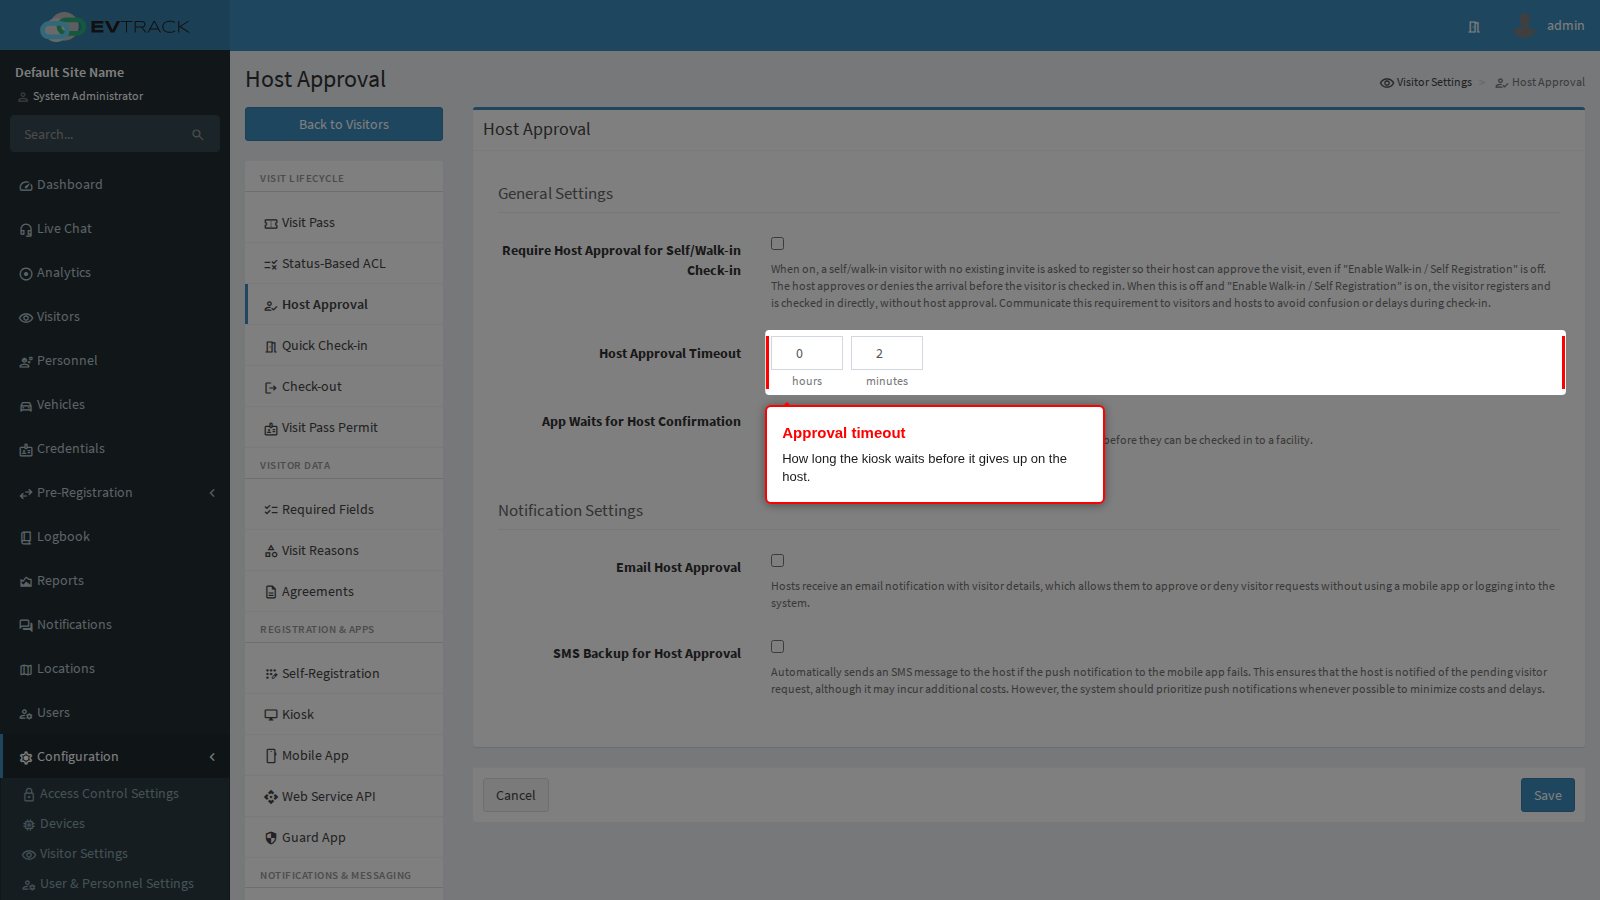
Require Host Approval for Self/Walk-in Check-in makes the kiosk notify the host and hold the visitor on a waiting screen until the host approves or declines. Approved, the check-in completes and the badge prints; declined, the visitor is turned away without a pass.
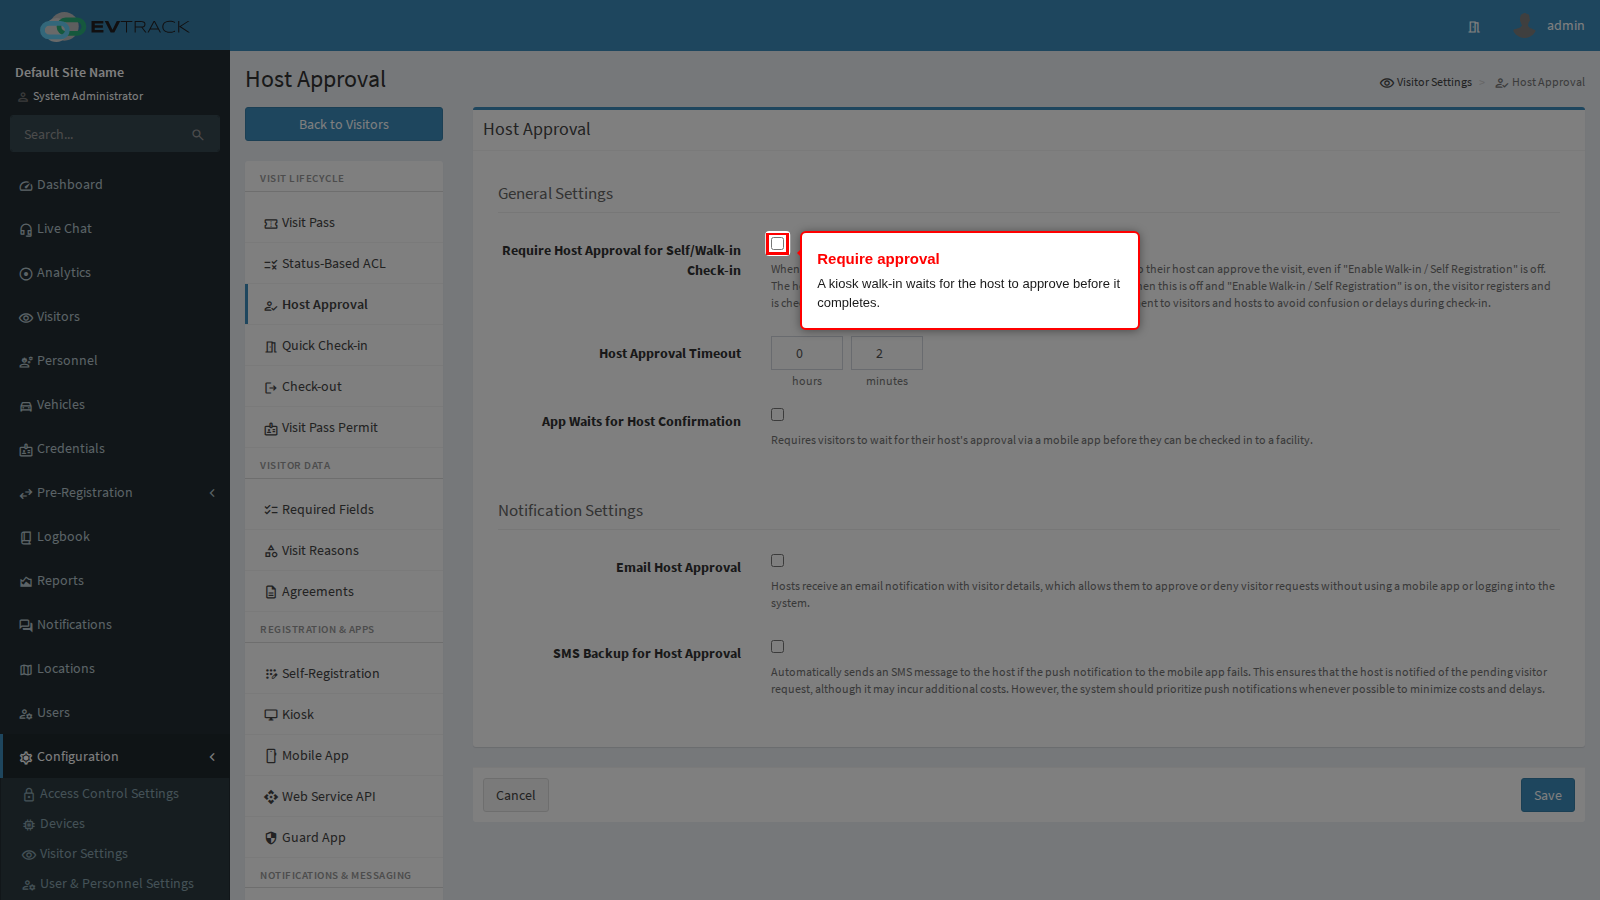
Host Approval Timeout is how long the kiosk waits before it gives up. Set it to something a visitor will tolerate standing at a tablet, and make sure reception knows what to do with the ones that time out.
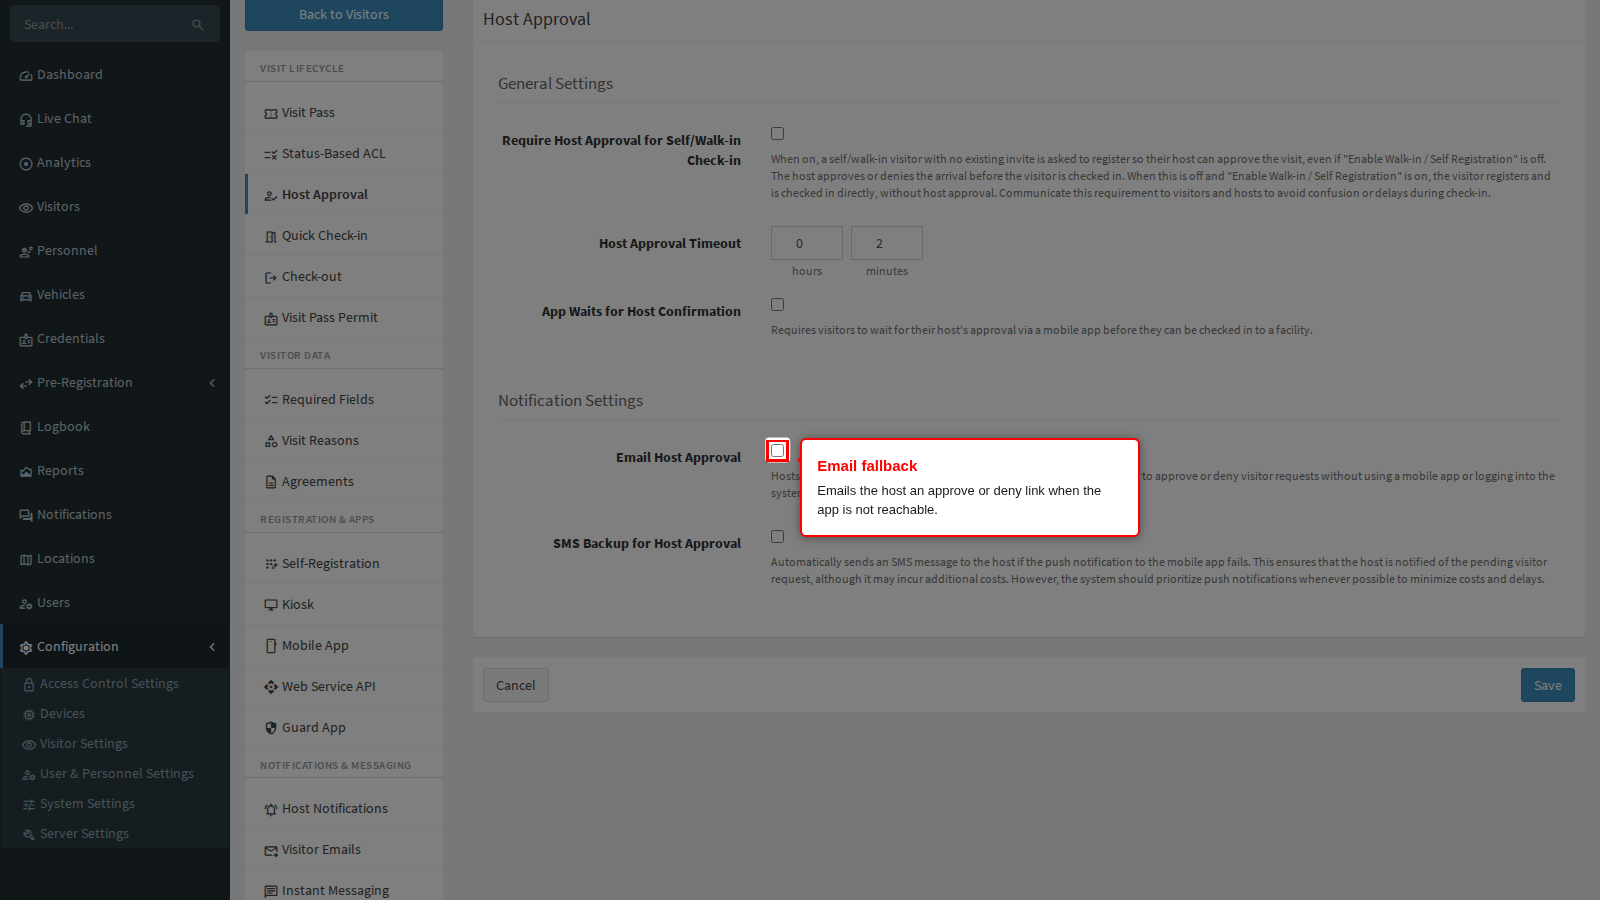
Fallback Host Approval via EMAIL and its SMS counterpart reach a host whose mobile app is not responding, sending them an approve or deny link. Without a fallback, a host who does not run the app can never approve anybody. The full walkthrough is in Host Approval and the settings in Host Approval settings.
Per-location overrides
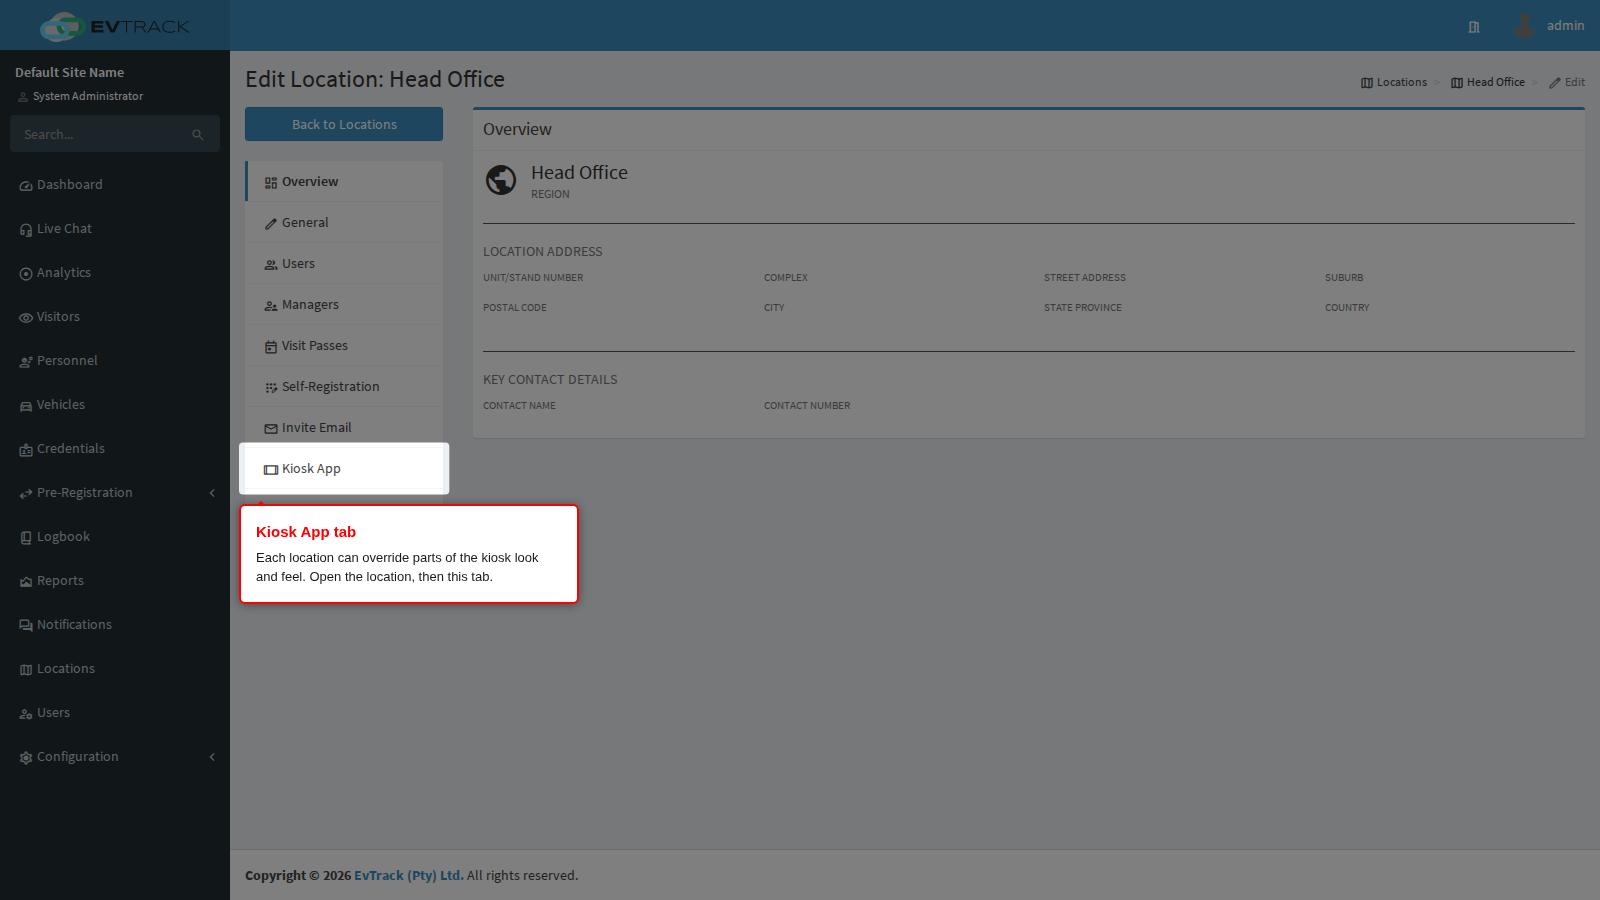
Everything on this page applies system-wide. When one area needs its own branding - a museum reception inside a head-office campus, for example - open Locations, edit the location, and use its Kiosk App tab. A location can override the kiosk logo, welcome message, color scheme, default language and default telephone country code, and which fields, custom fields and agreements its kiosks ask for; every other kiosk setting always follows this page. The tab is shown only to operators whose role can edit both locations and settings.
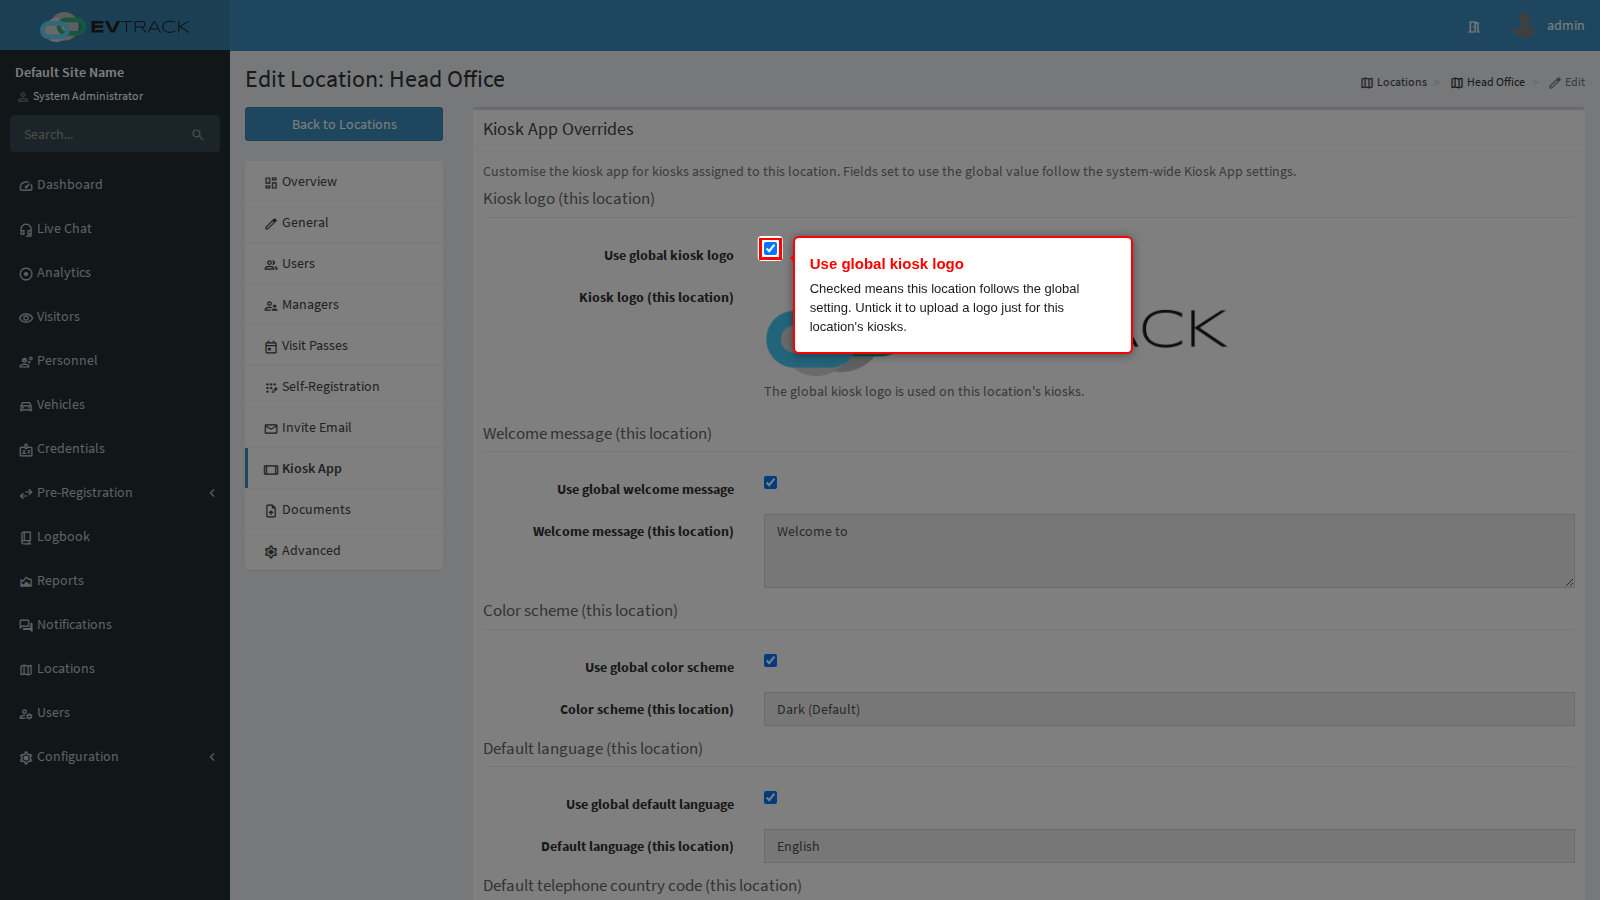
Each row starts as Use global - the location follows the system-wide value, and the row shows a read-only preview of what that value currently is. Untick the box to reveal the location’s own control: upload a logo (PNG or JPEG, up to 256 KB), type a welcome message, or pick the scheme, language or dialling code for this location only.
The Kiosk fields section works the same way. With Use global kiosk fields ticked, the location’s kiosks follow the Fields panel above, and a read-only copy of that list is shown underneath.
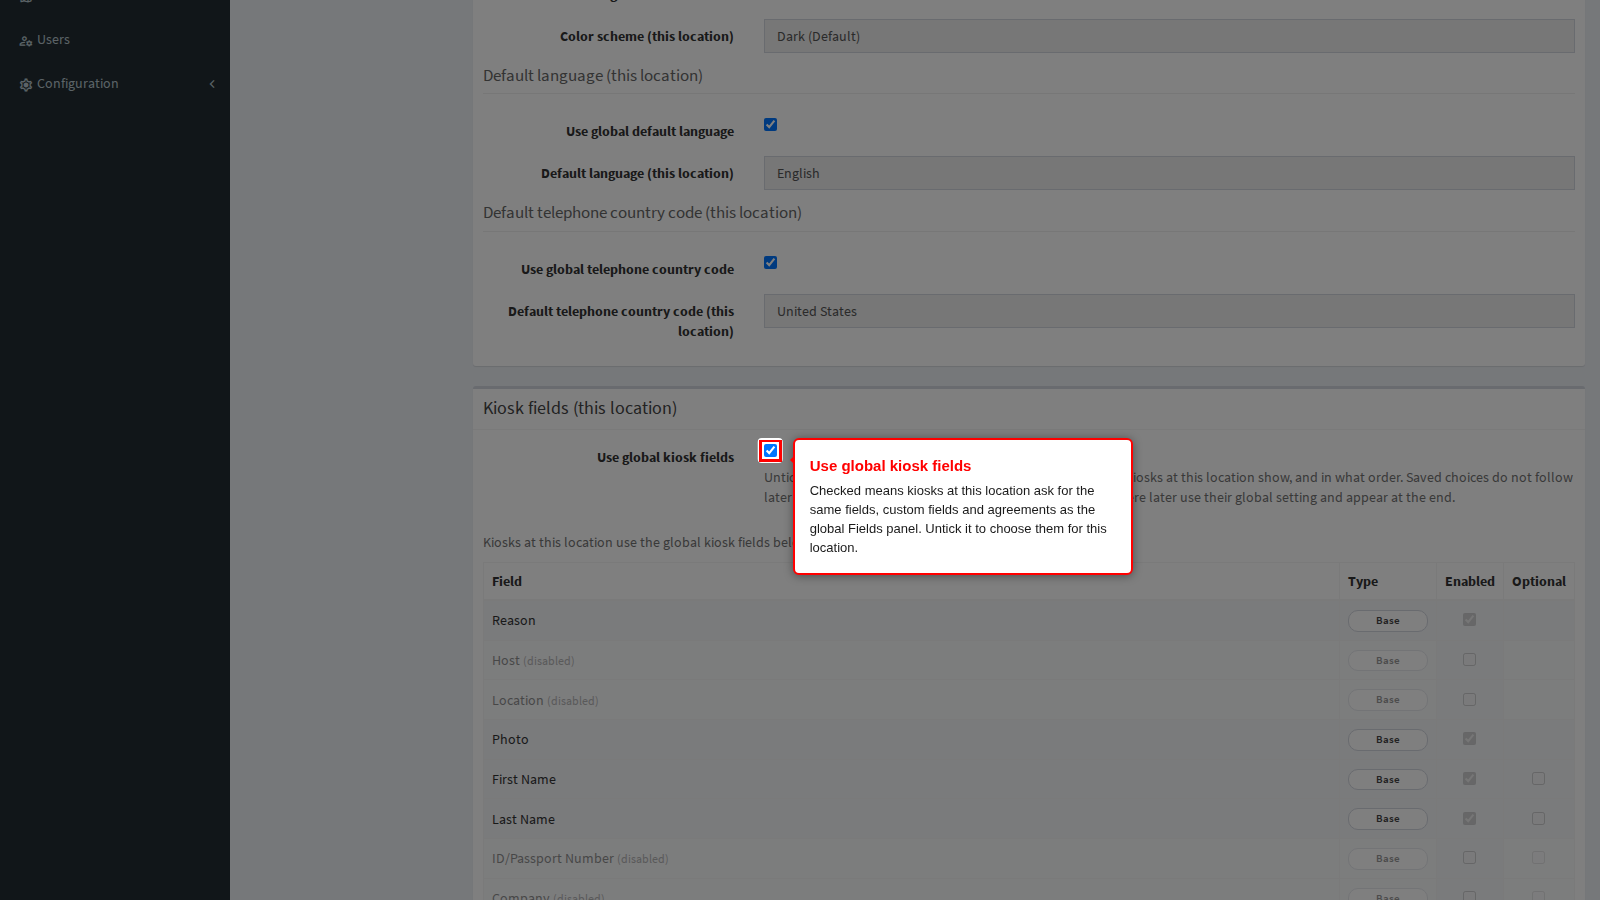
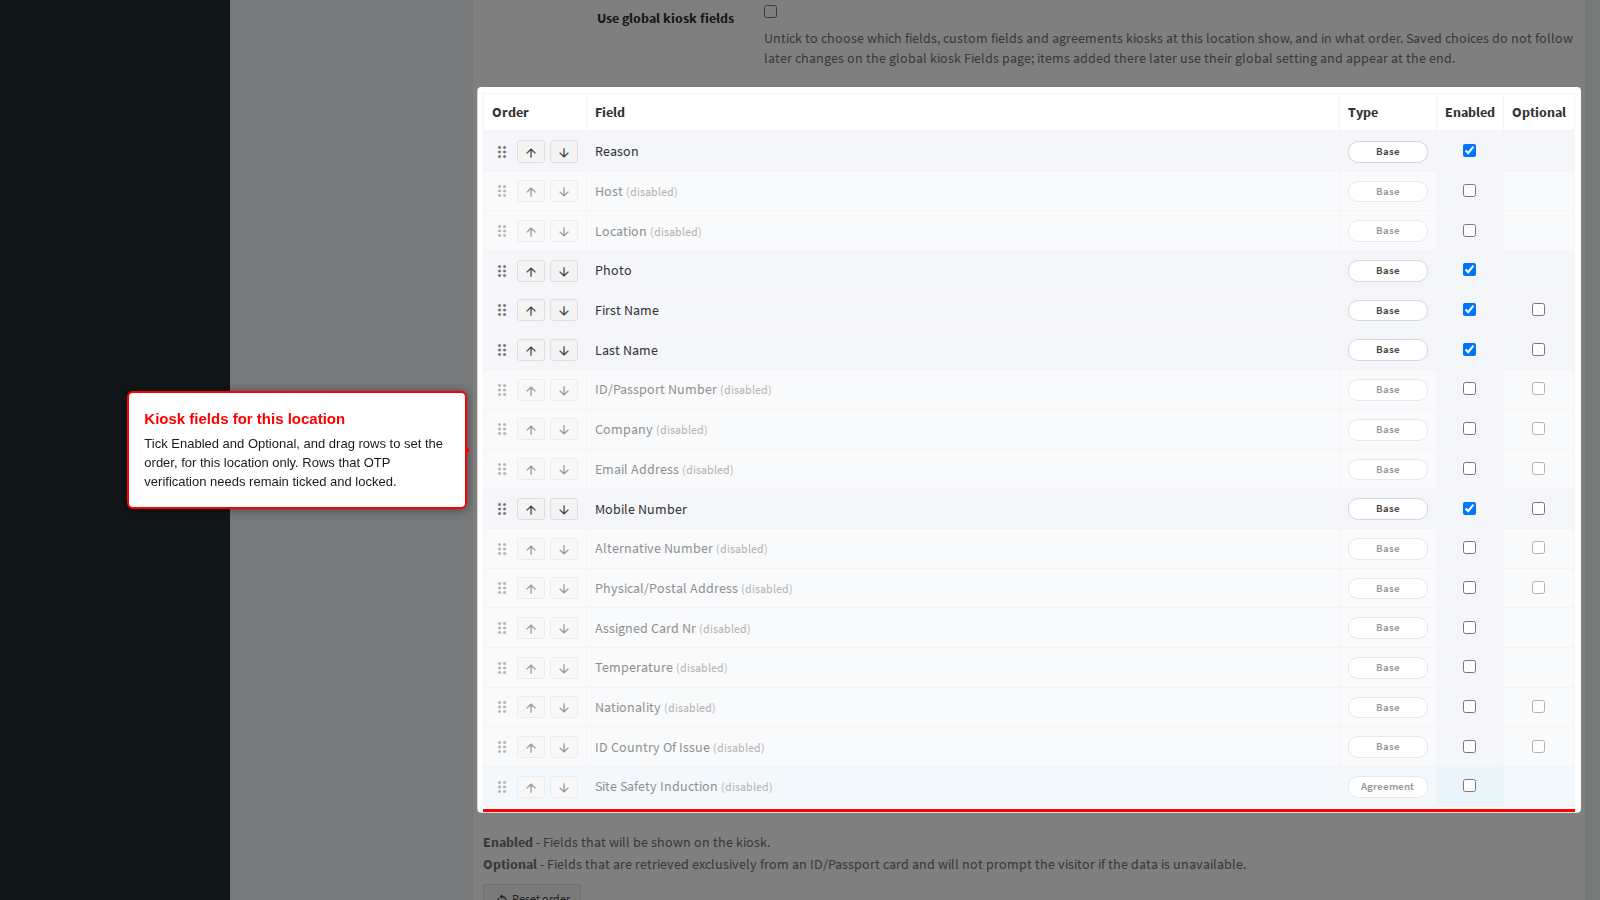
Untick it to get the same list for this location only: tick Enabled and Optional, and drag rows or use their arrow buttons to set the order. Custom fields are still created and renamed on the global Fields panel; here you only choose whether this location uses them. Choices you save remain as they are when the global list changes later, while fields, custom fields and agreements added globally afterwards use their global setting and appear at the end. While OTP verification sends codes by email or SMS, the matching Email or Mobile Number row remains ticked and locked.
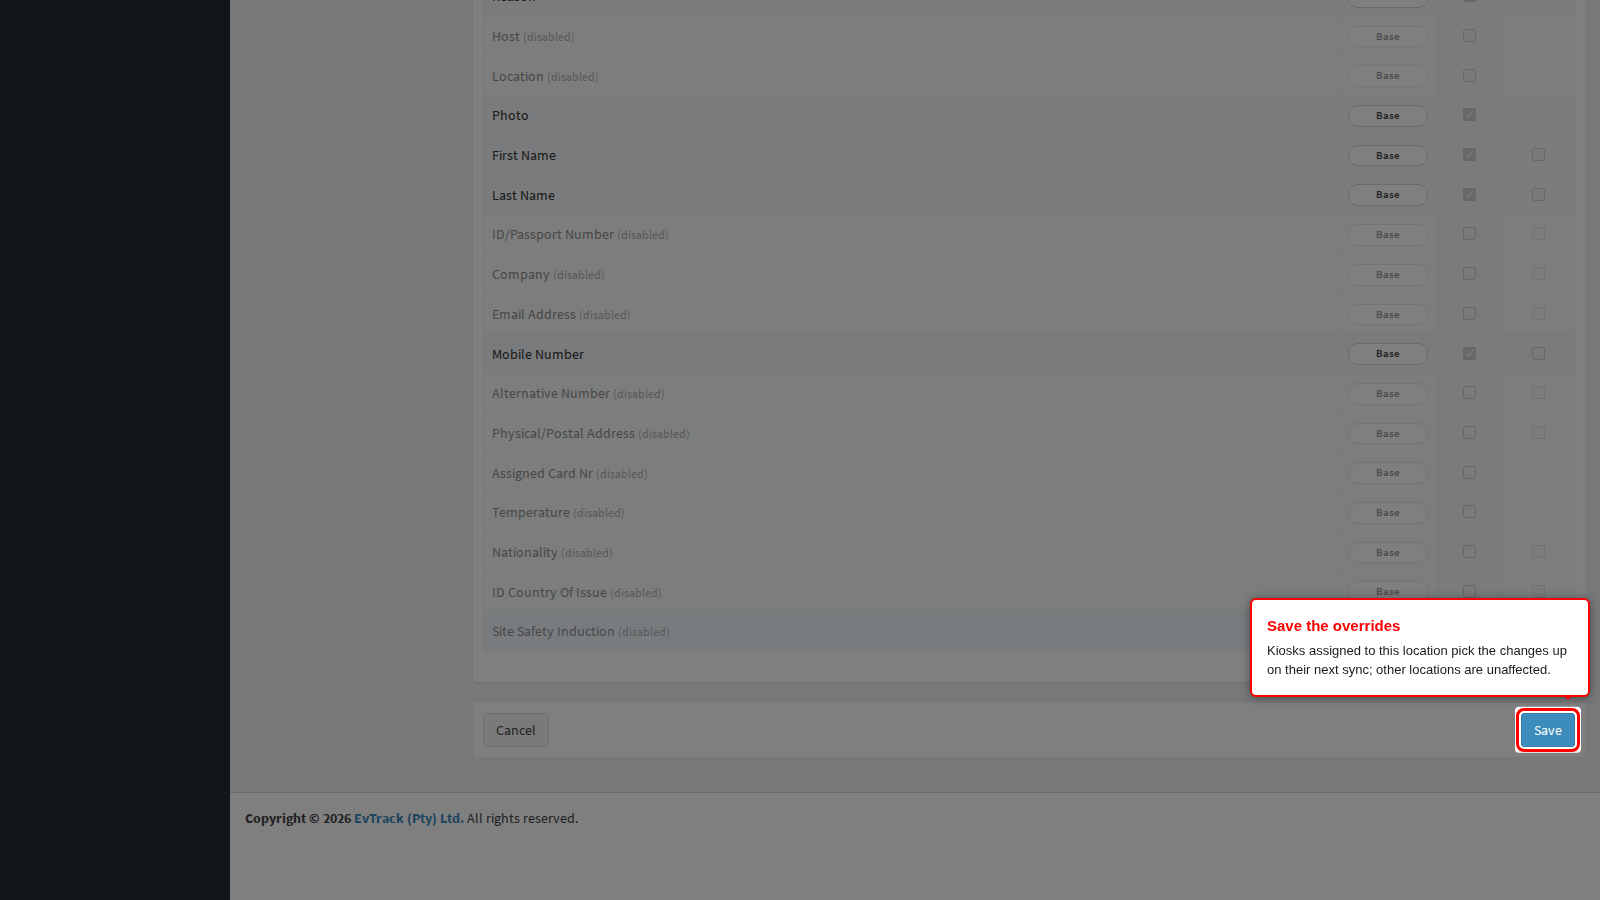
Save the tab and kiosks assigned to this location pick the changes up on their next sync. Kiosks at other locations, and kiosks not assigned to any location, are unaffected. Re-tick Use global at any time to fall back to the system-wide value.
Related chapters
- Kiosk and Guard Devices - creating the device record, installing the app, pairing and printer wiring.
- Guard App - the same decisions for the officer at the checkpoint.
- Visit Pass - what a pass contains and which access control list it opens.
- Host Approval - the approval flow from the host point of view.
- Agreements - writing the agreements the kiosk presents.
- Badge Printing - badge templates and layout.