Access control lists (ACLs) are the heart of authorisation: an ACL bundles the access control points a credential may use and on what schedule. Credentials carry one or more ACLs; readers admit a credential only when an assigned ACL covers them.
Before you start: you need an administrator account with access control administration rights. An access rule is one access control point plus one schedule, so at least one of each must already exist before you can add a rule - see Access Control Points and Schedules. You can still create the ACL first and return to add its rules later.
Why was this person denied?
Most “their card does not work” reports end at one of the questions below. The reader asks them in this order and stops at the first one that fails. The kiosk and the guard app report a numbered result for the transaction, and those numbers are what the diagram ends on.
flowchart TD
    start(["A credential is presented at a reader"])
    qKnown{"Is the credential in the system at all?"}
    qUsable{"Is it switched on, in an Active or Valid state,<br>and does a limited-use pass still have entries left?"}
    qWindow{"Is right now inside the credential's own<br>activation and expiry window?"}
    qAcl{"Does one of the credential's access control lists<br>hold a rule for this access control point?"}
    qSchedule{"Does that rule's schedule allow this day and this time?"}
    qLabel{"How do the credential's dates read at this moment?"}
    REMOTE_ACCESS_REQUEST_ACCESS_DENIED_CREDENTIAL_NOT_FOUND["Result -1, credential not found"]
    REMOTE_ACCESS_REQUEST_ACCESS_DENIED_NOT_VALID_YET["Result 18, not valid yet"]
    REMOTE_ACCESS_REQUEST_ACCESS_DENIED_EXPIRED["Result 17, expired"]
    REMOTE_ACCESS_REQUEST_ACCESS_DENIED["Result 0, access denied"]
    REMOTE_ACCESS_REQUEST_ACCESS_GRANTED["Result 1, access granted"]

    start --> qKnown
    qKnown -- no --> REMOTE_ACCESS_REQUEST_ACCESS_DENIED_CREDENTIAL_NOT_FOUND
    qKnown -- yes --> qUsable
    qUsable -- no --> qLabel
    qUsable -- yes --> qWindow
    qWindow -- no --> qLabel
    qWindow -- yes --> qAcl
    qAcl -- no --> qLabel
    qAcl -- yes --> qSchedule
    qSchedule -- no --> qLabel
    qSchedule -- yes --> REMOTE_ACCESS_REQUEST_ACCESS_GRANTED
    qLabel -->|before the activation date| REMOTE_ACCESS_REQUEST_ACCESS_DENIED_NOT_VALID_YET
    qLabel -->|after the expiry date| REMOTE_ACCESS_REQUEST_ACCESS_DENIED_EXPIRED
    qLabel -->|inside the window| REMOTE_ACCESS_REQUEST_ACCESS_DENIED
Read the diagram with these four rules, because the shape of it is the whole point:
- Five different faults produce one refusal. A switched-off credential, an exhausted limited-use pass, a validity window that has not opened or has closed, a credential carrying no list that covers this point, and a schedule that does not allow the current day or time are all the same refusal to the reader. The reader cannot tell you which one it was.
- The number you get back describes the dates, not the fault. After refusing, the system looks at the credential’s own dates to choose the number: before the activation date it reports 18, after the expiry date it reports 17, and in every other case it reports 0. So a credential that is both expired and carries no access control list reports 17, and fixing the dates alone will not admit the person. Treat 17 and 18 as “start with the dates”, never as “the dates are the only problem”.
- Result 0 is the access control question. It means the credential was usable and in date, and it still opened nothing here. That is an access control list problem: either no list on the credential covers this access control point, or the rule that covers it is paired with a schedule that excludes the moment the person presented it. Open the credential, look at the lists it carries, then open each list’s Access Rules and check both columns.
- A wall reader shows nothing. These numbers come from the kiosk and the guard app. A card presented to a plain access control reader produces a granted or denied event with no message for the person standing there, so for those the record in the Logbook is the only account of what happened.
The kiosk and the guard app add their own checks ahead of the ones above, and those produce their own results. They are visitor-flow refusals rather than access control faults, and no change to an access control list will affect them:
| Result | What it means | Where you see it |
|---|---|---|
| 76 | Already checked in - the visit is already Checked-in or Hosted | Kiosk check-in |
| 77 | Not checked in - nothing to check out of | Kiosk check-out |
| 78 | The visit was cancelled | Kiosk |
| 79 | The visit is already finished and cannot be re-opened | Kiosk |
| 22 | Already checked in, at a checkpoint that does not allow repeat entry | Guard app |
| 8 | Refused on a watchlist match, or on an unaccepted agreement | Kiosk and guard app |
| 15, 41 to 45, 82 | Not a refusal: the person is being asked to register, or to confirm who they are, before the decision is made | Kiosk and guard app |
| 2 | Not a refusal: a second factor is expected, such as a PIN or a number plate | Guard app |
| 11, 12, 13, 16 | The PIN, identity document, number plate or second factor presented matched nothing | Kiosk and guard app |
| 98, 99 | The reader or the checkpoint is not configured, or the request could not be processed | Guard app, kiosk |
Two things this list does not include, because they do not exist as refusals: there is no capacity or occupancy refusal and no location-mismatch refusal. If people are being turned away and you suspect either, the cause is elsewhere in the list above.
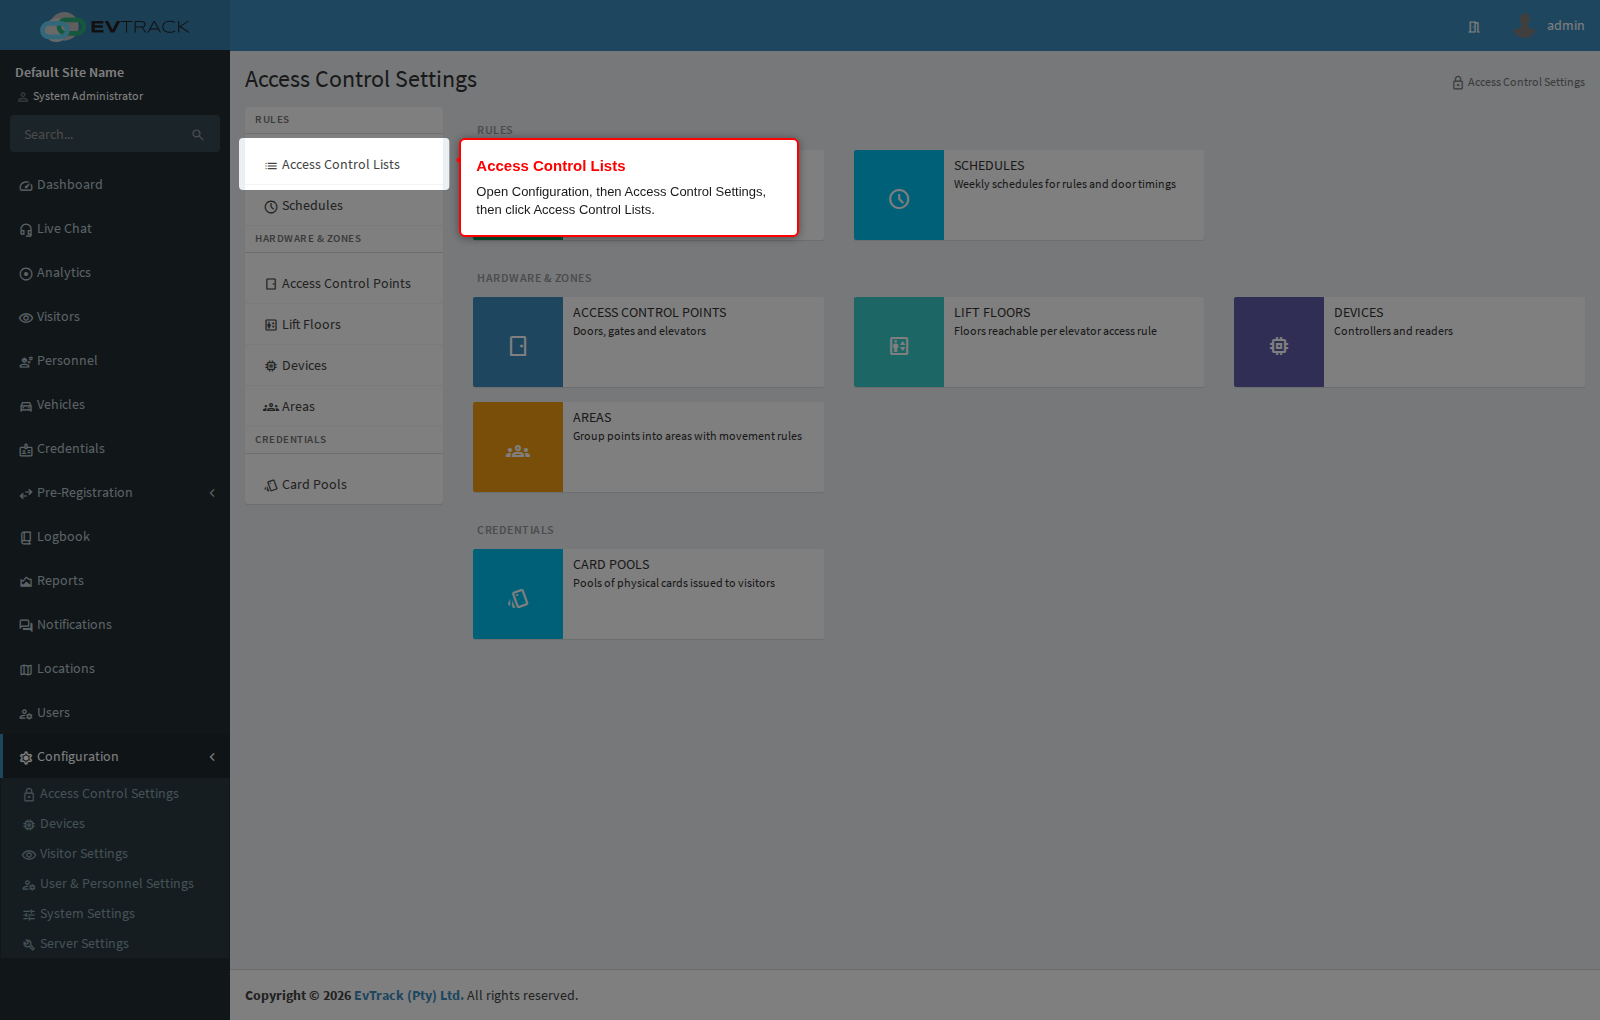
Step 1: Open Access Control Lists
In the left sidebar open Configuration, click Access Control Settings, then click Access Control Lists in the section menu. The Access Control Lists page opens.
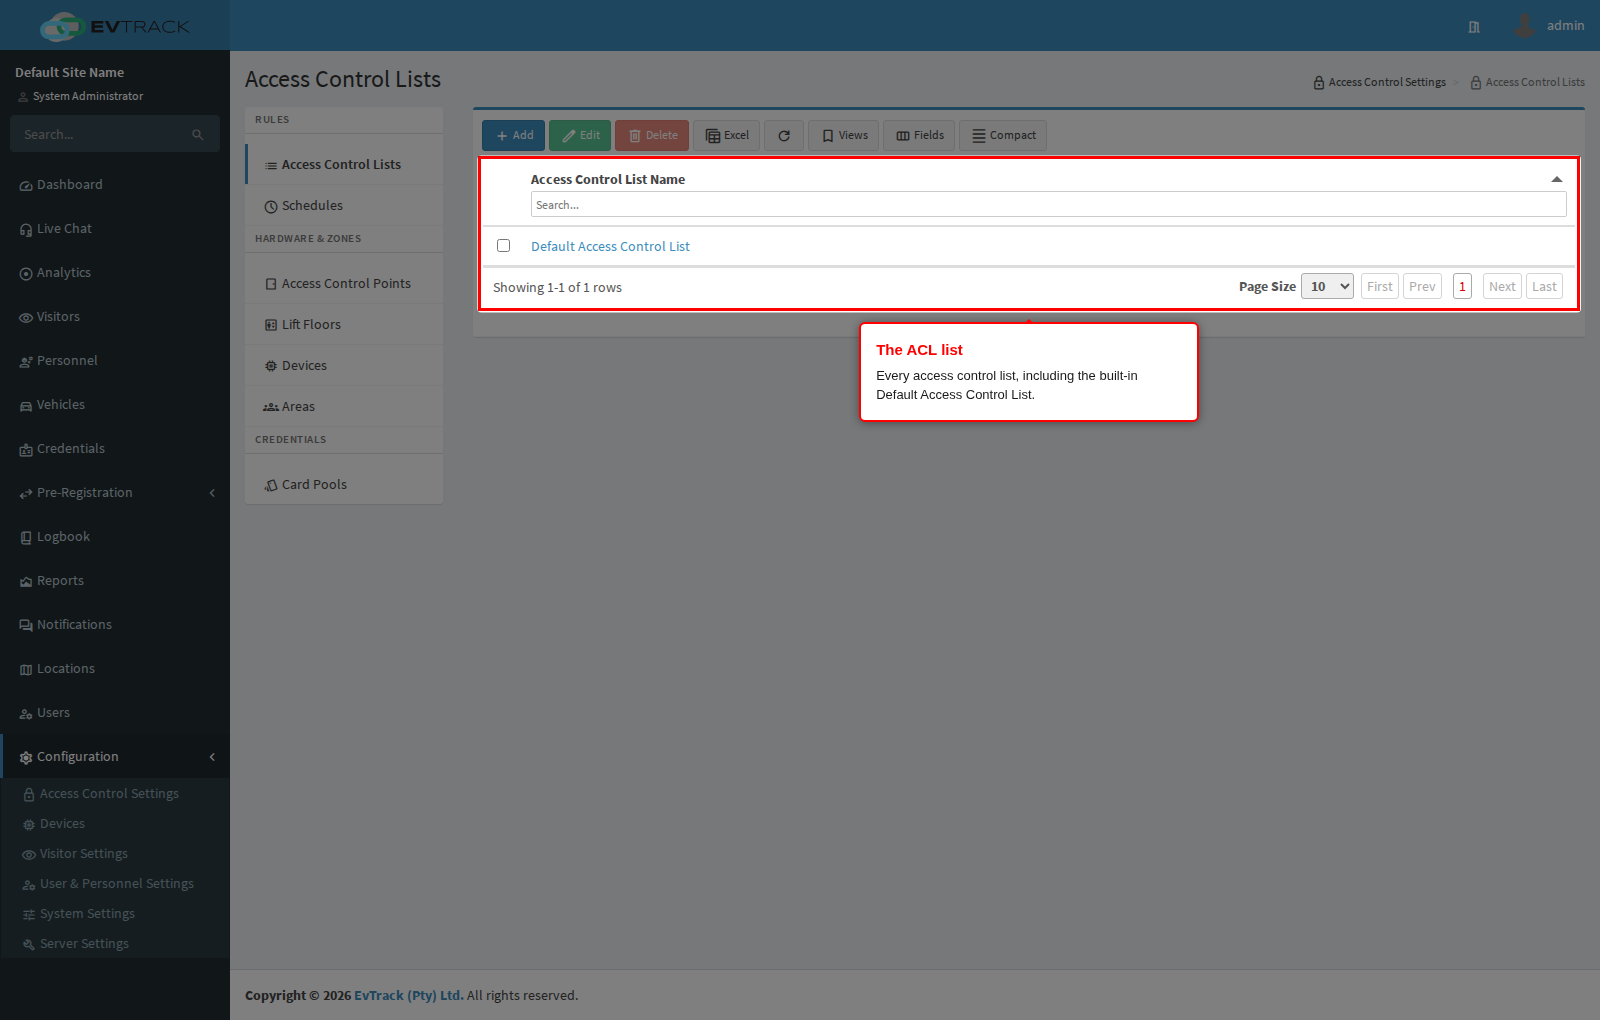
Step 2: Review the list
The table shows every ACL. A new system ships with a Default Access Control List - the one visitor credentials receive out of the box (see the Visitor Default ACL setting under Visit Pass). Use the search box in the column header to filter by name.
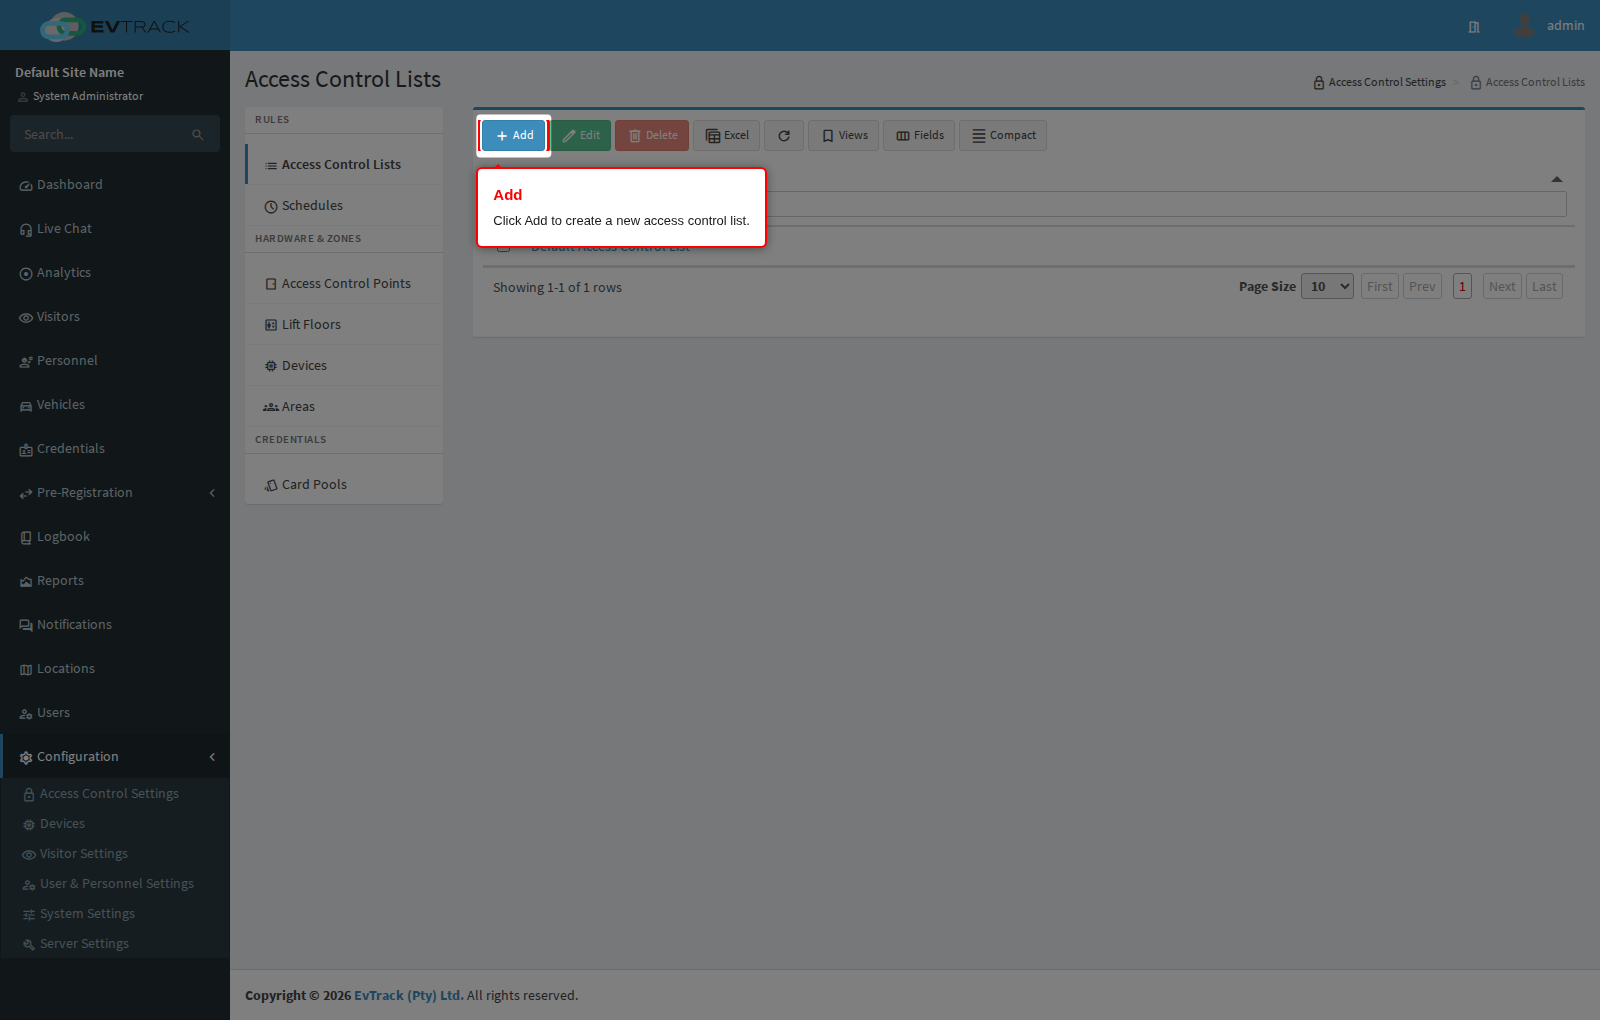
Step 3: Click Add
Click the Add button above the table. The new ACL form opens.
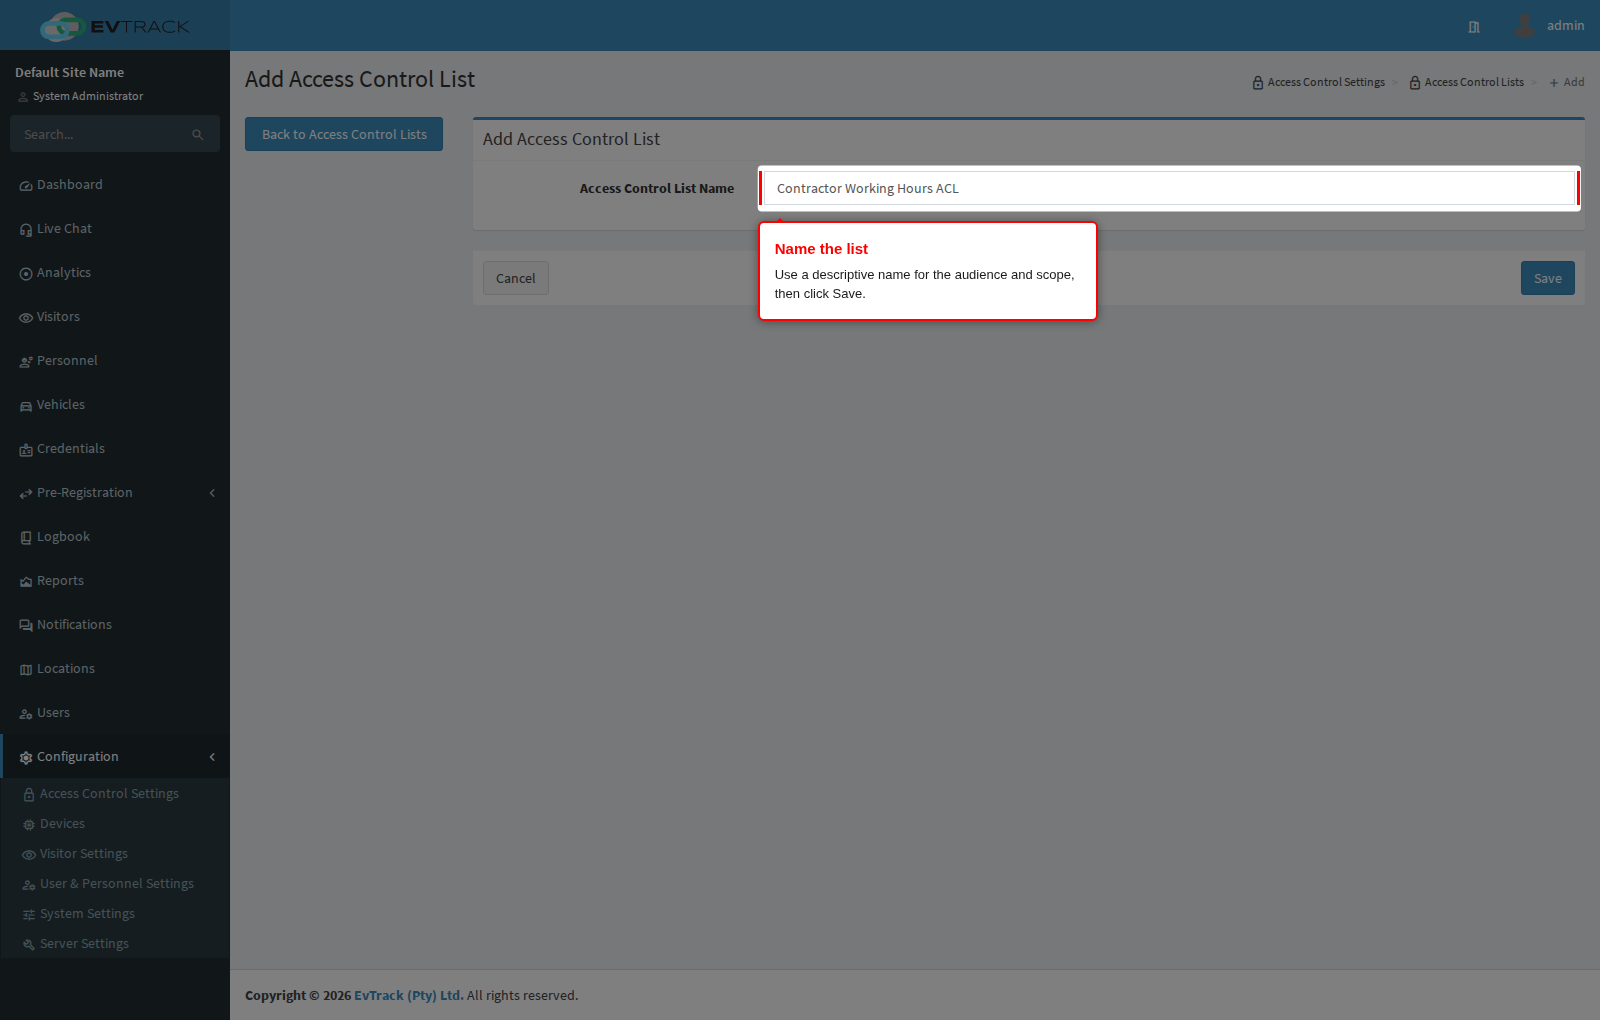
Step 4: Name the list and save
Give the list a descriptive name - name for the audience and scope, for example “Contractor Working Hours ACL” - then click Save. You are returned to the list with a success message.
Step 5: Open the list and go to Access Rules
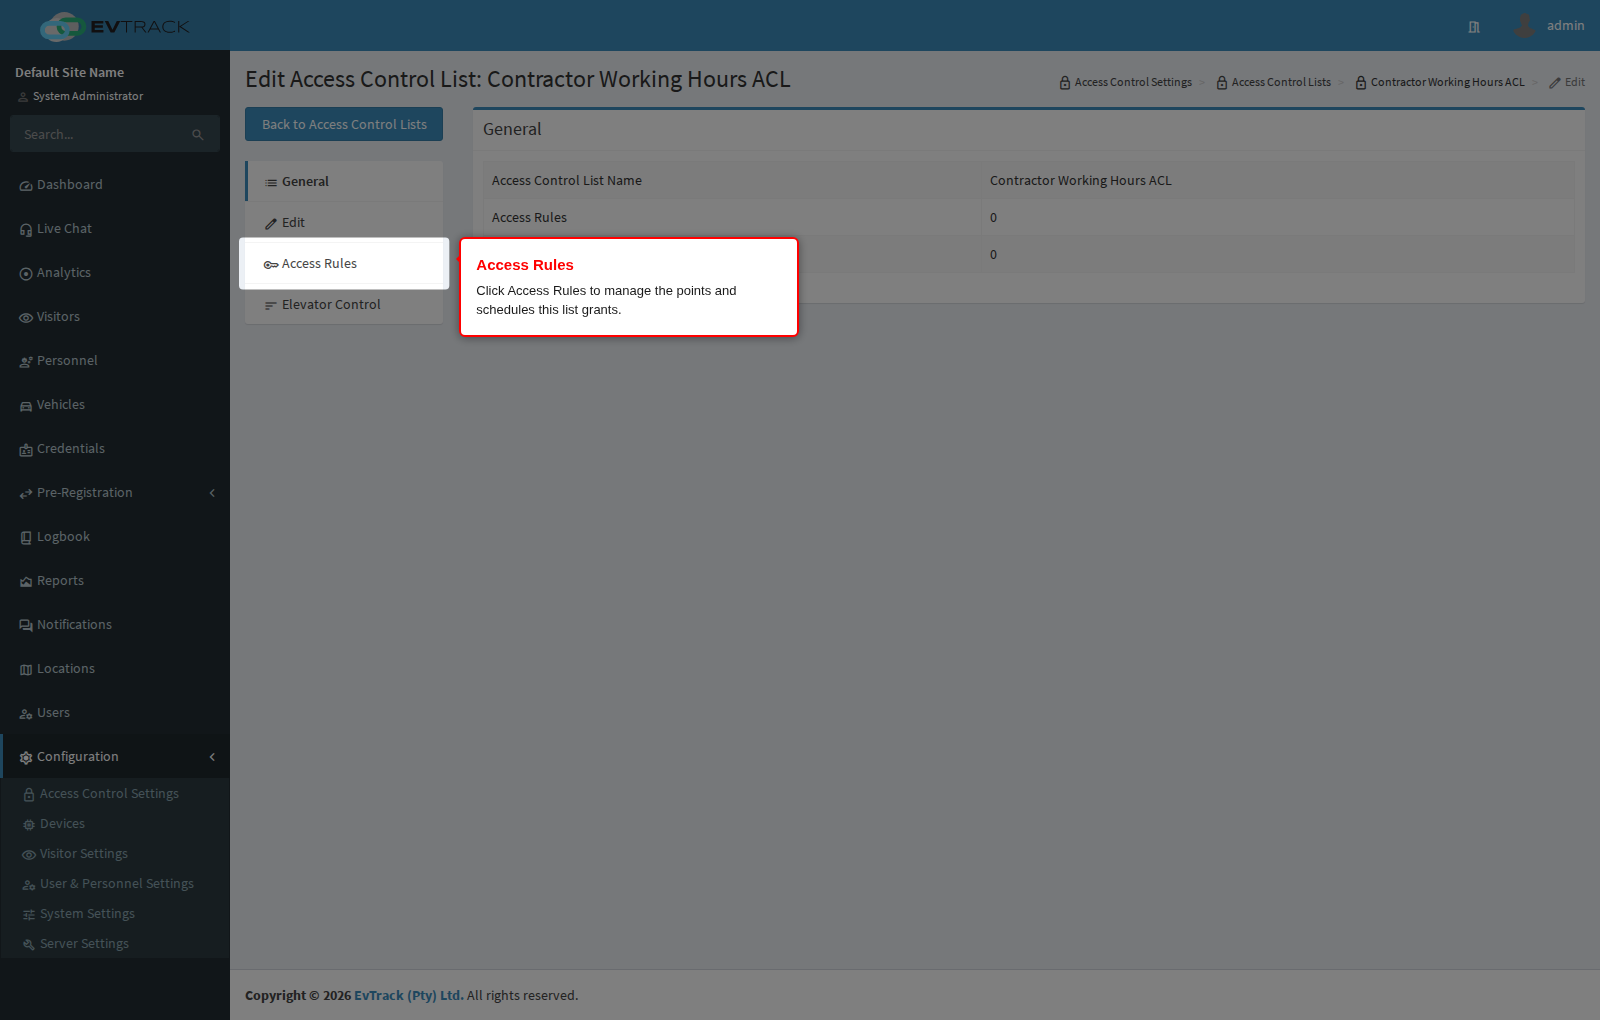
Open the ACL by clicking its name in the list (or select its row and click Edit). In the panel menu on the left of the edit page, click Access Rules. The Access Rules panel opens.
Step 6: Review the access rules
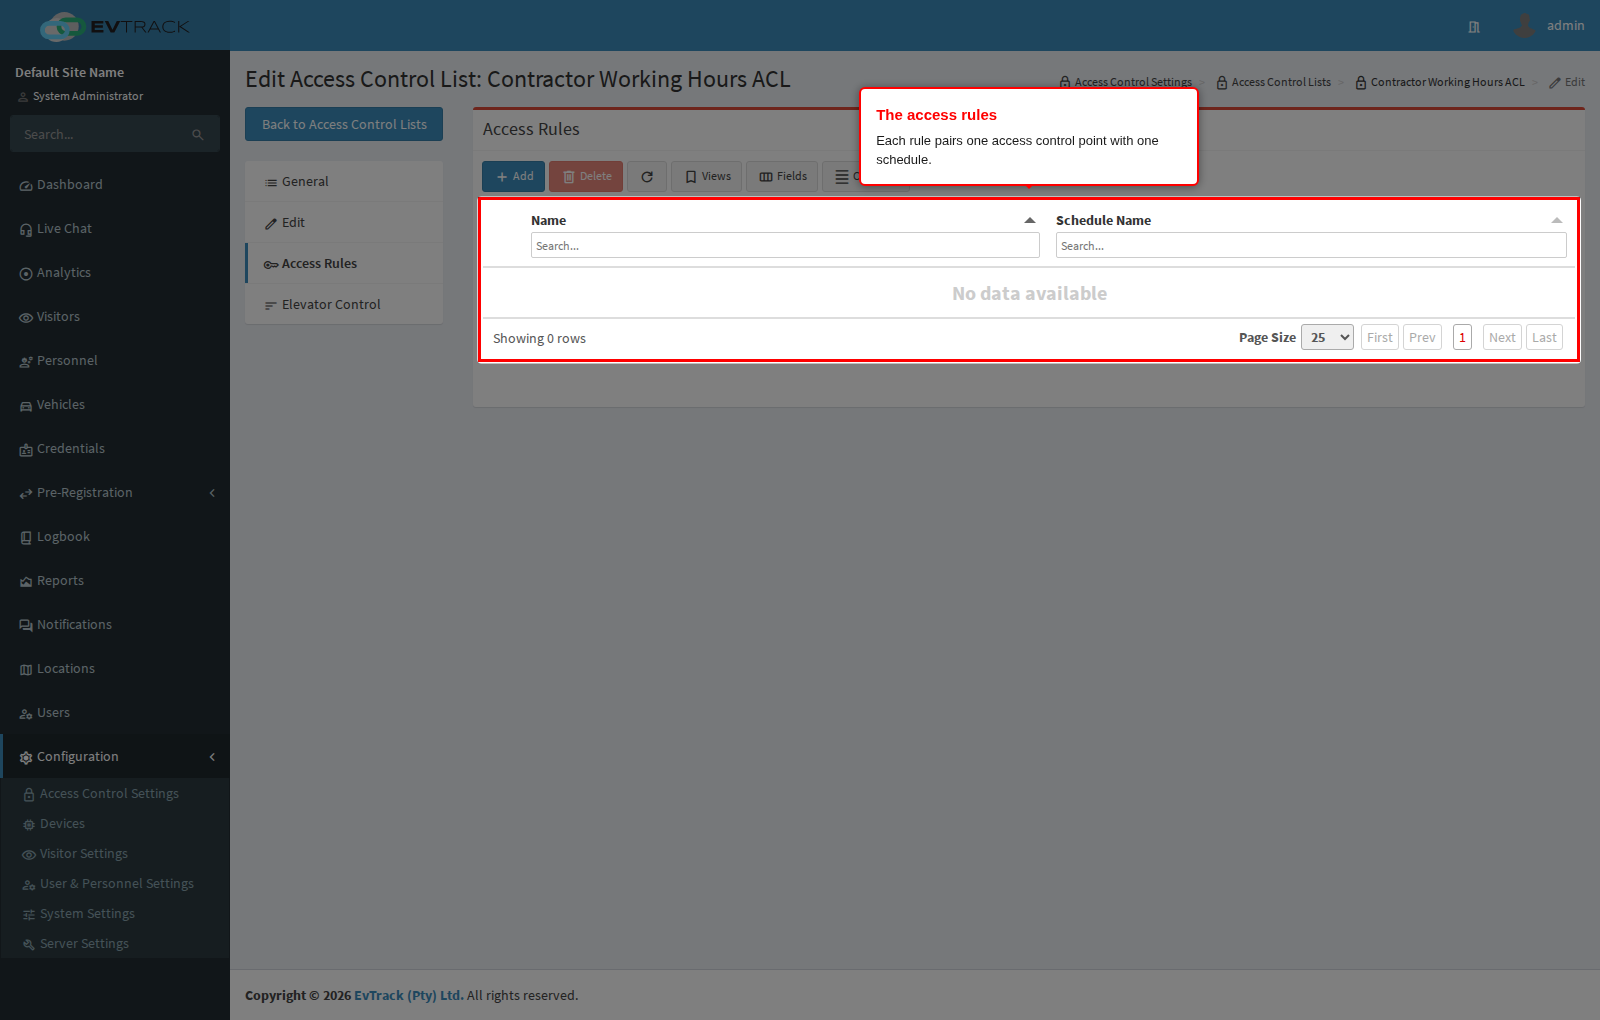
The Access Rules panel lists every rule on this ACL. Each row is one access rule: one access control point paired with one schedule, which together say “this list opens that point during those hours”. A list with no rules opens nothing, so a new ACL starts empty.
Step 7: Click Add to create a rule
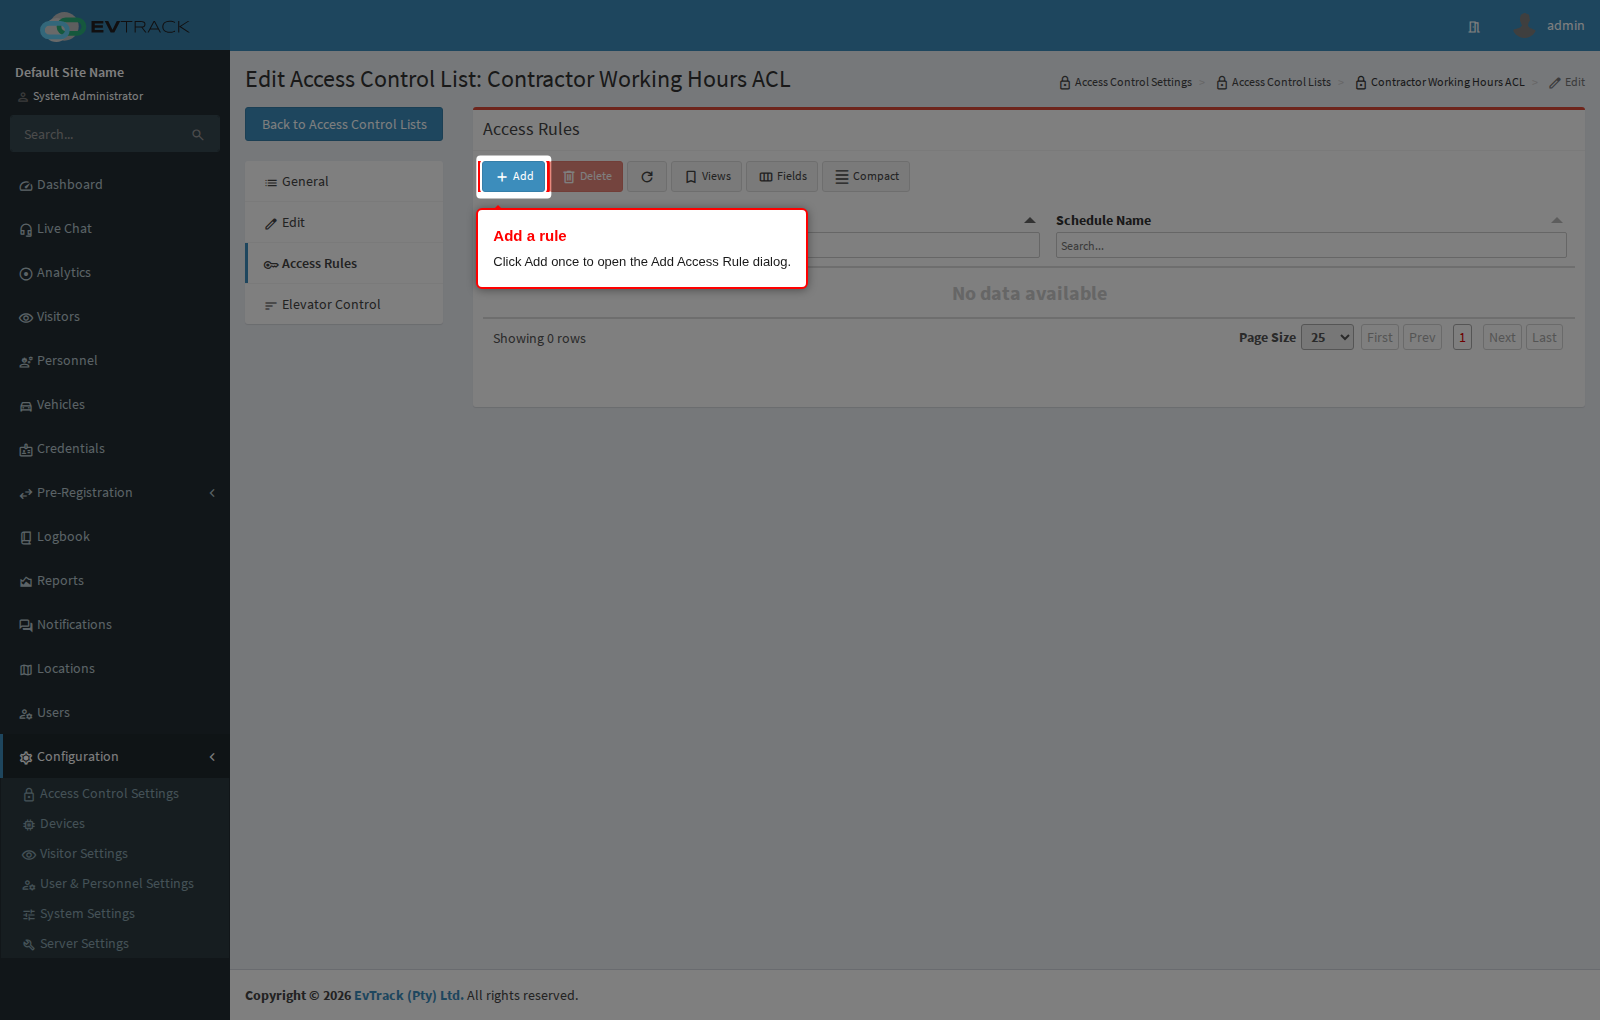
Click the Add button in the toolbar above the rules table. Click it once - clicking again closes the dialog.
Step 8: Choose the point and the schedule
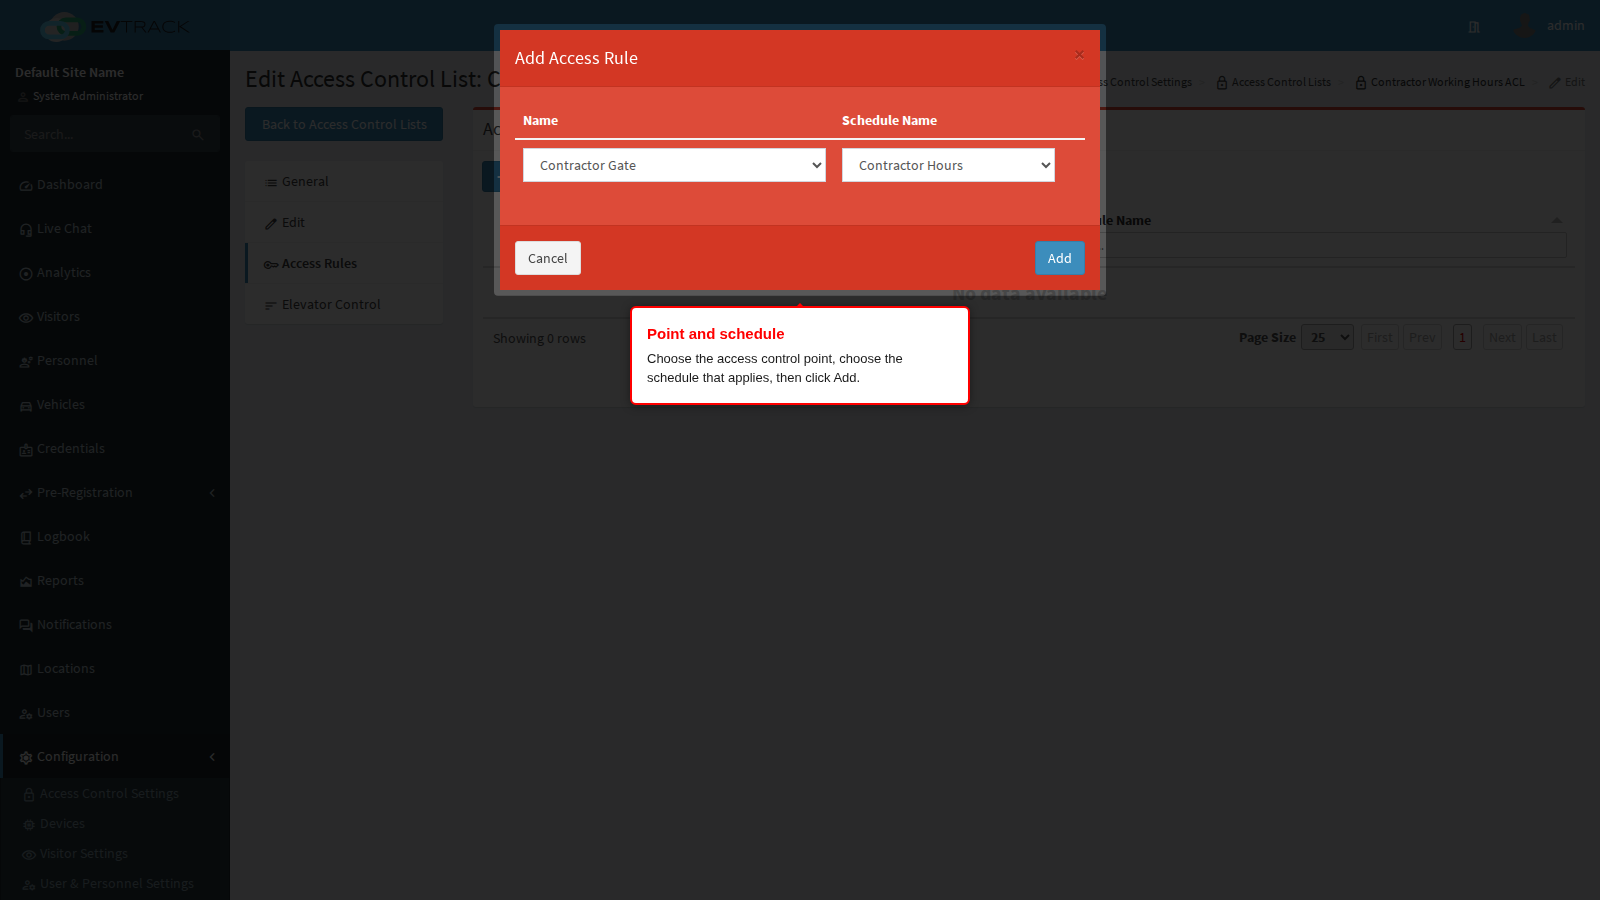
The Add Access Rule dialog has two lists. In the first, choose the access control point this ACL should open, for example “Contractor Gate”. In the second, choose the schedule that limits when it opens, for example “Contractor Hours”. Click Add. The dialog closes, the page reloads and a success message confirms the rule was added.
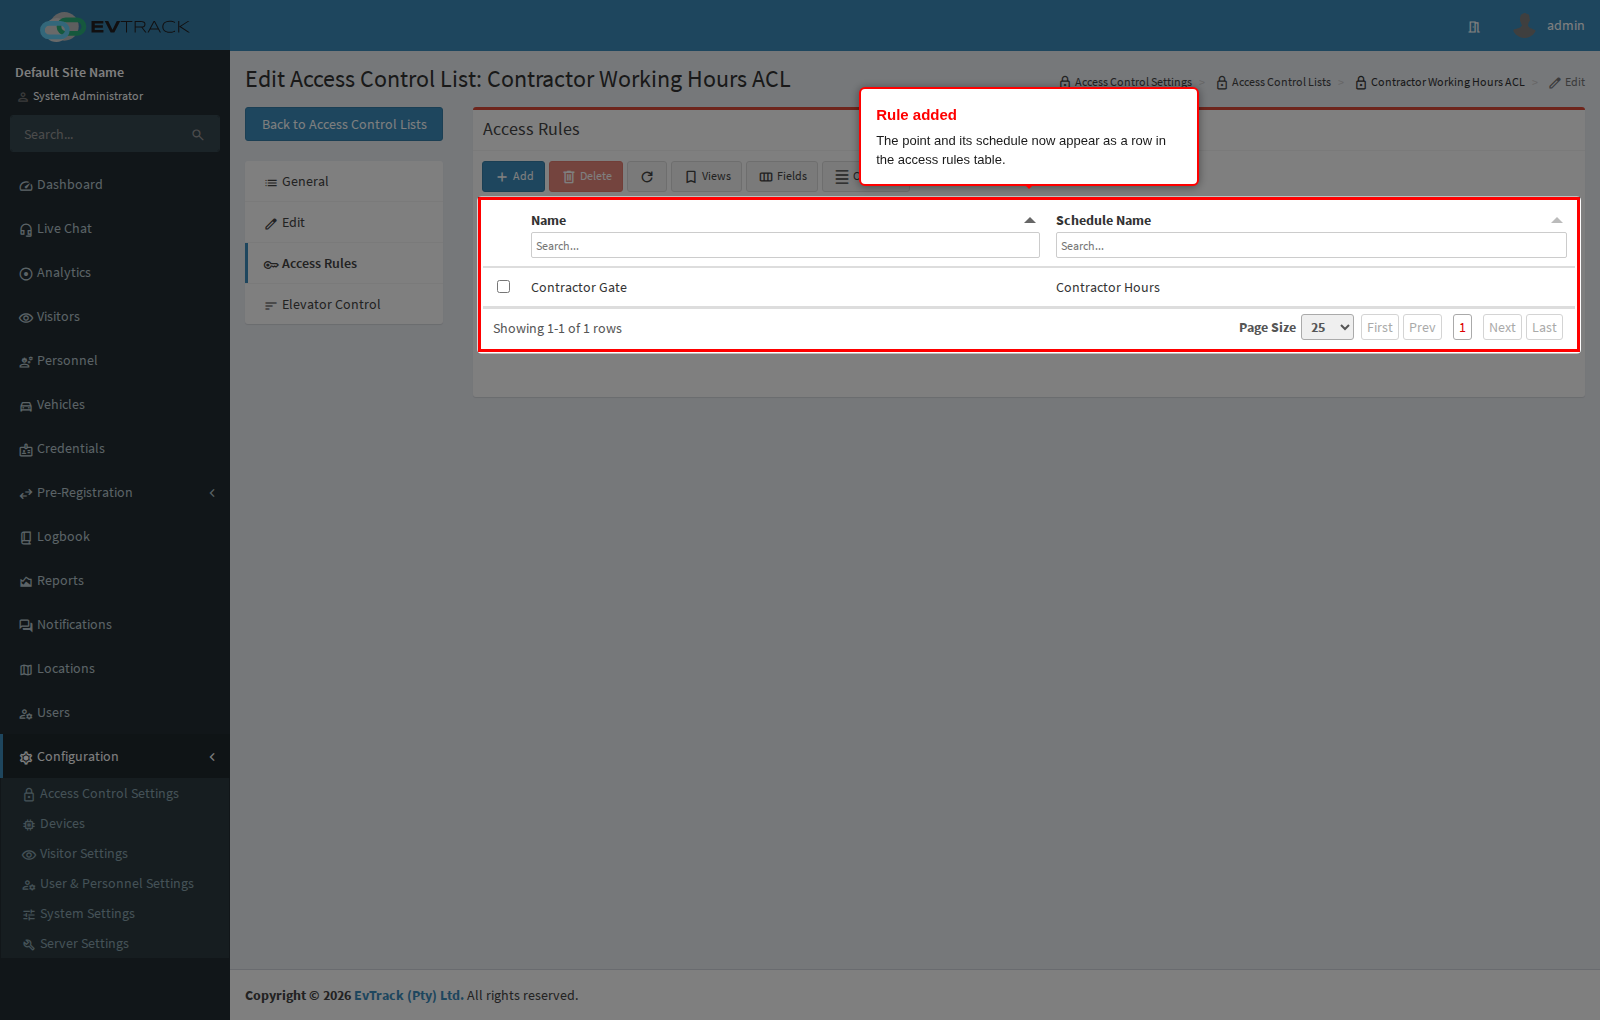
Step 9: Confirm the rule
The new rule appears as a row in the access rules table, showing the access control point and the schedule you picked. Repeat steps 7 and 8 for every point this list should open - a point that needs different hours on different days needs its own schedule, not a second rule.
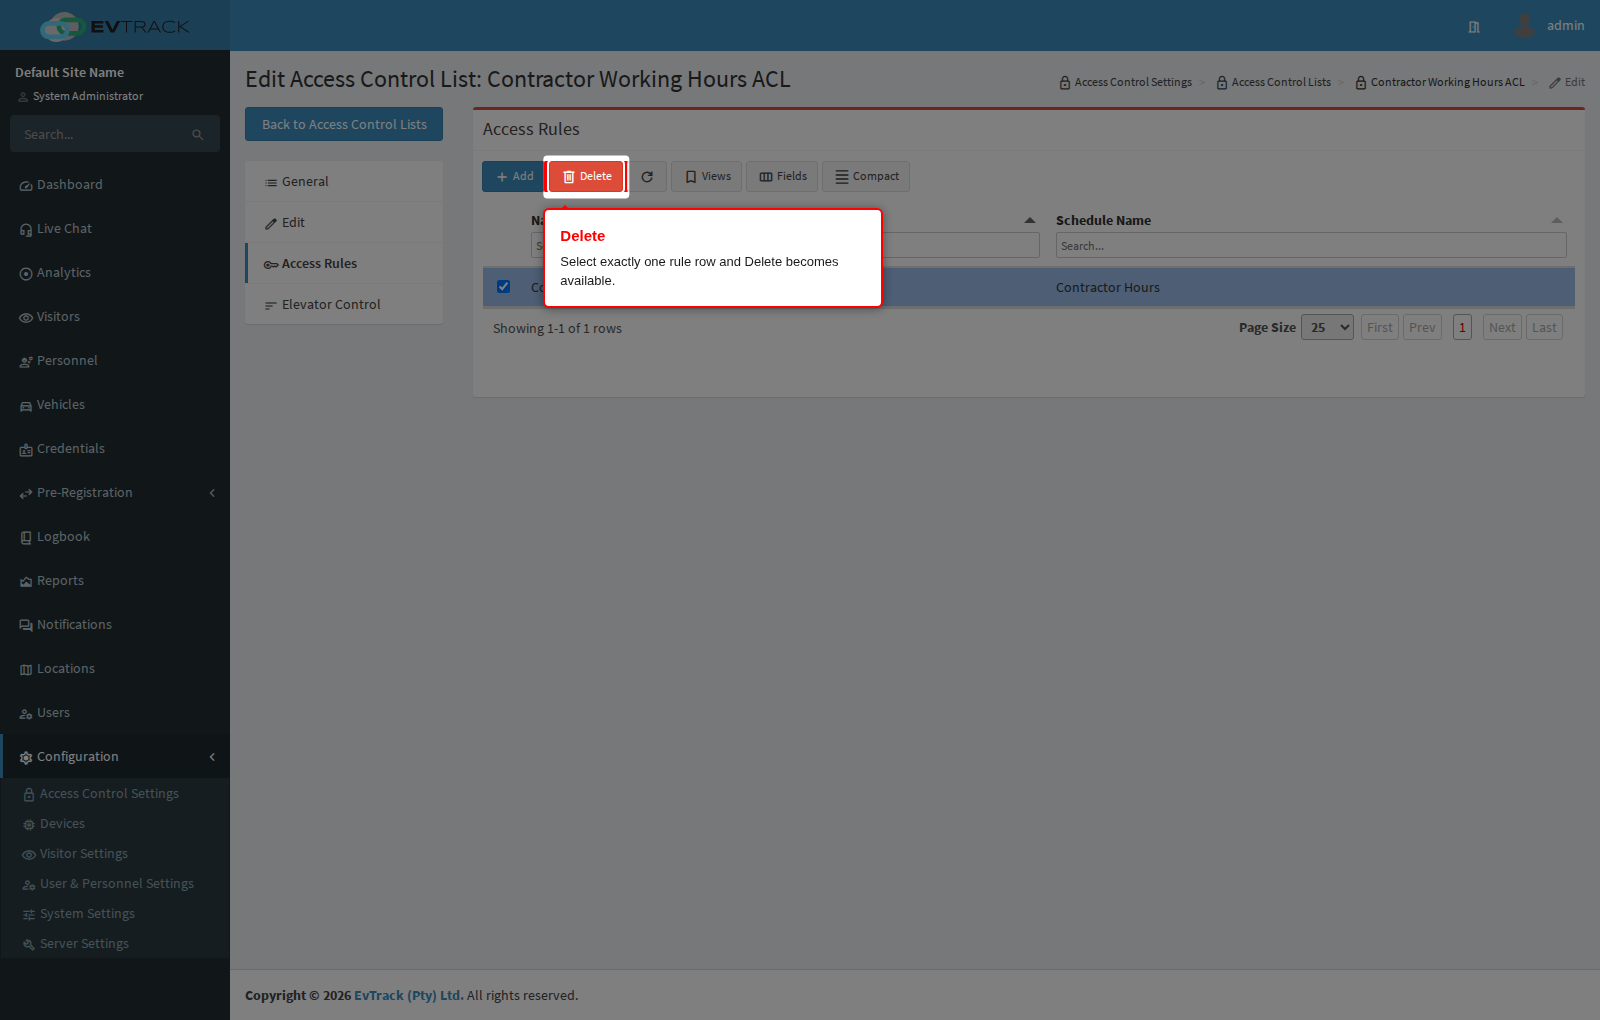
Step 10: Select a rule to remove it
To take a point off the list again, click the row to select it. The Delete button in the toolbar remains greyed out until exactly one rule row is selected.
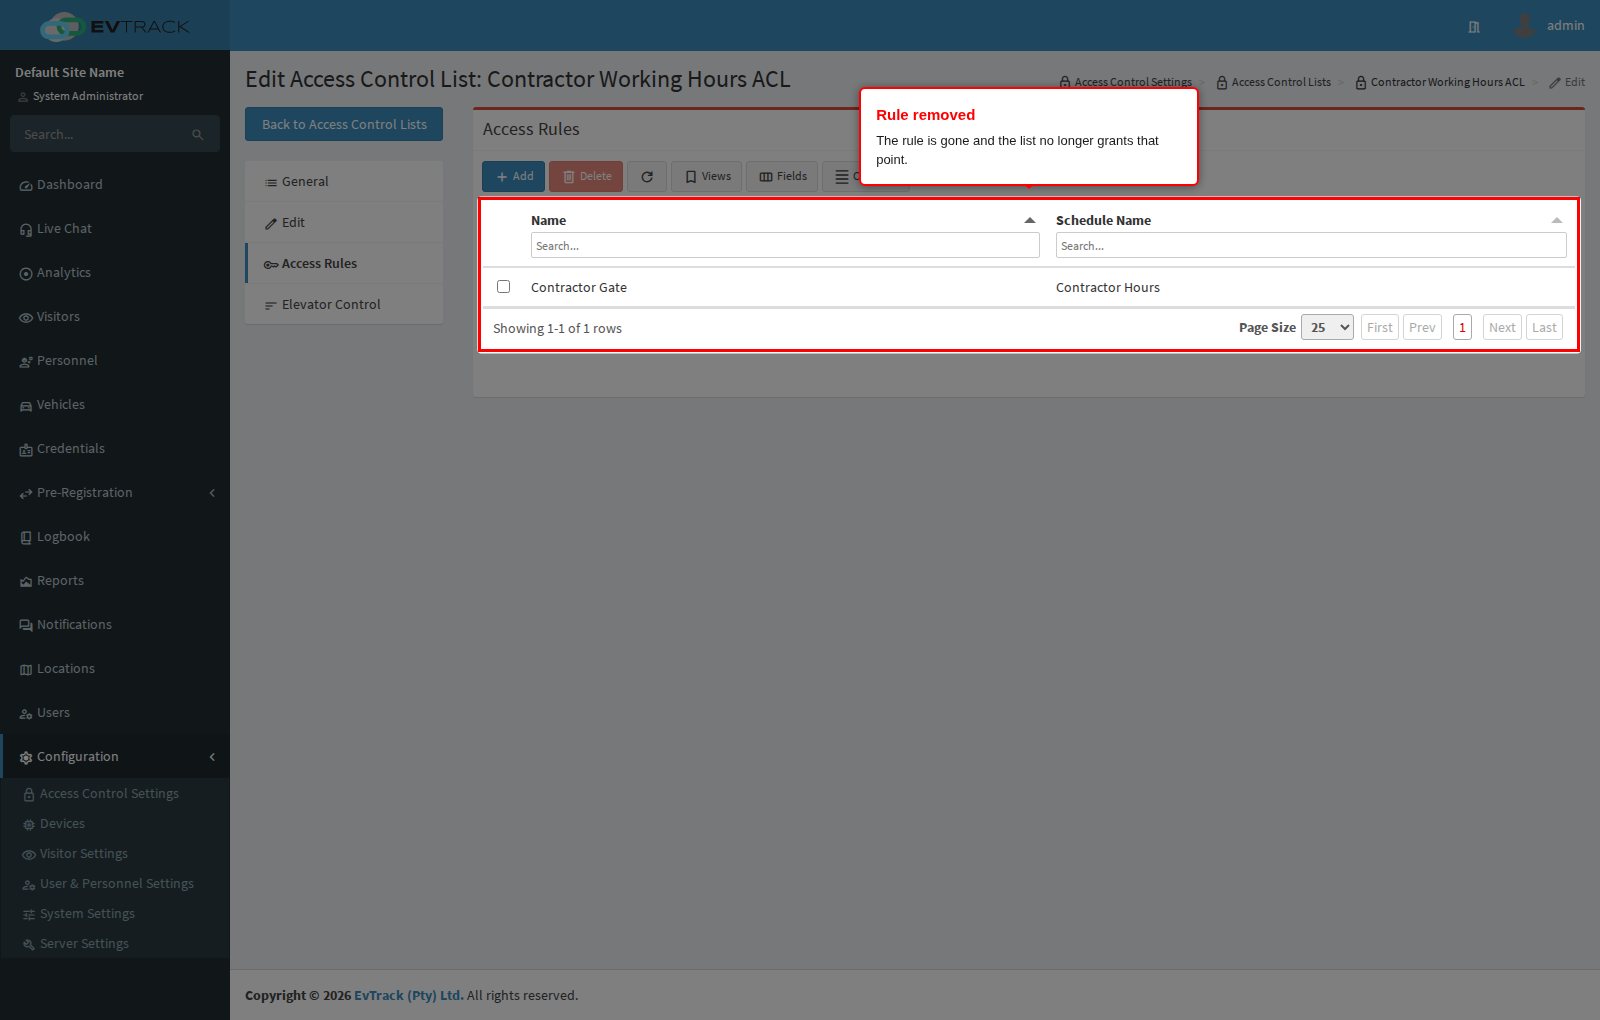
Step 11: Delete the rule
Click Delete. There is no confirmation prompt: the rule is removed immediately, the page reloads and a success message confirms it. The access rules table no longer lists the point, and credentials carrying this ACL no longer open it.
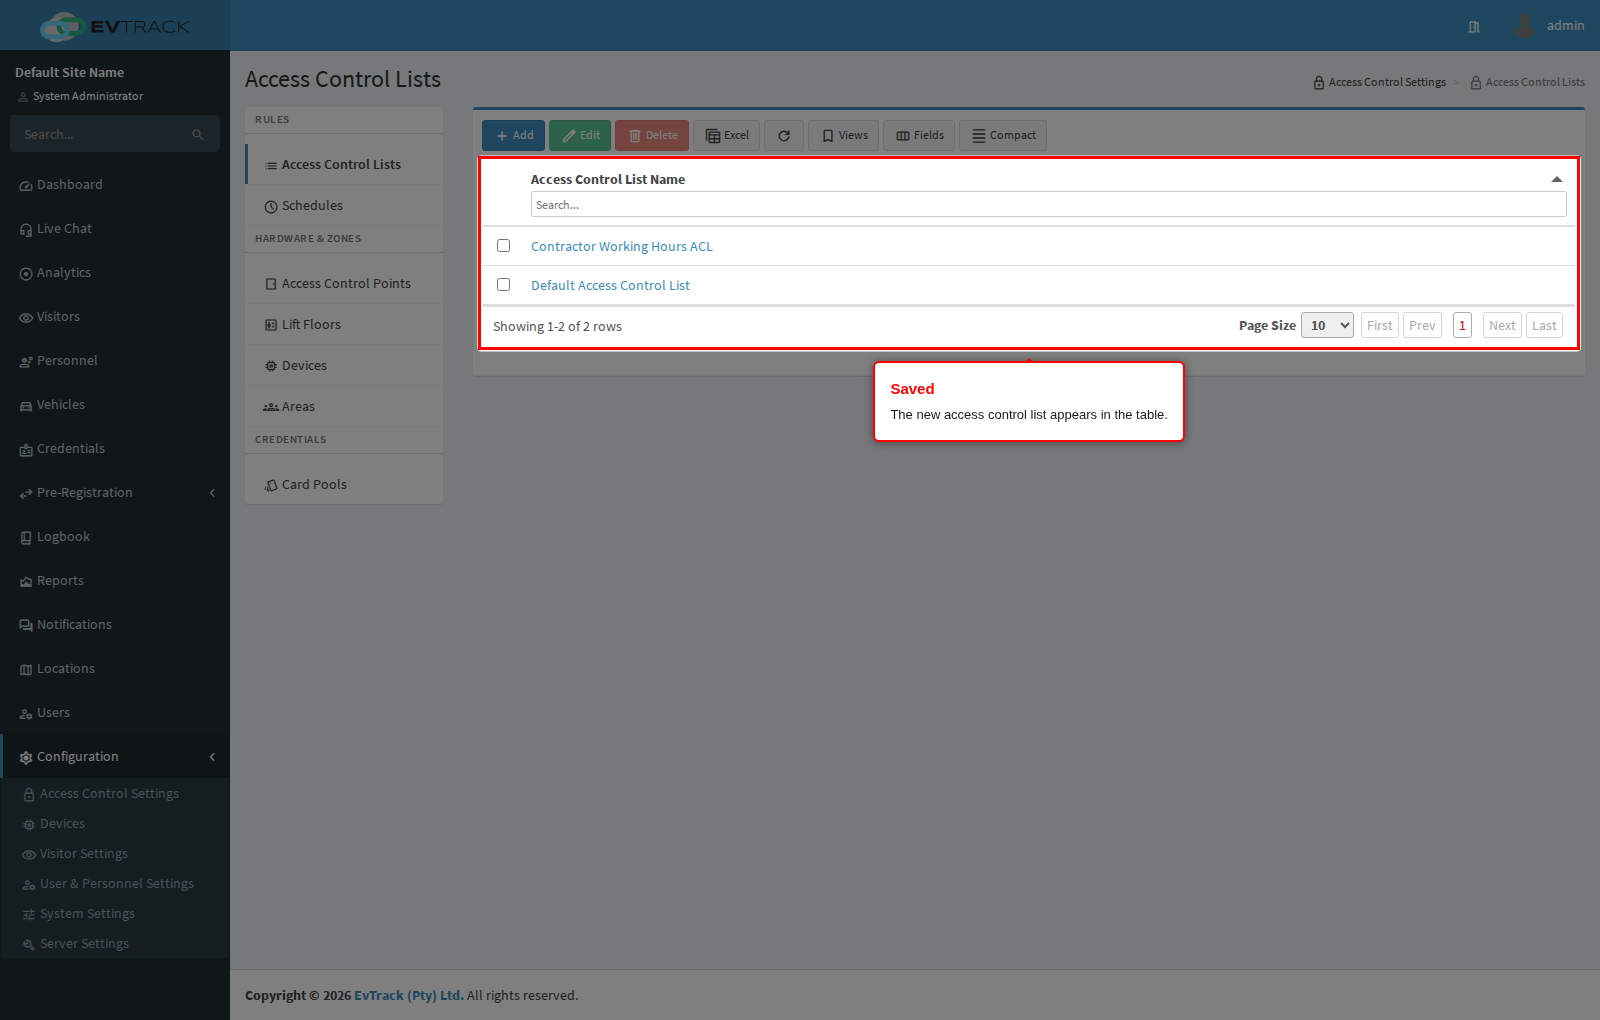
Step 12: Confirm the result
Back on Access Control Lists, the list appears in the table, ready to be assigned to credentials.
Step 13: Open an existing list to edit it
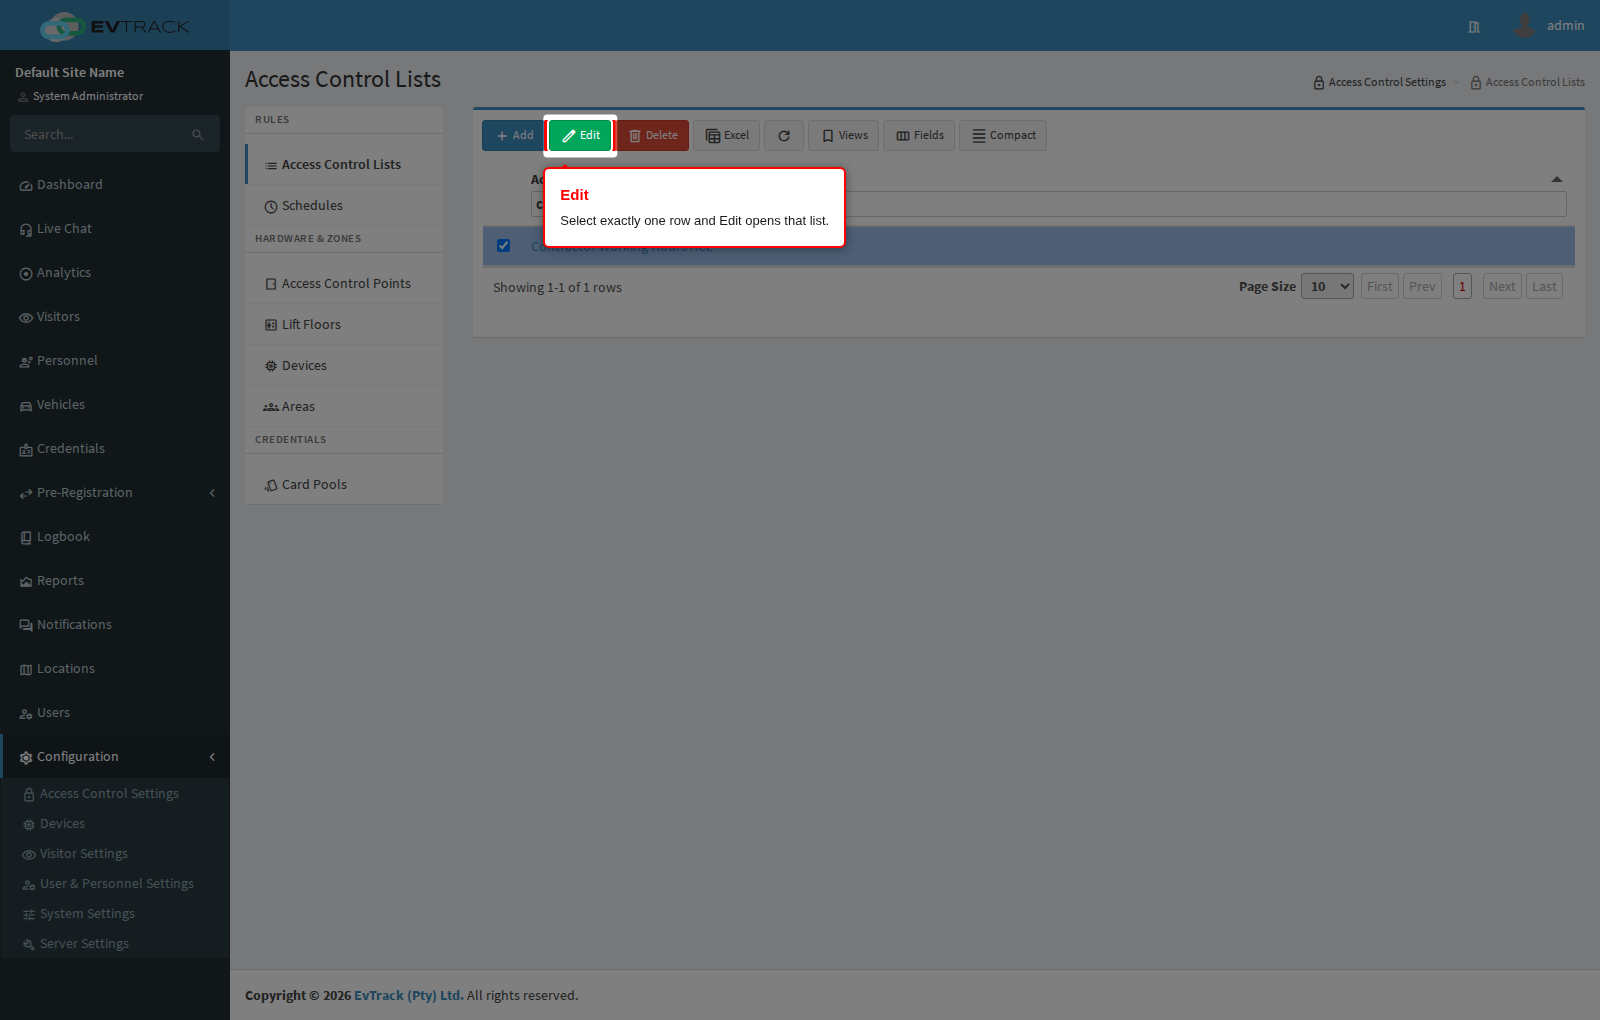
Back on Access Control Lists, click the row of the list you want to change. The toolbar Edit and Delete buttons remain greyed out until exactly one row is selected. Click Edit (clicking the list’s name in the table does the same thing).
Step 14: Change the name
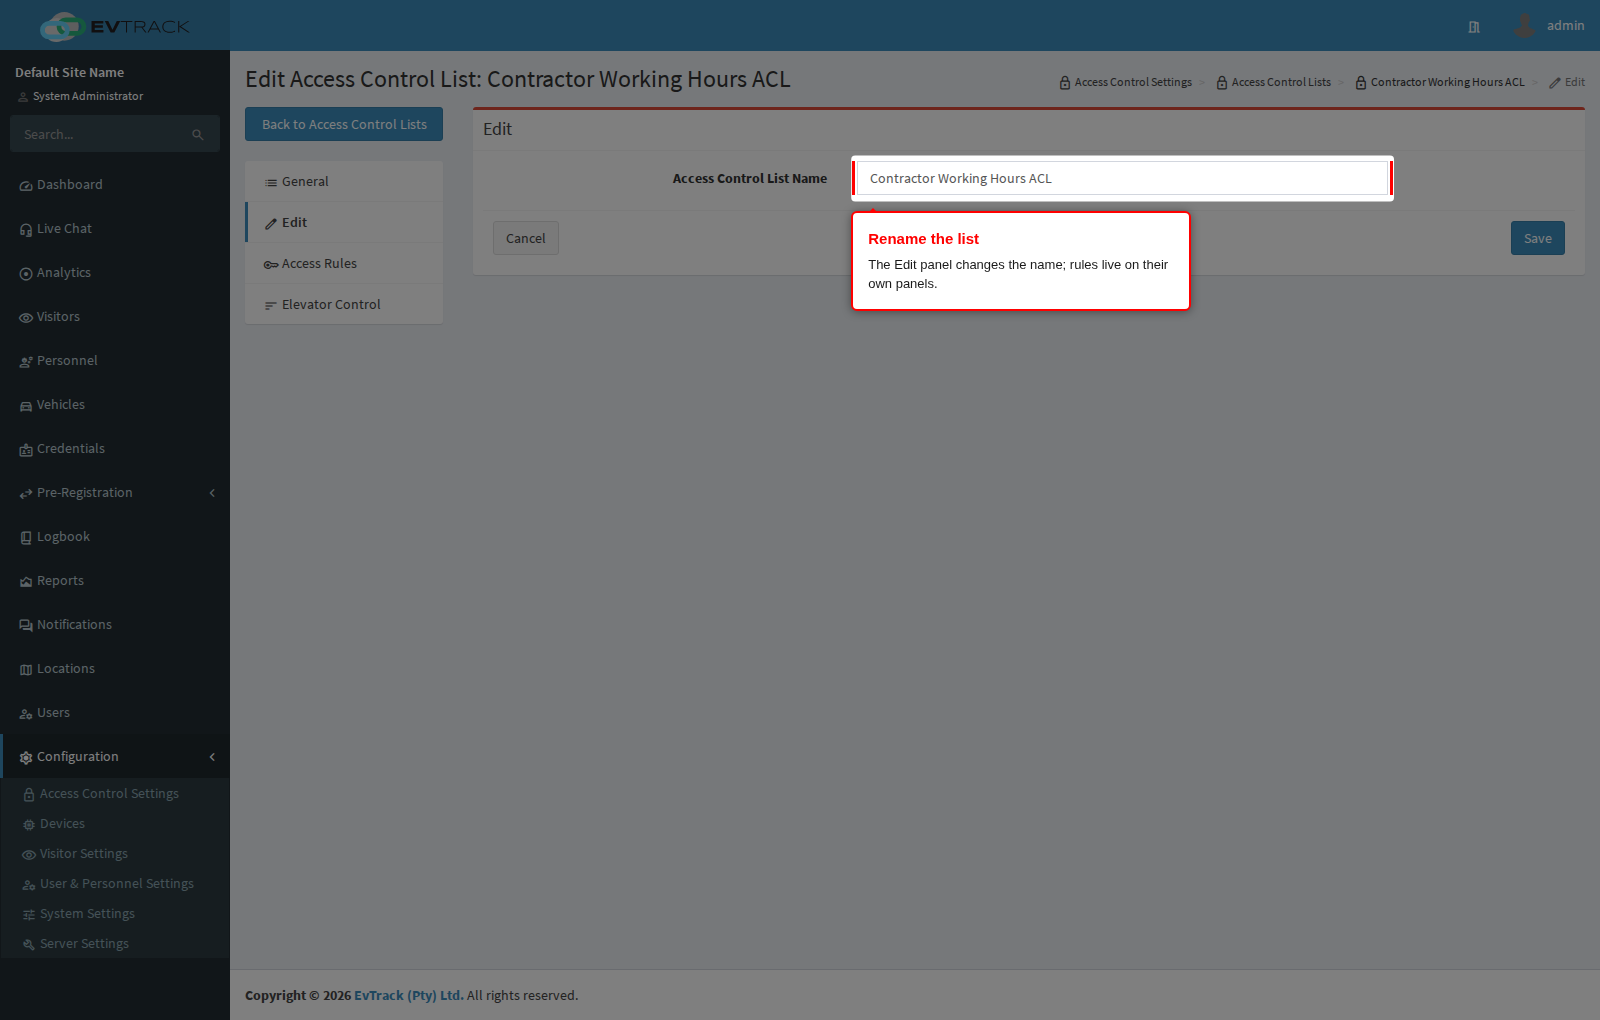
The edit page has four panels in the menu on the left. General is a read-only summary showing the name and how many access rules and elevator rules the list carries. Edit is the only panel that changes the list itself, and the only field on it is the Name - everything else about an ACL lives on its rules. Access Rules and Elevator Control are the panels used in steps 6 to 11.
Change the name and click Save.
Step 15: Confirm the change
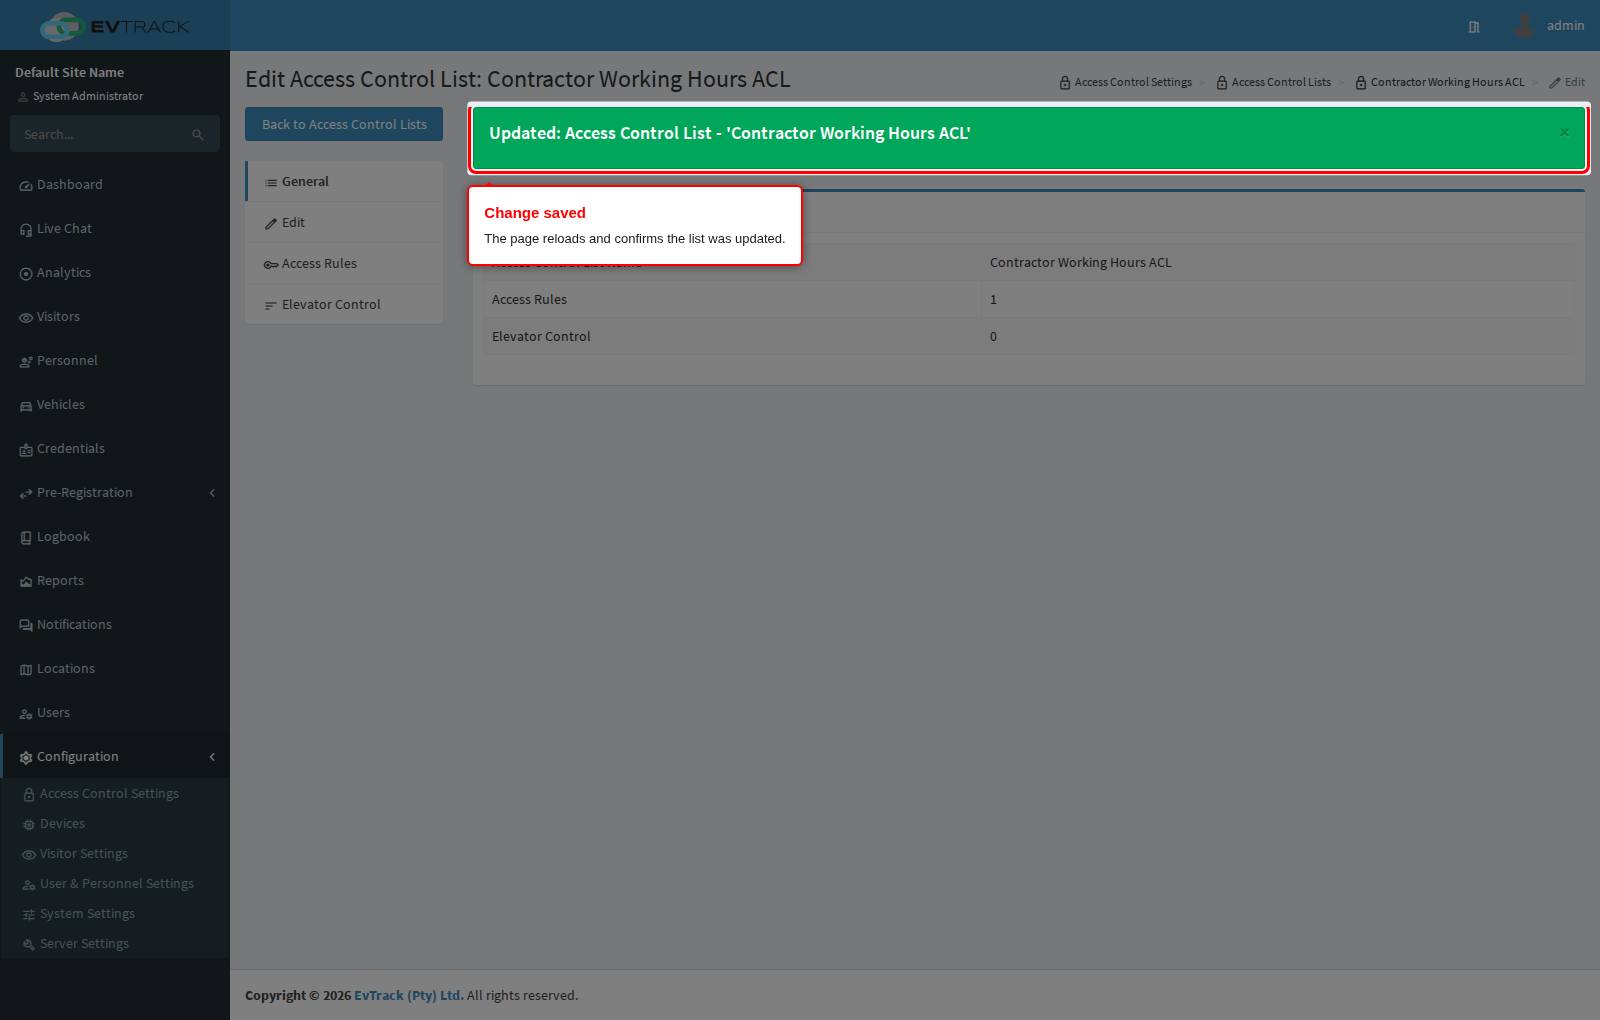
The page reloads with a success message and the new name appears in the heading and on the General panel. Credentials already carrying this list keep it - a rename changes only what operators see.
Step 16: Select a list to delete it
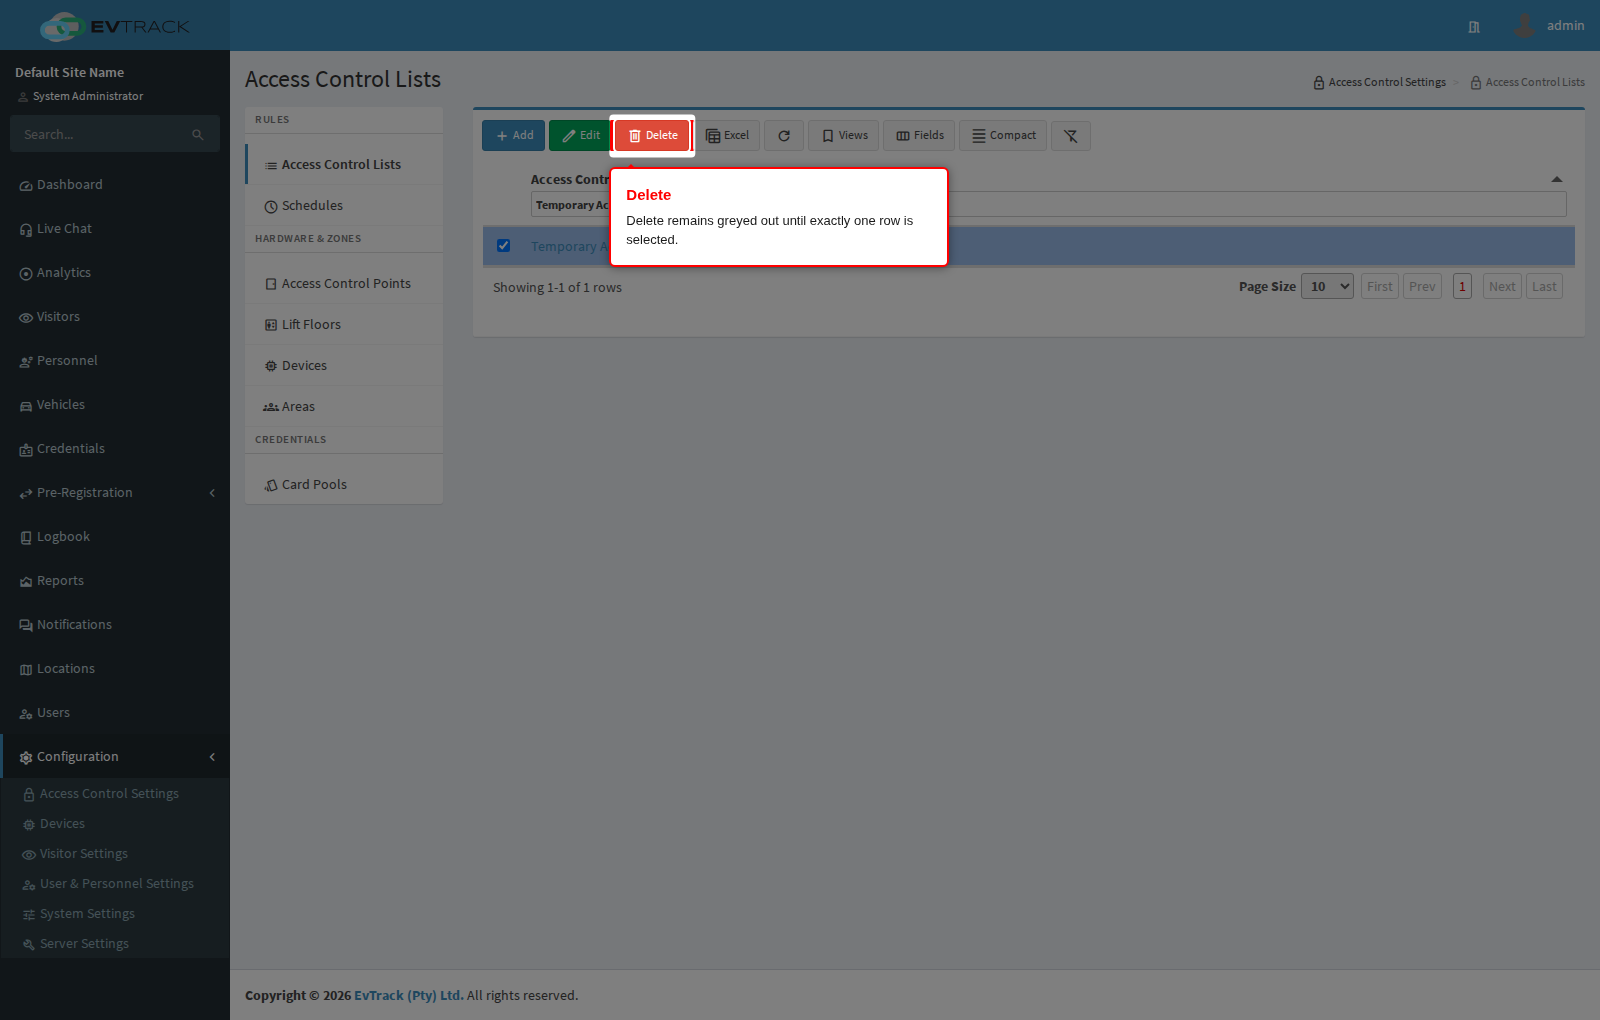
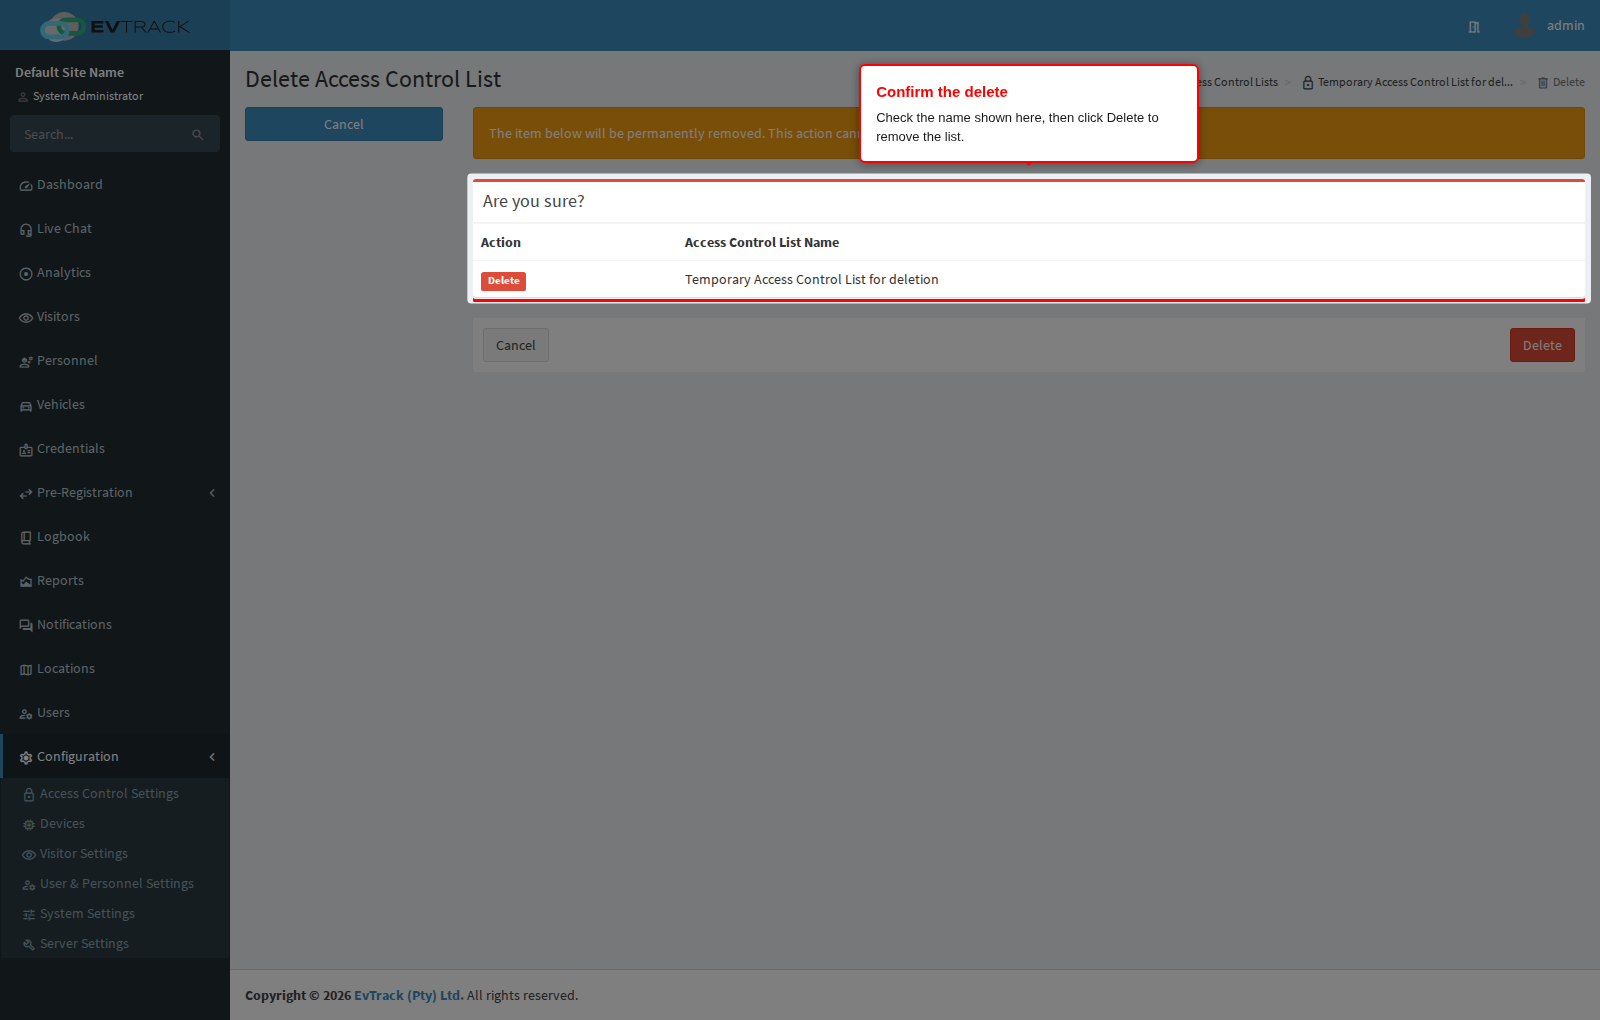
To remove a list, select its row in the table and click Delete. Like Edit, the button only becomes active with exactly one row selected. In the example below a disposable list, “Temporary Access Control List for deletion”, is being removed.
Step 17: Confirm the deletion
A confirmation page opens showing the list’s reference and name so you can check you picked the right one. Click Delete to remove it, or Cancel (or Back to Access Control Lists) to leave it alone. Deletion is permanent - there is no undo and no recycle bin, so a list you may need again is better left in place and simply removed from the credentials that carry it.
Step 18: Confirm the result
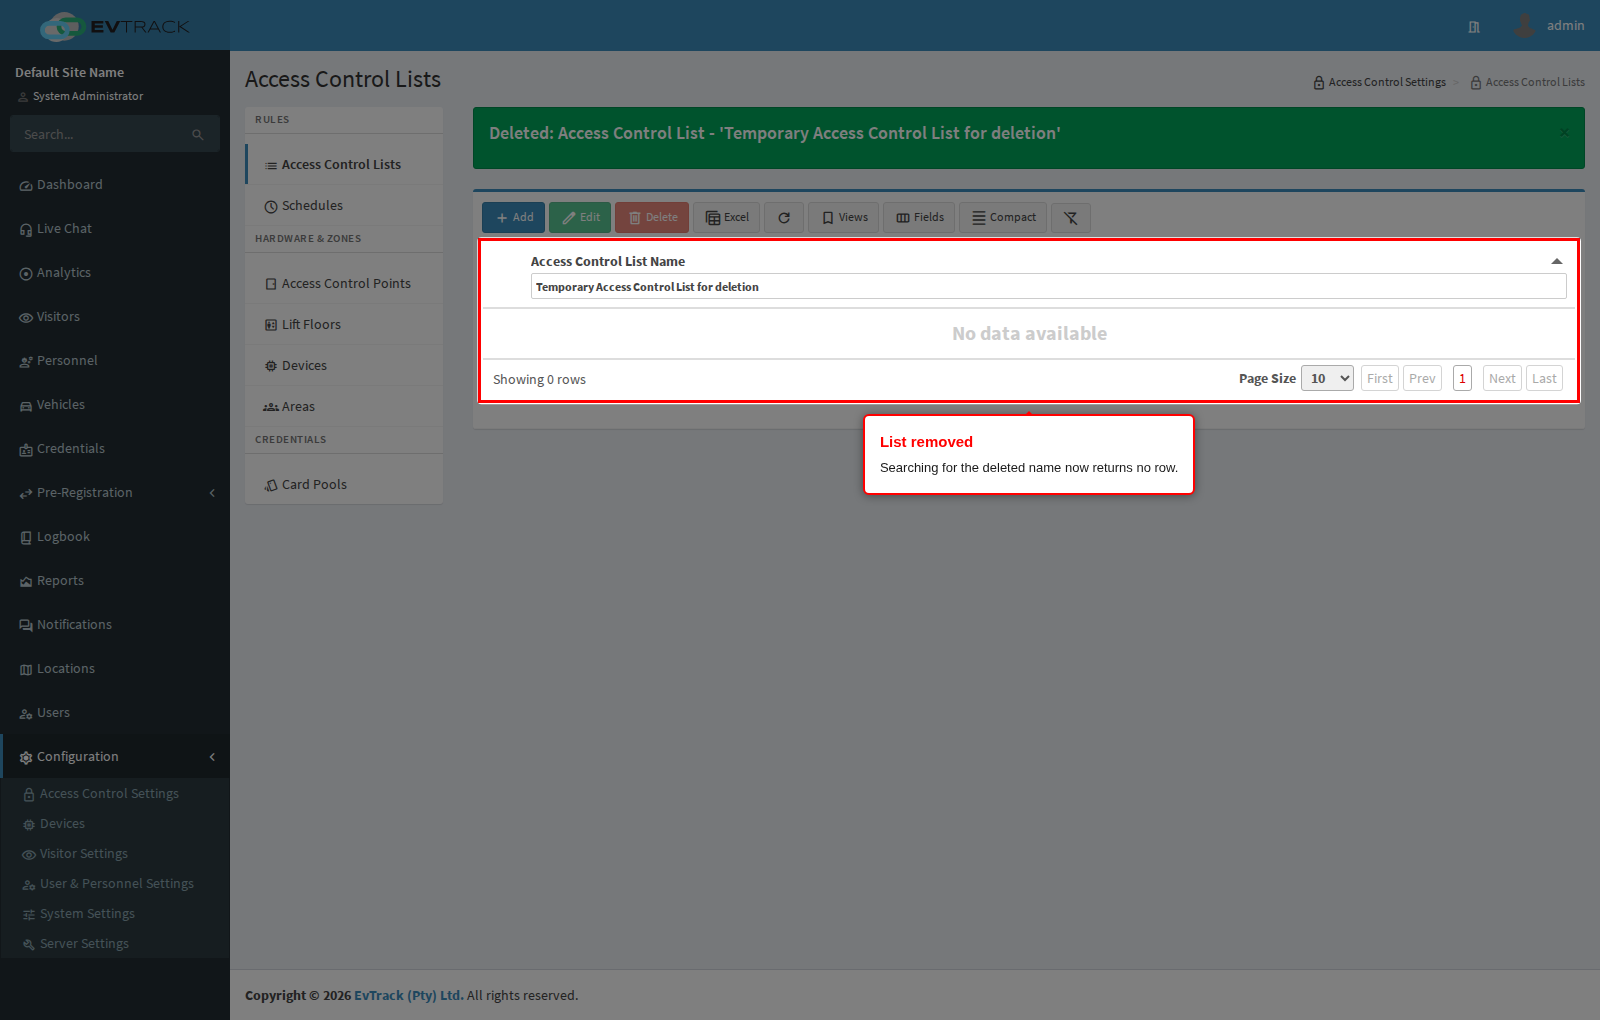
You return to the table with a success message and the list is gone: search for its name and no row is found. Credentials that carried the list lose the access it granted.
When a list cannot be deleted
Three conditions block deletion. The confirmation page still opens, but clicking Delete returns you to the table with a red message instead of a success message:
- The list still has access rules. Remove them first, as shown in steps 10 and 11.
- The list still has elevator rules. Remove them the same way on the Elevator Control panel.
- The list is in use as a default. A list selected as one of the visitor invite defaults under Visit Pass (the default invite list, or one of the credential-specific lists for mobile-only, PIN-only, identity-only, face-only, plate-only or excluding-plate invites) cannot be removed. Point that setting at a different list first, then delete.
Elevator control
Where elevator control is used, the Elevator Control panel on the same edit page works the same way: Add pairs a floor with a schedule, and selecting a row enables Delete.
How changes reach credentials
How an updated ACL propagates to already-issued credentials follows the ACL update strategy (Enforce / Additive / Manual) configured under Visit Pass. Deleting an ACL withdraws its access anywhere it was assigned - reassign credentials first.
See also: RFID Card Credentials for assigning ACLs to credentials, Personnel Validity and Credential Expiry for the credential lifecycle behind results 17 and 18, Schedules for the day and time windows behind result 0, and Status-Based Access for automatic per-status ACLs.