Users are the people who log in to EvTrack - administrators, receptionists, security staff and hosts. This page walks through creating one from scratch.
Before you start: you need a logged-in account with user administration rights, and at least one role must exist to assign (the built-in roles are always available). The new user’s username and email must not be in use yet.
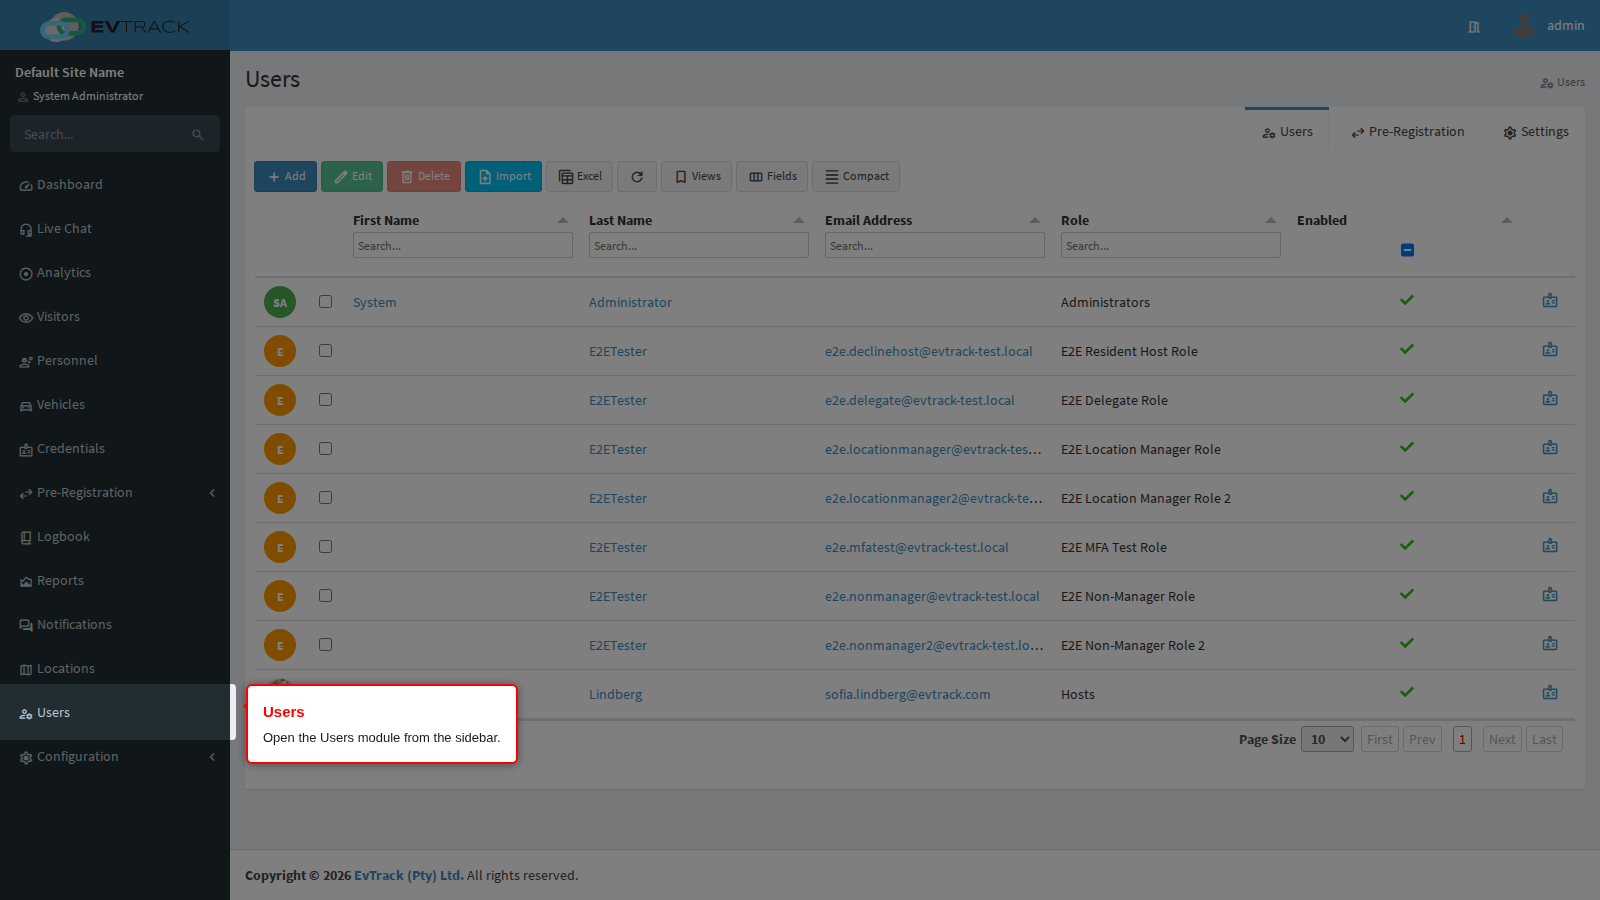
Step 1: Open the Users module
Click Users in the sidebar. The user list opens, showing every account in the system.
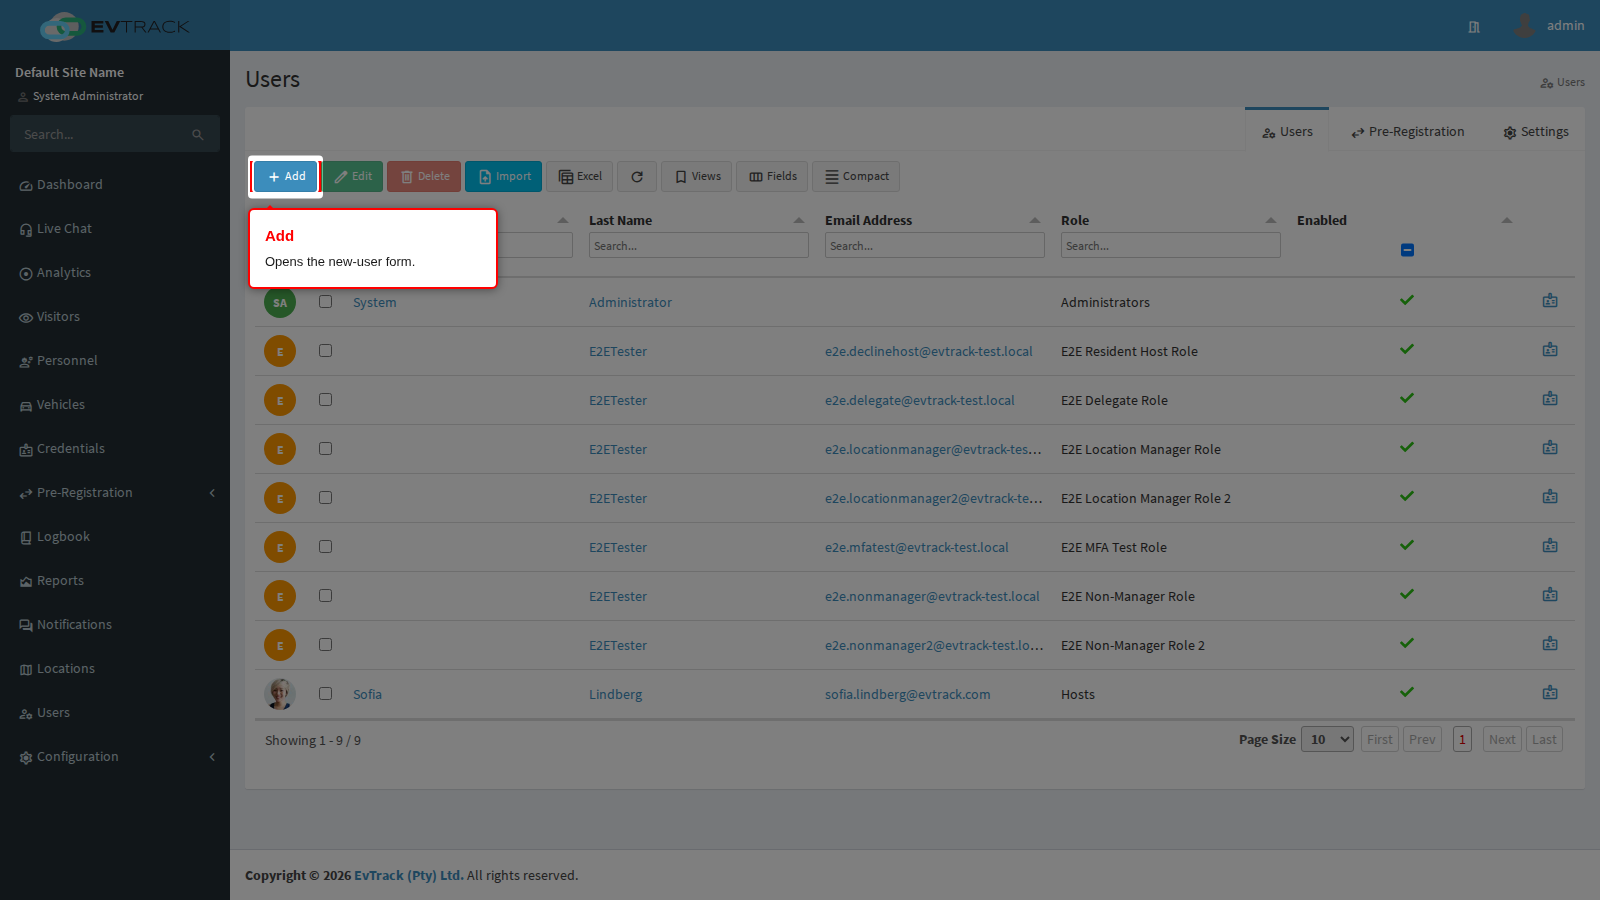
Step 2: Click Add
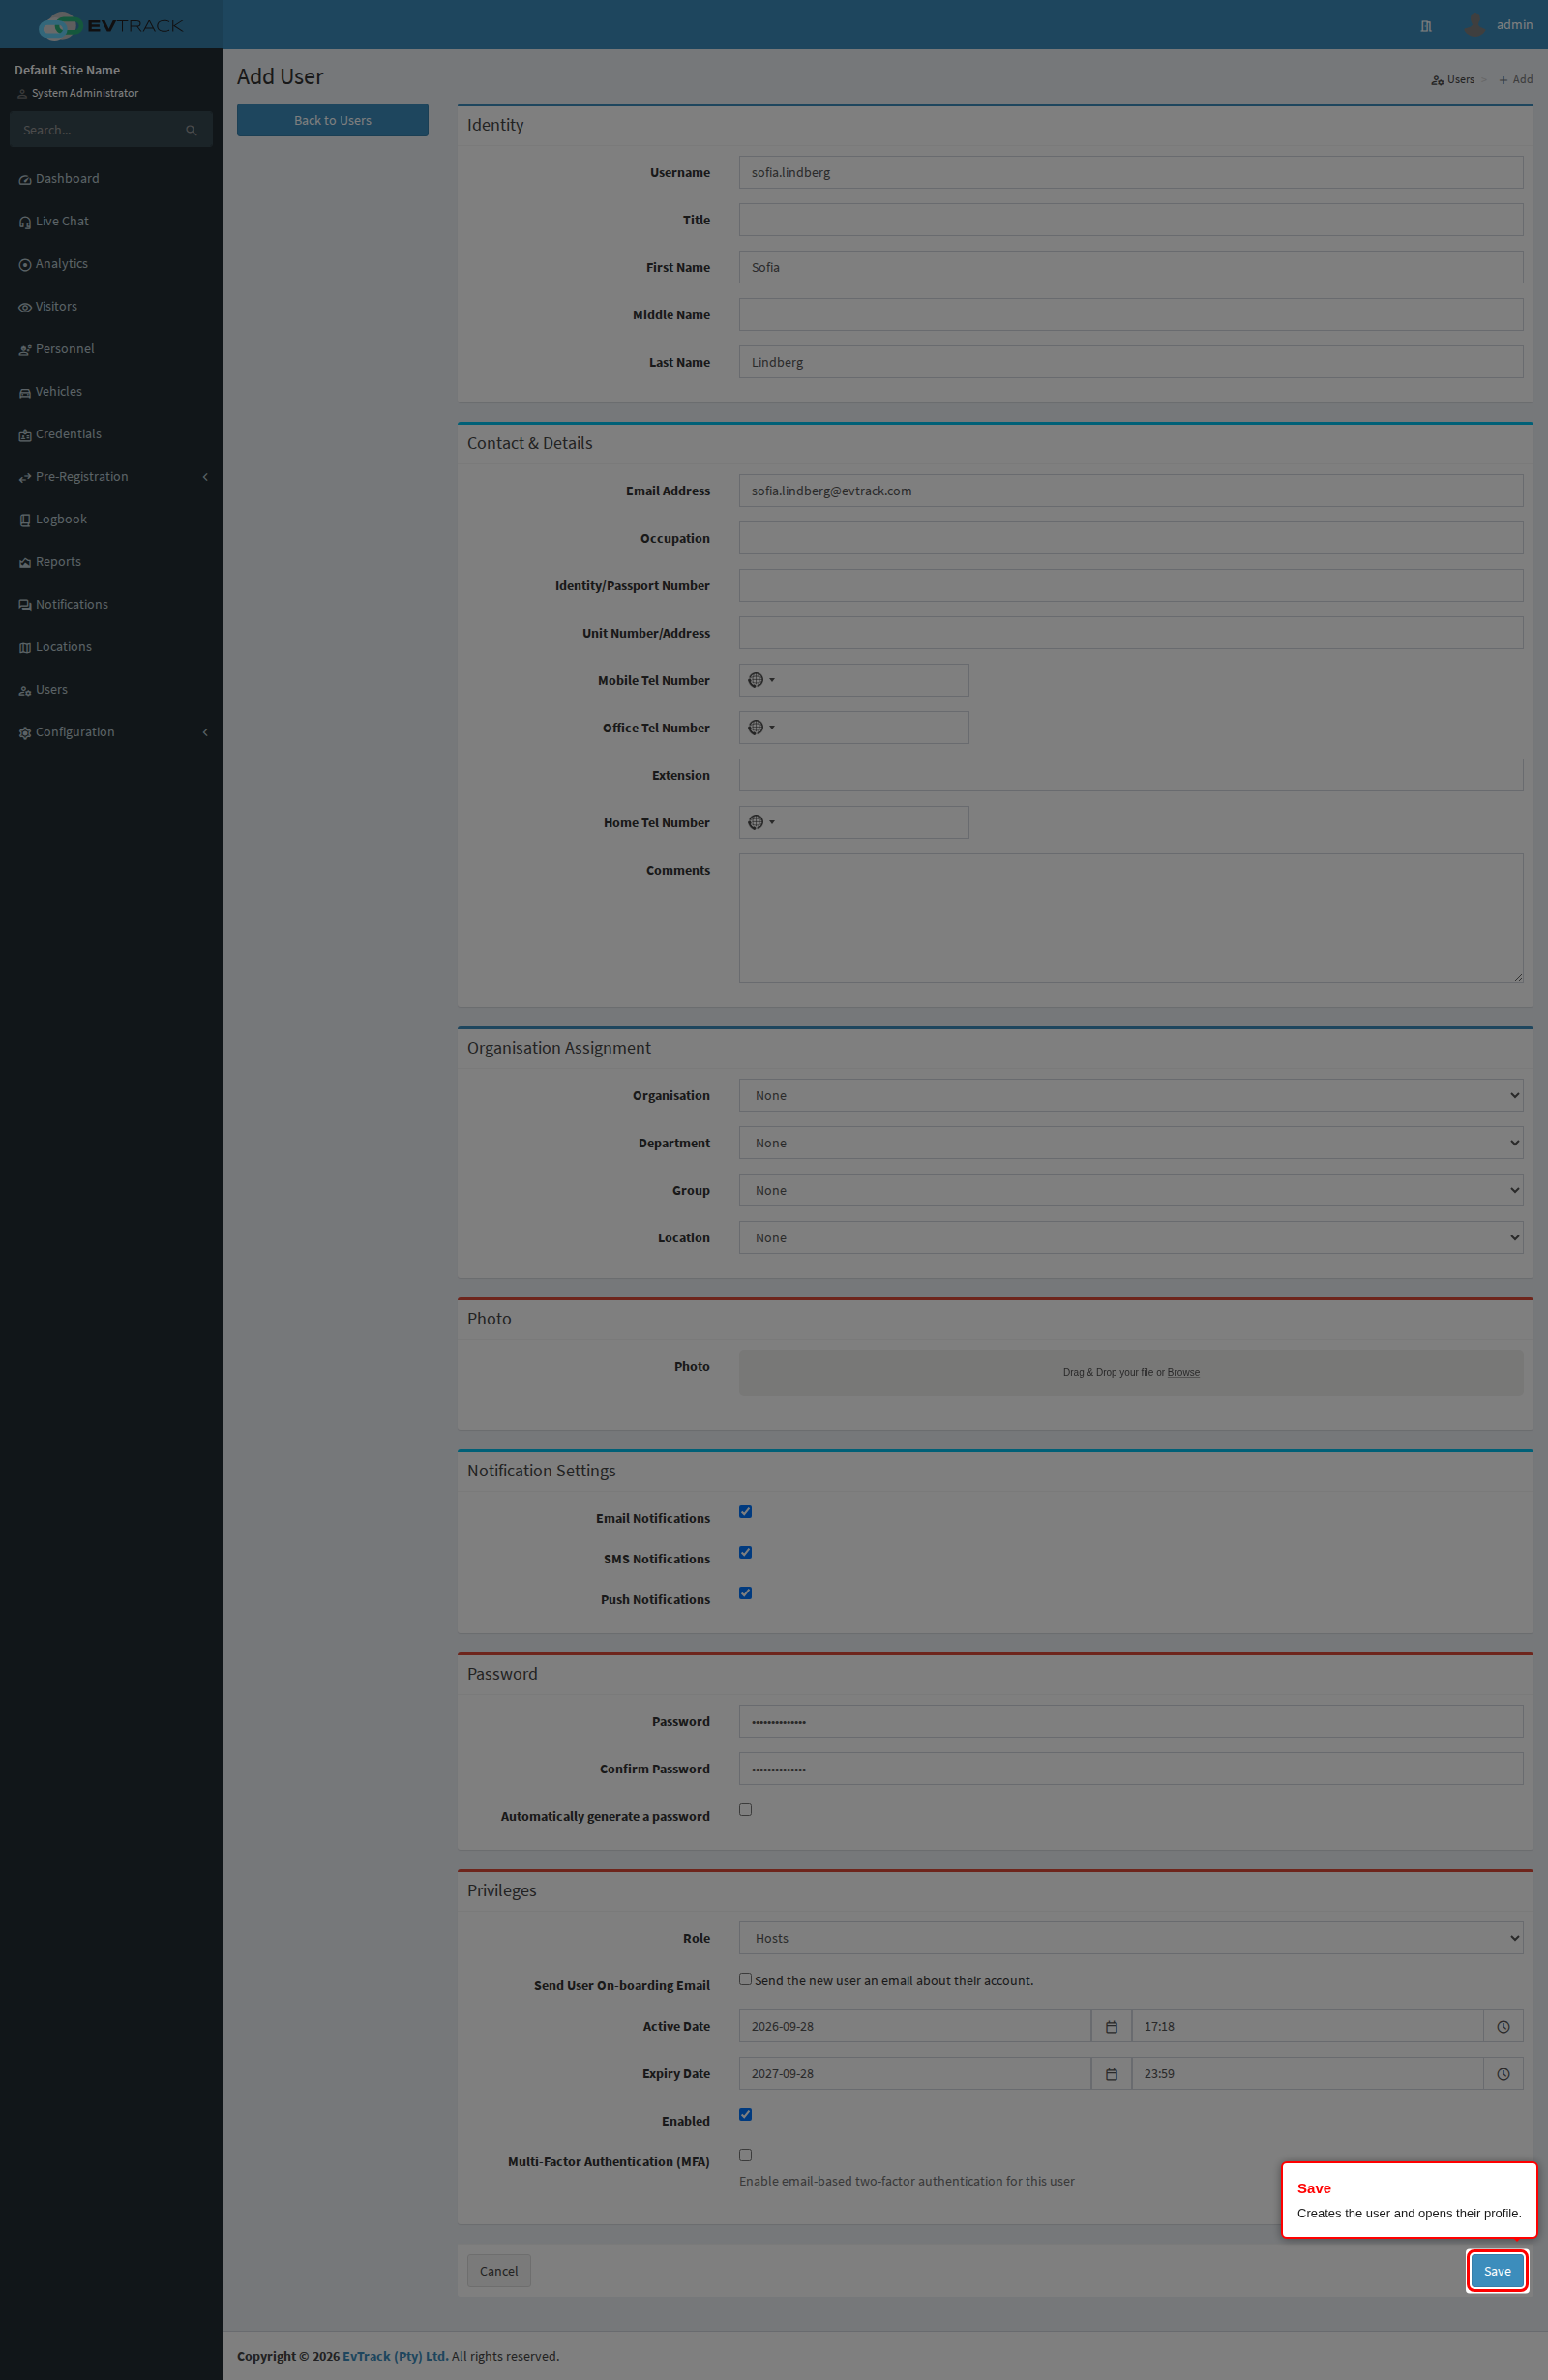
Click the Add button above the user list. The new-user form opens.
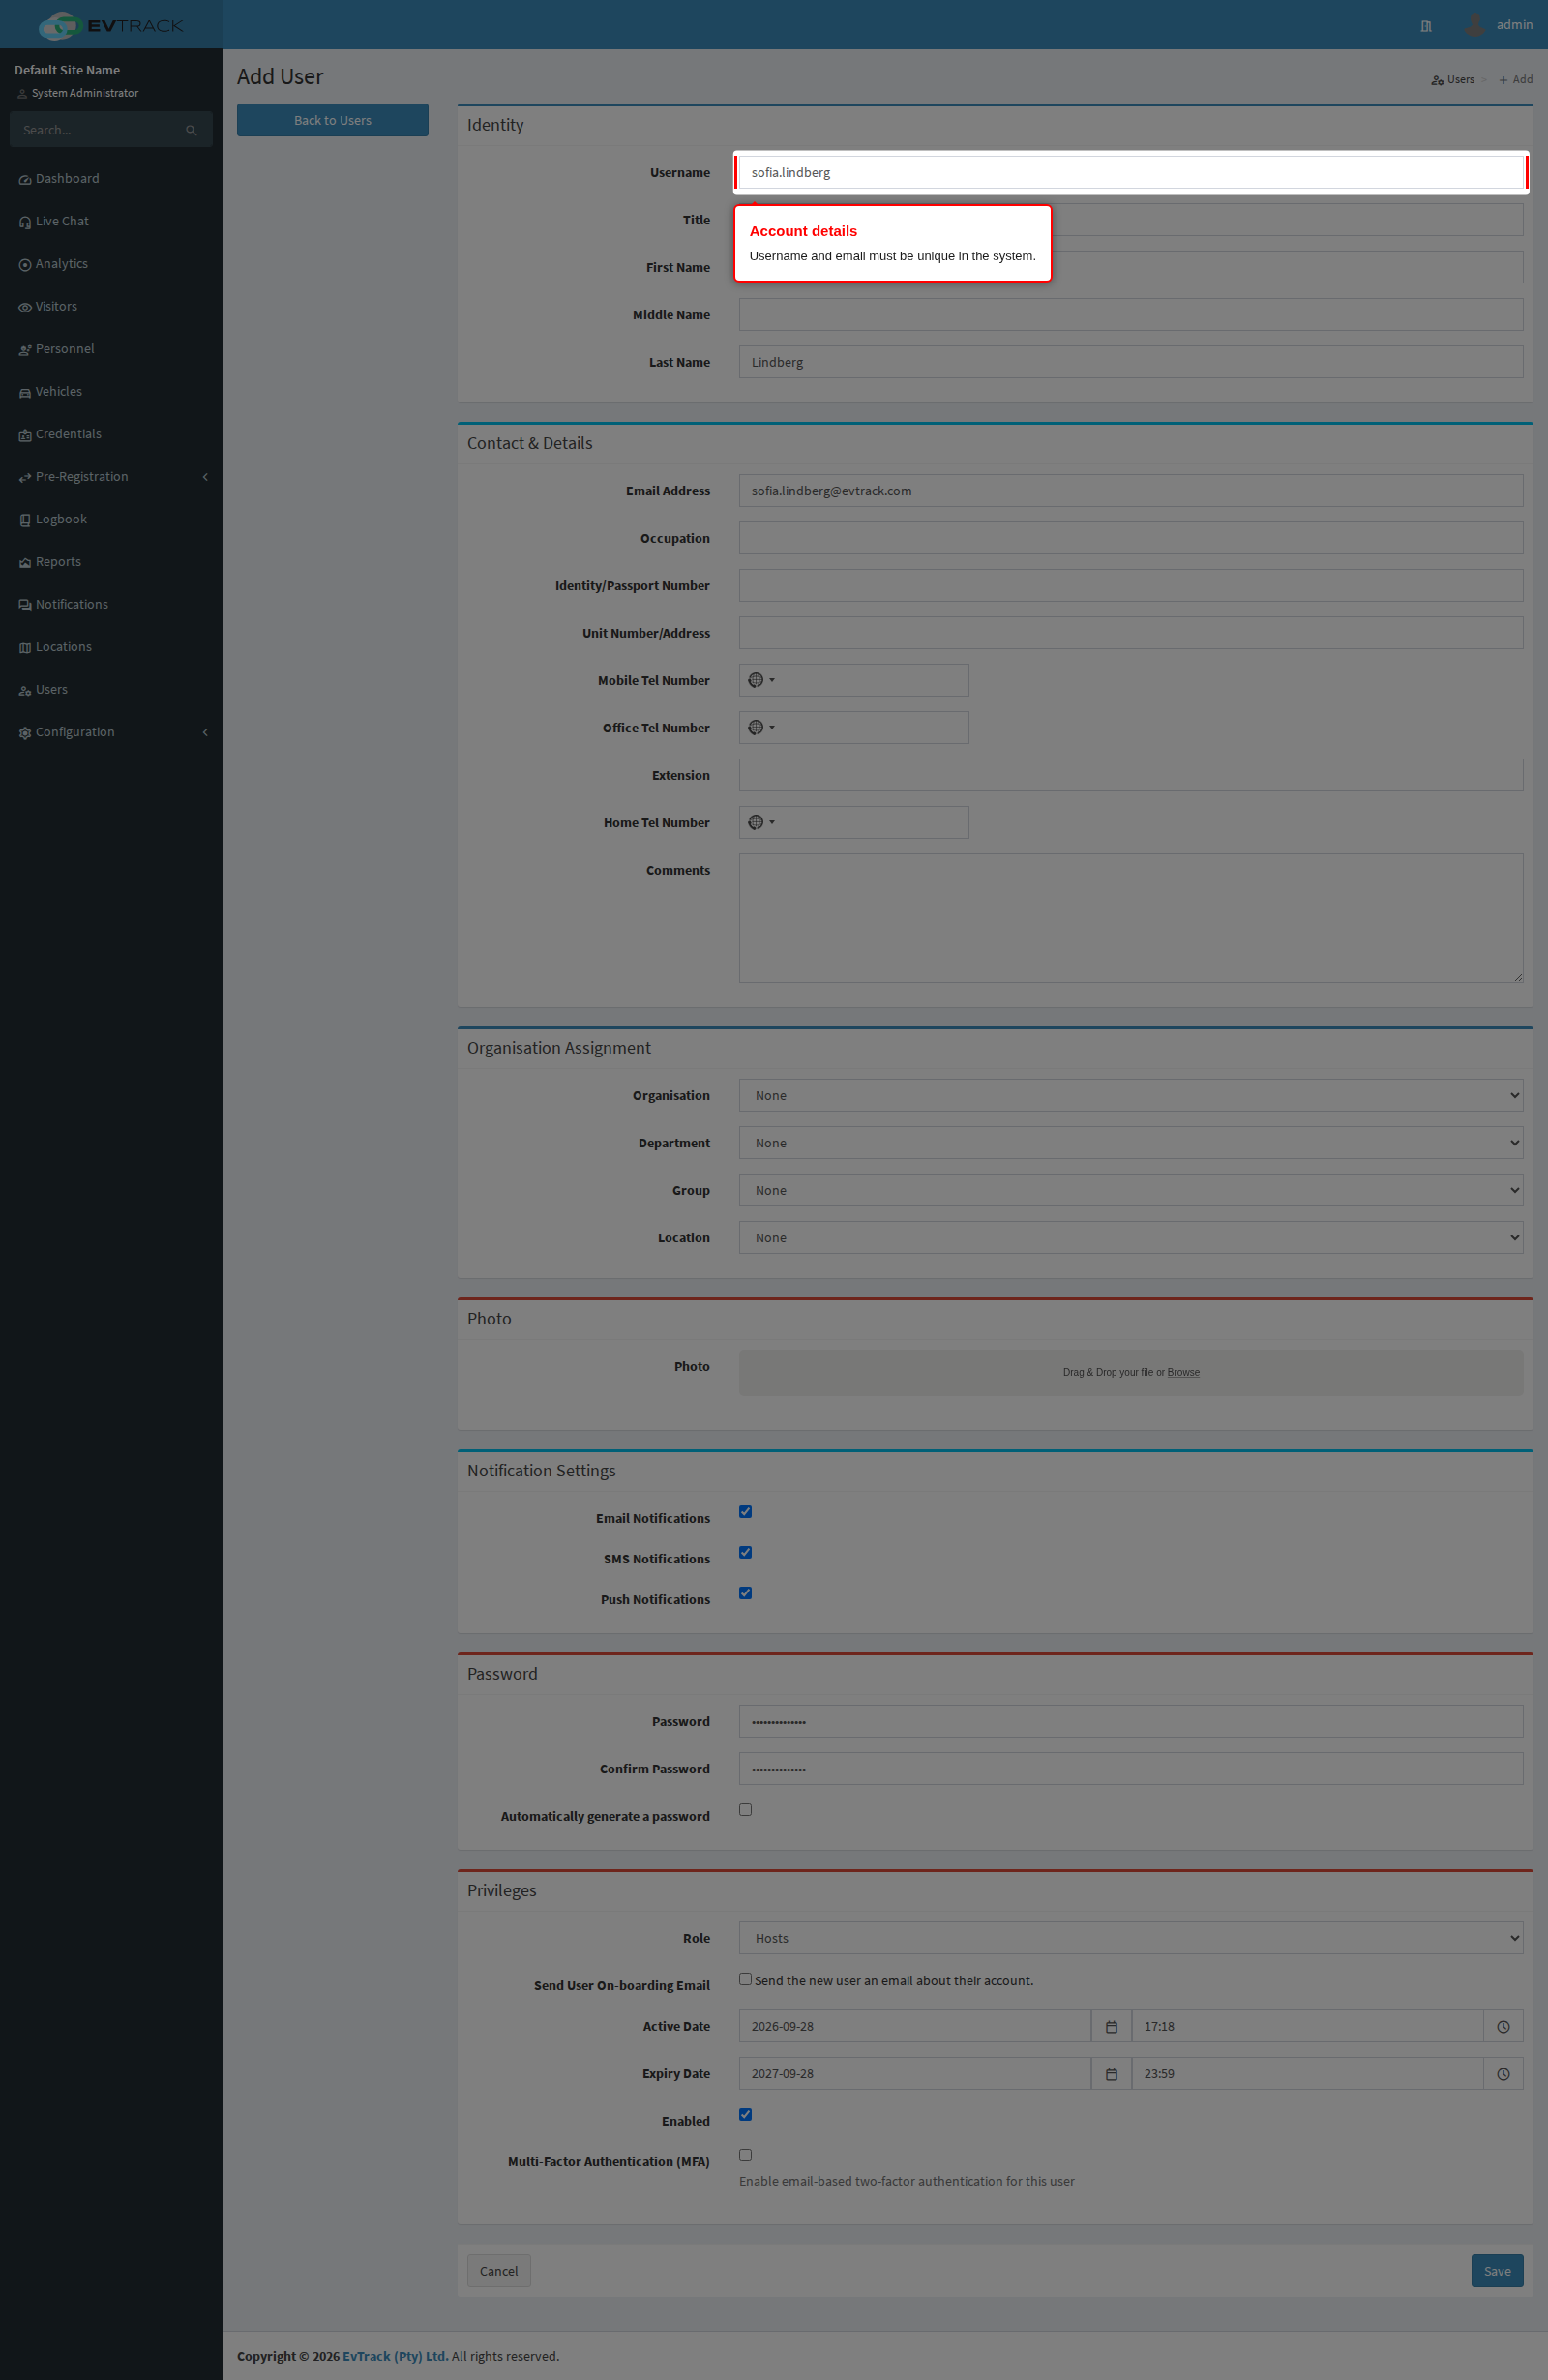
Step 3: Complete the account details
Fill in the account fields - at minimum a unique Username, the person’s Surname and their Email address. Leave Auto-generate password enabled to let the system create a secure password (recommended together with the onboarding email, so the user sets their own on first login), or untick it to type a password and its confirmation yourself.
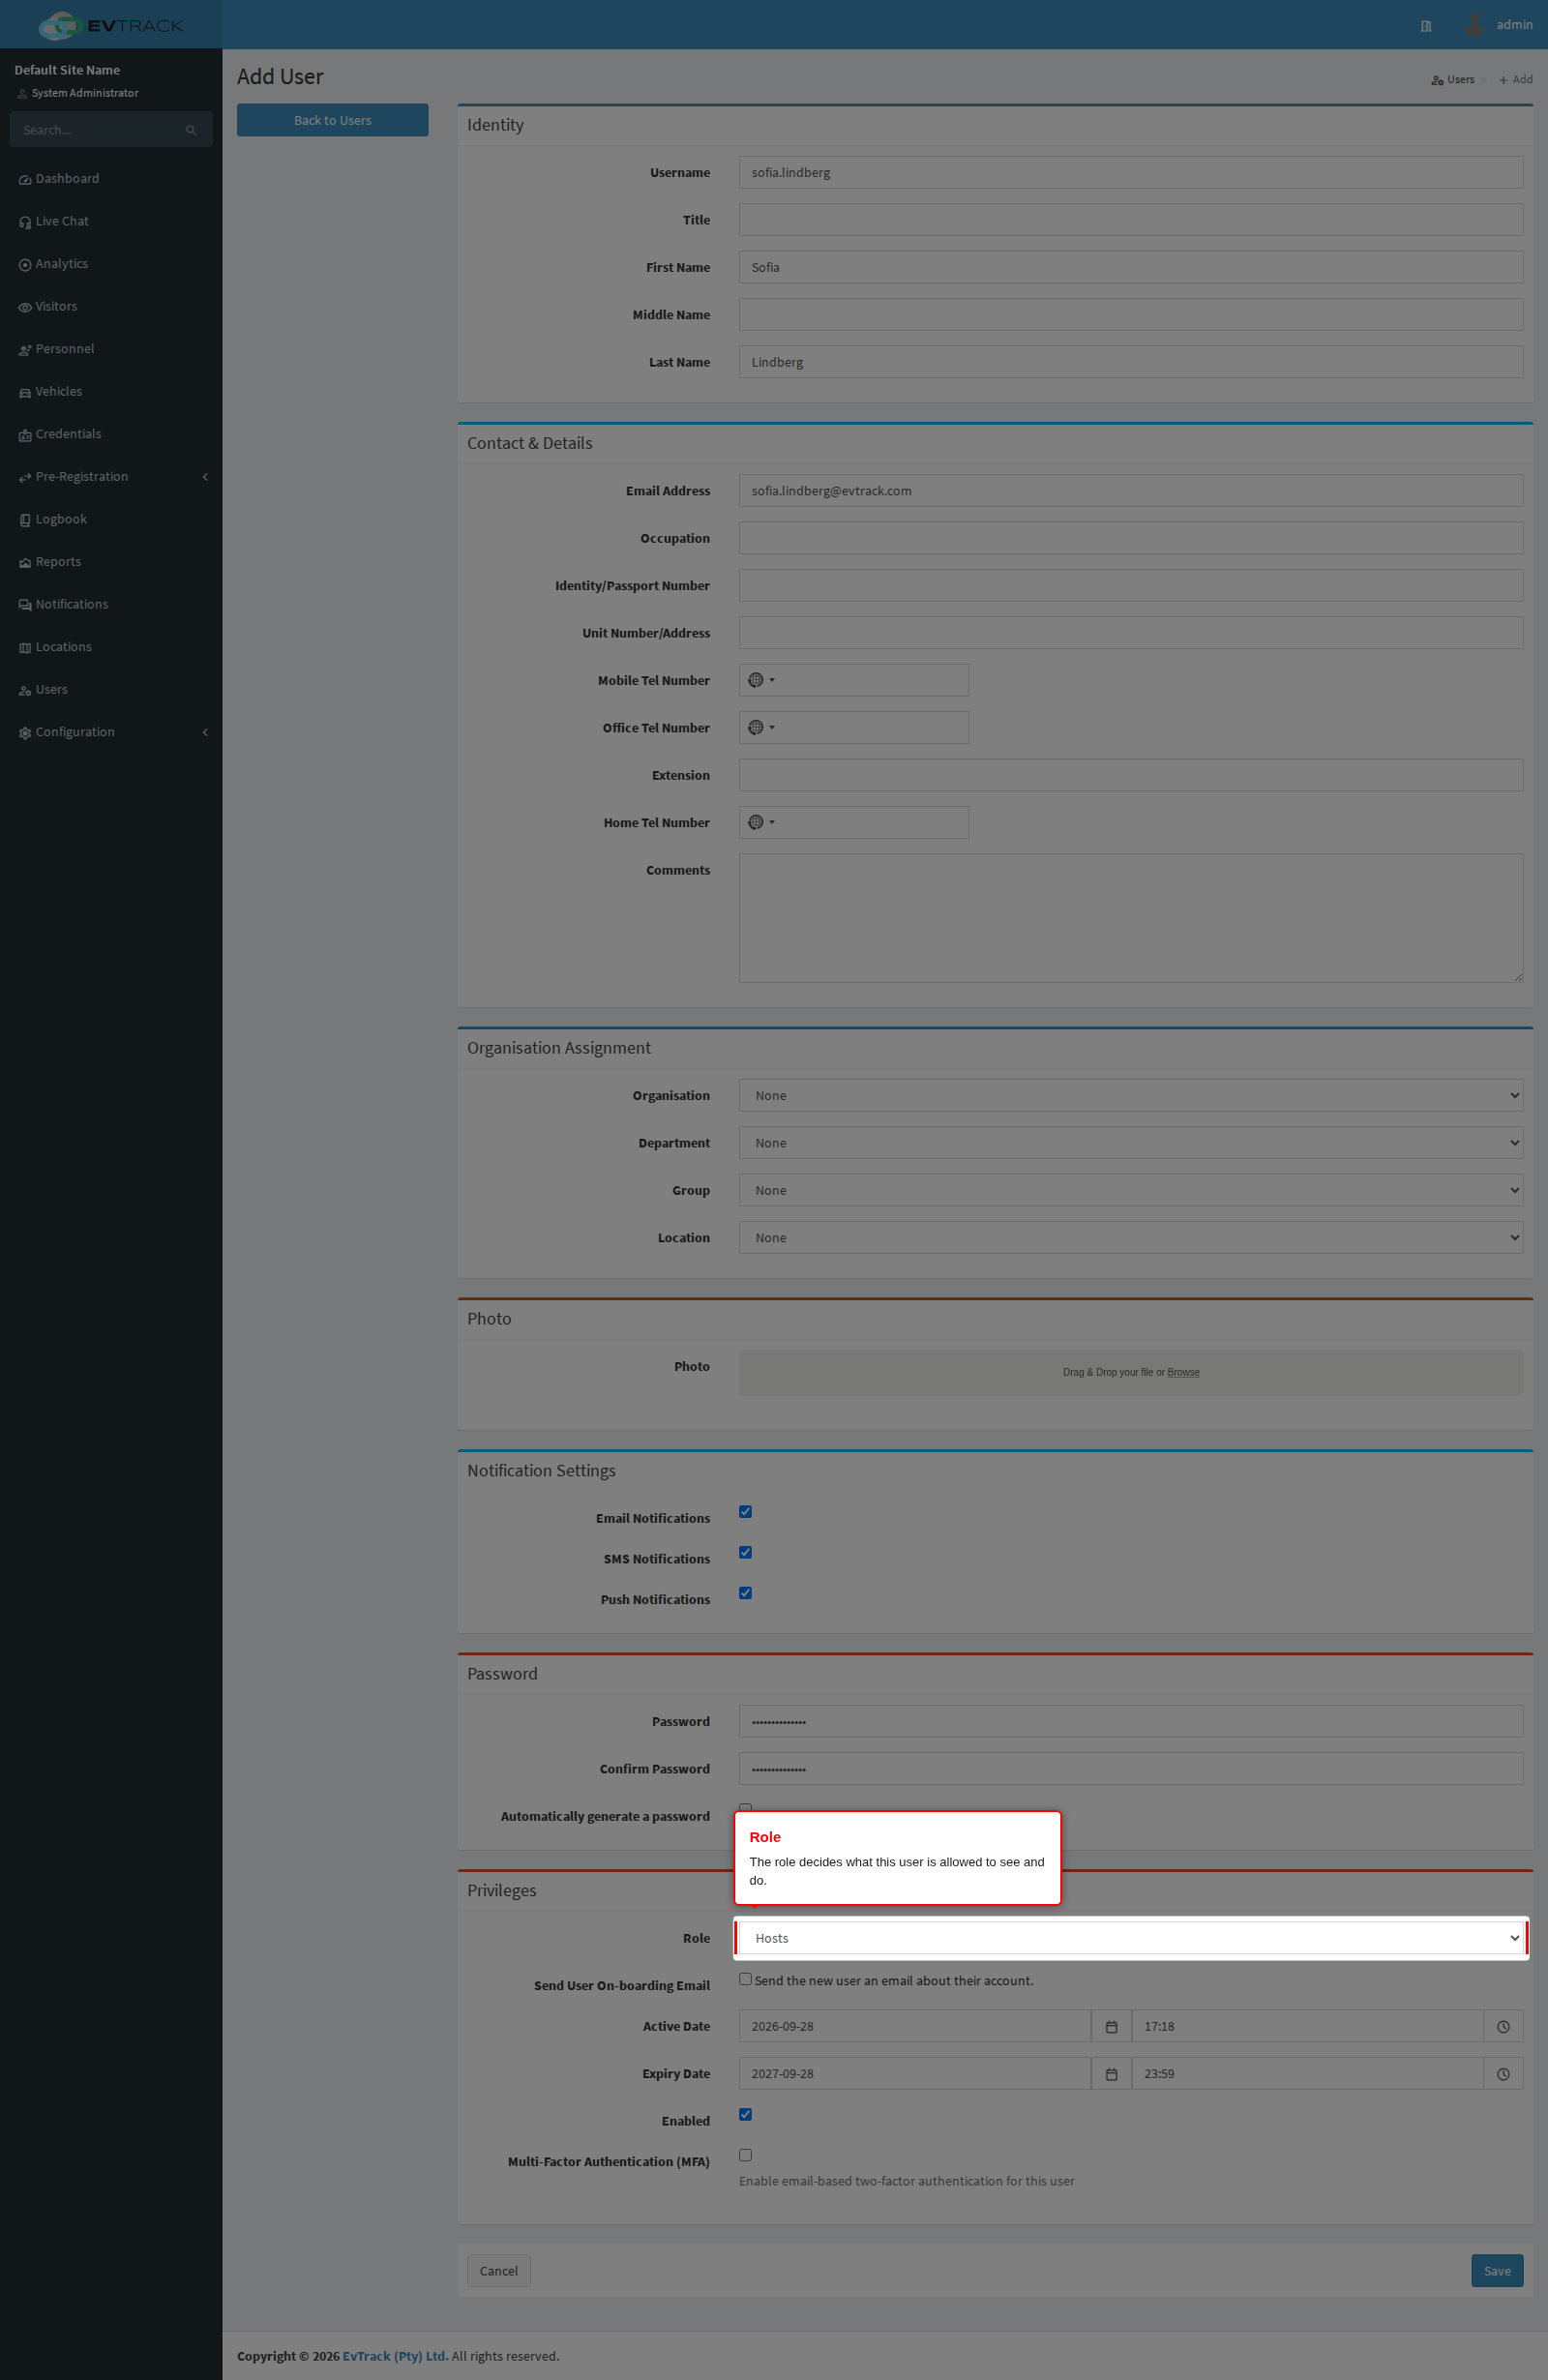
Step 4: Assign a role
Pick a Role - it decides what the user can see and do. Assign the least-privileged role that covers the person’s job; you can change it later from the same page.
Step 5: Save
Click Save. If anything is missing or already in use, the form re-opens with the problem highlighted; fix it and save again.
Step 6: The user is created
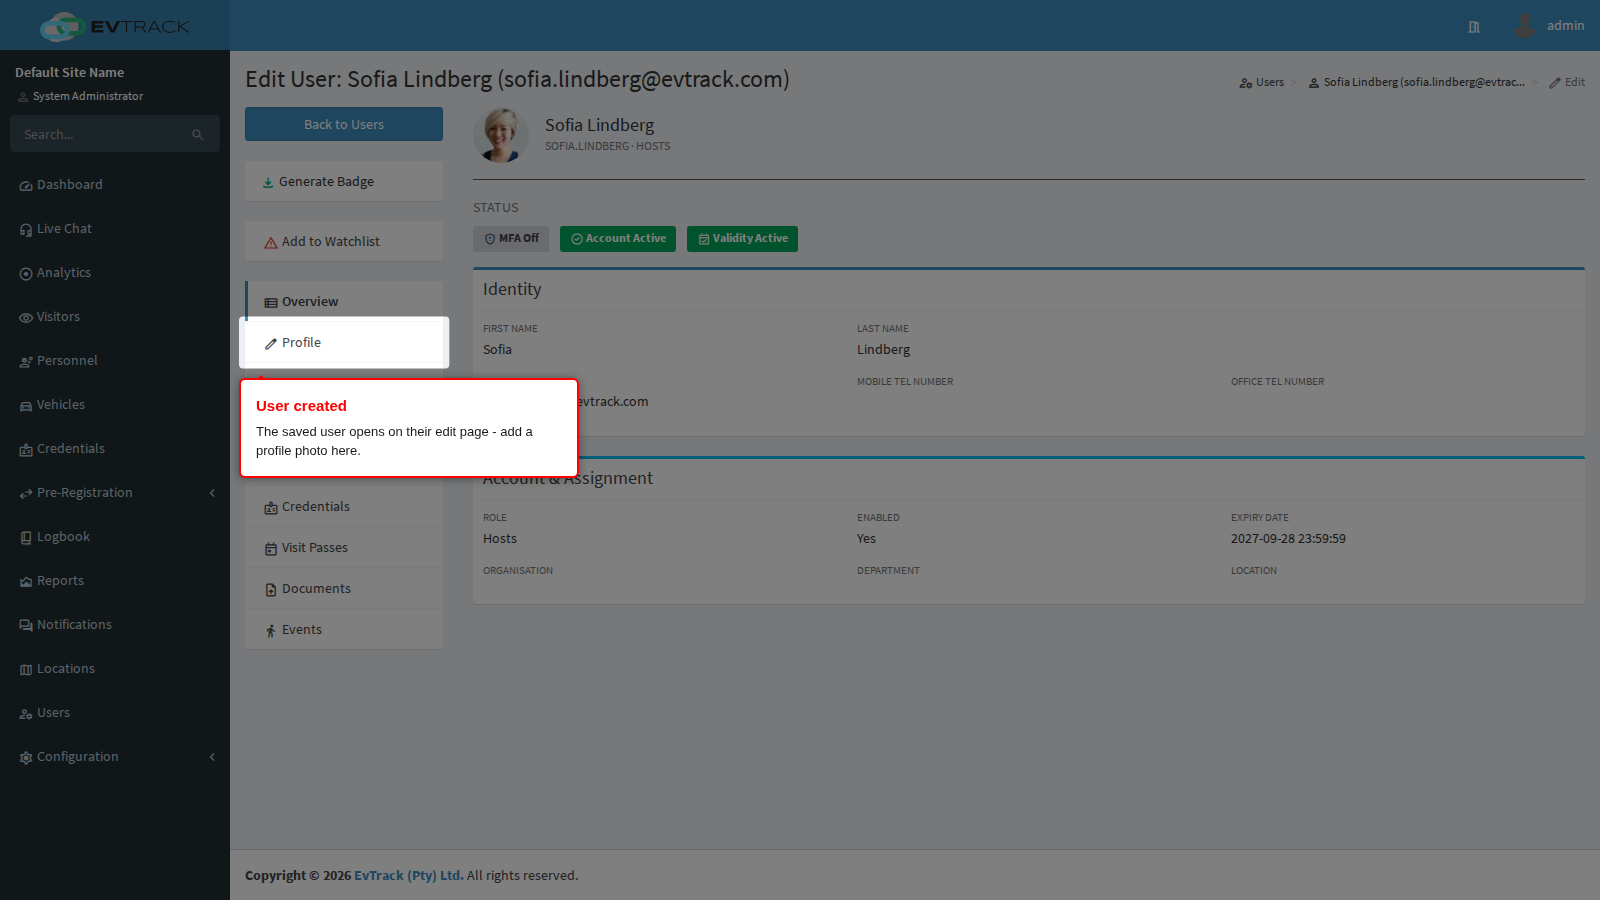
The saved user opens on their edit page. Add a profile photo on the Profile tab now - it appears on badges and face credentials later. From here you can also set the validity window, add credentials and generate a badge.
When the role needs a confirmation
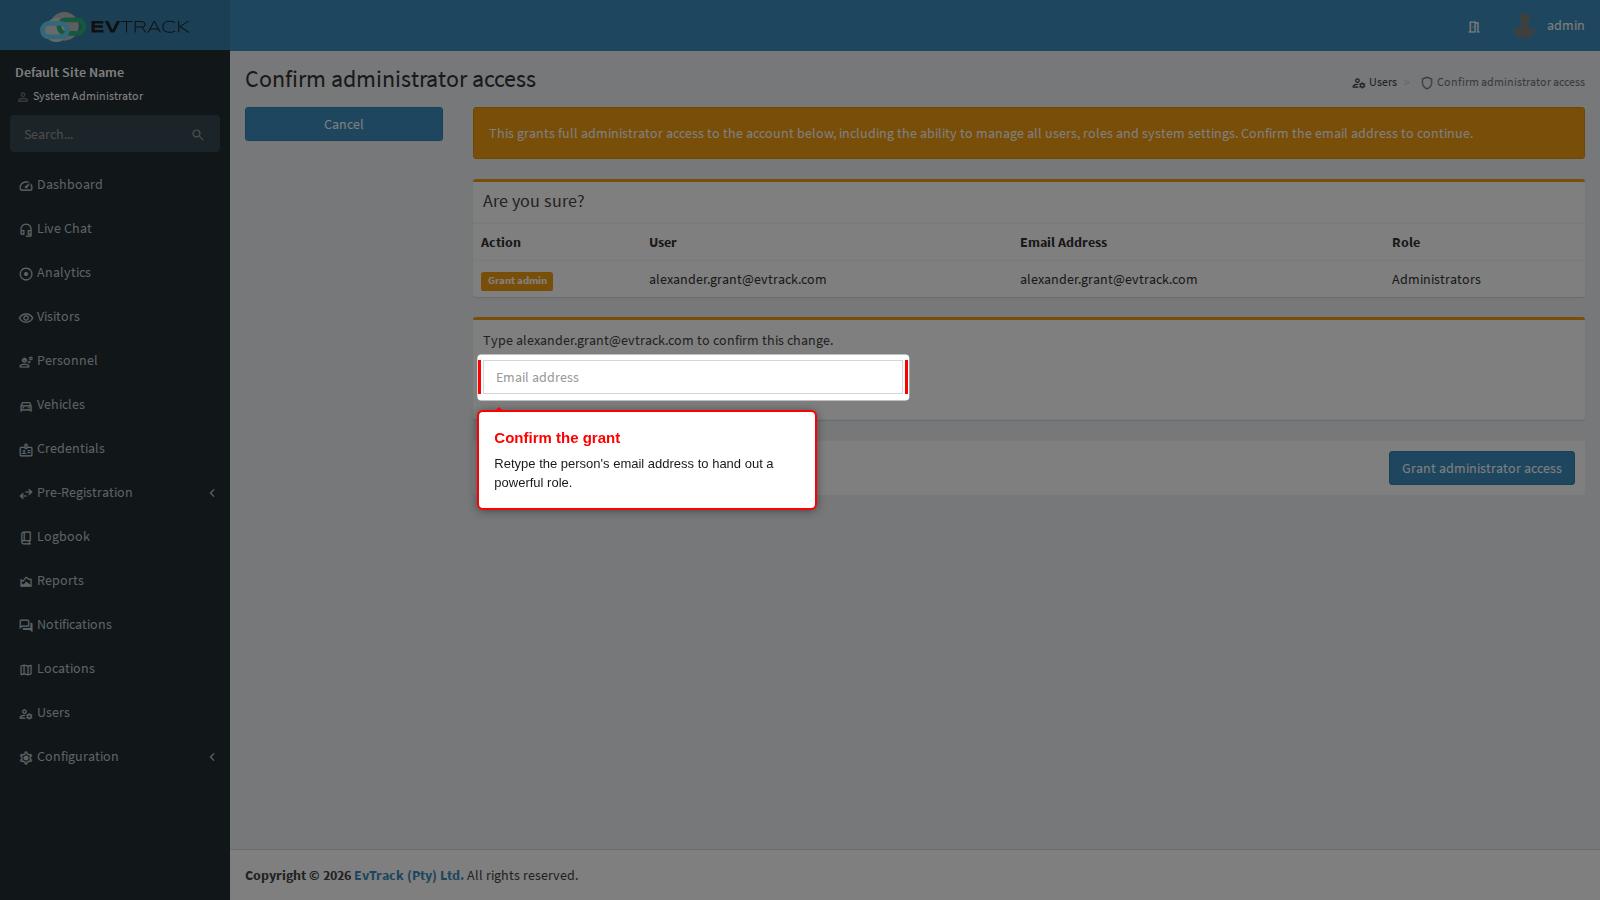
Two kinds of role add one extra step before the account is created, because of how much they allow: an administrator role, which can manage everything in the system, and any role that can view all visitors, which exposes every visitor’s personal details. When you pick one of these and click Save, a confirmation page opens first and nothing is stored yet. To continue, retype the person’s email address in the box and confirm; use Cancel to leave without creating anything. The email you type is checked on the server against the account you are creating, and the grant is written to the activity log together with who made it. The full background is on the Roles page.
What next
- Set the validity window that controls when the account and its credentials work
- Send the onboarding email so the user can log in
- Issue an RFID card or face credential
- Generate a badge