System Settings holds the choices that apply to the whole environment rather than to one location, one visitor type or one device: who you are (company name and logo), how the system talks to other software, how it interprets dates, numbers and identity documents, what its reports and badges look like, and how its codes and app sessions are secured.
Settings that belong to a specific area live elsewhere: visitor behaviour under Visitor Settings, people and organisational structure under User & Personnel Settings, hardware under Access Control Settings and Devices, and the deployment itself under Server Settings.
Before you start: you need settings administration rights. Tiles you cannot use are hidden rather than greyed out, so if a tile described below is missing, your account does not hold the permission for it.
Step 1: Open System Settings
In the left sidebar open Configuration, then click System Settings.
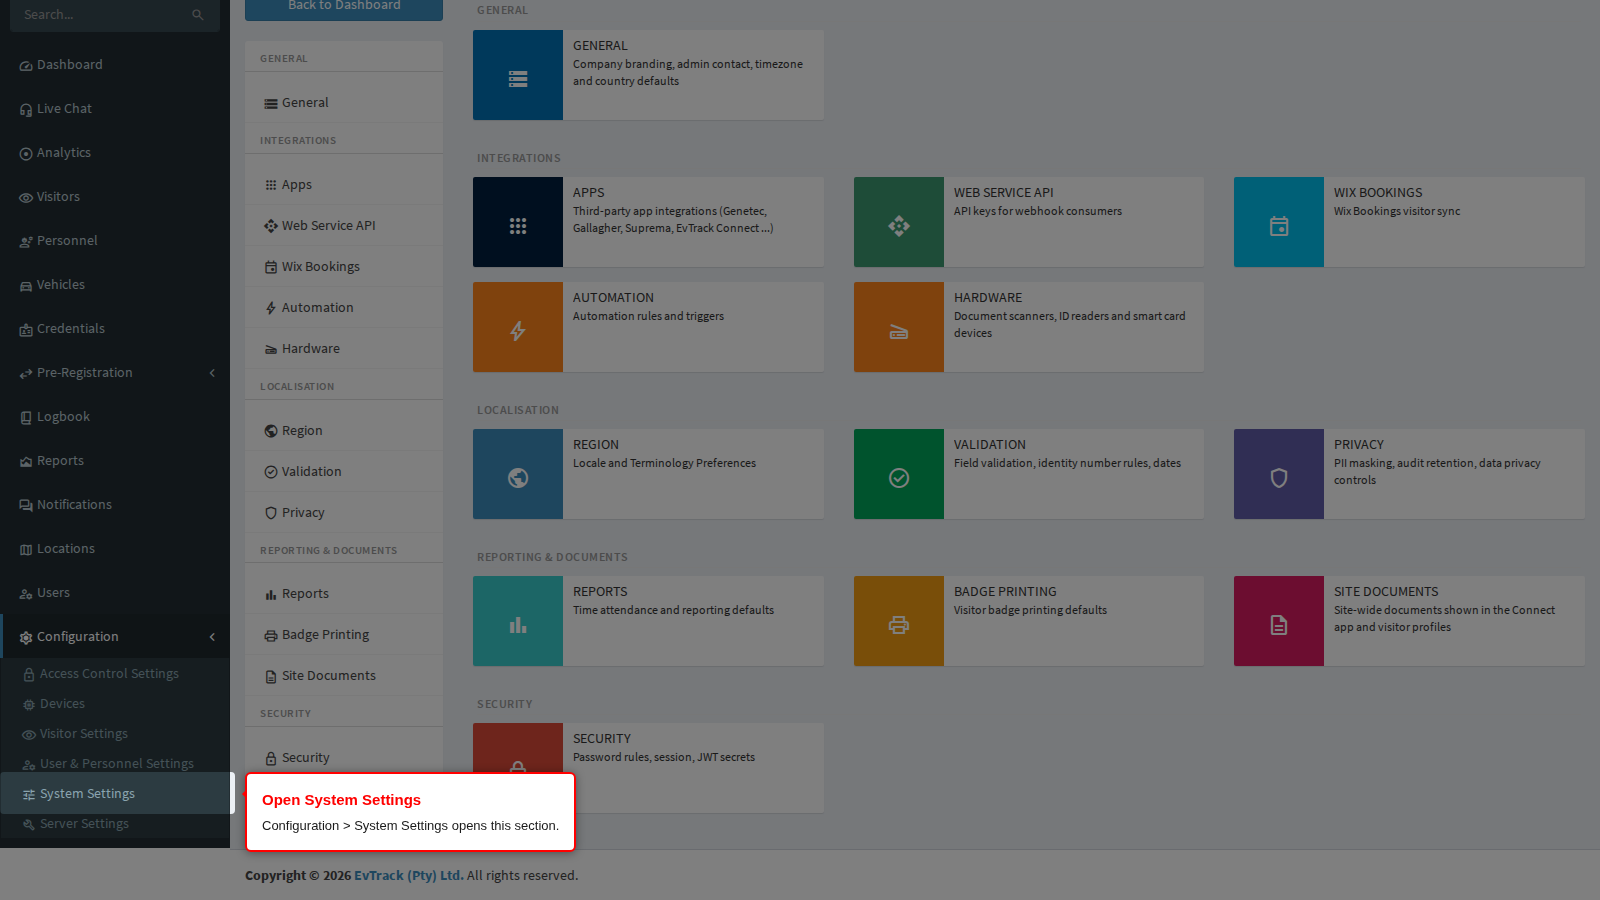
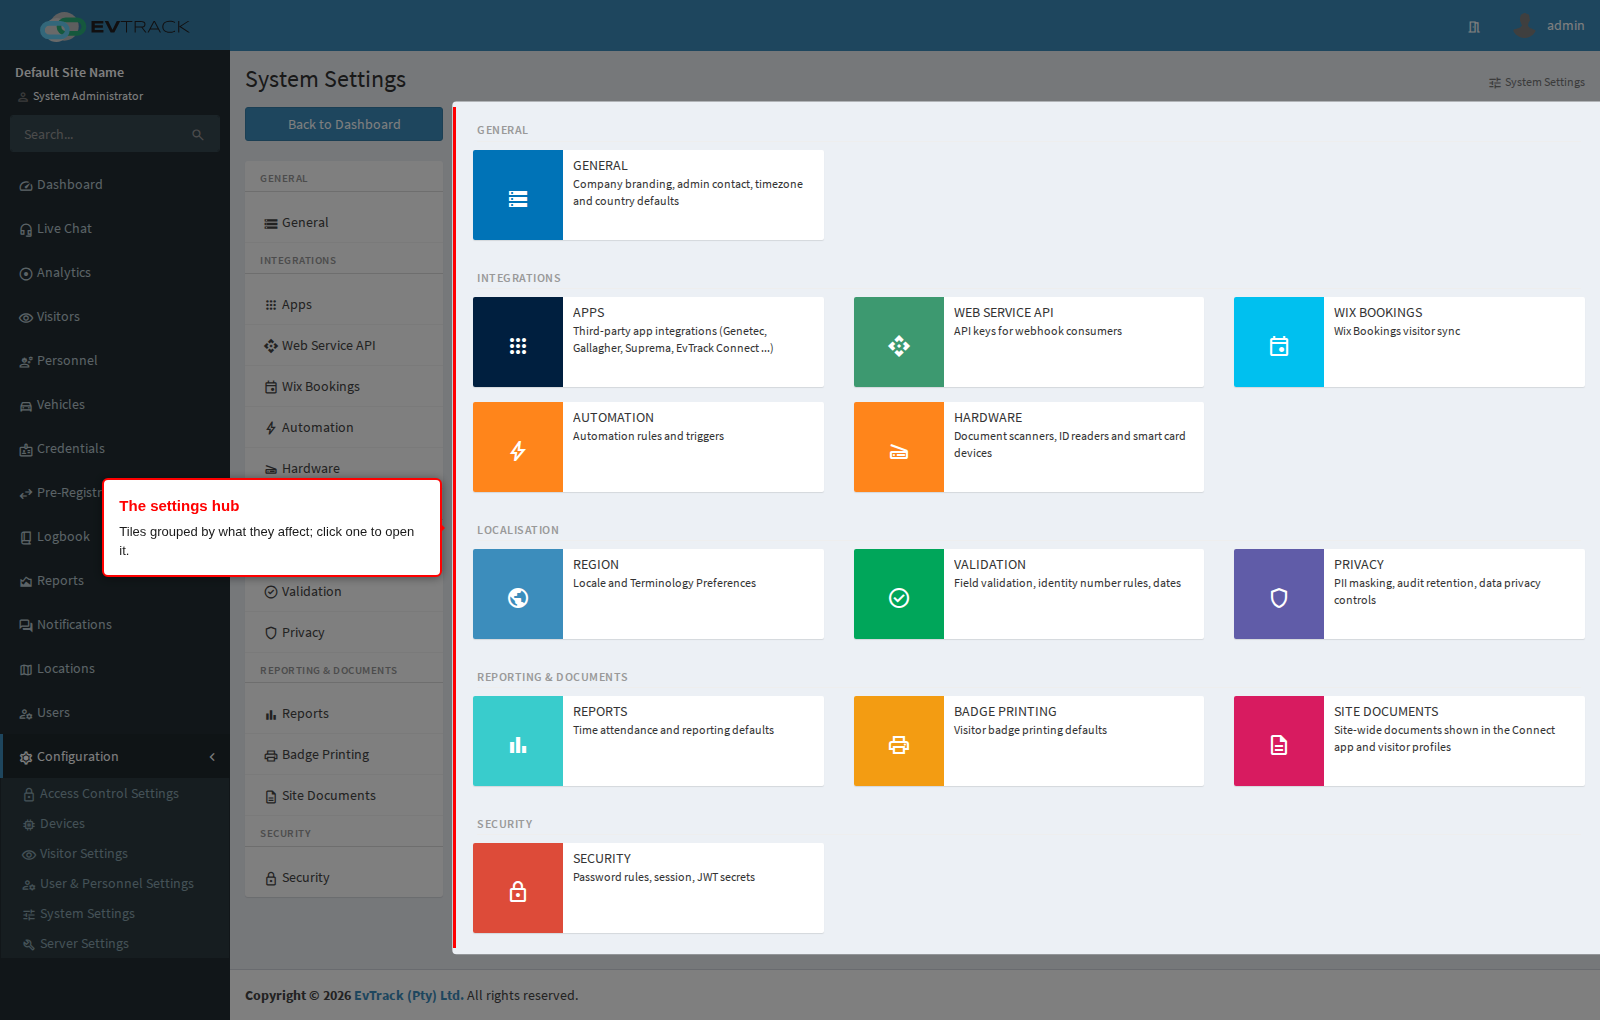
The landing page shows every settings page as a tile, grouped into General, Integrations, Localisation, Reporting & Documents and Security.
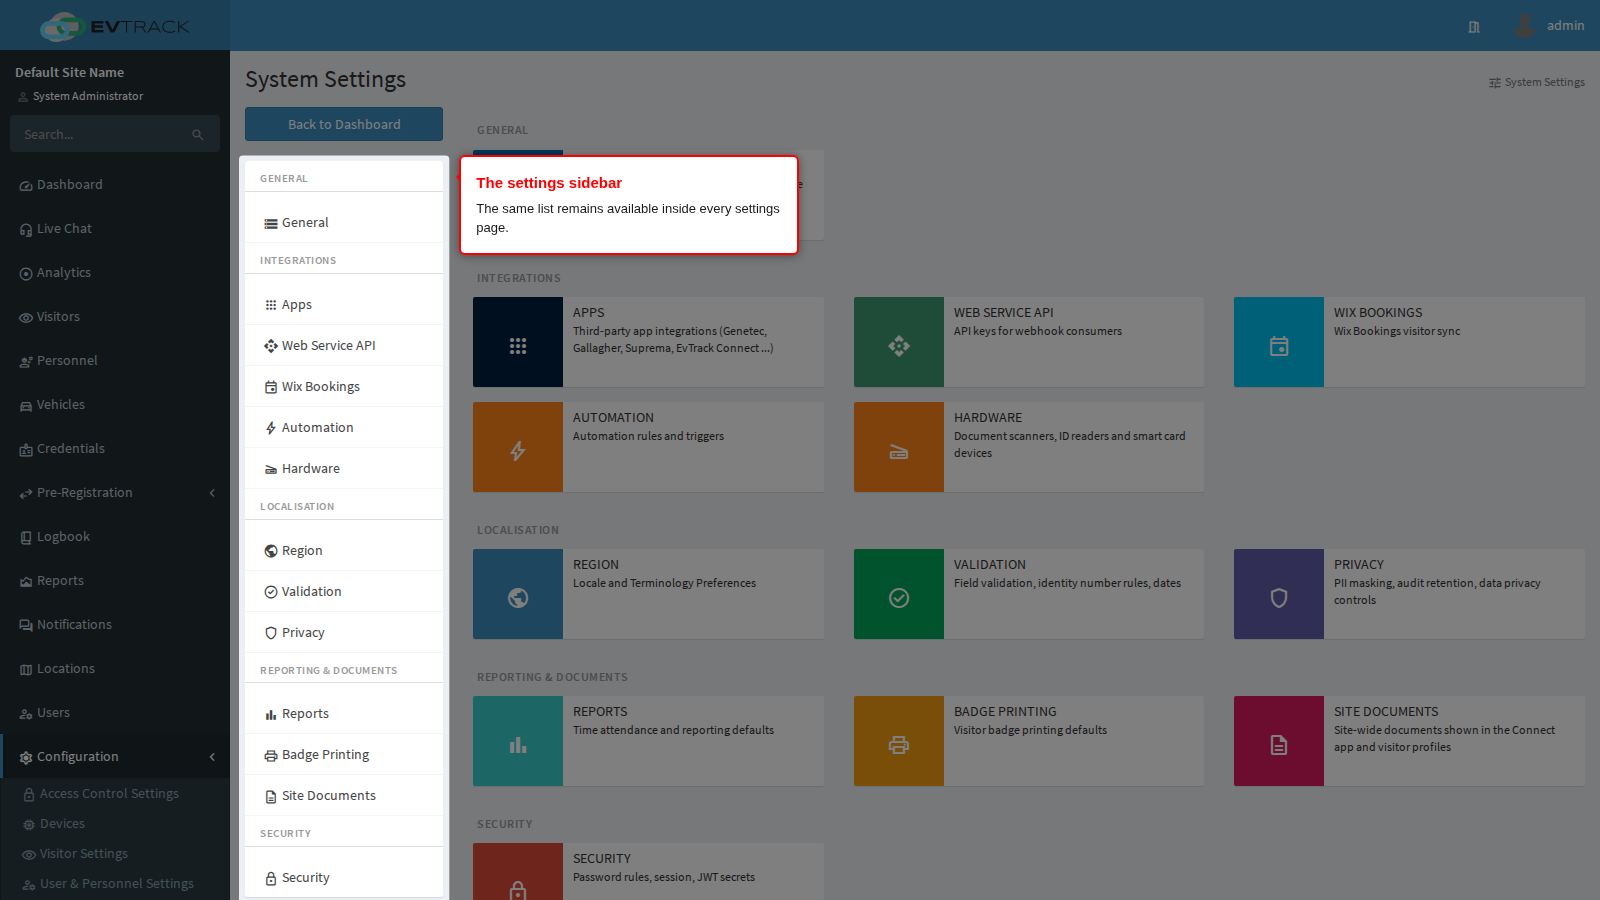
Once you are inside a settings page the same list is repeated in a sidebar down the left, so you can move between pages without coming back here. Back to Dashboard at the top leaves the section.
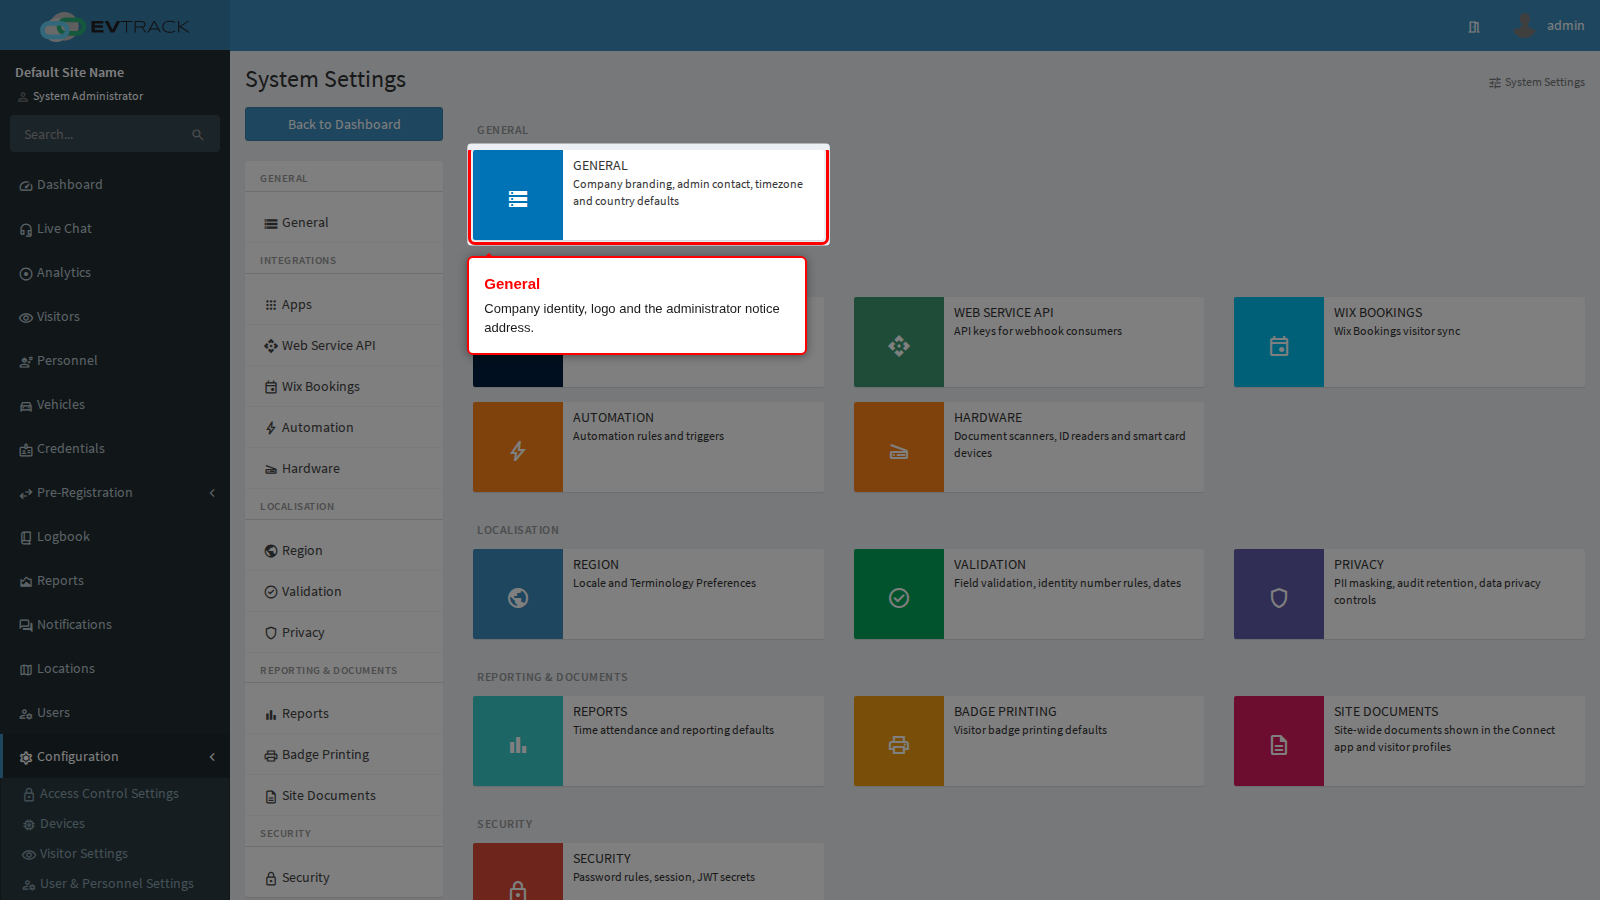
General
The General tile opens the one page in this section that has no chapter of its own. It carries your organisation’s identity, which the product reuses everywhere it presents itself to a visitor.
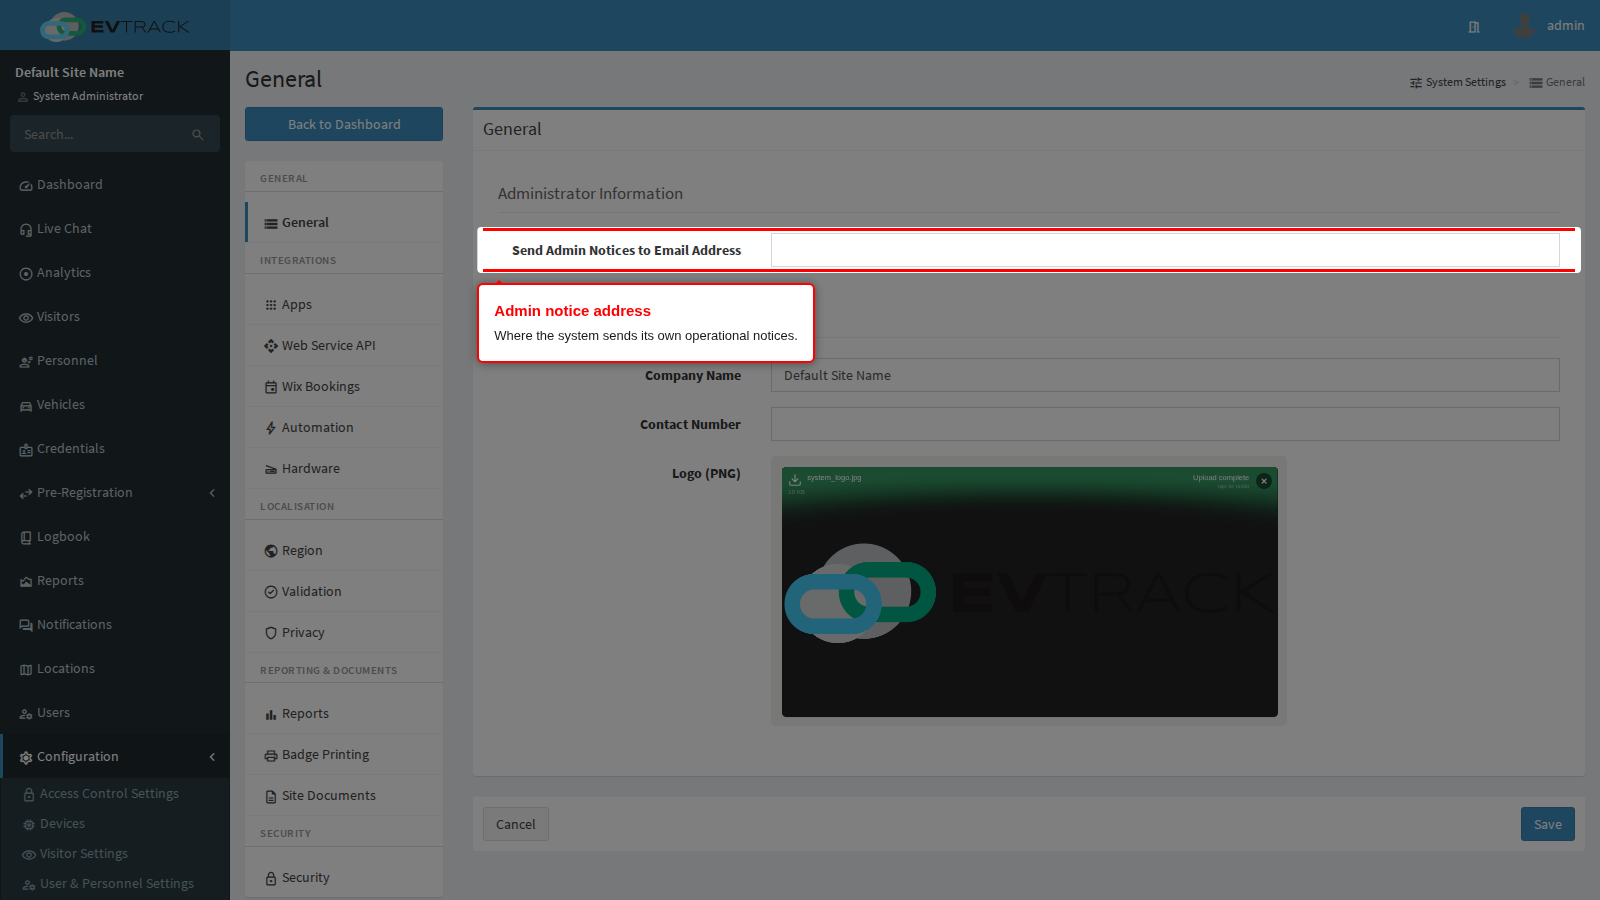
Send Admin Notices to Email Address is where the system sends its own operational notices. Point it at a monitored mailbox or a distribution list, never at one person’s inbox - notices sent to somebody who has left the organisation are notices nobody reads. This is the address that tells you something needs attention, so an unset or stale value means problems go unnoticed rather than unreported.
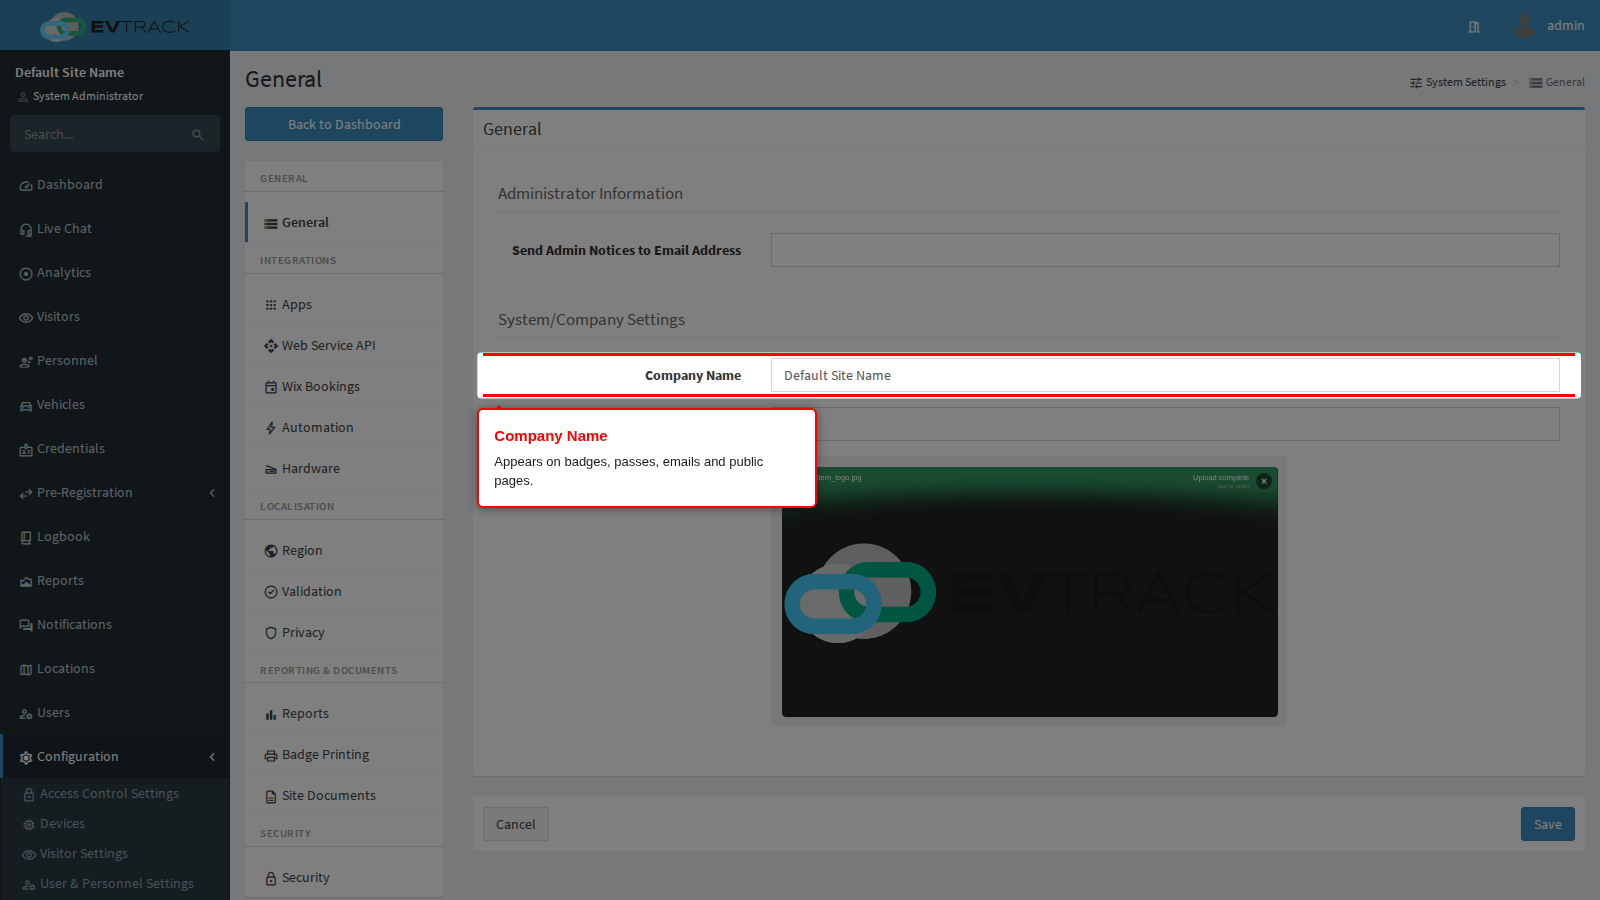
Company Name is the name shown to visitors: on badges and passes, in the subject and body of outgoing email, and on the public registration and invitation pages. Use the trading name your visitors would recognise from the sign at the entrance, not a legal entity name they have never seen.
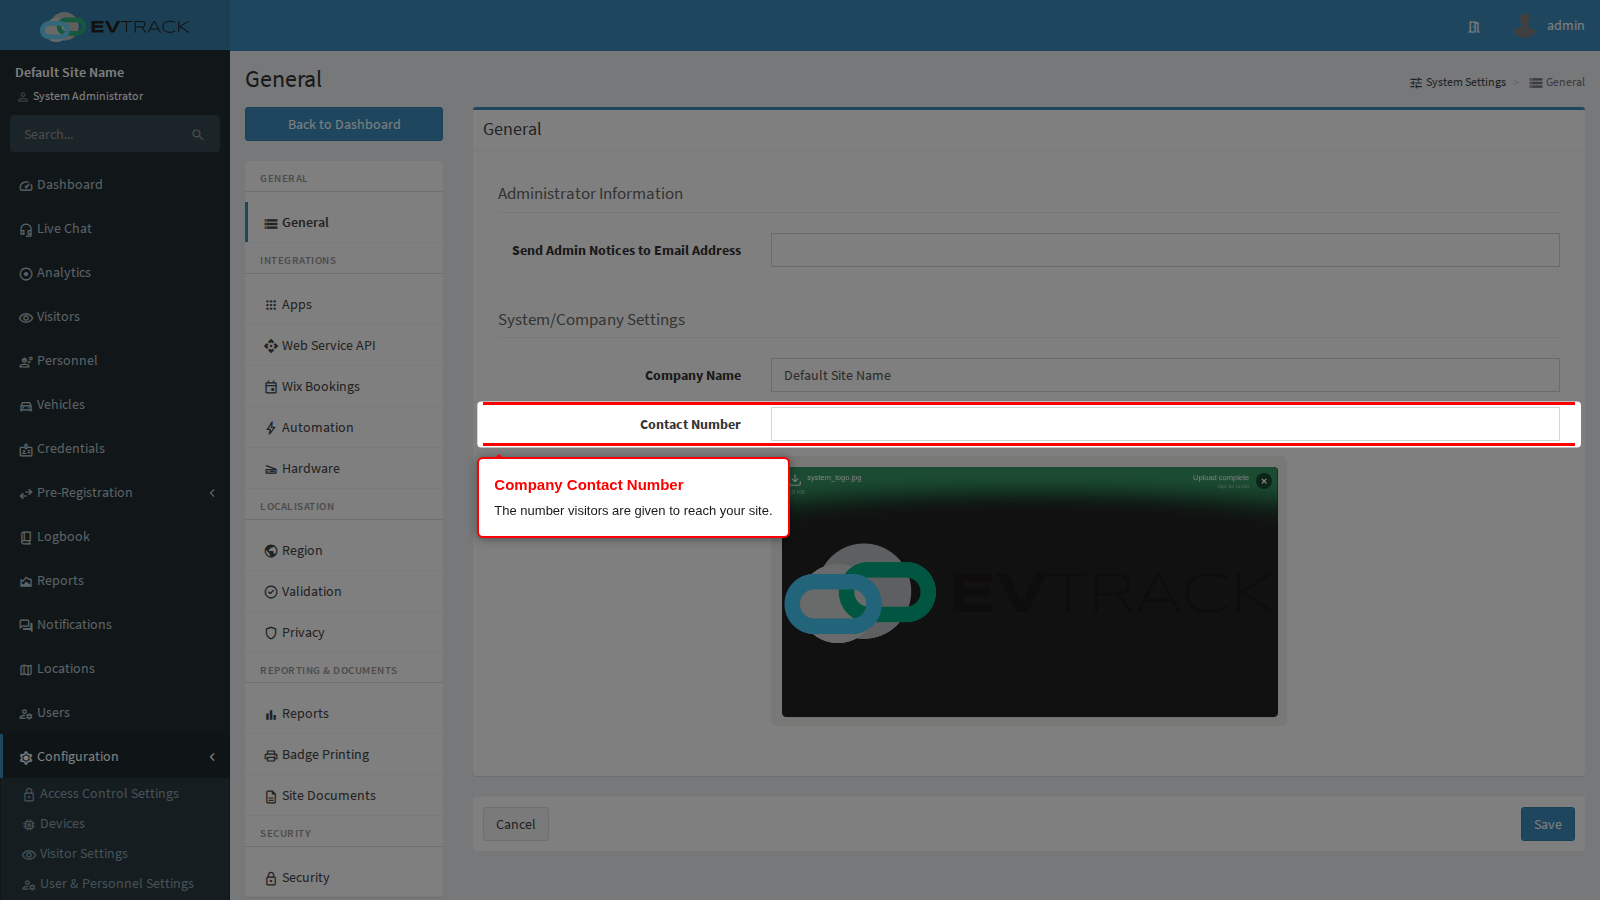
Company Contact Number is the number offered to visitors who need to reach your site - on passes and in messages. Give a number that is actually answered during the hours you receive visitors; a switchboard that rings out is worse than no number.
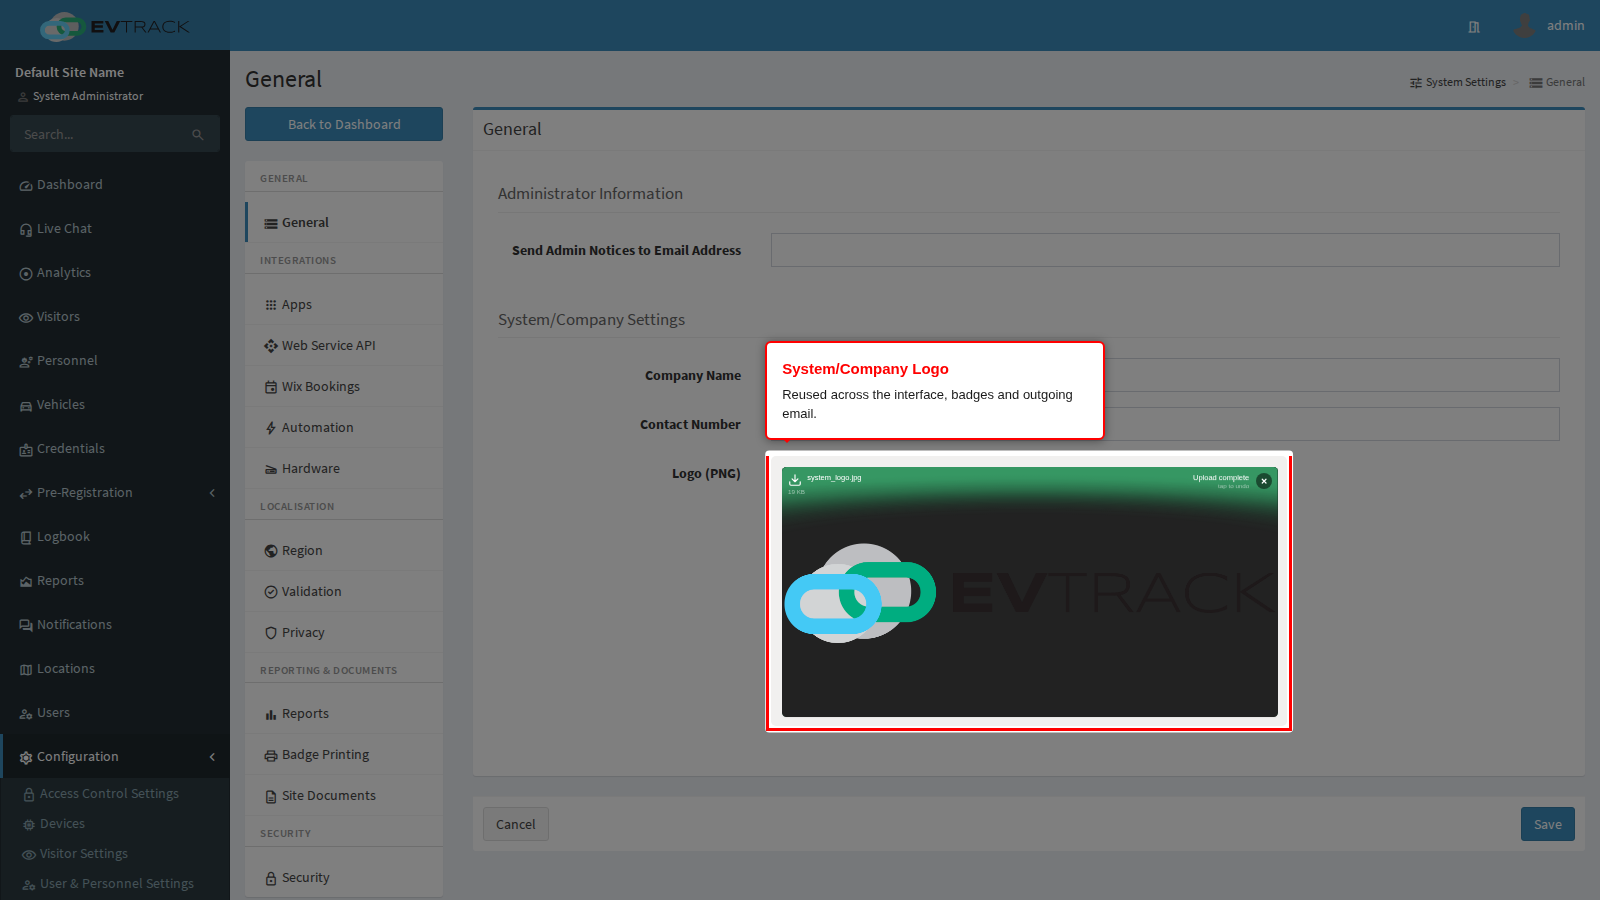
System/Company Logo is uploaded by dragging an image onto the drop zone or clicking Browse. The logo is reused across the interface, on badges and inside outgoing email, so quality here pays off in many places at once.
Use a PNG about 1000px wide with a transparent background, under 500kb. A logo with a white rectangle behind it looks wrong on a coloured badge; a small image looks blurred when it is scaled up for printing. Upload the largest clean version you have and let the system scale it down.
Click Save to apply your changes. The company name and logo take effect on newly rendered pages and newly generated messages; email already sent keeps the old branding.
Integrations
Four tiles, covering every way another system connects to EvTrack.
Apps is the catalogue of packaged integrations with third-party systems - access control platforms, identity systems and building services. Each app is configured, enabled and monitored from there.
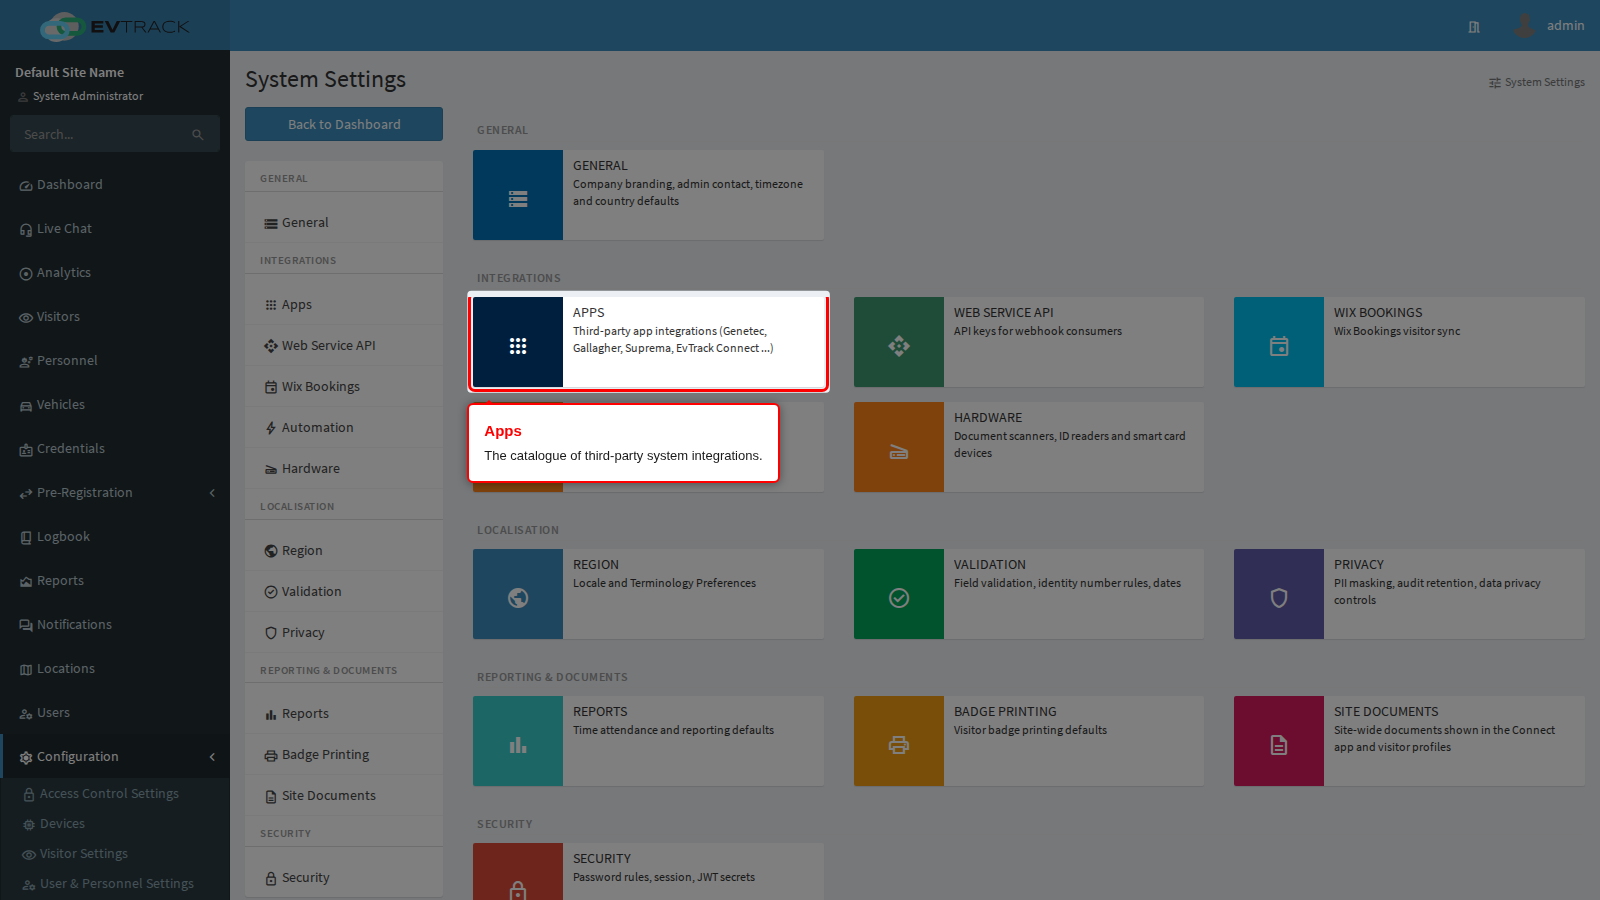
Web Service API manages the API keys that let another application drive EvTrack over its REST interface, together with the read and write permissions each key carries. Create one key per consuming application and grant only what it needs. See Web Service API.
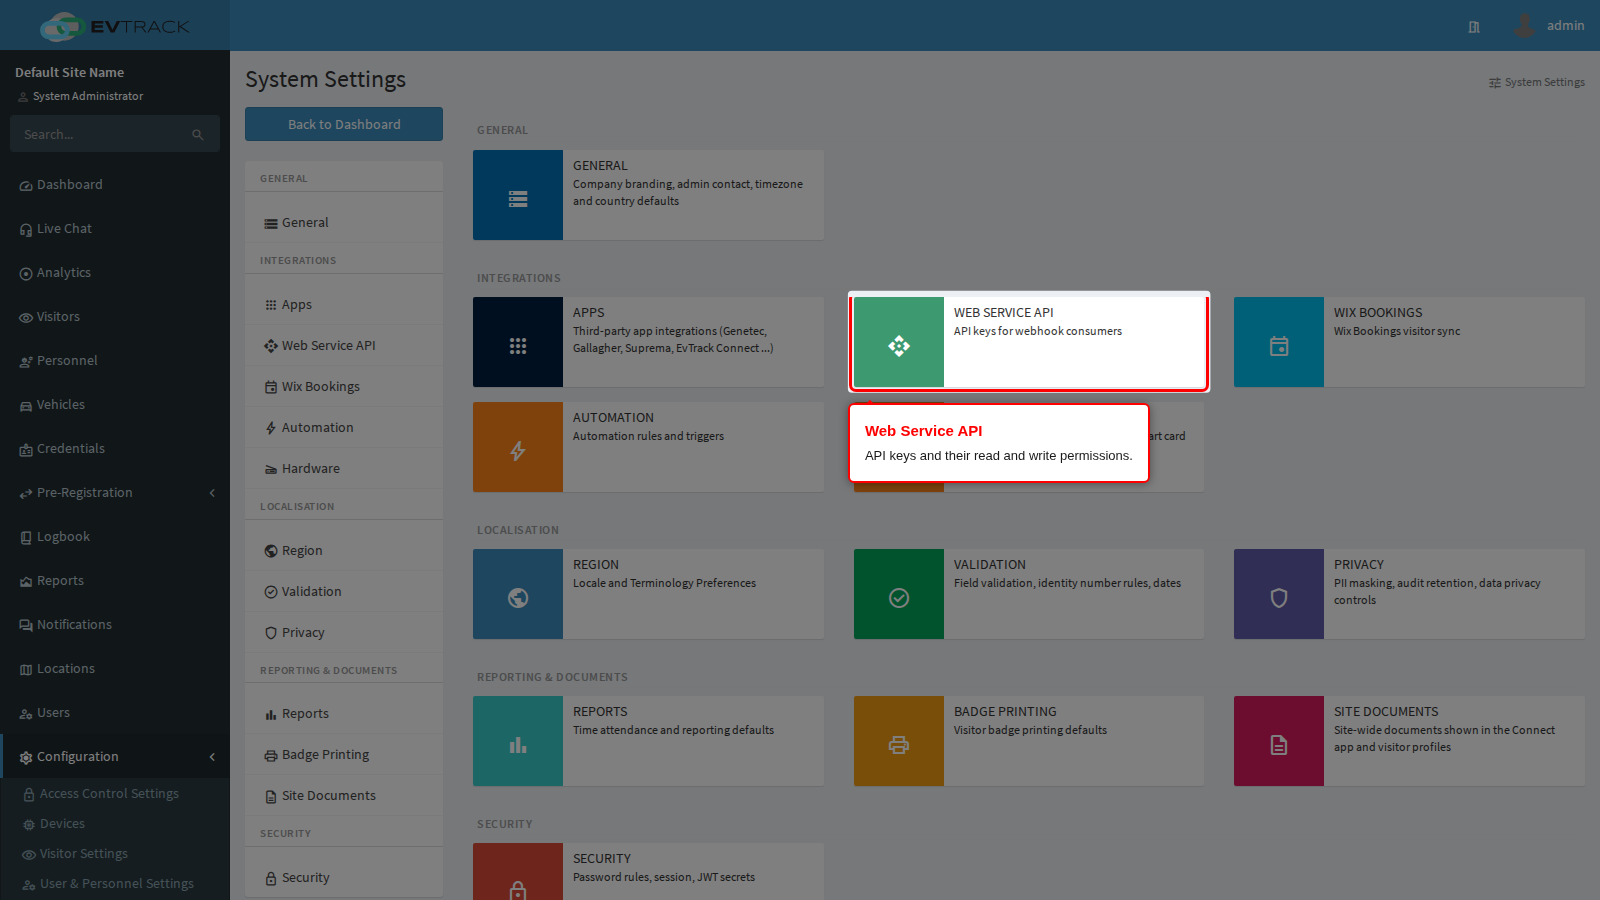
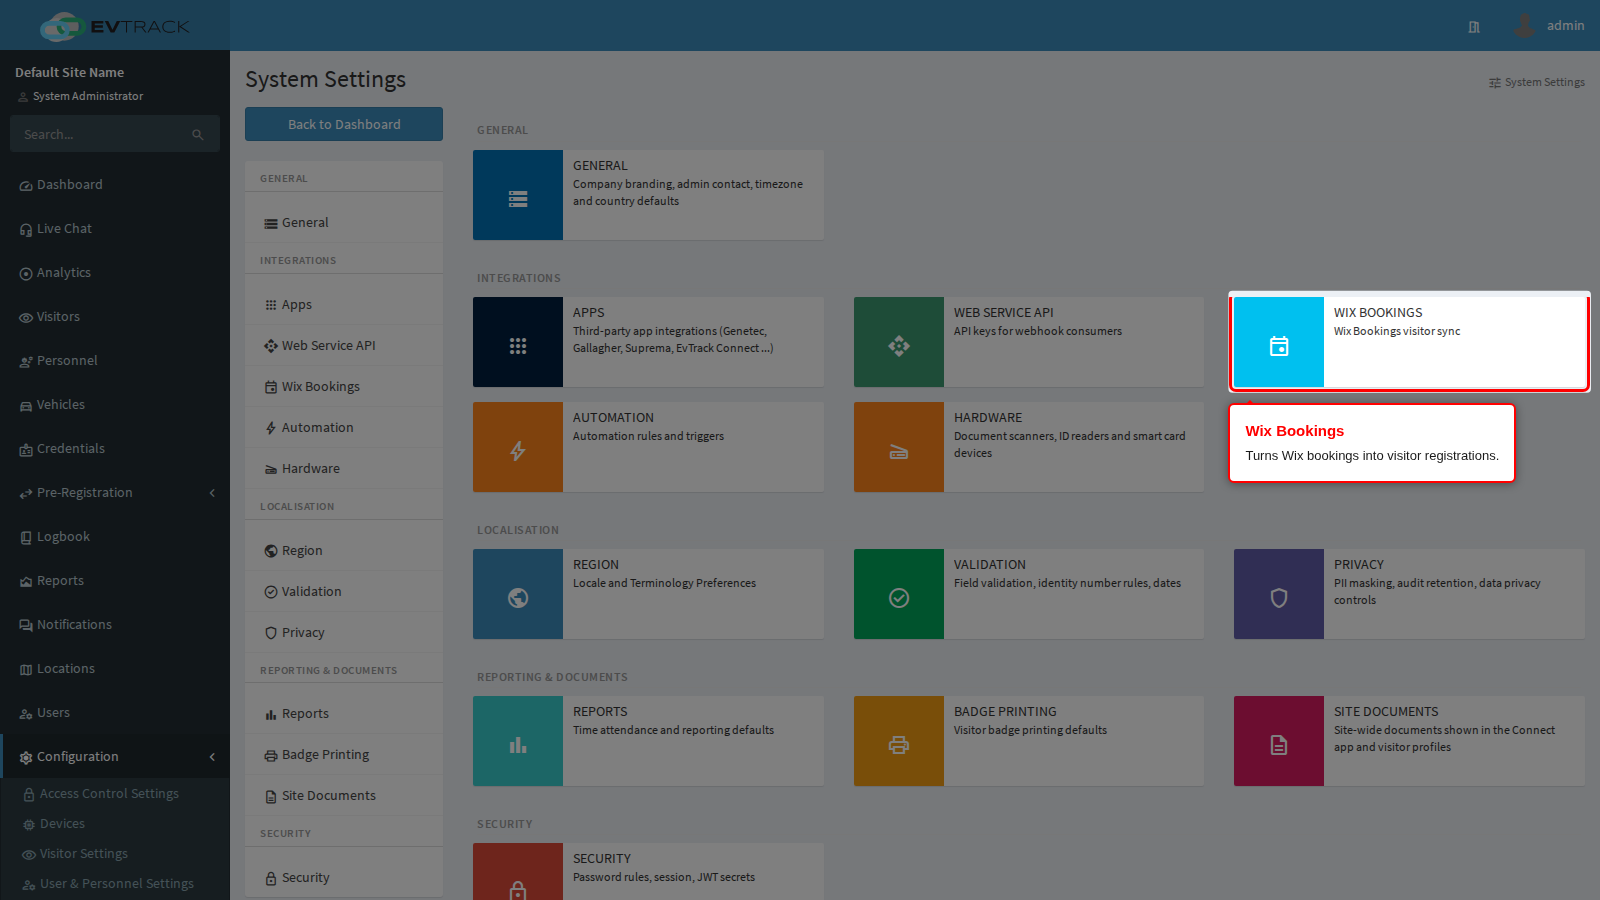
Wix Bookings connects a Wix site so that bookings made there arrive as visitor registrations, with the booking visitor issued a temporary access credential automatically. See Wix Bookings. The developer credentials behind that connection are set under Configuration > Server Settings > WIX Dev API.
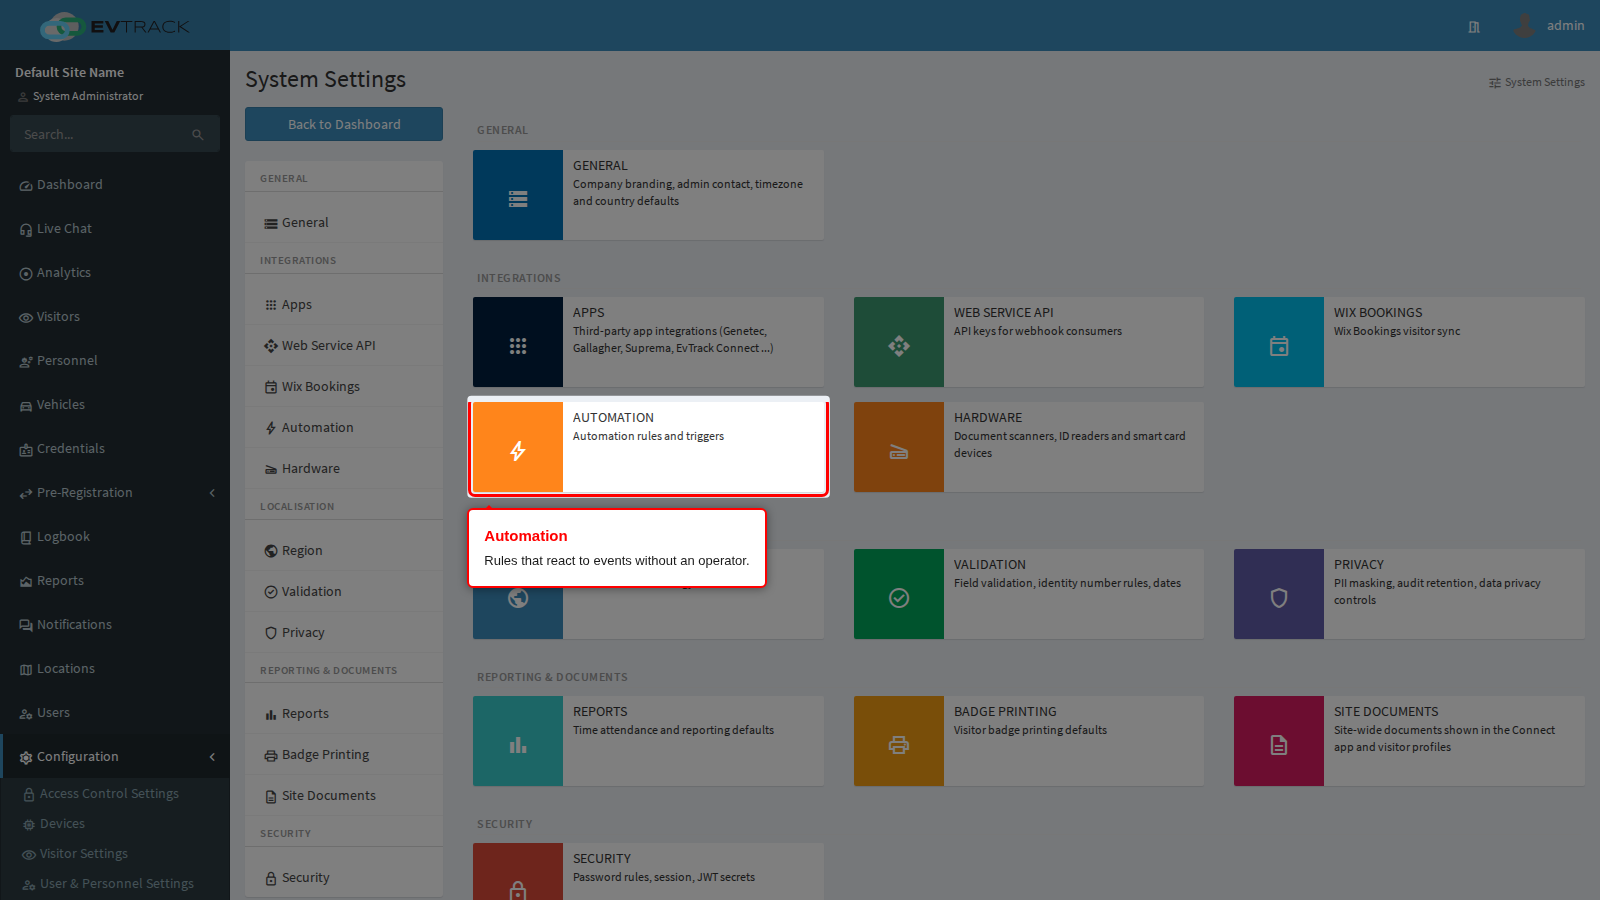
Automation holds rules that react to events on their own - notifying, updating a status or calling out to another system when a trigger fires - so routine work does not need an operator watching for it.
Localisation
Three tiles that decide how the system reads and displays the data people give it.
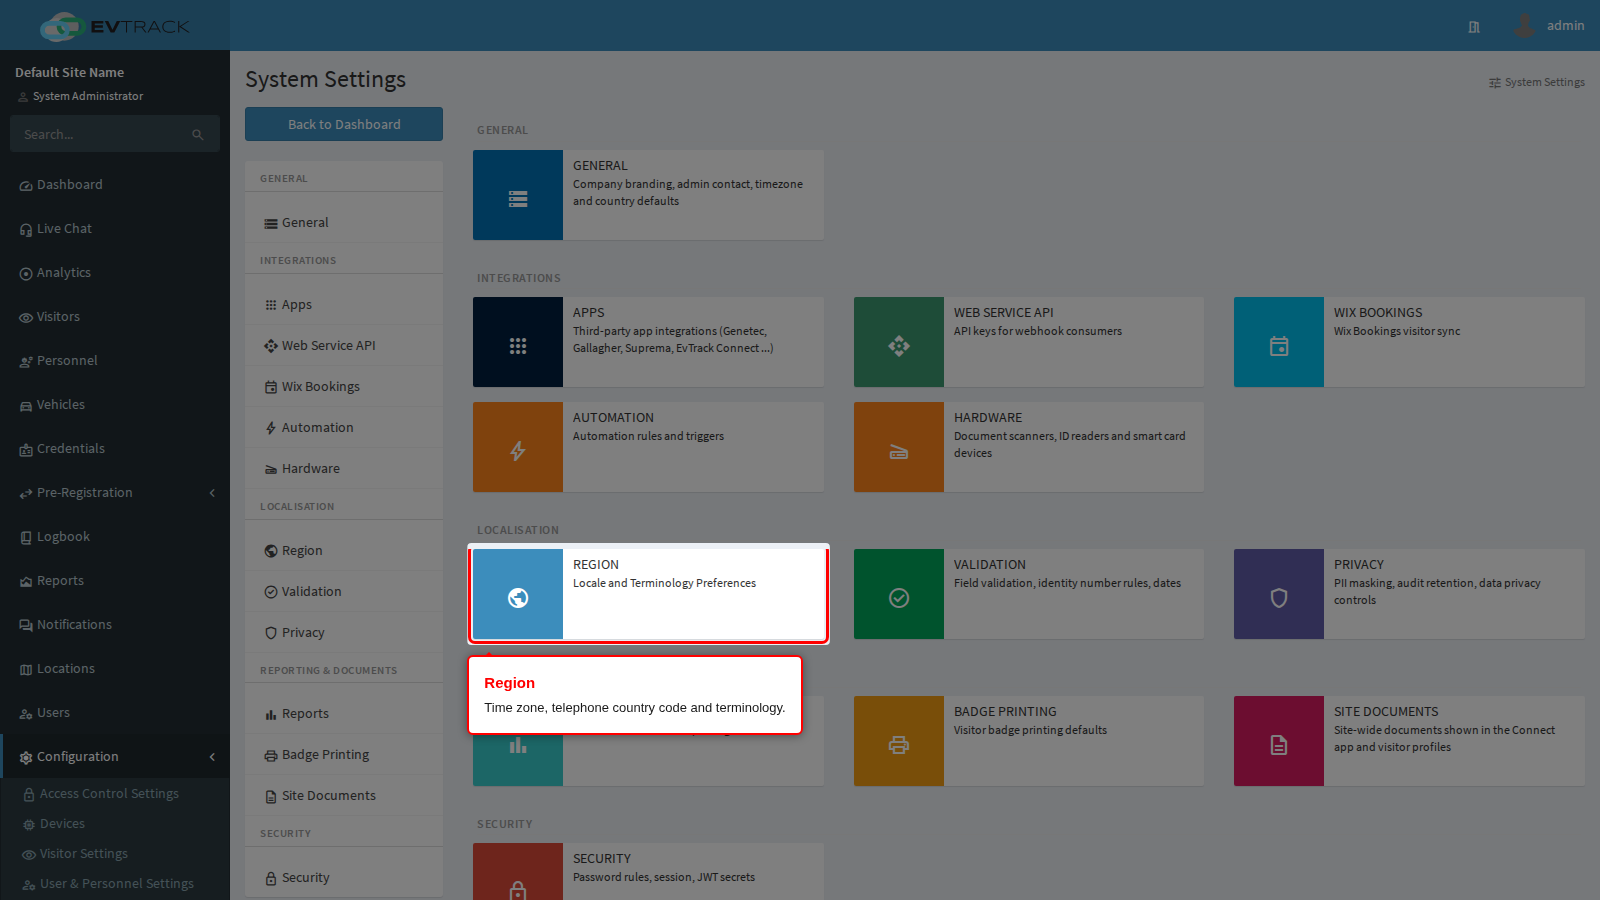
Region sets the system time zone, the default telephone country code and the accessibility terminology used across the interface. Set the time zone before you start capturing data: every timestamp in the product, in emails and on reports is displayed against it. See Region.
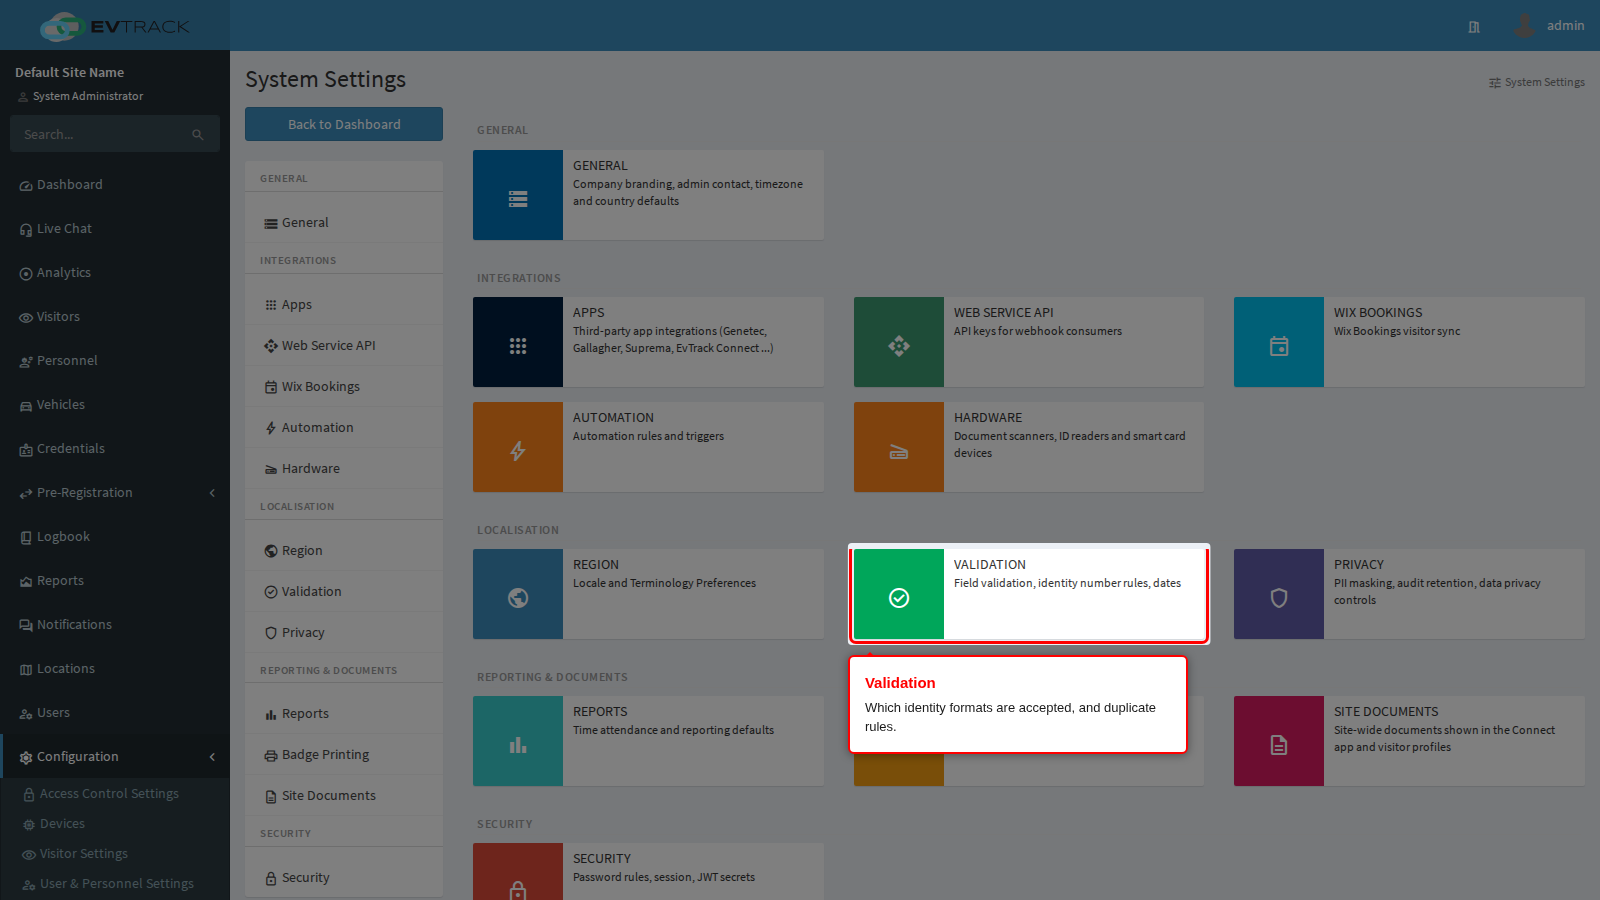
Validation decides which identity-document formats are accepted at capture and when two registrations are treated as the same person. Get this wrong in the strict direction and operators cannot capture a real document; get it wrong in the permissive direction and typos go unnoticed. See Validation.
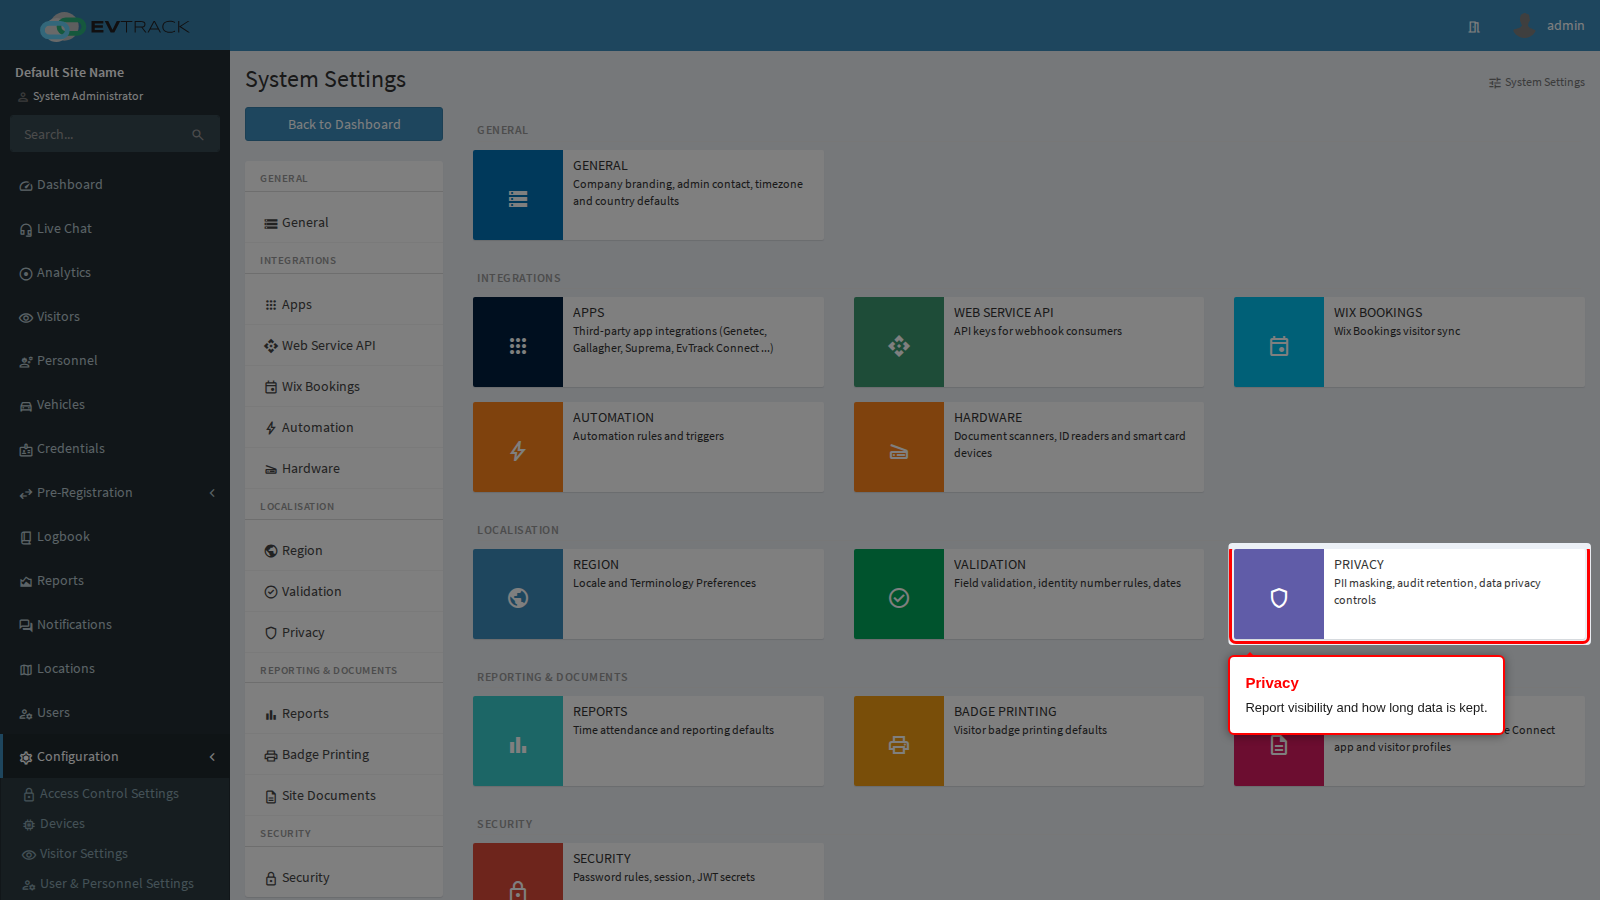
Privacy controls whether identity numbers appear on reports, whether operators can see each other’s visitors, and how long events, audit logs and visitor data are kept before being deleted permanently. See Privacy.
Reporting & Documents
Three tiles covering what the system produces on paper and on screen.
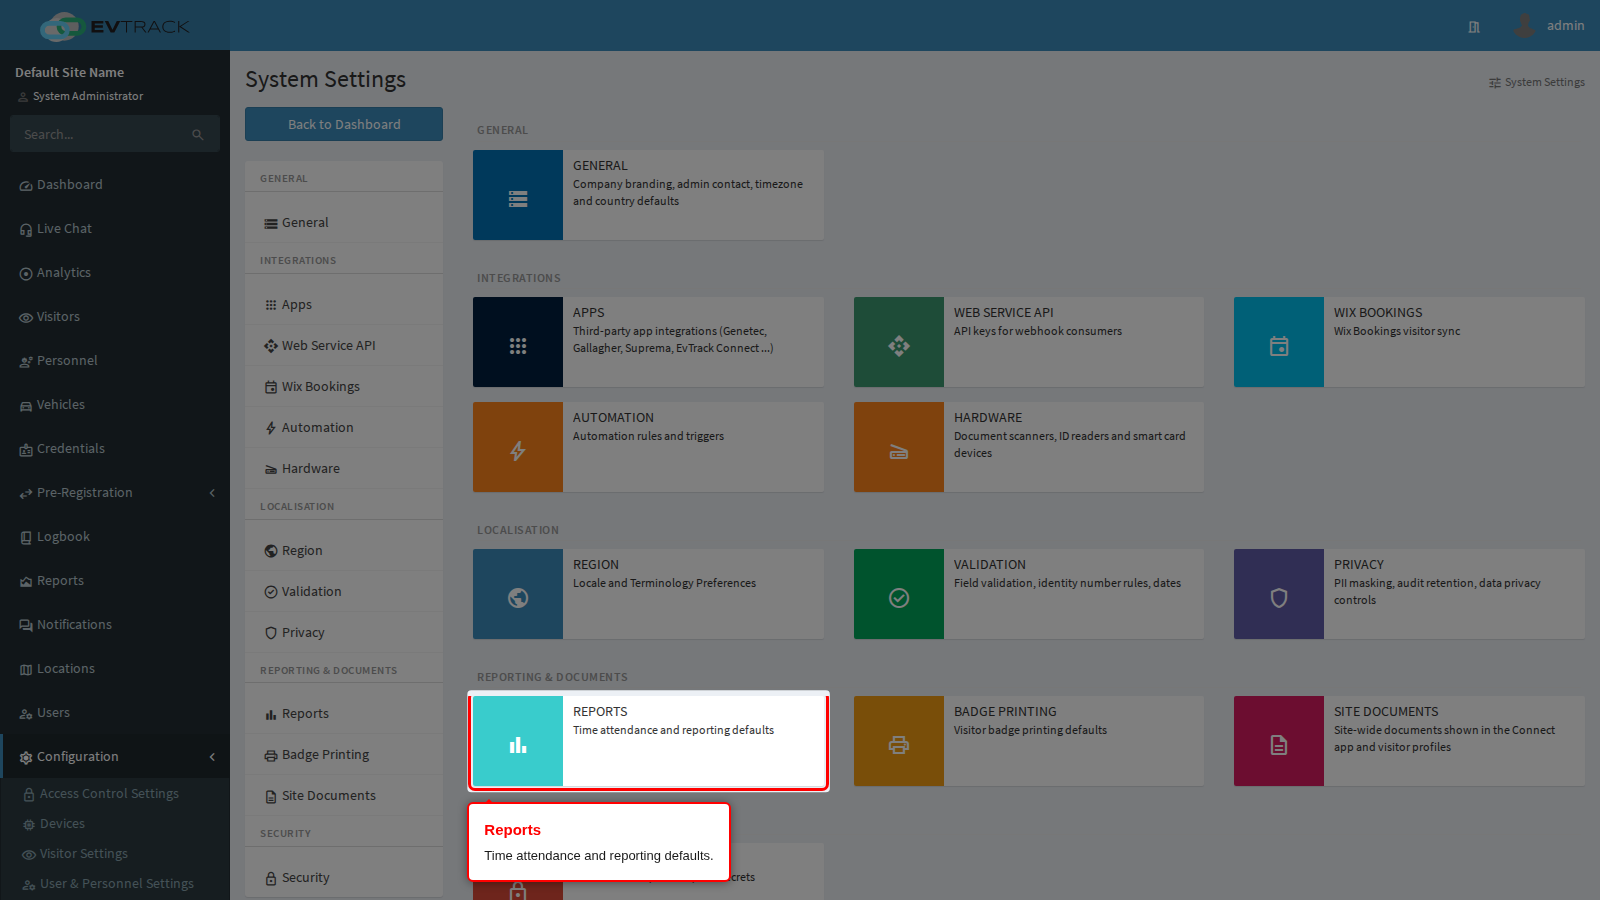
Reports sets the time-attendance and reporting defaults - how presence is calculated and what a report shows by default. See Reports.
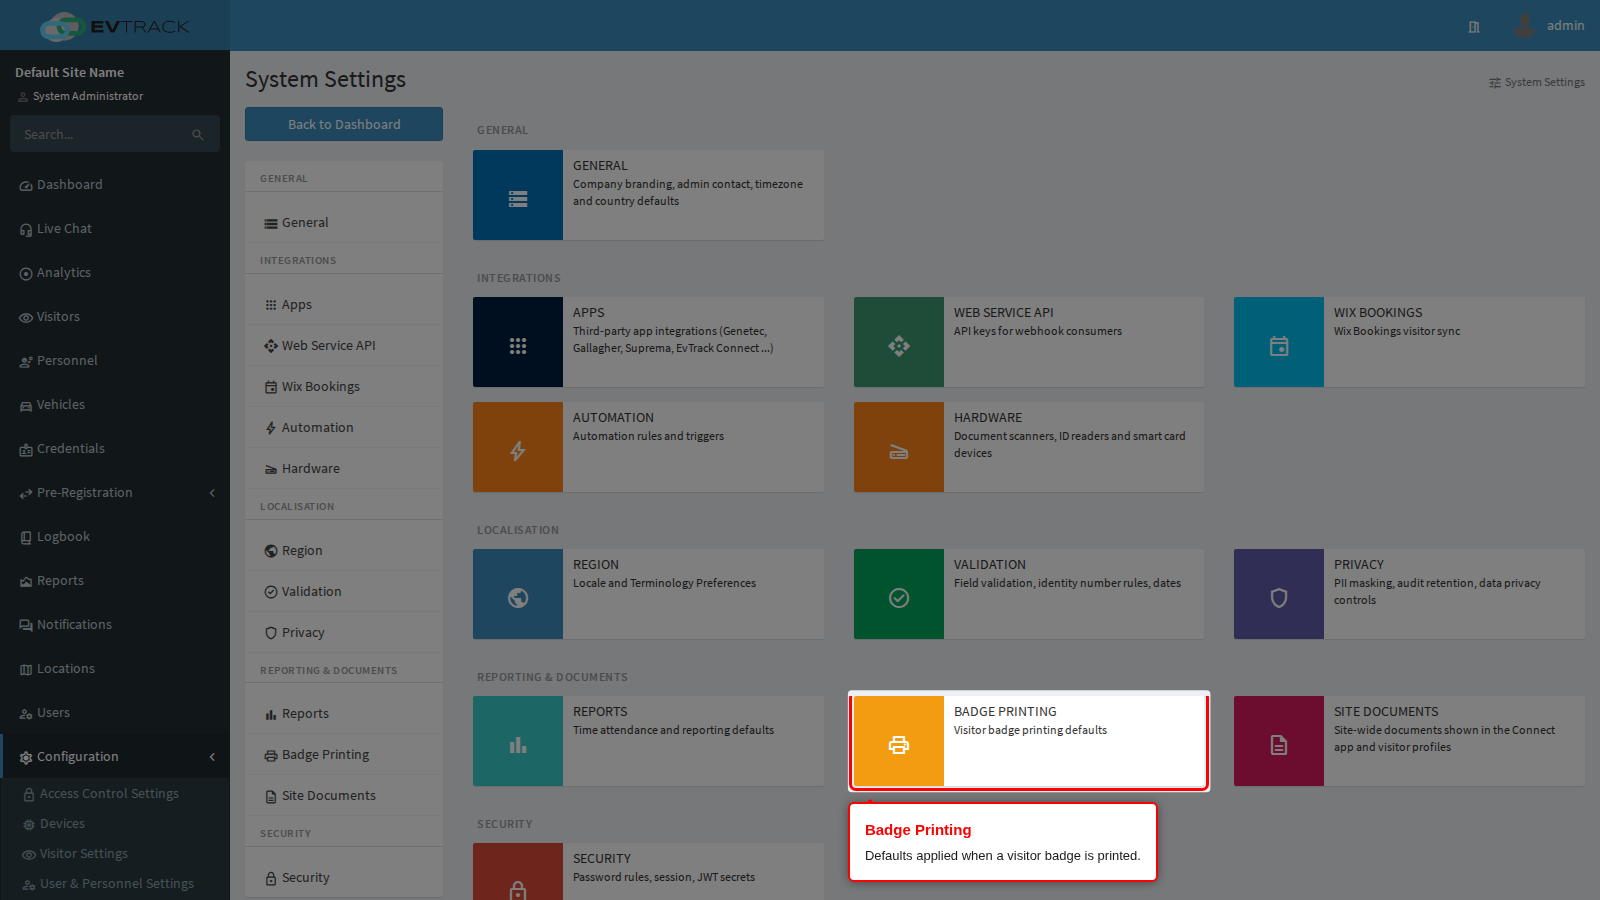
Badge Printing sets the defaults applied when a visitor badge is printed: which template is used and what is placed on it. See Badge Printing.
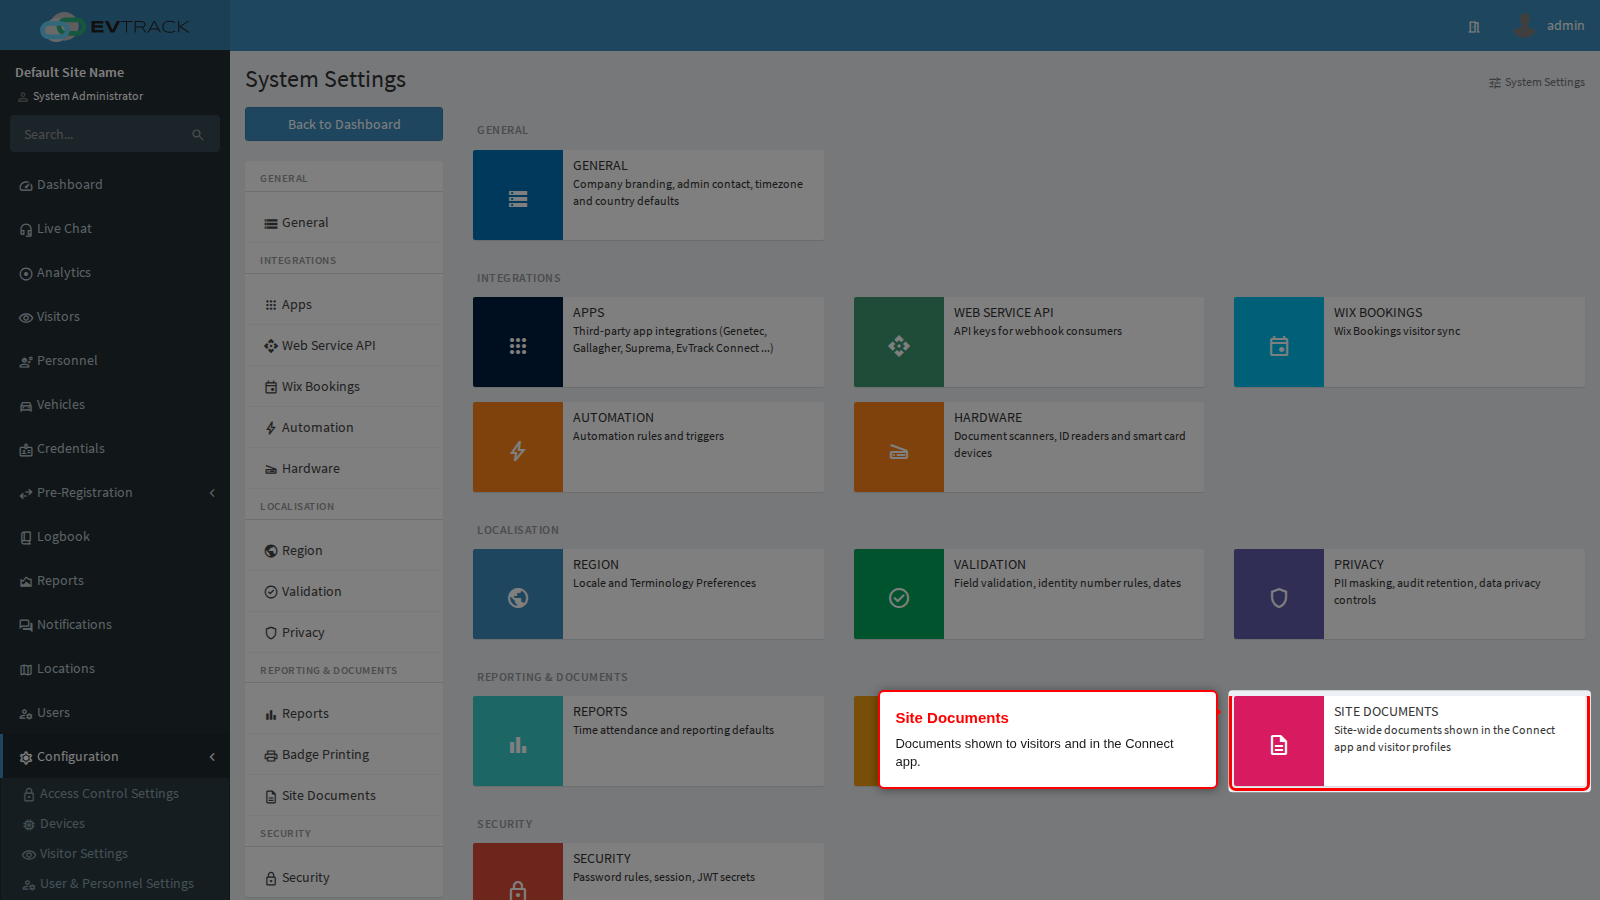
Site Documents holds the documents shown site-wide to visitors and in the Connect app - site rules, safety induction material, maps. Location-specific documents are attached to the location itself instead. See Site Documents and Documents on records.
Security
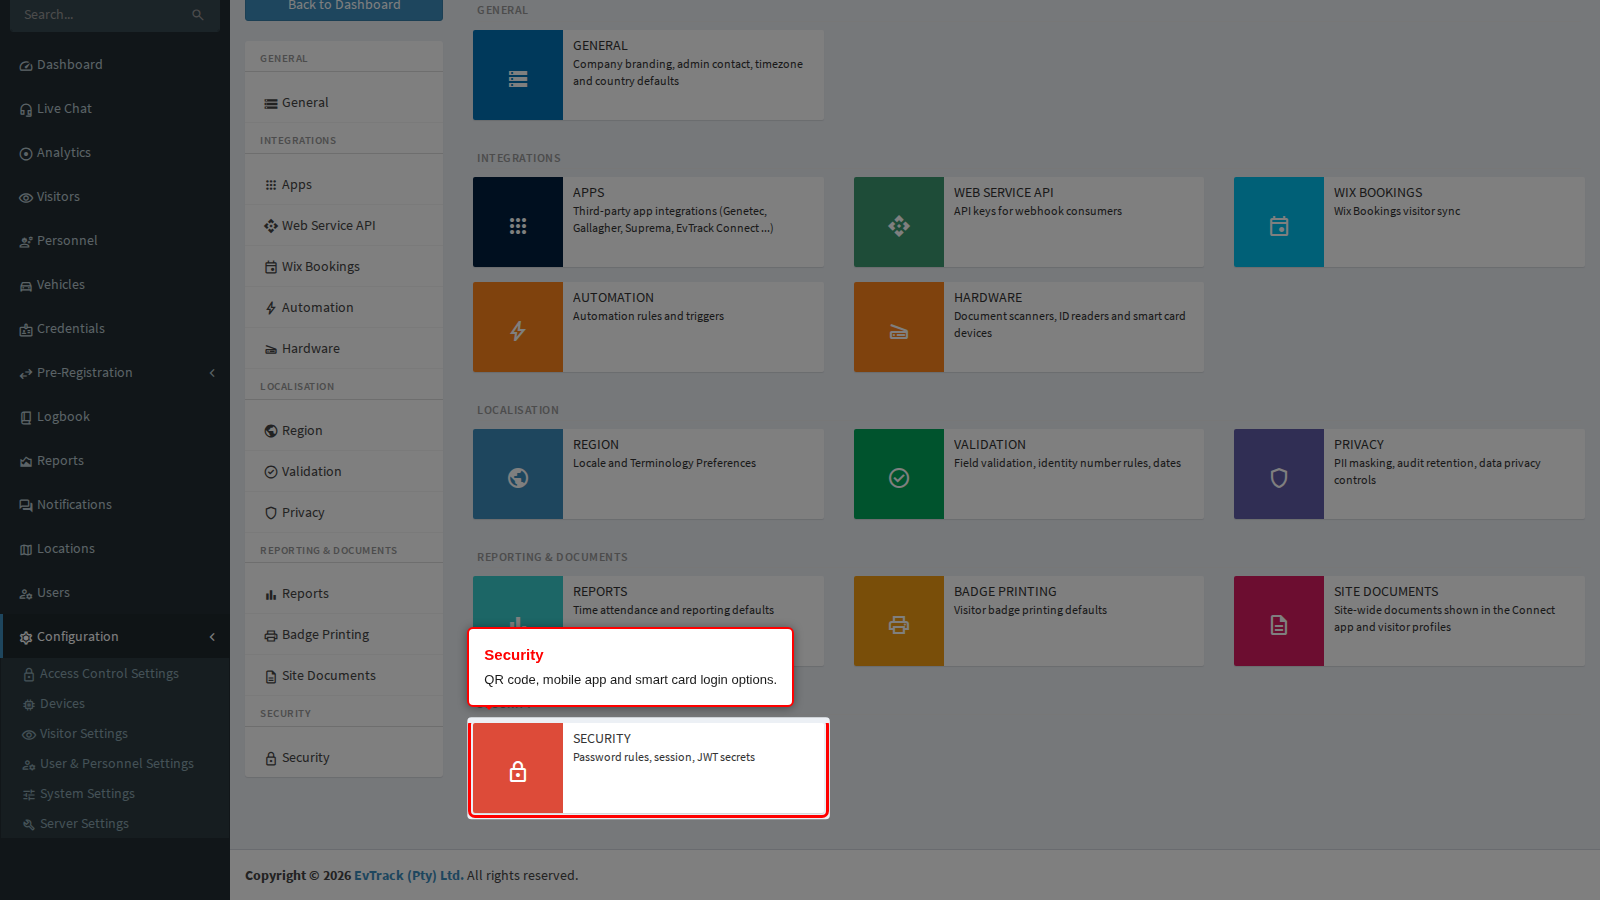
Security carries the QR code settings (expiry, format and the static-code option), the identifier formats for users, persons, visitors and credentials, the mobile app’s signing secret and session length, and the smart card login keys. Two of those settings invalidate things already issued when they change, so read the page before altering them. See Security.
Identifier Formats
Identifier Formats explains how to choose the format, Gallagher option and range for each kind of identifier on the Security page. See Identifier Formats.
Sign-on, password policy and server hardening are configured elsewhere: see the Privacy and Security section and Configuration > Server Settings.