This section holds the wording of every short message the system sends: the invitations that carry a visitor’s PIN or QR code, the link that asks a visitor to pre-register, and the note a host gets when their visitor arrives. Emails are configured elsewhere - see Visitor Emails. What is written here is what lands on a phone.
Before you start: you need an operator account with settings permissions. Writing a template does not send anything on its own - a message only goes out when a gateway is configured for its channel and something triggers it. See SMS Configuration for the gateway, and Host Notifications for the switch that decides whether movement messages are sent at all.
Step 1: Open the Instant Messaging pages
Open Visitors in the sidebar, click Settings, and click the Instant Messaging tile.
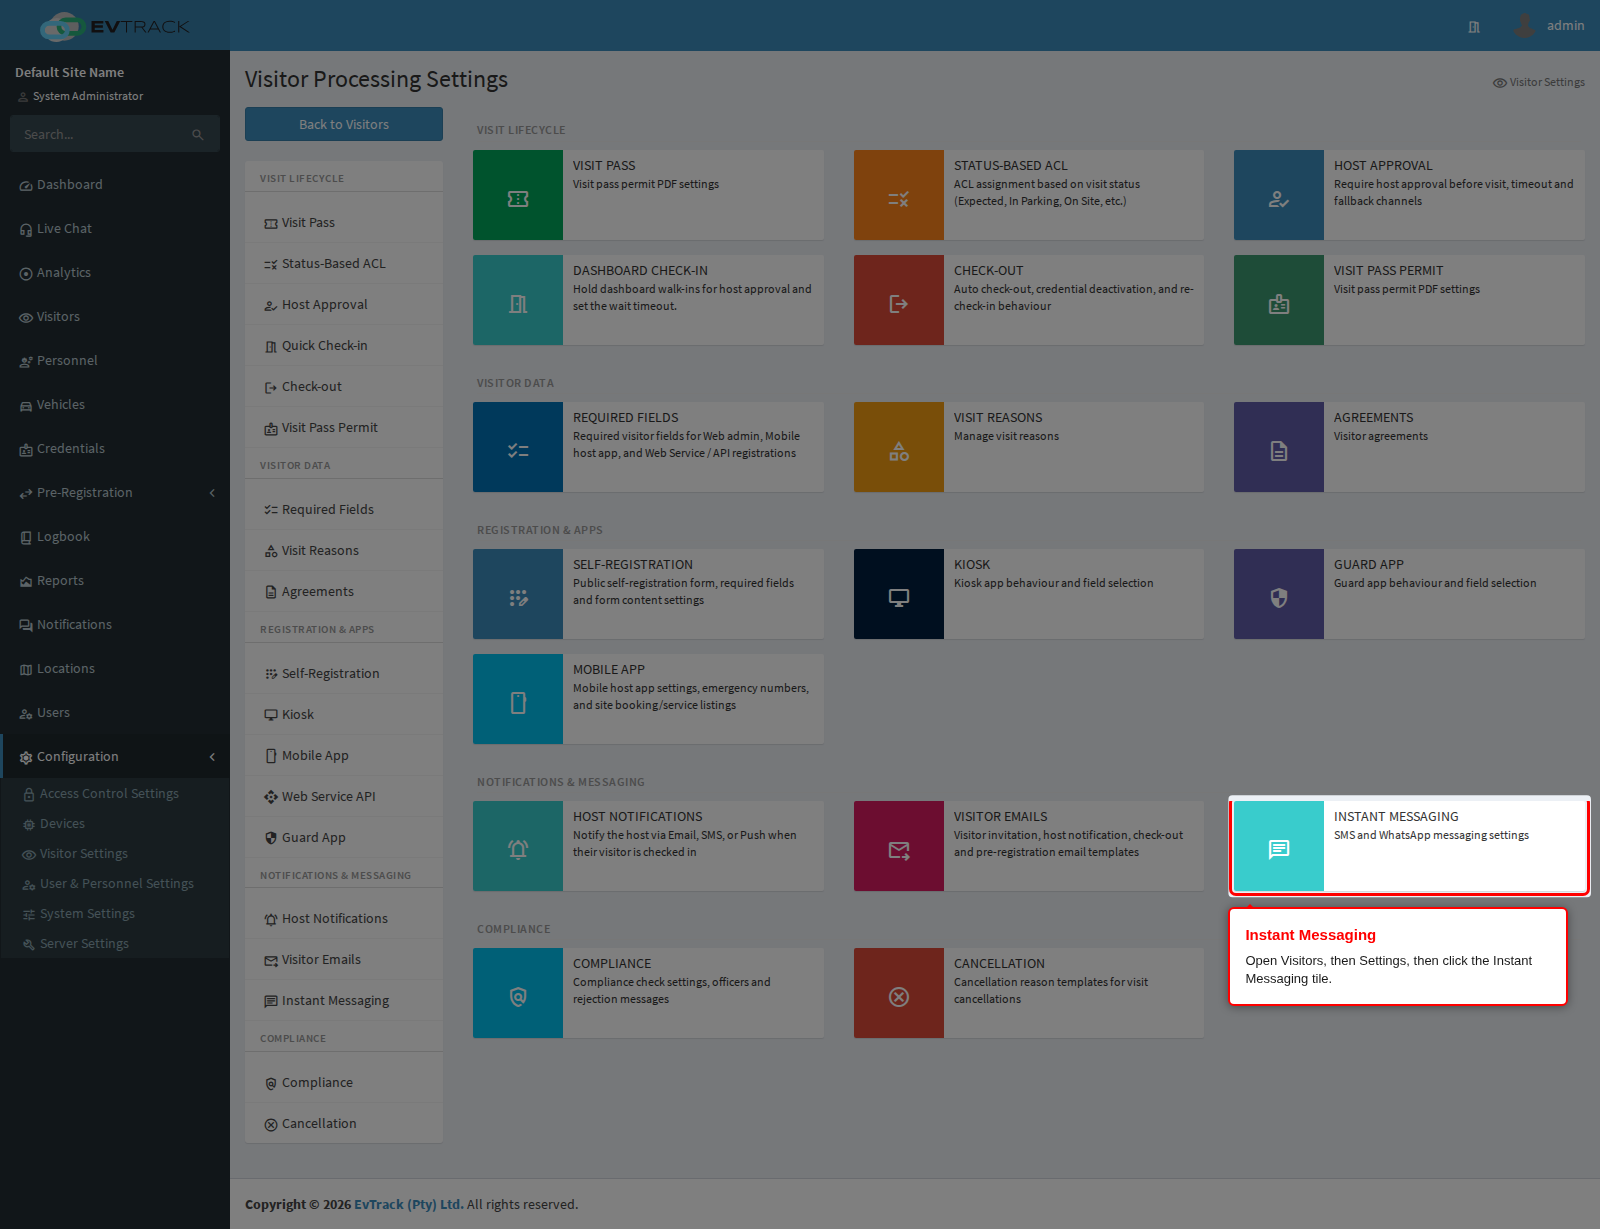
End state: the Invite page opens with the section menu on the left. That menu is the same on all four pages, so you can move between them from anywhere.
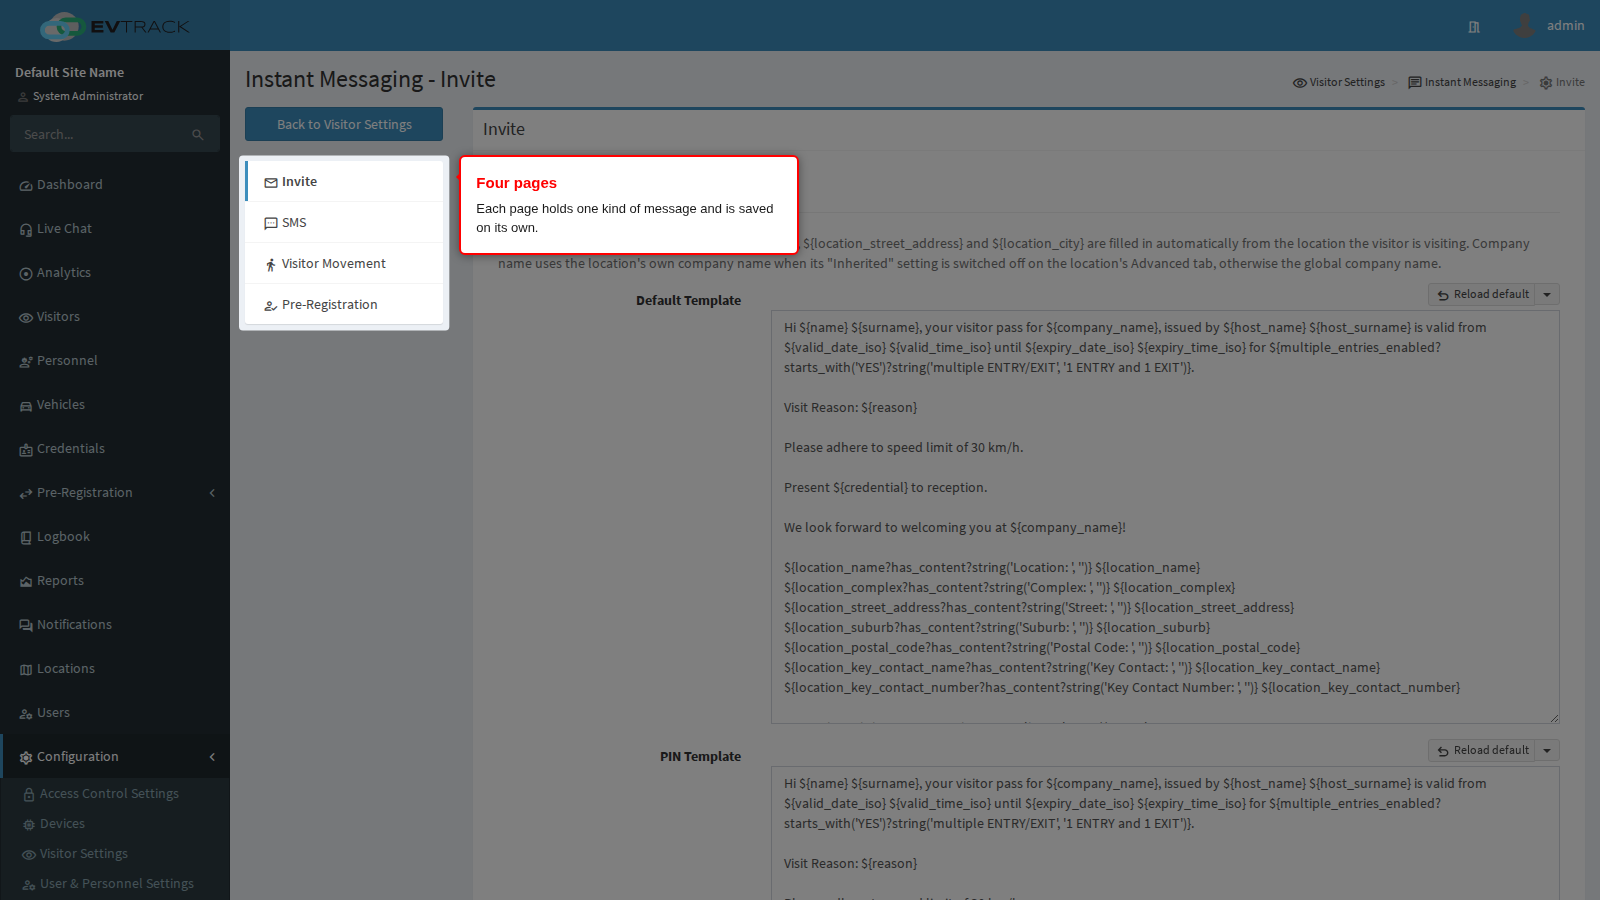
The four pages are:
| Page | What it writes | Sent when |
|---|---|---|
| Invite | Instant messages carrying a visitor’s credential | An invite is issued and delivered over the instant-messaging channel |
| SMS | Text-message versions of the same invitations, plus the length limit and the delivery schedule | An invite is issued and delivered by SMS |
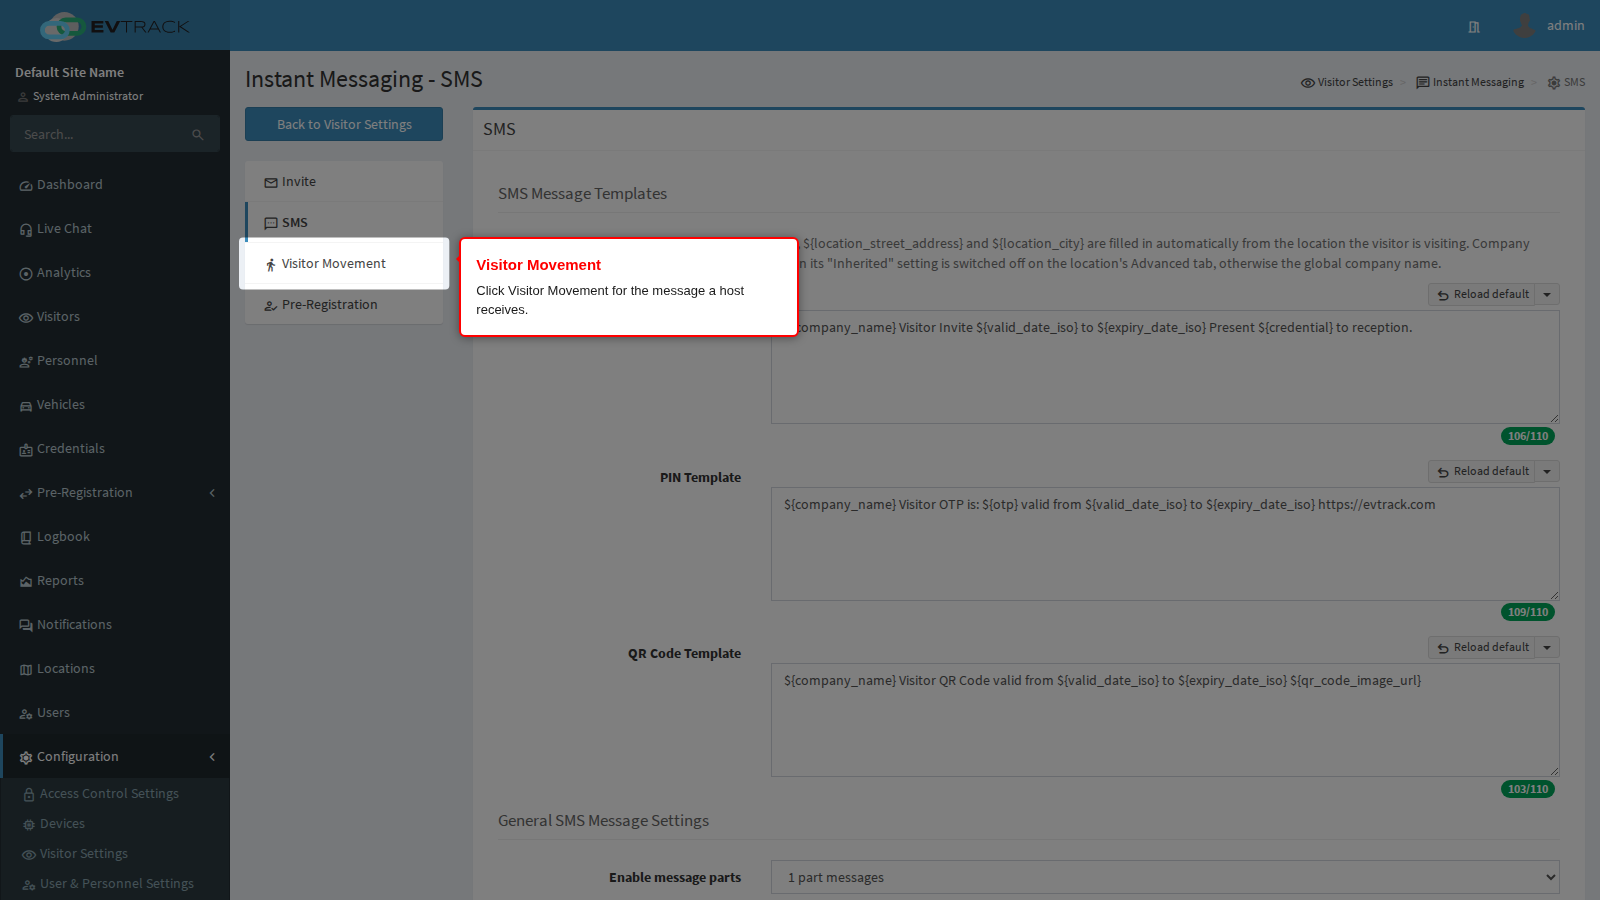
| Visitor Movement | The text message a host receives about their visitor | A visitor check-in or check-out, if host SMS is enabled |
| Pre-Registration | The text message asking a visitor to complete a registration form | An operator sends a pre-registration link |
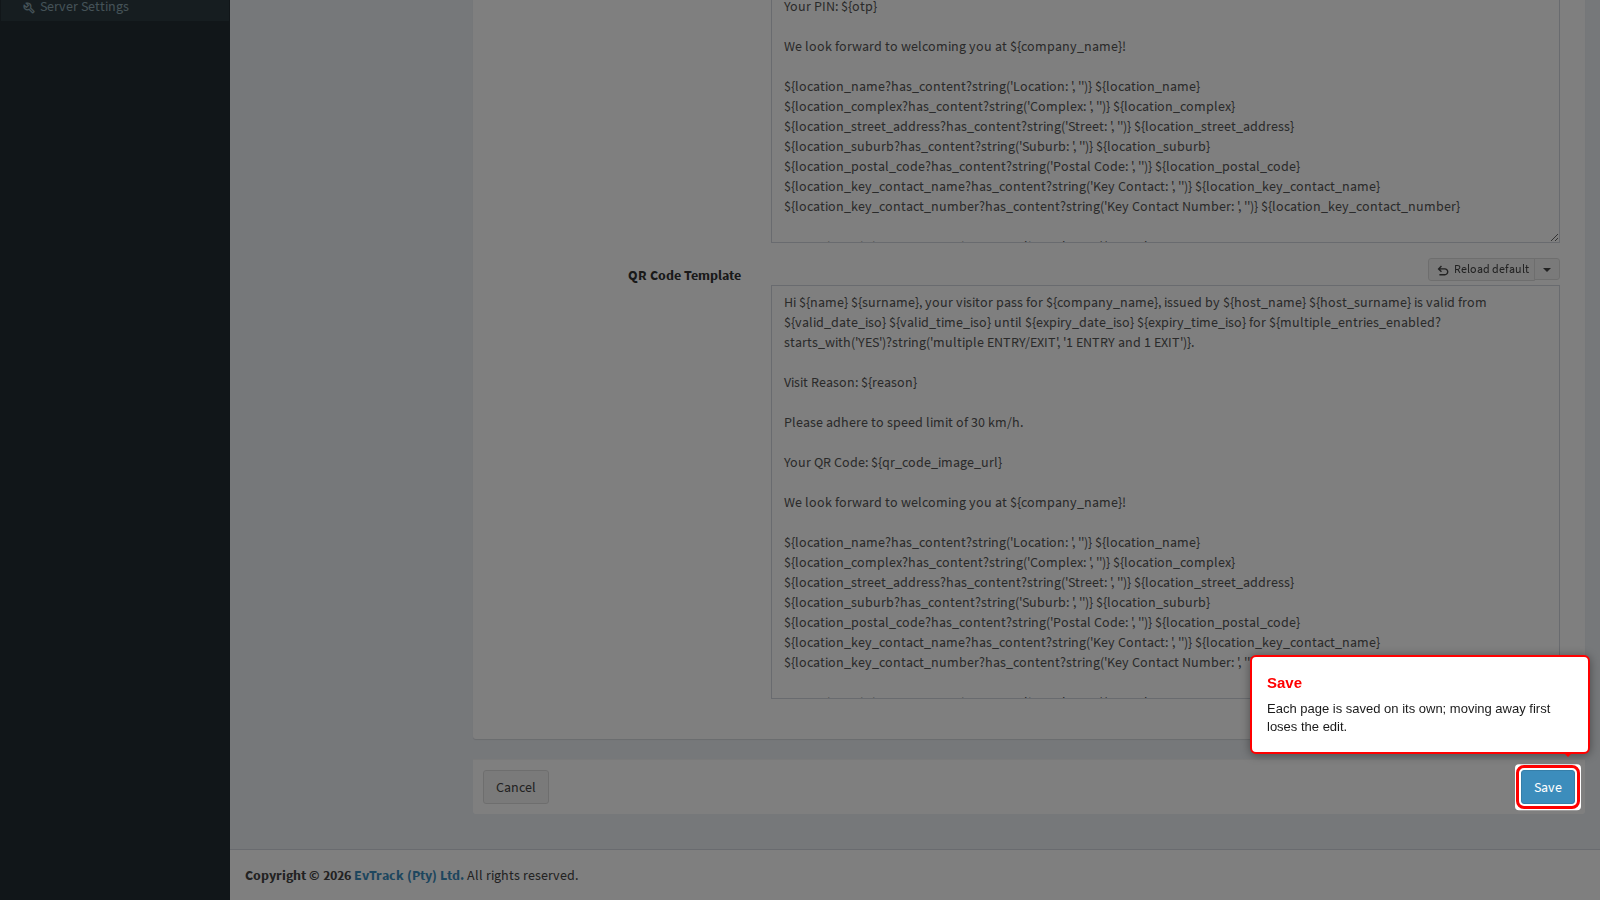
Each page is saved on its own. Editing a page and moving to the next one without clicking Save loses the edit.
Step 2: Write the instant-message invitations
The Invite page holds the three instant-message templates. Which one is used is decided by the credential the invite carries, not by anything you choose here.
Default Template is used when the invite carries neither a PIN nor a QR code - a card or face credential, for example, where the message is telling the visitor when and where to come rather than delivering a code.
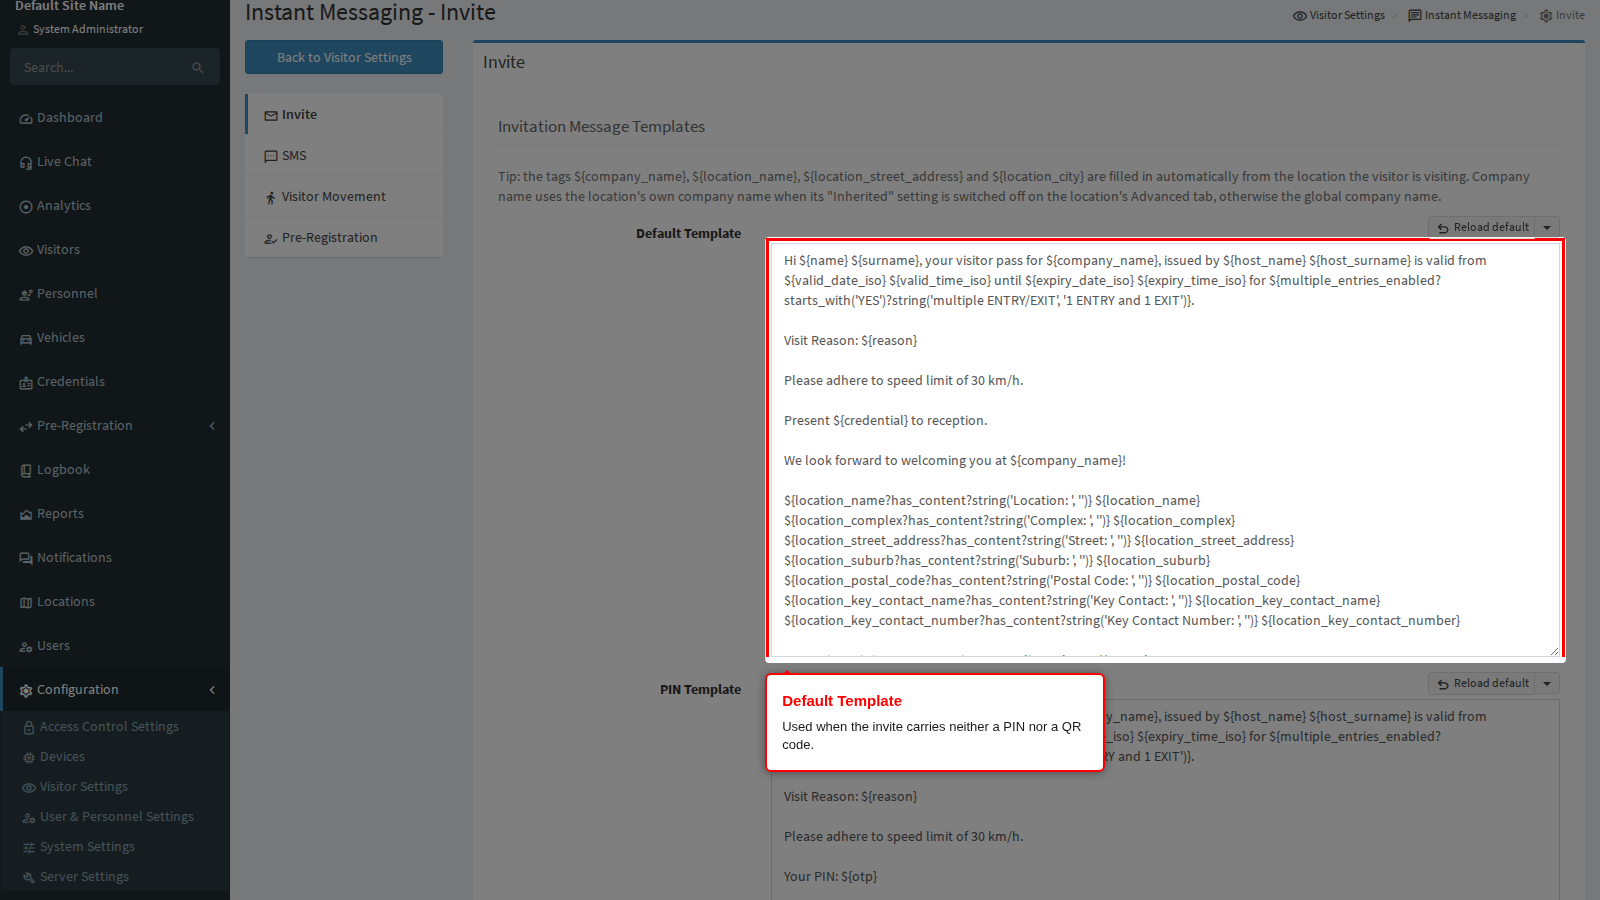
PIN Template is used when the invite delivers an access PIN. Keep the PIN placeholder in the text: it is replaced with the generated code when the message is sent, and a template without it sends the visitor a message with no code in it.
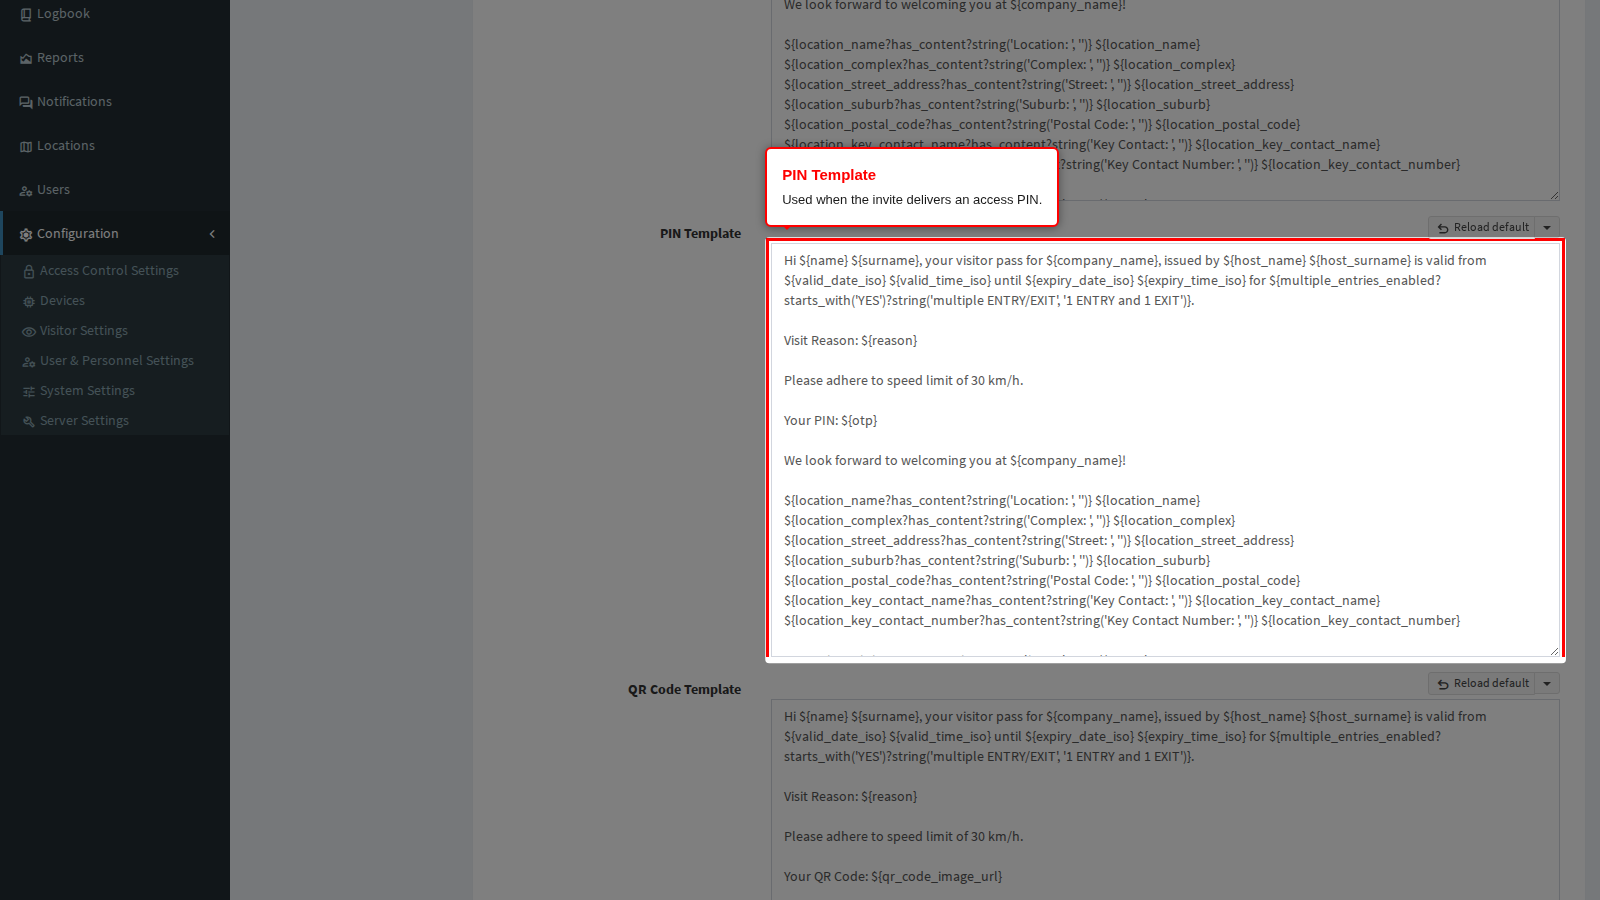
QR Code Template is used when the invite delivers a QR code. Write the wording around the link so the visitor knows to open it and what to do with the code at the checkpoint.
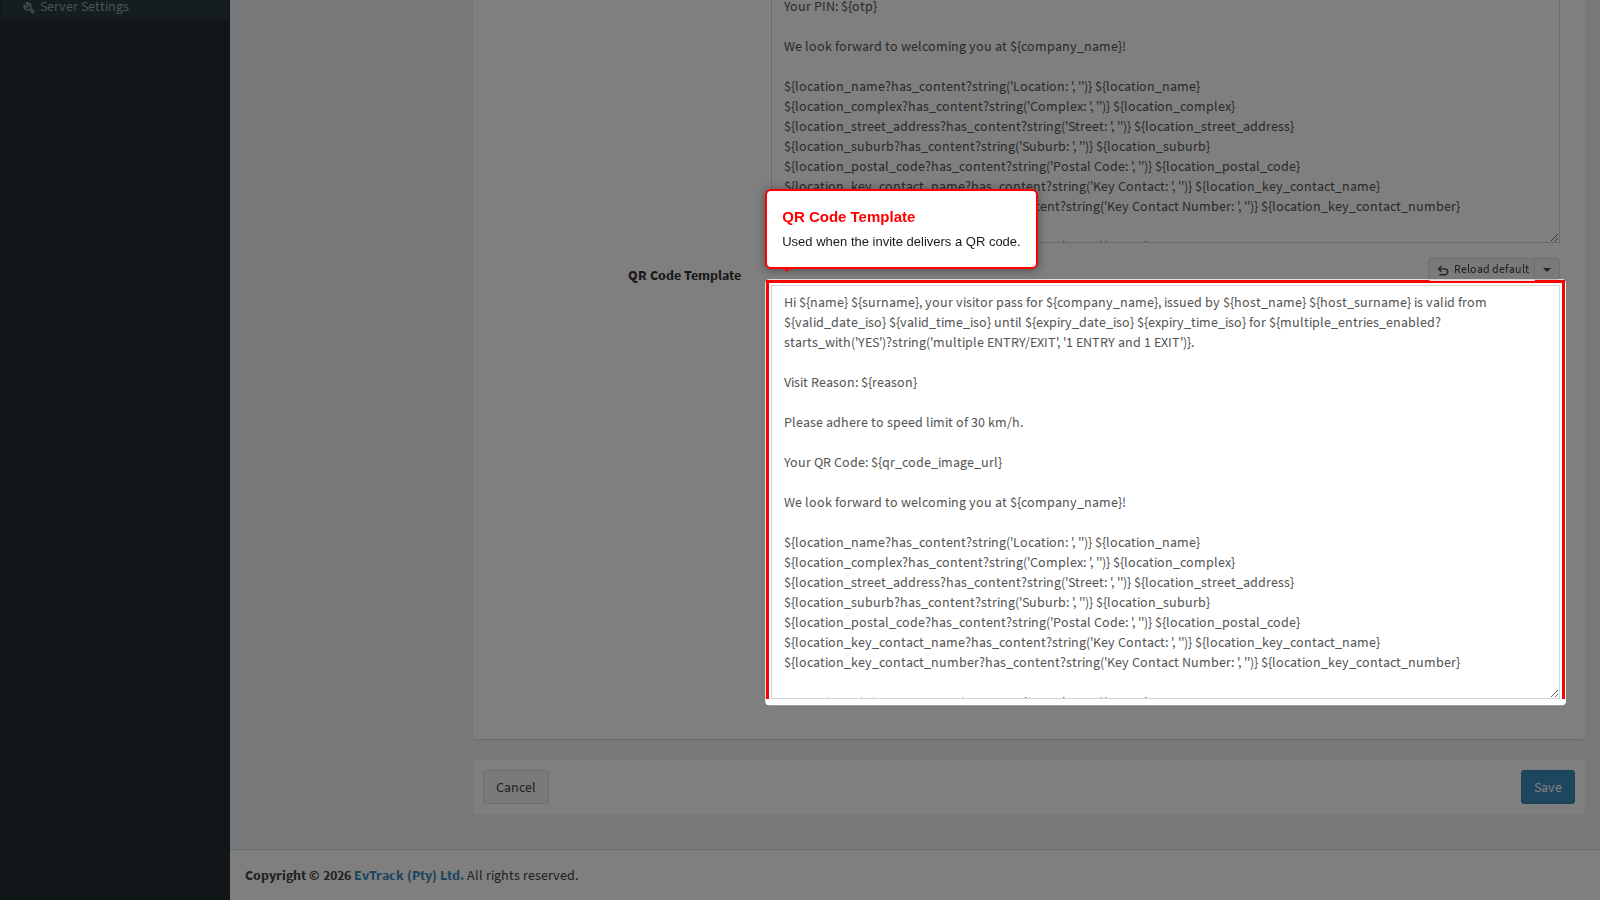
A helpful piece of behaviour worth knowing. If a visit carries a PIN as well as a QR code and the template you are using has no PIN placeholder in it, the QR link in the message is automatically extended to read as the link followed by “or PIN:” and the code. Nobody is ever sent a QR-only message when they also have a PIN to fall back on.
Instant messages are not text messages, and the difference shows: they are not cut to a character limit and your line breaks are kept, so a message can be laid out over several lines. Runs of more than one blank line are collapsed to one when the message is sent.
Step 3: Restore the supplied wording, in any language
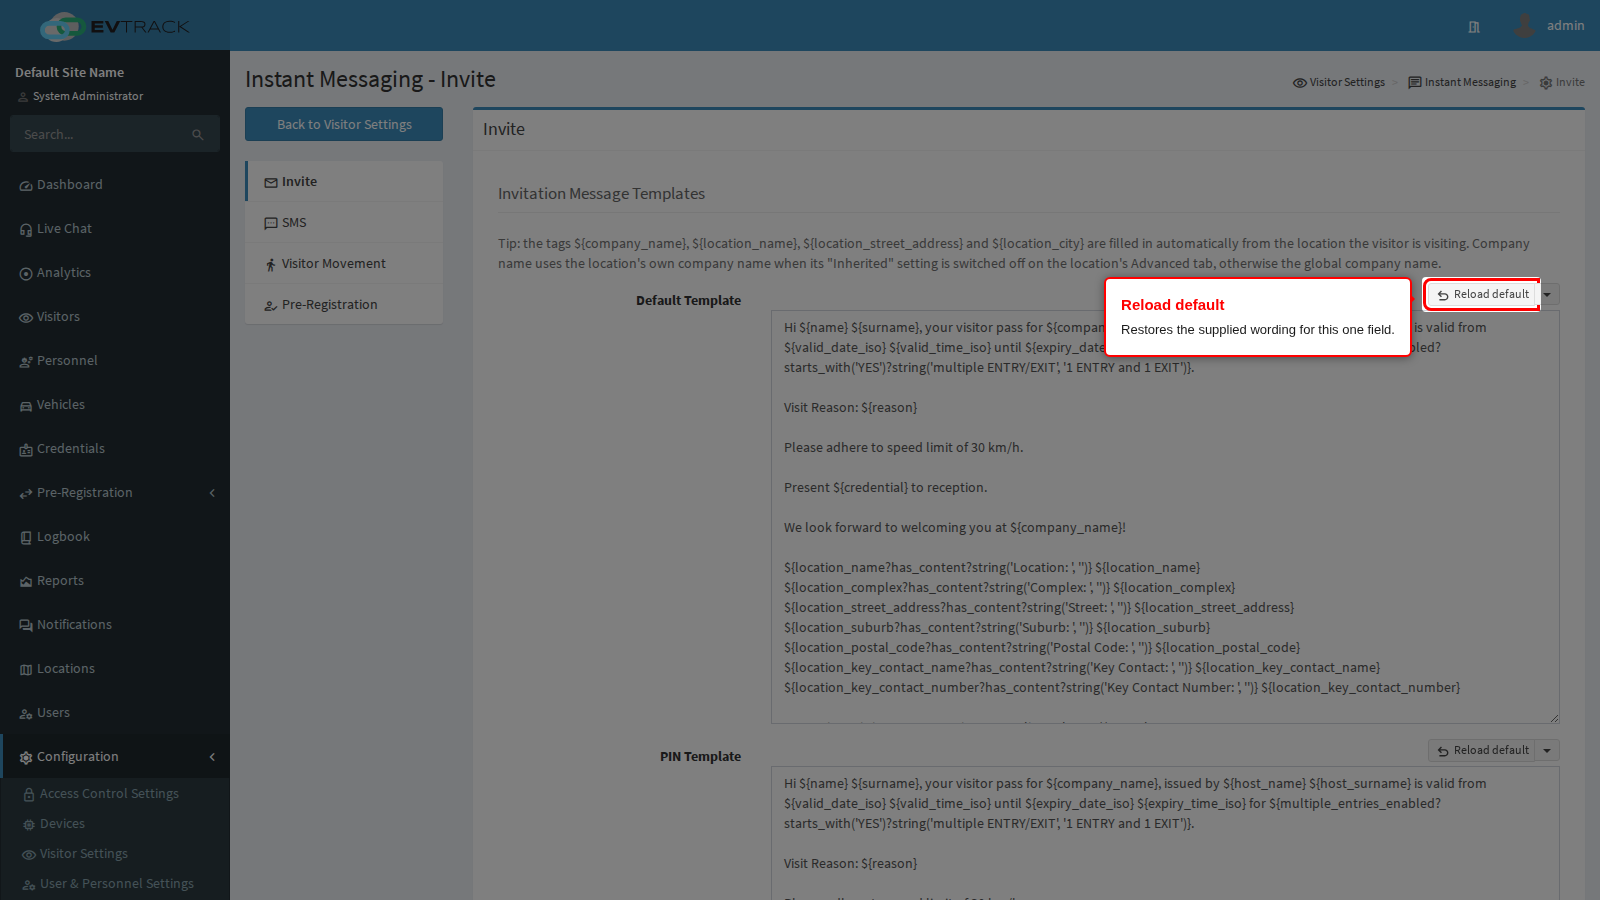
Every template field has a Reload default button that replaces that one field with the wording supplied with the product. Use it when an edit has gone wrong and you want a clean starting point without disturbing the other templates. You are asked to confirm first, because unsaved edits in that field are lost.
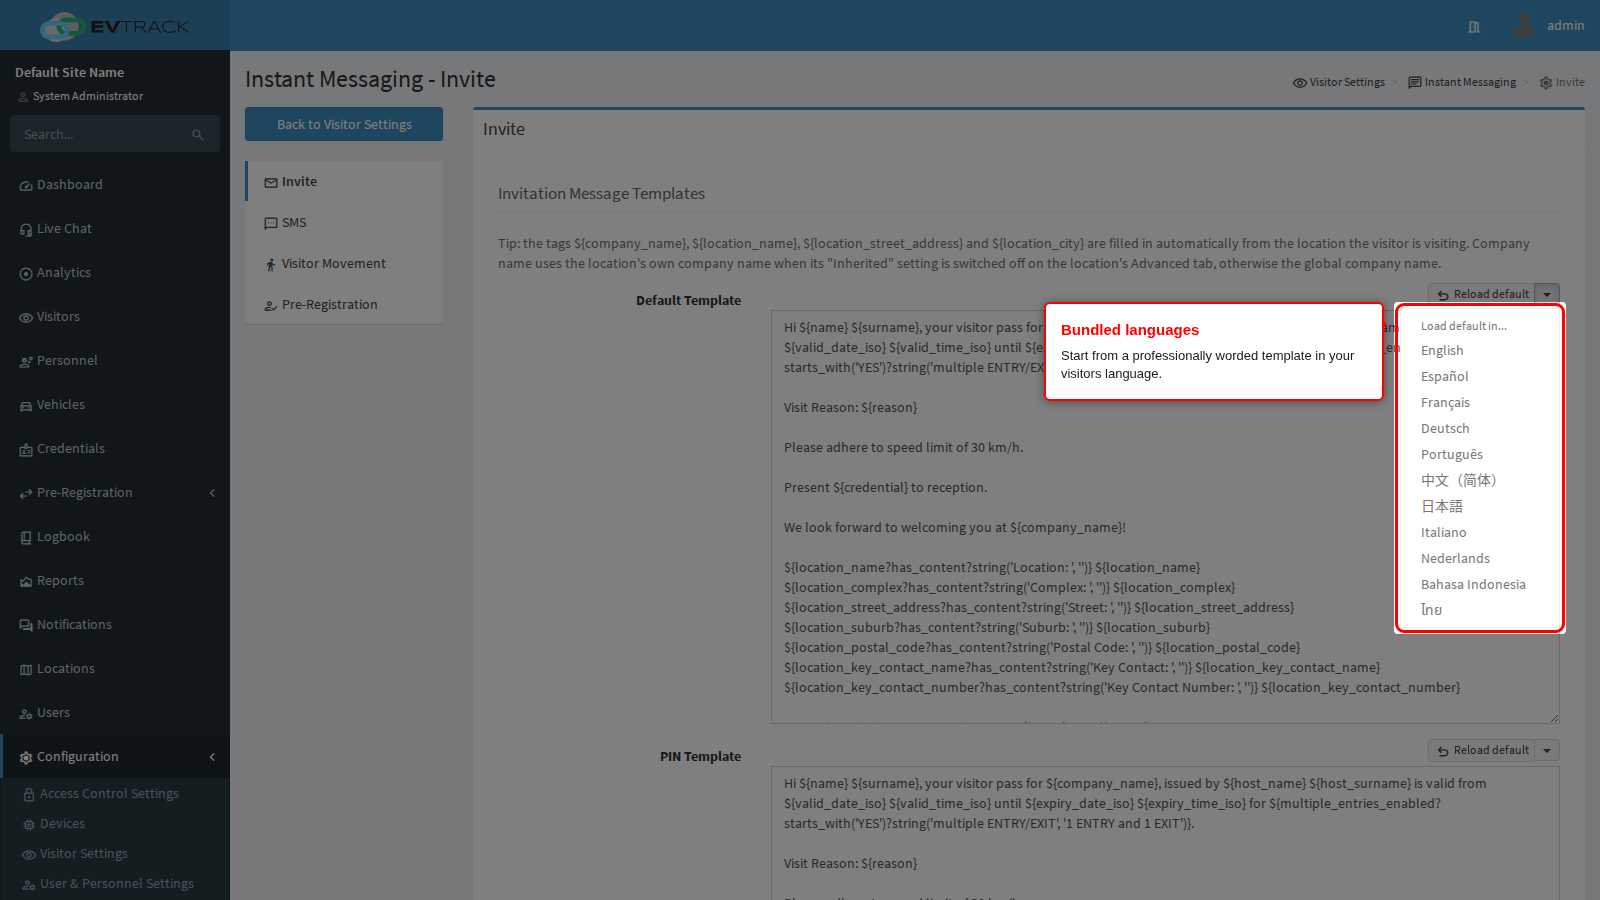
The arrow next to the button opens a language list. The supplied templates are bundled in several languages, so a site can start from a properly worded message in the language its visitors read instead of translating from English. Choose a language and only that field is replaced.
Nothing is stored until you click Save, so loading the wrong default is still undone by clicking Cancel.
End state: a green confirmation appears at the top of the page.
Two rules the page enforces when you save. A template may not be left empty. And every placeholder in it must be one the system recognises: if you invent or mistype one, the field is rejected with a merge-tag error and nothing is saved until you fix it. That is a feature - it stops a typo shipping to every visitor.
Step 4: Write the SMS invitations
Click SMS in the page menu.
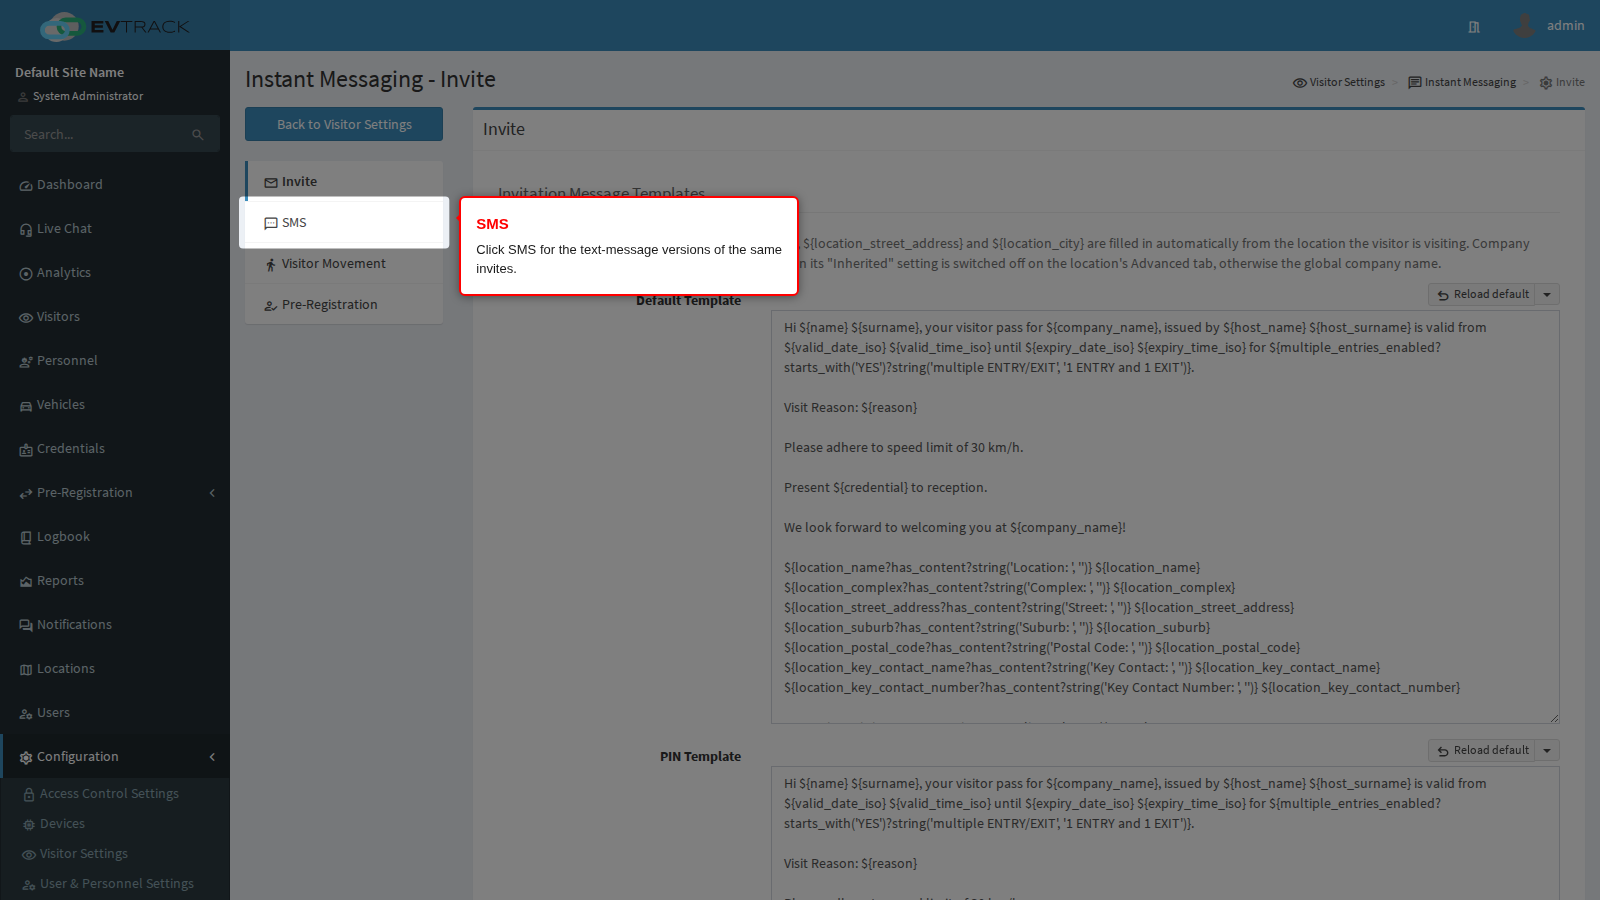
The three templates match the three on the Invite page and are chosen the same way, but this page is for text messages, and text messages are unforgiving.
Default Template is the text-message invite when there is no PIN and no QR code.
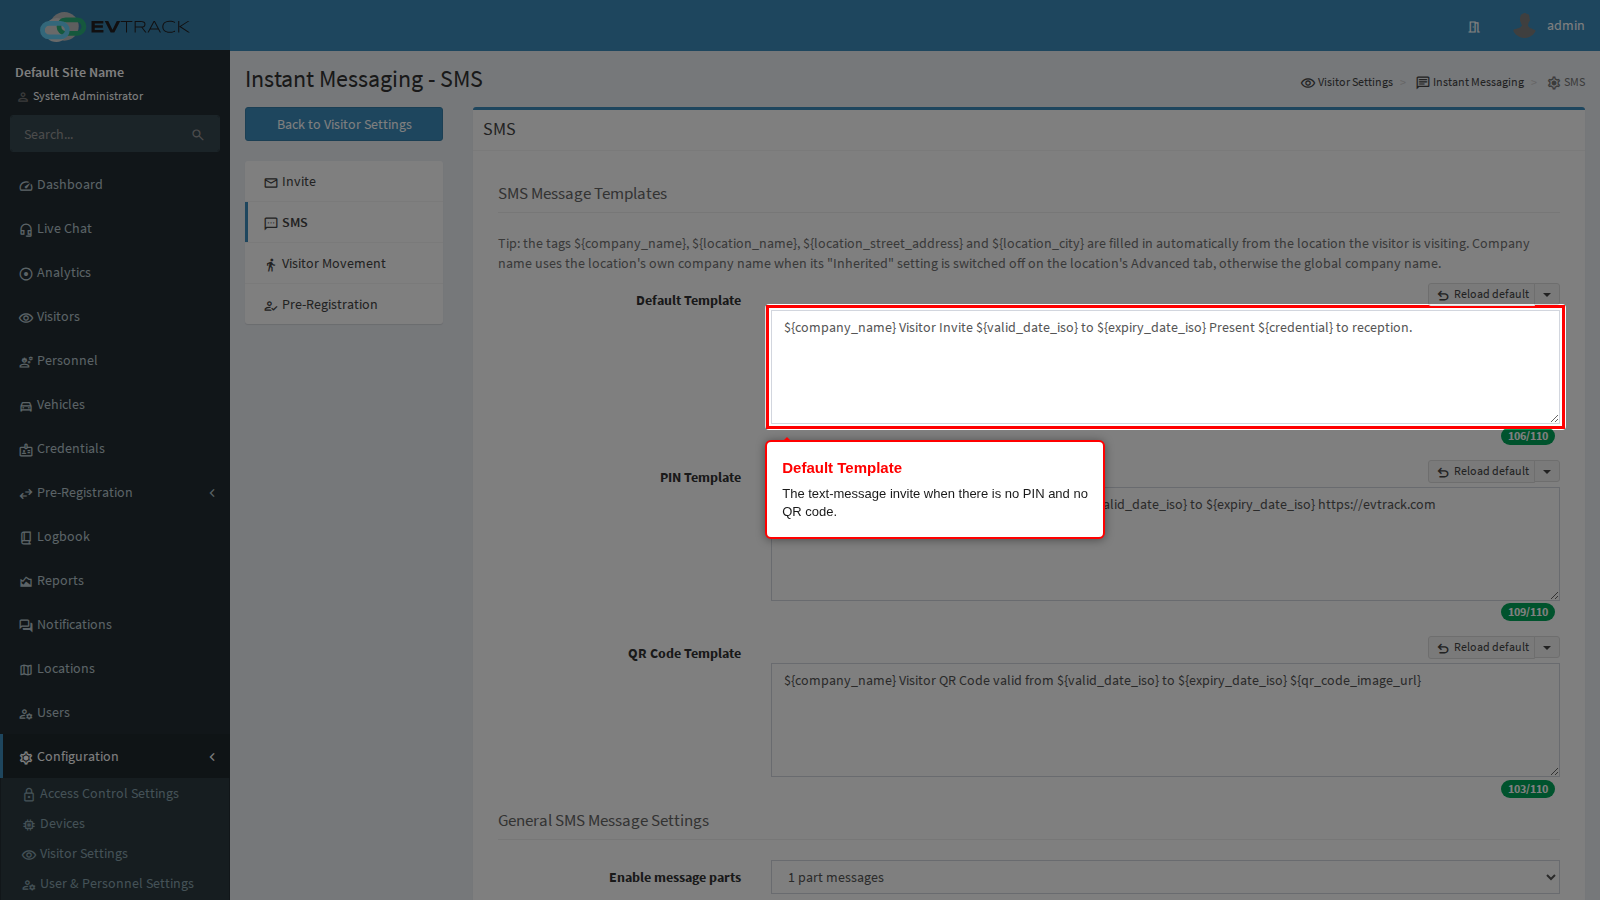
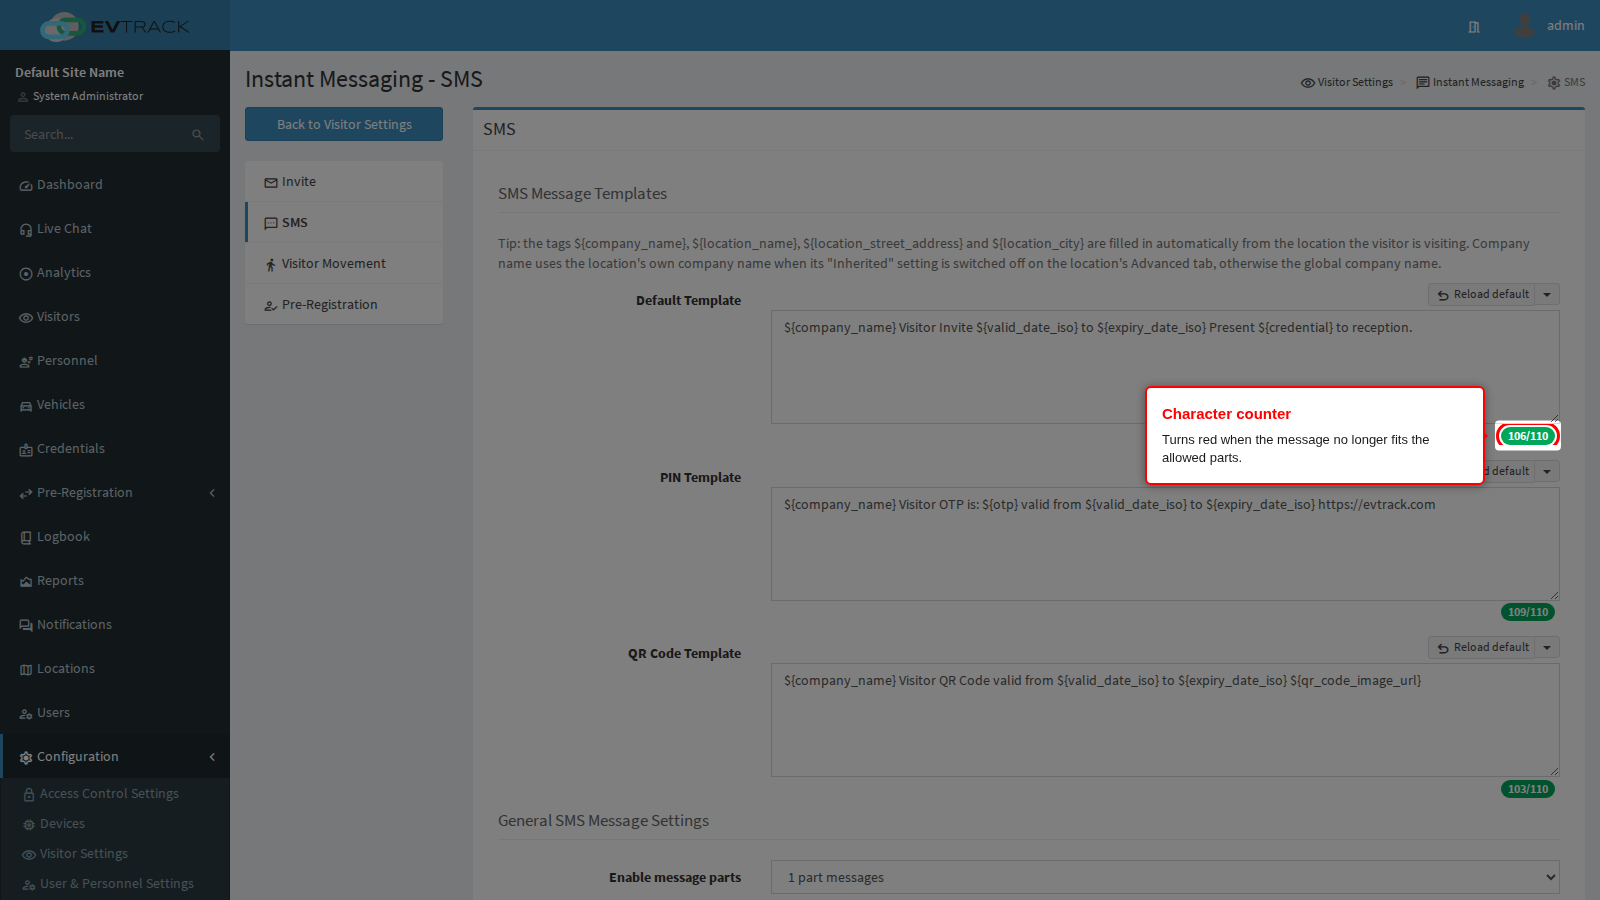
Under each field is a live character counter showing how much of the allowance the current wording uses. It counts what you typed, not what will be sent: placeholders expand to real names and links, which are usually longer than the placeholder. Leave headroom.
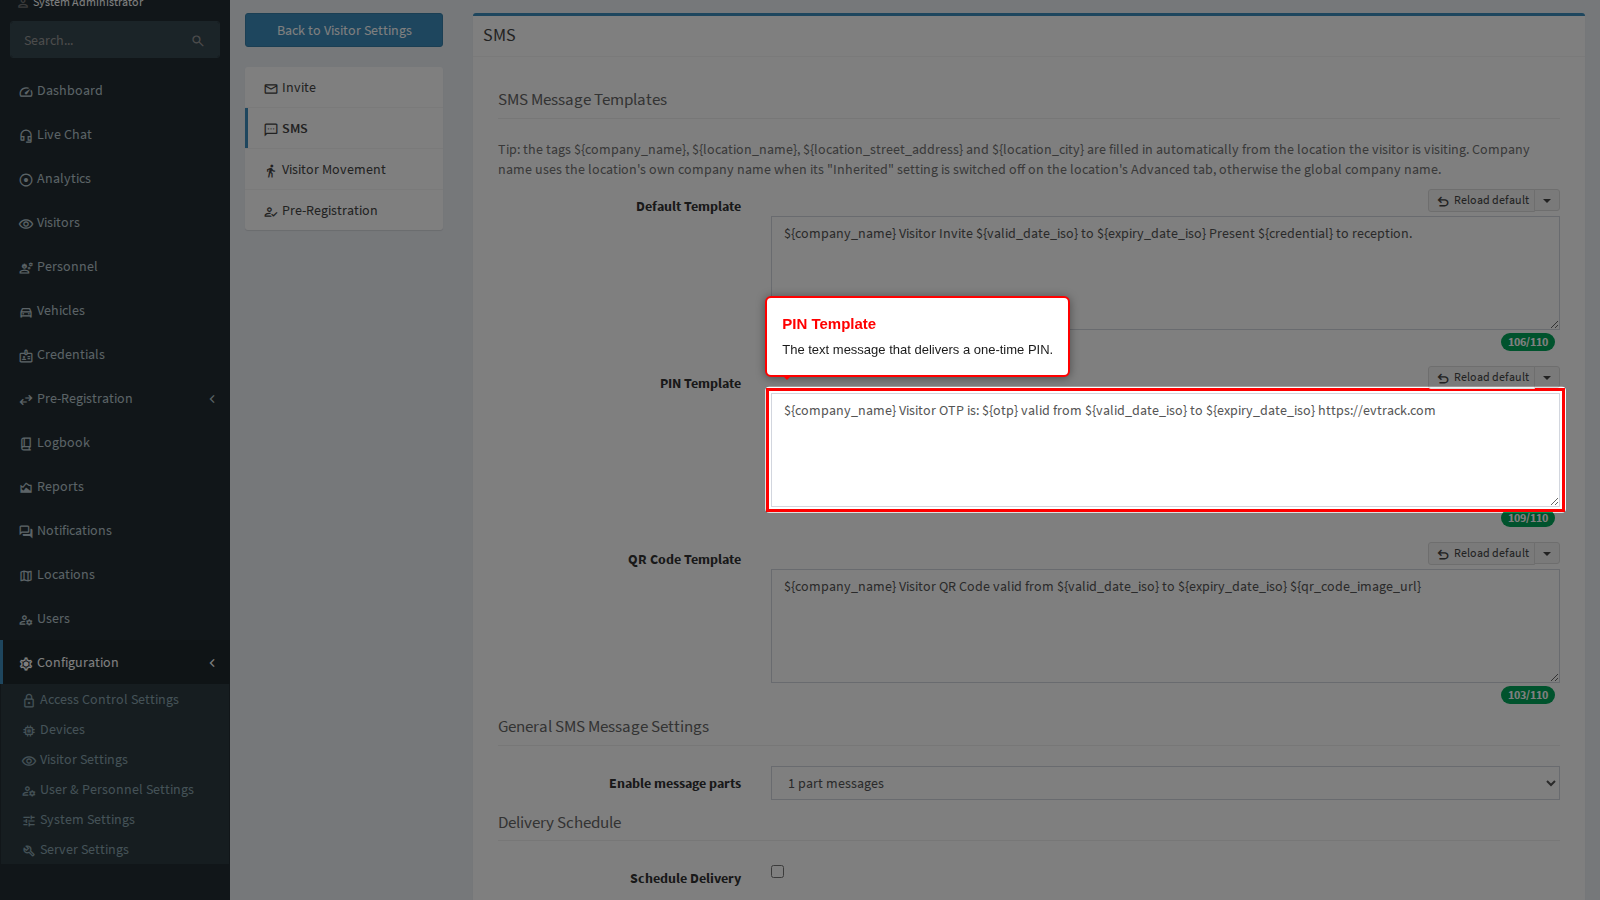
PIN Template delivers a one-time PIN.
QR Code Template delivers a QR code link.
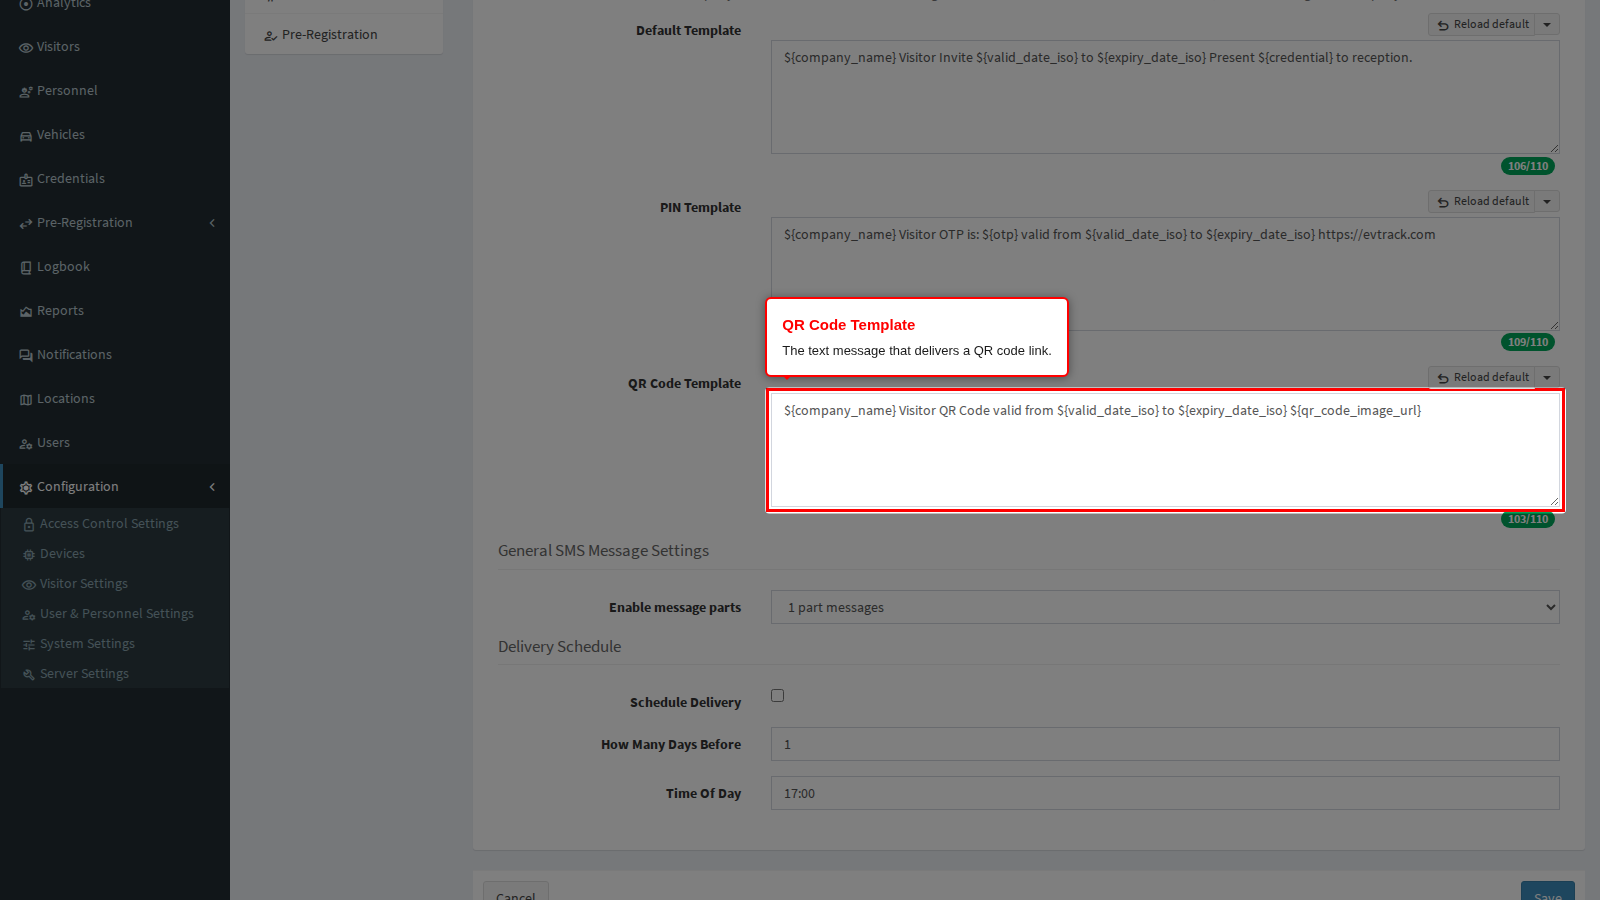
Enable message parts sets how long a text message is allowed to be. A single text message holds a limited number of characters; longer messages are split into several parts and reassembled on the phone, and your gateway bills you for each part. The choices are one, two, three or four parts, and the counter above each field follows whatever you pick here.
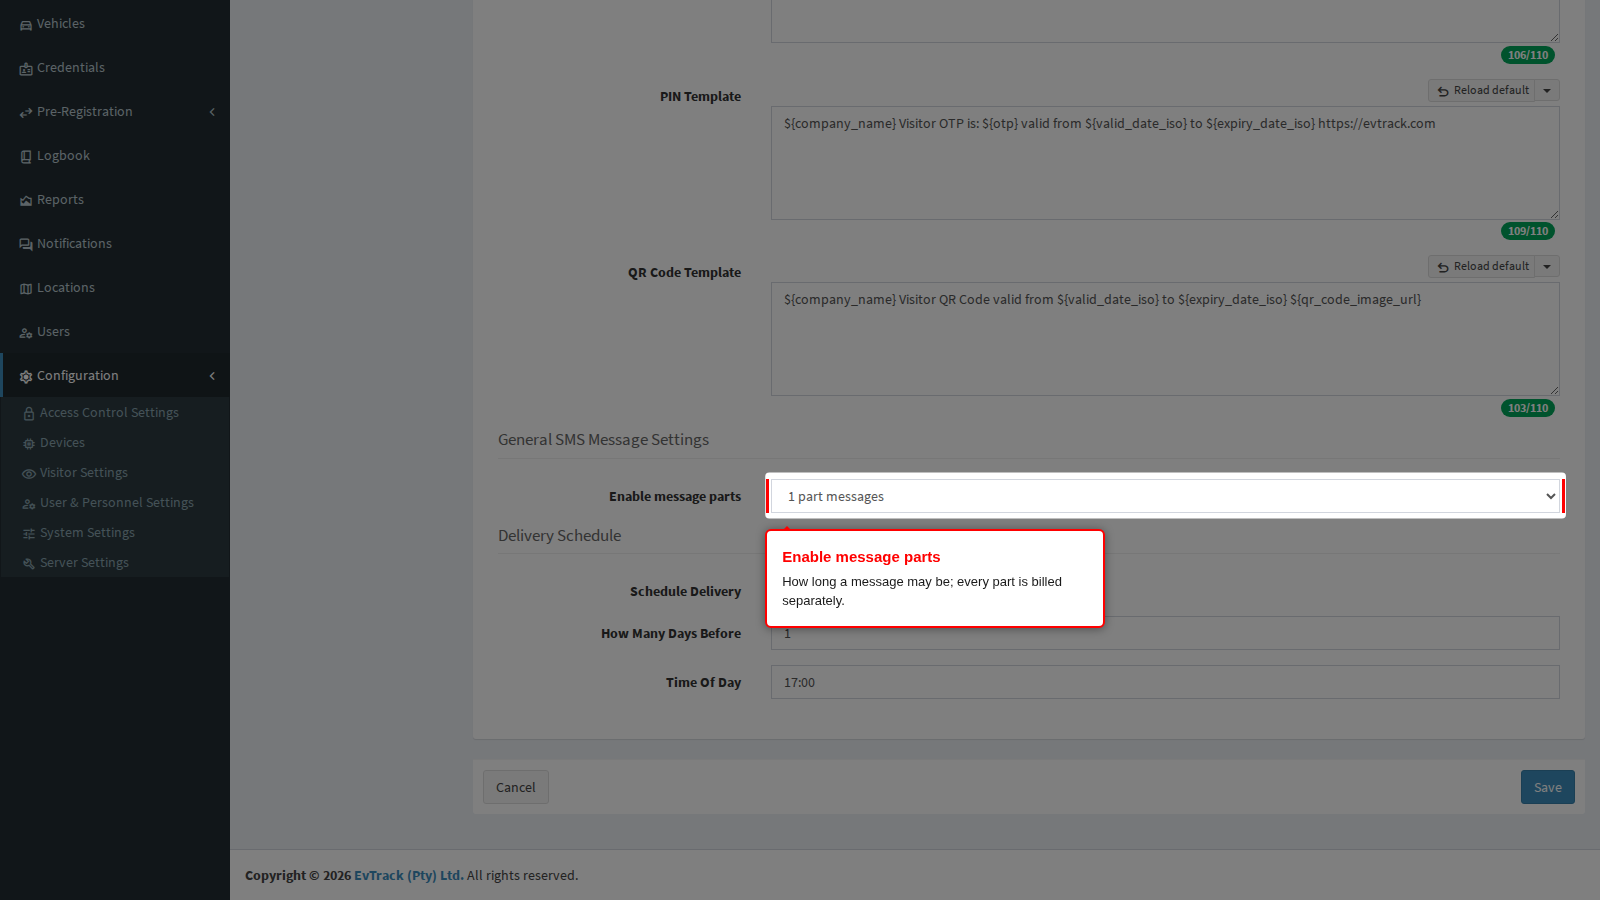
End state: three templates that fit the number of parts you are willing to pay for.
What happens to your text on the way out. A text message is plain, single-line and ASCII, and the system enforces that when it sends:
- Line breaks are removed. A template laid out over several lines arrives as one run-on line. Punctuate rather than using new lines.
- Accents and non-Latin characters are stripped. Accented letters are reduced to their plain form and anything outside the basic Latin set is dropped altogether. Write SMS templates in plain characters, and keep the decorated wording for email and instant messages.
- Anything past the limit is cut off. The message is truncated to the number of parts you allowed. A link at the end of a too-long message is the thing that gets lost, so put important content first.
Step 5: Decide when invitations are sent
By default an invitation goes out the moment it is created. Where visits are booked weeks ahead that is unhelpful: the visitor gets a code long before they need it and has to hunt for the message on the day. The delivery schedule fixes this.
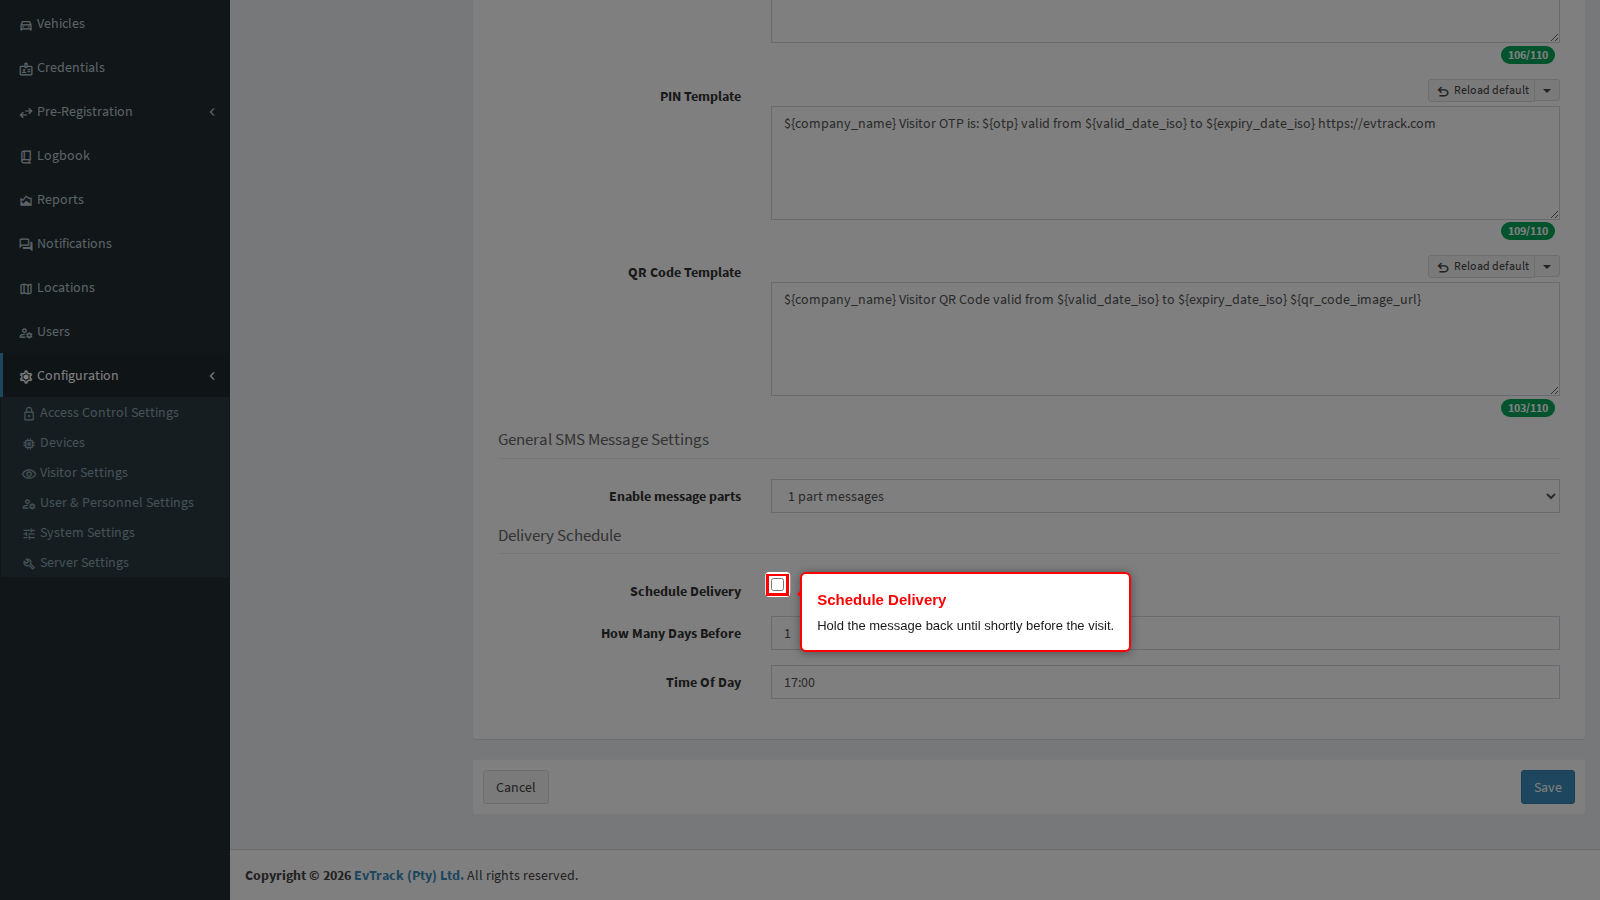
Schedule Delivery, under the Delivery Schedule heading, turns scheduling on. Despite the name it applies to every invitation message on this channel, not only PIN ones, and it applies to instant messages as well as text messages.
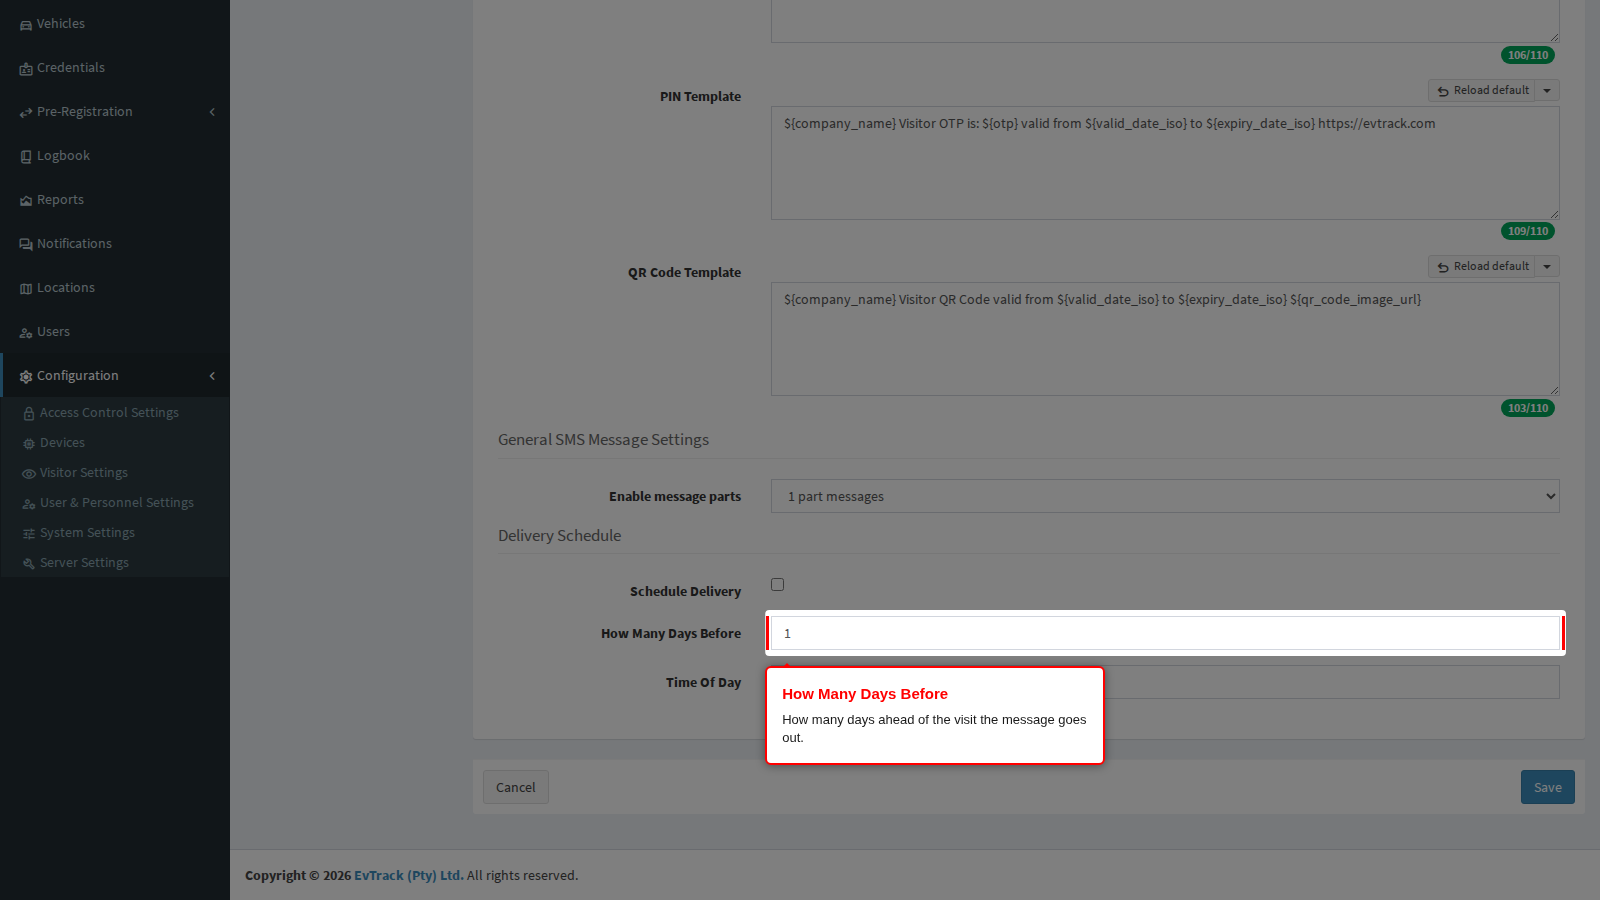
How Many Days Before is how many days ahead of the visit the message is sent. It must be a whole number greater than zero - the page rejects a zero.
Time Of Day is the time it goes out on that day, read in the system time zone (Configuration > Settings > Region), not the visitor’s.
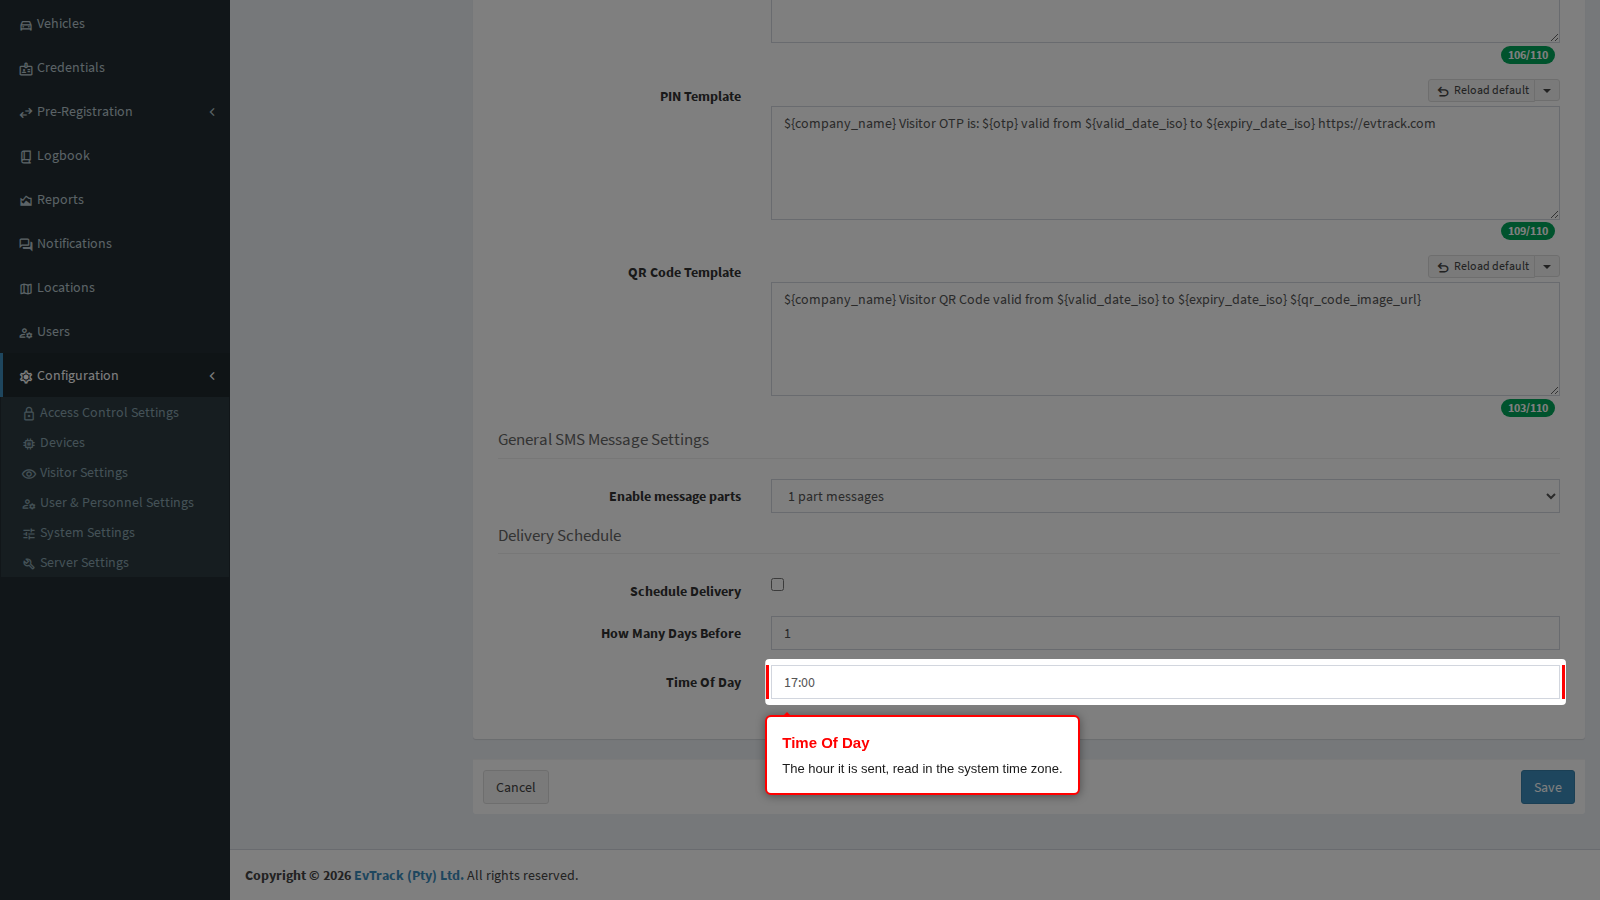
The delivery moment is worked out from the start of the visit: take the visit’s start date, set the clock to the time of day you chose, then count back the number of days. A visit starting on the 20th with a schedule of 1 day before at 08:00 sends its invitation at 08:00 on the 19th. If that moment has already passed when the invite is created - somebody books a visit for tomorrow under a seven-day schedule - the message is sent straight away rather than being lost.
Leave the time of day empty and scheduling does nothing: the message is sent immediately as before.
End state: visitors receive their code shortly before they need it, and last-minute invitations still get theirs at once.
Step 6: Write the movement message for hosts
Click Visitor Movement in the page menu.
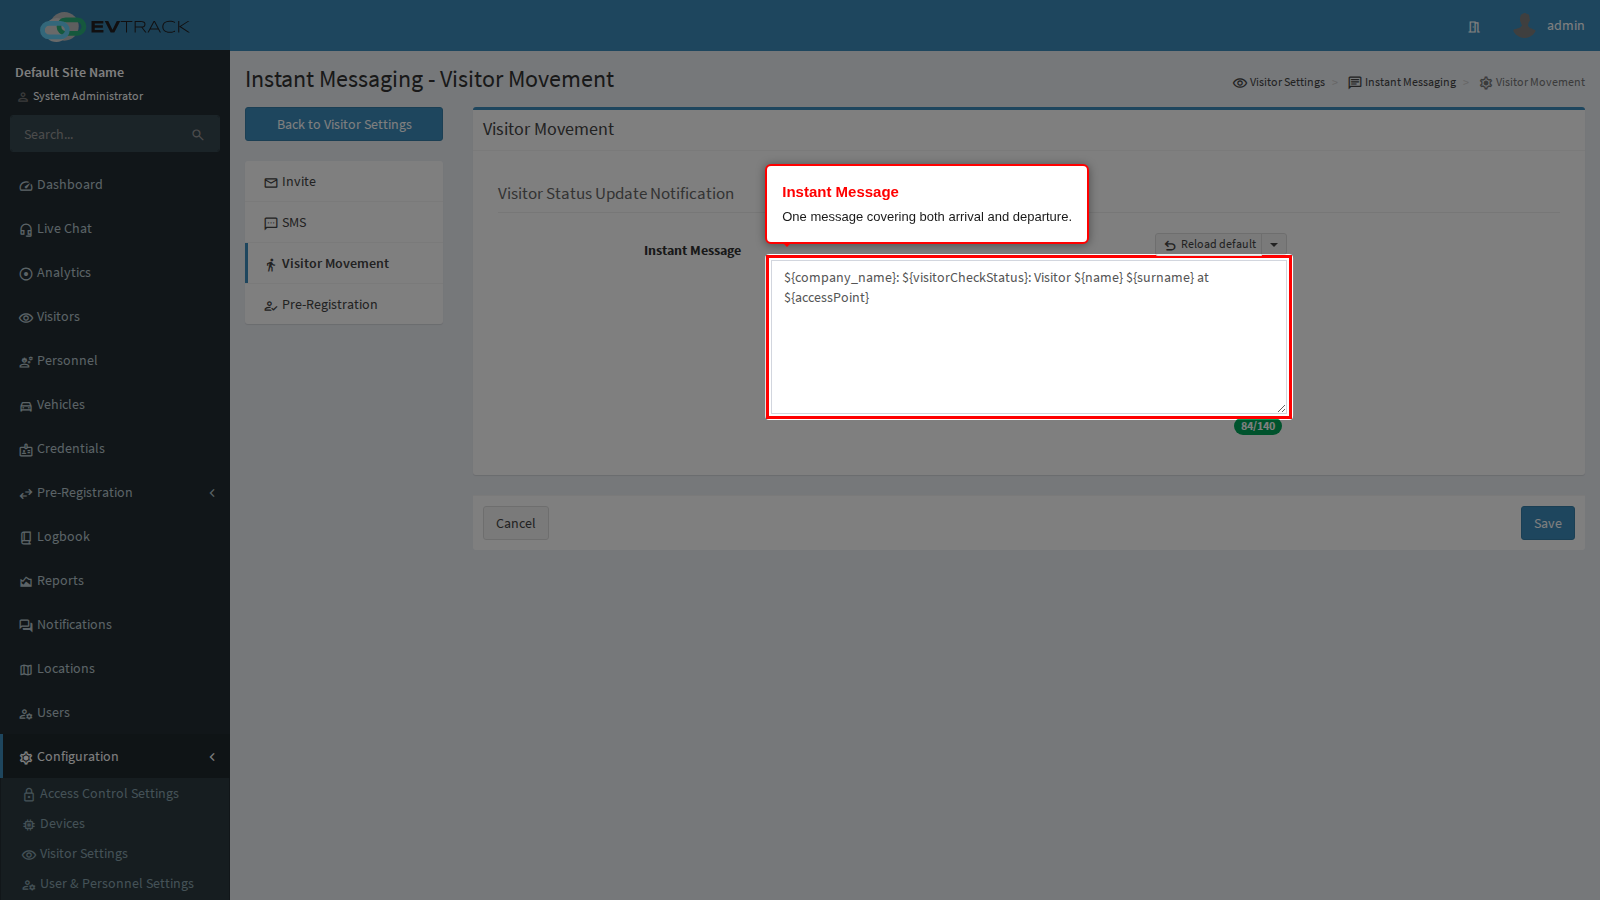
Instant Message, in the Visitor Status Update Notification panel, is the short message a host receives when their visitor checks in or out; it is delivered by SMS. It is one template covering both directions: placeholders fill in the access point, the direction, and an action word that renders as “arrived” or “departed”, so a single sentence reads correctly either way.
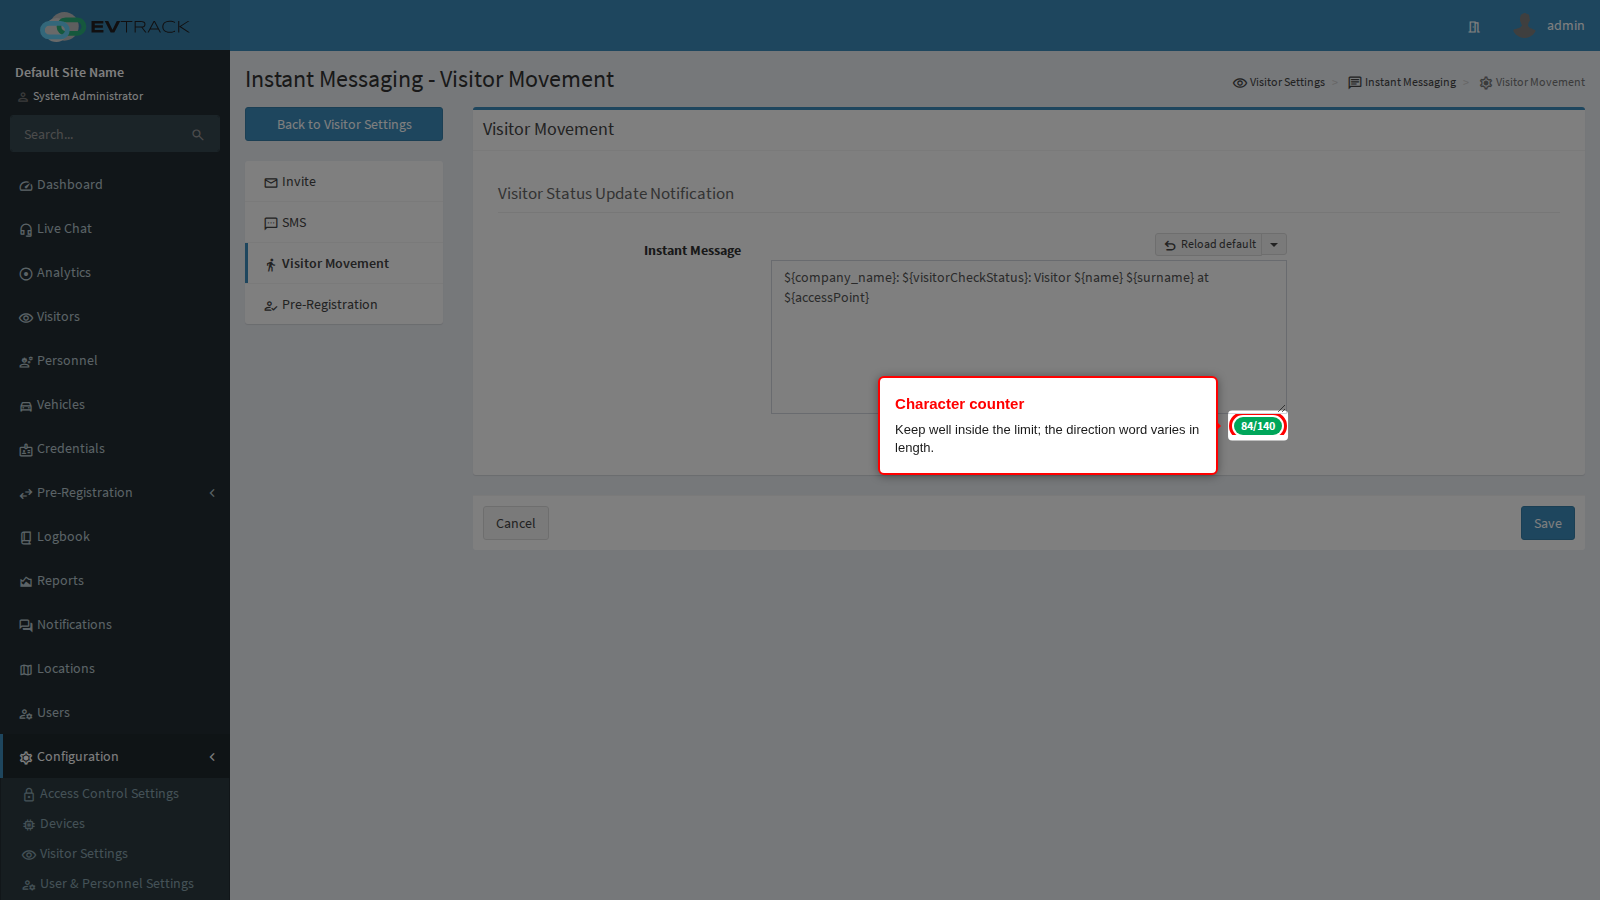
The counter applies here too. Leave a little more headroom than usual, because the direction word and the door name both vary in length.
Writing this template does not switch the message on. Whether hosts get an SMS at all, and whether it is sent on arrival, on departure or both, is decided on Host Notifications.
Step 7: Write the pre-registration invitation
Click Pre-Registration in the page menu.
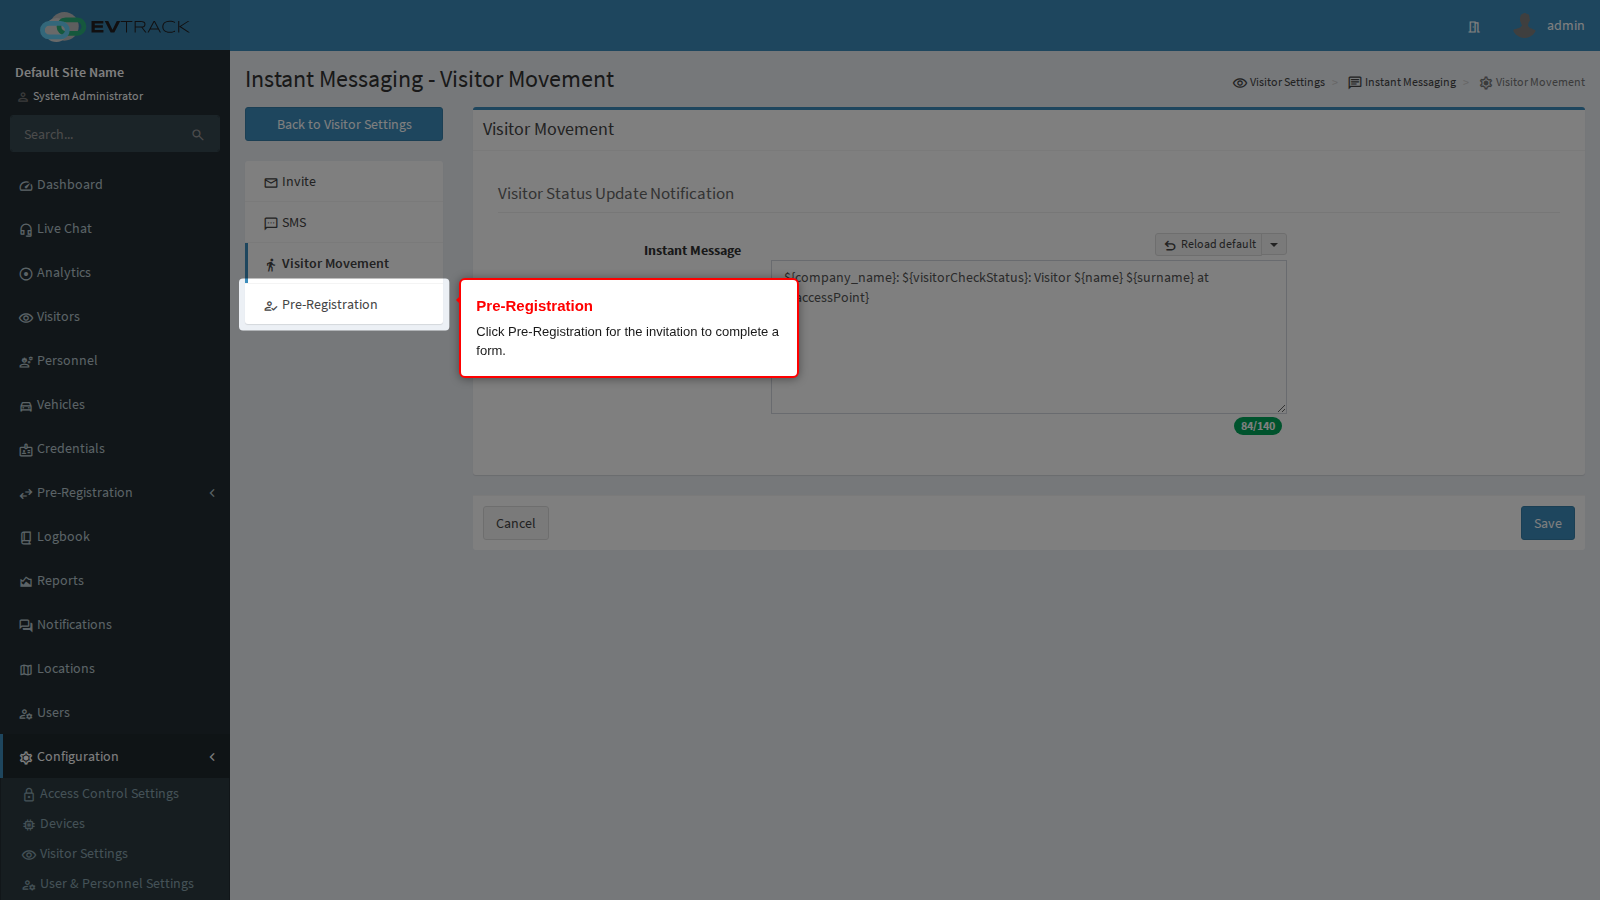
SMS Pre-Registration Body is the text message an operator sends to ask a visitor to complete their own details before arriving. It is the message that carries the registration link.
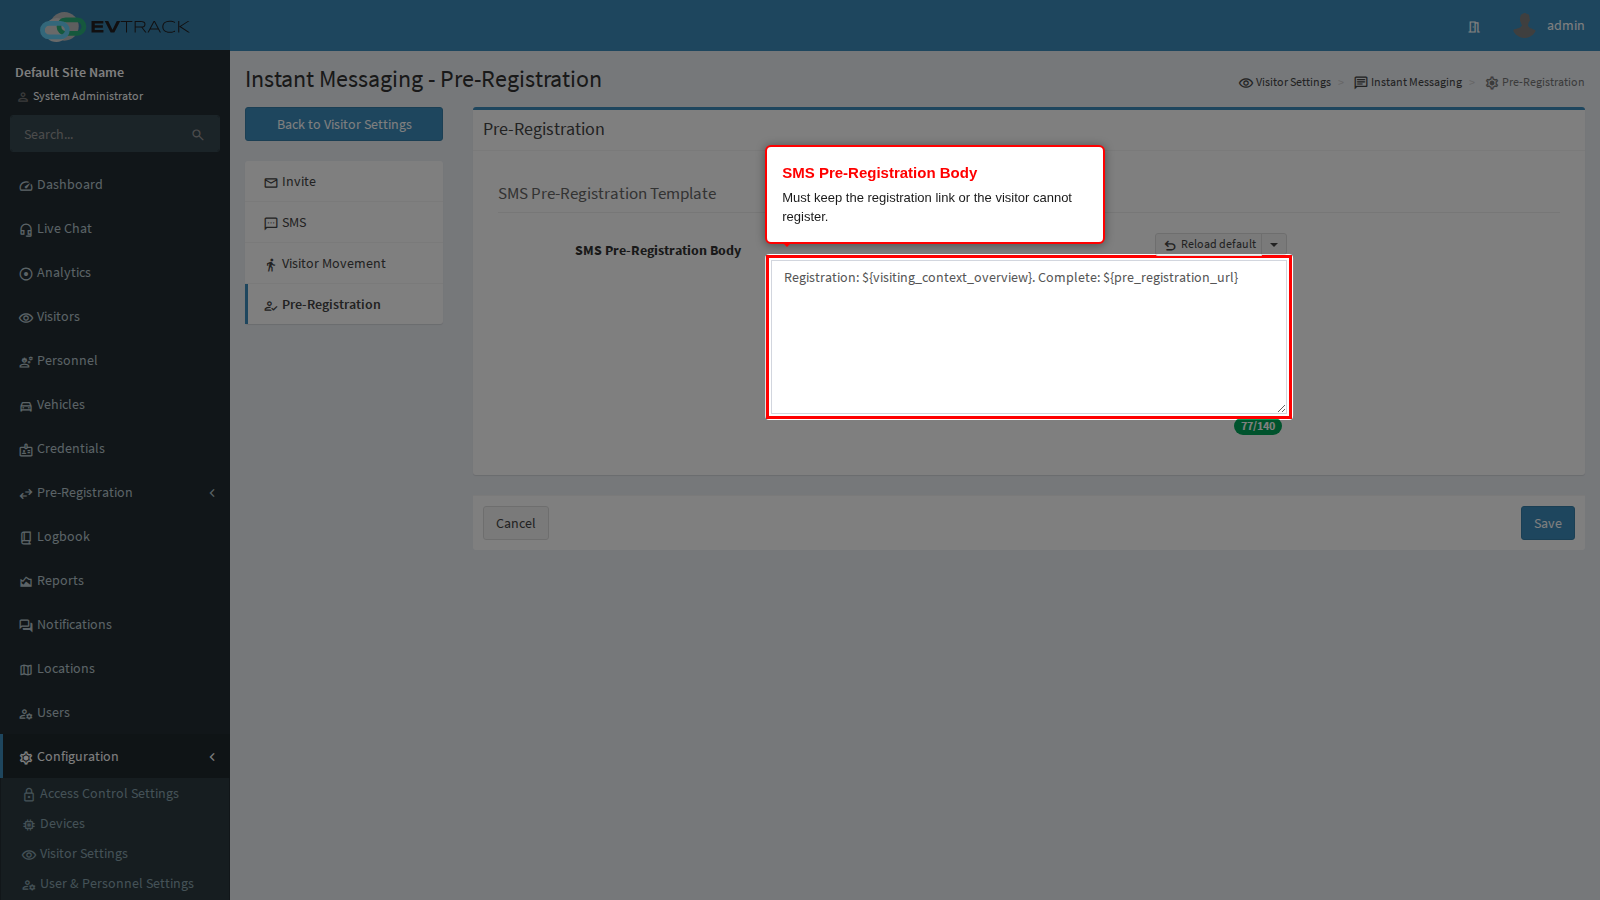
Keep the registration link placeholder. Without it the visitor gets a message asking them to register and no way to do so.
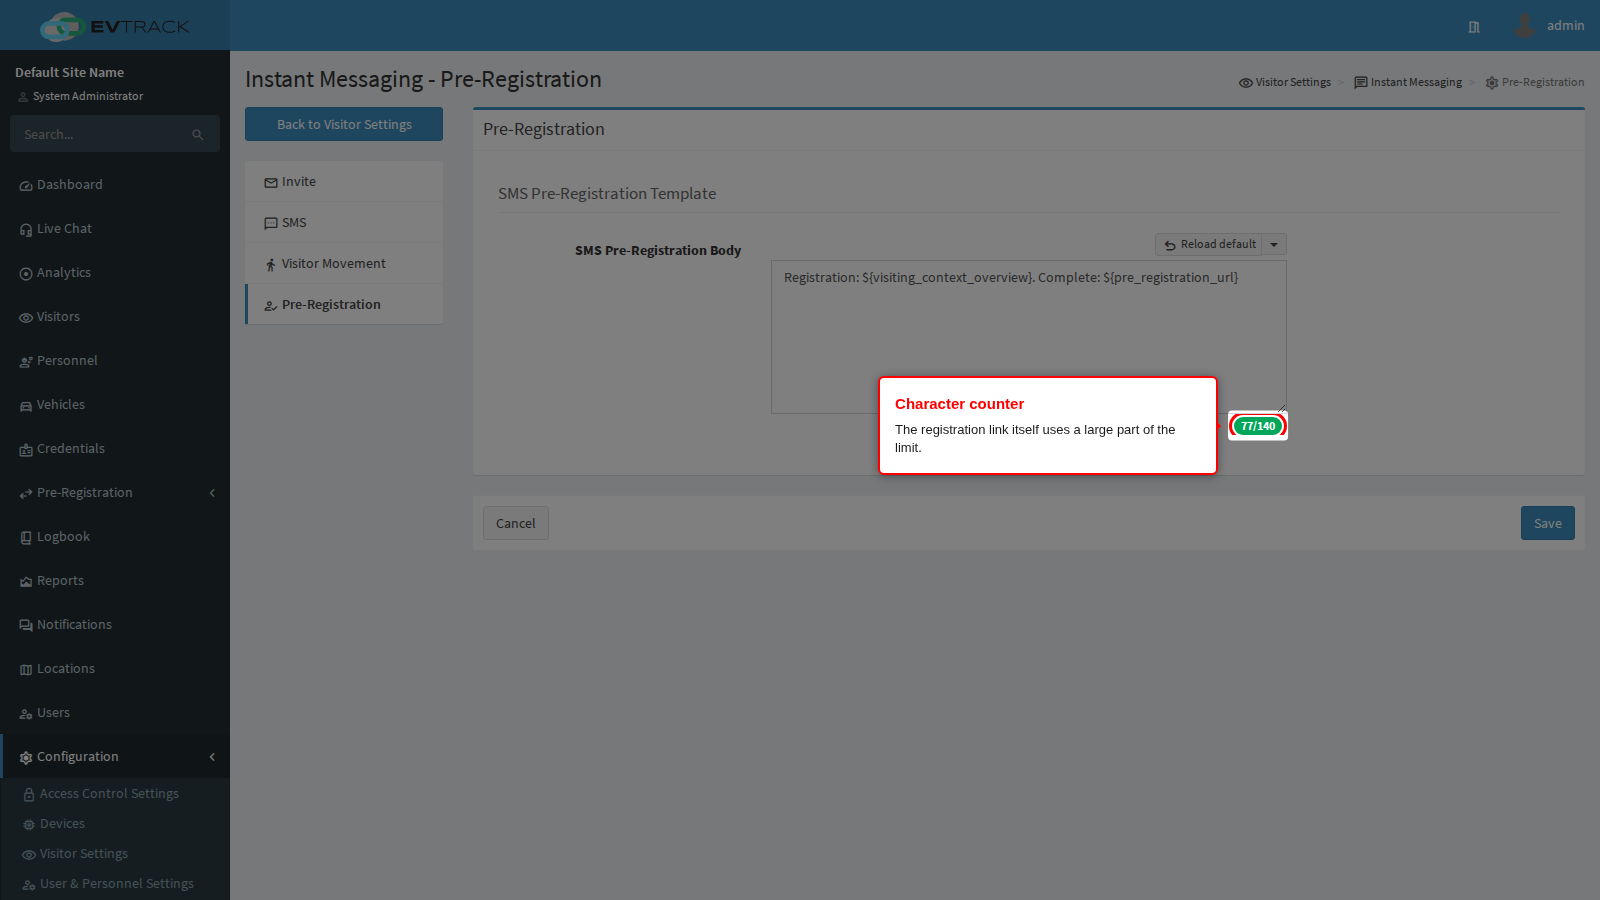
The link uses a good part of the character allowance on its own, so keep the surrounding wording to a sentence: who you are, what is needed, and that the link expires.
End state: an operator can send a pre-registration request from a visitor record and the visitor receives a message they will act on.
Merge tags
Every template on these four pages supports merge tags - placeholders written as ${tag_name} that are replaced with real values when the message is sent. A tag that is not populated for a given message type renders as empty text rather than causing an error, so design each template against the tags its own message type provides.
Two rules specific to these pages:
- Never use the HTML-producing tags here. Tags that produce an image or a button belong in email templates only. In a text message they arrive as raw markup.
- A tag the system does not recognise blocks the save, with a merge-tag error on the field.
The complete catalogue, including which tags each message type populates and worked examples of conditional wording, is in the Merge Tags reference.
Location-aware tags
The message templates on this page support tags that are filled in automatically from the location the visitor is visiting - not just system-wide values. The tags ${company_name}, ${location_name}, ${location_street_address} and ${location_city} all resolve from the visit’s location. For ${company_name}, the location’s own company name is used when the location’s “Inherited” setting is switched off on its Advanced tab (for example “EvTrack Labs” for a visit to the EvTrack Labs head office); otherwise the global company name applies. This works the same for SMS and WhatsApp messages, so one global template can produce correctly branded messages for every location.
The host movement message follows the same rule: when a visitor checks in or out at a location with its own company name, the text message the host receives uses that name, and the location tags fill in from the visit’s location. A longer location company name can make the message need an extra SMS part. The verification code text message is fixed wording and carries no company name.
What next
- SMS Configuration for connecting a gateway so these messages can actually be delivered.
- Host Notifications for the switch that decides whether the movement message is sent, and to which hosts.
- Visitor Emails for the email equivalents of these templates.
- Merge Tags for the full placeholder reference.