A visit pass is what a visitor presents to get in: a QR code, a PIN, a card number or a number plate, valid for a stated window, carrying a set of access control lists that decide which doors and booms it opens. This page holds the system-wide defaults the product applies every time a pass is issued, so an operator who books an invitation does not have to decide any of it.
Before you start: you need an operator account with settings permissions (the Visitor Settings menu is hidden without it), and at least one access control list that covers the readers your visitors use. If you have not built one yet, do the kiosk and guard device quickstart first: it creates the readers and the Default Access Control List that the settings below point at.
Everything on these panels is a default. Changing a setting never rewrites passes that are already in circulation, with one exception that is called out explicitly in the ACL update policy section below.
Step 1: Open the Visit Pass settings
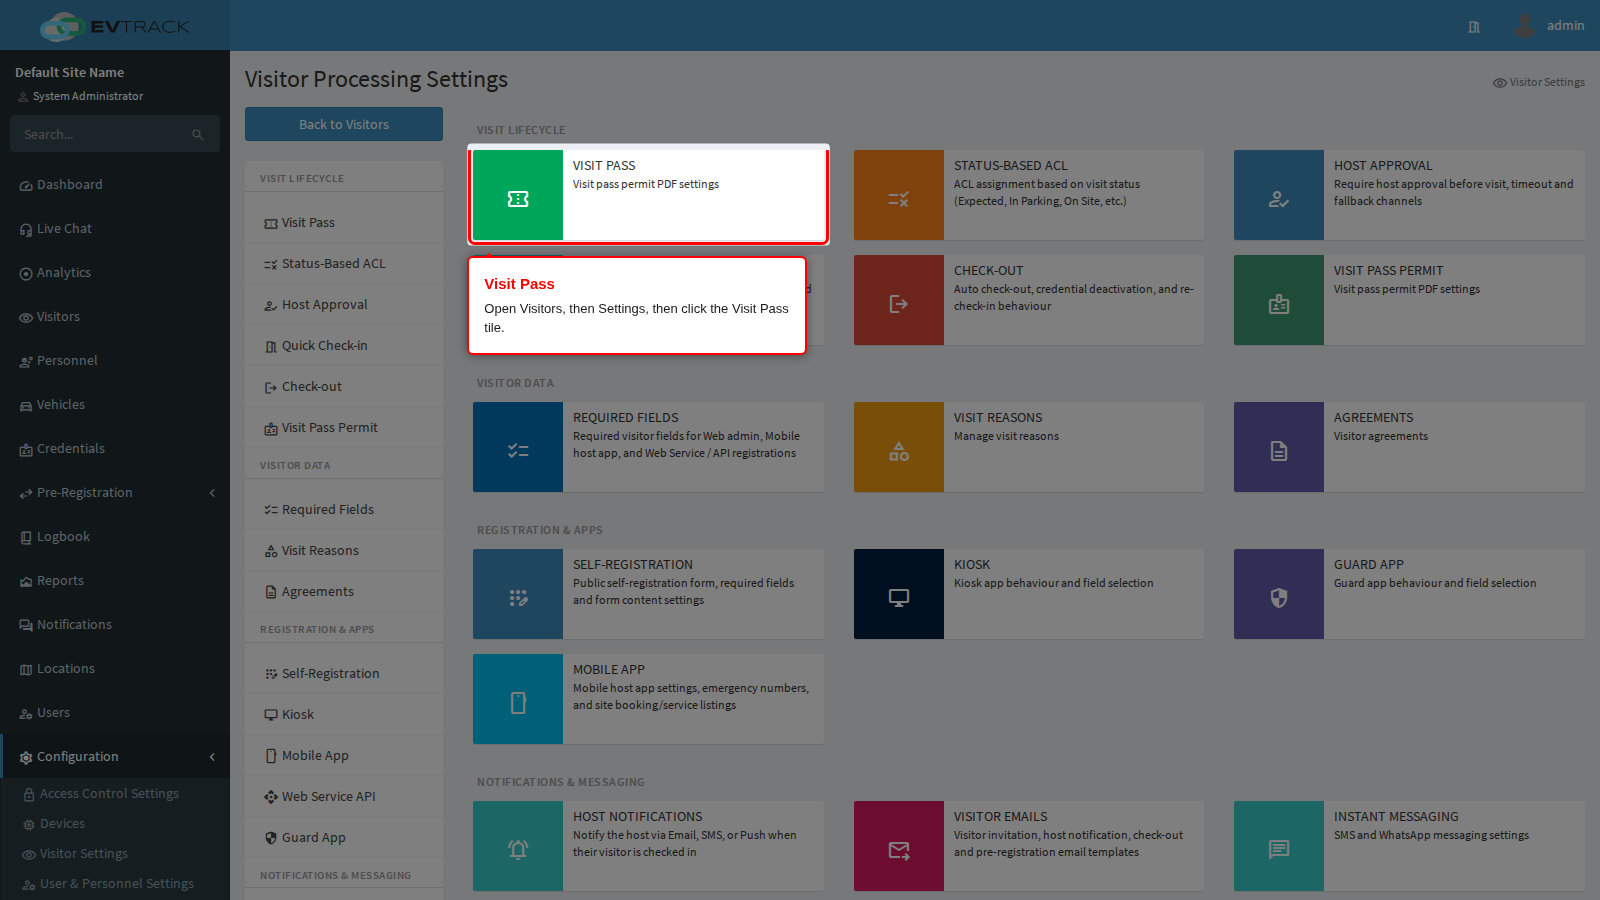
Open Visitors in the sidebar, click Settings, and click the Visit Pass tile.
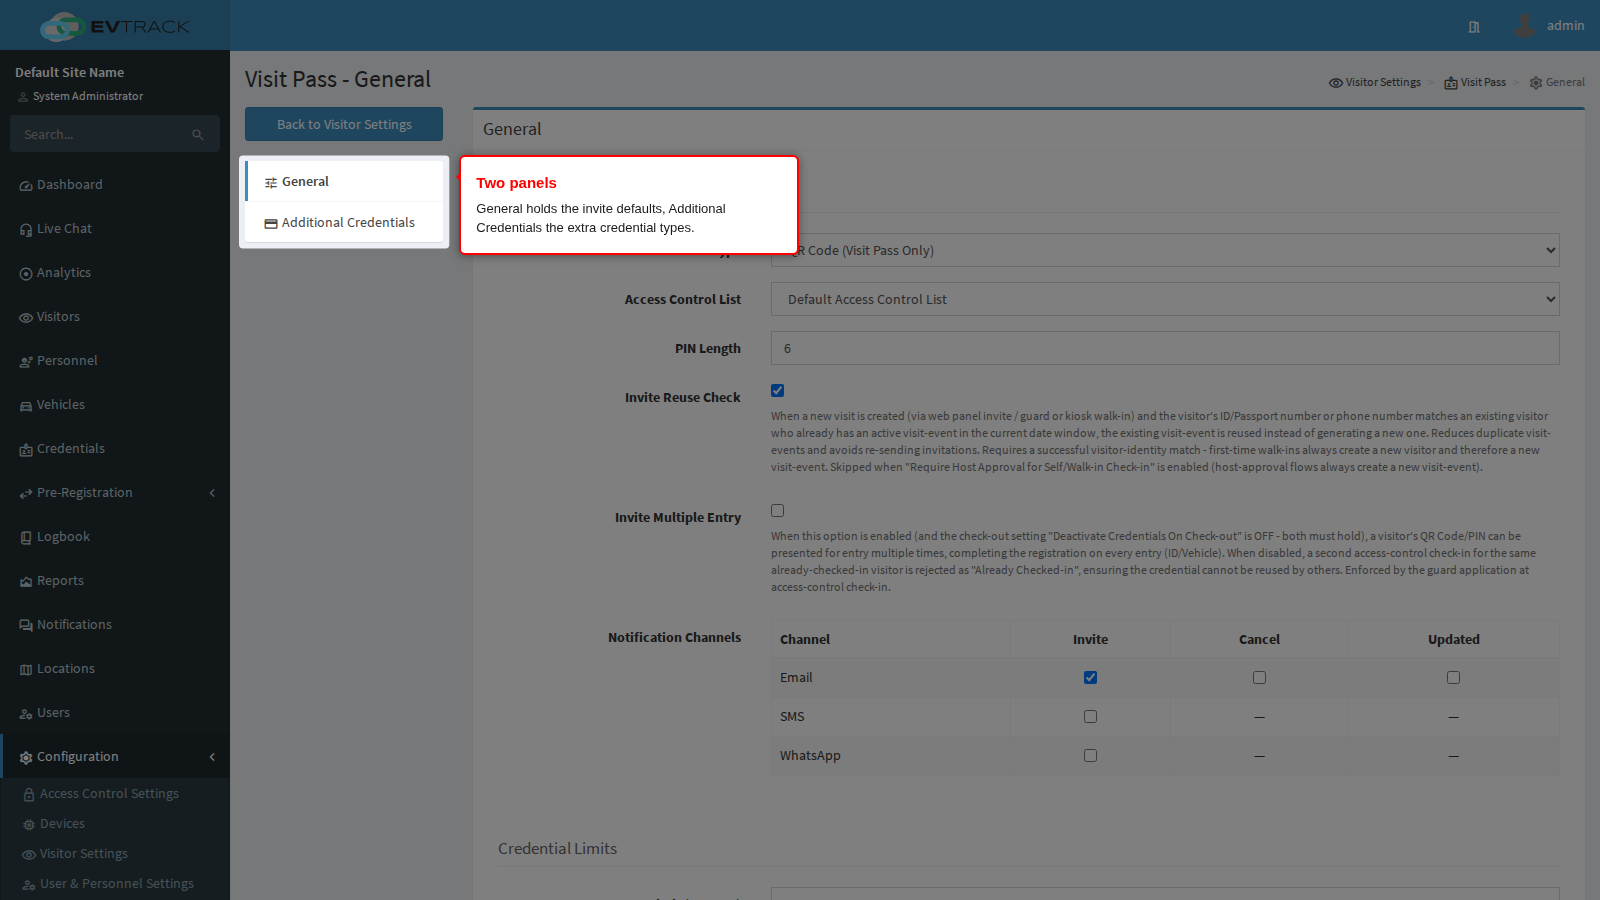
End state: the Visit Pass General panel opens, with a menu on the left holding the two panels this chapter covers: General and Additional Credentials.
Every change you make is held in the browser until you click Save at the bottom of the panel. Cancel discards the edits and returns you to the settings home page.
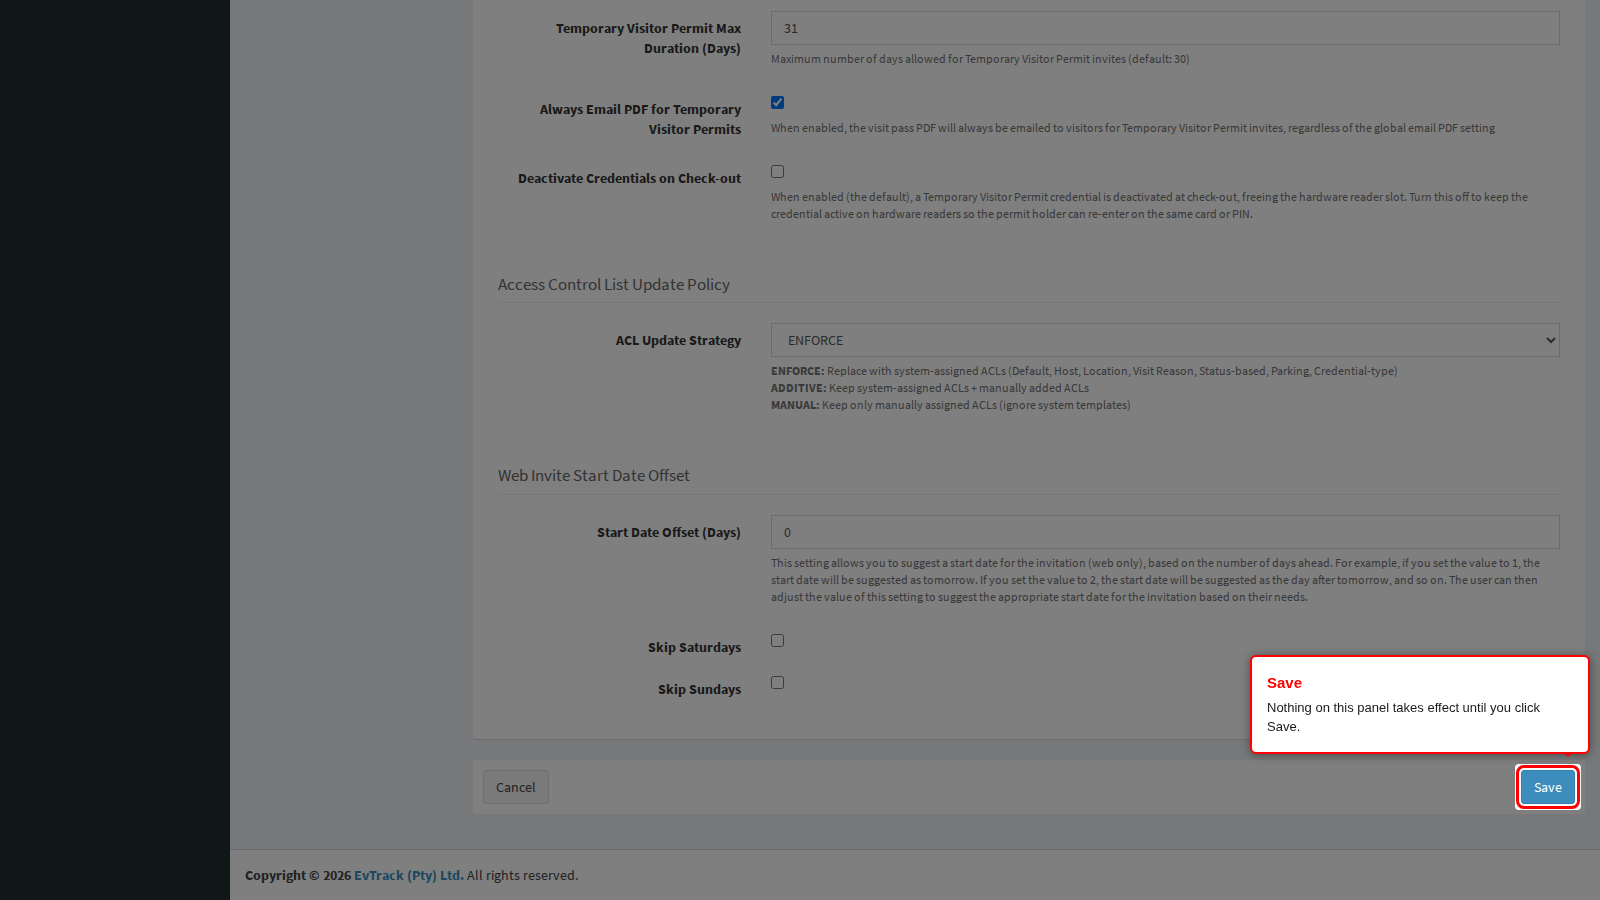
End state: after Save, a green confirmation appears at the top of the panel and the new defaults apply to the next pass issued.
Default visitor invite settings
This first block of the General panel decides what an invitation produces.
Visitor Default Credential Type is the credential the product generates when someone books a visitor. Choose the type your readers can actually read: QR code for phone-based entry and kiosk scanners, PIN for keypads, card for physical readers. This is only the default; an operator can still pick a different type on an individual invitation.
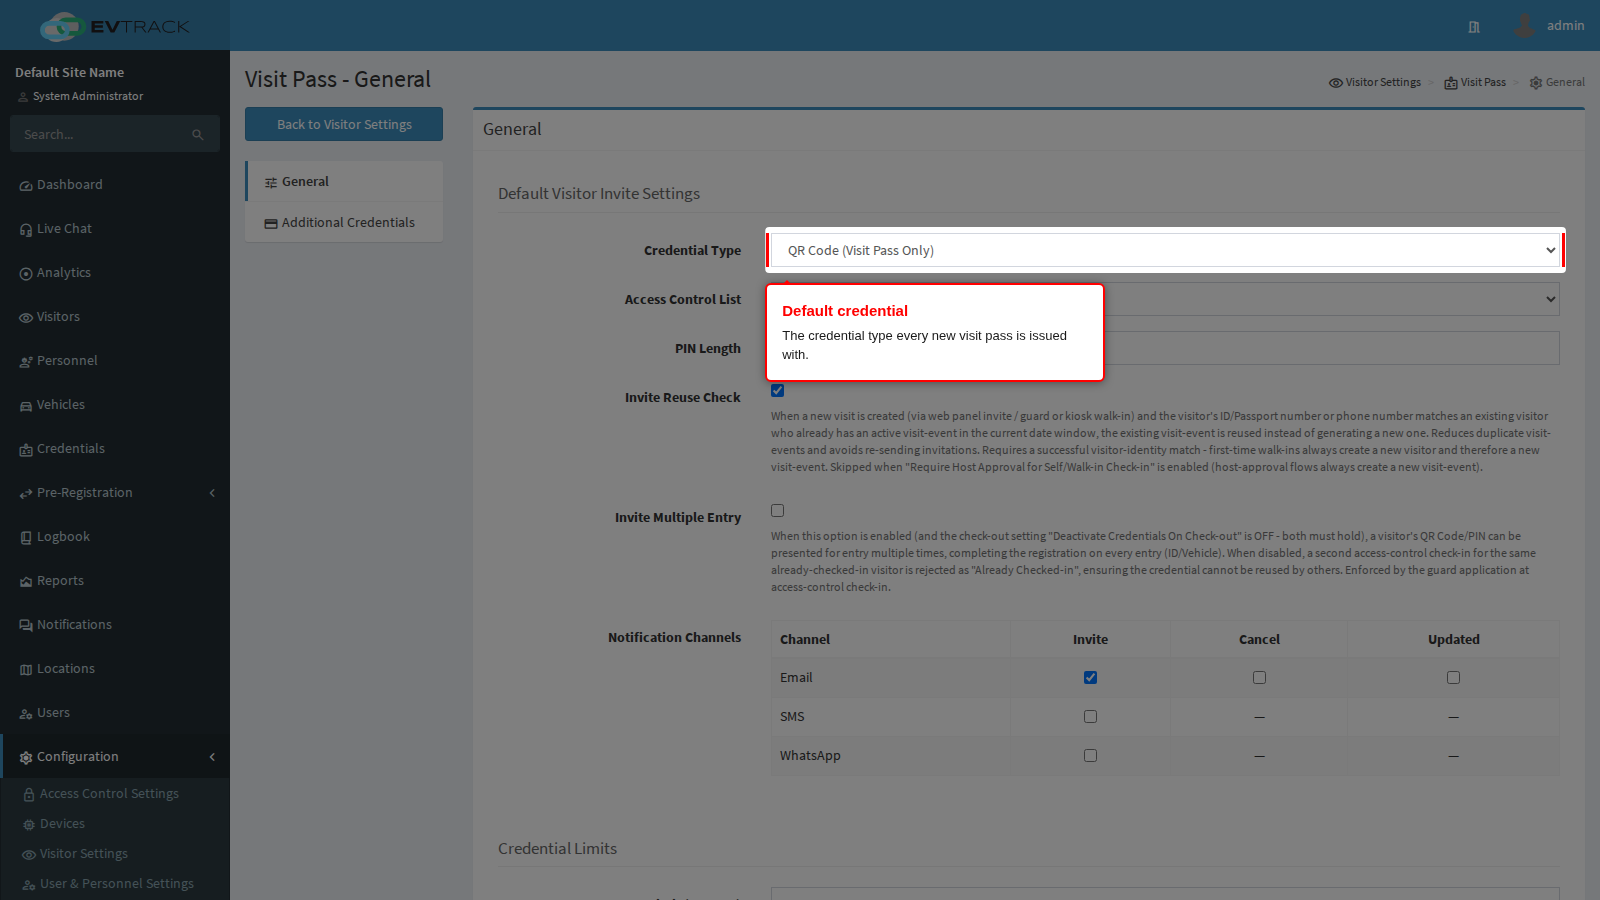
Visitor Default ACL is the single most important setting on this page. Access control lists are what actually open doors: a credential with no list identifies the visitor but opens nothing. Every visitor credential is issued onto the list chosen here, so point it at a list whose rules cover your reception readers, your kiosk and your visitor doors. Setting it to None means every pass has to be given a list by hand on the credential ACL panel, which is a common cause of “the visitor QR code is refused” reports. See Access Control Lists for how to build one.
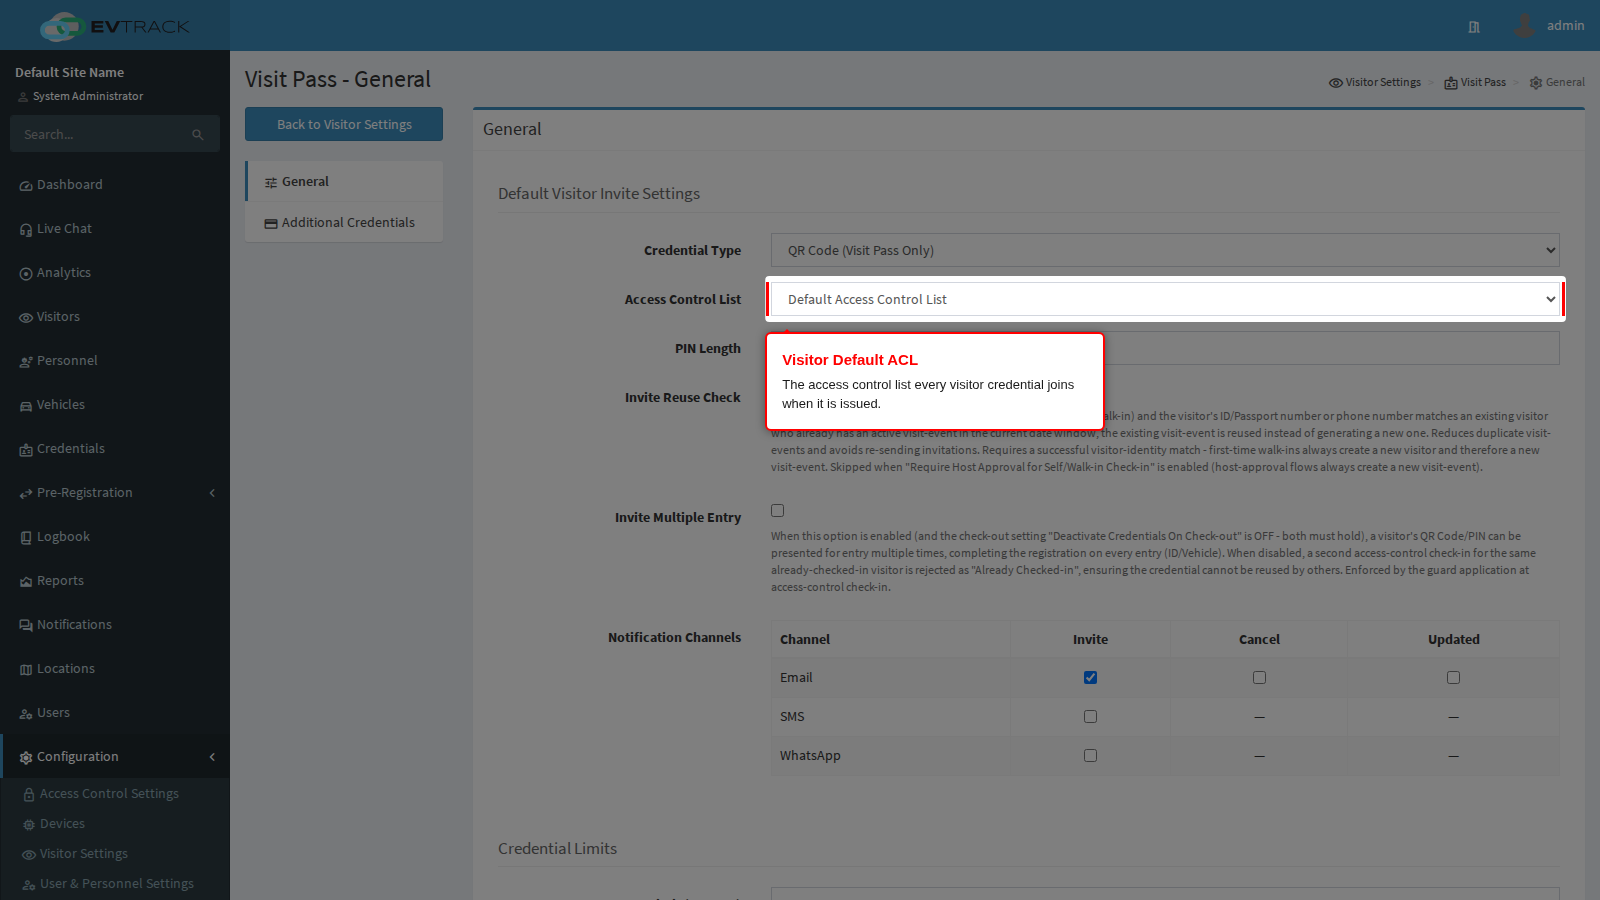
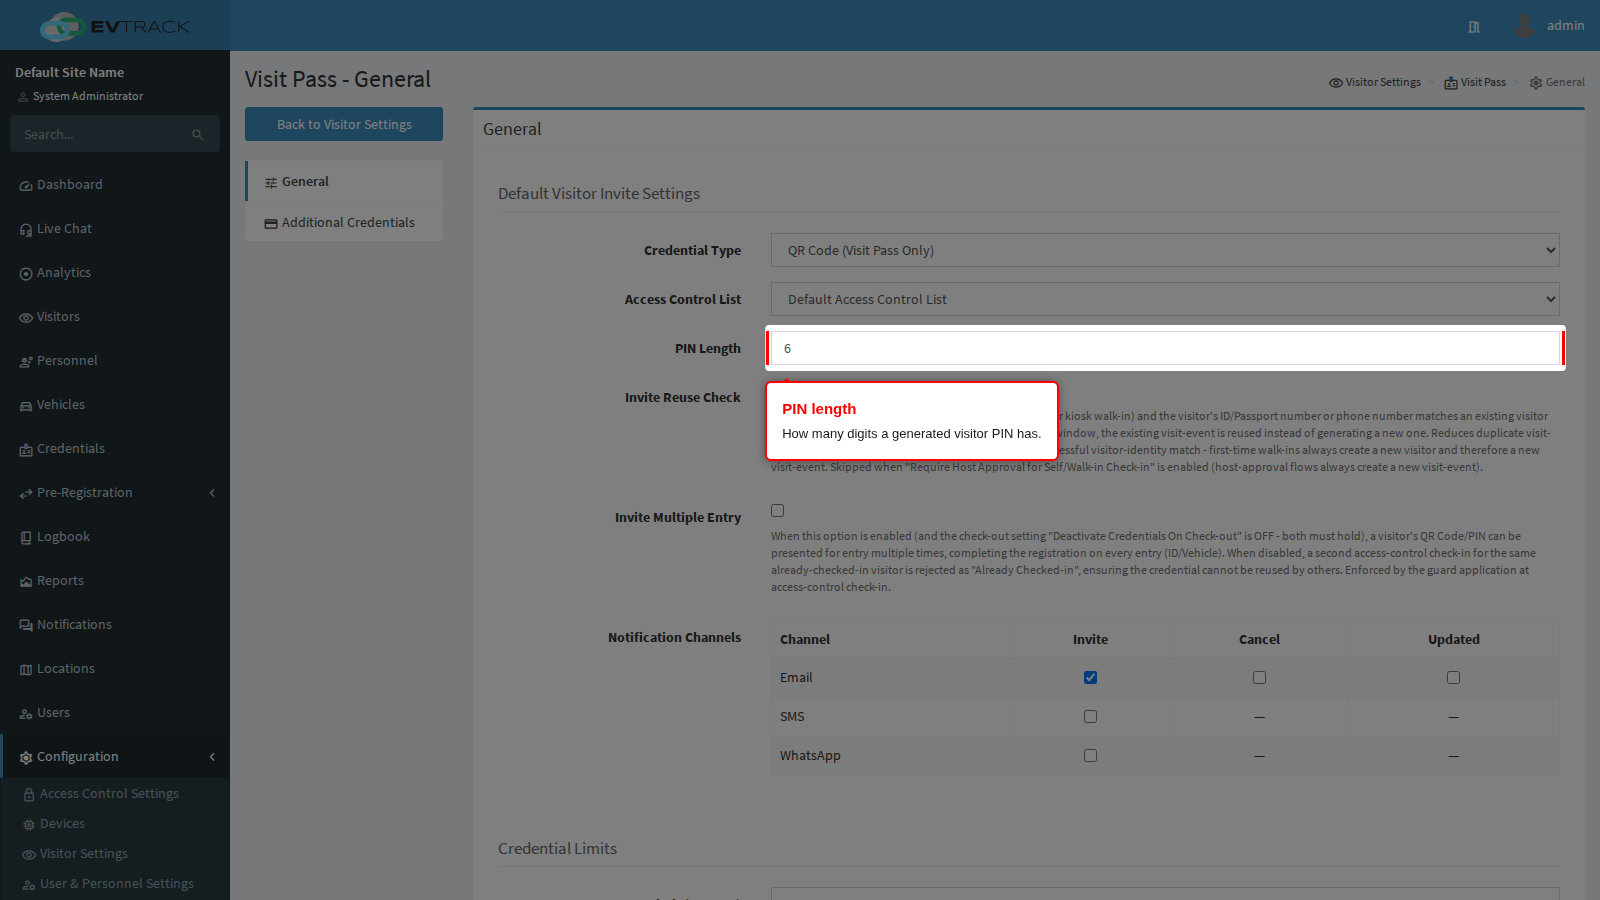
Visitor Default OTP PIN Length sets how many digits a generated visitor PIN has. Shorter PINs are quicker to key at a keypad, longer PINs are harder to guess. Values from 4 to 6 digits are supported.
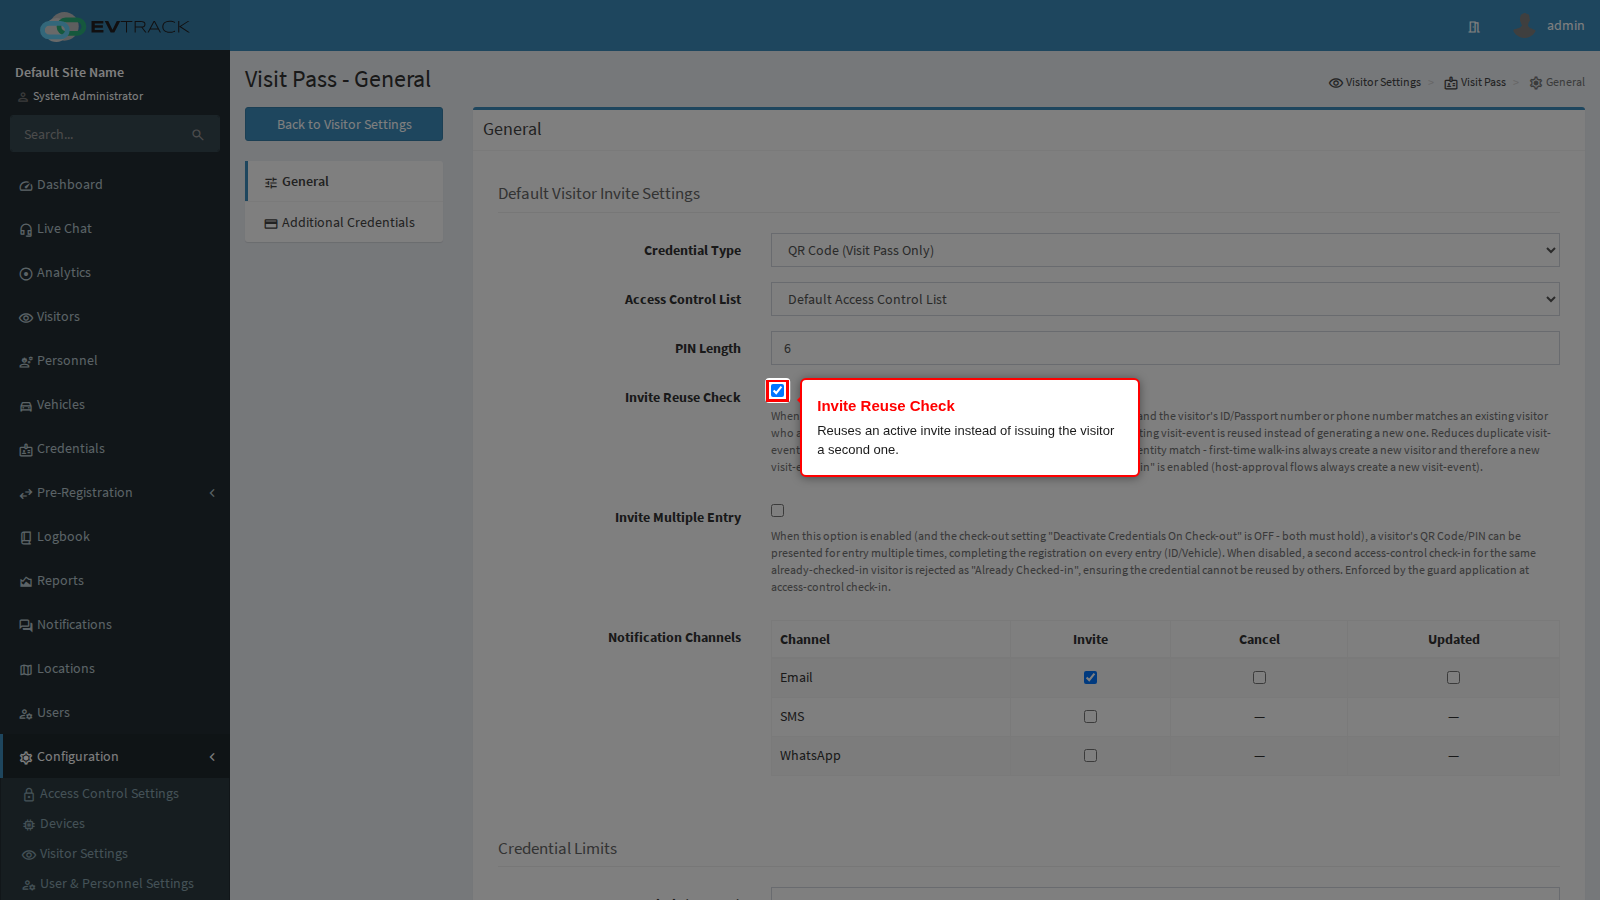
Invite Reuse Check, when on, makes the product look for an active invite for the same visitor before it issues a new one, and reuse it if it finds one. Turn it on where the same contractor is booked repeatedly in a day so they are not left holding several codes and wondering which one to scan. Turn it off when every visit must be traceable to its own pass.
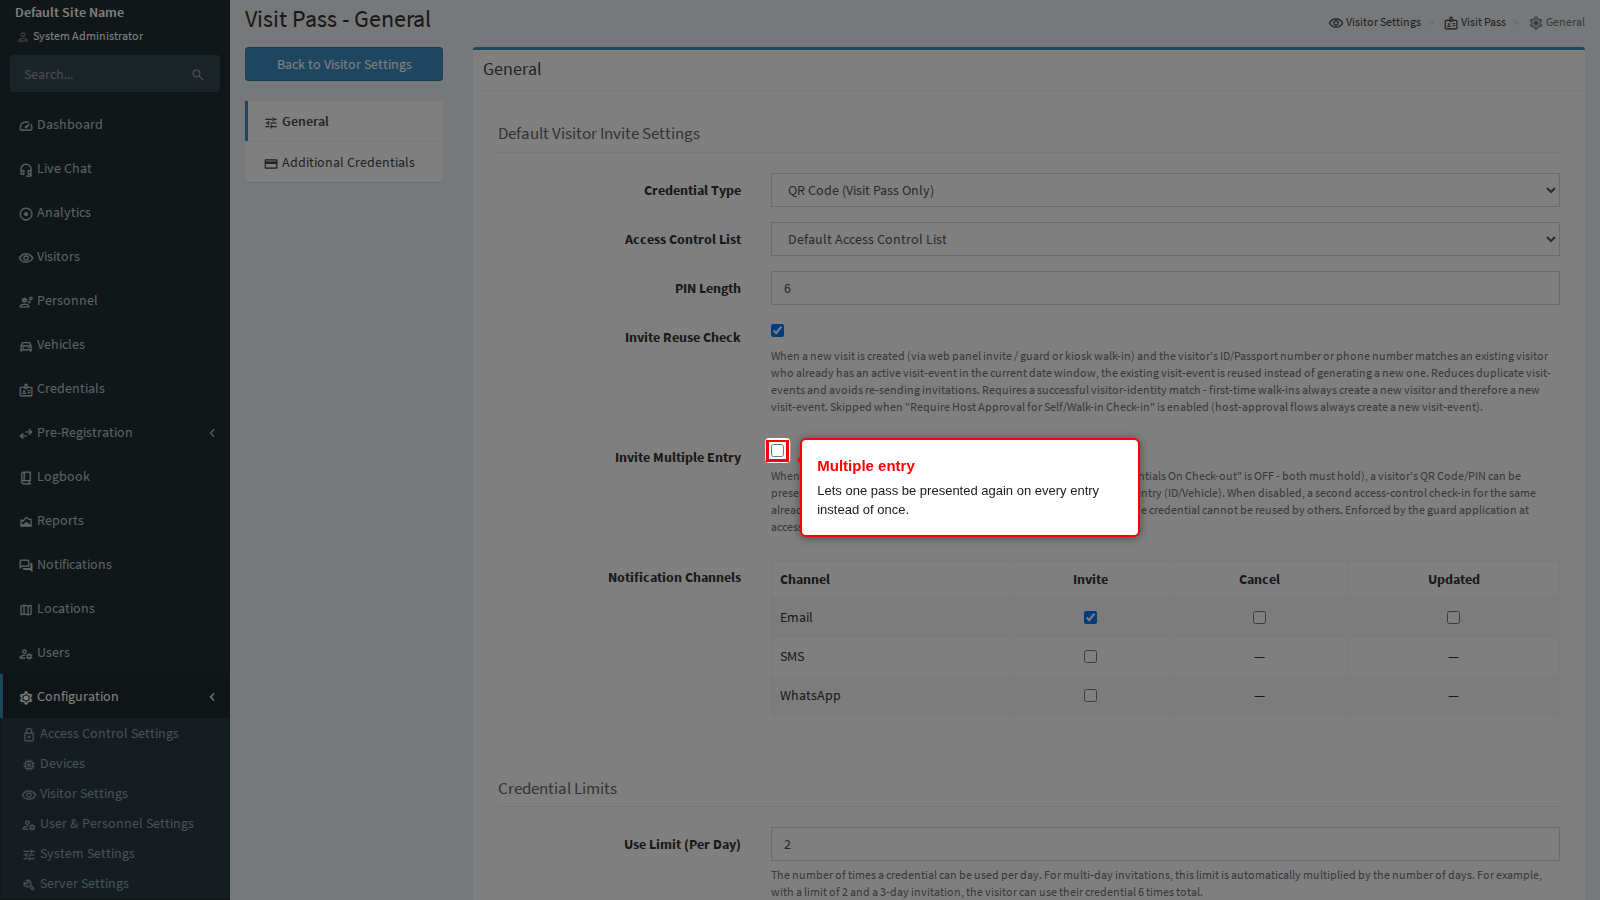
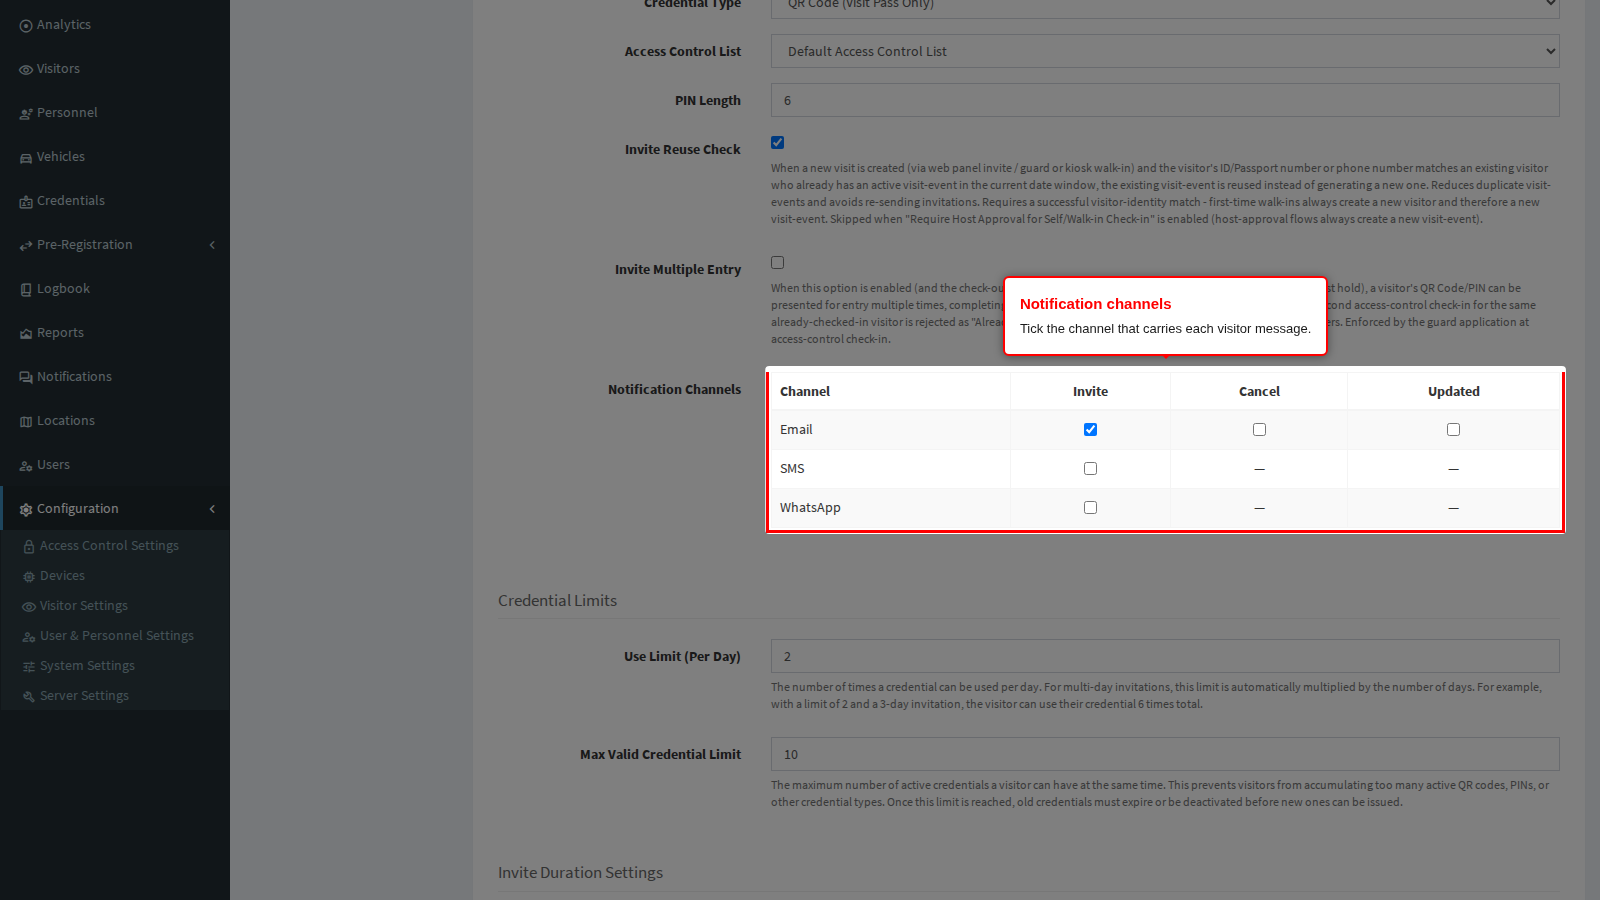
Invite Multiple Entry Check decides whether one pass works once or many times. With it on, a visitor can leave the site and come back on the same QR code or PIN for as long as the pass is valid, and each entry is recorded as a new movement. With it off, the pass is consumed on first use: a second scan is refused, so a code that is forwarded or photographed by someone else is worthless. Sites that let visitors go out for lunch need it on; high-security sites usually want it off. This works together with Use Limit (Per Day) below, which caps how many of those entries are allowed in a day.
Notification Channels is a grid: one row per delivery channel (Email, SMS, WhatsApp) and one column per message (Invite, Cancel, Updated). Tick a cell and that message goes out on that channel. Email carries the full invitation with the pass; SMS and WhatsApp carry the invitation only, which is why their Cancel and Updated cells are not offered. A visitor with no email address on file cannot receive an emailed pass, so leave SMS on where mobile numbers are the reliable field. The wording of each message is edited under Emails and Instant Messaging.
Credential limits and default invite duration
The next two blocks, Credential Limits and Default Invite Duration, decide how often a pass may be used and how long it remains valid.
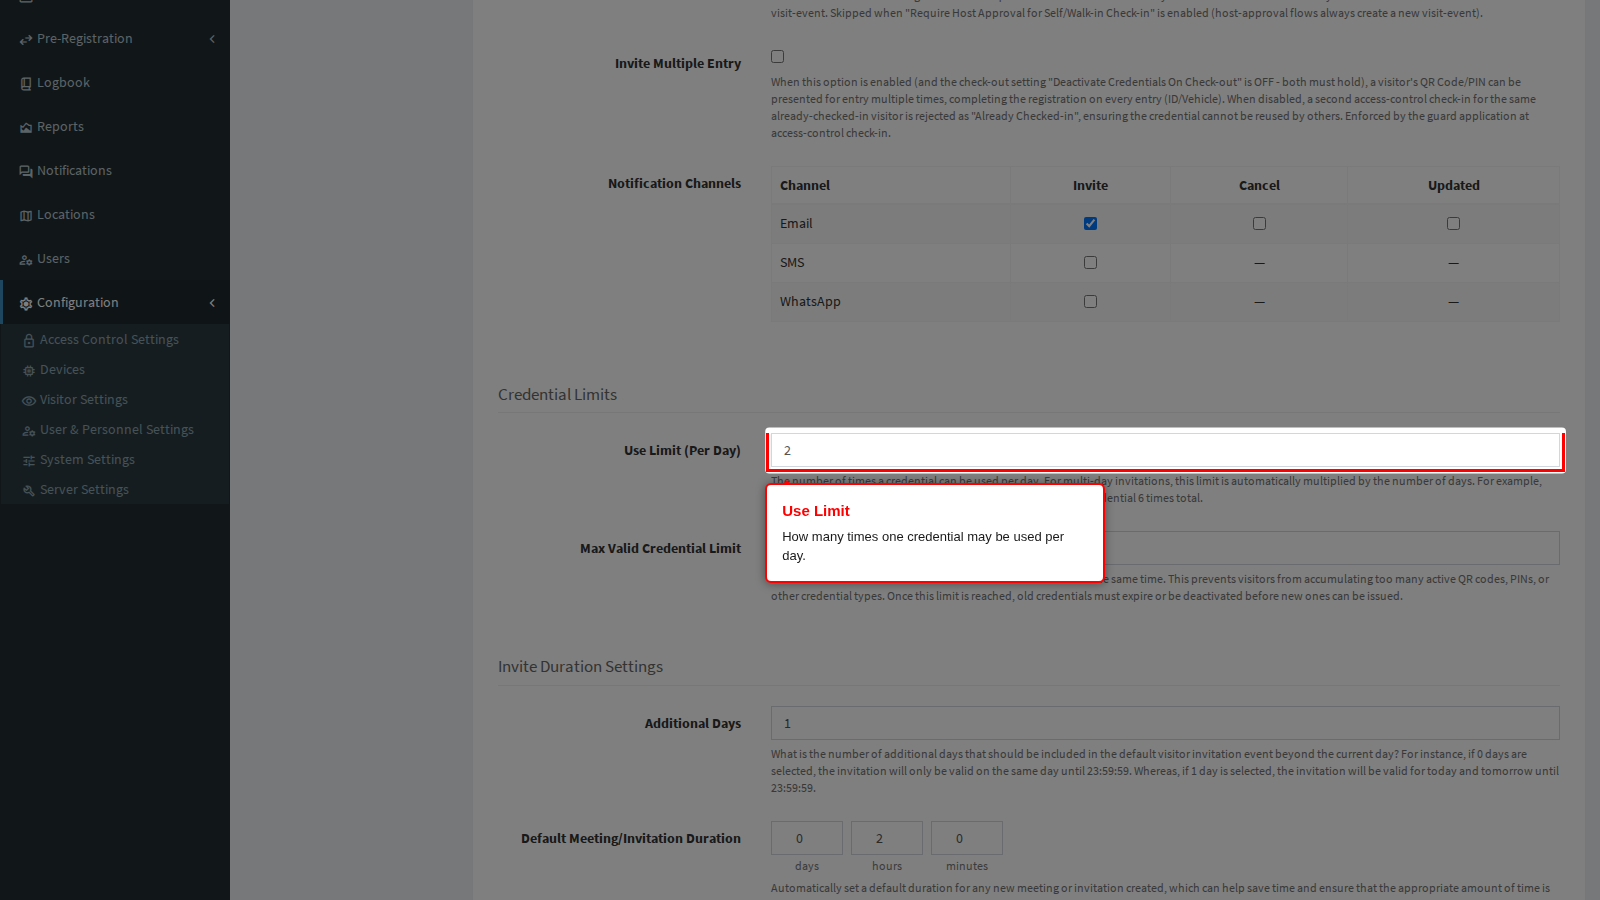
Use Limit (Per Day) is the number of times one credential may be used in a day. For a multi-day invitation the figure is multiplied by the number of days, so a limit of 2 on a three-day visit allows six uses in total. Use it to stop one pass being handed around a queue: a limit of 2 covers one entry and one exit. Which openings actually spend a use is decided per opening, by Option Decrease Use Limits On Access on the access control point, so tick that only on your perimeter and leave internal doors alone.
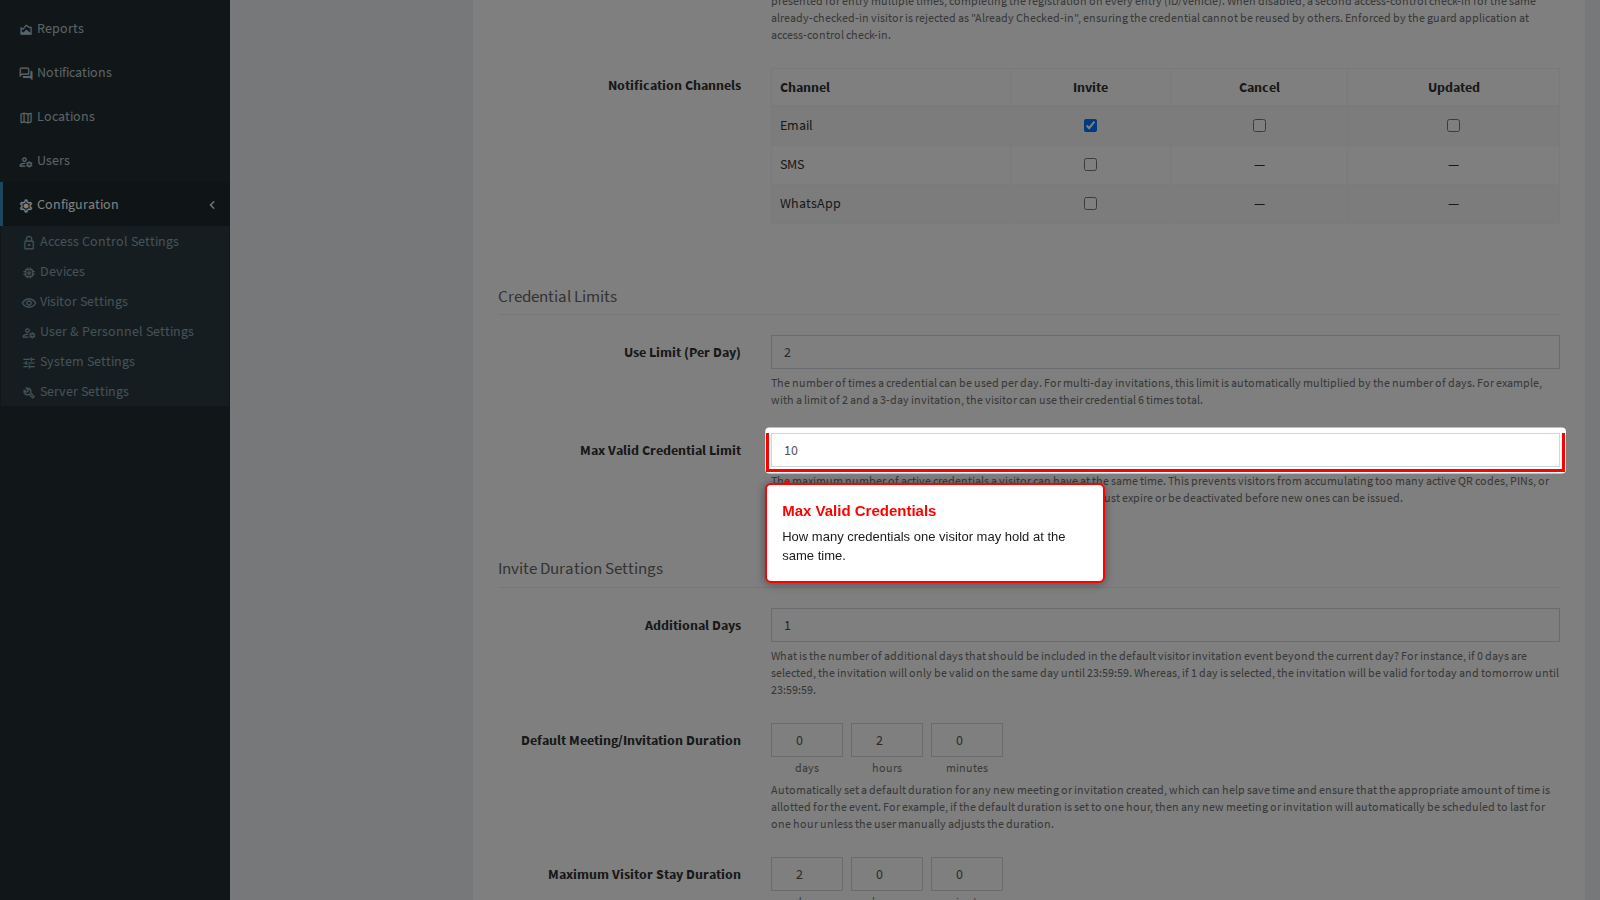
Max Valid Credentials caps how many active credentials one visitor may hold at the same time. When the cap is reached, a new invitation cannot issue a new pass until an old one expires or is deactivated, and the operator sees the request refused. Keep it low (1 or 2) so a frequent visitor does not accumulate live QR codes that all still open doors.
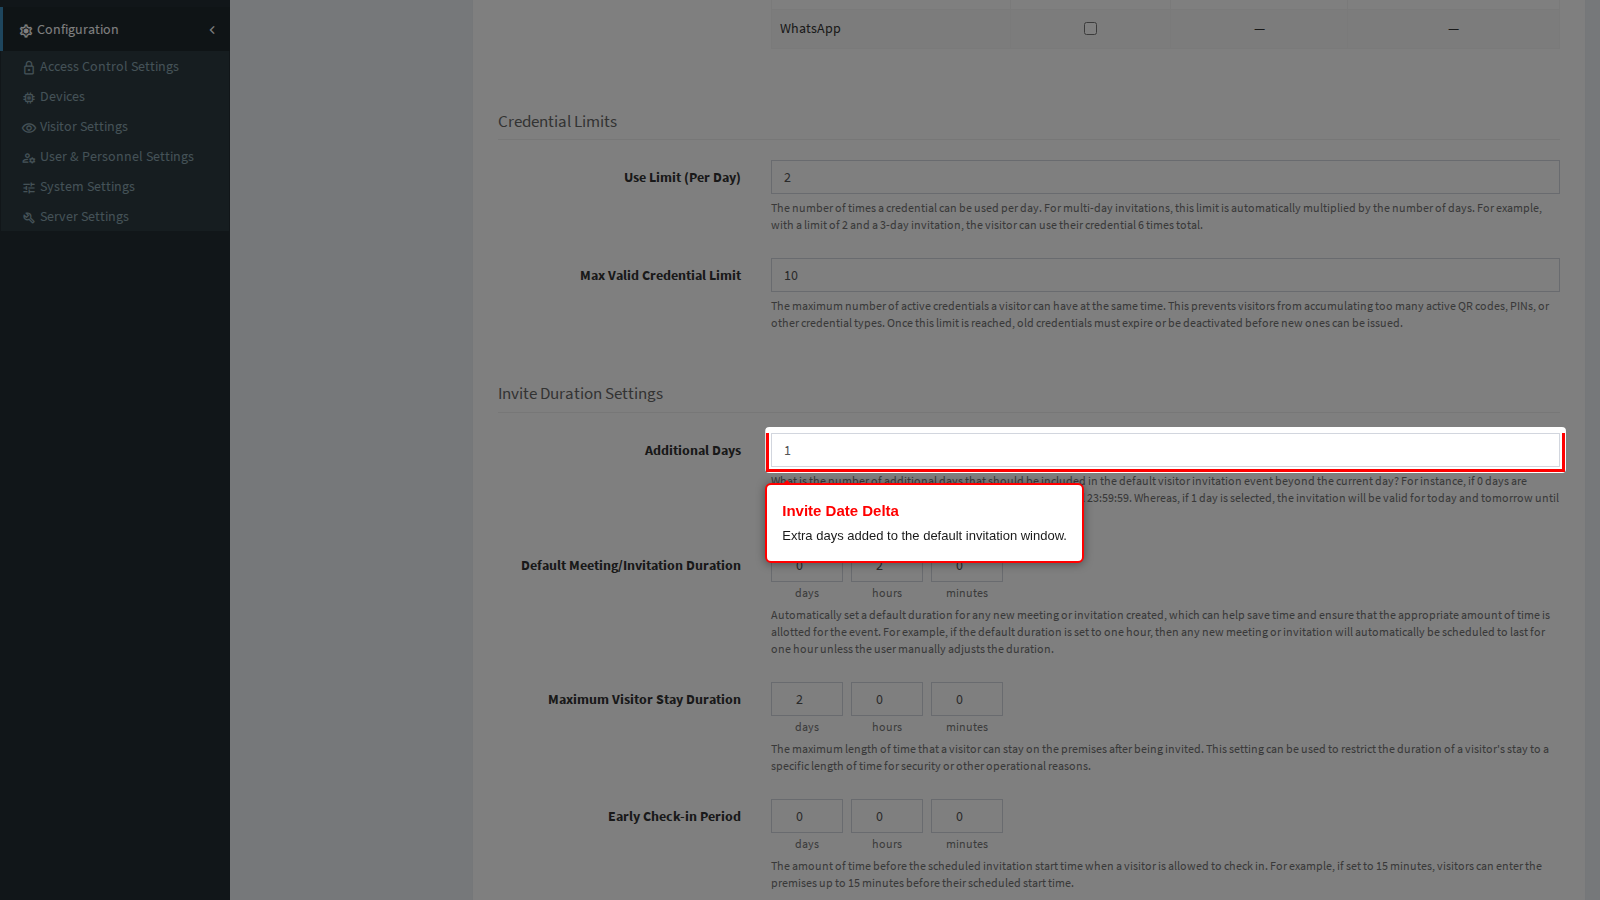
Additional Days, under the Invite Duration Settings heading, adds days to the default invitation window. 0 means the pass ends at 23:59:59 on the day it starts; 1 means today and tomorrow; 6 gives a full week.
This field does more than pre-fill the web invitation form. It is also the validity the product gives a walk-in that is registered at a kiosk or by an officer at the checkpoint, where nobody is asked to choose dates: the pass starts at the beginning of the current day and expires at the end of the day this many days later. A site that leaves it at 0 gives every walk-in a pass that dies at midnight, which is usually what you want; raising it to 1 or more means a walk-in contractor can return the next morning on the same code.
A single location can override it. On the location record, under its Advanced options, Override Pass Validity plus Pass Validity Days replaces this figure for anything registered against that location, so a kiosk in a high-security building can issue same-day passes while the rest of the site issues week-long ones.
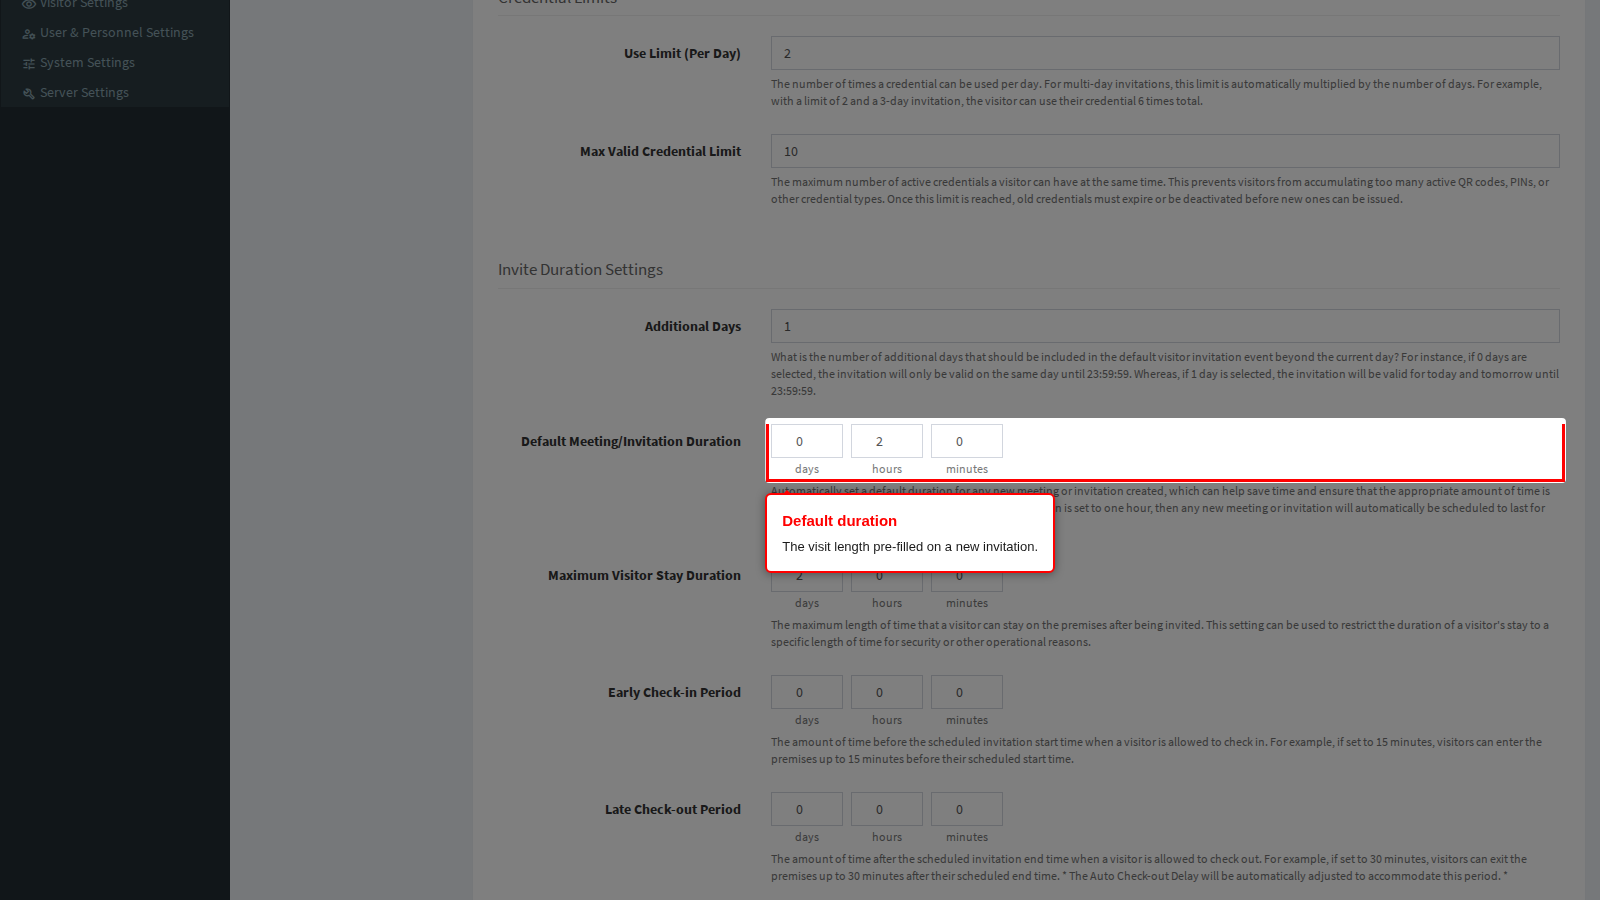
Default Meeting/Invitation Duration is the visit length pre-filled on a new invitation, entered as days, hours and minutes. Set it to the length of a typical meeting so operators rarely have to change it: the help text on the panel describes it as automatically setting a default duration for any new meeting or invitation created, which saves the operator time and makes sure the right amount of time is allotted. An operator can always adjust the duration on the invitation itself; this only decides what they find already filled in.
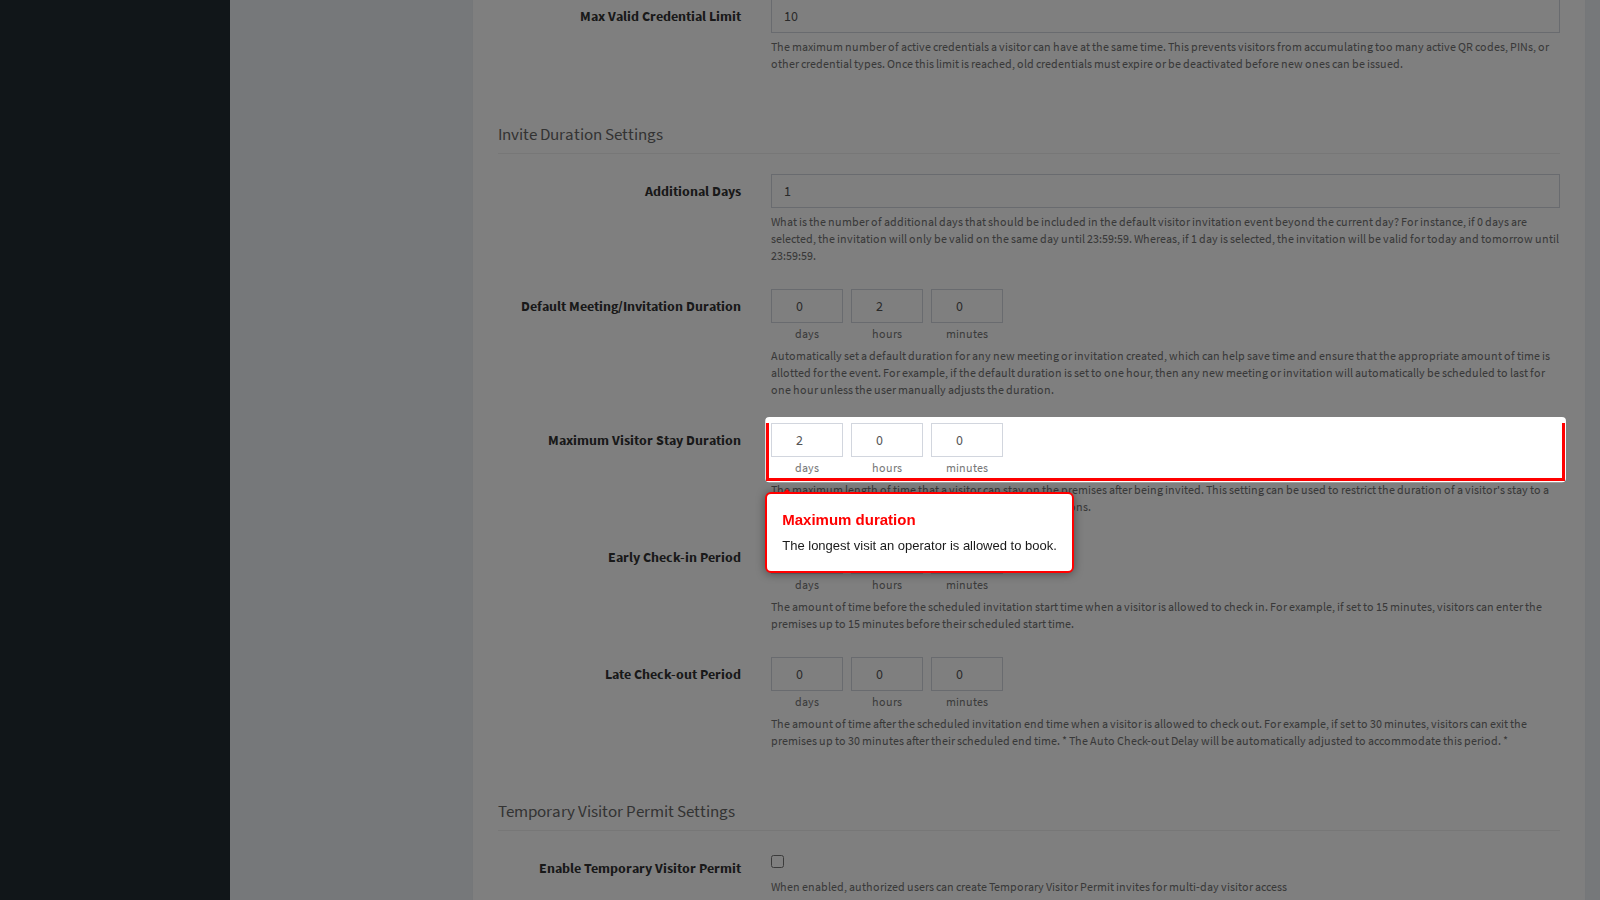
Invite Max Duration (Secs) is the ceiling. An operator cannot book a visit longer than this, which keeps a mistyped date from producing a pass that works for a year. Longer visits go through a temporary visitor permit instead (below).
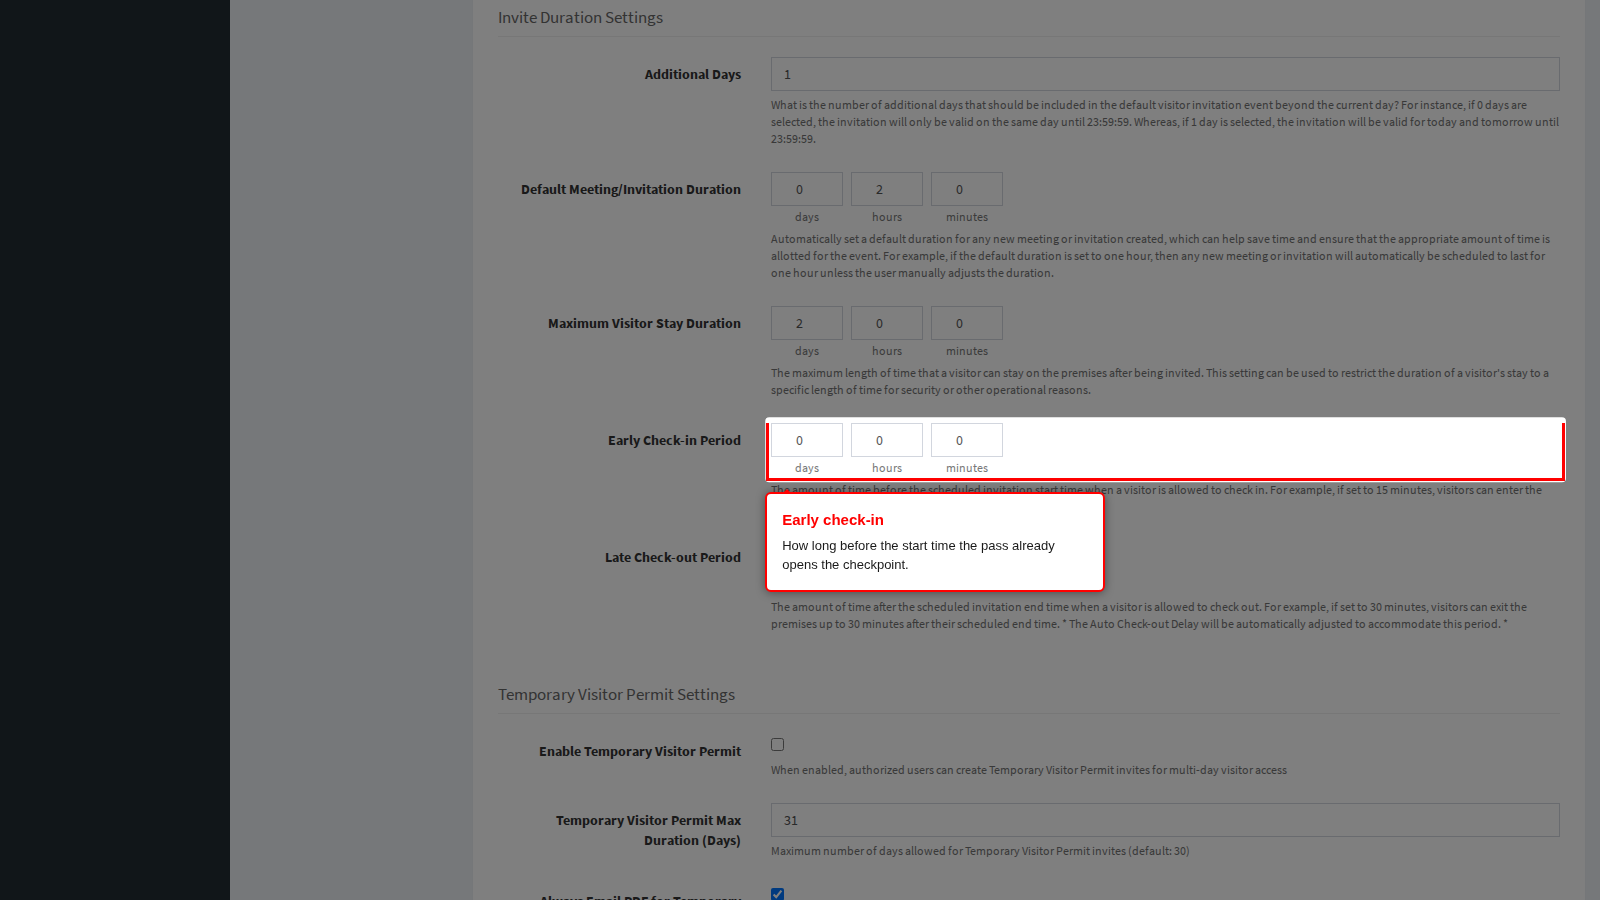
Early Check-in Period lets a visitor in before their booked start time. A pass presented earlier than this is refused with a “not valid yet” response at the reader, so a value of 15 minutes absorbs early arrivals without opening the site an hour ahead.
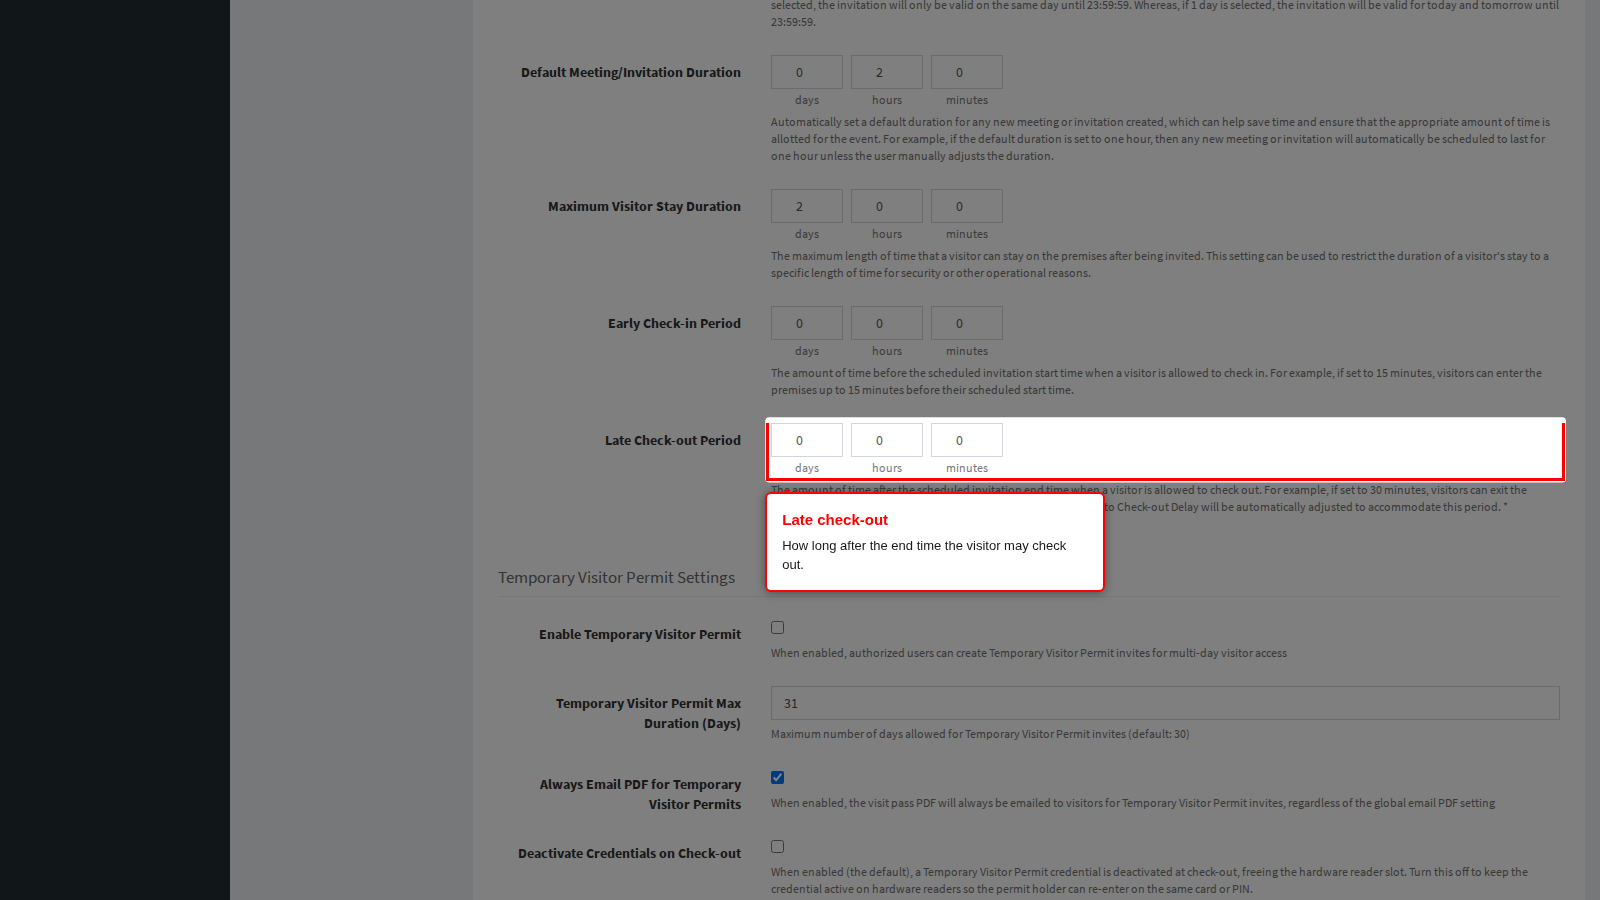
Late Check-out Period does the same at the other end: the pass keeps working for this long past the booked end time so a visitor who overruns can still scan out instead of being stuck inside a turnstile. Beyond it the pass is expired and the checkpoint has to release them manually.
Expiry is evaluated to the end of the minute, so a pass valid until 17:00 still works during 17:00:00 to 17:00:59.
Temporary visitor permits
A temporary visitor permit is a longer-lived pass for contractors and other visitors who come back day after day, instead of one invitation per day.
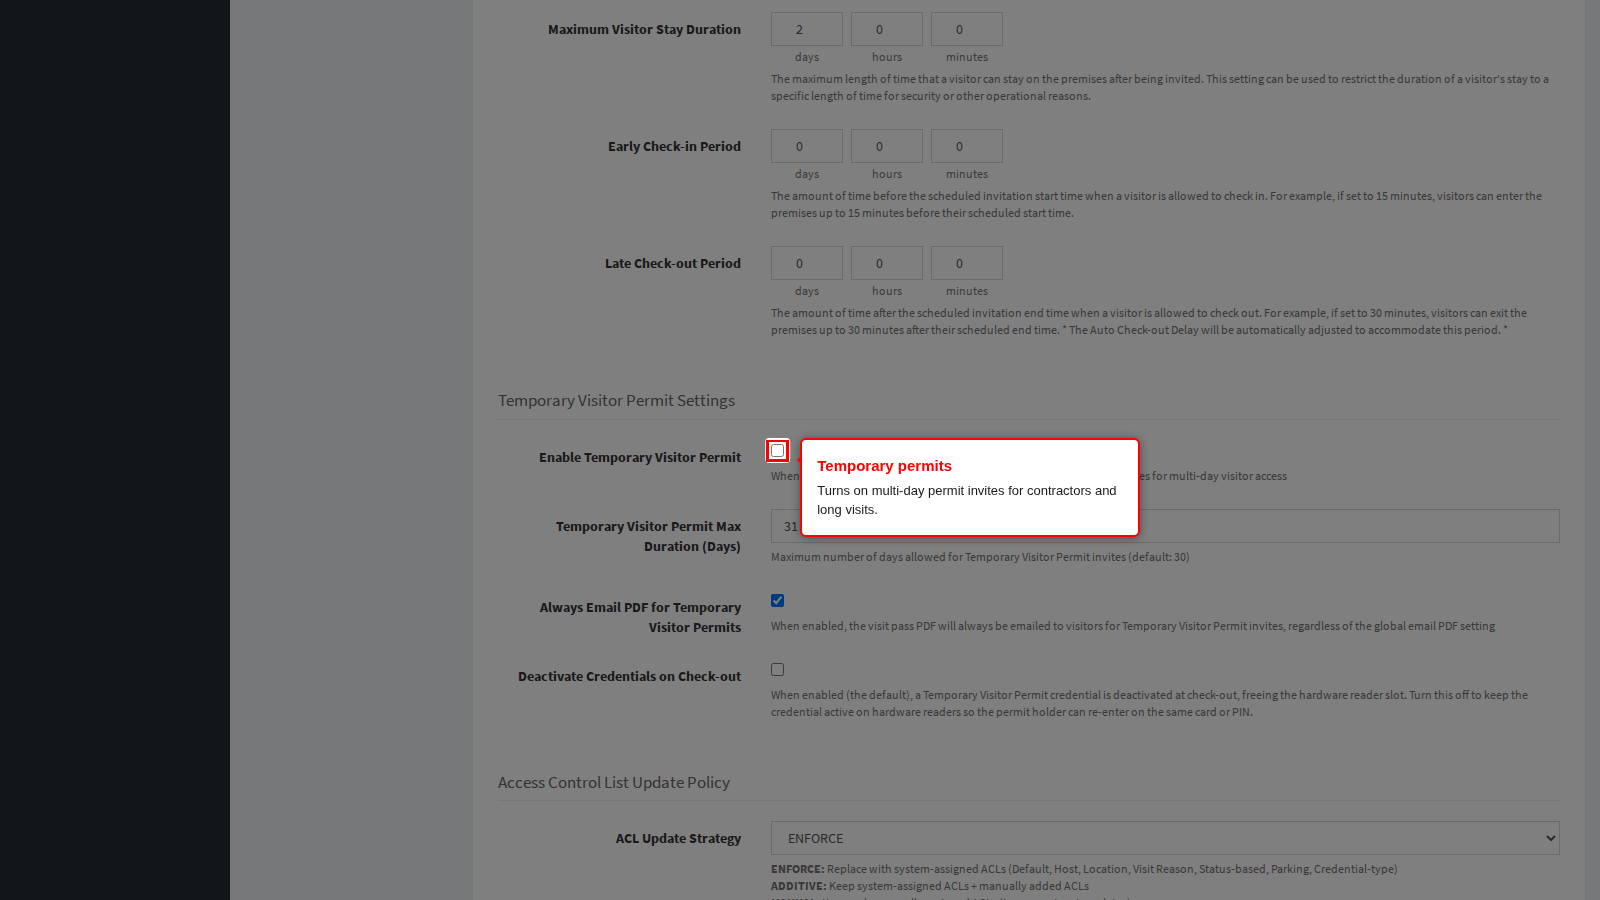
Enable Temporary Visitor Permit switches the feature on. Until it is on, the permit option does not appear when an operator creates an invitation.
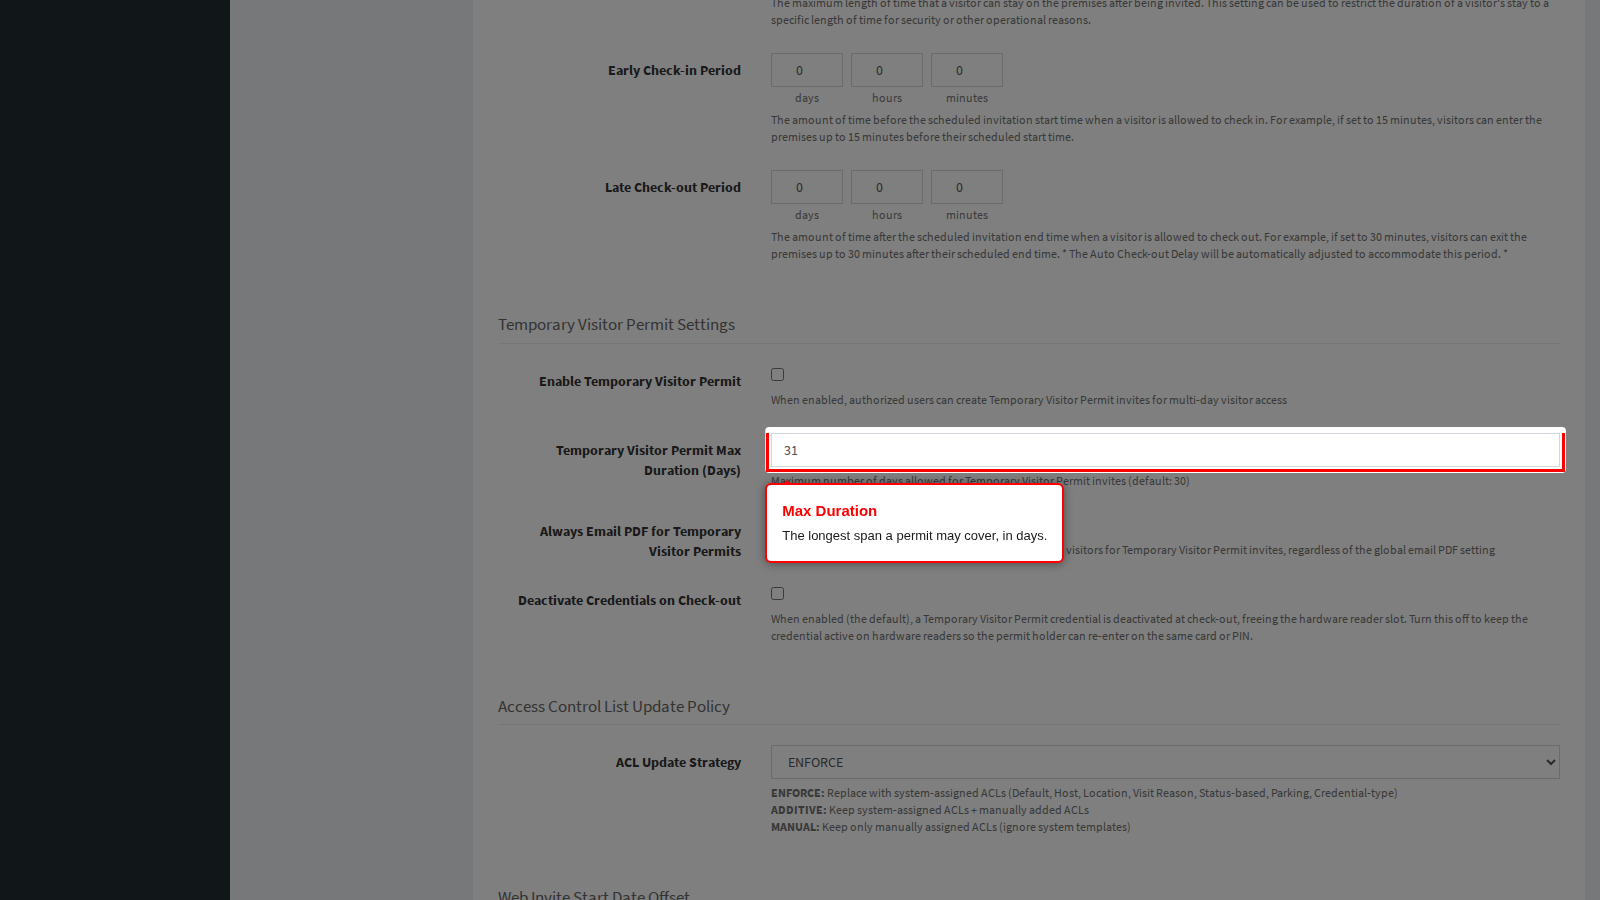
Max Duration (Days) caps how long one permit may run. The default is 31 days and the field accepts 1 to 1095. Set it to the longest contract you are willing to admit without a fresh check.
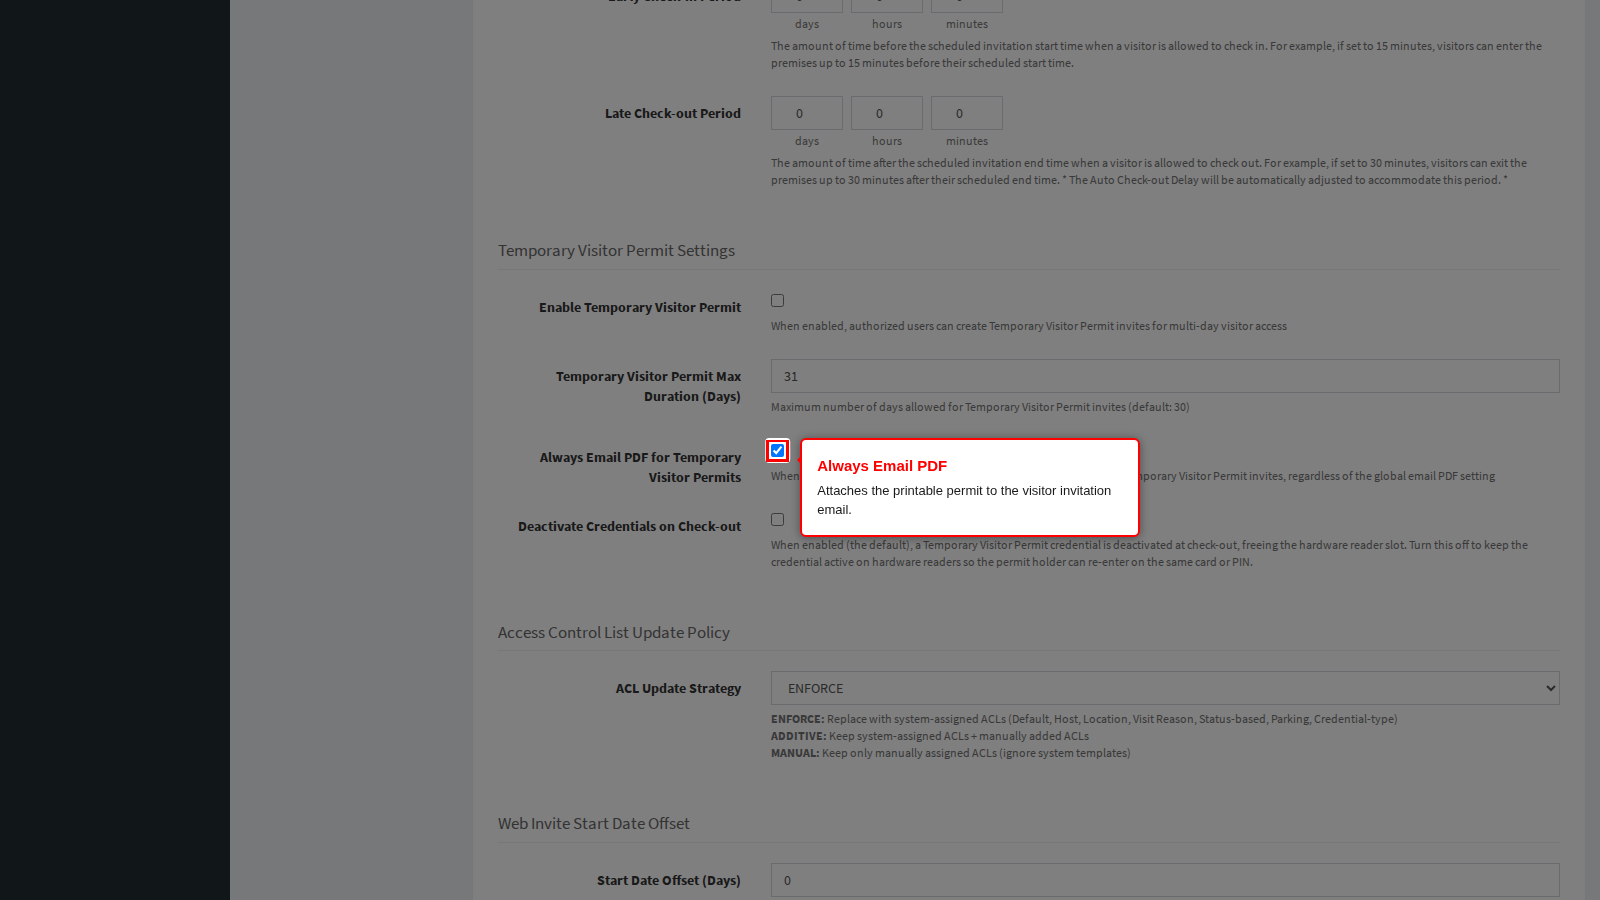
Always Email PDF attaches the printable permit to the visitor invitation email every time. Turn it on where the checkpoint expects a printed permit to be produced on arrival. The layout of that document is configured under Visit Pass Permit.
Deactivate Credentials on Check-out frees the credential slot on hardware readers on a permit holder’s check-out, which matters where controllers hold a limited number of cards. Turn it off to keep the credential live on the readers so the holder can return on the same card or PIN without anything being reissued.
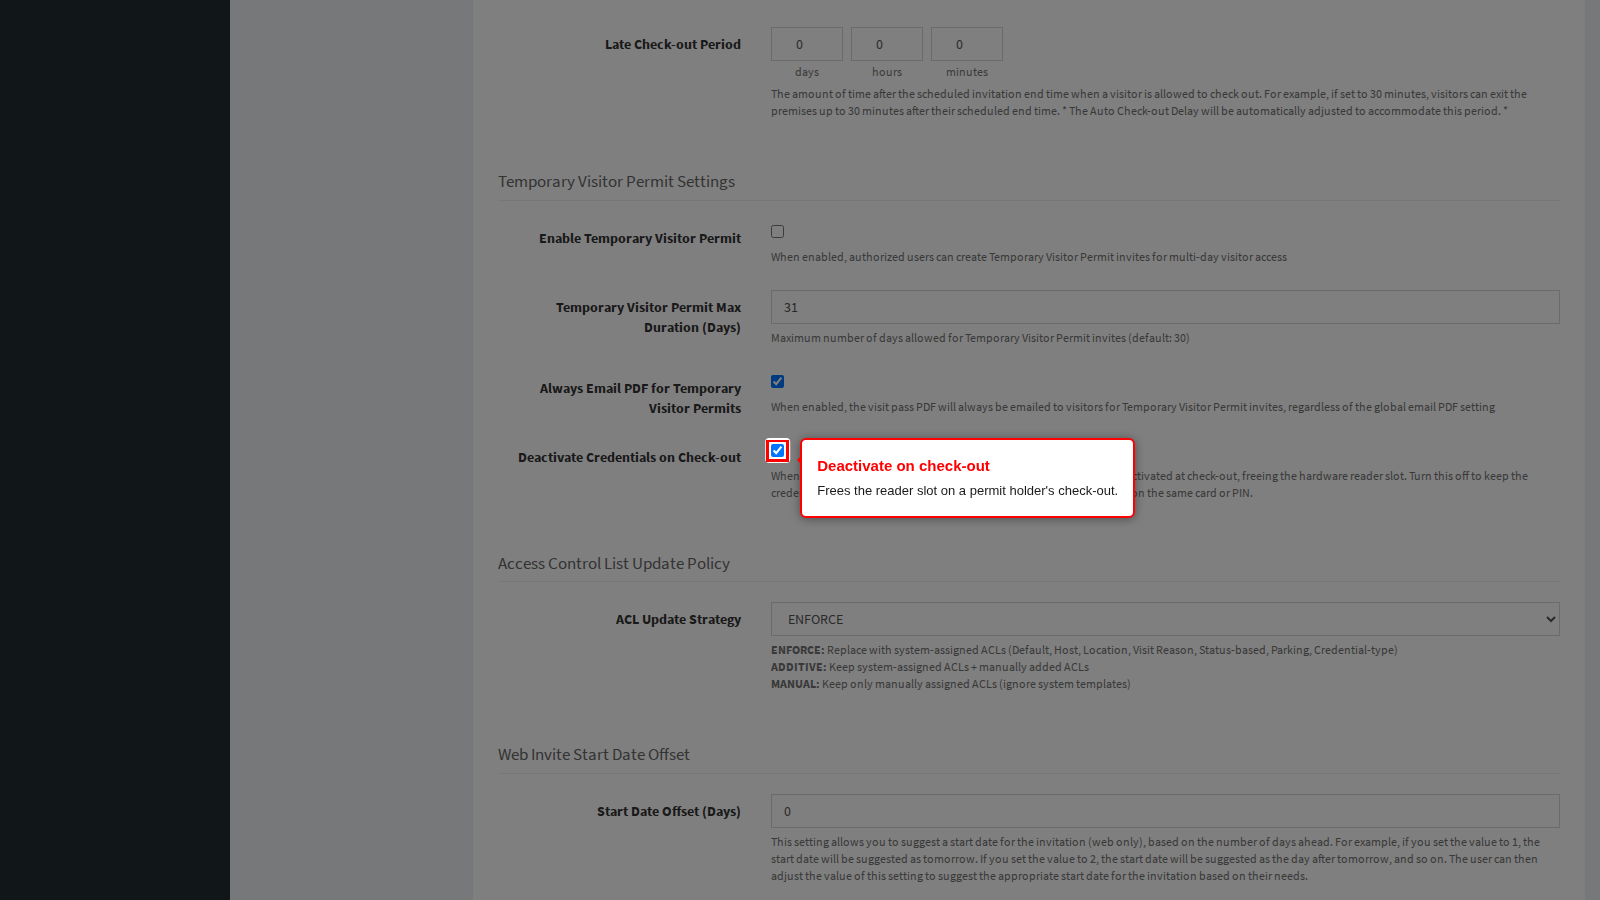
This setting interacts with the system-wide check-out behaviour. When credentials are also deactivated on check-out under Check-out, the two together stop a permit holder re-entering on the same credential, and the panel shows a warning as soon as that combination is selected.
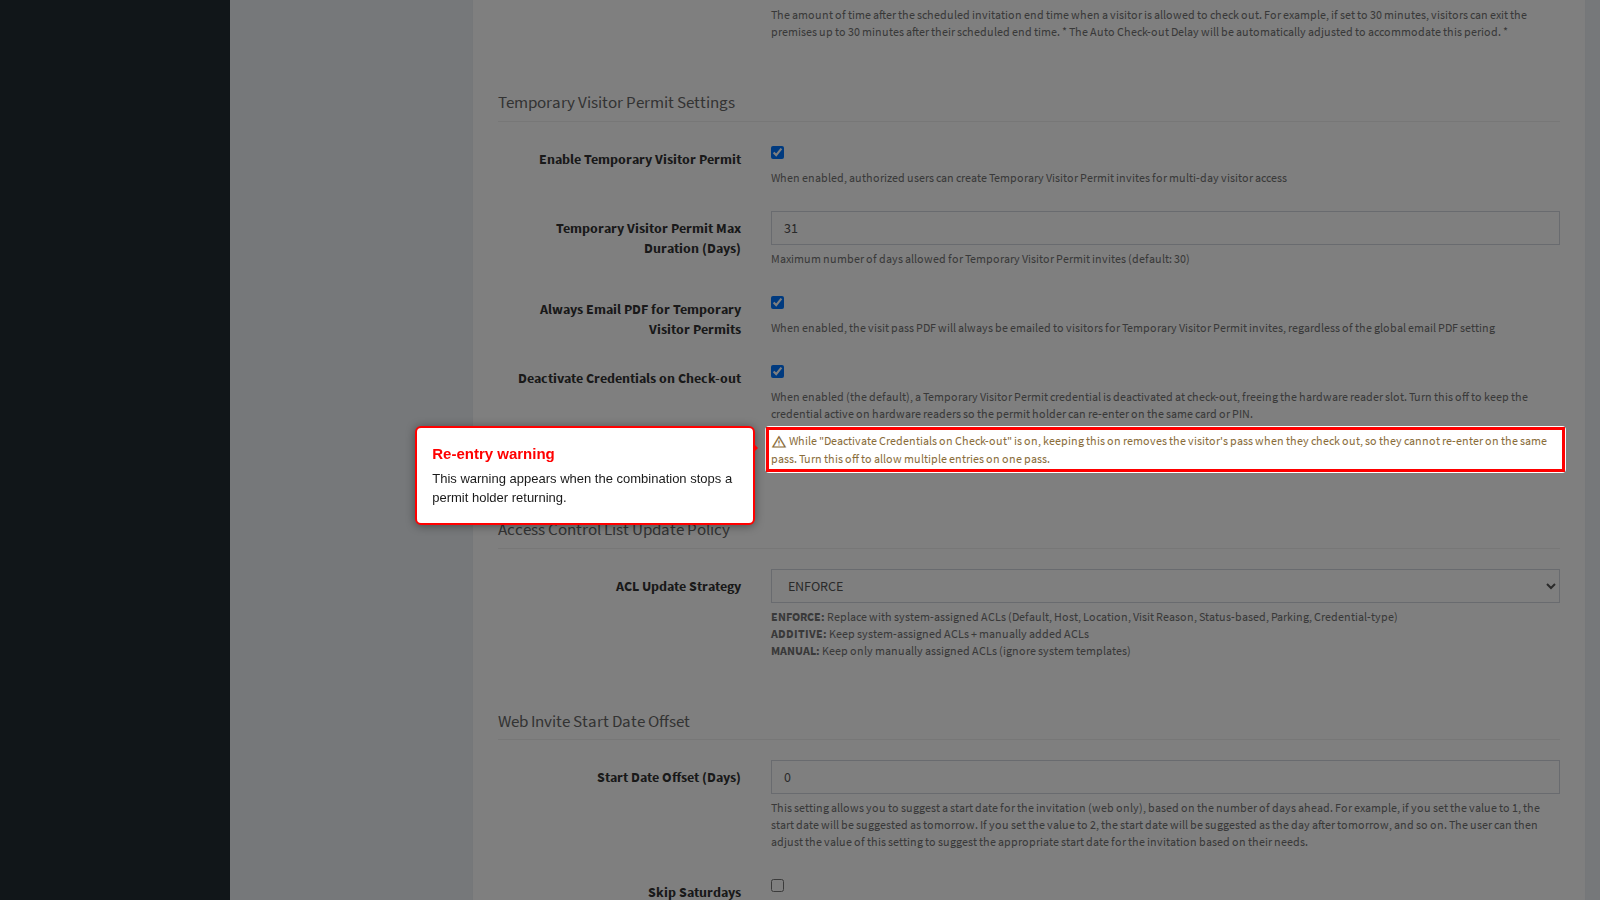
End state: if you see this warning, either turn the permit sub-toggle off, or allow re-check-in under Check-out, otherwise your contractors will be refused on their second day.
Access control list update policy
An access control list can arrive on a pass in two ways: the product assigns it from a rule (the default list above, a rule attached to the host, the location, the visit reason, the visit status, the parking allocation or the credential type), or an operator picks it by hand on the credential. ACL Update Strategy decides what happens to that mixture when the visit is edited and the lists are recalculated.
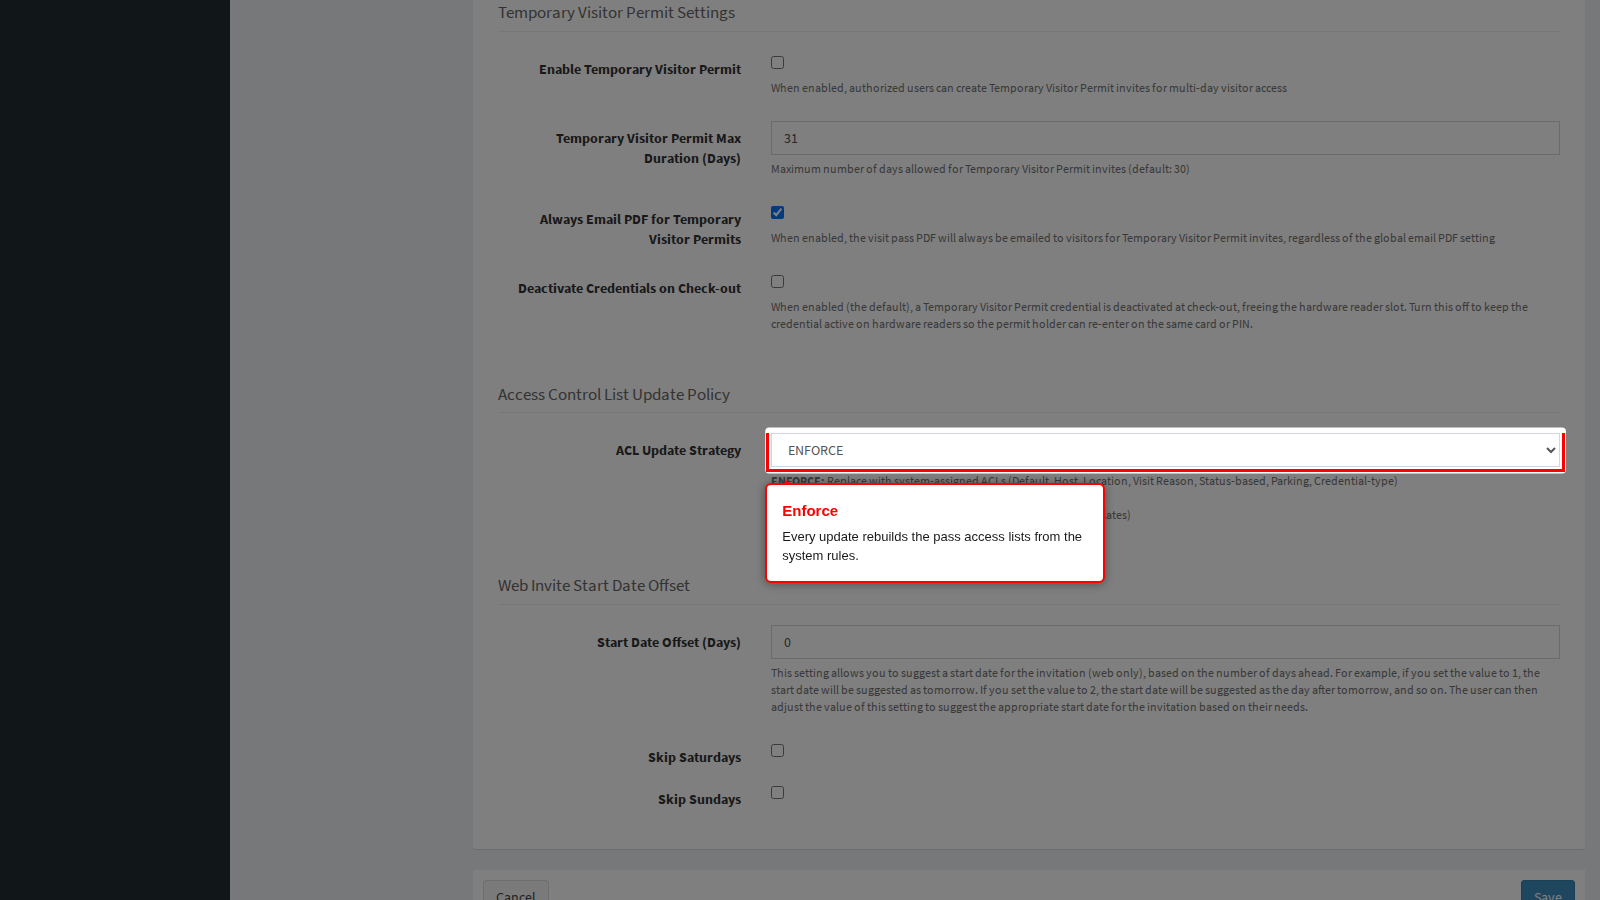
ENFORCE throws away what is on the pass and rebuilds it from the system rules. Hand-picked lists are lost on the next edit. Choose it when the rules must be the single source of truth and no one may widen a visitor access by hand.
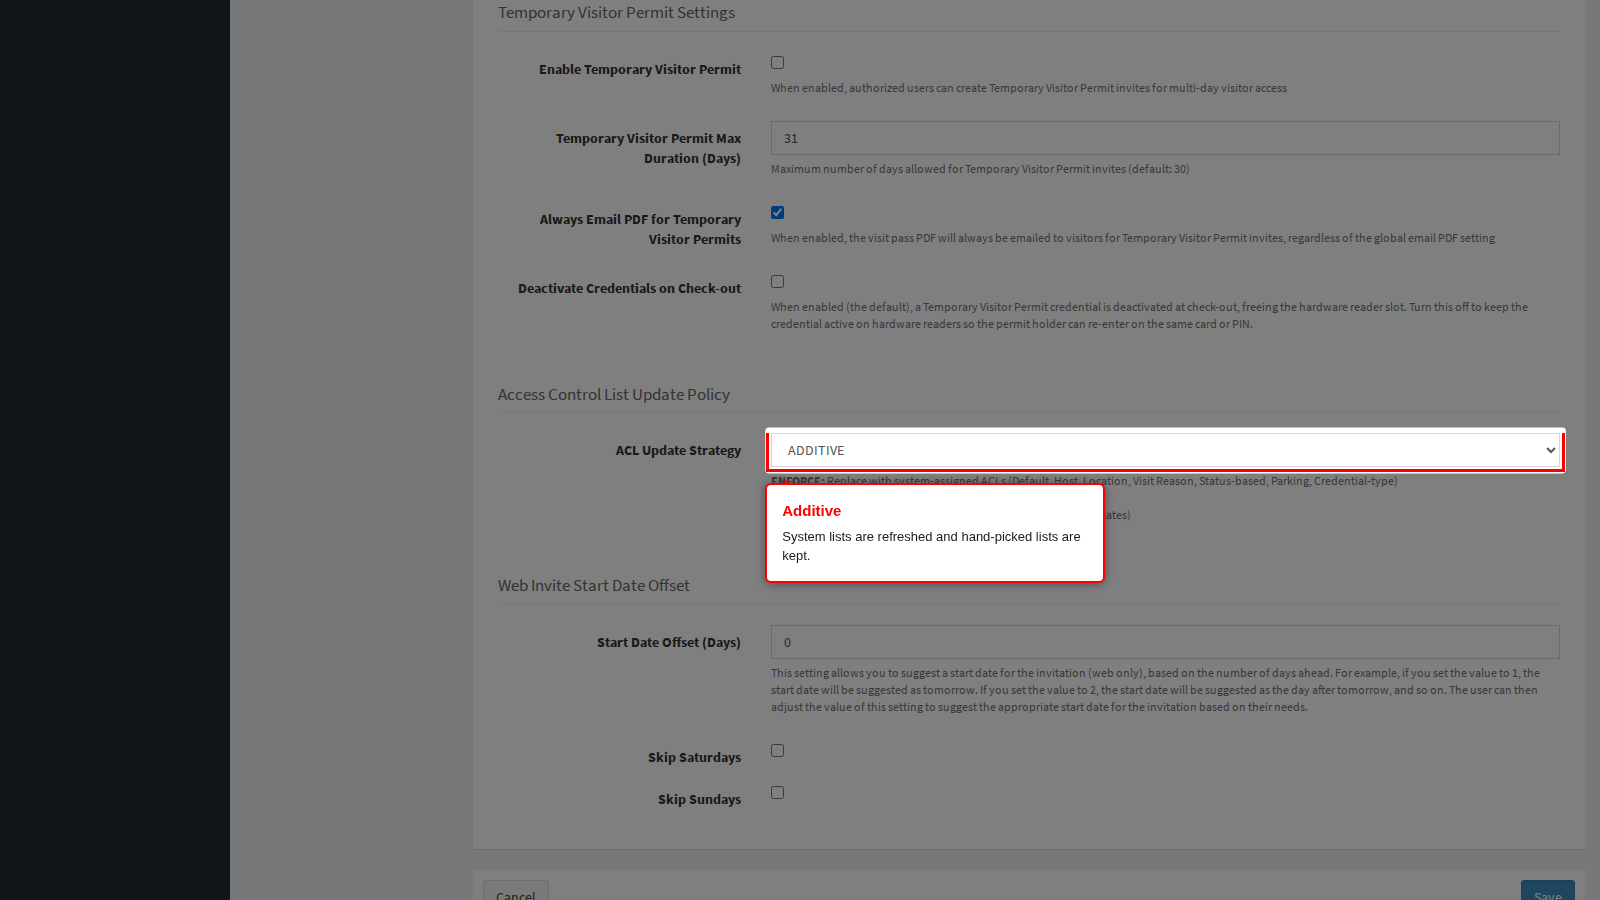
ADDITIVE refreshes the rule-assigned lists and keeps anything an operator added by hand. Choose it when reception legitimately grants a visitor one extra door for a specific meeting and that grant must survive a later change of times.
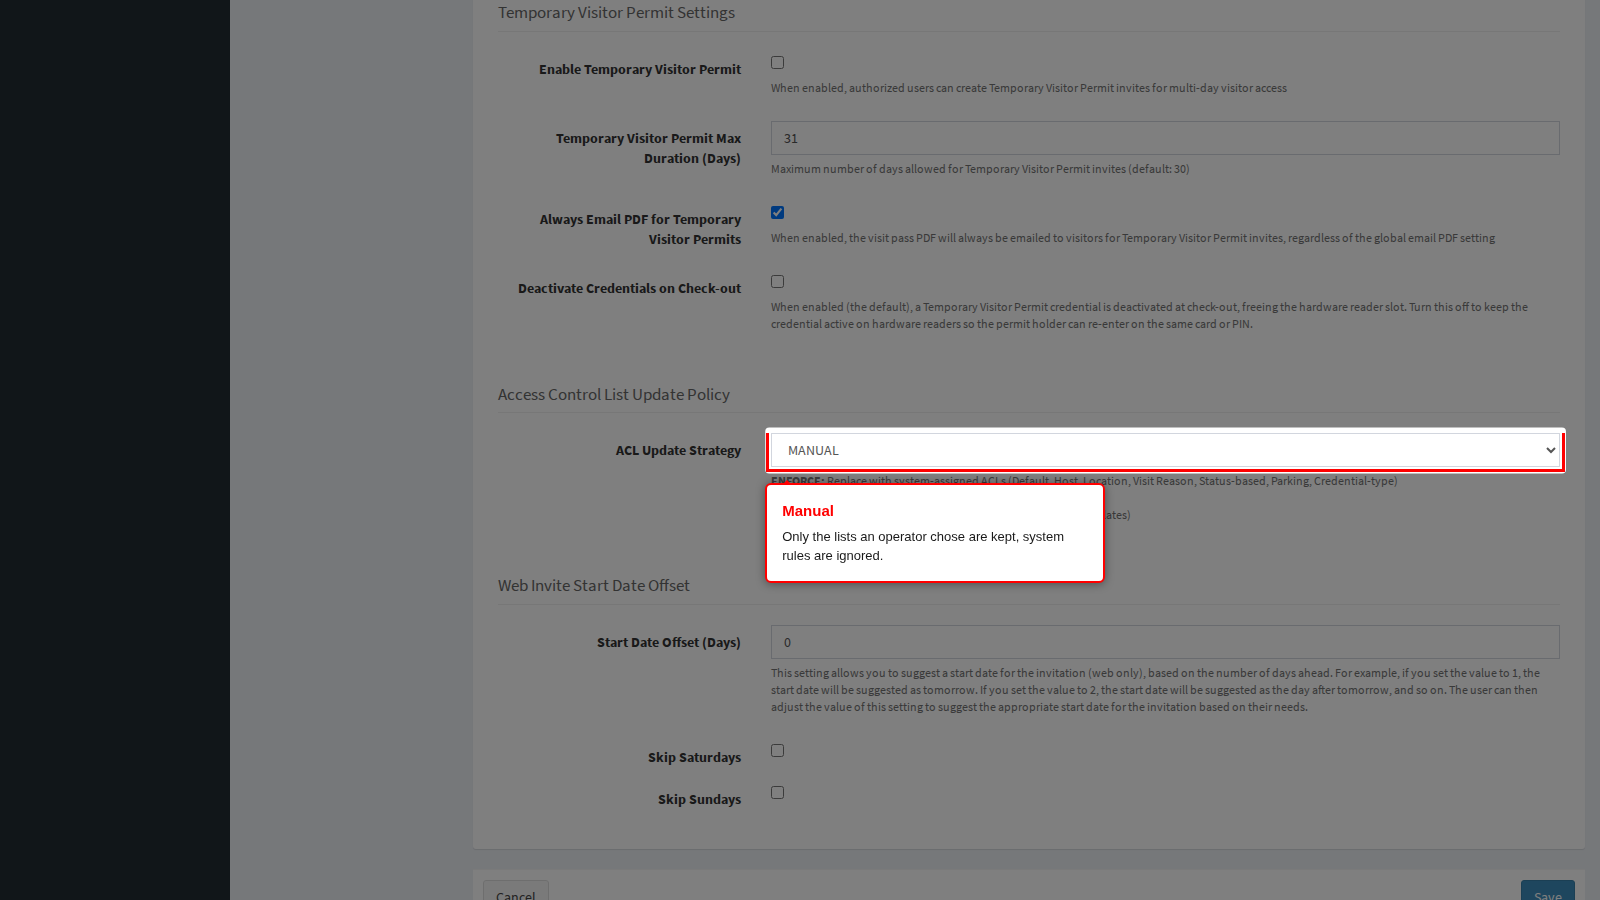
MANUAL keeps only what an operator chose and ignores the rules entirely. Choose it where every visitor access is decided by a person. Be aware that with MANUAL the Visitor Default ACL is not re-applied on an update, so a pass that was issued without a list remains without one.
End state: the strategy applies from the next time a visit is updated. Already-issued credentials are not touched at the moment you save the setting; they are recalculated the next time their visit changes. Related reading: Status Based ACL for the rules that map a visit status to a list, and Access Control Lists for the lists themselves.
Web Invite Start Date Offset
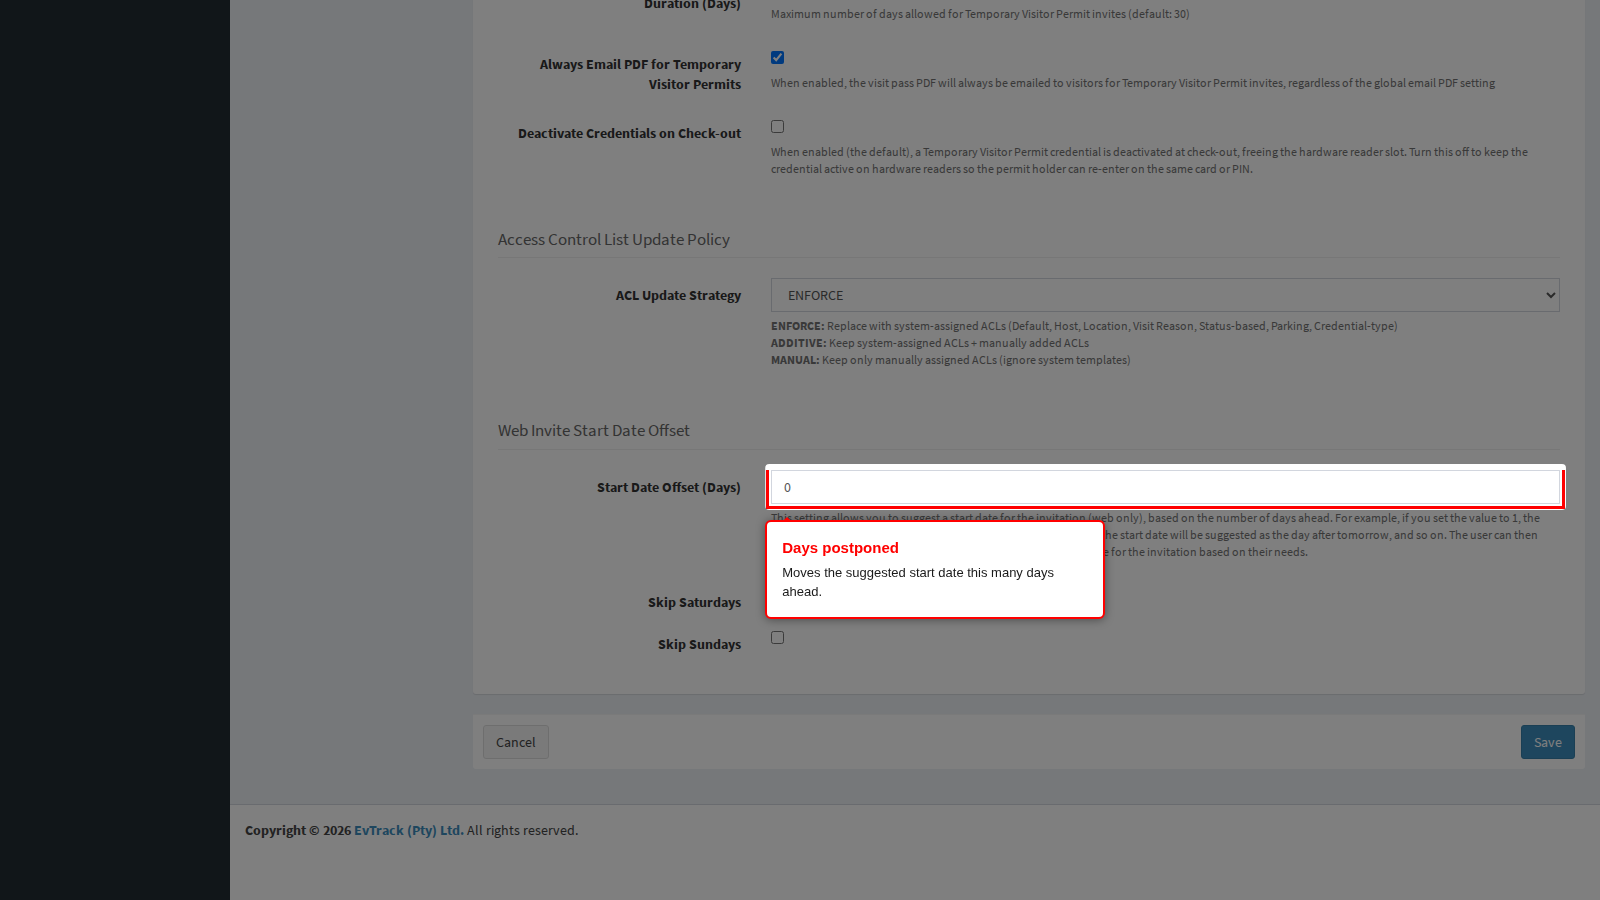
These three fields, grouped under the Web Invite Start Date Offset heading at the bottom of the General panel, move the suggested start date on a new invitation created in the web console. They change what an operator finds pre-filled on the invitation form, the visit pass form, the pre-registration approval screen and the invitation raised from a live chat. They do not restrict anything: the operator can still type any date they like, and they have no effect on invitations created by a visitor self-registering, by the mobile app or through the web service interface.
Start Date Offset (Days) suggests a start date this many days ahead: 0 suggests today, 1 suggests tomorrow, 2 the day after. Sites that require a day of notice for visitors set it to 1 so reception does not have to change the date on every invitation. The date is worked out in the system time zone, not the operator browser time zone, so operators in different countries all see the same suggested day.
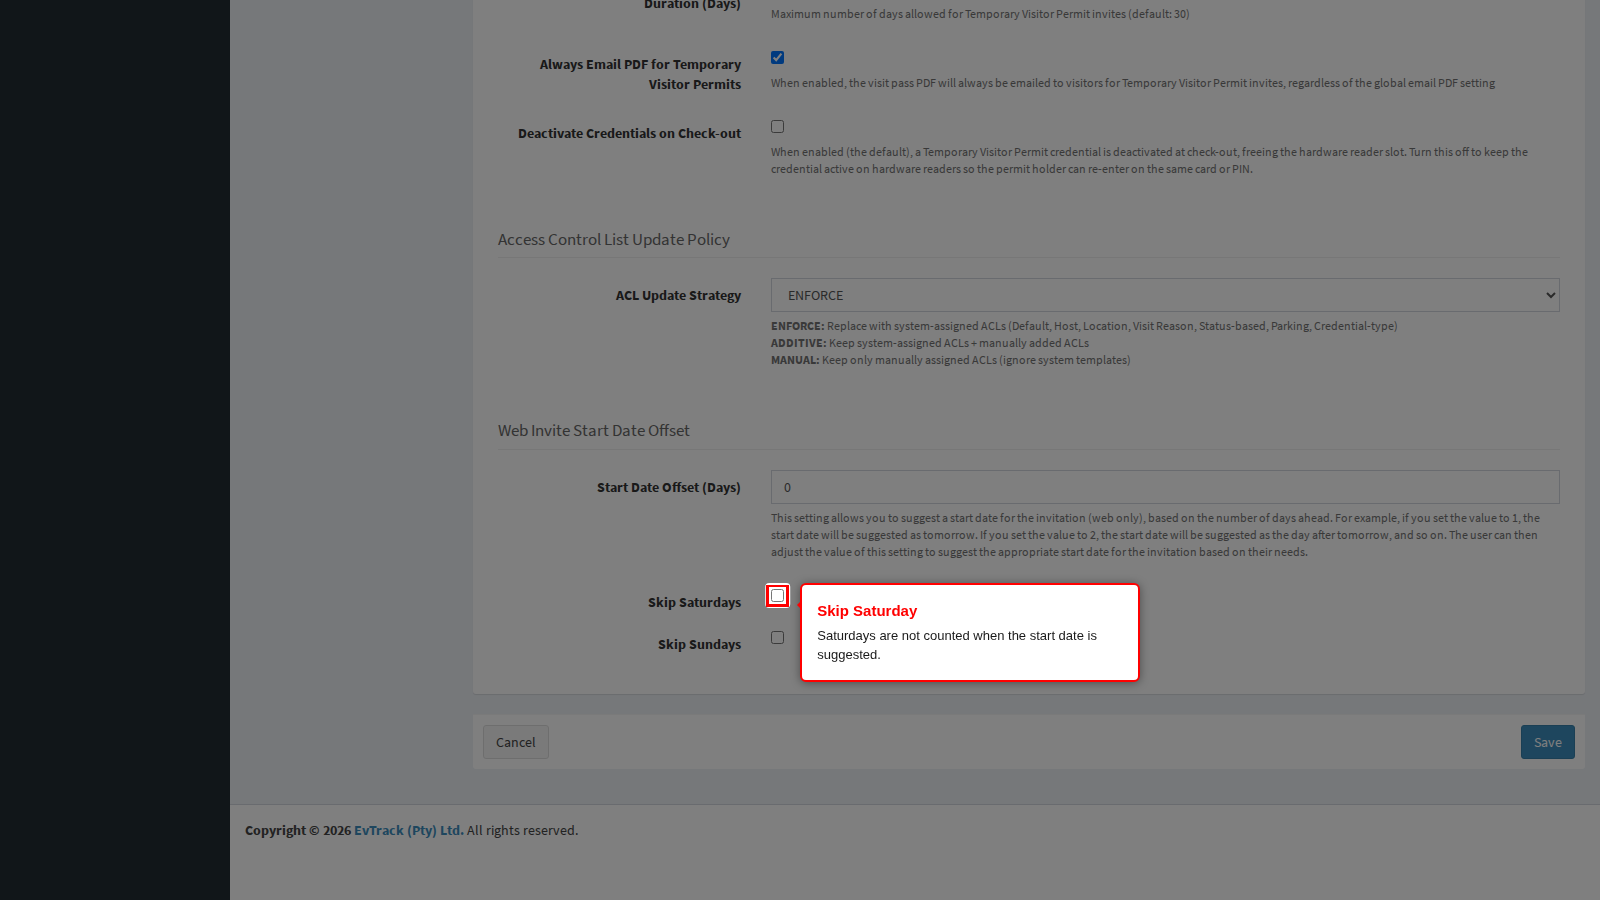
Skip Saturdays pushes the suggested date forward by a day if it lands on a Saturday.
Skip Sundays does the same for Sundays.
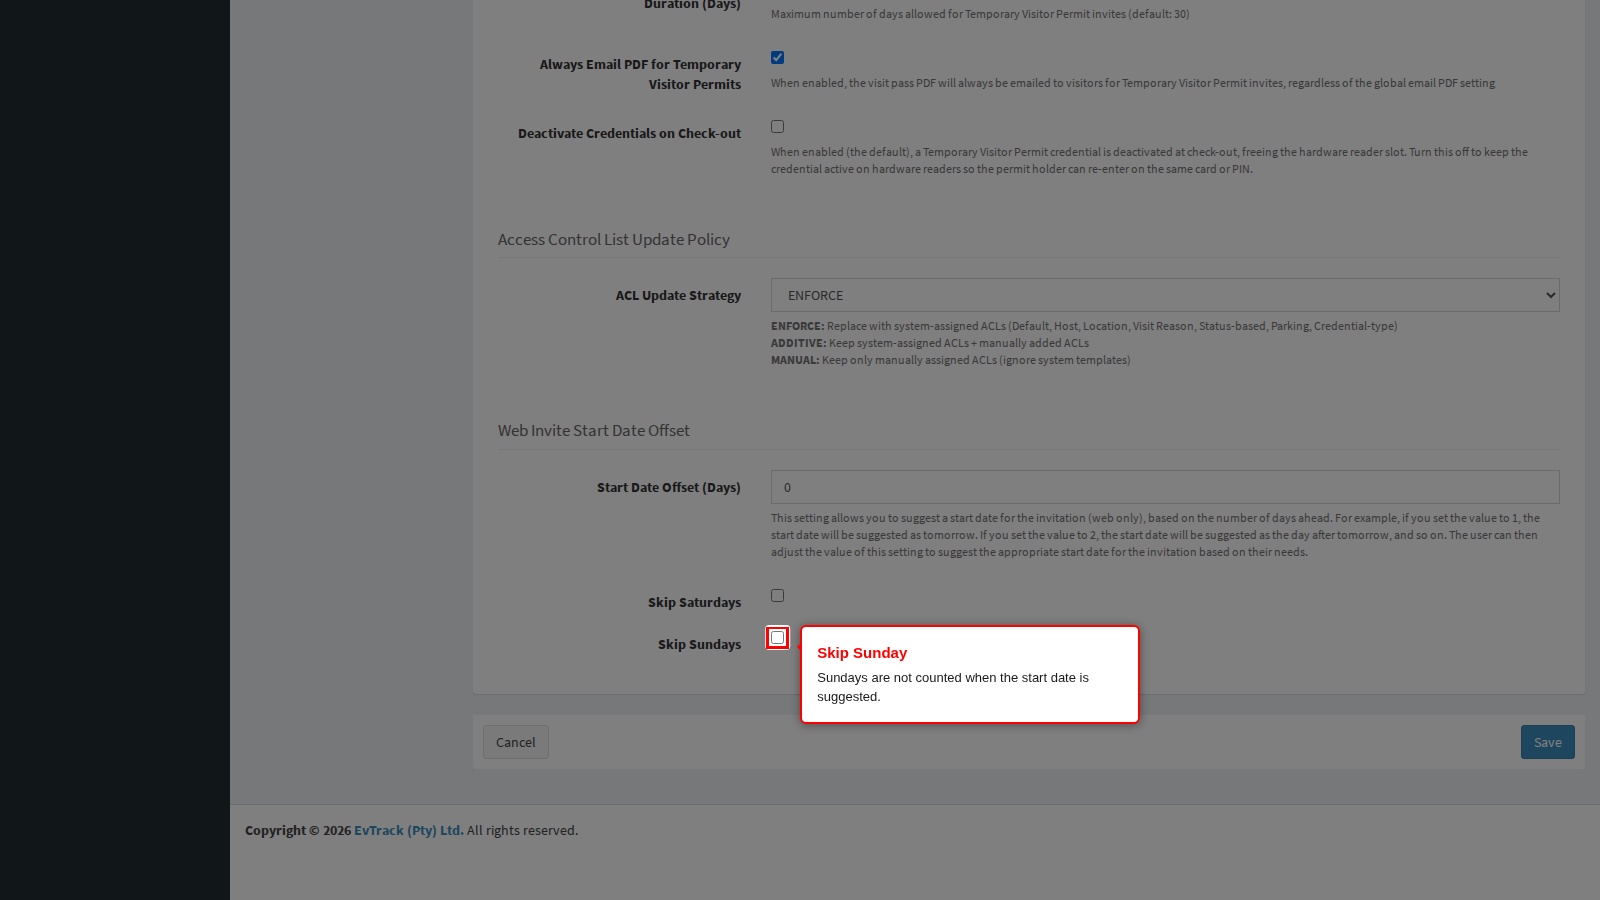
Tick both on a site that is closed at weekends: the two checks run one after the other, so a Friday invitation with a one-day offset moves to Saturday, then to Sunday, then to Monday. Ticking only one of them leaves the other day reachable - with only Skip Sundays on, the same Friday invitation still suggests Saturday. The rule only ever nudges the date forward by the weekend it lands on; it does not know about your public holidays.
End state: the next invitation an operator opens shows the adjusted start date already filled in, and the operator can override it.
Additional Credentials: extra credential types
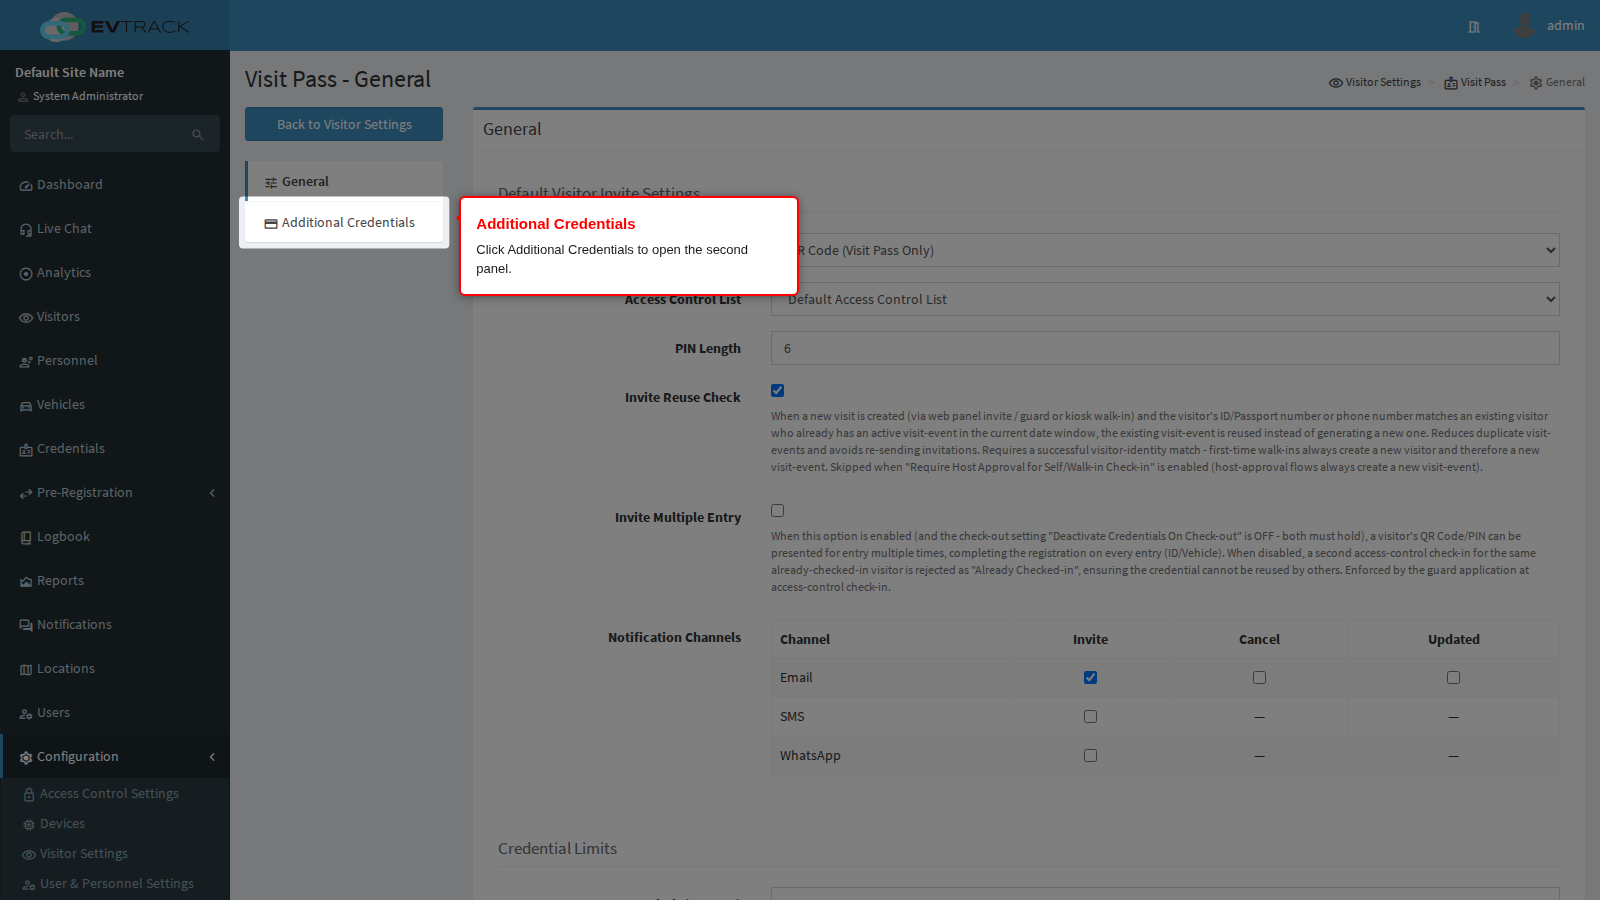
One invitation can produce more than one credential. The second panel decides which extras are generated automatically, and which access control list each one is issued onto. Click Additional Credentials in the Visit Pass menu.
Generate Visitor Optional PIN Only adds a keypad PIN alongside the visitor main pass. Turn it on where some readers are keypads and others are scanners, so the visitor has something that works at both.
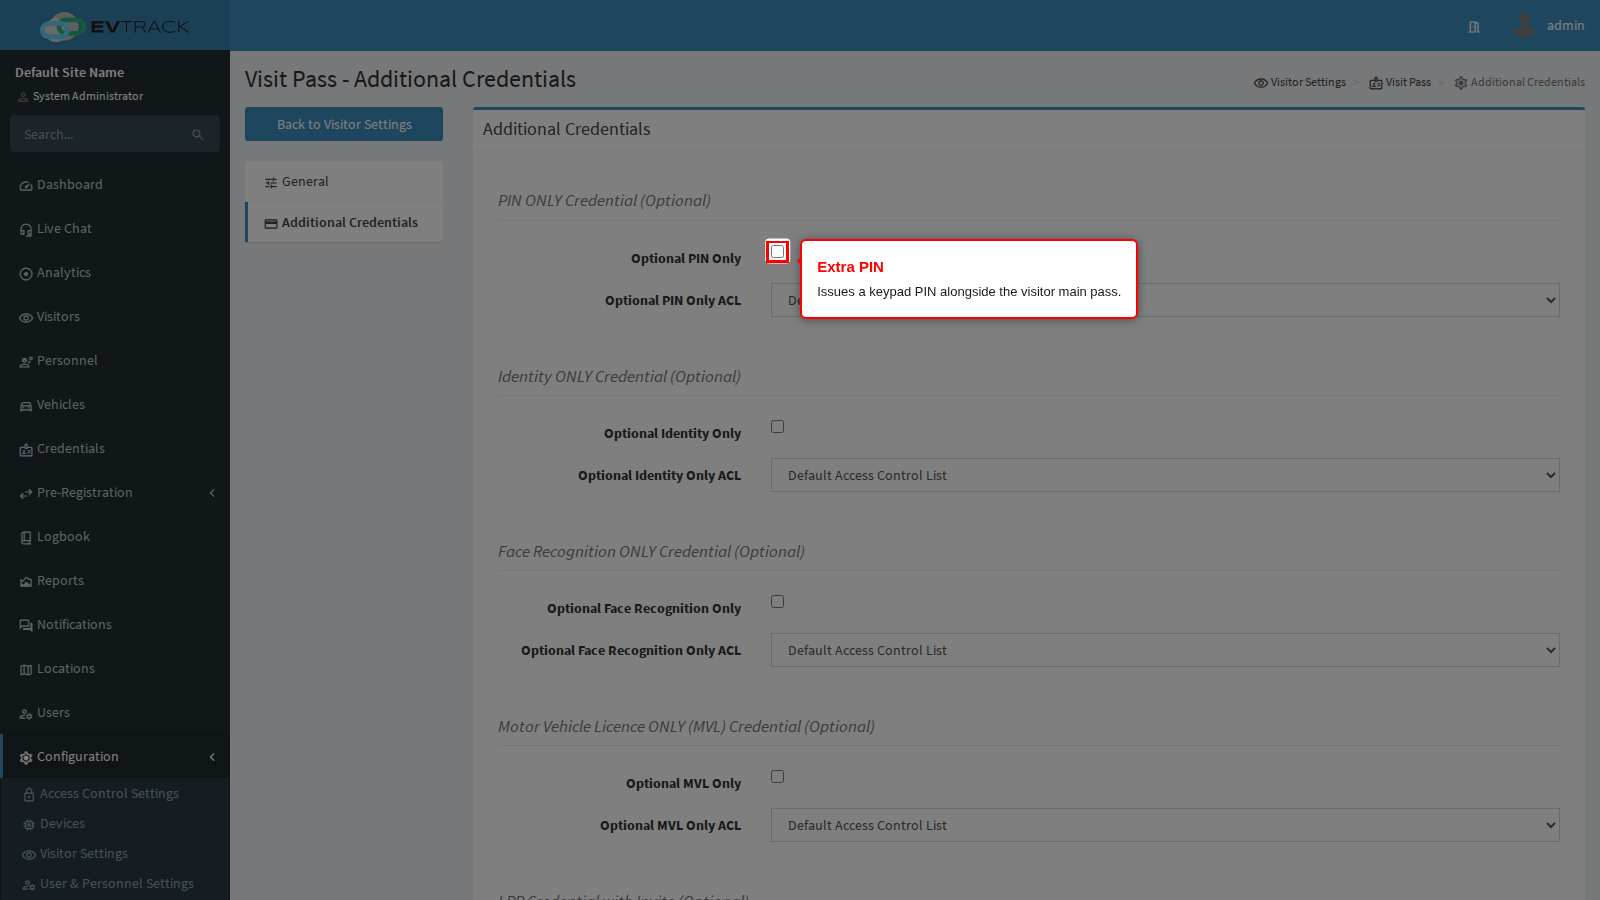
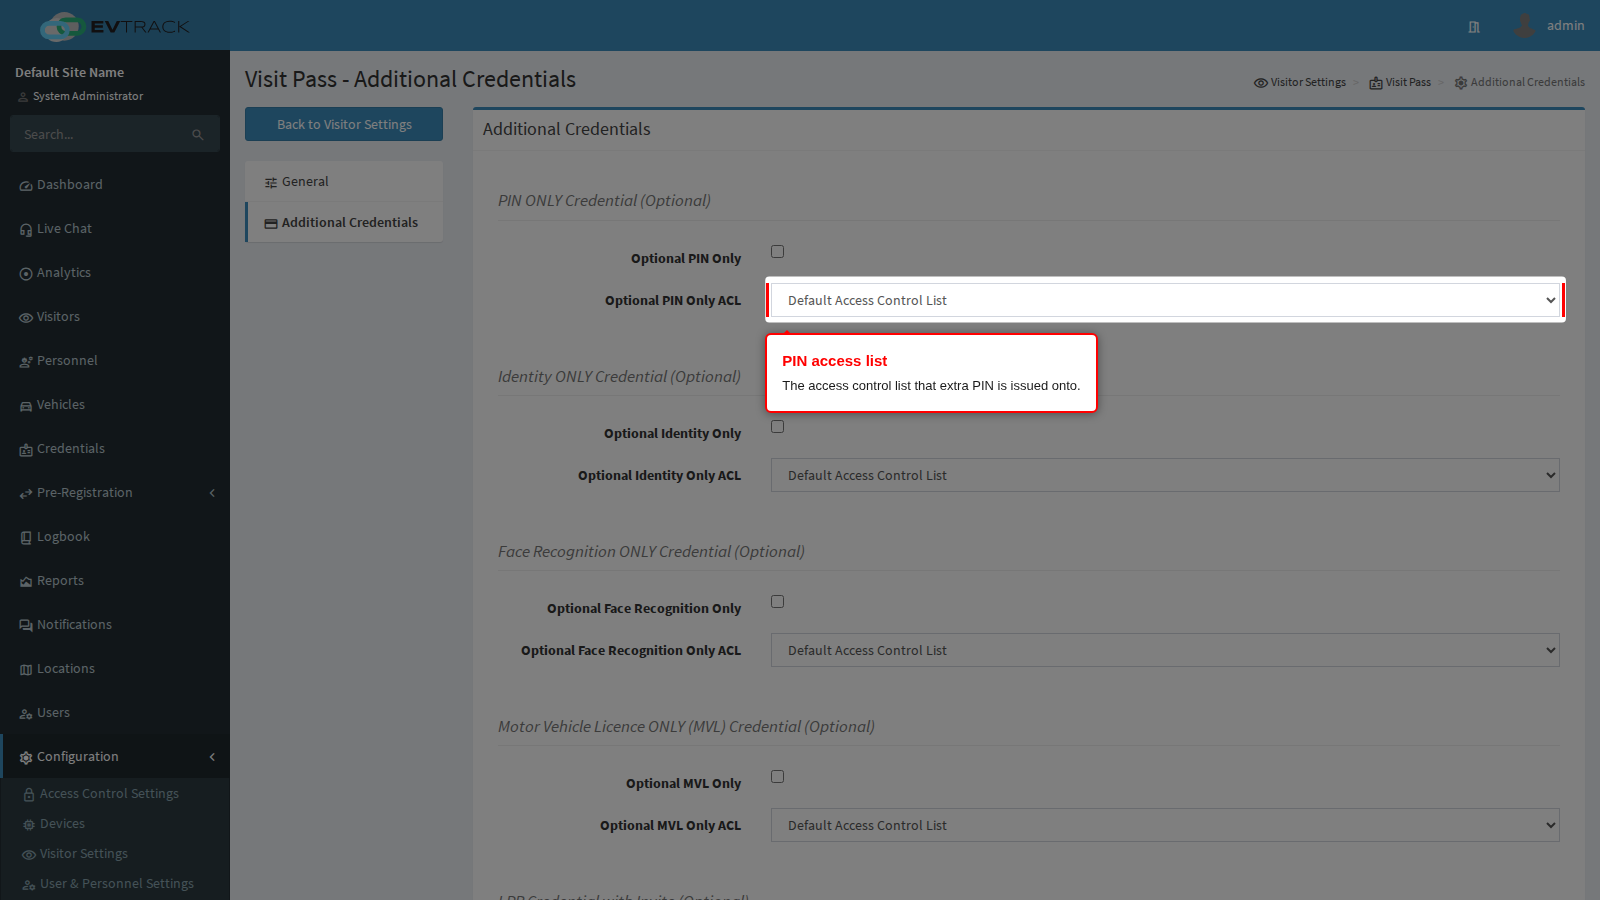
Each extra credential has its own ACL selector directly beneath it. Point it at a list that covers only the readers that credential is meant for. A PIN issued onto a list covering every door hands the visitor far more than the pass they were sent, so keep the extra credentials on tighter lists than the main pass.
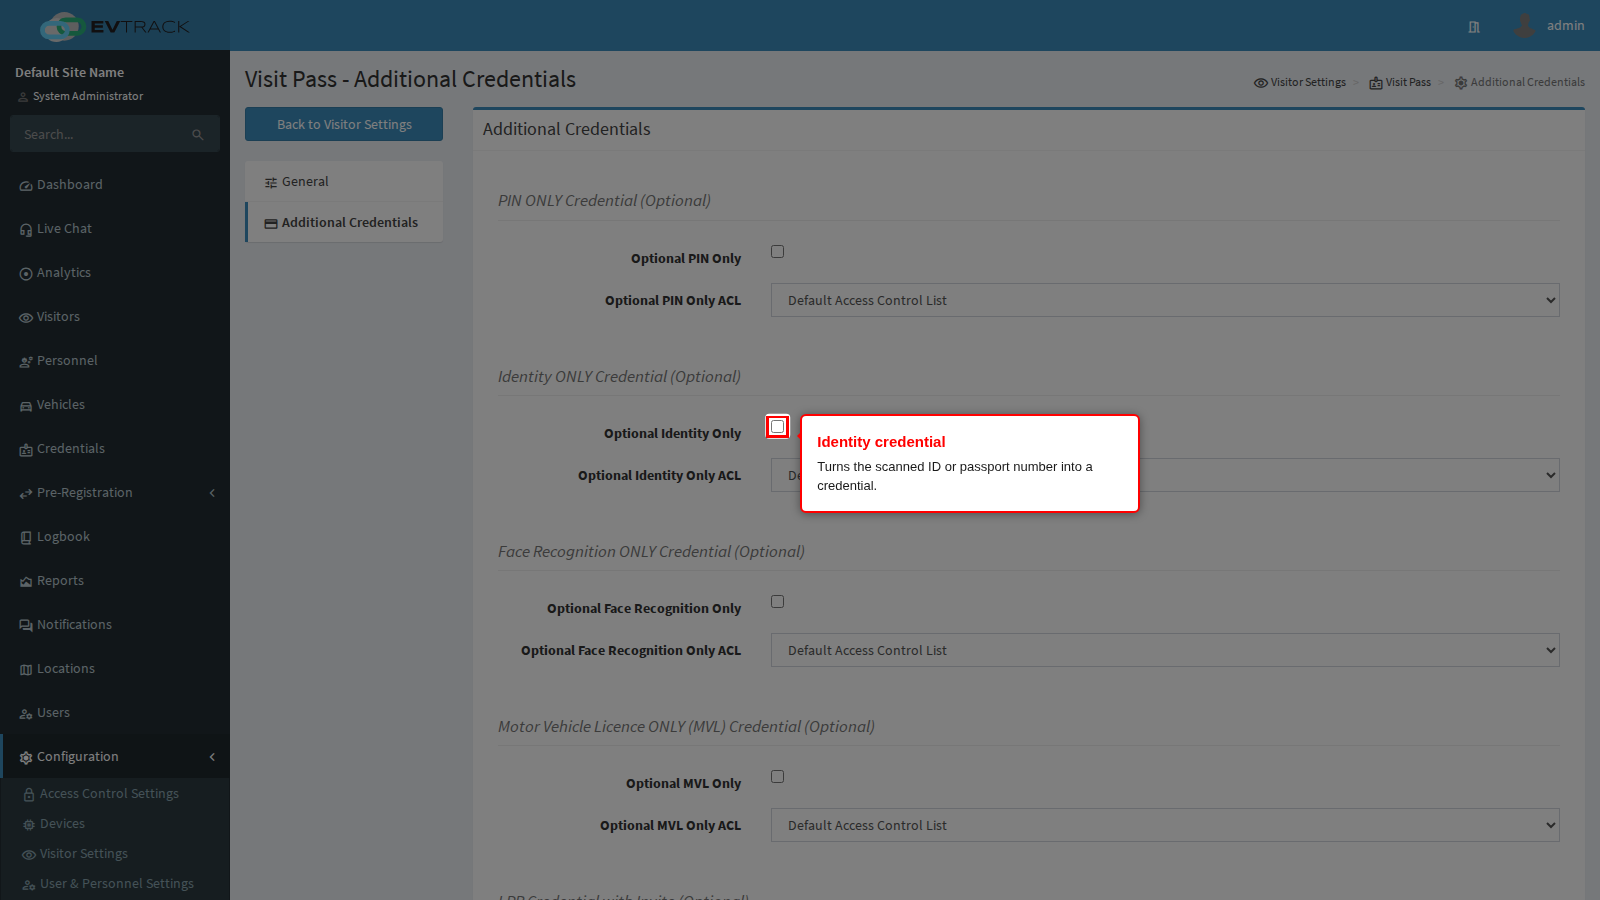
Generate Visitor Optional Identity Only turns the visitor identity number, read from a scanned ID document or passport, into a credential. Turn it on where readers or a checkpoint operator verify people by document number rather than a code.
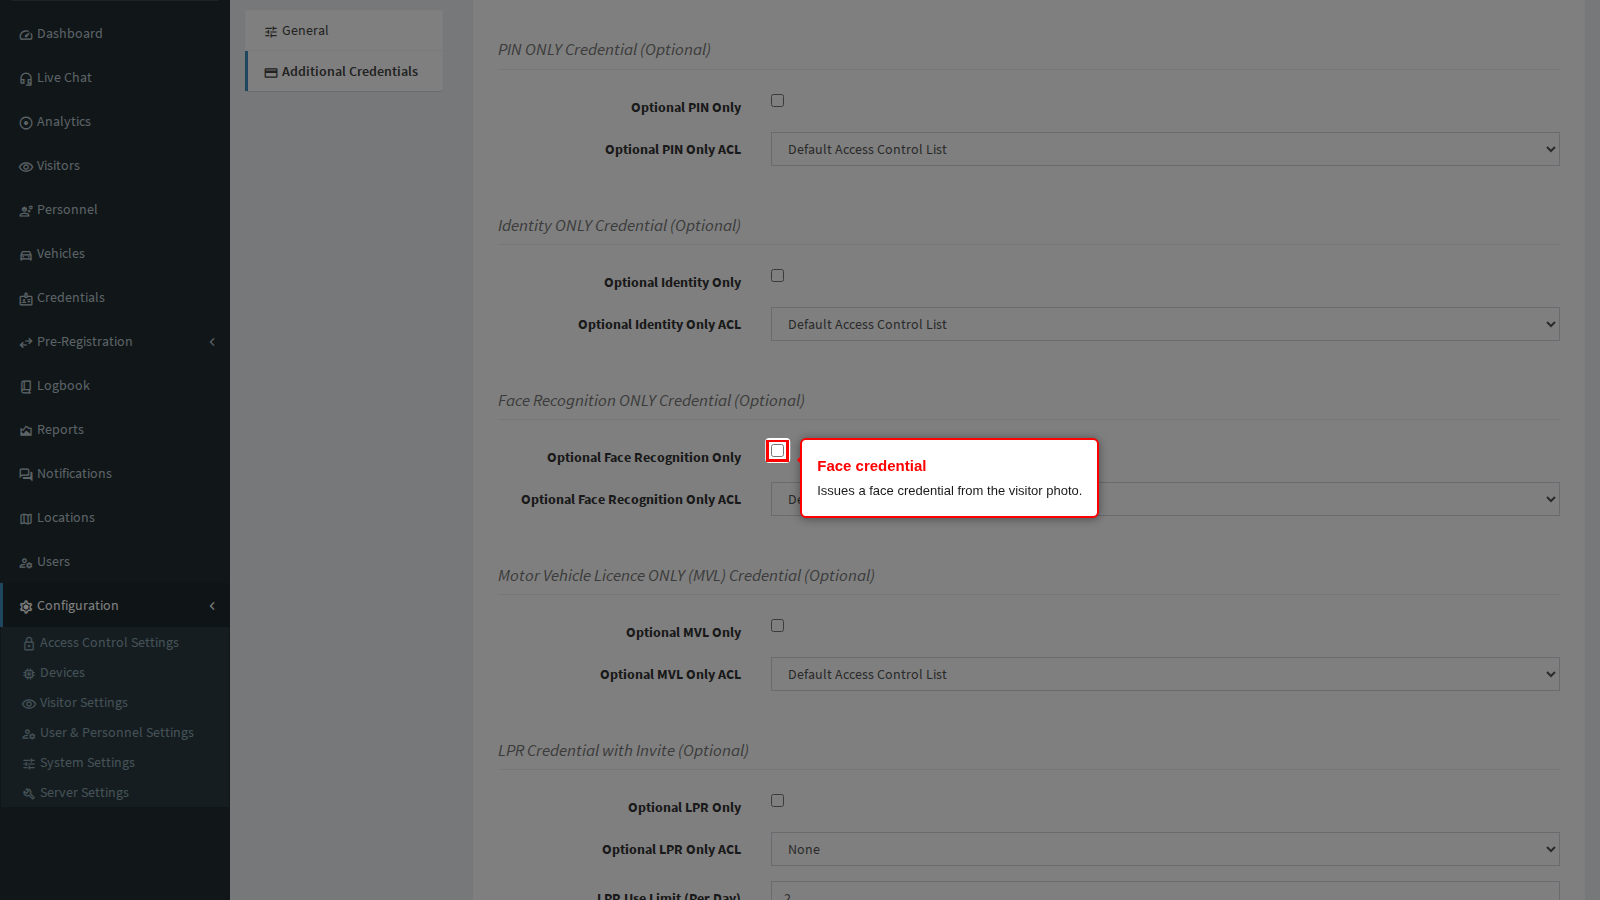
Optional Face Recognition Only issues a face credential from the visitor photo, which is what face readers match against. It only produces anything when a usable photo exists, so pair it with a photo requirement on the Kiosk or Guard App fields.
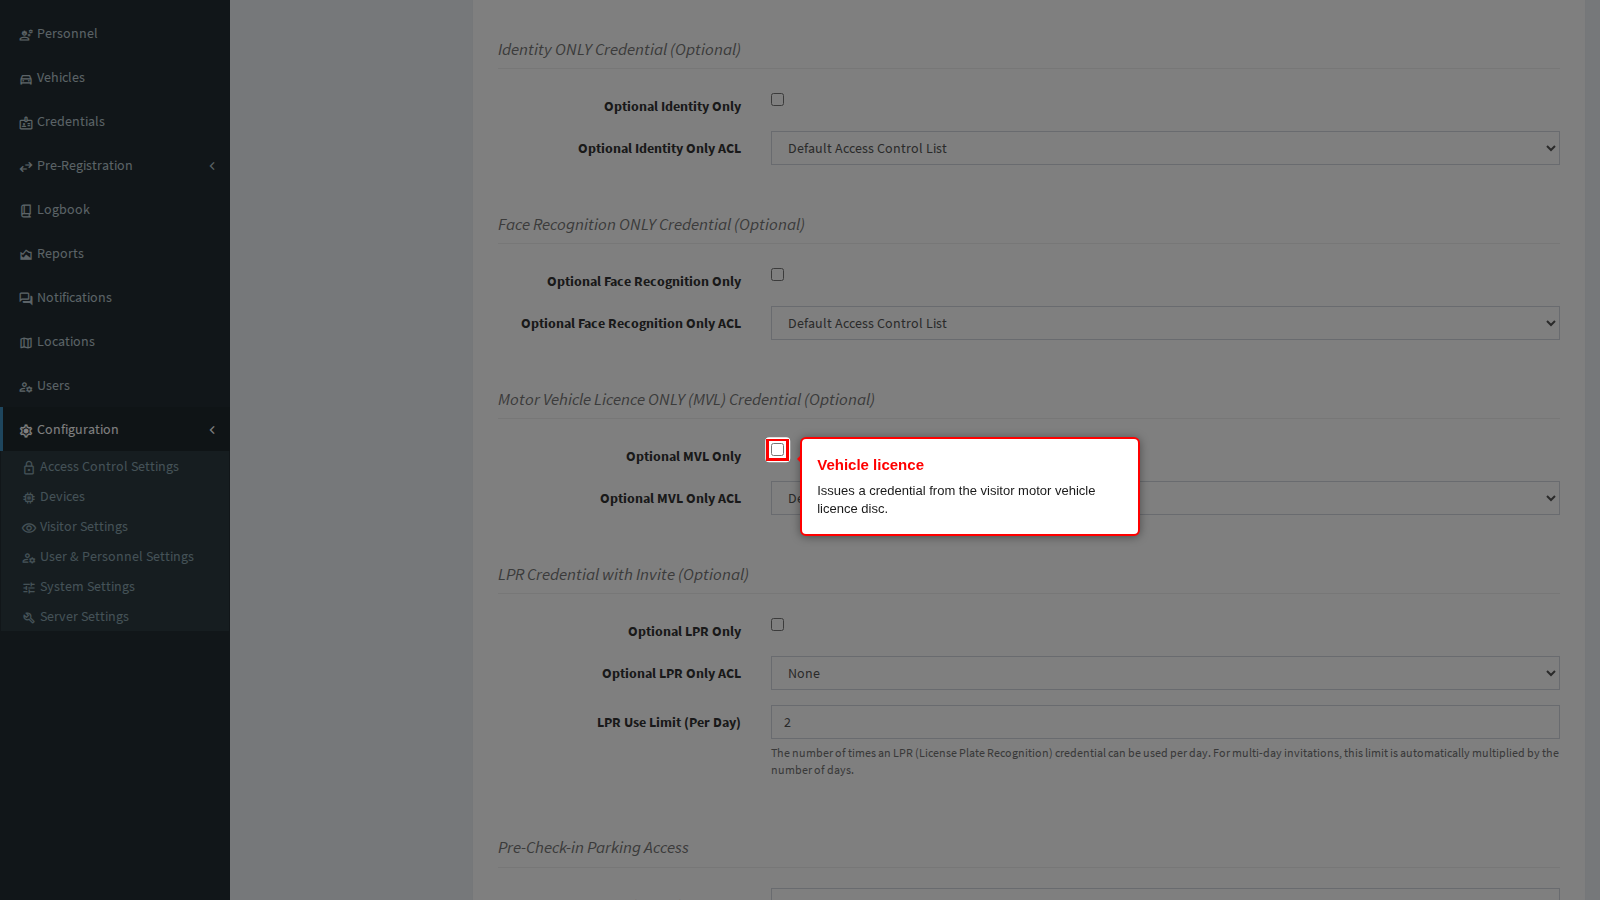
Generate Visitor Optional MVL Only issues a credential from the visitor motor vehicle licence disc, for sites whose readers scan the disc at the boom.
Additional Credentials: number plate and parking
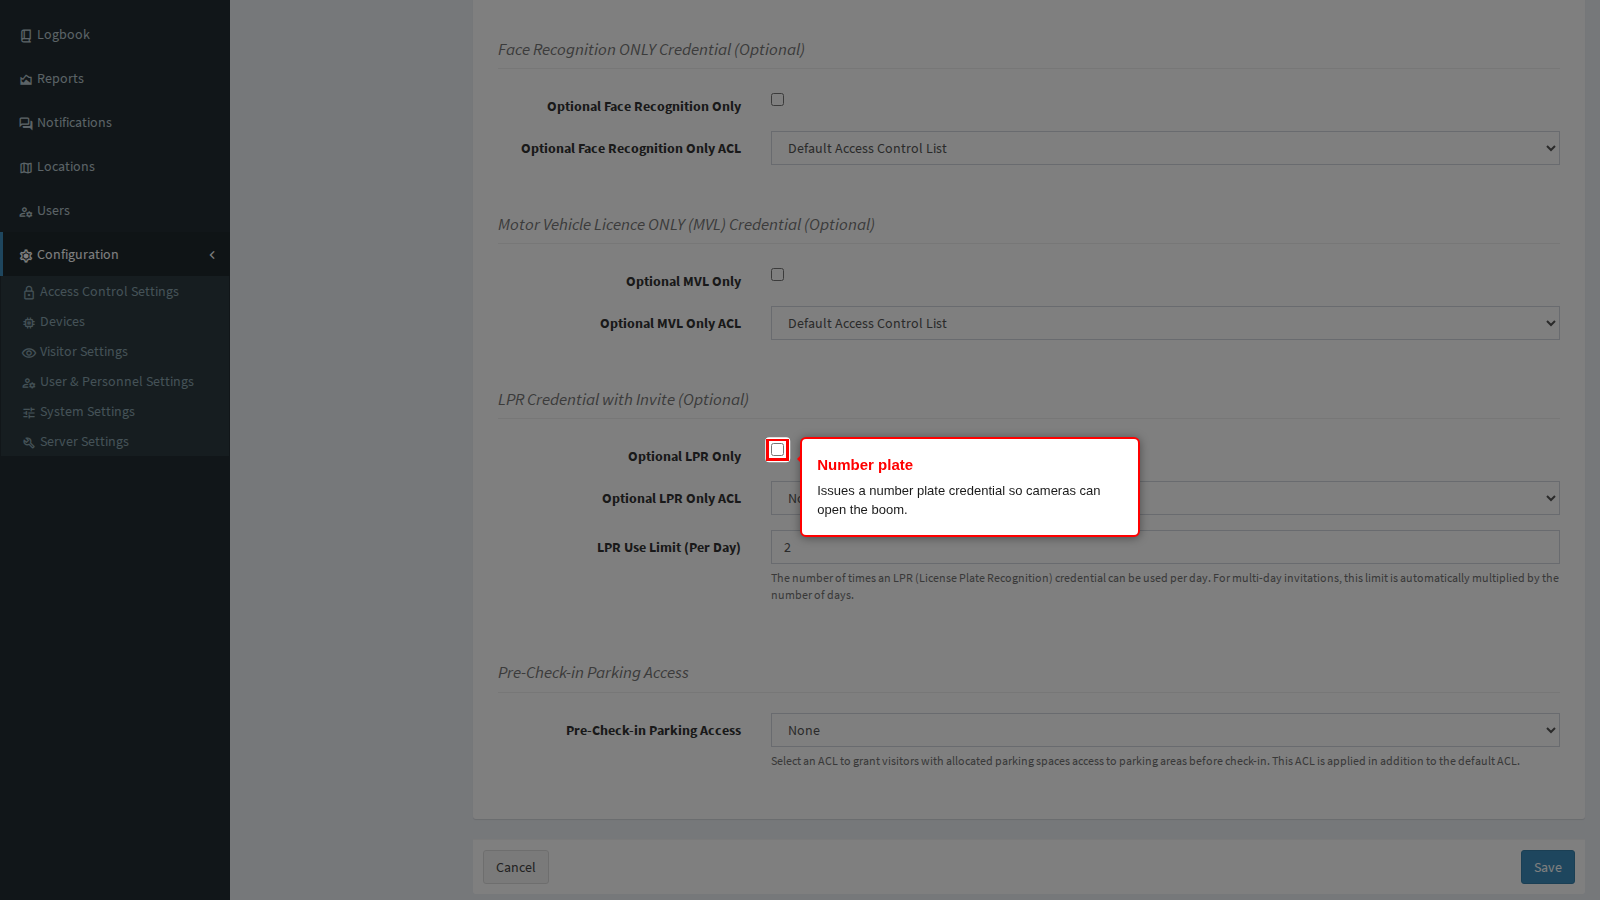
Optional LPR Only issues a number plate credential alongside the invitation, so a camera at the entrance can recognise the plate and open the boom without anyone opening a window.
It only produces something when the invitation carries a vehicle registration number. Book a visitor with no number plate and no plate credential is created, silently and without an error, which is the usual reason a site turns this on and sees nothing happen. Make the vehicle registration a field your operators actually fill in before you rely on it, and check the visitor record after the first visit: a plate credential appears in their credential list with the plate as its identifier.
The plate credential is issued for the same validity window as the main pass, and it is a credential in its own right - it can be inspected, disabled or revoked separately, and it keeps working if the visitor loses their QR code.
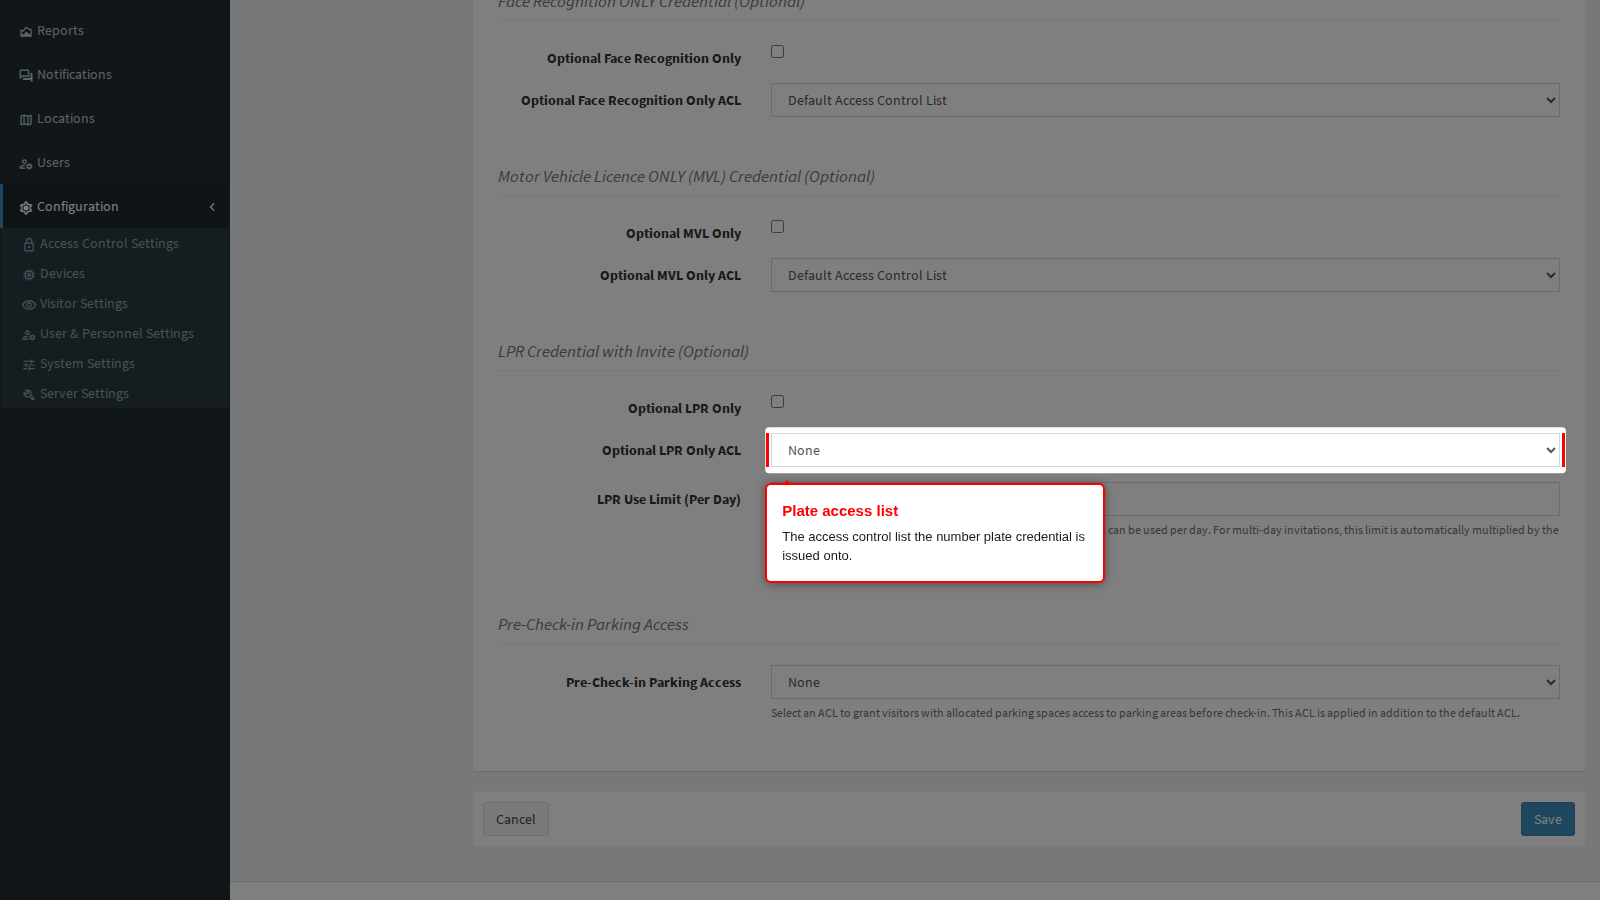
Optional LPR Only ACL is the access control list that plate credential is issued onto. Point it at the list covering your camera lanes only, not your building doors: a plate is read at a distance by a camera and is a much weaker proof of identity than a code the visitor holds, so it should open the boom and nothing else. Any lists the visit inherits from its host, location, reason or status are added on top of this one.
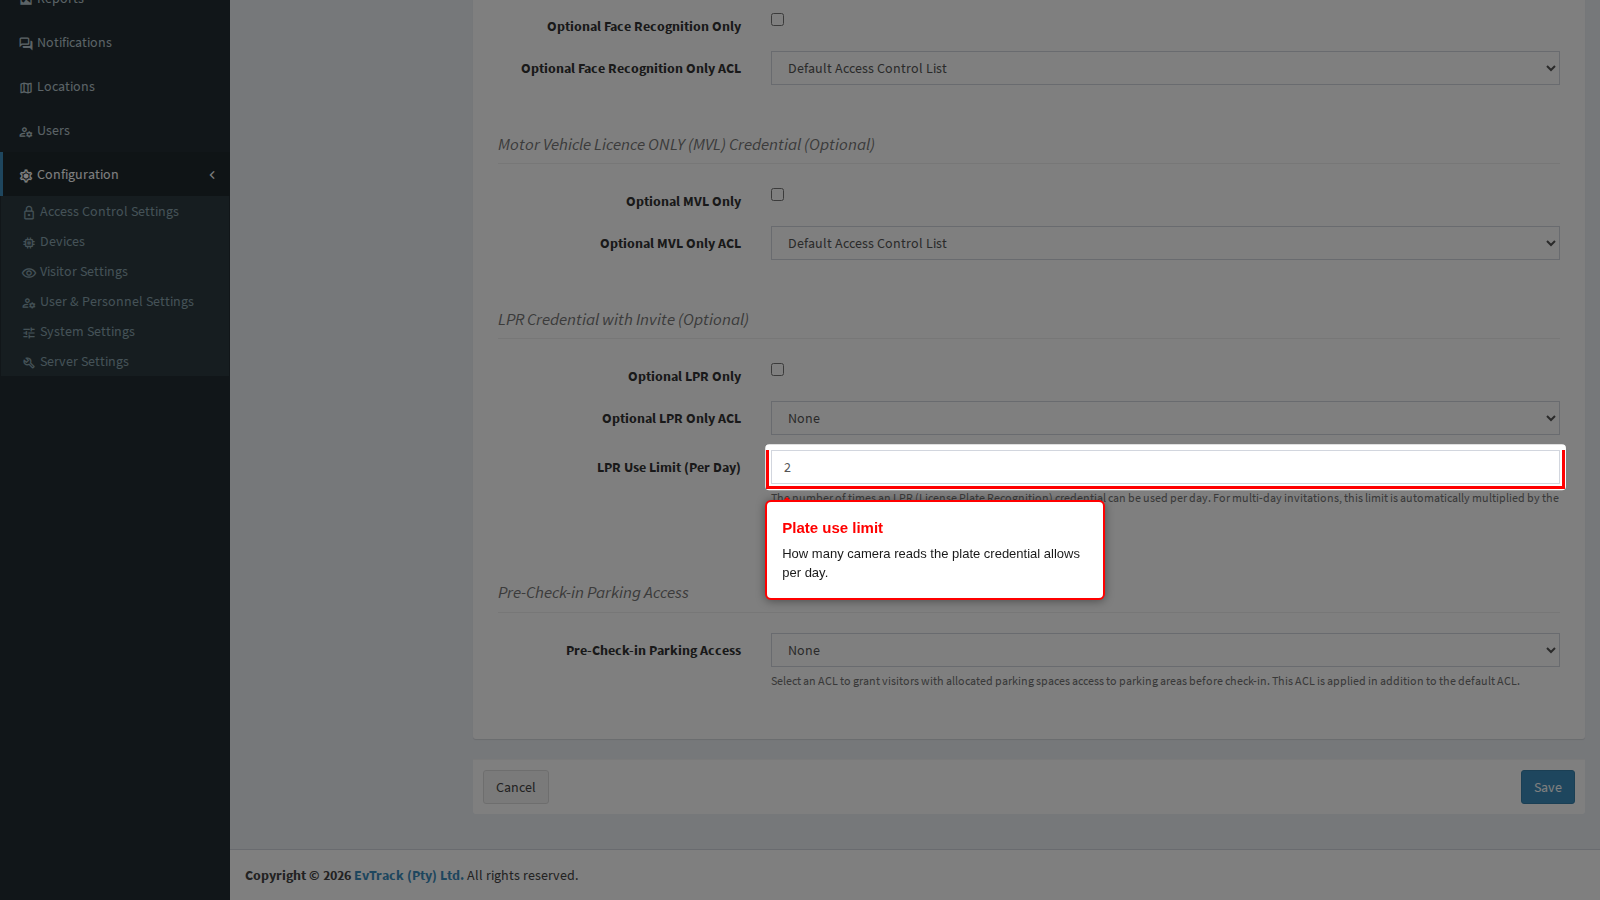
LPR Use Limit (Per Day) caps how many camera reads that plate is allowed per day. On a visit of two days or more the figure is multiplied by the number of days, so a limit of 4 on a three-day visit allows twelve reads in total.
Set it a little higher than the number of real entries you expect, because a camera can read the same vehicle more than once as it approaches. A limit of 2 on a visitor who drives in and out once is exactly enough and leaves no room for a re-read; 4 to 6 is a more forgiving starting point. When the limit is spent the plate stops opening the boom and the driver has to be let in at the checkpoint.
Whether a read actually spends one of these uses is decided per lane, by Option Decrease Use Limits On Access on the access control point. Leave that option clear on a lane and the limit here is never consumed there.
Pre-Check-in Parking Access grants a visitor with an allocated parking space access to the parking areas before they have checked in, which is the order things happen in real life: park first, walk to reception second. The list chosen here is applied in addition to the default list, so it should cover the parking readers only.
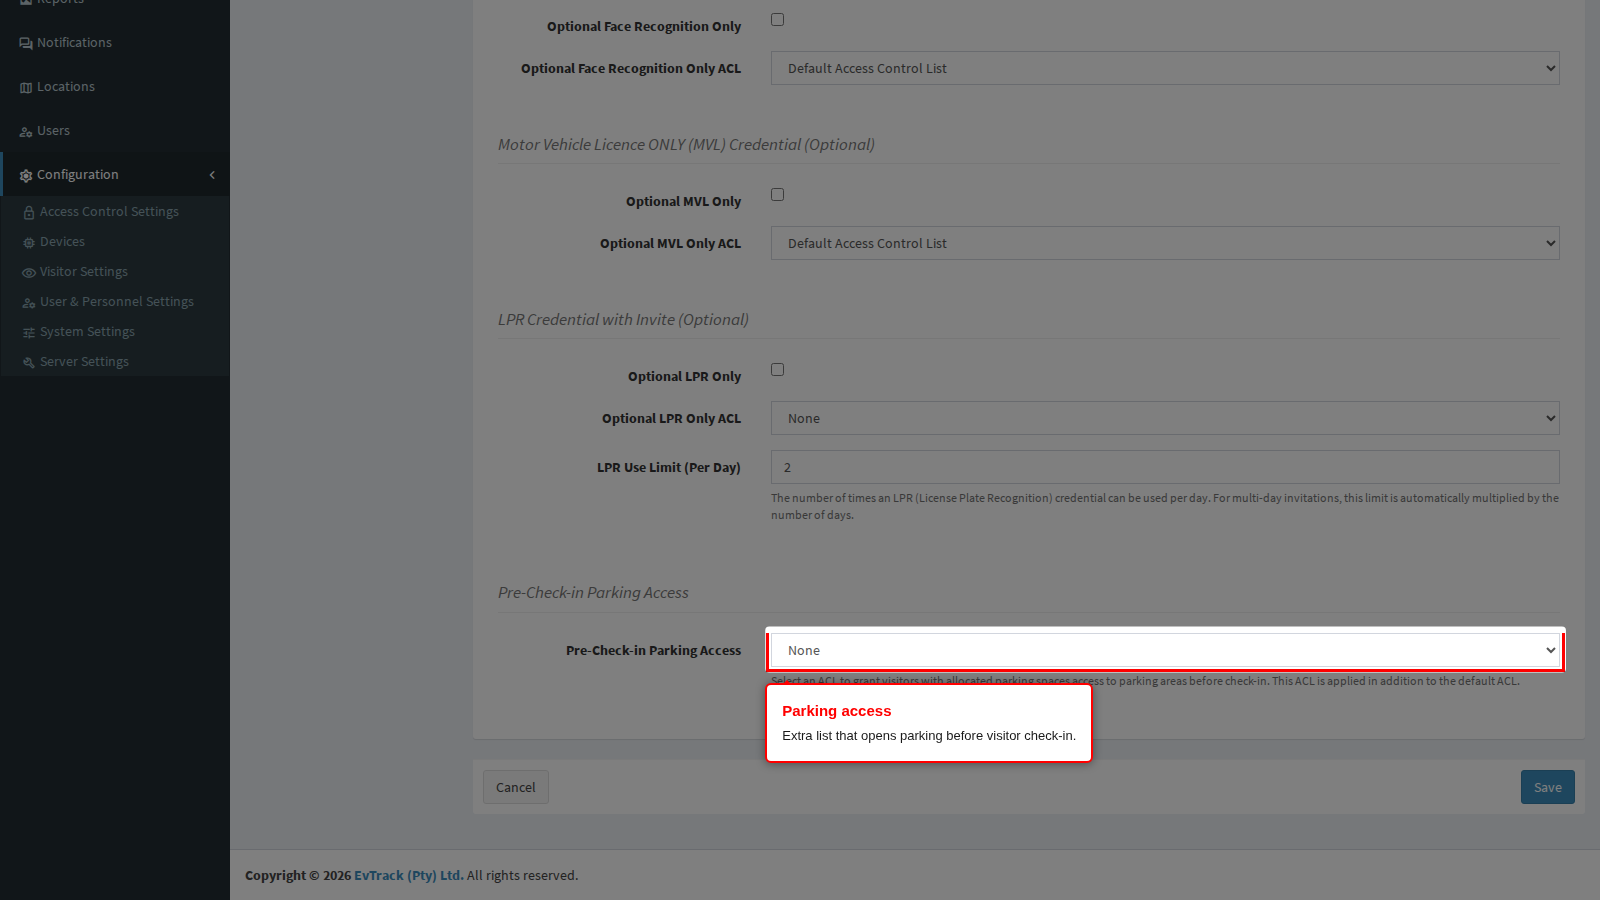
End state: every extra credential you switch on appears on the visitor record with its own validity window and its own list, and can be inspected or revoked individually.
QR code delivery and expiry
Whether a pass QR code refreshes or remains fixed is decided under Configuration > System Settings > Security, because it applies to every QR code the product issues. It changes what a visitor holds, so it belongs in any decision about visit passes.
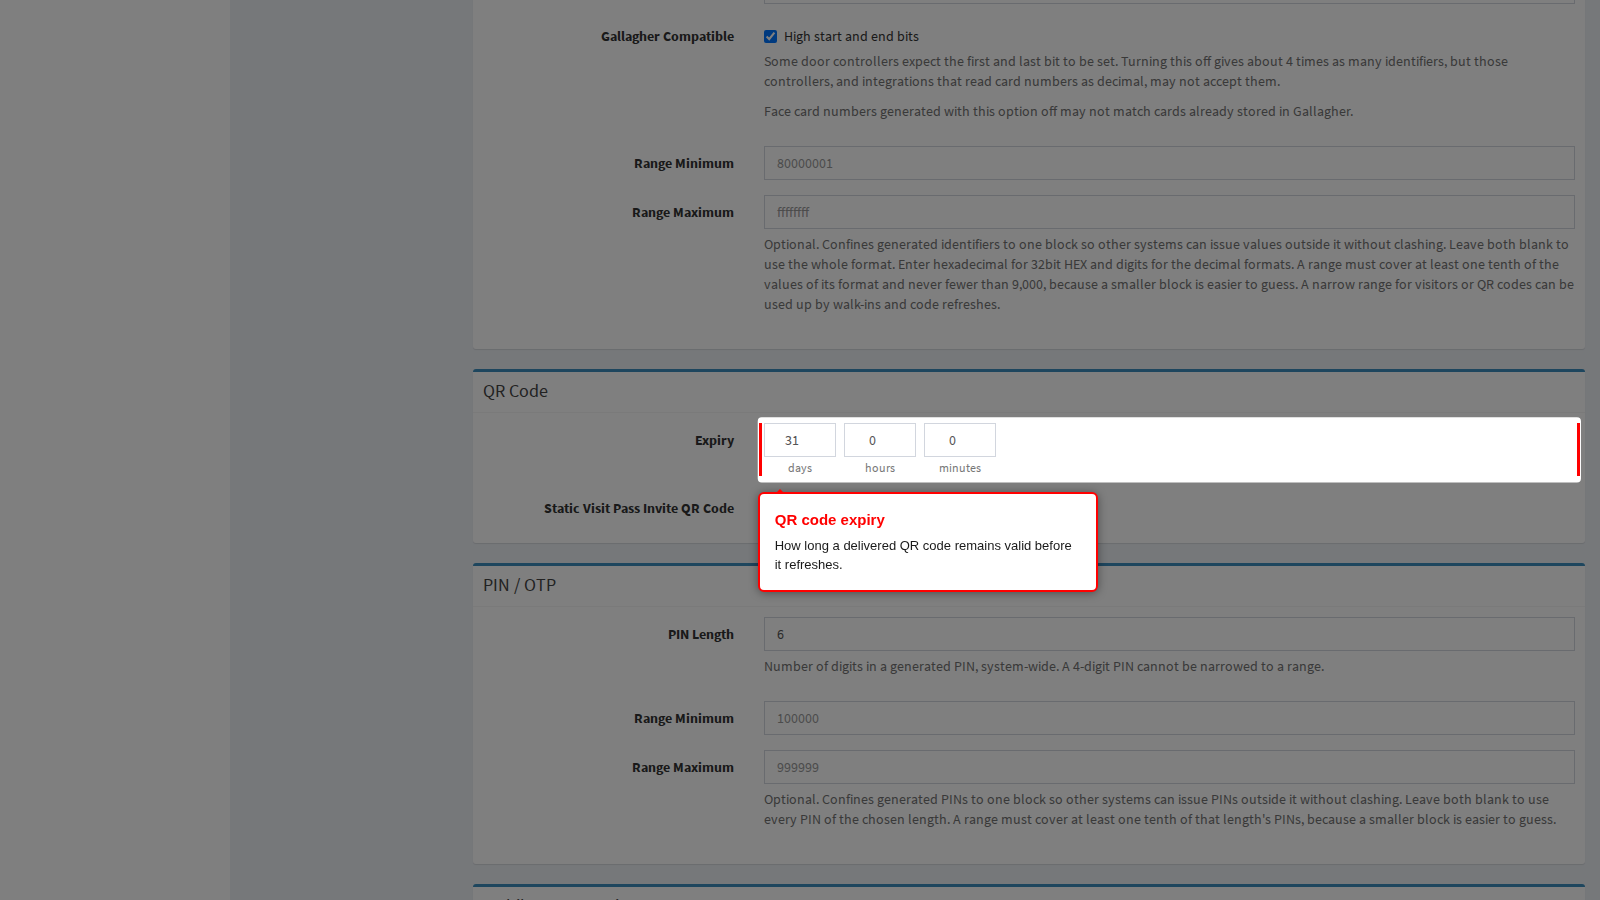
Expiry is how long a delivered QR code remains valid before a fresh one replaces it, entered as days, hours and minutes. Shorter expiry means a screenshot that a visitor forwards to somebody else stops working sooner. It only has an effect on codes that are fetched when the visitor opens them, which is the recommended delivery.
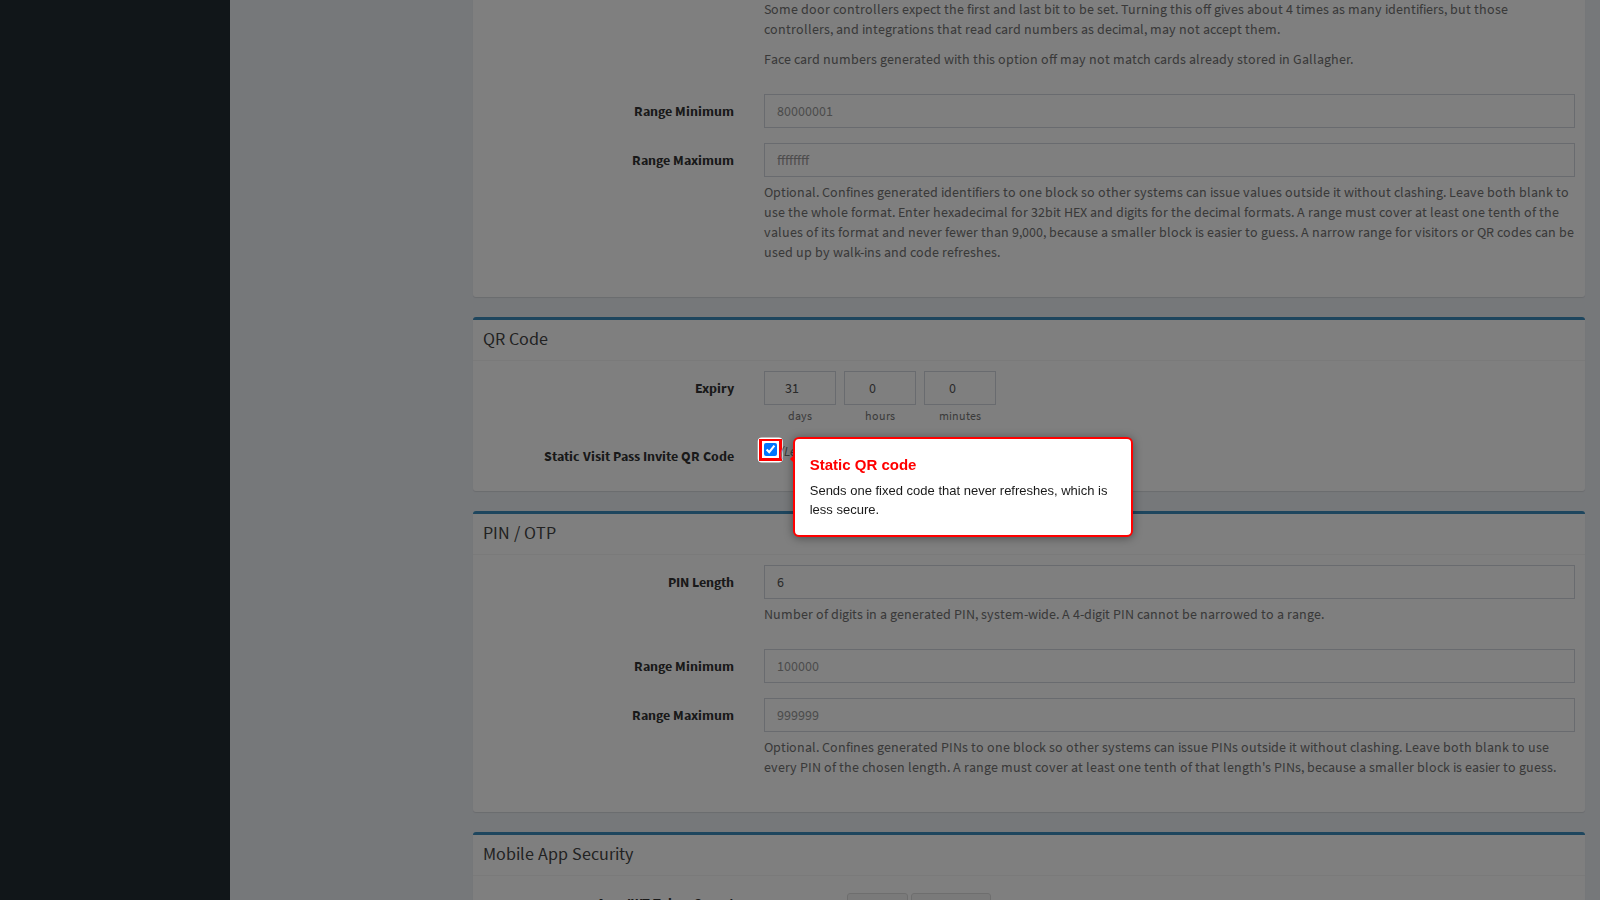
Static QR Code (Email/SMS) sends one fixed code that never refreshes. It is the least secure option, and the panel labels it as such, because anyone who has ever seen the message can reuse the image for the life of the pass. Turn it on only where visitors have no data connection at the entrance and the code must work from a printed page or an old message.
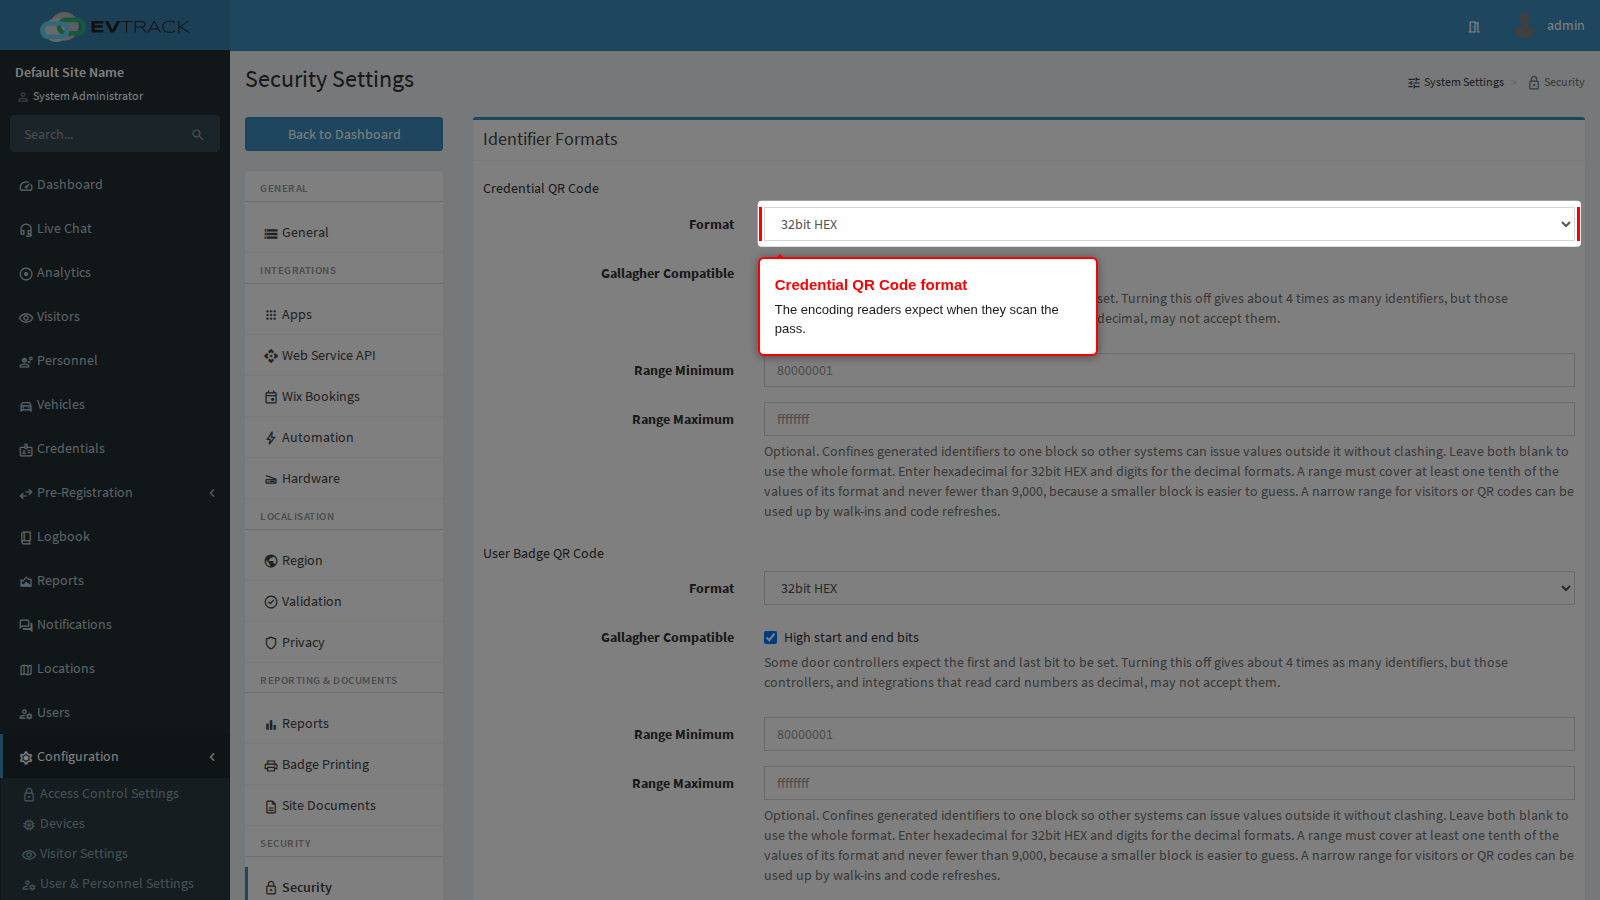
Credential QR Code, under Identifier Formats, carries the Format readers expect. Match it to the scanners installed on site, otherwise a perfectly valid pass is simply not recognised. Users, persons, visitors and credentials have their own identifier formats on the same page.
How secure a QR code is in practice depends on how it reaches the visitor:
- Email and SMS codes are fetched through a link or button in the message and refresh on the expiry period above. When a new code is generated the old one stops working. This is the recommended delivery for visitor invitations.
- Badge codes printed or emailed on a visitor, personnel or user badge are fixed and never refresh. Treat them as the lowest-security option.
- Mobile app codes are the most secure: the app requests a fresh code as expiry approaches and discards old ones, but the visitor must be logged in with a working data connection.
The full Security panel is documented in Security.
Related chapters
- Visit Passes - issuing, resending and revoking a pass for an individual visitor.
- Visit Pass Permit - the layout and content of the printable permit document.
- Check-out - automatic check-out, credential deactivation and re-check-in, which interact with the permit settings above.
- Status Based ACL - rules that add an access control list based on the visit status.
- Access Control Lists - building the lists every setting on this page points at.
- Access Control Points - which openings spend a use limit, and what a granted passage does to the visit status.
- Kiosk and Guard Devices - getting readers and the default list in place before you tune any of this.