The mobile app is what your staff and residents carry: they raise a visit from it, hand a code to somebody at the entrance, look up the plumber’s number and see who has been to see them this week. These pages decide which of those things the app offers, what it looks like when it opens, and what it asks for when somebody invites a visitor from it.
Before you start: you need an operator account with settings permissions, and app users who can log in. Nothing on these pages installs or pairs anything - they change what an already-installed app is allowed to do. Changes reach a device the next time it logs in or refreshes its settings.
Step 1: Open the Mobile App pages
Open Visitors in the sidebar and click Settings. Mobile App has no tile on that page - it is reached from the Registration & Apps group in the menu on the left. Click Mobile App.
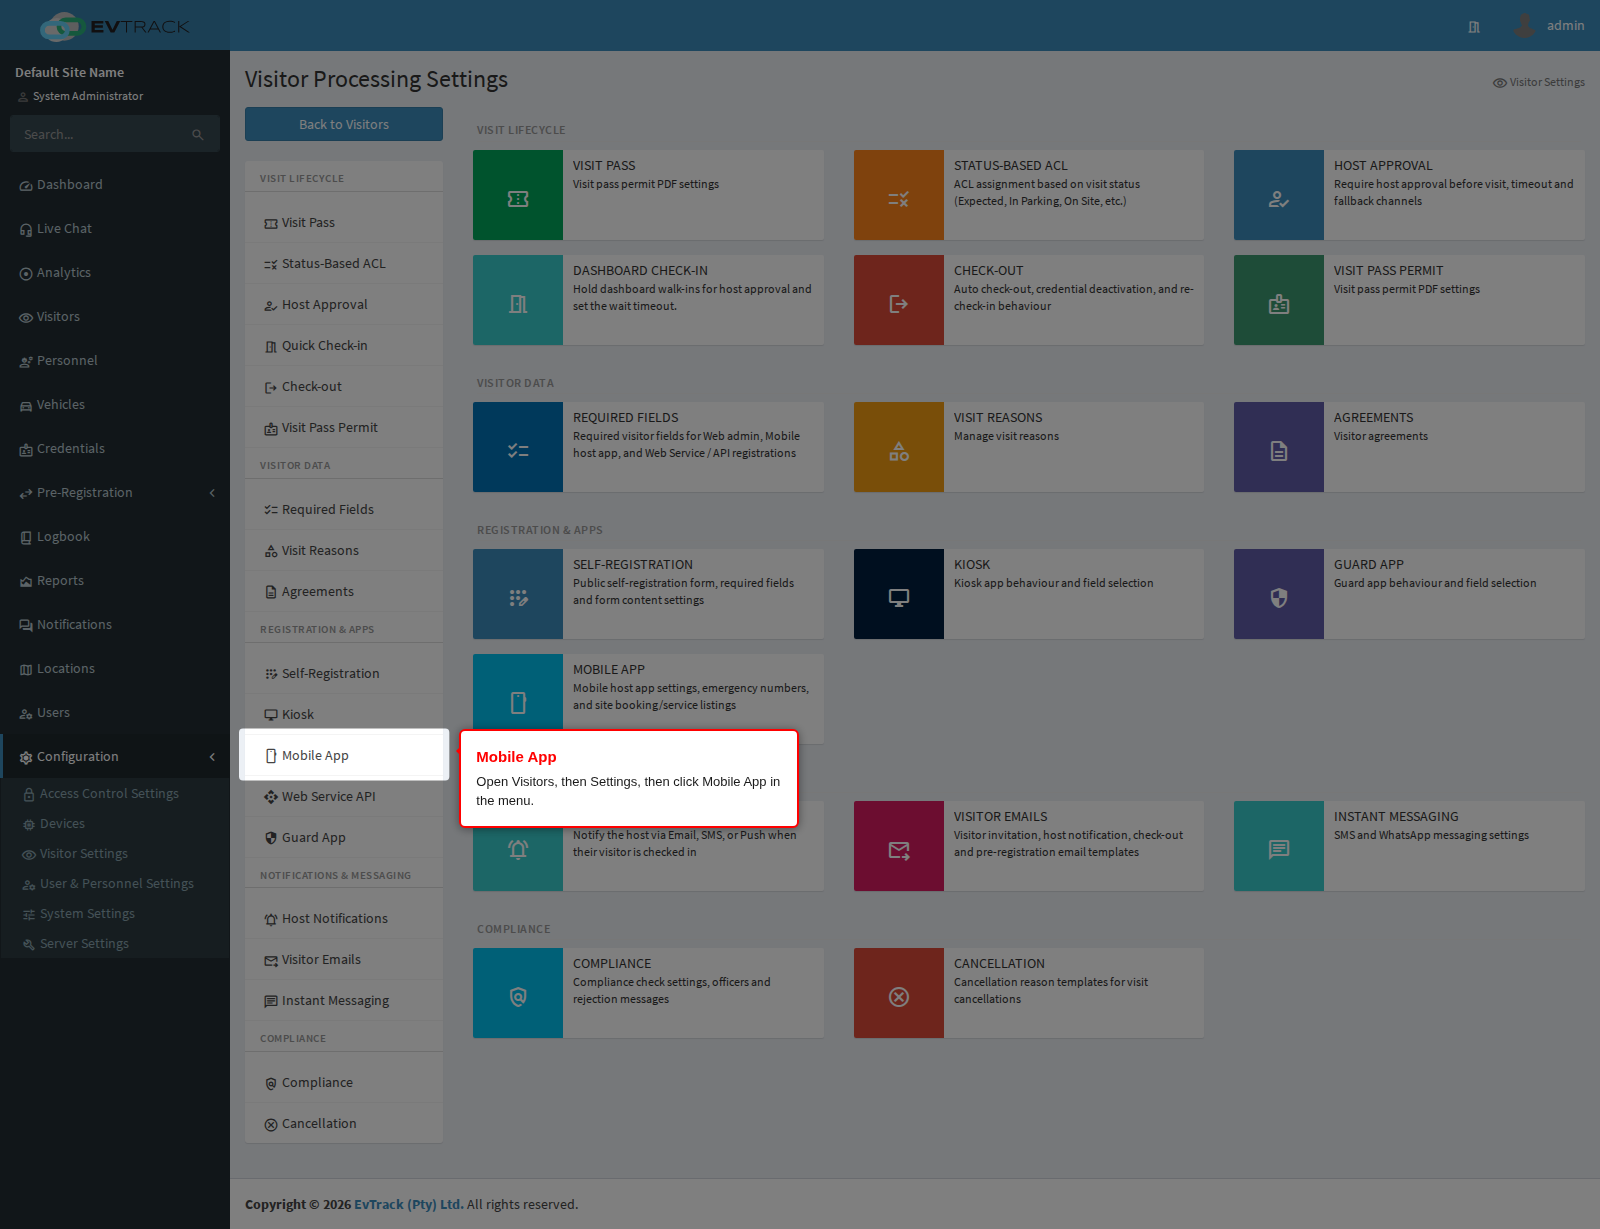
End state: the General panel opens with the Mobile App menu on the left. That menu is the same on all five pages, so you can move between them from anywhere.
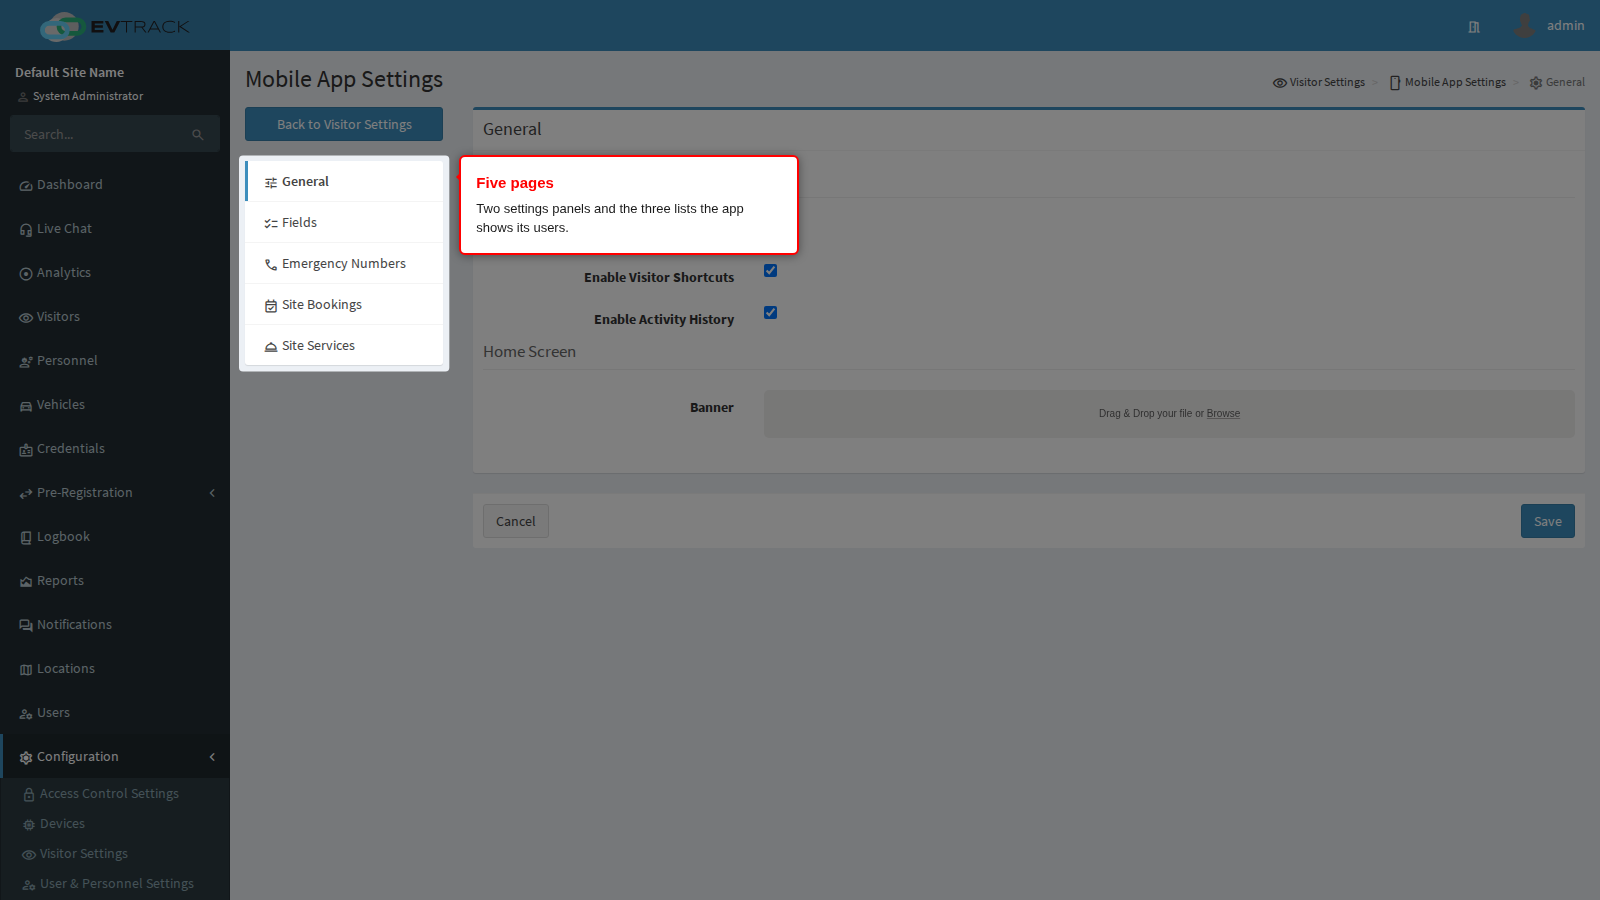
| Page | What it does |
|---|---|
| General | Three feature switches and the home-screen banner |
| Fields | What the app asks for when a user invites a visitor |
| Emergency Numbers | The numbers the app offers to dial |
| Site Bookings | Facilities app users can book |
| Site Services | The on-site services directory |
Each page is saved on its own. Editing one and moving to the next without clicking Save loses the edit.
Step 2: Choose what the app offers
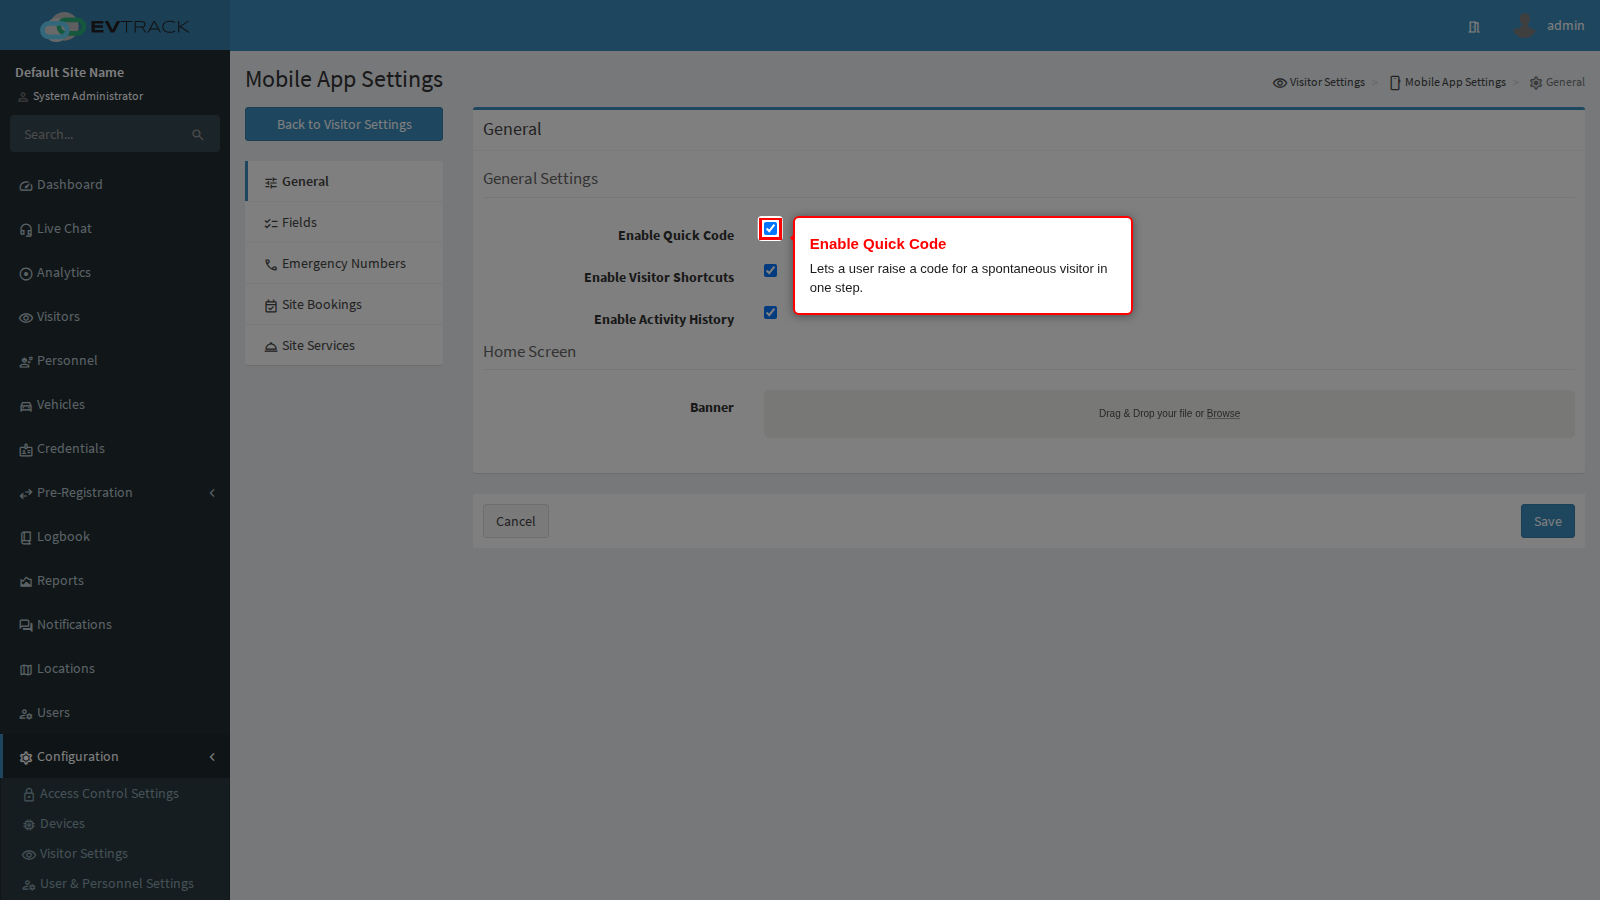
Enable Quick Code lets an app user raise an access code without first entering a visitor’s details: they pick a reason for the visit and the app produces a code they can pass on there and then. It is the right feature for the courier at the boom or the plumber who turned up unannounced, and the wrong one for a site where every arrival must be identified in advance - with it off, an attempt to raise a code without a visitor is refused and the user is told the feature has been disabled. It is on out of the box.
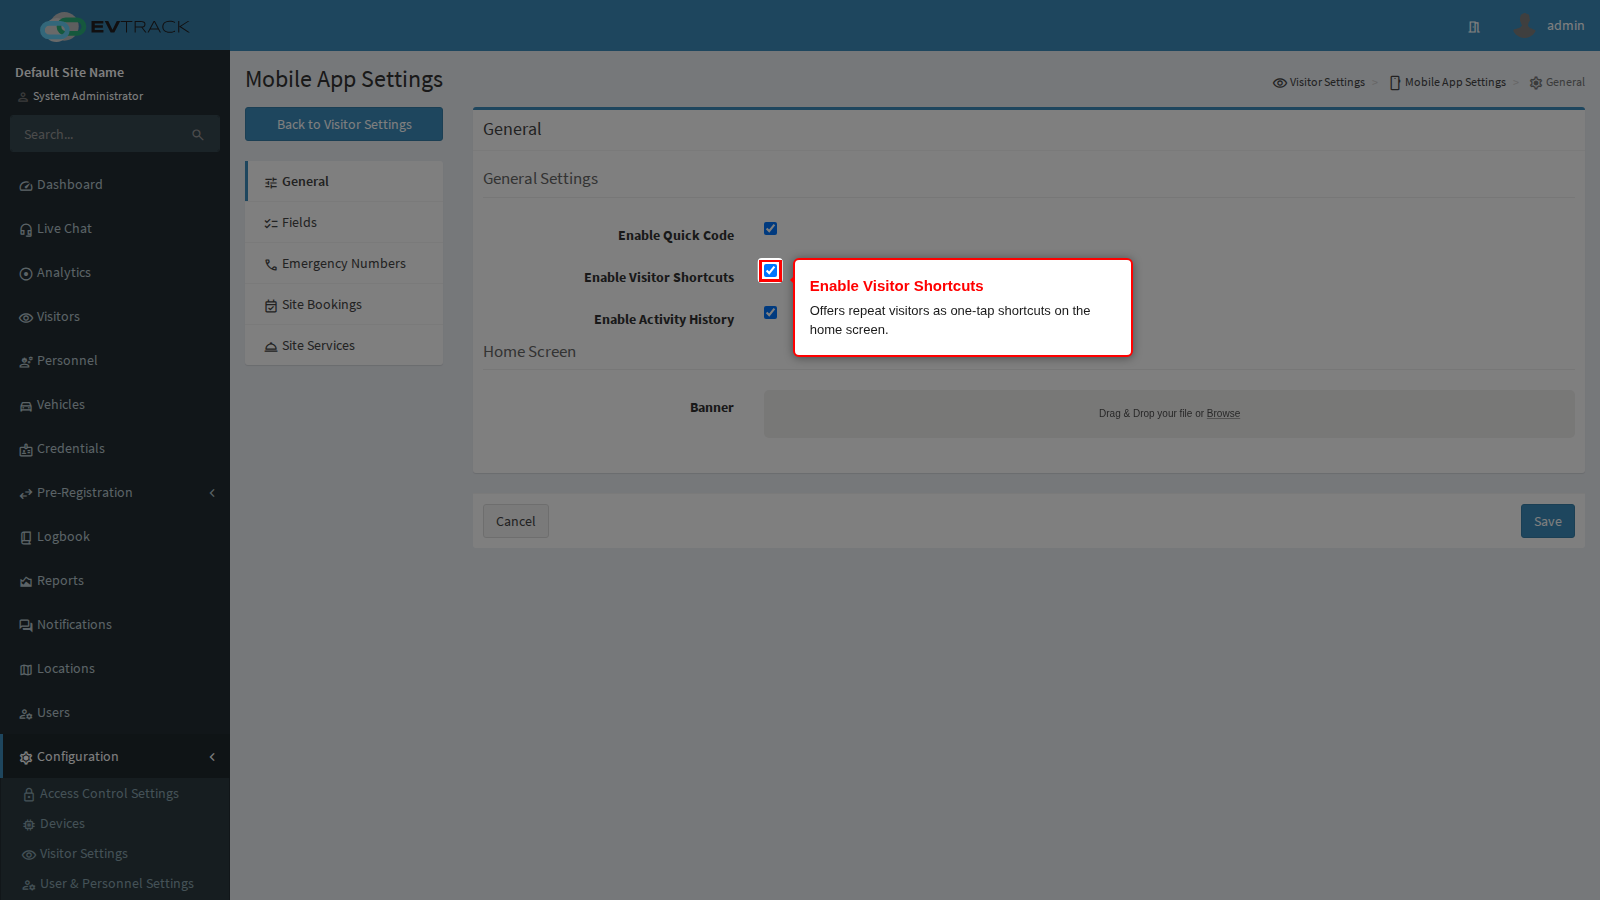
Enable Visitor Shortcuts puts the people an app user invites regularly on their home screen, so a repeat invitation is one tap rather than a re-typed form. Turn it off at sites where the same person visiting twice should still be a deliberate act. On out of the box.
Enable Activity History lets app users look back at the visits they raised. It is useful for a resident reconciling who came to their unit, and it is the switch to turn off where you would rather users not be able to browse past movements on a personal device. On out of the box.
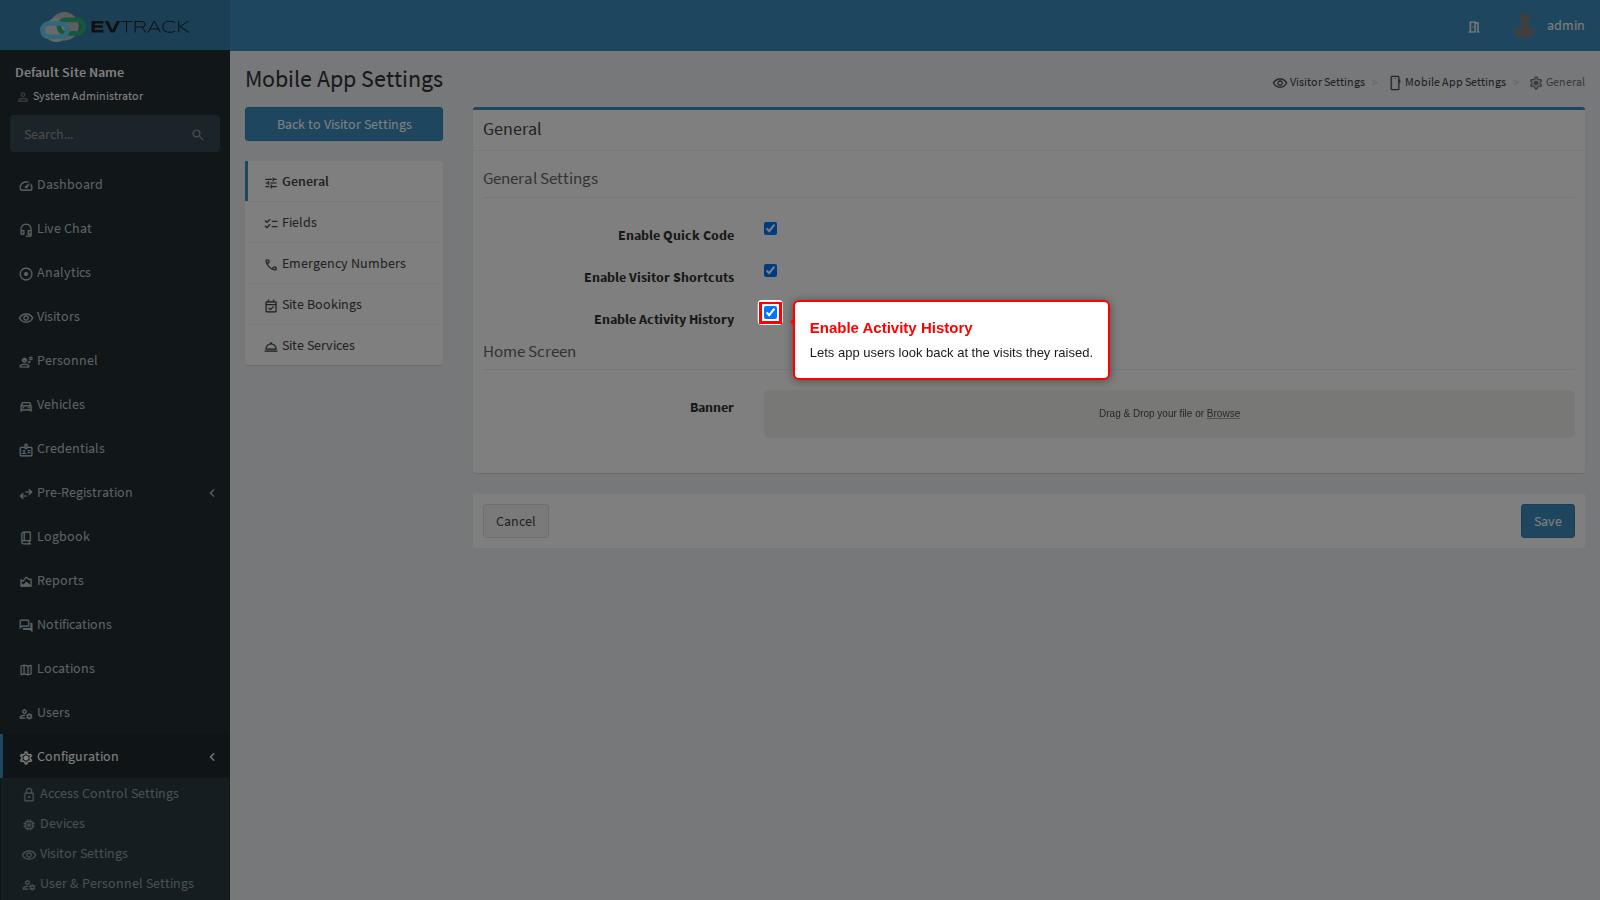
End state: the app’s home screen shows exactly the features you left on. A user who had a shortcut or a history tab yesterday loses it at their next login.
Step 3: Brand the home screen
Banner is the image across the top of the app’s home screen. Drop a file onto the upload area, or click it to browse. Use it for your site’s branding, or for a standing announcement that everyone opening the app should see.
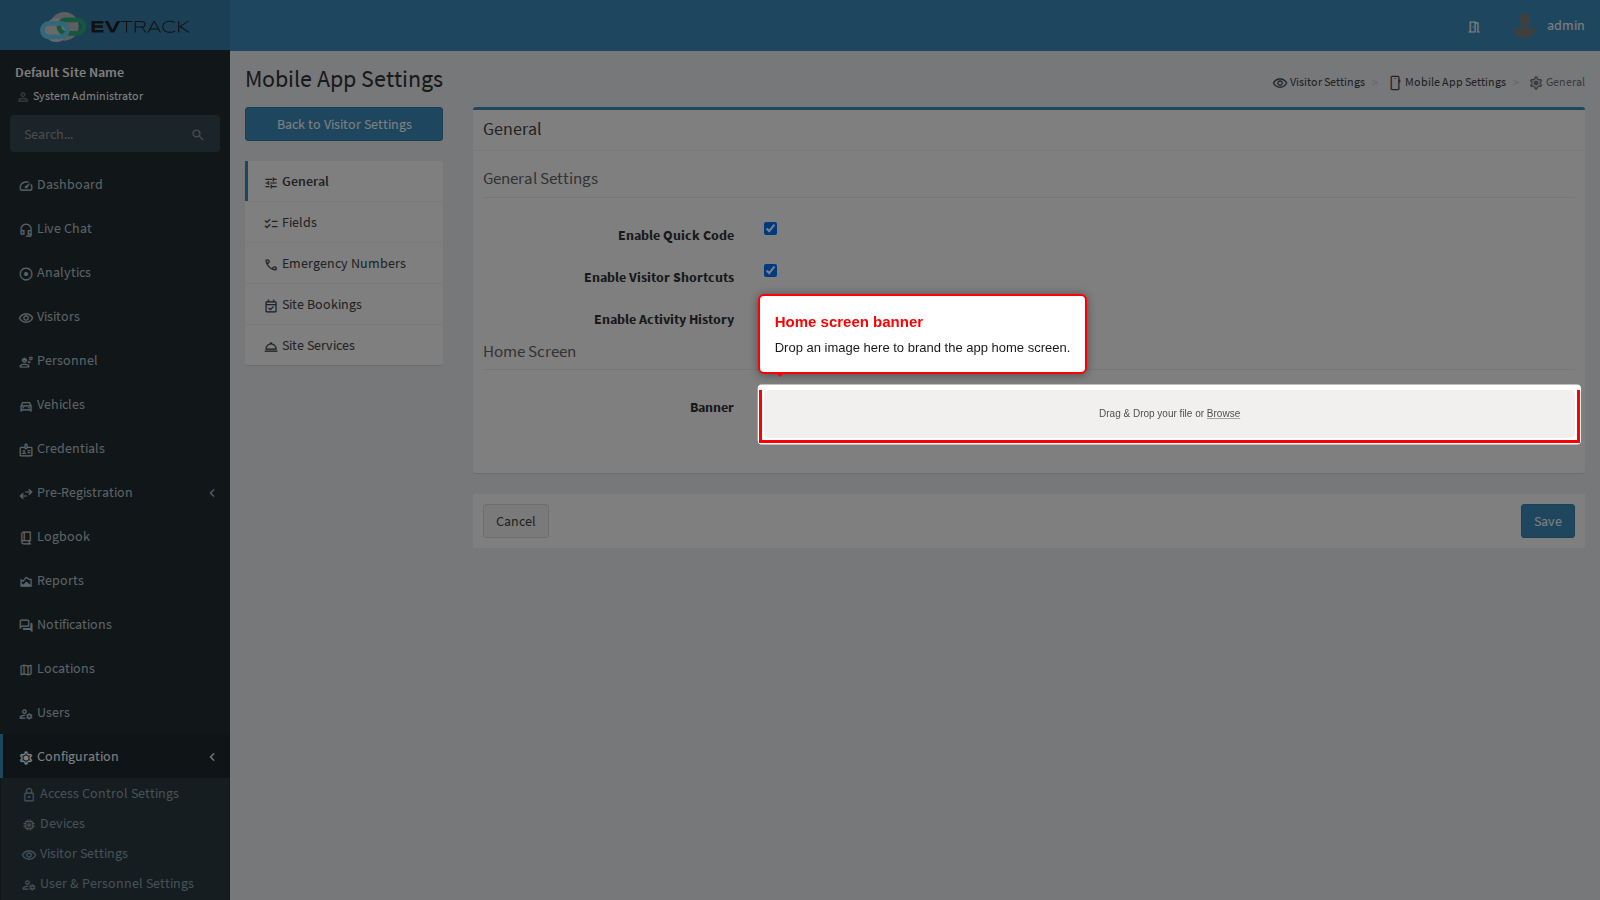
Three limits are enforced as you upload, so it is worth preparing the image first: it must be a PNG, a JPEG or an SVG, it must be at least 600 by 600 pixels, and it must be no larger than 2 MB. A file that fails any of these is refused by the upload area with a message rather than being silently resized.
Replacing the banner discards the previous one, and clearing the field removes the banner entirely - the app then falls back to the standard image rather than showing a gap.
Save applies the three switches and the banner together.
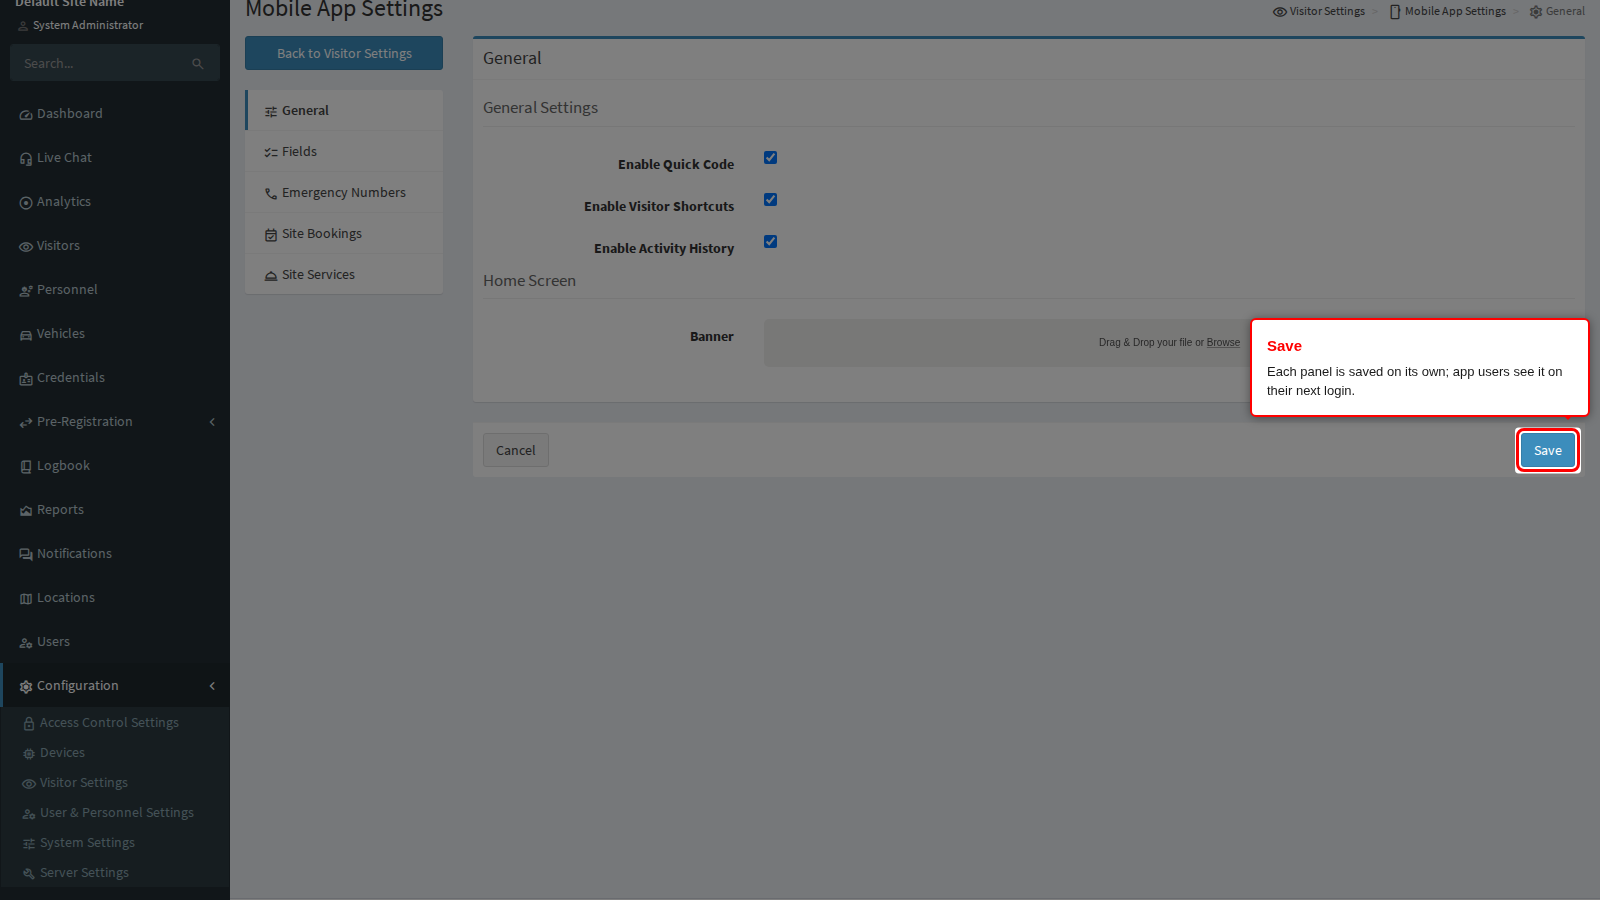
End state: a green confirmation appears at the top of the page. Log out and back in on a device to see the new banner.
Step 4: Choose what the app asks for
Click Fields in the page menu.
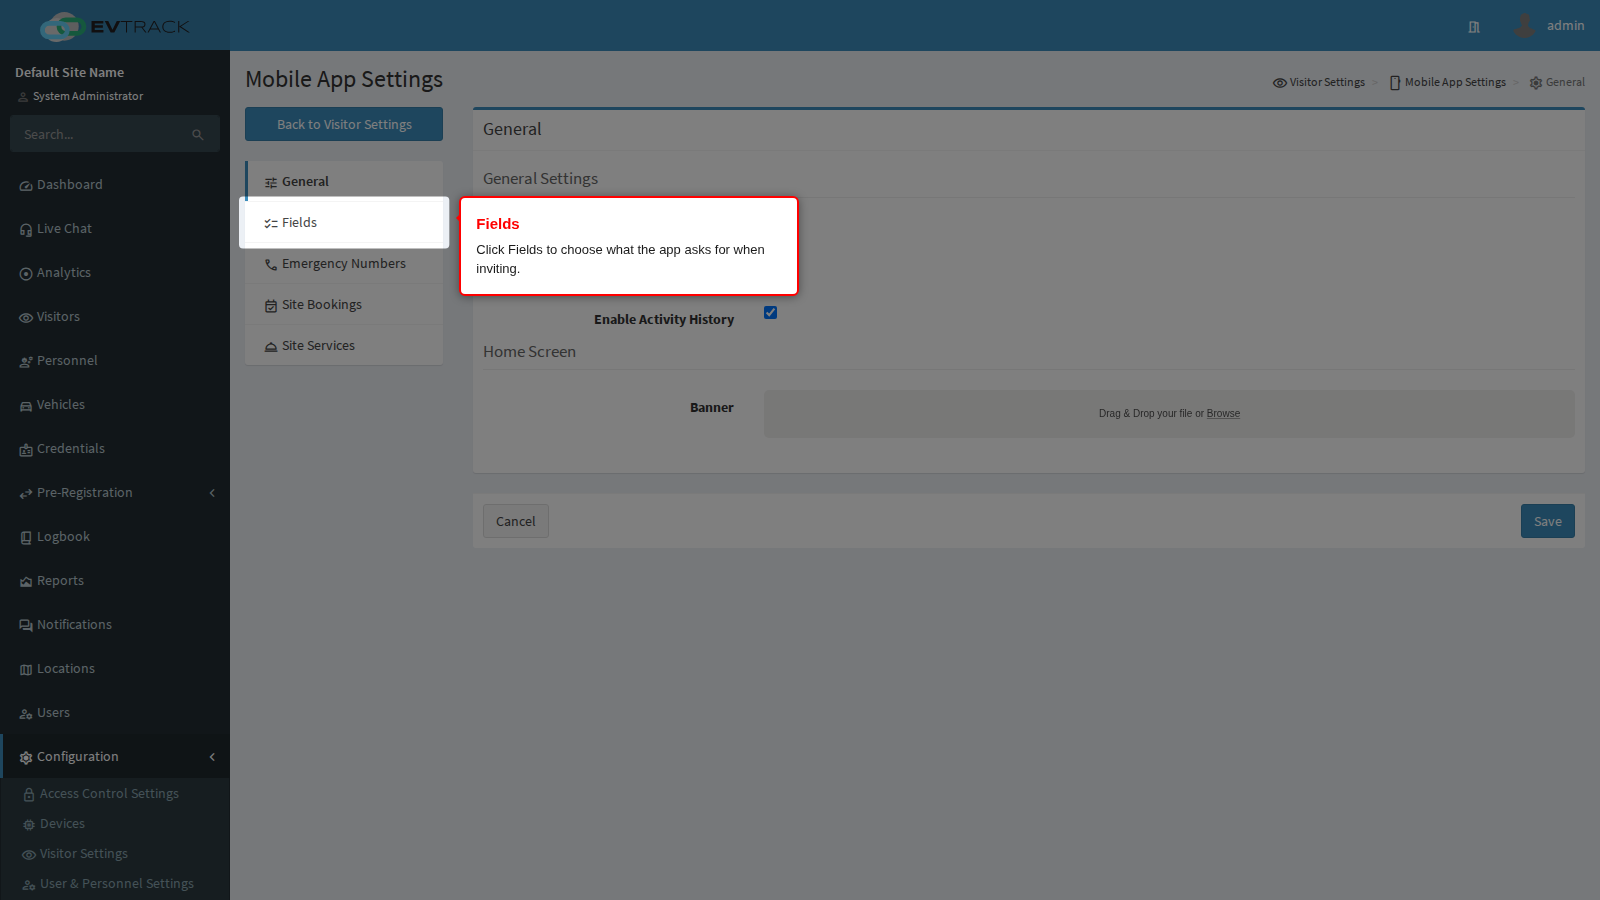
This is the app’s own required-field list. It is separate from the one the admin console uses and from the ones the kiosk, guard app and Web Service API use - see Required Fields for the full picture. Tick a row and the app will not submit an invitation until that detail has been supplied.
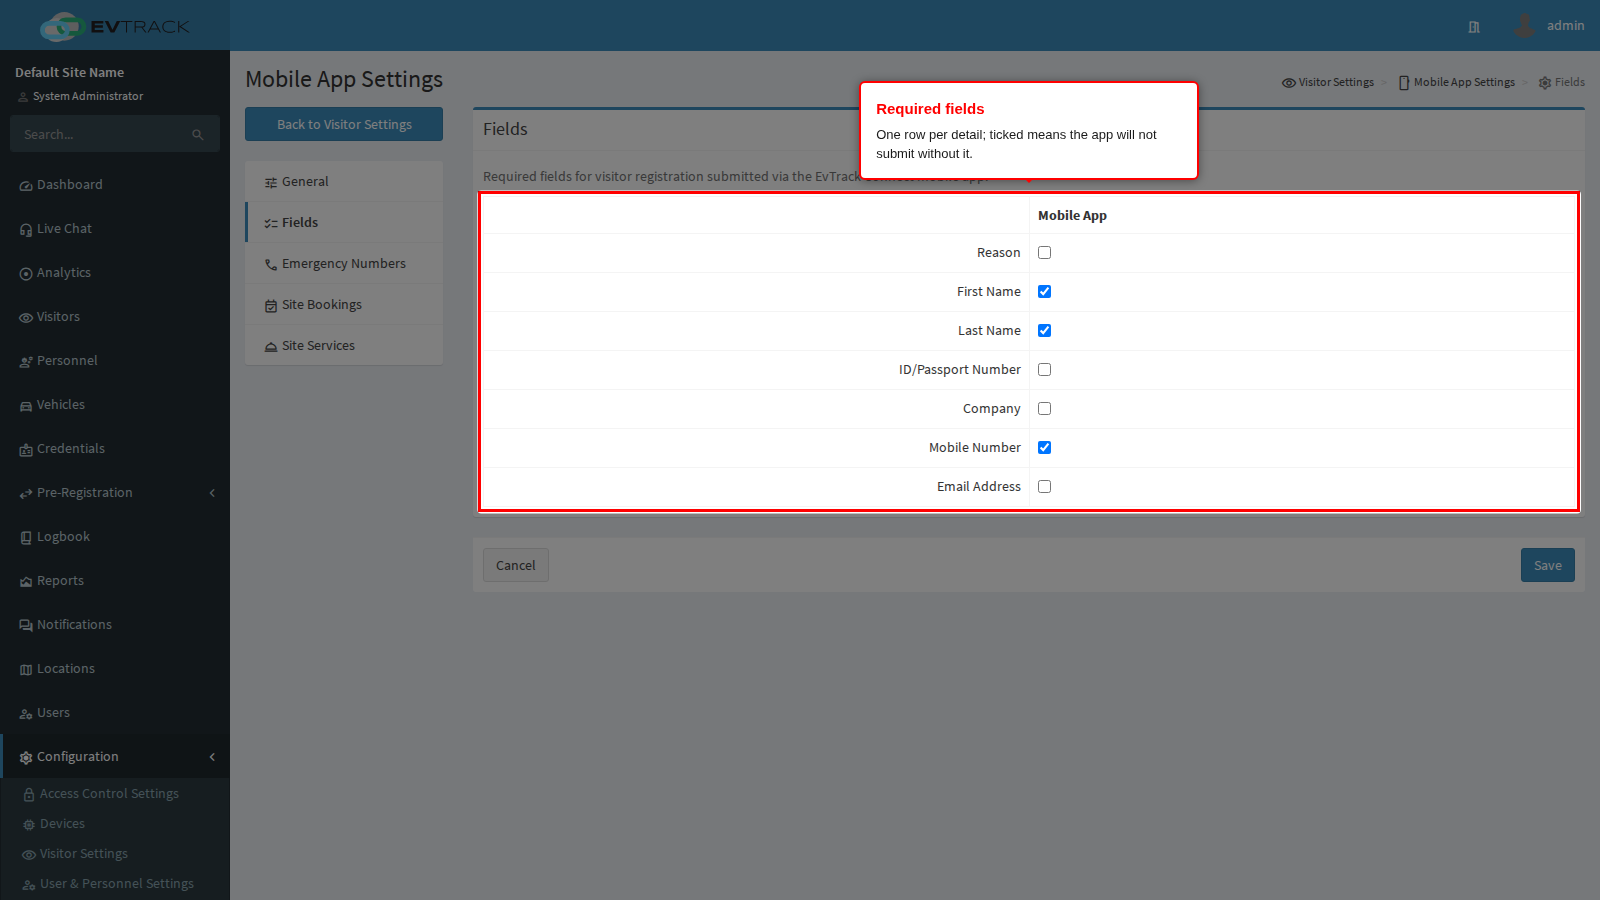
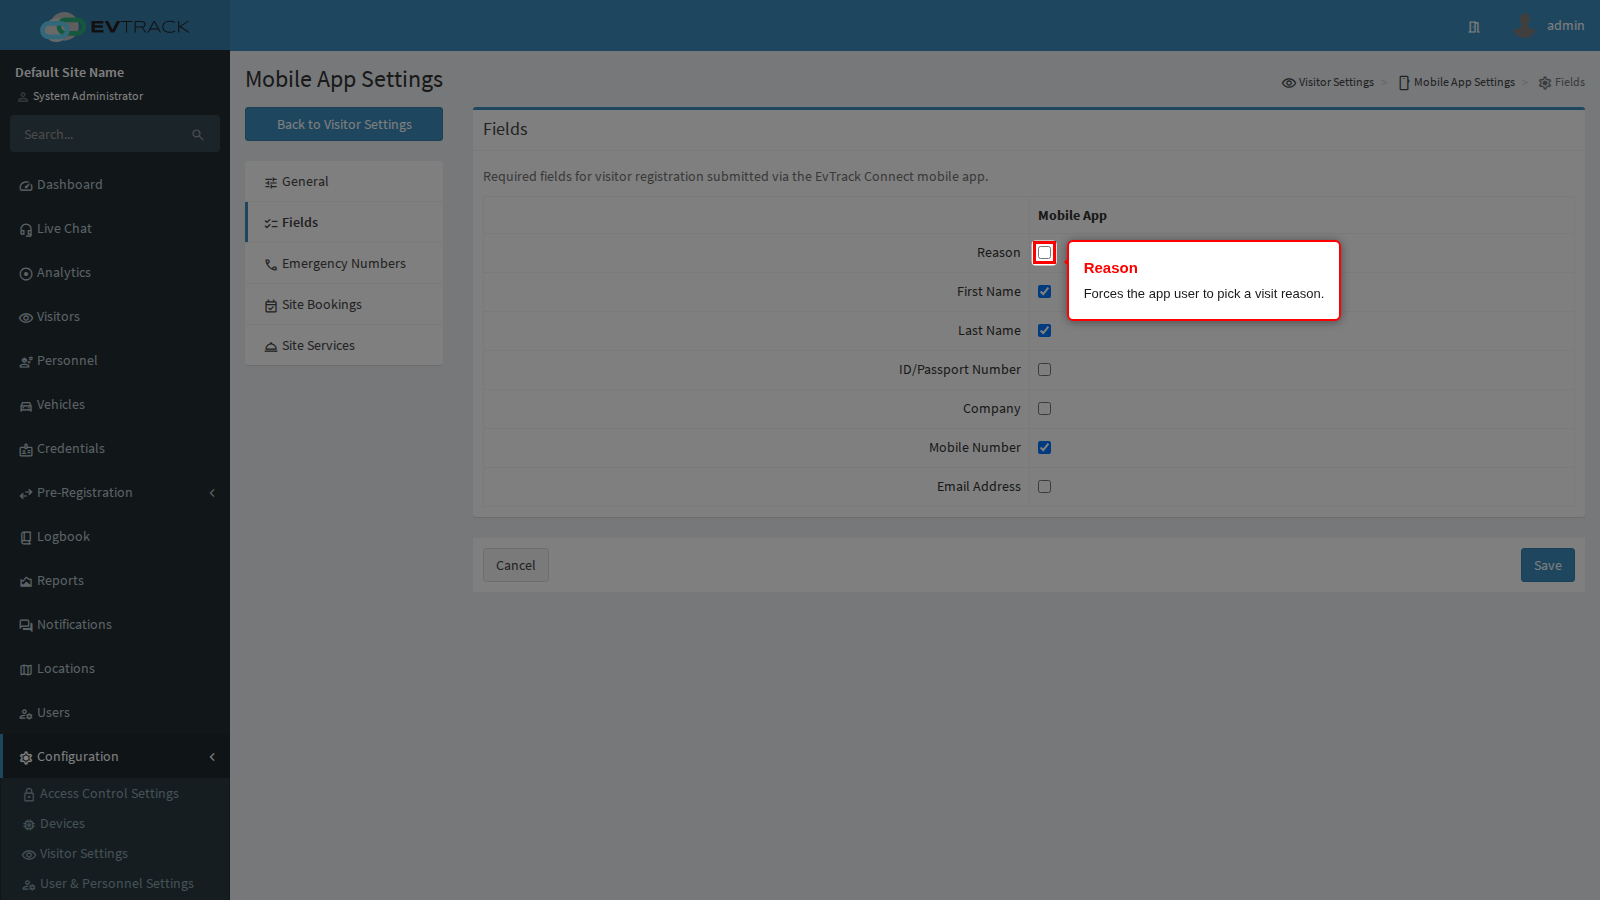
Reason forces the app user to choose why the visitor is coming. Reasons can carry their own access rules, so this is the row that decides whether an app-raised visit is governed by them or falls back to the default. The list of reasons is maintained under Visit Reasons.
First Name and Last Name force the visitor to be named. Leave these off only where quick codes are the main way the app is used, since an unnamed visit is hard to reconcile afterwards.
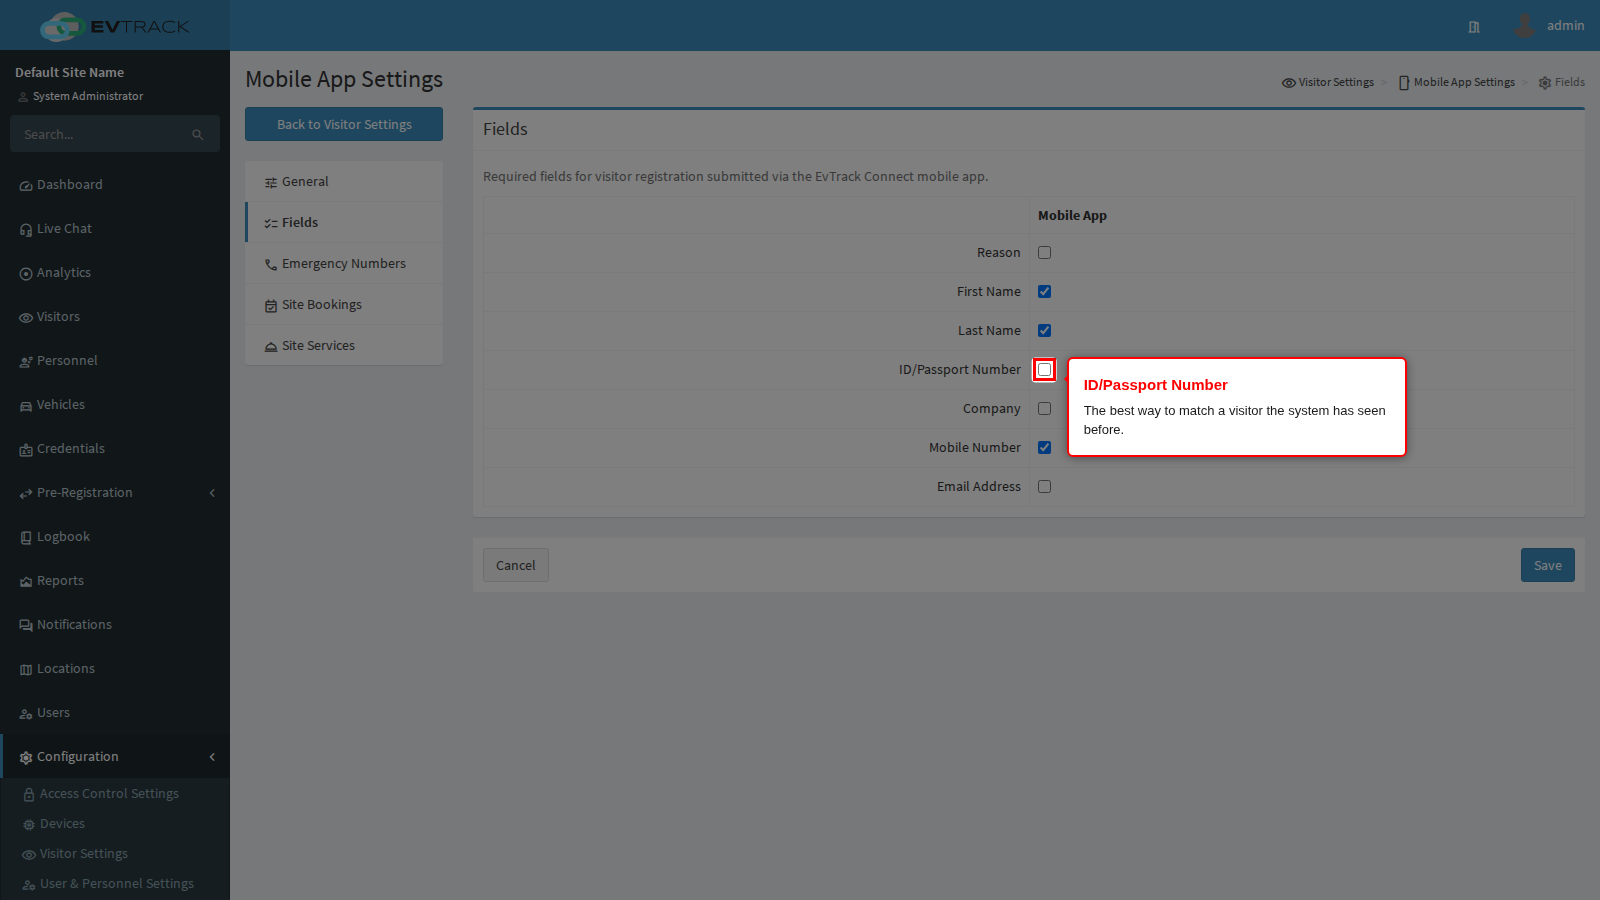
ID/Passport Number forces an identity or passport number. It is the strongest signal the system has for recognising a visitor who has been before, so ticking it produces the cleanest visitor history from app-raised visits.
Company forces the organisation the visitor represents.
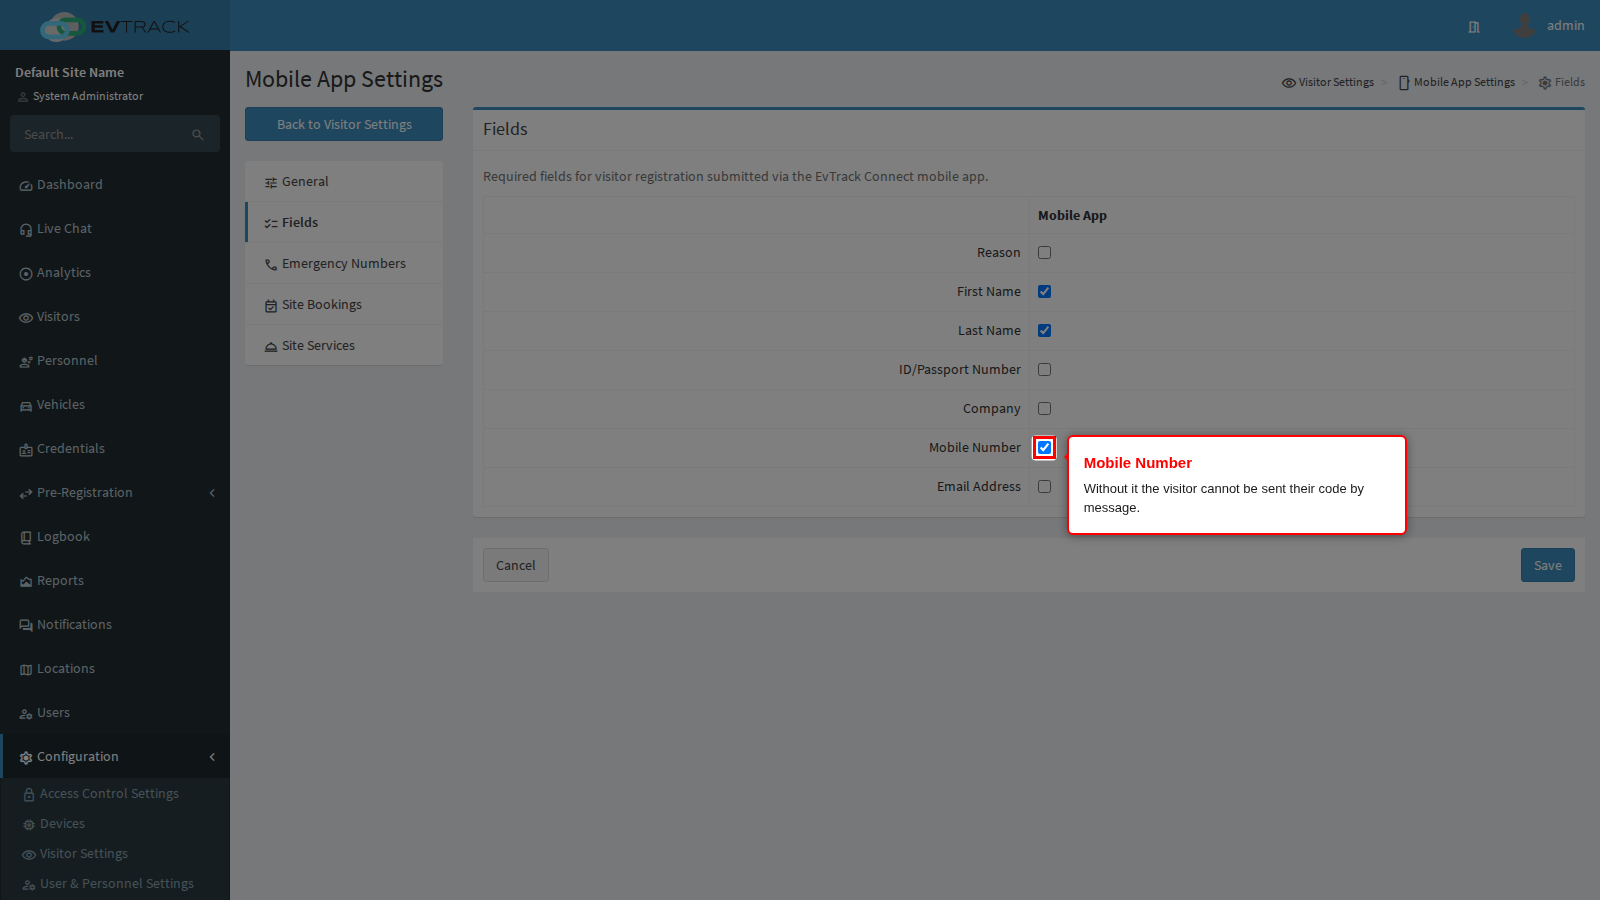
Mobile Number forces a mobile number. This is the row to tick if app users complain that their visitors never receive the code - without a number there is nothing to send the message to.
Email Address forces an email address, for the same reason on the email channel.
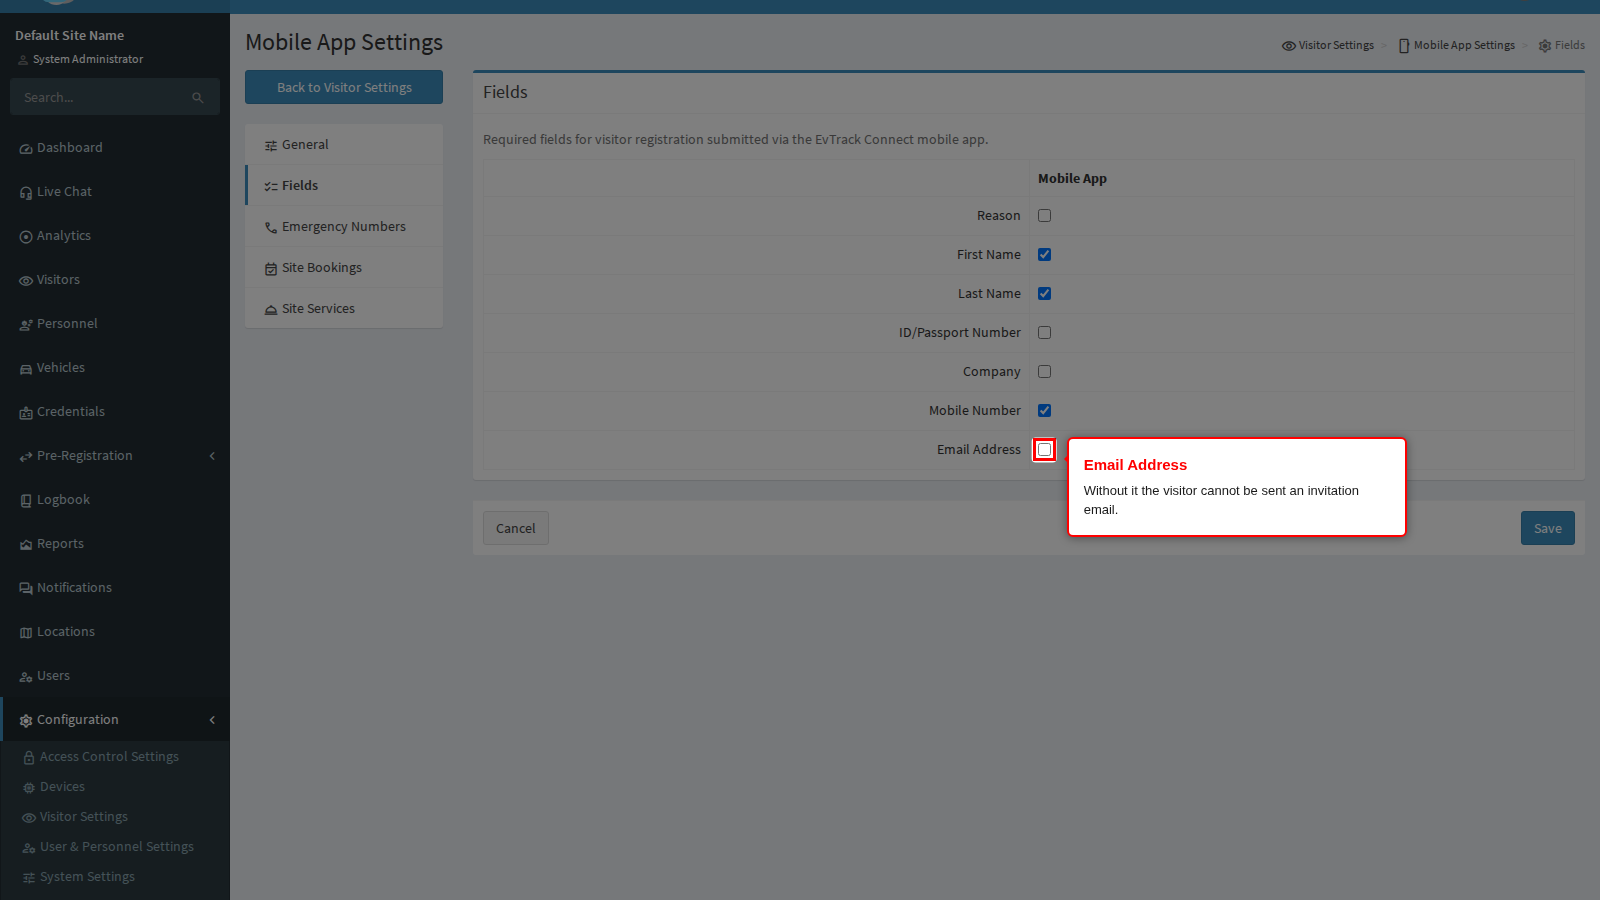
End state: an app user cannot submit an invitation that is missing anything you ticked, and the invitation that results carries enough detail to deliver the credential.
Keep this list short. Everything ticked here is typed on a phone, usually one-handed, often at the moment somebody is standing at a gate. Ask for what you genuinely need to deliver the code and identify the visitor, and let the rest be filled in later from the admin console.
Step 5: Emergency Numbers
Click Emergency Numbers in the page menu.
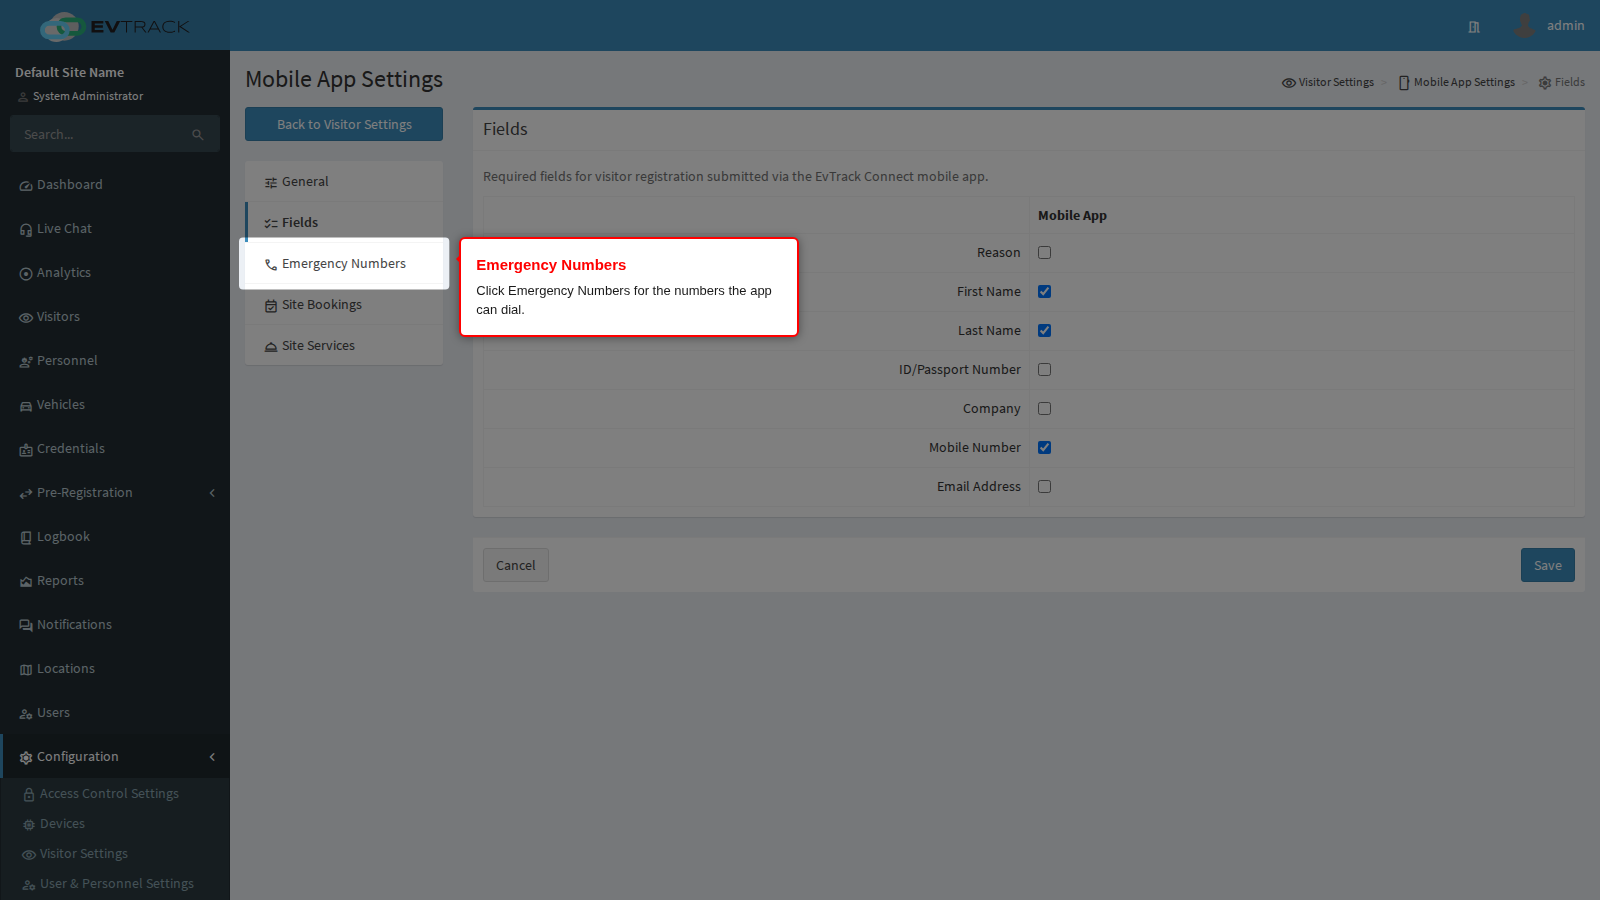
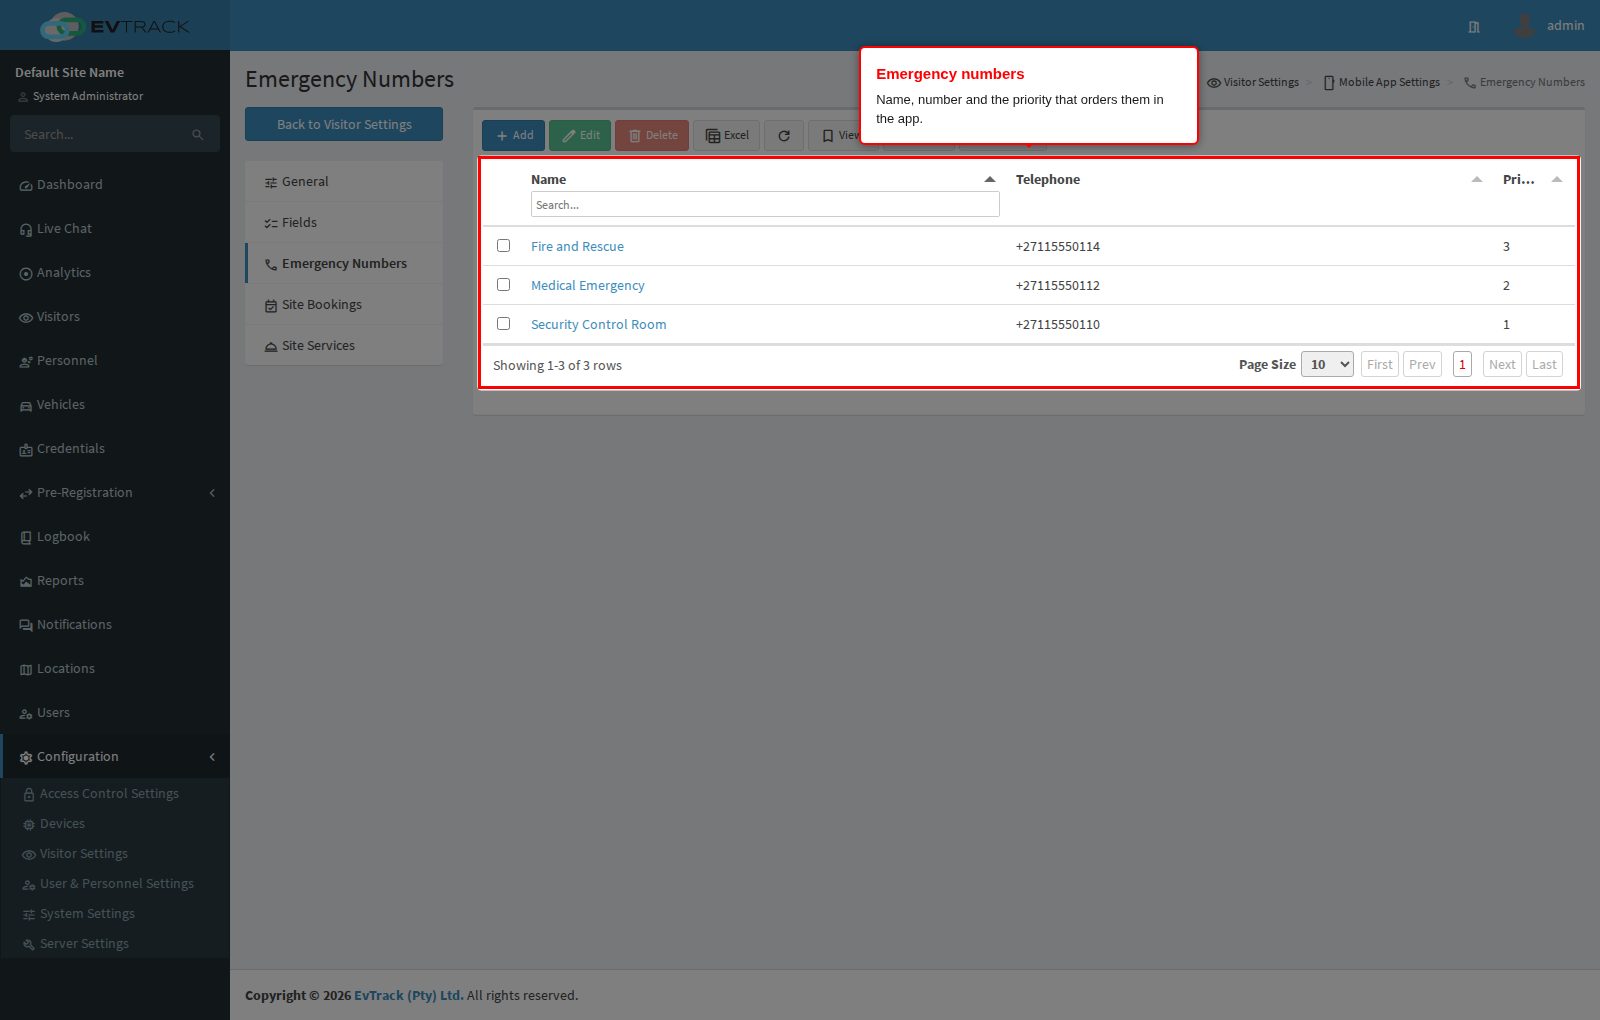
These are the numbers the app offers its users to dial - security control room, fire, medical, the estate manager. A new system starts with an empty list, so the entries shown here are examples. Priority orders them in the app, lowest first.
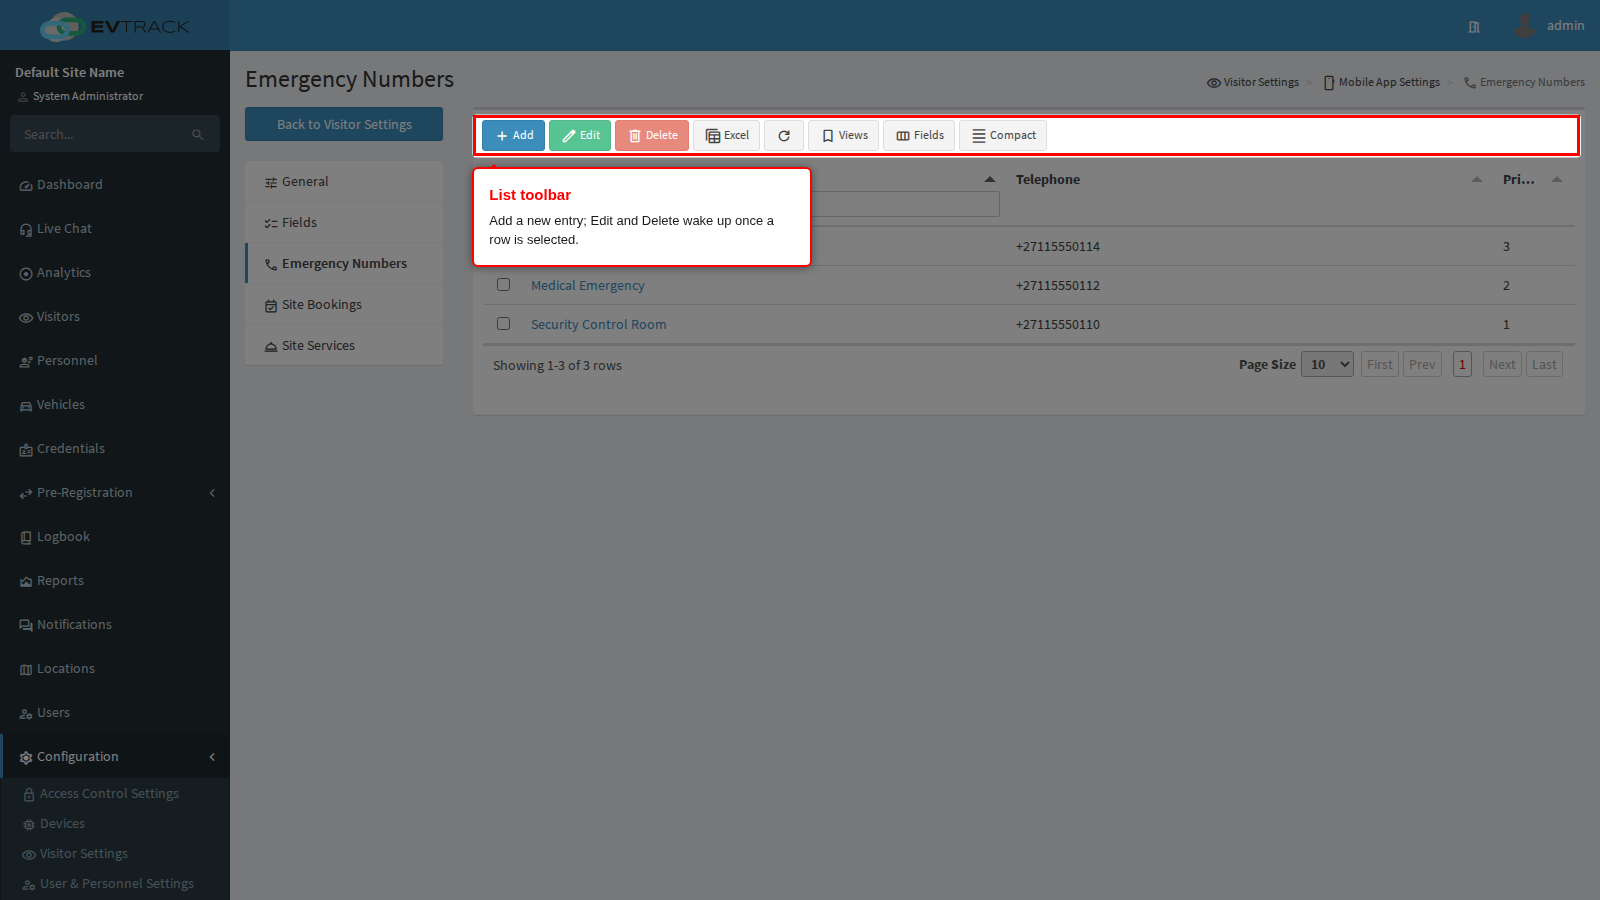
Use Add in the toolbar above the list to create an entry. Edit and Delete remain greyed out until you select exactly one row, and Excel downloads the list as a spreadsheet.
Each entry has a Name of up to 50 characters, a Telephone Number, and a Priority between 1 and 1000 that decides the order they appear in. Give the number somebody should call first the lowest priority. Name and telephone number are both compulsory, and the number is checked for a valid phone-number shape.
End state: app users see the list in your priority order and can dial an entry directly from it.
Step 6: Site Bookings
Click Site Bookings in the page menu.
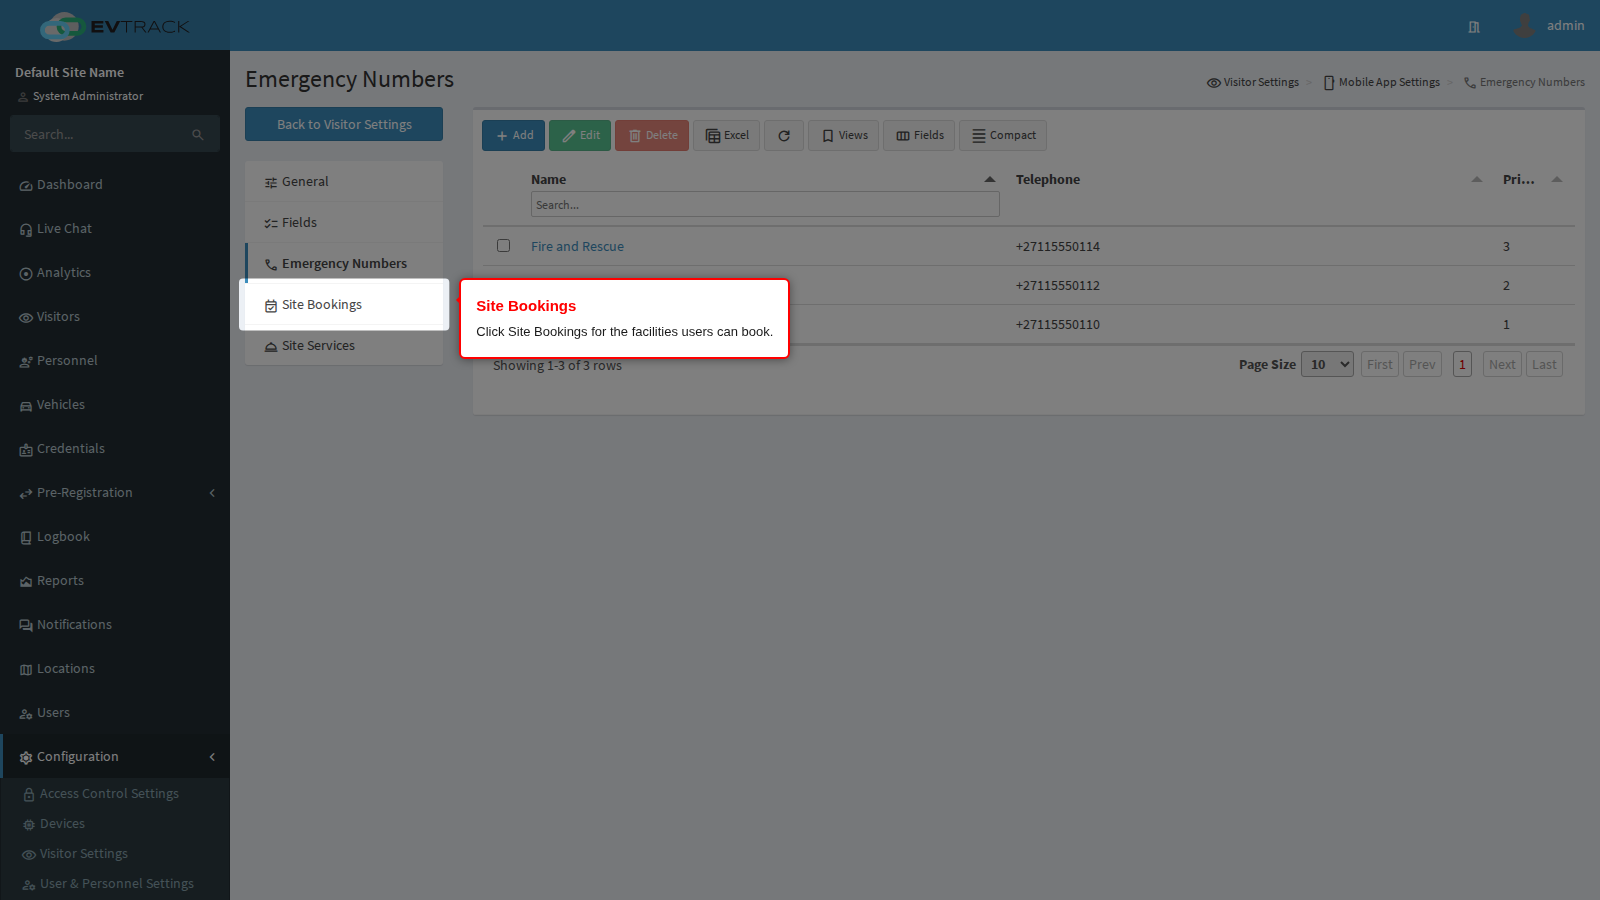
These are the facilities app users can book - a clubhouse, a meeting room, a tennis court. A new system starts with an empty list, so the entries shown here are examples; use Add in the same toolbar to create your own.
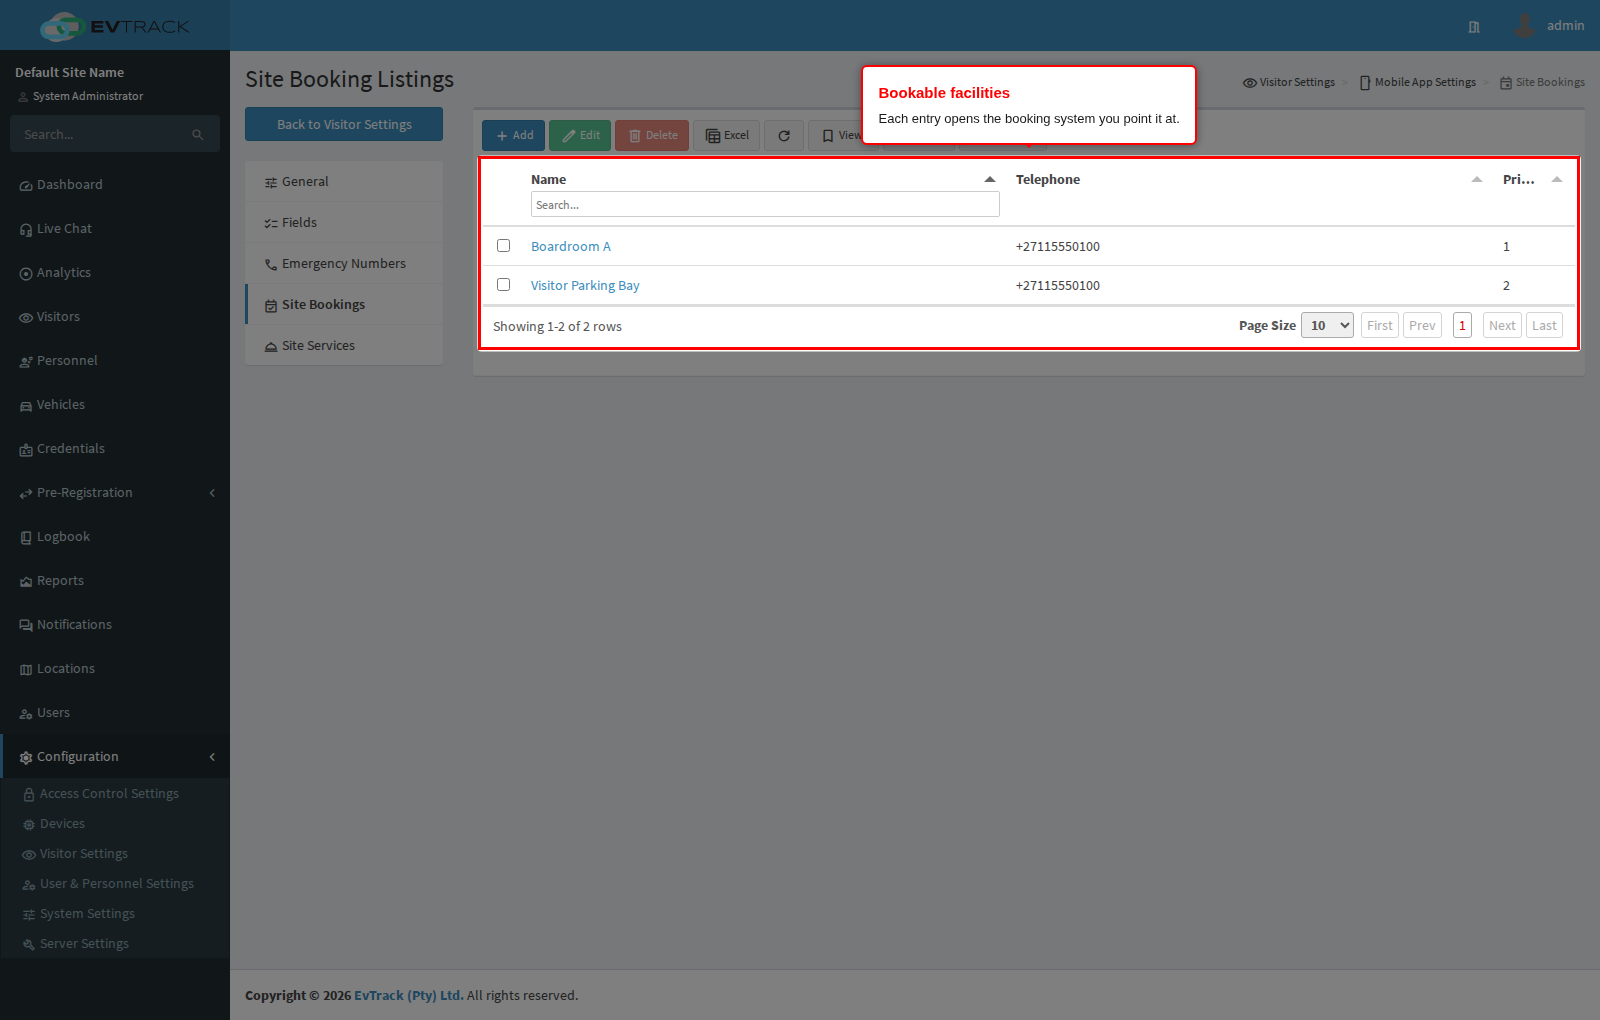
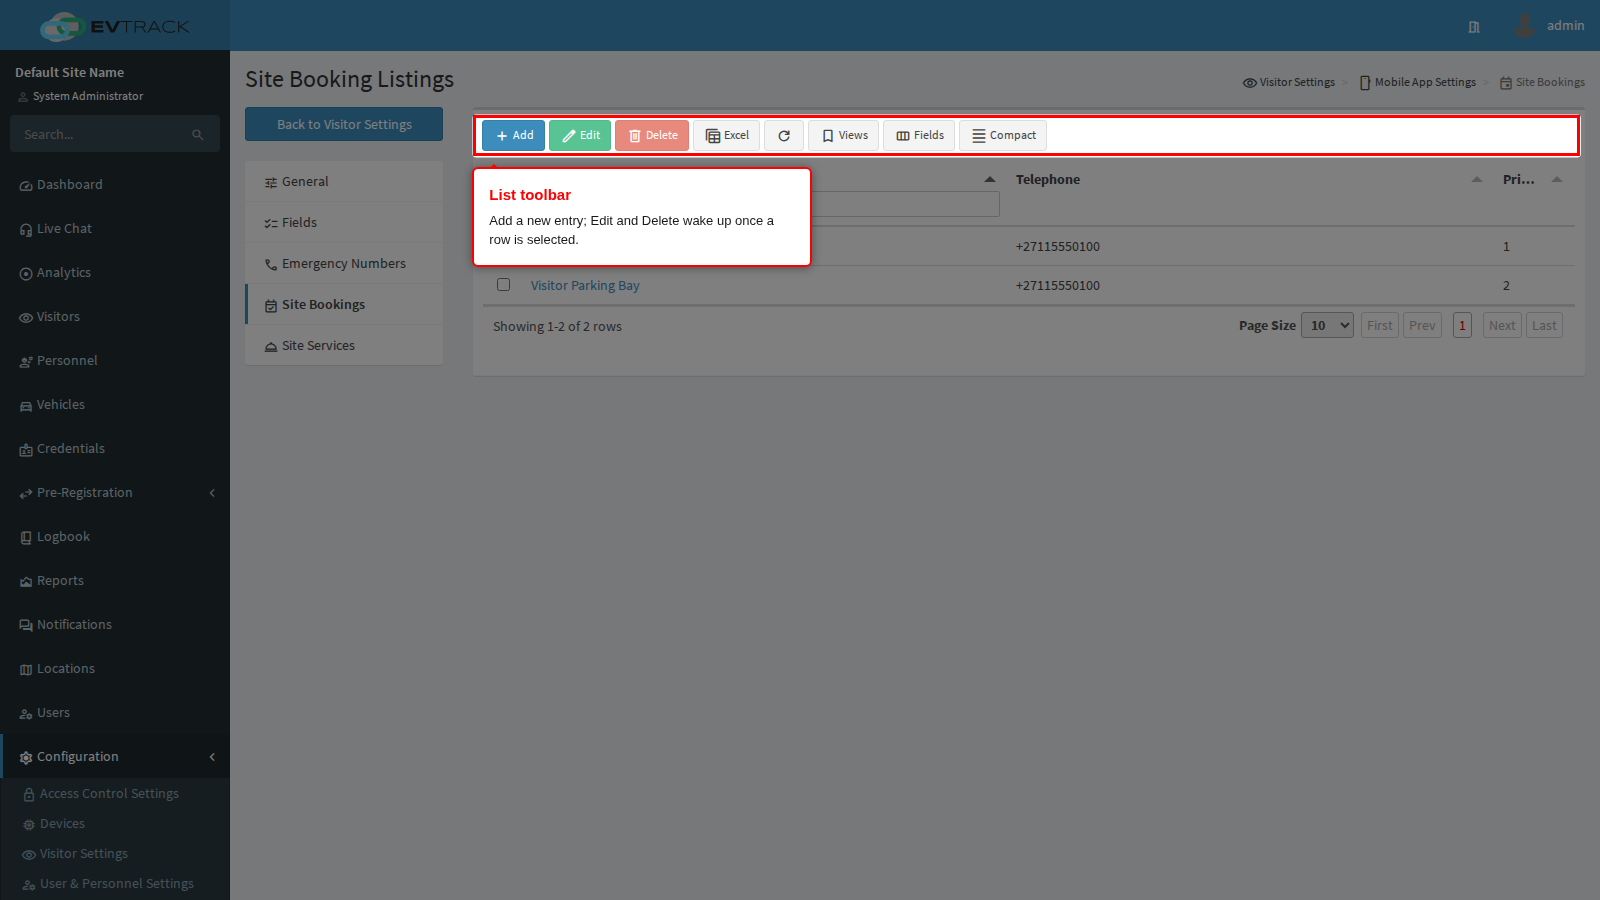
Each entry carries a name of up to 50 characters, a description, opening and closing times, how many people it holds (1 to 1000), a contact number, a banner image, a priority for its place in the list, and the link the app opens when a user taps it. The name and the link are both compulsory: the link is what actually does the booking, since EvTrack lists the facility and hands the user over to whatever booking system you point it at, either inside the app or in the phone’s browser.
End state: app users see a list of what they can book, with your photographs and your opening hours, and reach your booking system in one tap.
Step 7: Site Services
Click Site Services in the page menu.
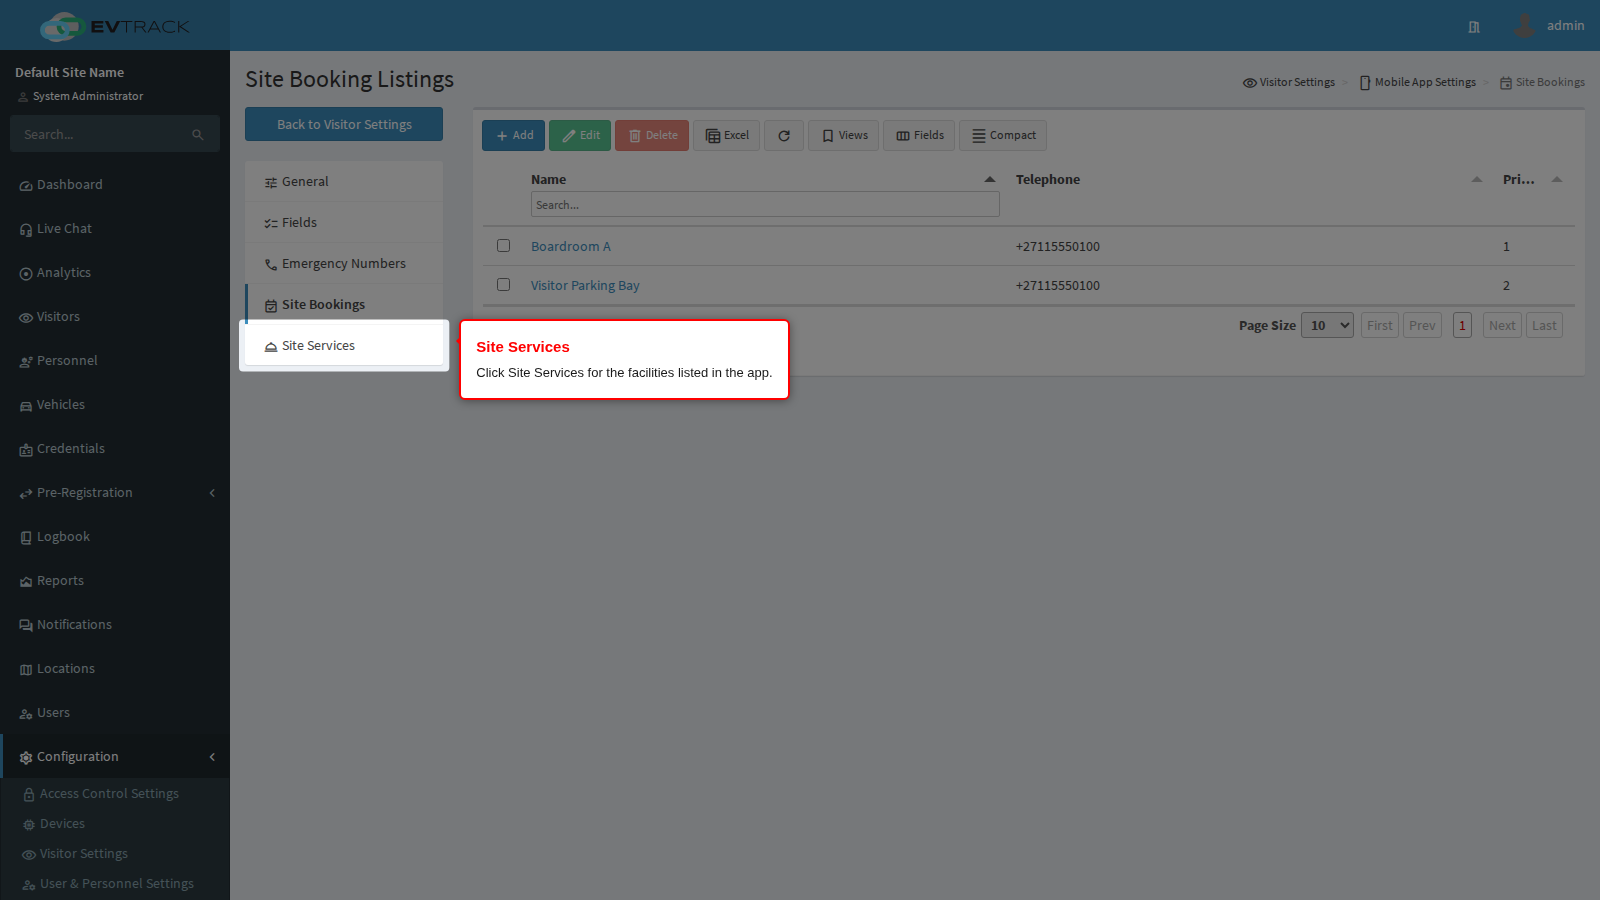
These are the services and facilities on site - a coffee shop, a gym, a laundry, a maintenance request form. A new system starts with an empty list, so the entries shown here are examples.
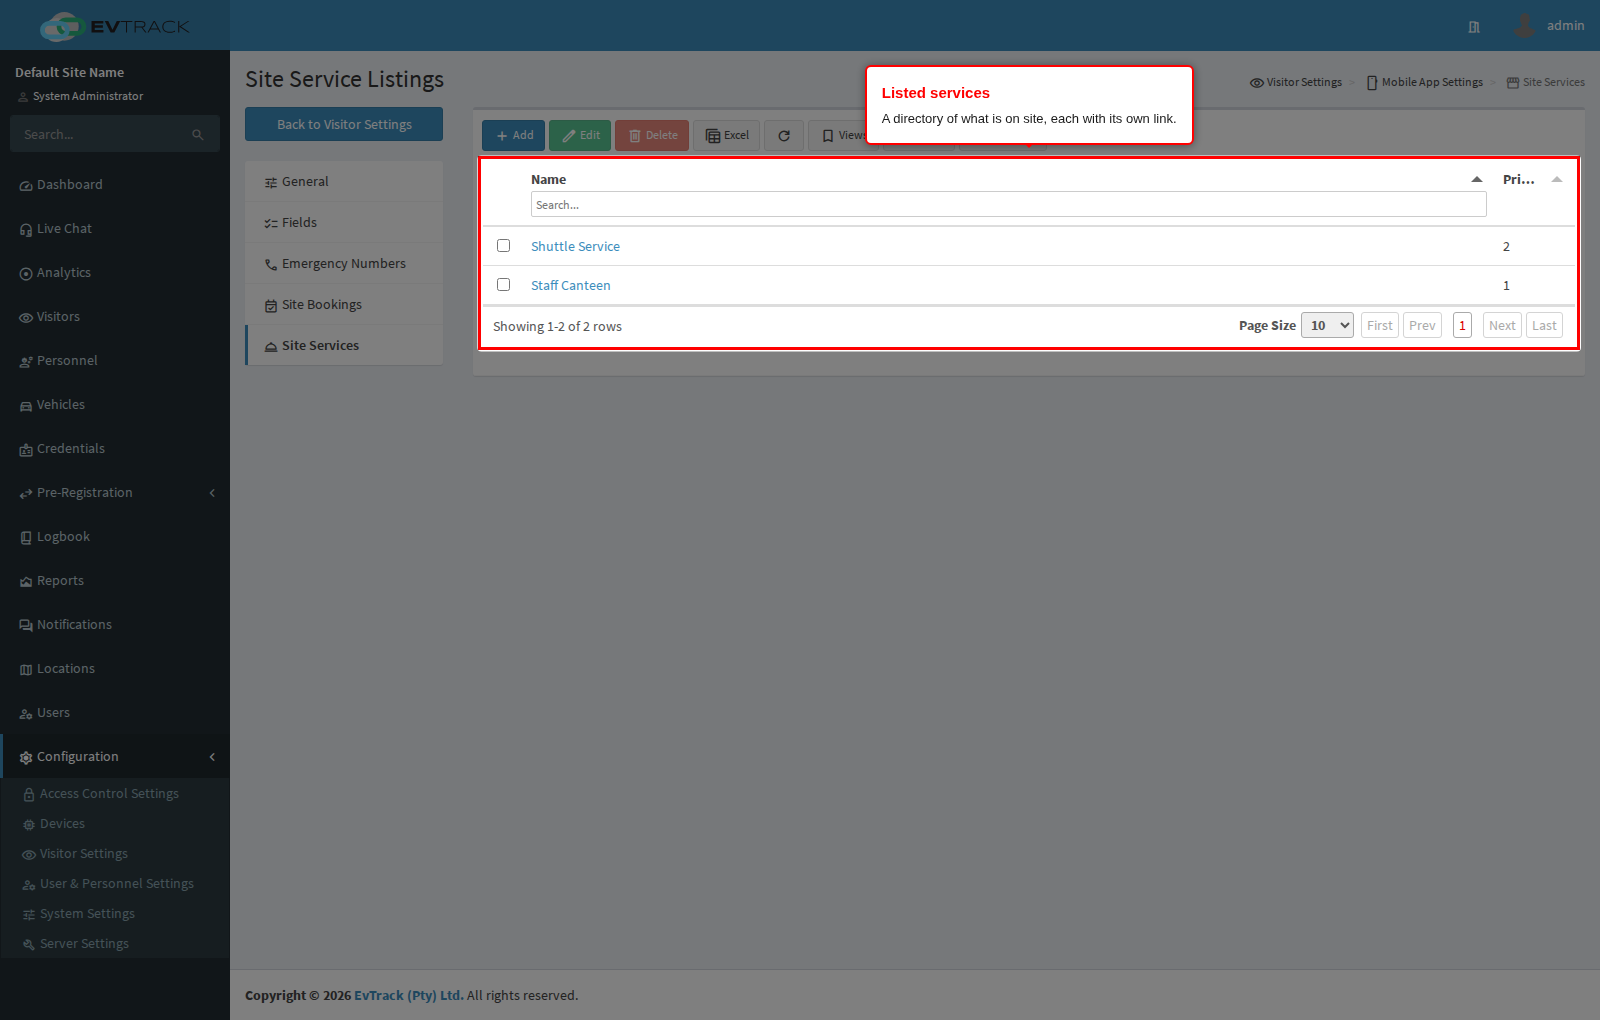
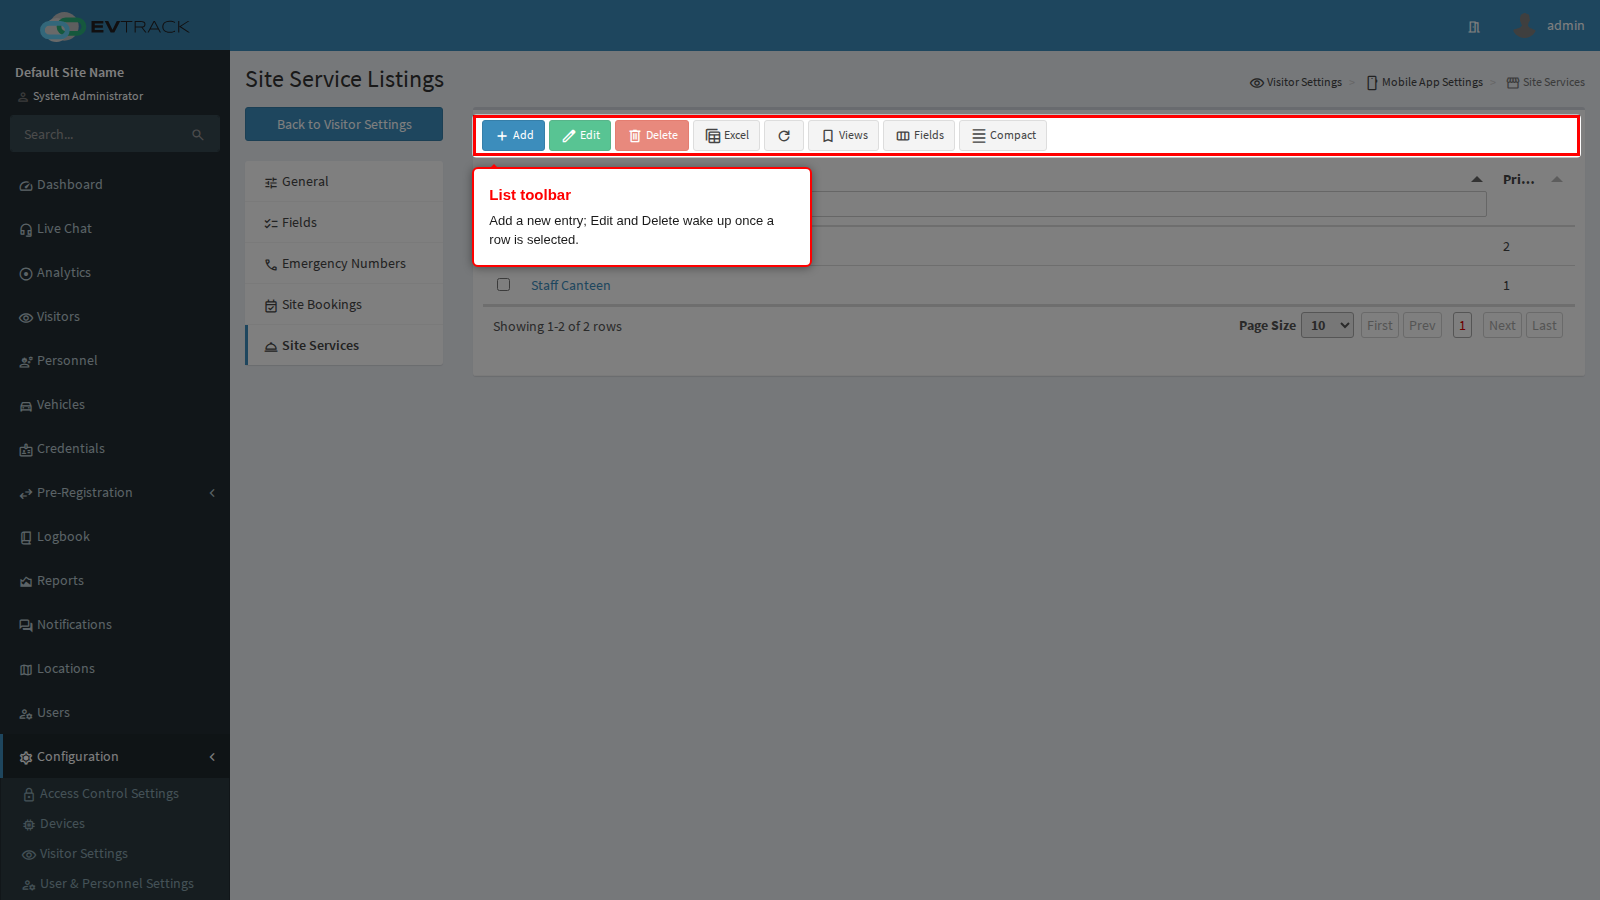
An entry is a name, a description, a banner image, a priority and a link, and works the same way as a booking entry without the opening times and the capacity. Only the name is compulsory, so an entry can be a plain listing with no link behind it.
End state: the app carries a directory of what is available on site, in the order you chose.
What next
- Required Fields for how the app’s field list relates to the ones the admin console, kiosk, guard app and API use.
- Visit Reasons for the list behind the Reason field, and the access rules a reason can carry.
- Instant Messaging for the wording of the message an app-raised invitation sends.
- Host Notifications for the push notifications the same app receives when a visitor arrives.