Visitors can register themselves before a visit using the public self-registration form - shared as a link or QR code (see Visitor Registration). The visitor verifies their email address with a one-time PIN, completes the form, and the request lands in the Registration list for processing.
The captures in Steps 1-5 show the public pages exactly as the visitor sees them - there is no operator UI on these screens.
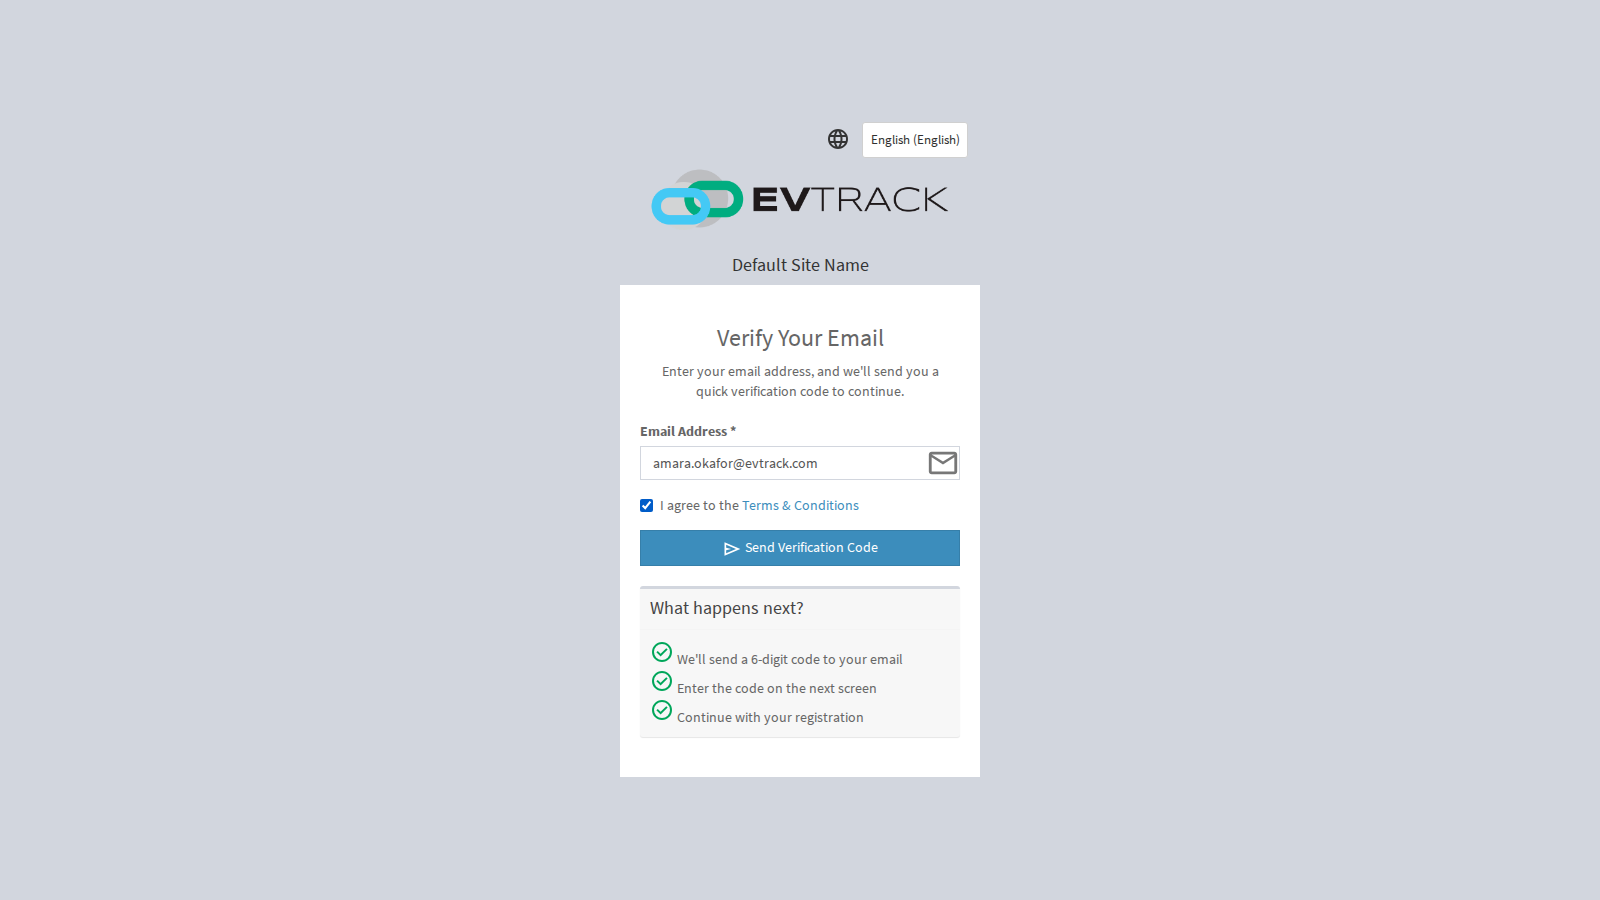
Step 1: Enter an email address
Opening the registration link asks the visitor for their email address.
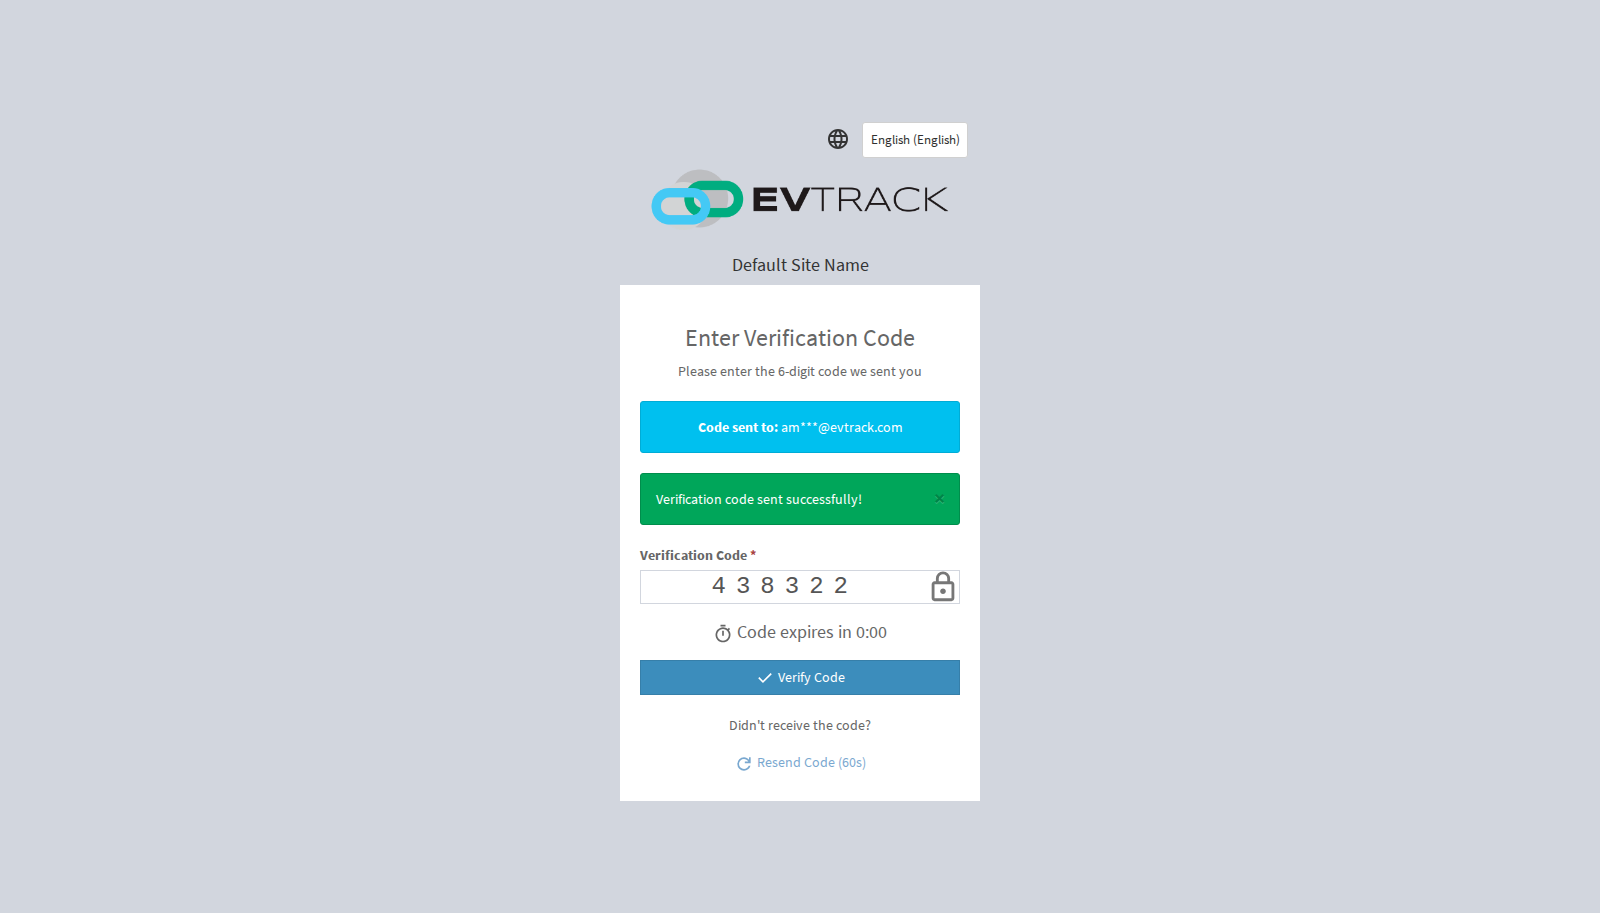
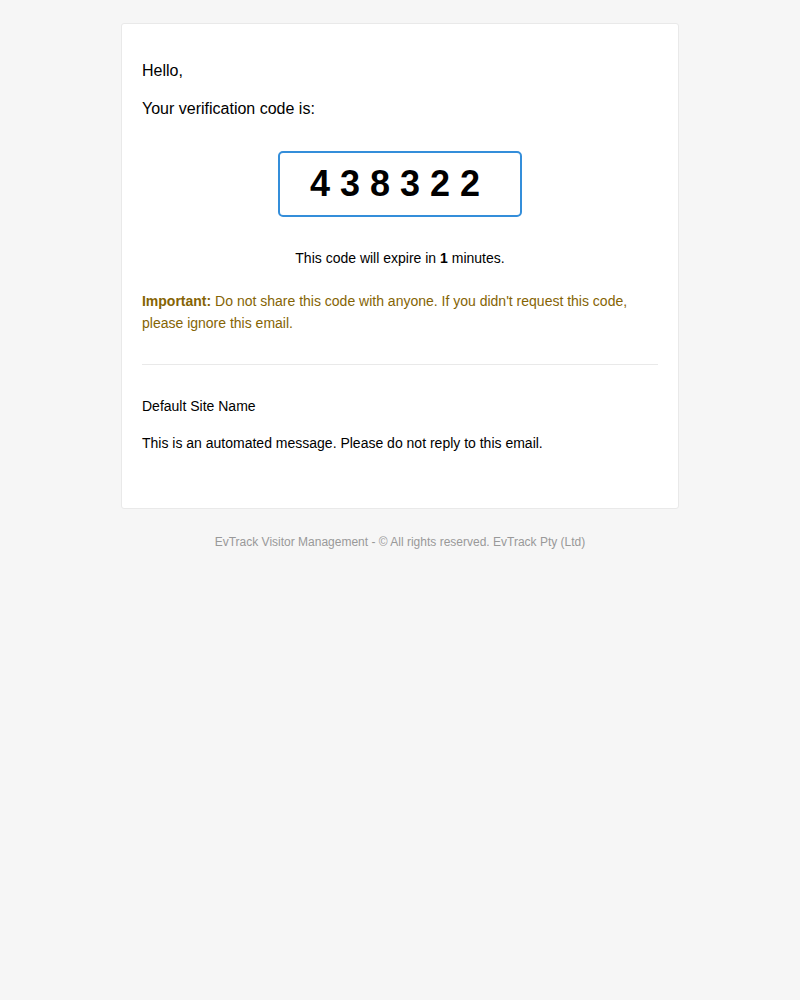
Step 2: Verify with the one-time code
A verification code is emailed to the visitor, who enters it to continue.
Step 3: The registration form
After verification the registration form opens. Which fields are shown and required is configured under Visitors > Settings > Self-Registration.
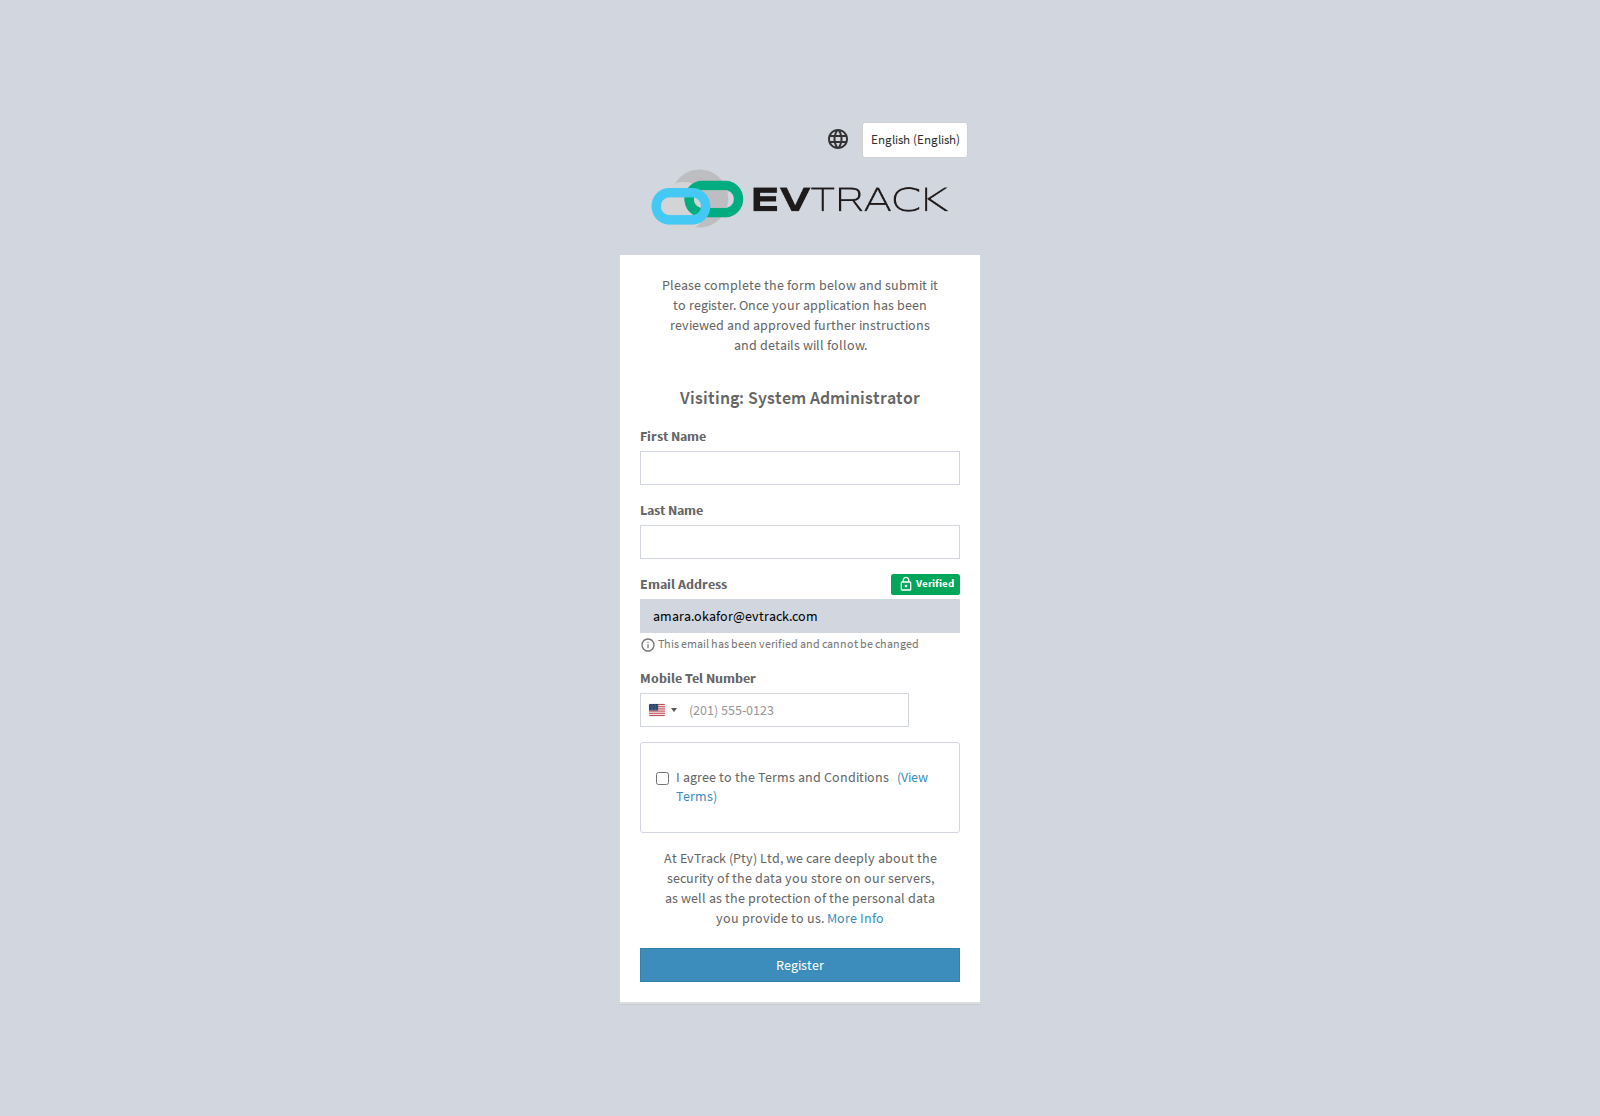
Step 4: Complete the details
The visitor fills in their details. Depending on your self-registration field policy, the form can also require a photo and a copy of an ID document or passport.
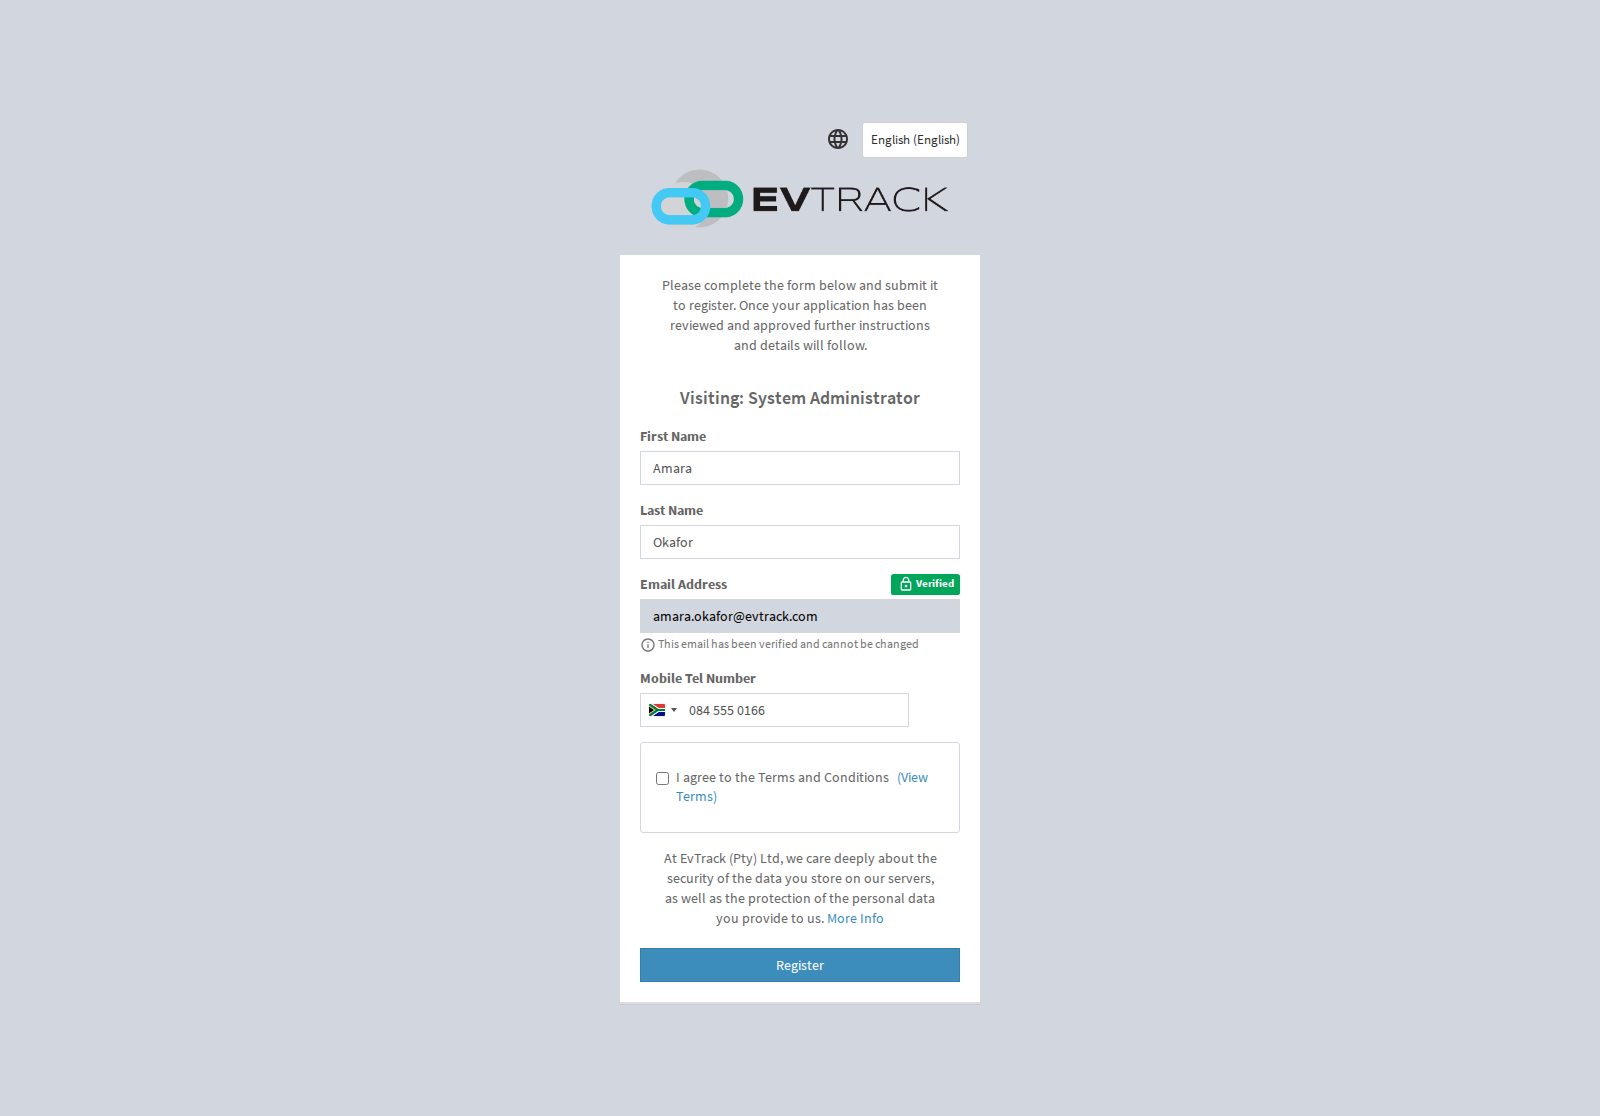
Step 5: Submit
After submitting, the visitor sees a confirmation. Depending on your settings, the request may need operator or host approval before a visit pass is issued.
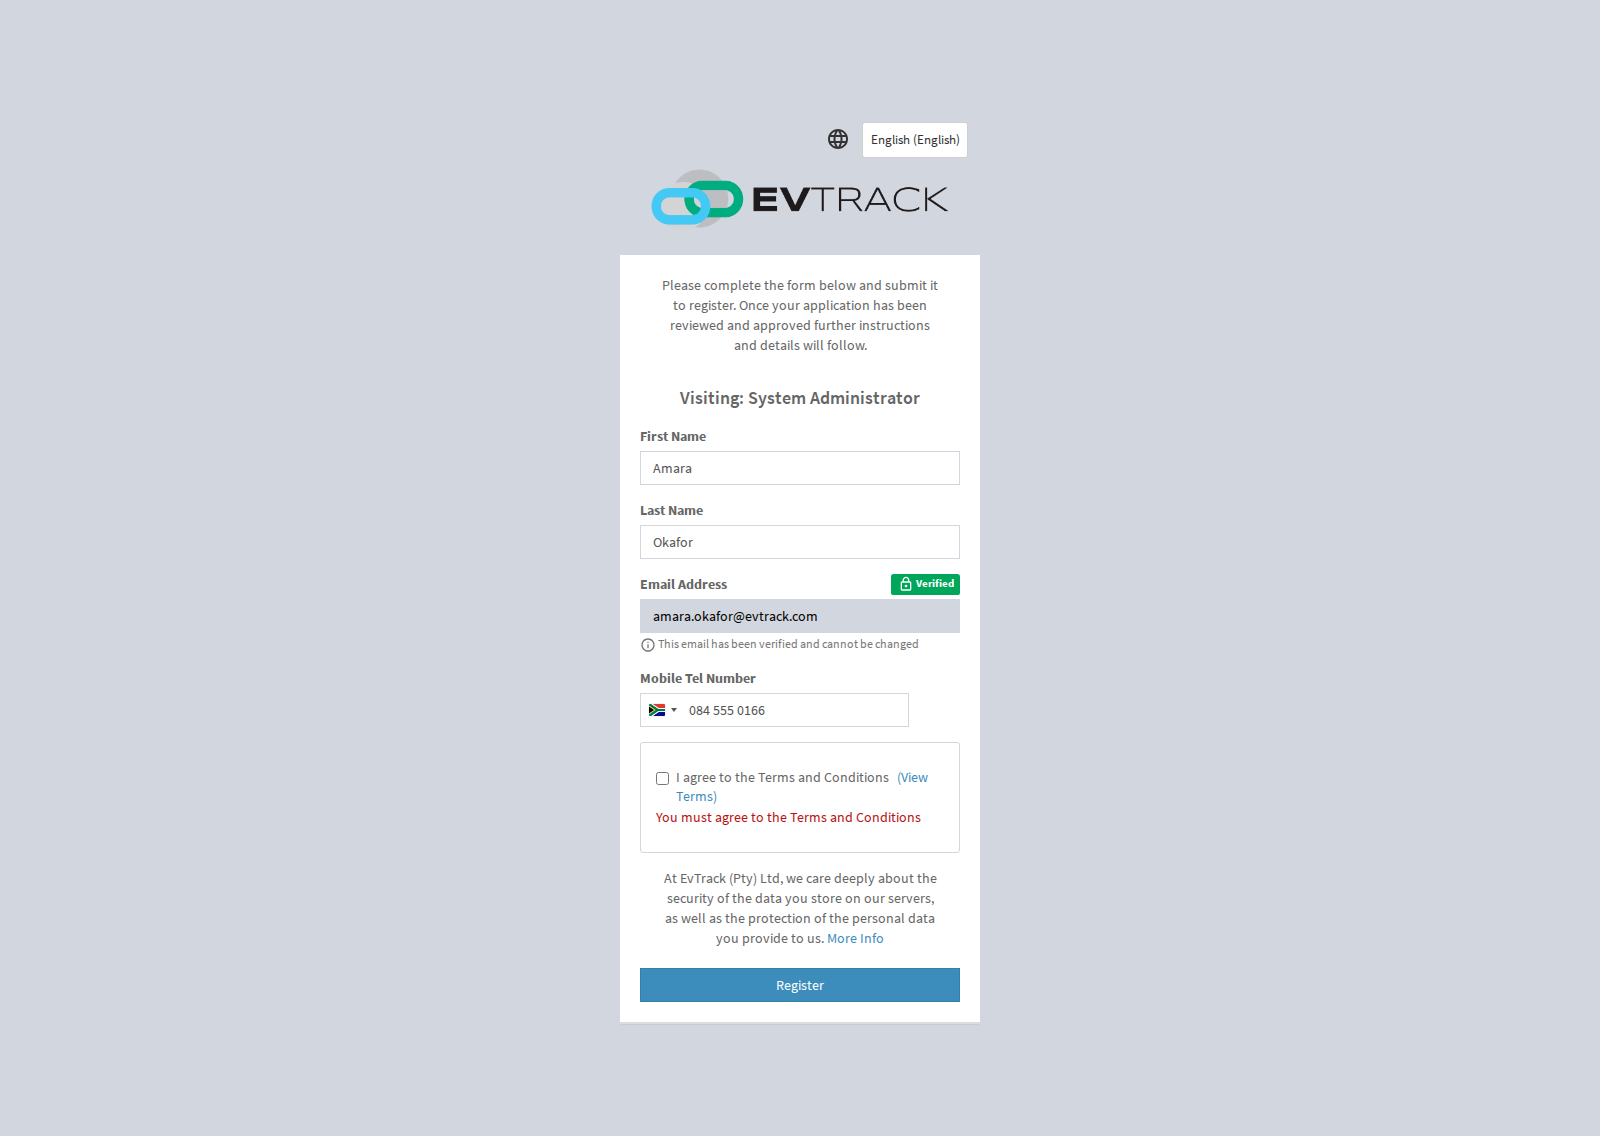
When the visitor registers through a location link, this page shows that location’s logo and company name, and the location’s own success message if one is set. The verification code email the visitor receives carries that location’s company name too.
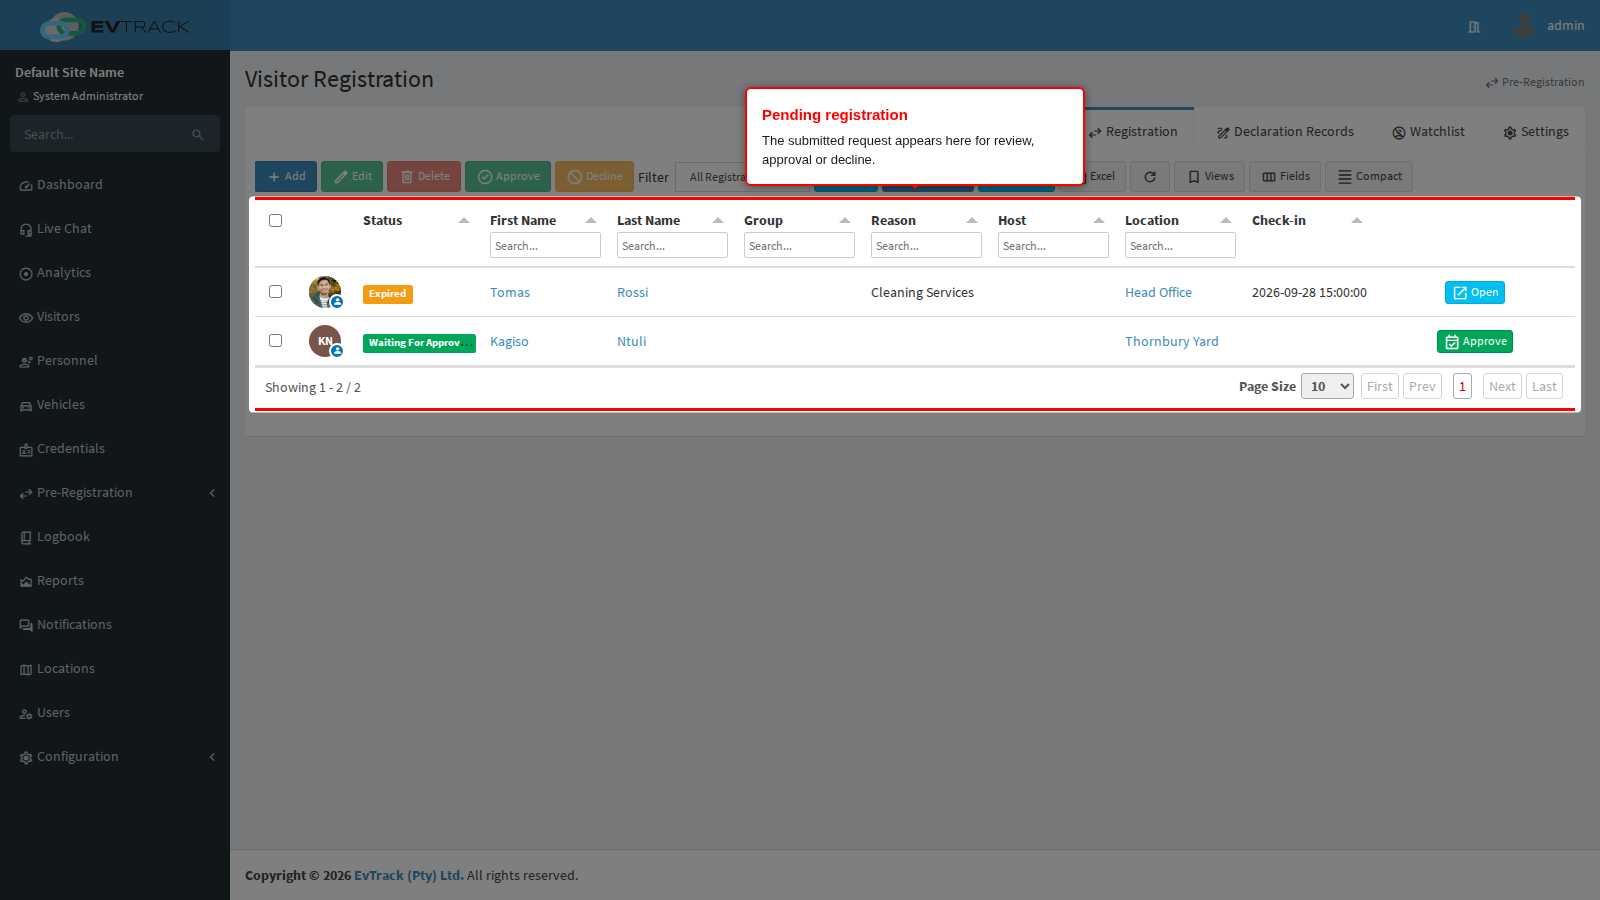
Step 6: The request appears for processing
Back in the operator UI, select Visitors in the sidebar and open Registration - the submitted request appears in the list with status Pending, where operators review, approve or decline it.