Visitor Emails is where you author every message EvTrack sends to visitors and hosts: the Invitations email that carries the visit pass, the Host Notifications email that tells a host their visitor has arrived, the Visitor Check-out follow-up, and the Pre-Registration email that carries a self-registration link. Each is a separate page with its own subject and its own rich-text body.
Before you start:
- You need an administrator account with the settings-edit permission. Without it the Visitor Settings menu does not appear.
- Email delivery must already work. These pages control what is sent, not how - the mail server, the sender address and the test-send action live under Email Server. If no mail server is configured, nothing you save here is delivered.
- Each page saves independently. Fill in a page, click Save at the bottom, and a green confirmation appears at the top. Cancel discards your edits and reloads the saved values.
Step 1: Open Visitor Emails
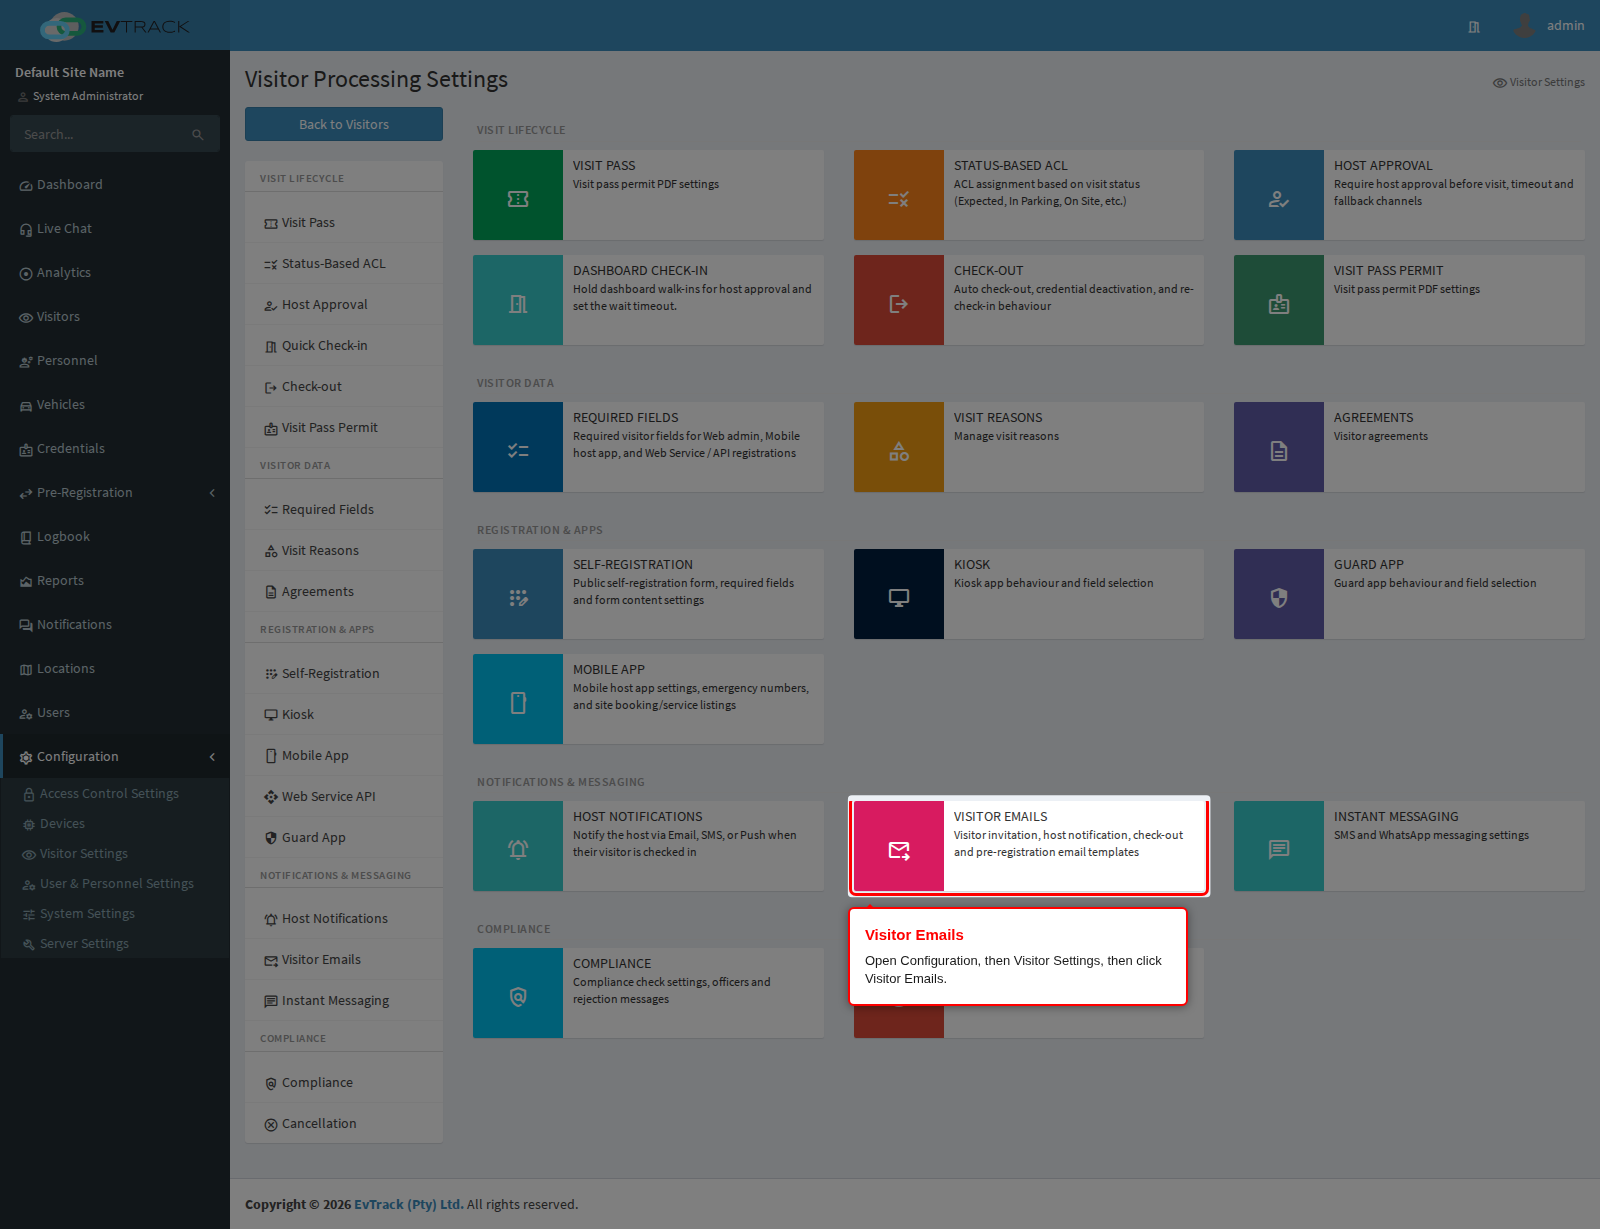
In the left sidebar open Configuration, click Visitor Settings, then click the Visitor Emails card. The Email - Invitations page opens.
Step 2: Choose which email you are editing
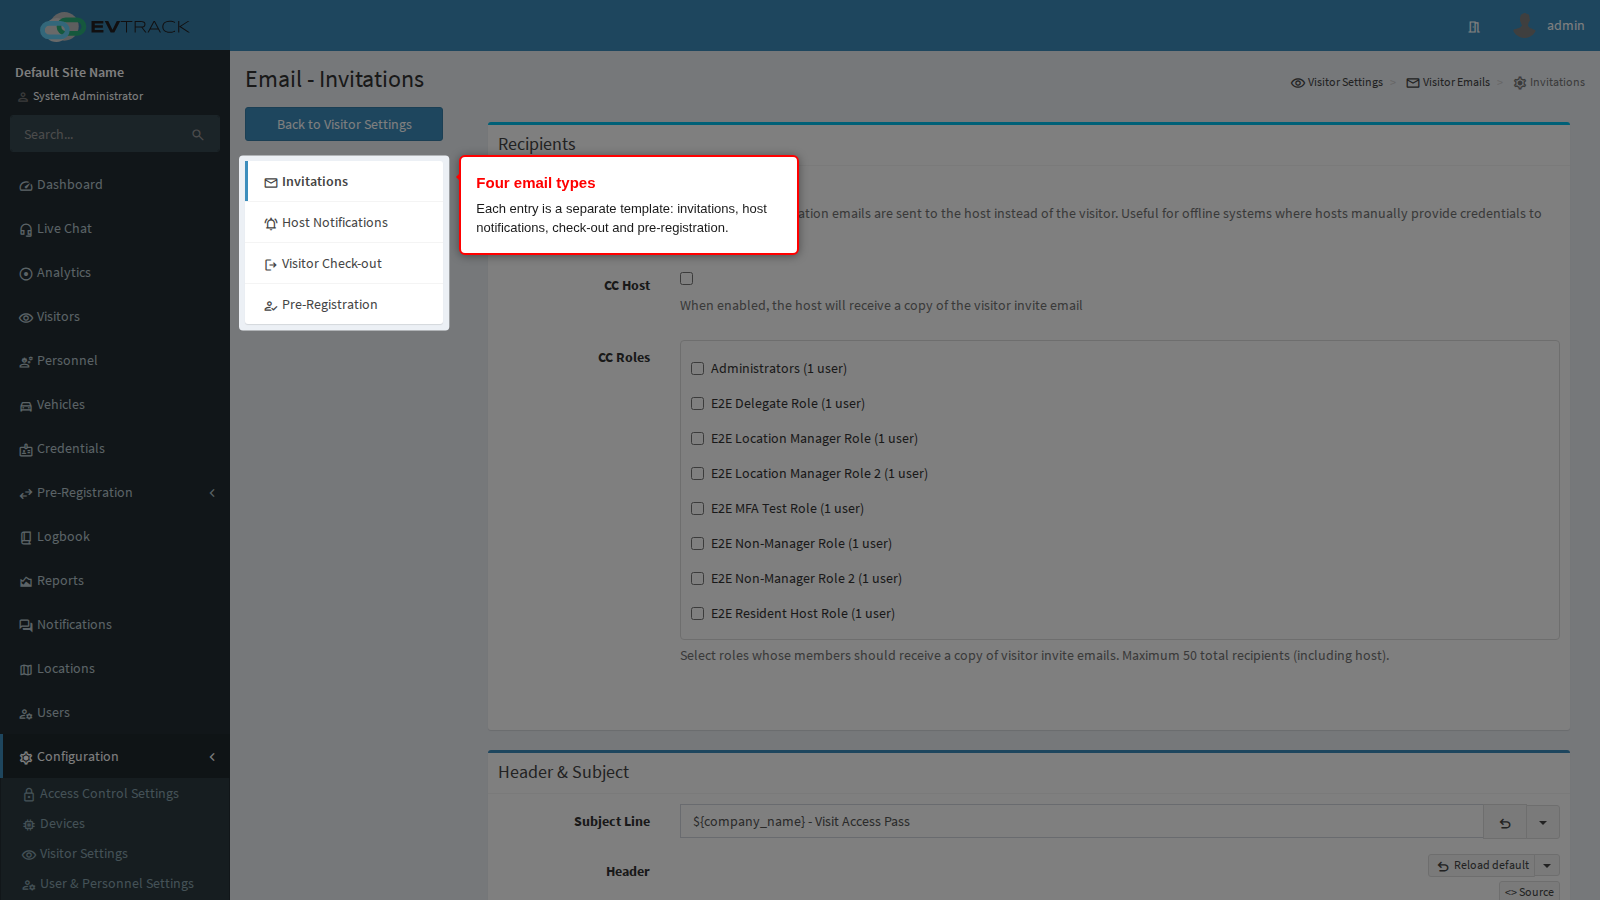
The menu on the left of the page lists the four email types. Invitations is selected when you arrive; the other three are covered at the end of this chapter. Everything between here and the Reload Default section describes the Invitations page.
Recipients
The first panel decides who the invitation goes to. By default it goes to the visitor and nobody else.
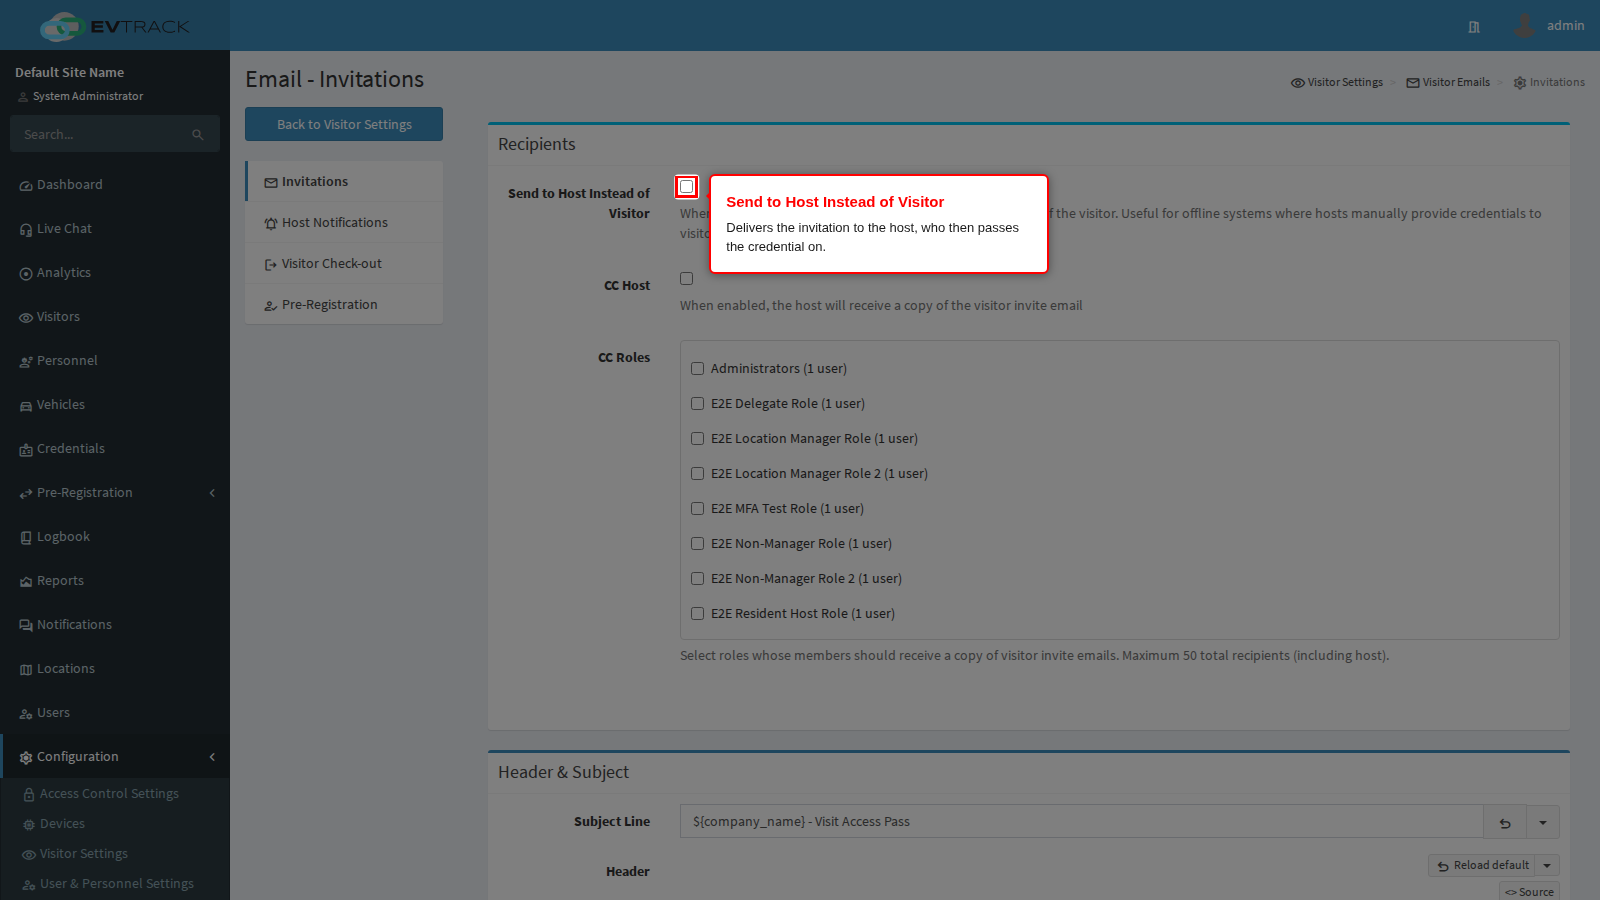
Send to Host Instead of Visitor swaps the recipient: the invitation is delivered to the host who created the invite, who then hands the credential to the visitor in person. Use it where visitors are not expected to have email, or where credentials must never leave the building electronically. The invitation is only sent if the host has a valid email address, or if the copy list below has at least one recipient - with neither, nothing is sent at all.
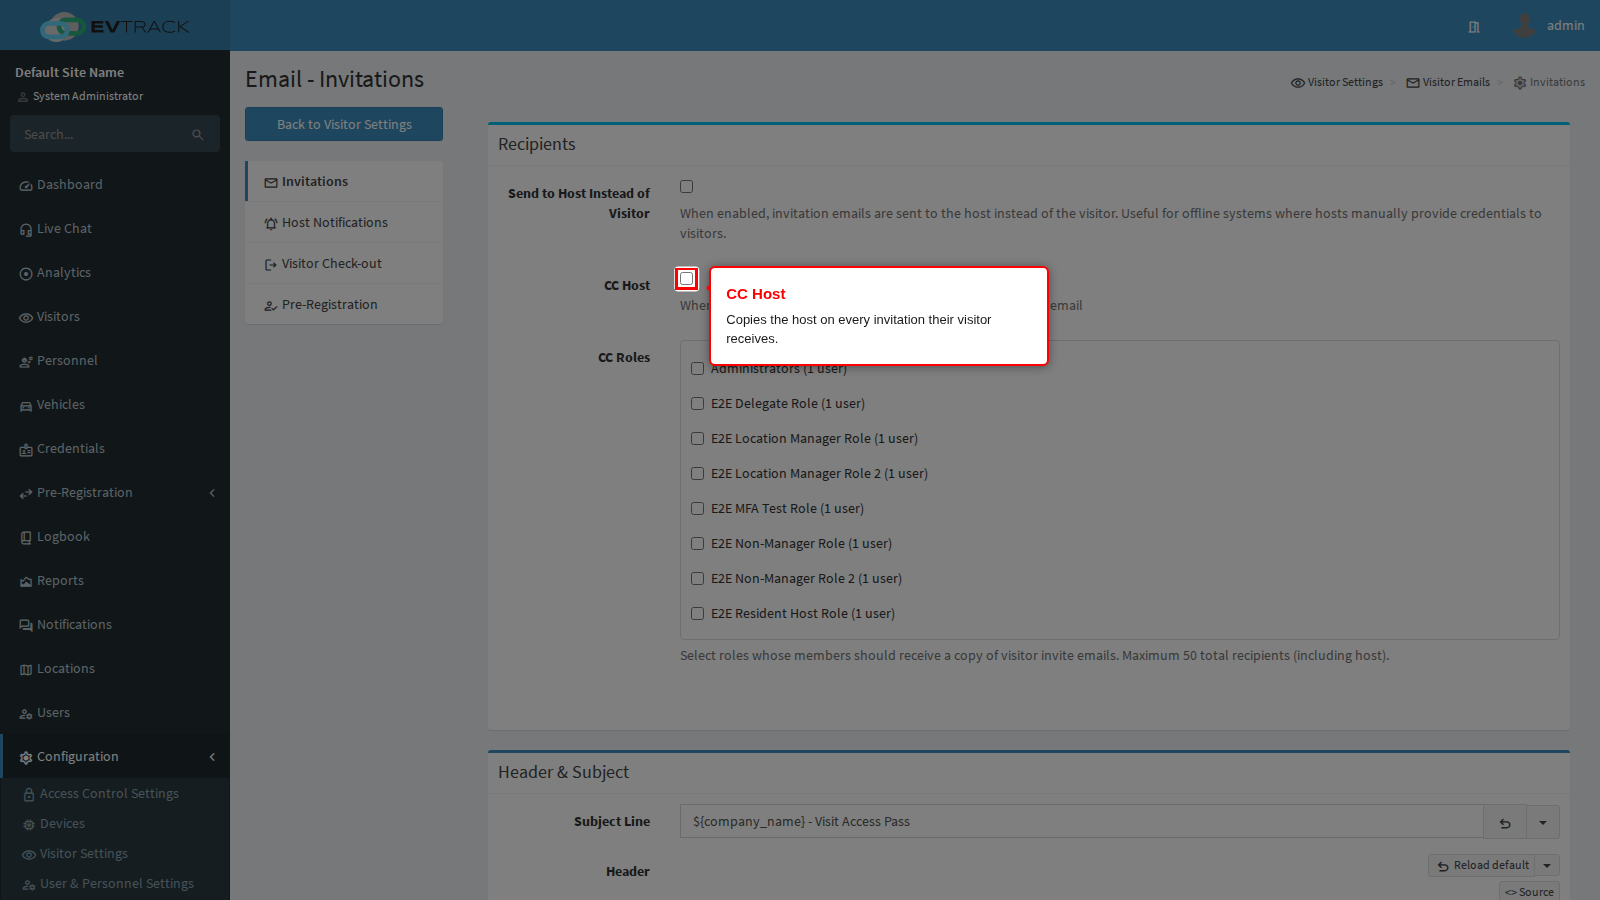
CC Host leaves the visitor as the recipient and copies the host, so the host can see exactly what their visitor received and answer questions about it.
CC Roles copies everyone who holds a ticked role. Each role shows how many people currently hold it, so you can see the size of the copy list before you tick it. The copy list is capped at 50 addresses in total, including the host: if the ticked roles resolve to more, only the first 50 are copied and the rest are silently dropped, so prefer a small dedicated role over a broad one such as all administrators.
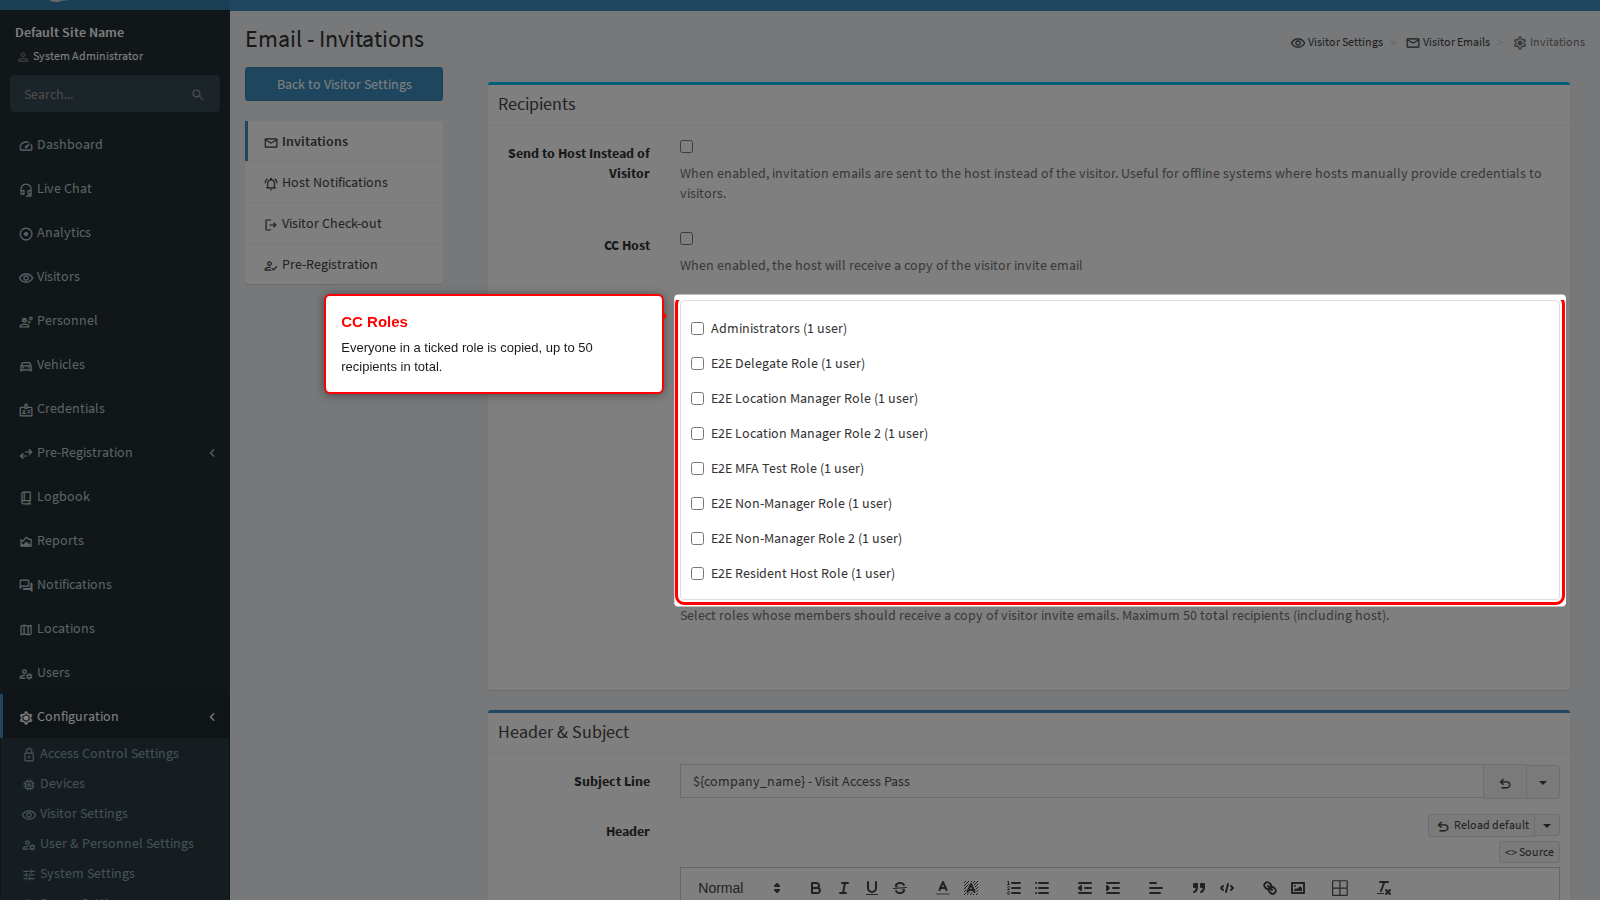
End state: the panel shows your recipient choice, and the ticked roles are highlighted in the list.
Header and Subject
Subject Line is the subject the visitor sees in their inbox. It is a plain text field and it accepts merge tags, so ${company_name} - Visit Access Pass resolves to your organisation name for every recipient.
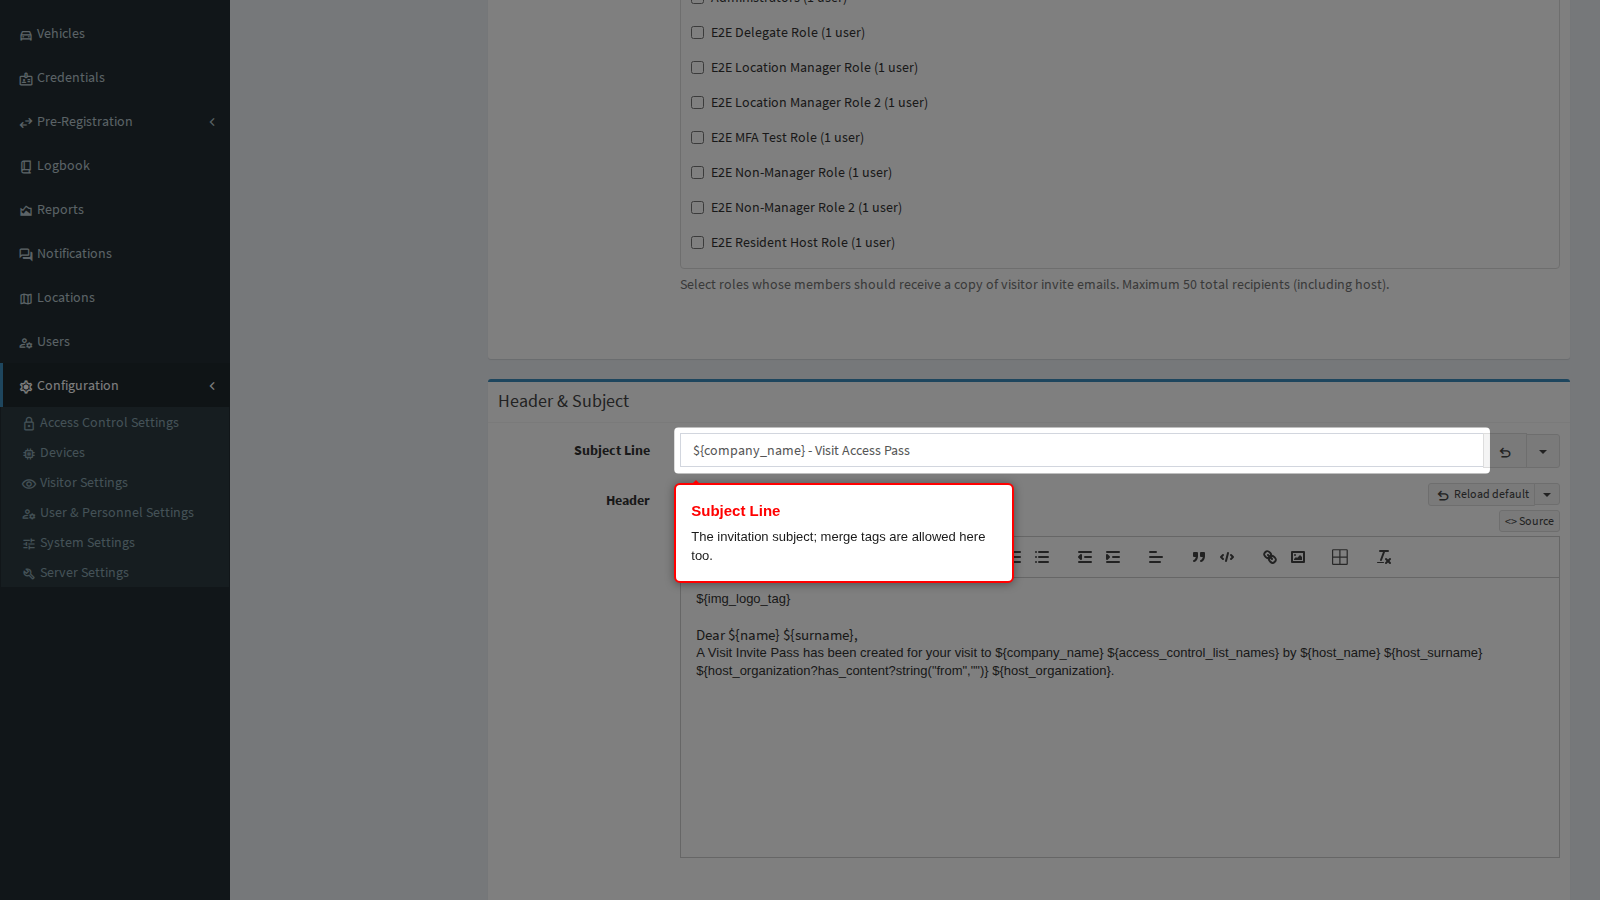
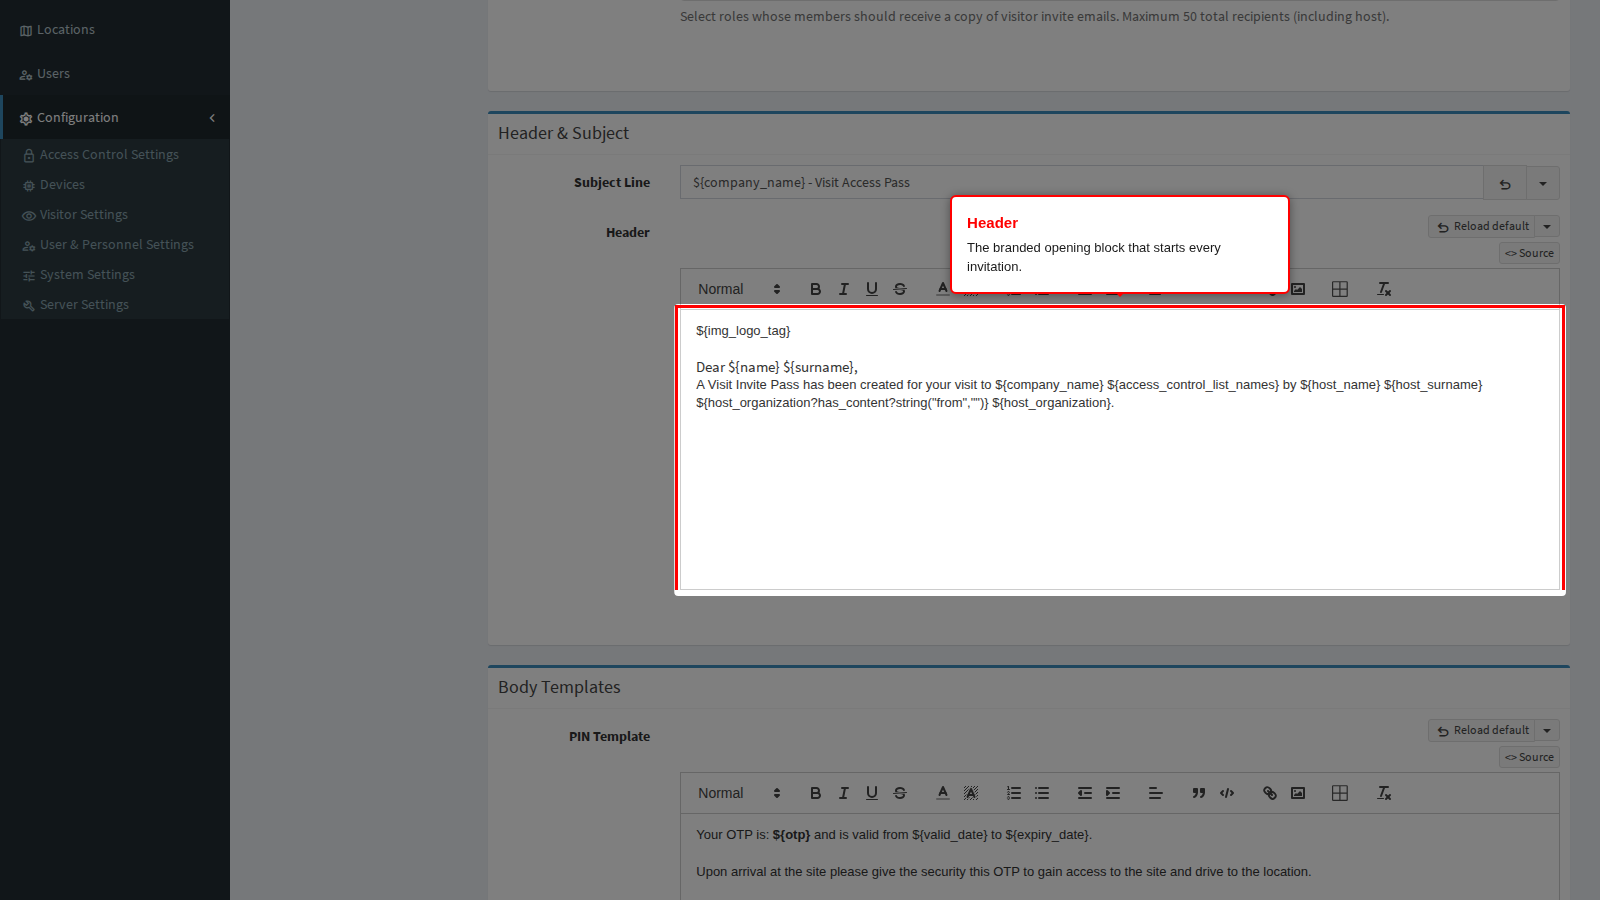
Header is the opening block of the email - typically a logo, a greeting and a one-line explanation of why the visitor received the message. It is edited in a rich-text editor: type directly into it and the formatting you apply is what the recipient sees.
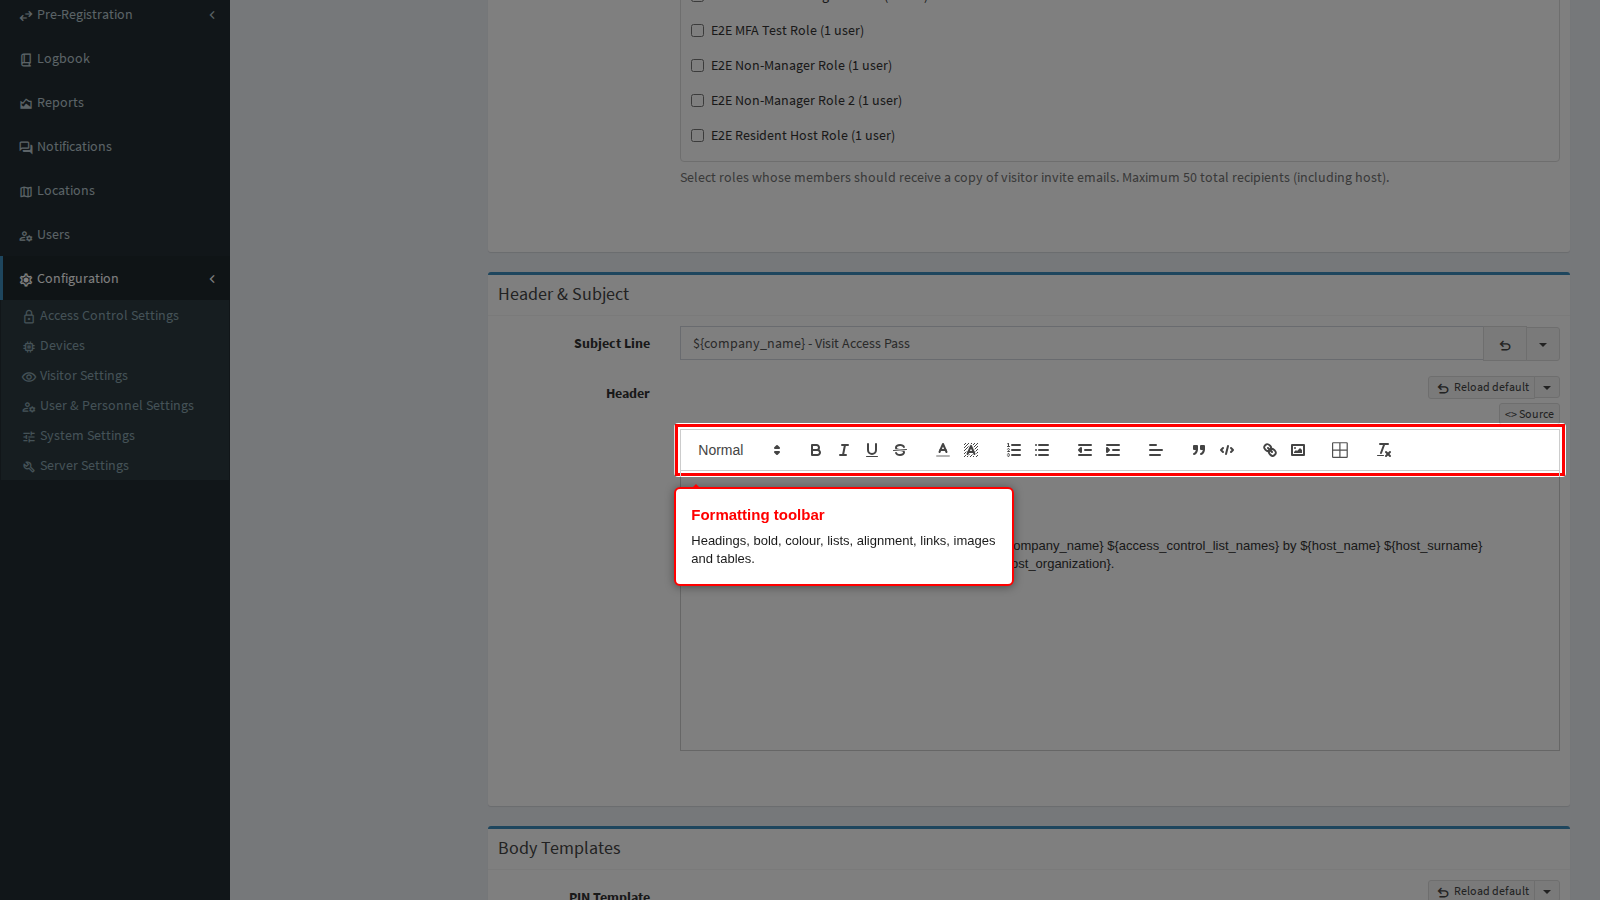
The toolbar above each editor carries headings, bold, italic, underline, text and background colour, ordered and bulleted lists, indentation, alignment, quotes and code blocks, links, images and a table builder. The Source button on the right of the toolbar swaps the editor for the raw HTML behind it, which is the fastest way to paste in markup a designer supplied; click Editor to switch back.
Note: The subject and every rich-text block support merge tags written as
${tag_name}- for example${name},${host_name},${qr_code_button}and${valid_date}. The finished email is assembled first and one merged data set is applied to the whole of it, so any invitation tag works in any block. The complete catalogue is in the Merge Tags reference.
Note: When an existing visit pass is re-sent, the subject is automatically prefixed with
UPDATED:- you do not write that prefix yourself. See Footer and Updated Body below.
End state: the subject field holds your wording and the header block shows your branding as the recipient will see it.
Body templates
The invitation body is not one template but three, and EvTrack picks the right one from the credential the visit actually issued. You do not choose between them anywhere - fill in all three and the correct one is used.
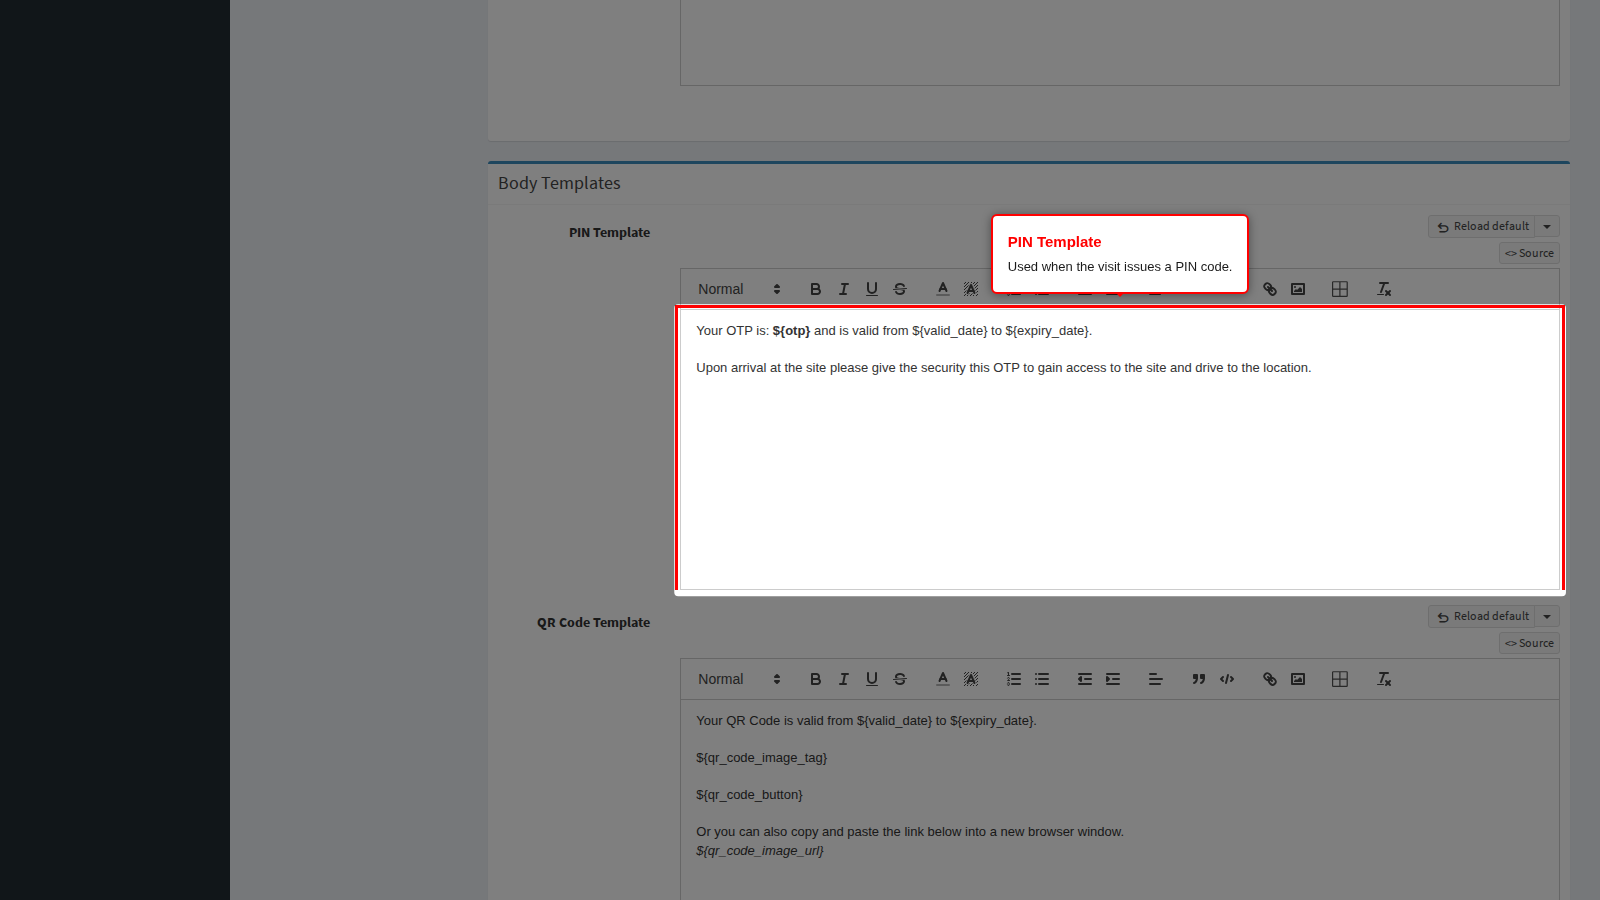
PIN Template is used when the visit issues a PIN code. Write the PIN, where to enter it and what to do if it is rejected.
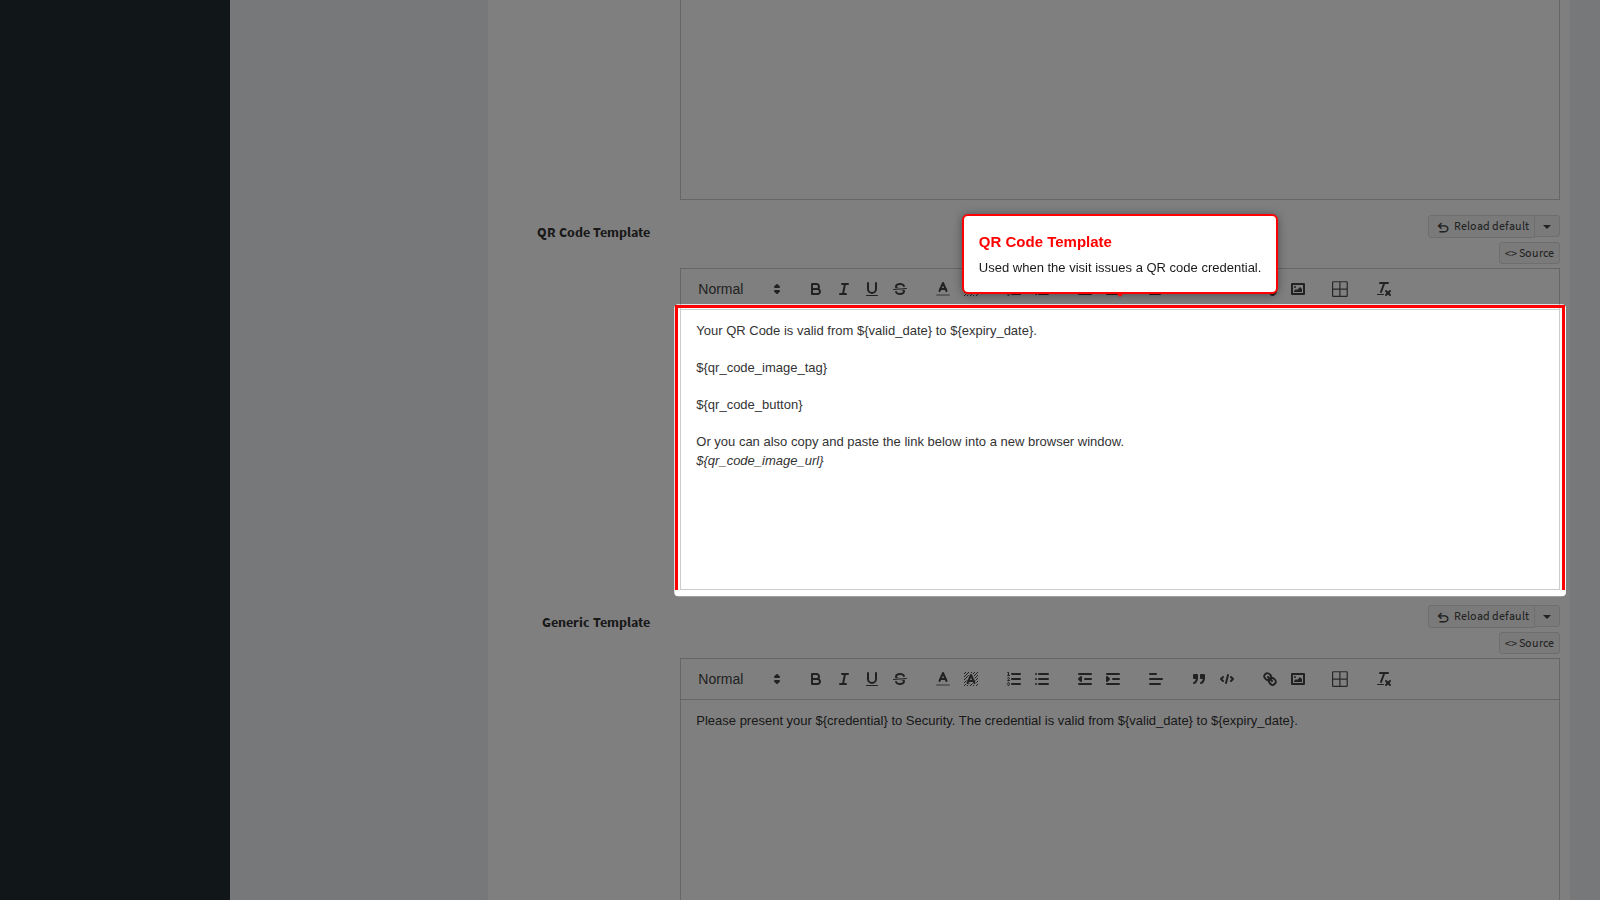
QR Code Template is used when the visit issues a QR code. If a visit issues both a QR code and a PIN, this template is used and the PIN template is appended below it, so write the two so they read as one message.
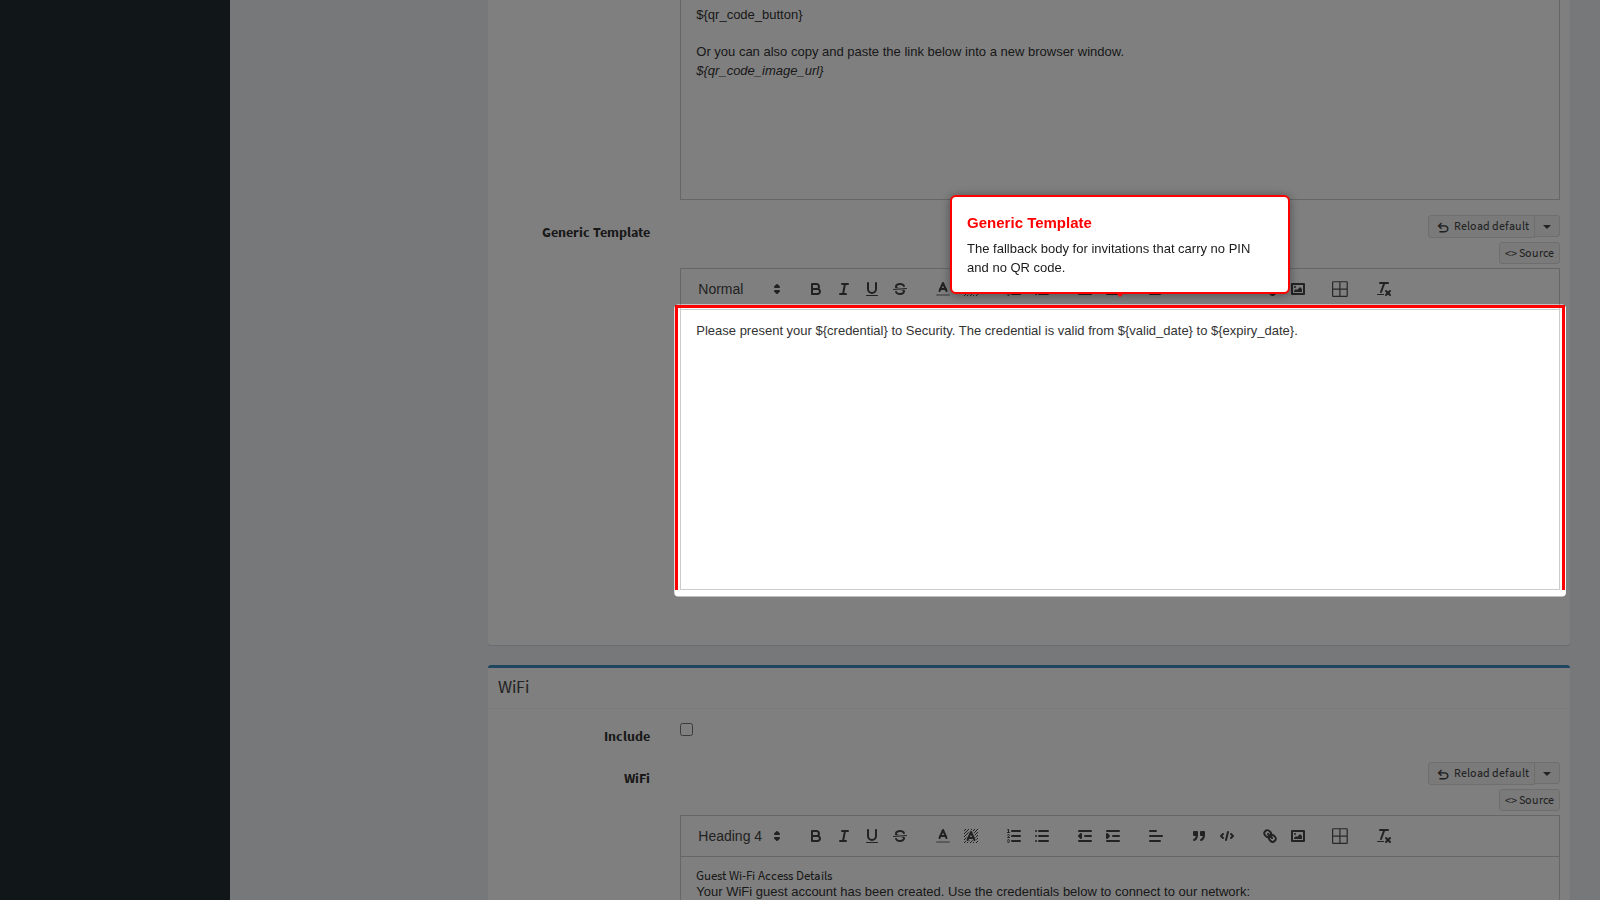
Generic Template is the fallback, used when the invitation carries neither a QR code nor a PIN - for example a visit that only confirms an appointment. Leave it filled in even if you never expect it, otherwise those visitors receive an invitation with no body at all.
Note: The finished email is assembled by joining the enabled blocks in a fixed order: the update notice (re-sends only), the header, the body chosen above, WiFi, parking, location, rules, and finally the footer. An empty block is skipped entirely rather than leaving a gap. The Invitation Email Guide walks through the assembled result end to end.
End state: all three bodies are filled in, and the QR and PIN bodies read sensibly when shown one after the other.
WiFi
Include switches the WiFi block on. It is off by default. When it is on the block is only added to an invitation for which guest WiFi was actually provisioned - a visitor with no guest account never sees an empty WiFi section.
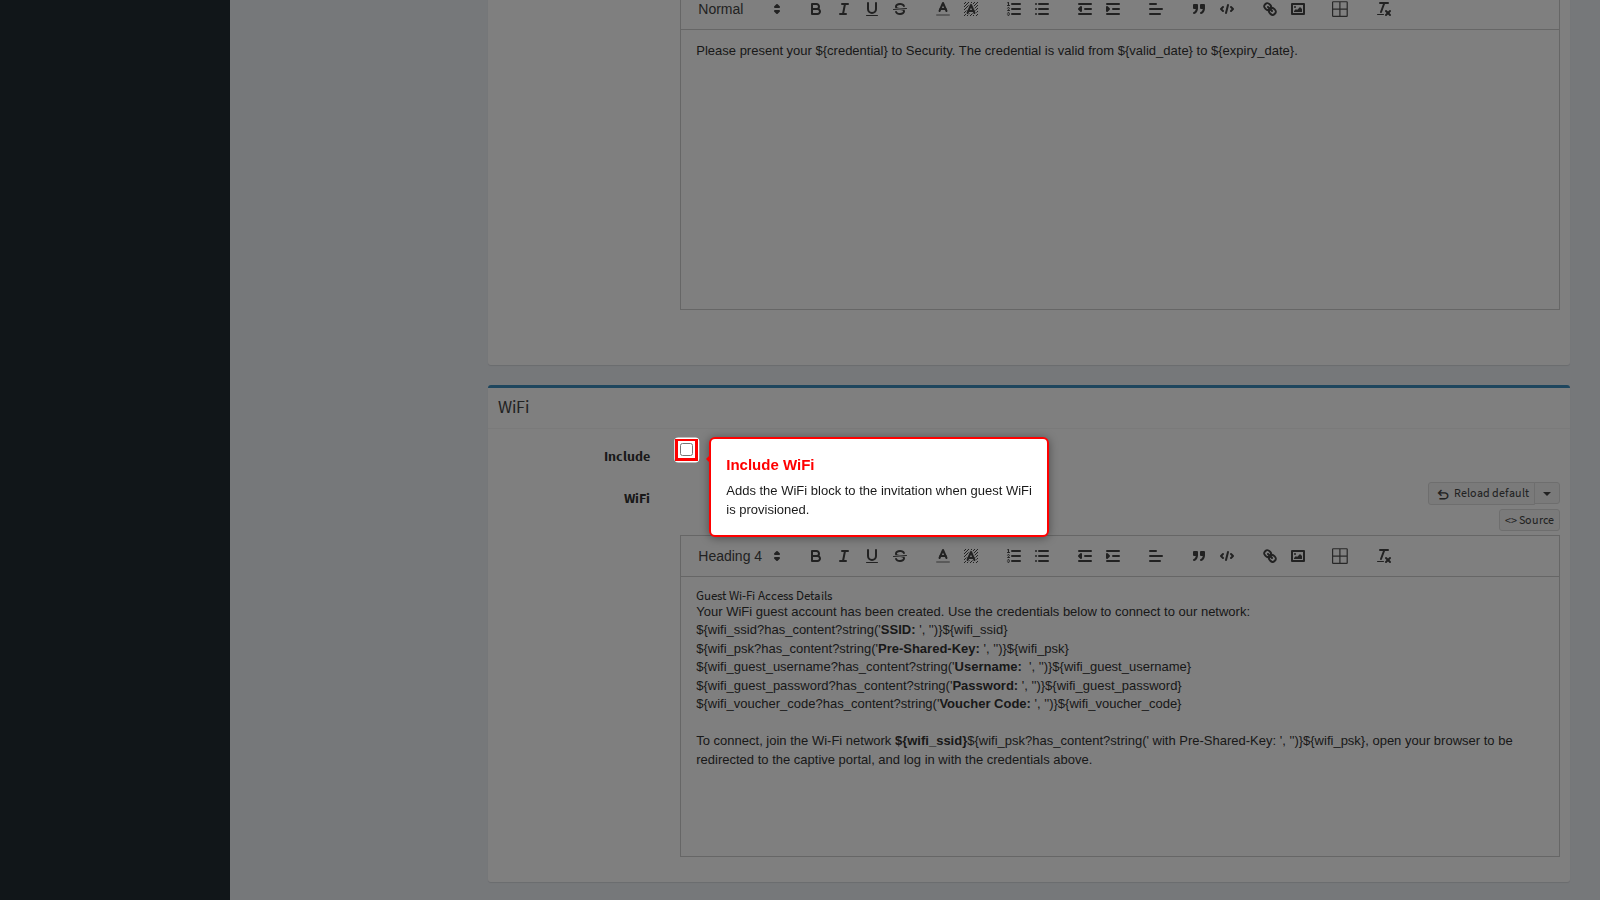
WiFi is the block itself: network name, password or joining code, and any instructions such as accepting a captive-portal notice.
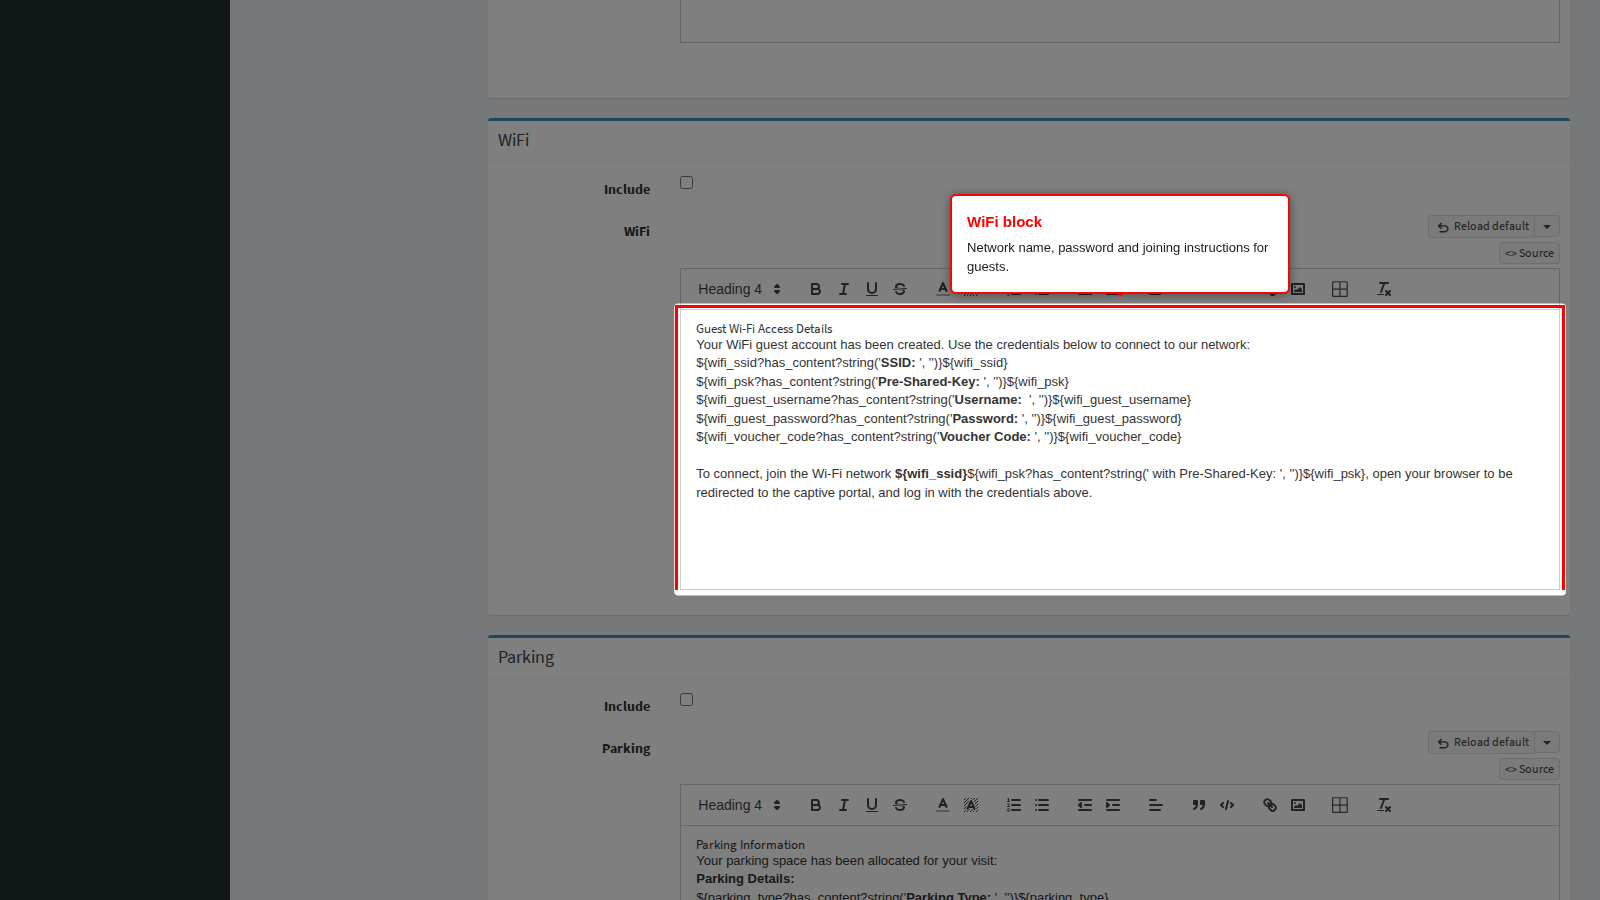
If your WiFi details come from the network team as ready-made HTML, click Source above the editor, paste the markup in, and click Editor to check how it renders.
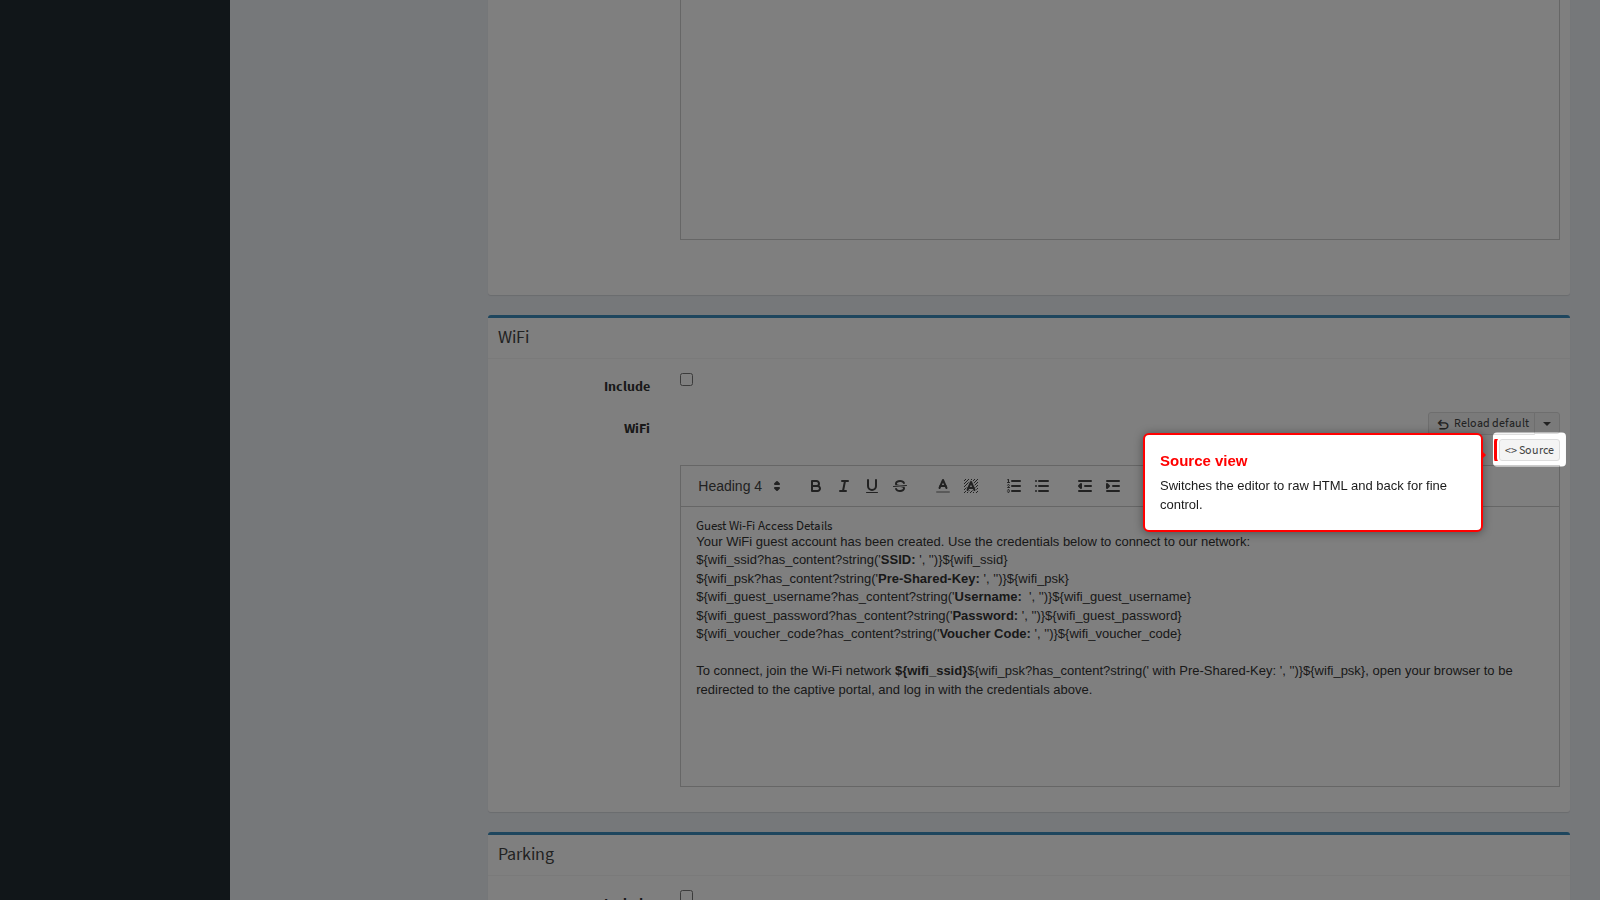
End state: with Include ticked and content in the block, invitations for visitors who received guest WiFi carry the details.
Parking
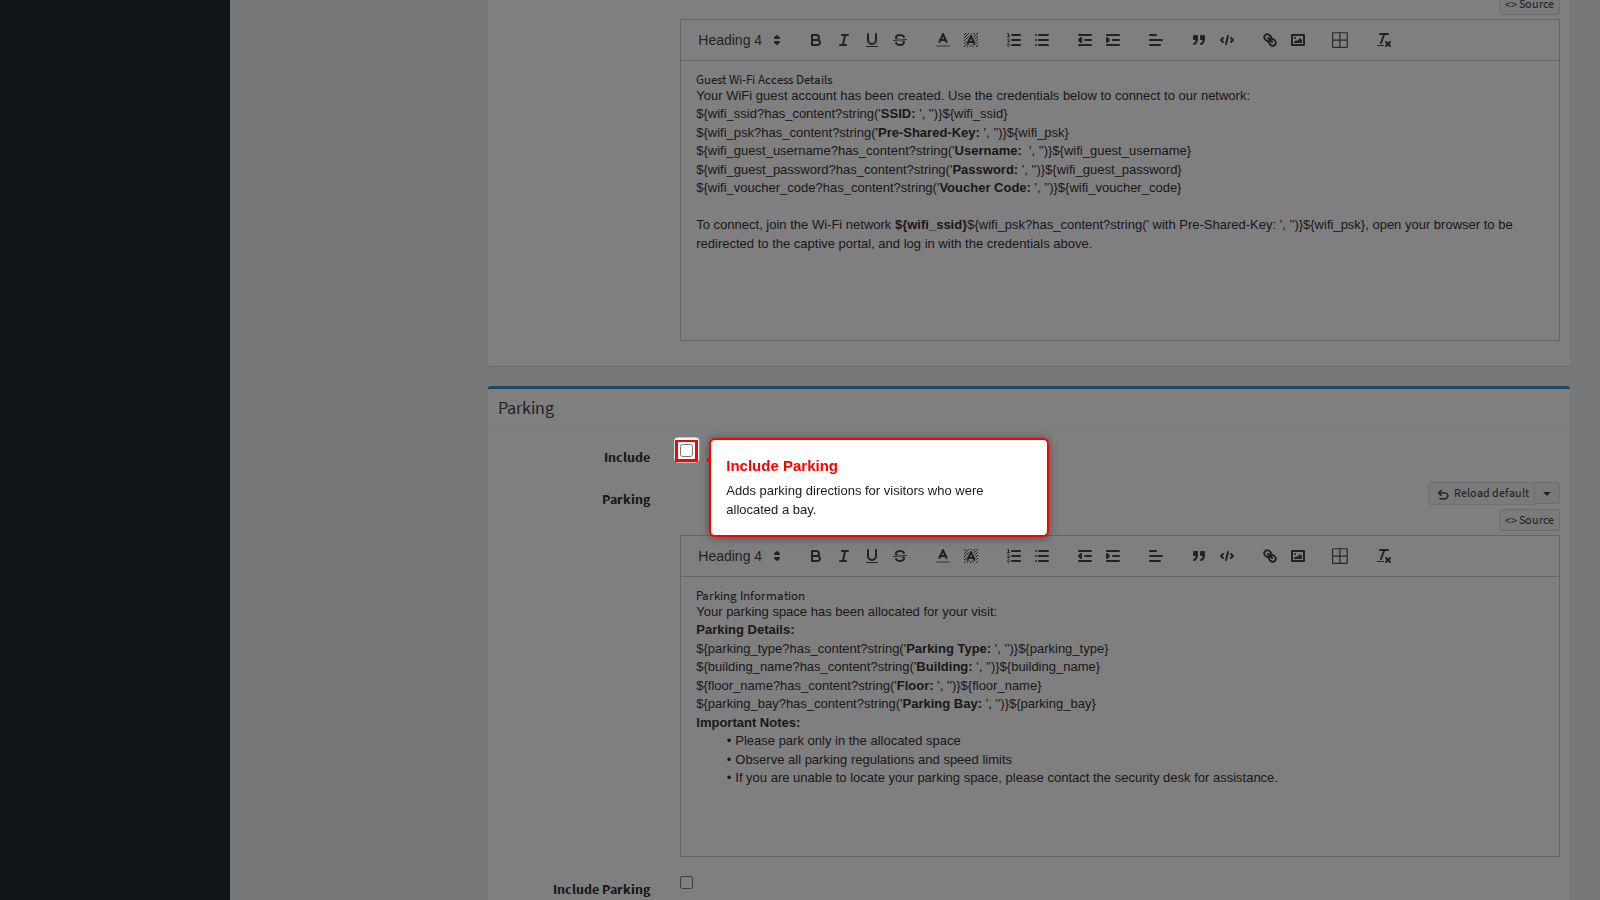
Include switches the parking blocks on.
Parking is the block shown to a visitor who was allocated a bay: which entrance to use, where the bay is, and how to reach reception from it.
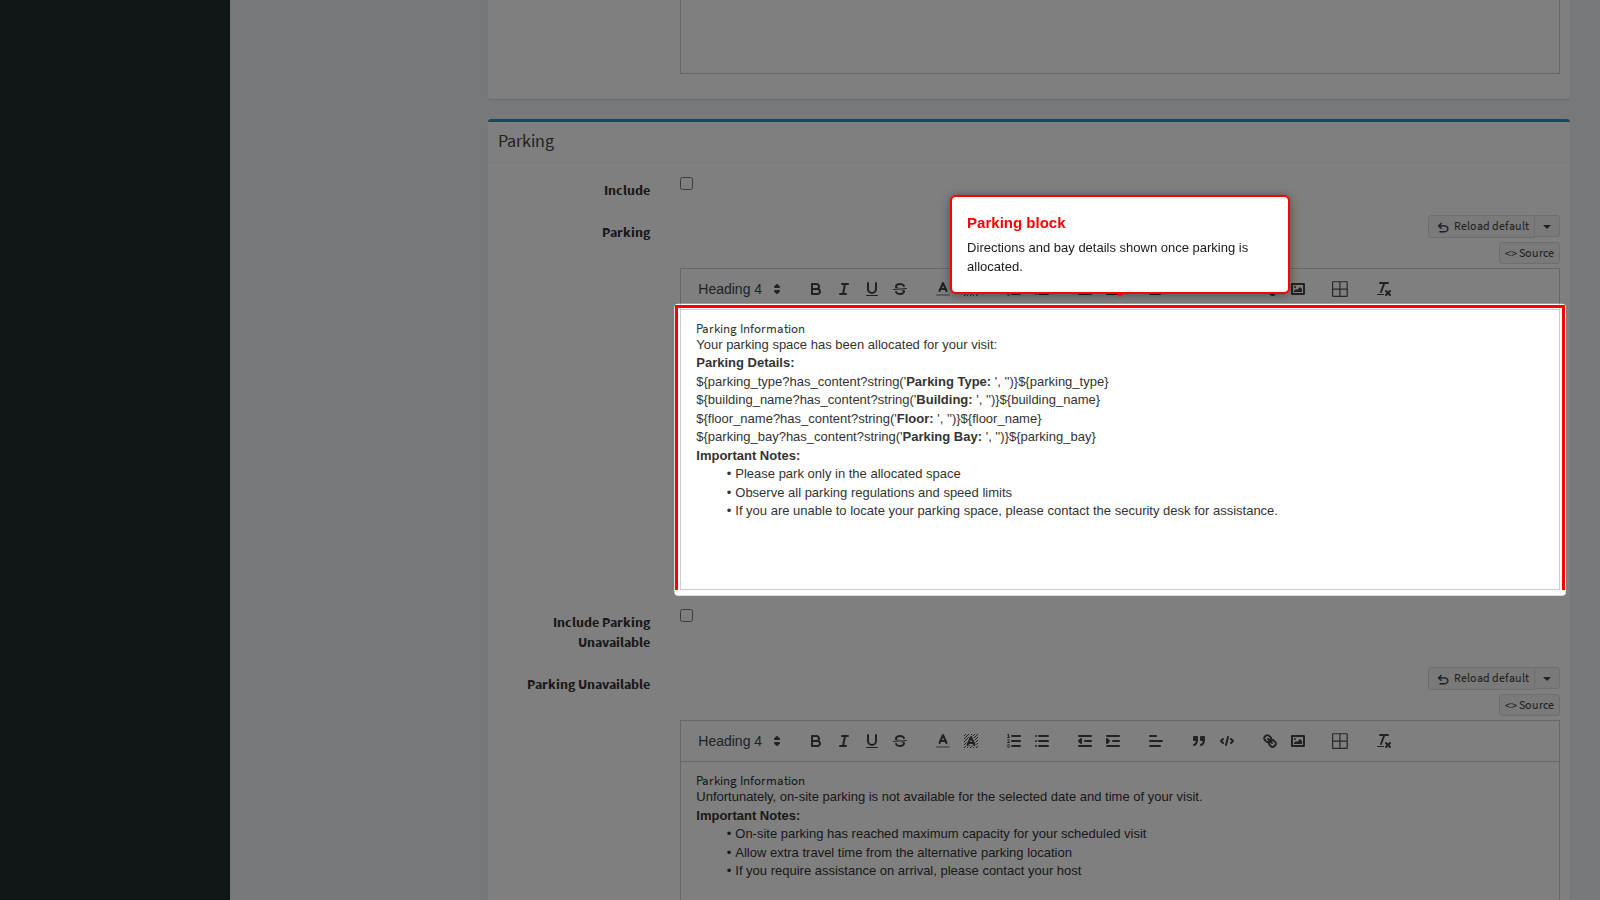
Include Parking Unavailable adds an alternative for visitors who were not allocated a bay - because the site was full, or because the parking system was unreachable when the invitation was generated.
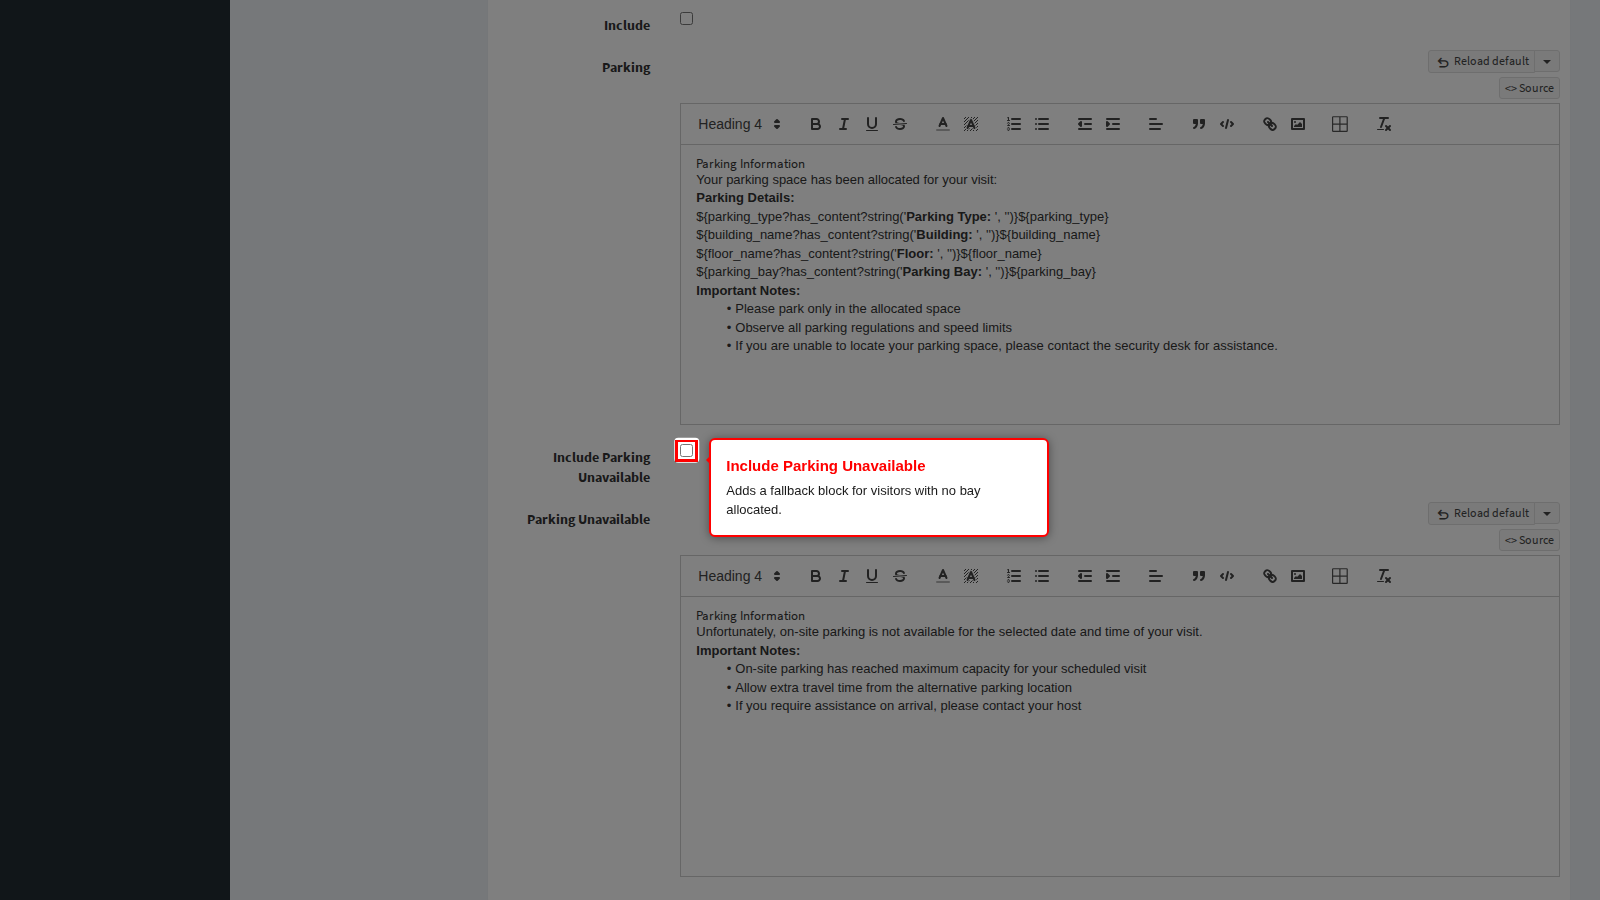
Parking Unavailable is that alternative block: point the visitor at public parking, a drop-off point or public transport. Only one of the two blocks ever appears in a given invitation, so write them as two separate answers to the same question.
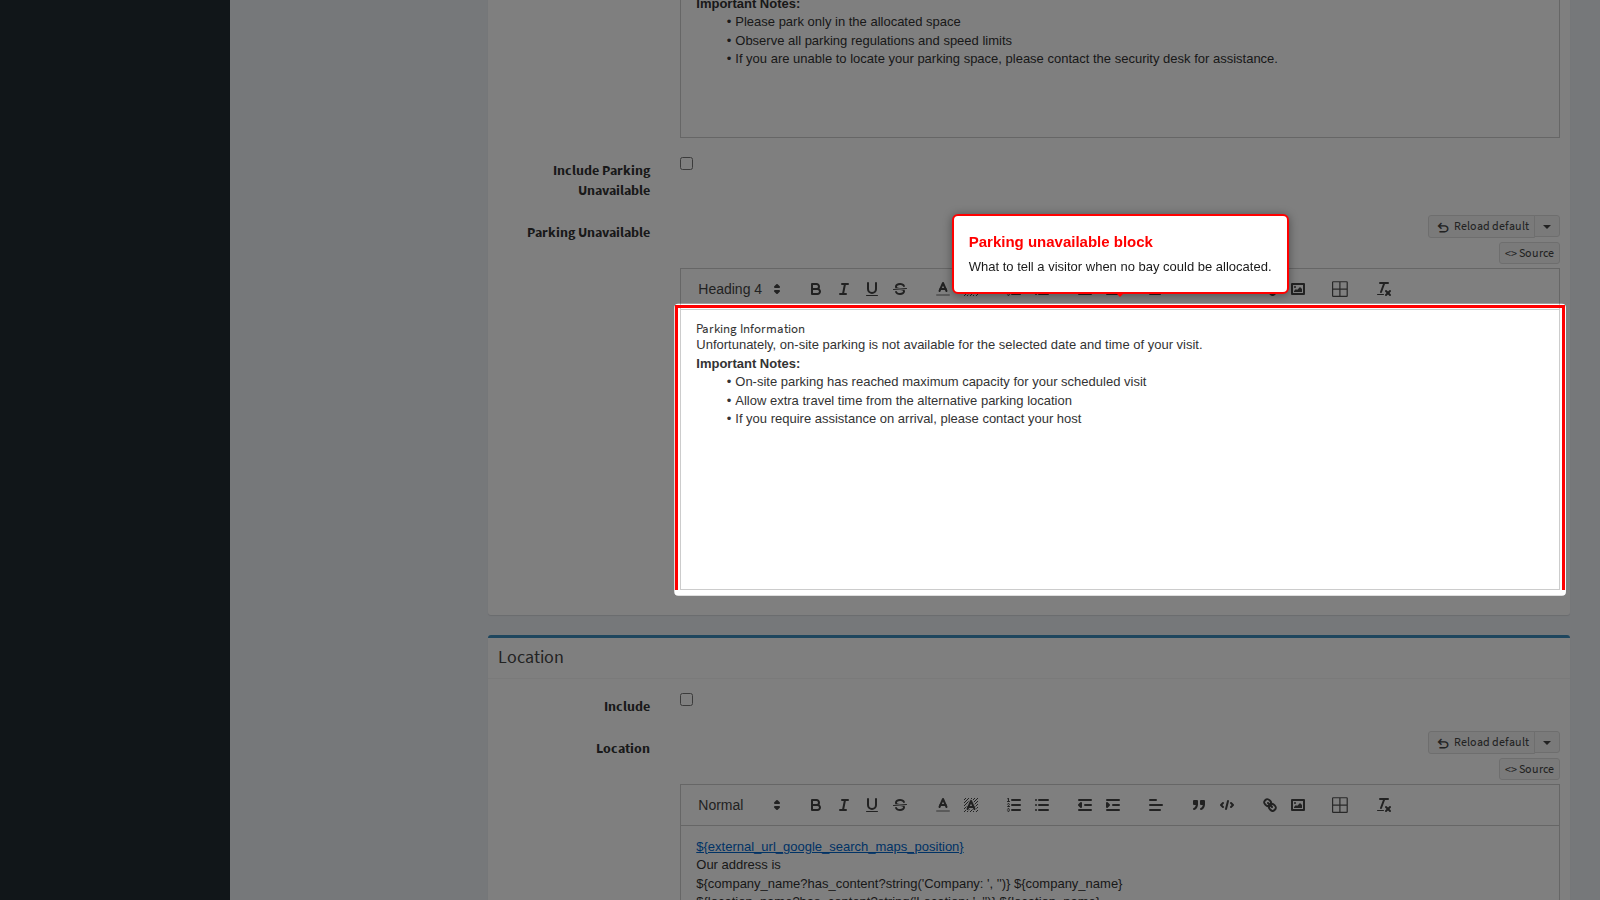
End state: every invitation carries exactly one parking message, and no visitor is left without directions.
Location
Include switches the location block on.
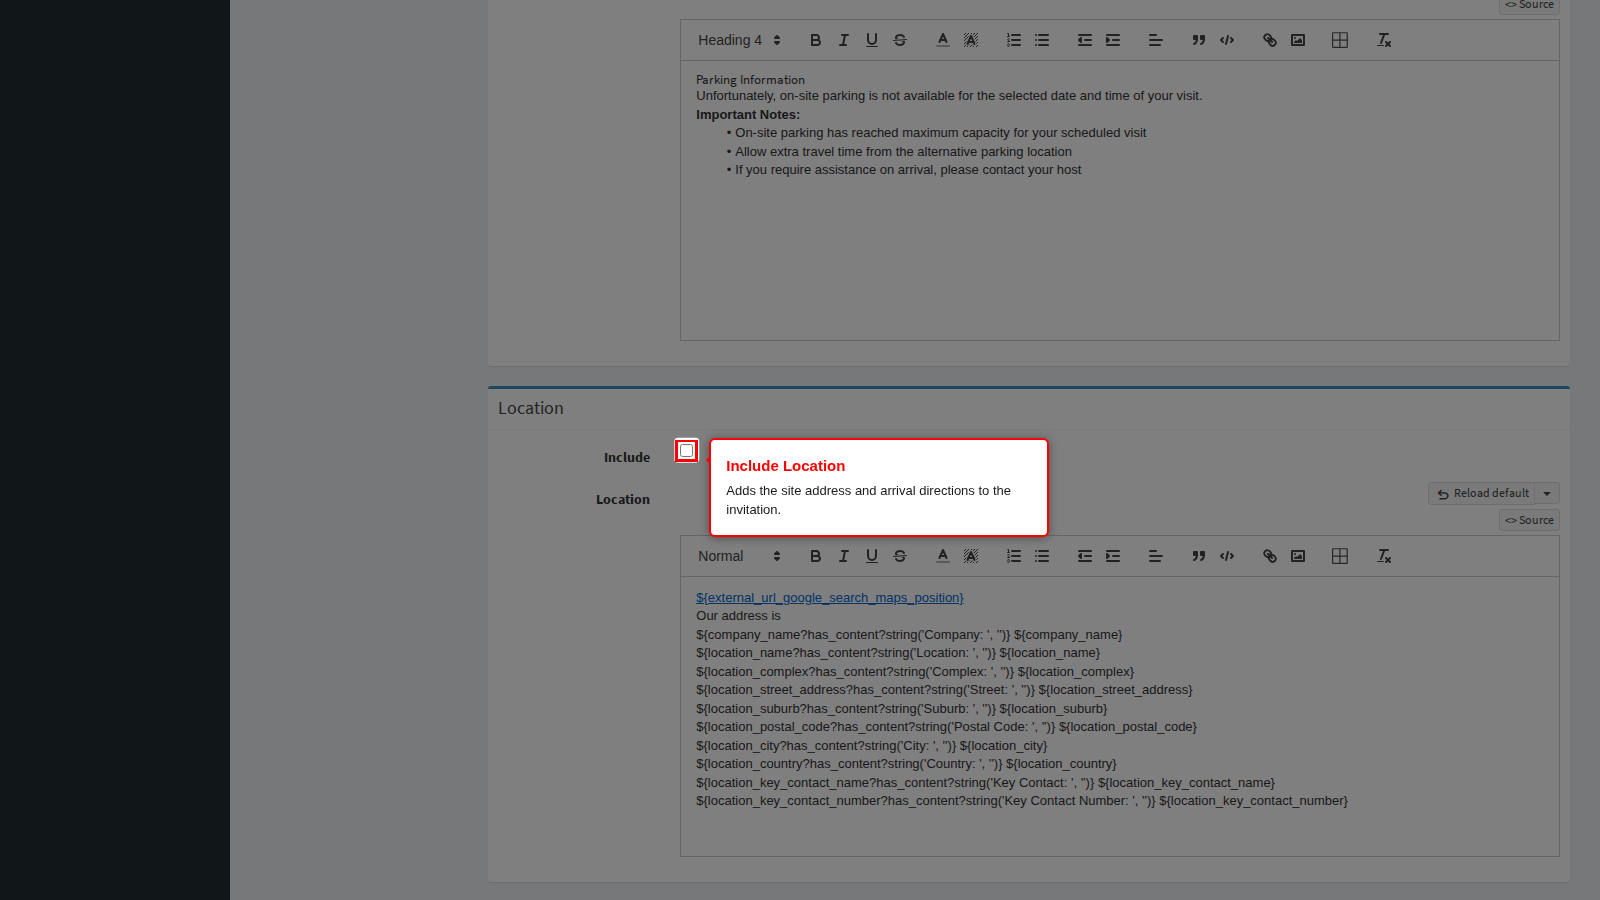
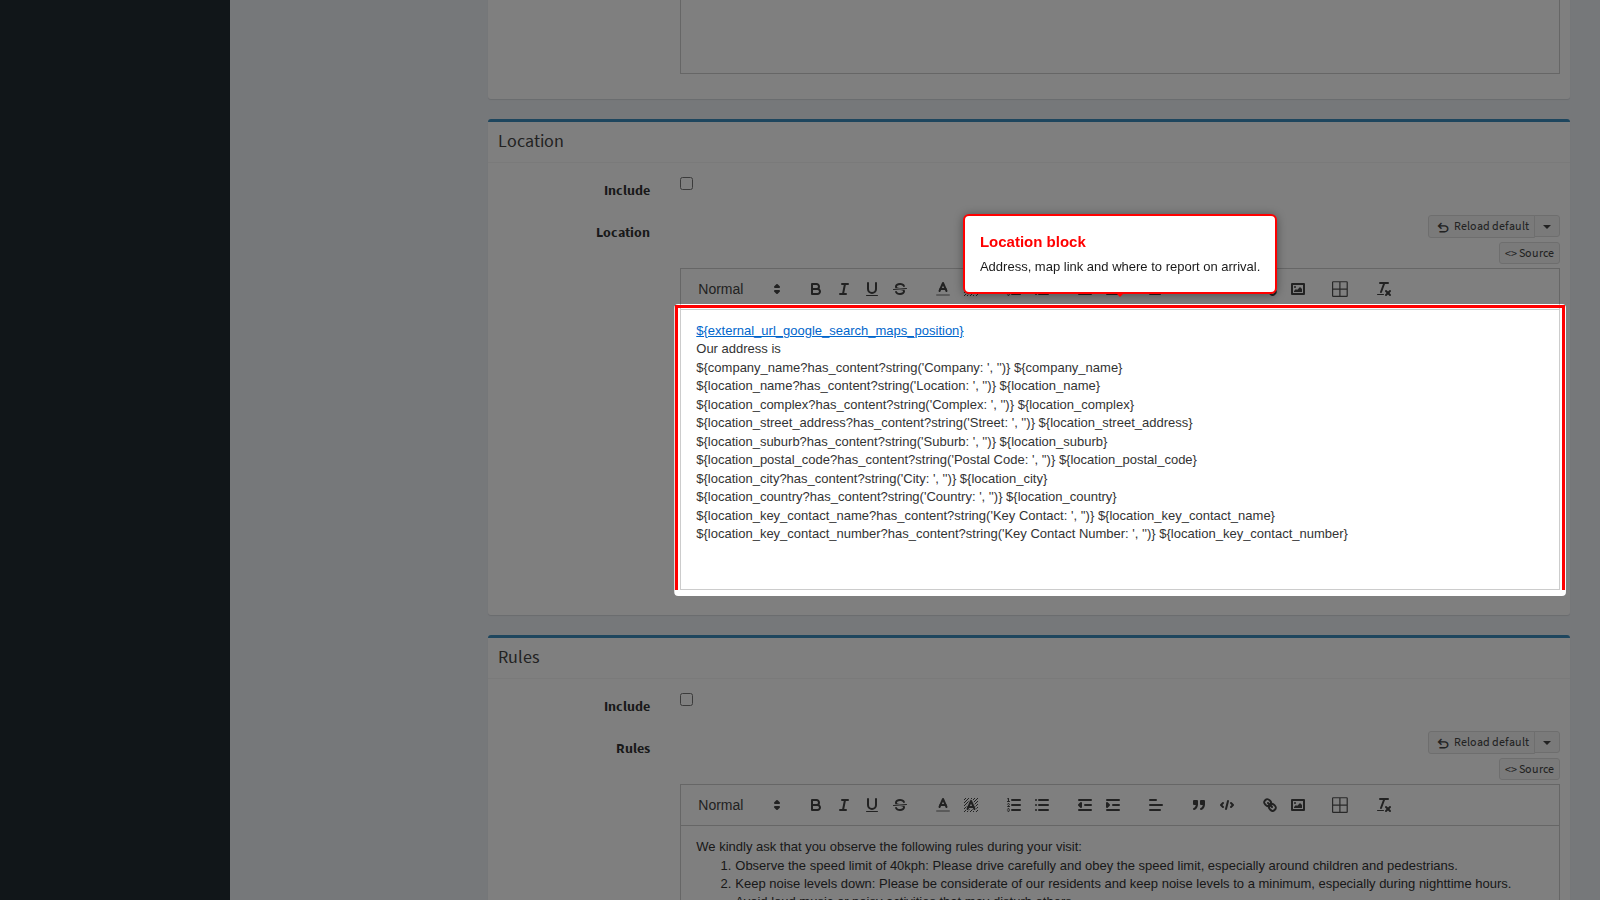
Location is the arrival block: street address, a map link, the gate or reception to report to, and anything a driver needs such as a delivery entrance.
Reload default above each editor replaces that block with the wording EvTrack ships. Use it when an edit has gone wrong and you want a clean starting point for that block alone - it never touches the other blocks. You are asked to confirm first, because unsaved edits in that block are lost.
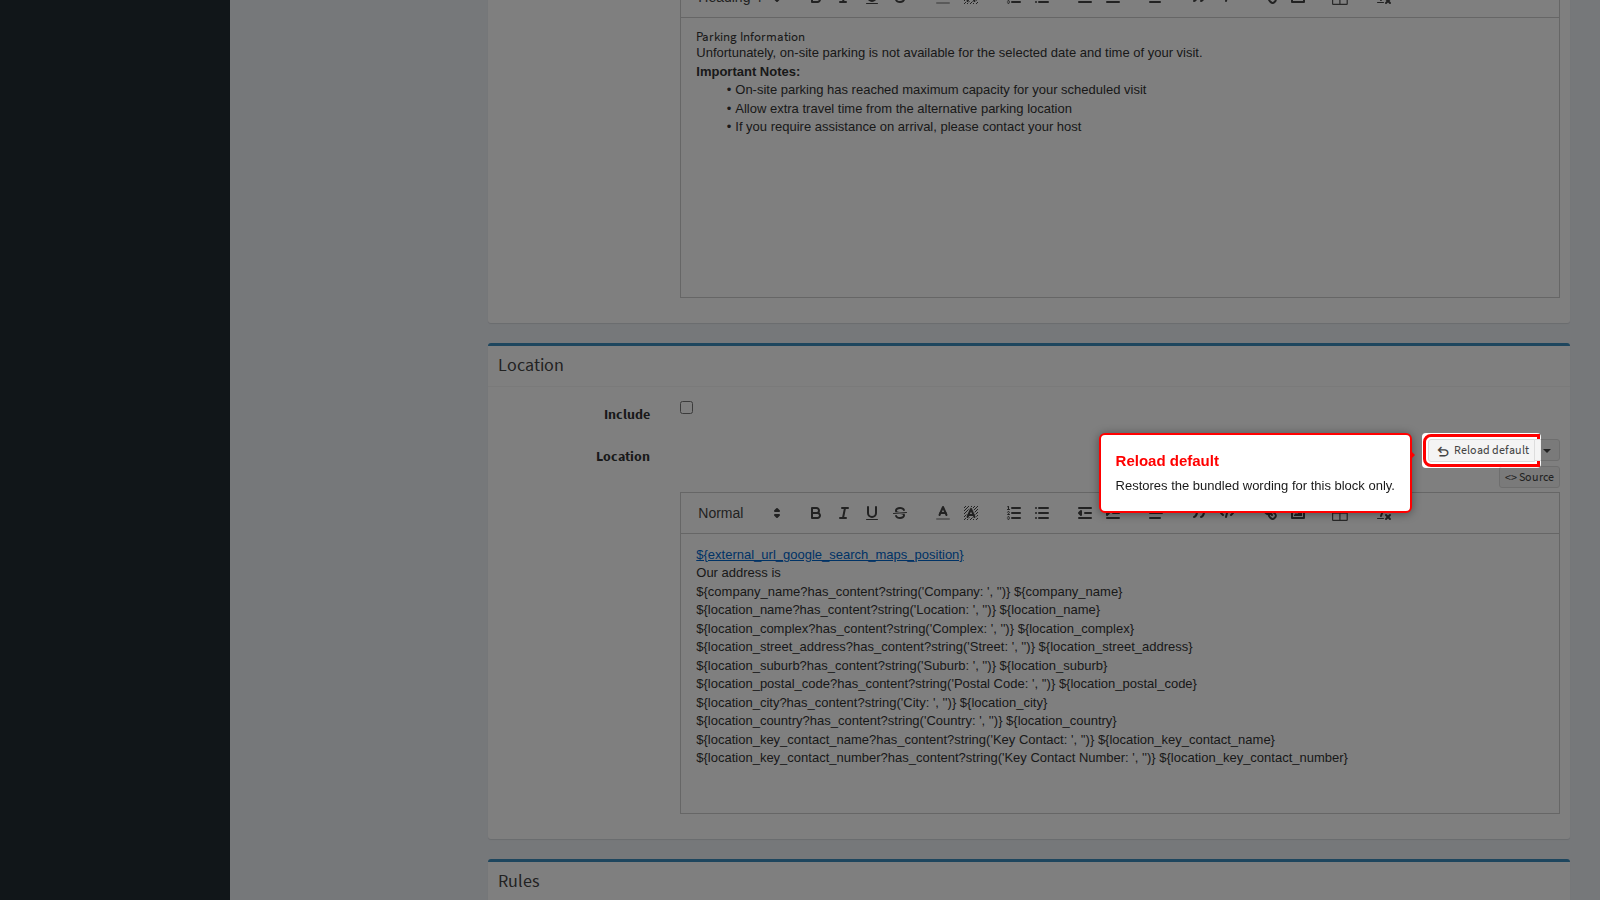
End state: the location block reads as arrival instructions a first-time visitor could follow without phoning ahead.
Rules
Include switches the rules block on.
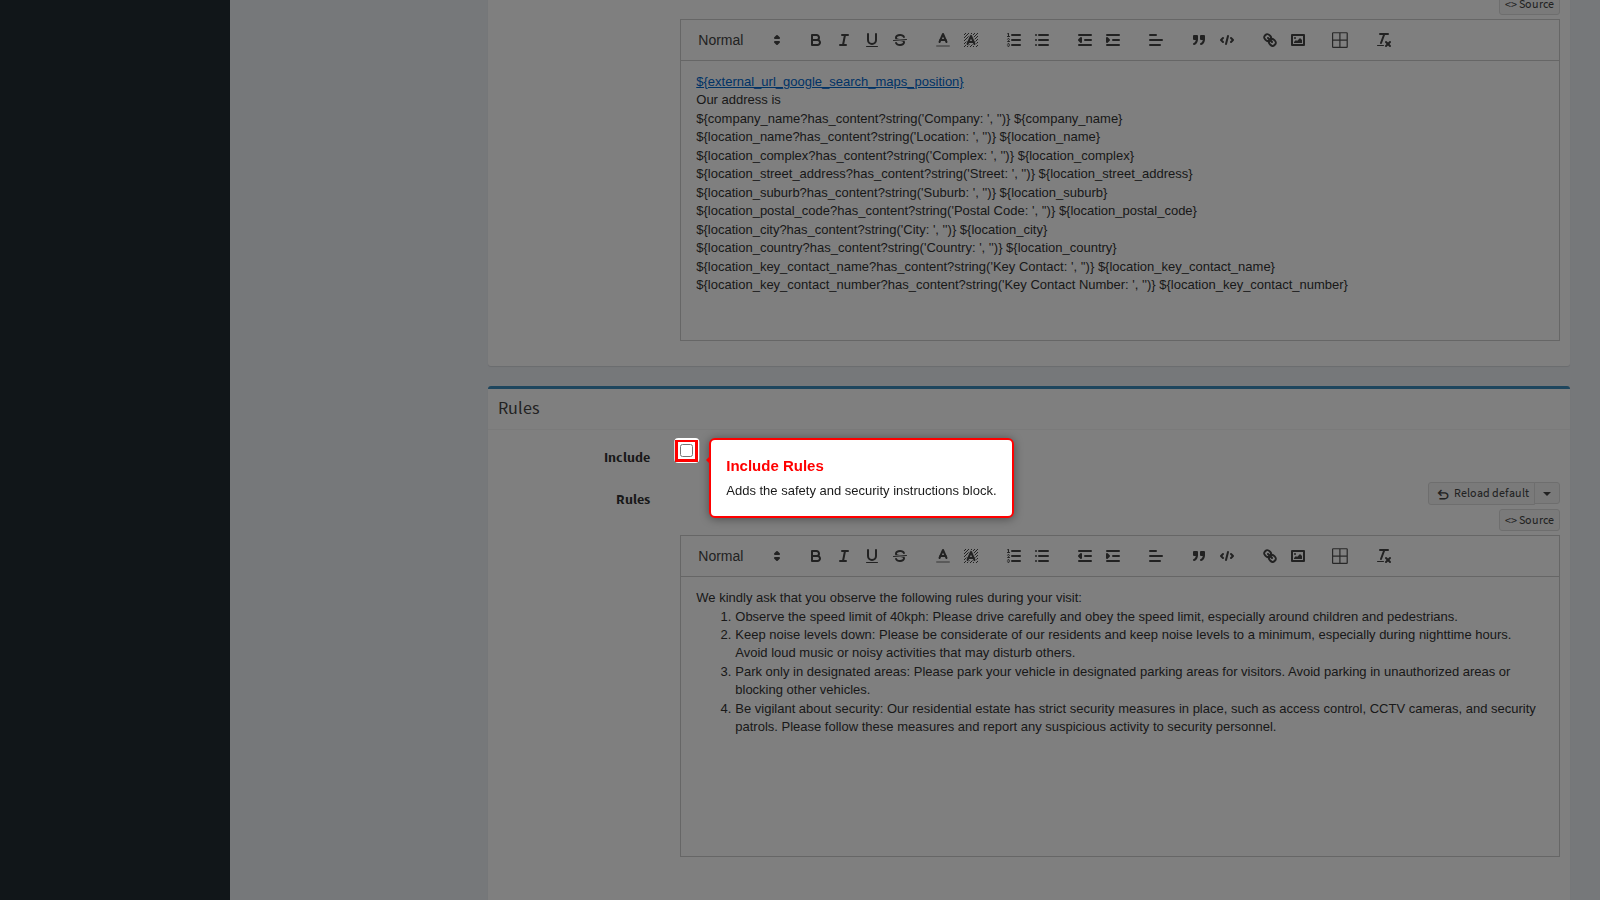
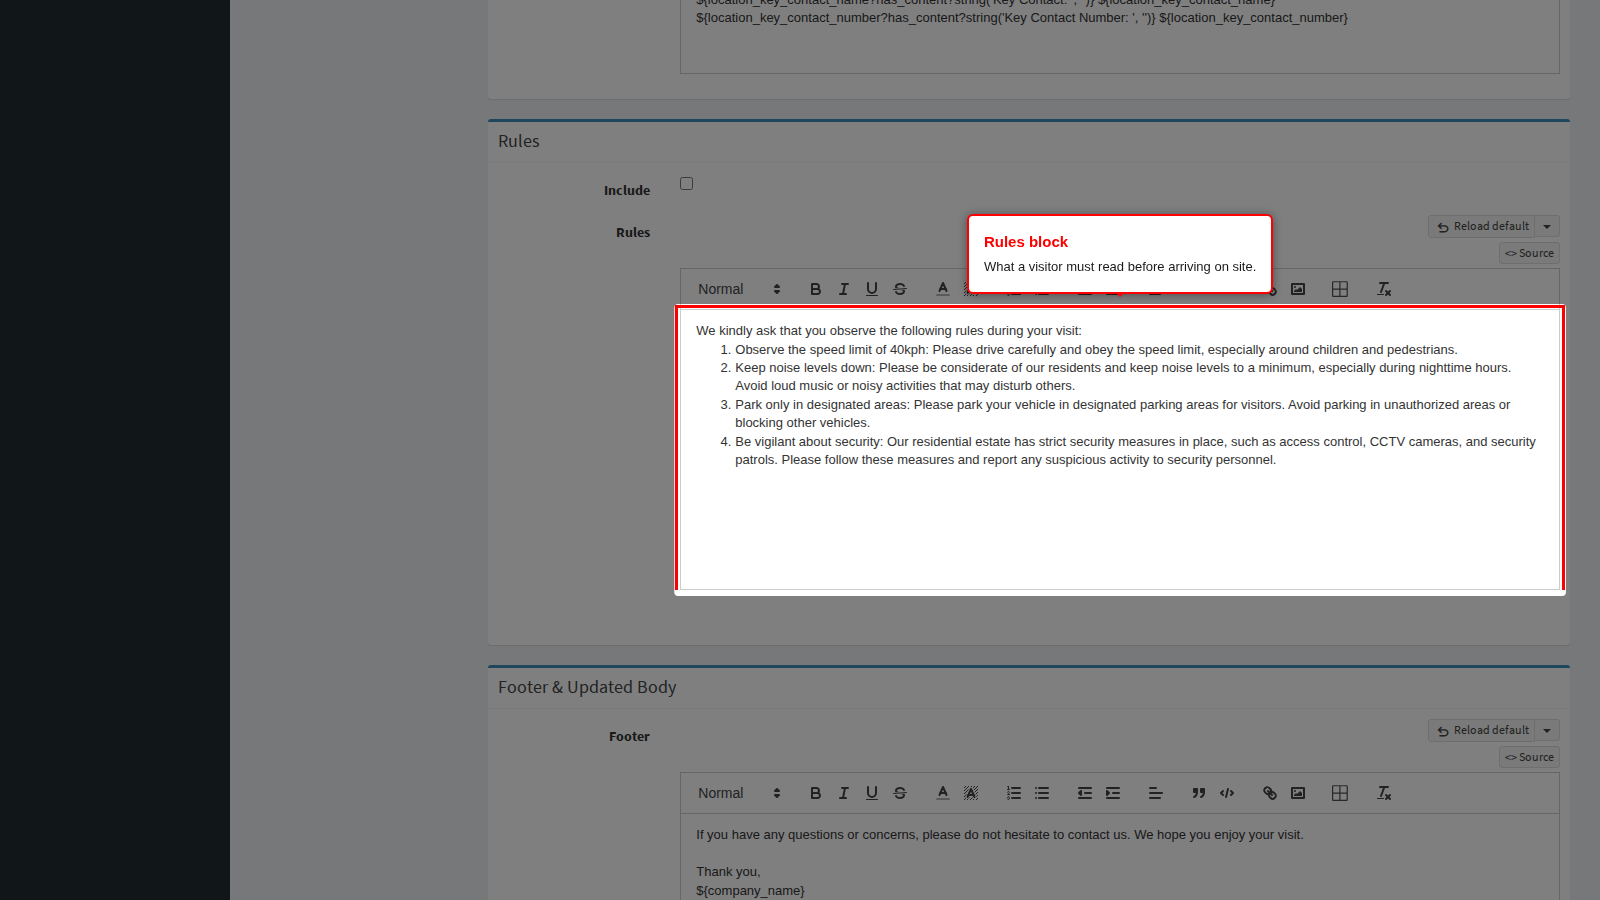
Rules is the site rules block: personal protective equipment, photography restrictions, speed limits, escort requirements and anything else the visitor must accept before arriving.
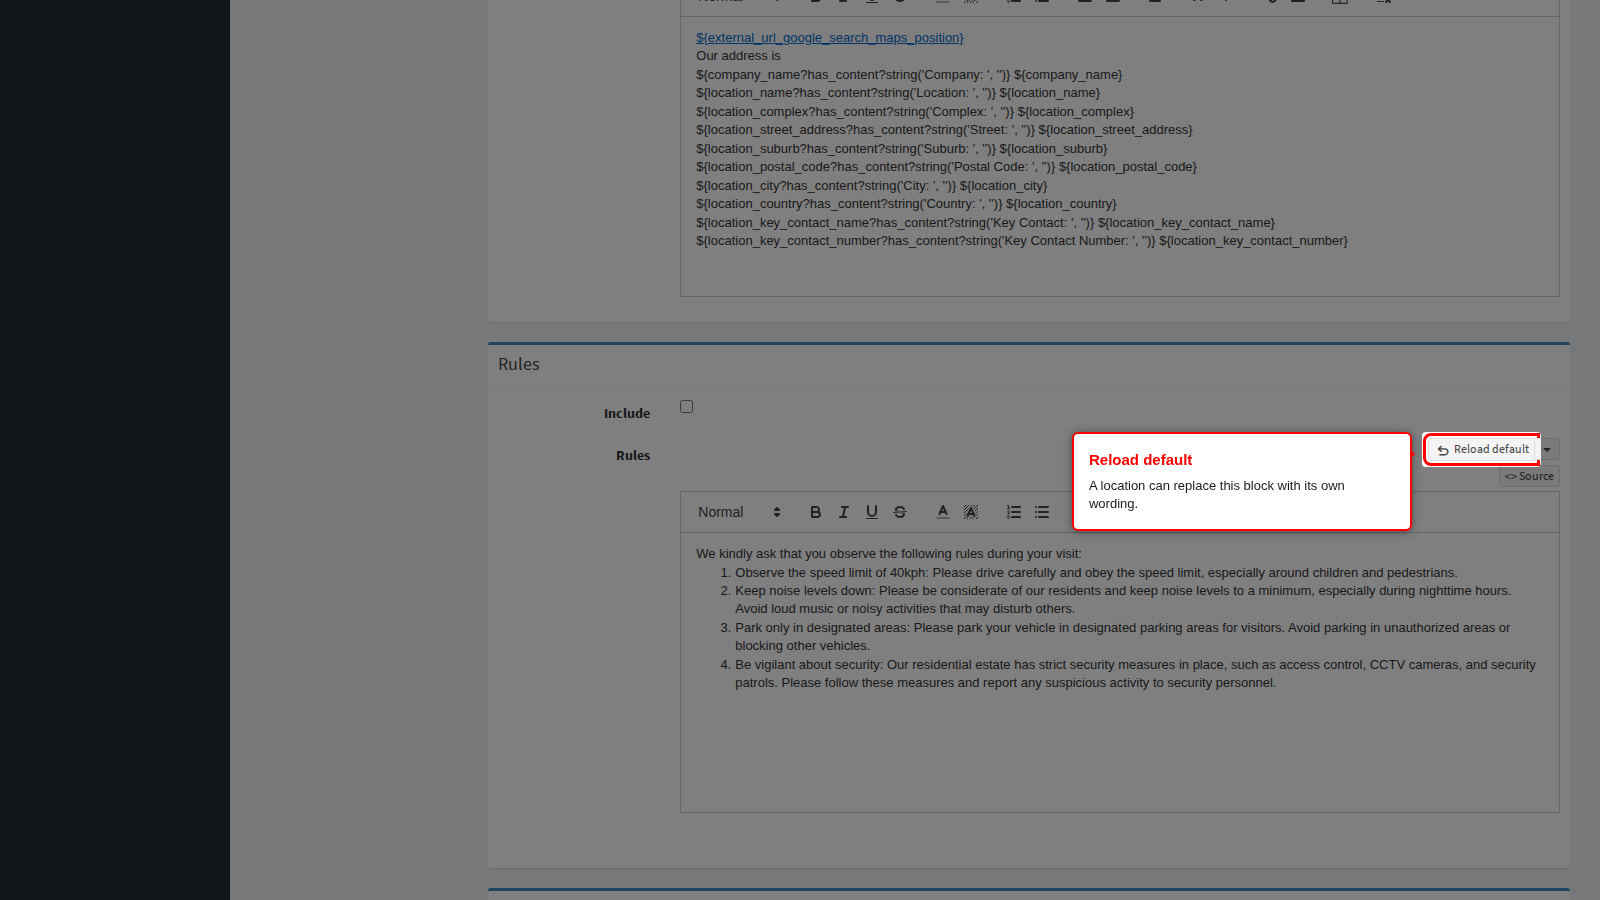
Each block has its own Reload default button, so you can restore the shipped rules wording without disturbing the header or the bodies.
End state: the rules block is written once here and reused by every location, unless a location replaces it - see Per-location overrides below.
Footer and Updated Body
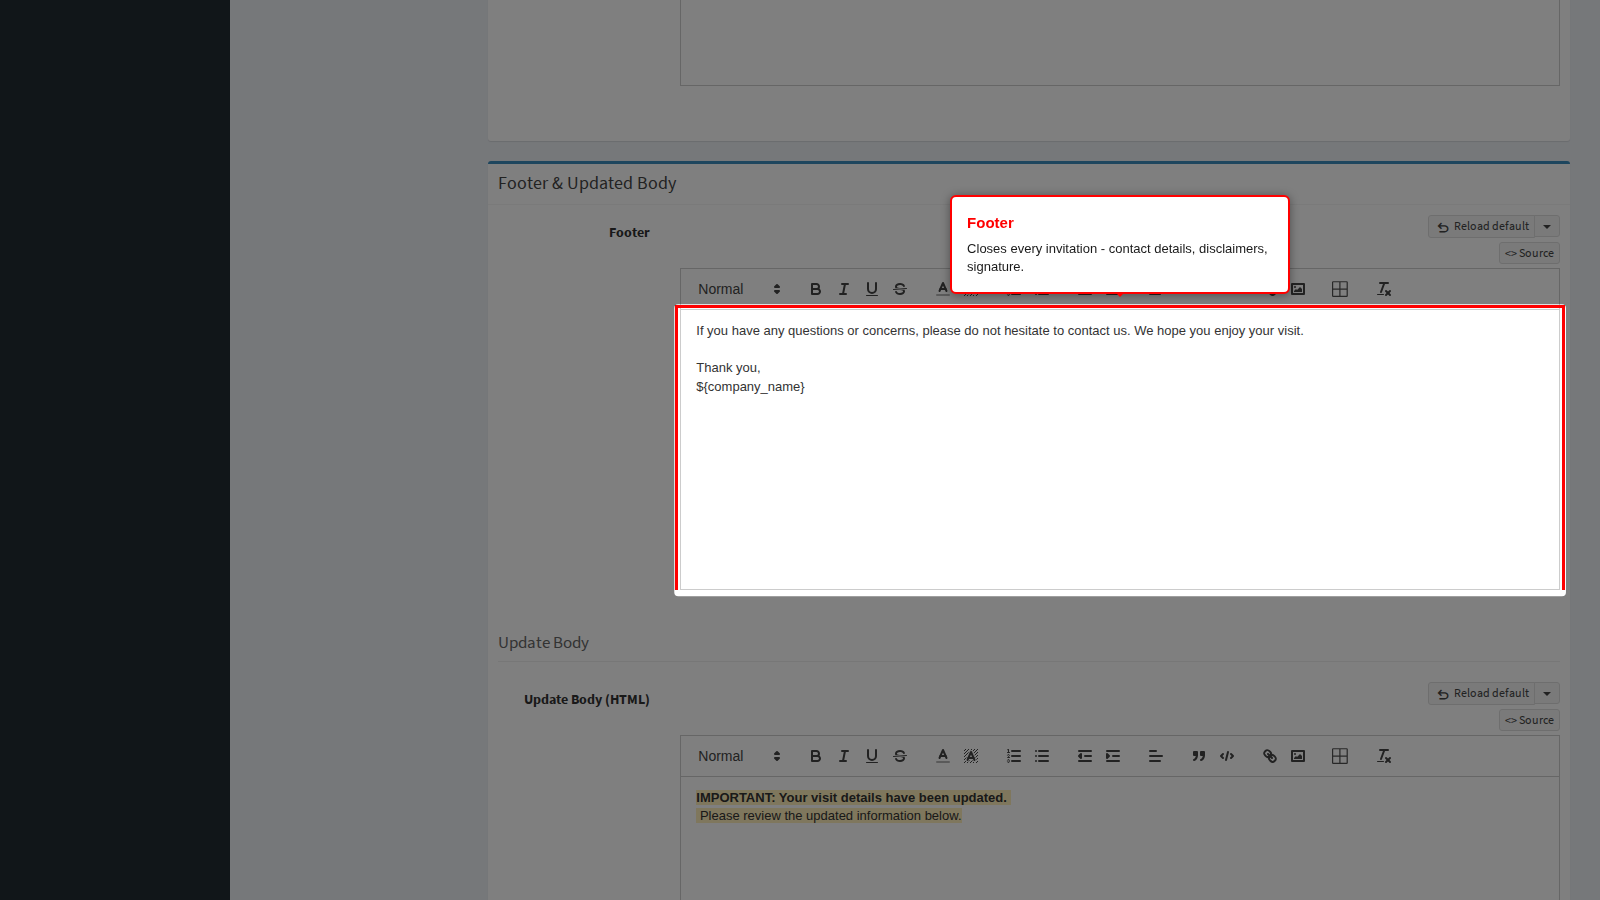
Footer closes every invitation. It is the place for the switchboard number, a reply-to address, a confidentiality notice and your signature block. It is always included when it has content.
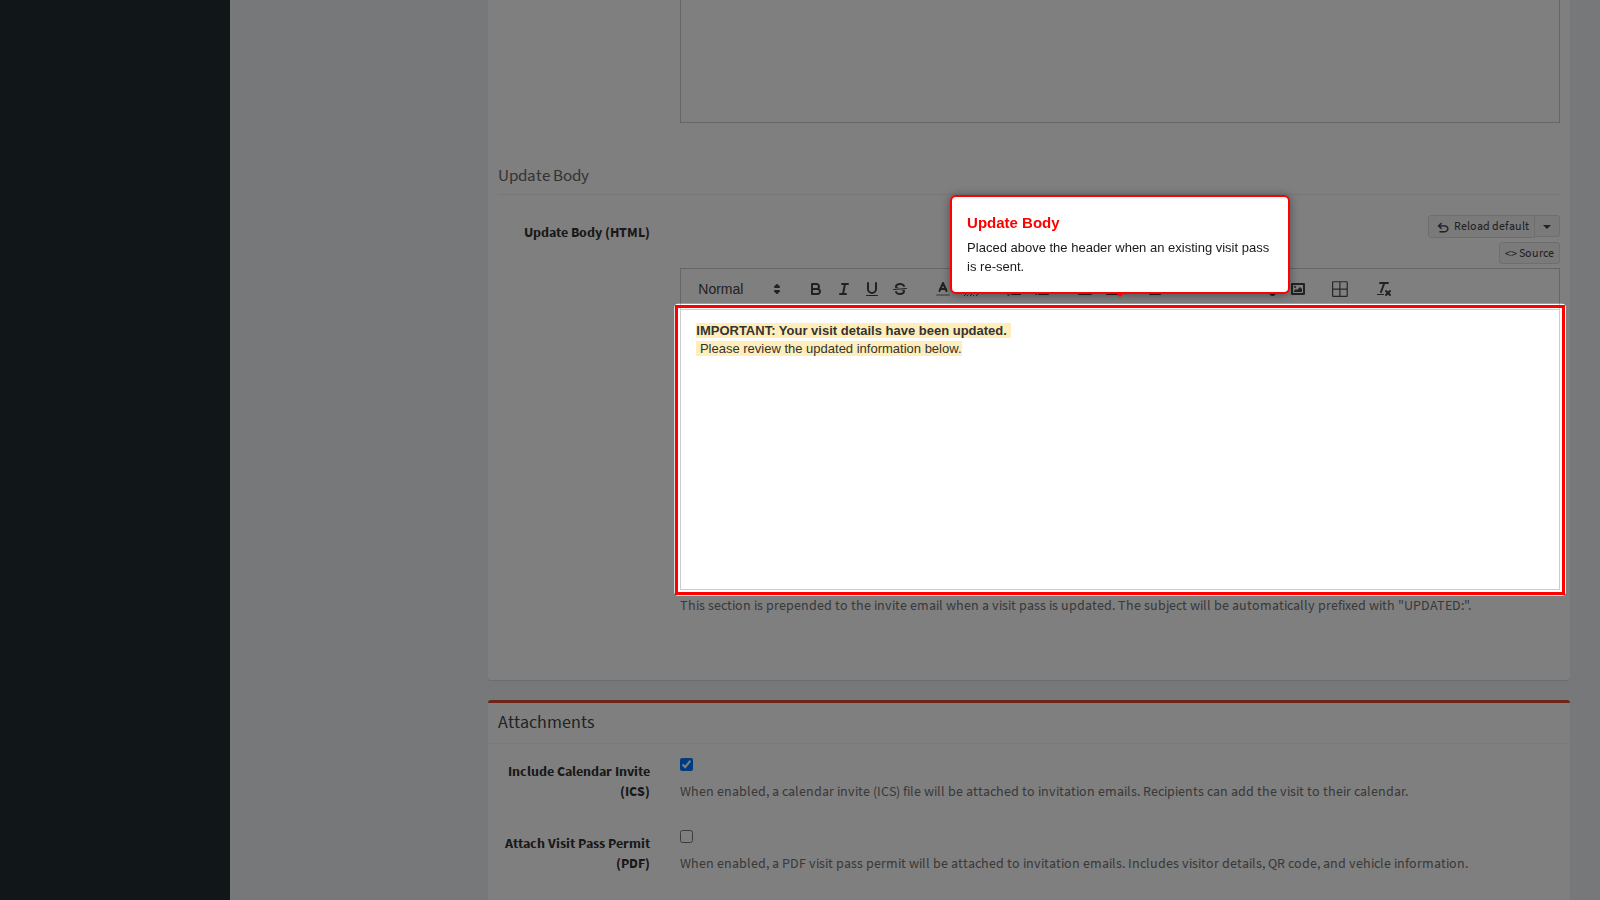
Update Body (HTML) is only used when an existing visit pass is re-sent - for example after the visit window changed or a new credential was issued. Its content is placed above the header, so the recipient reads “this replaces the message you already have” before anything else.
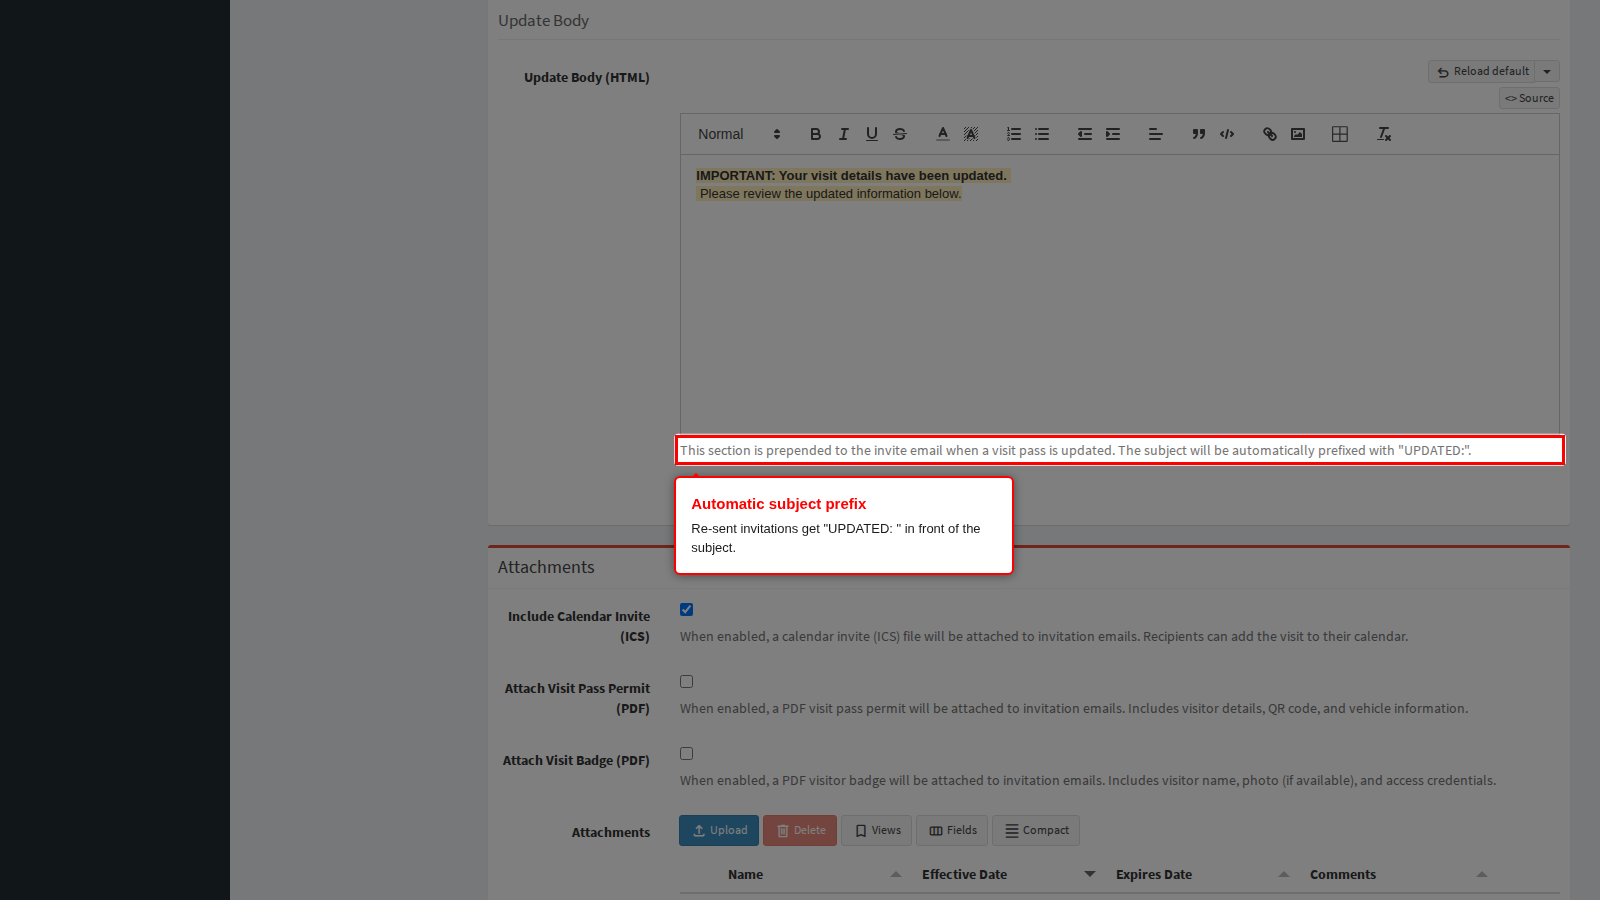
The subject of a re-sent invitation is automatically prefixed with UPDATED: . Do not add that wording to the Subject Line yourself or it appears twice.
End state: a re-sent invitation is unmistakable in the inbox, both by its subject and by its opening paragraph.
Attachments
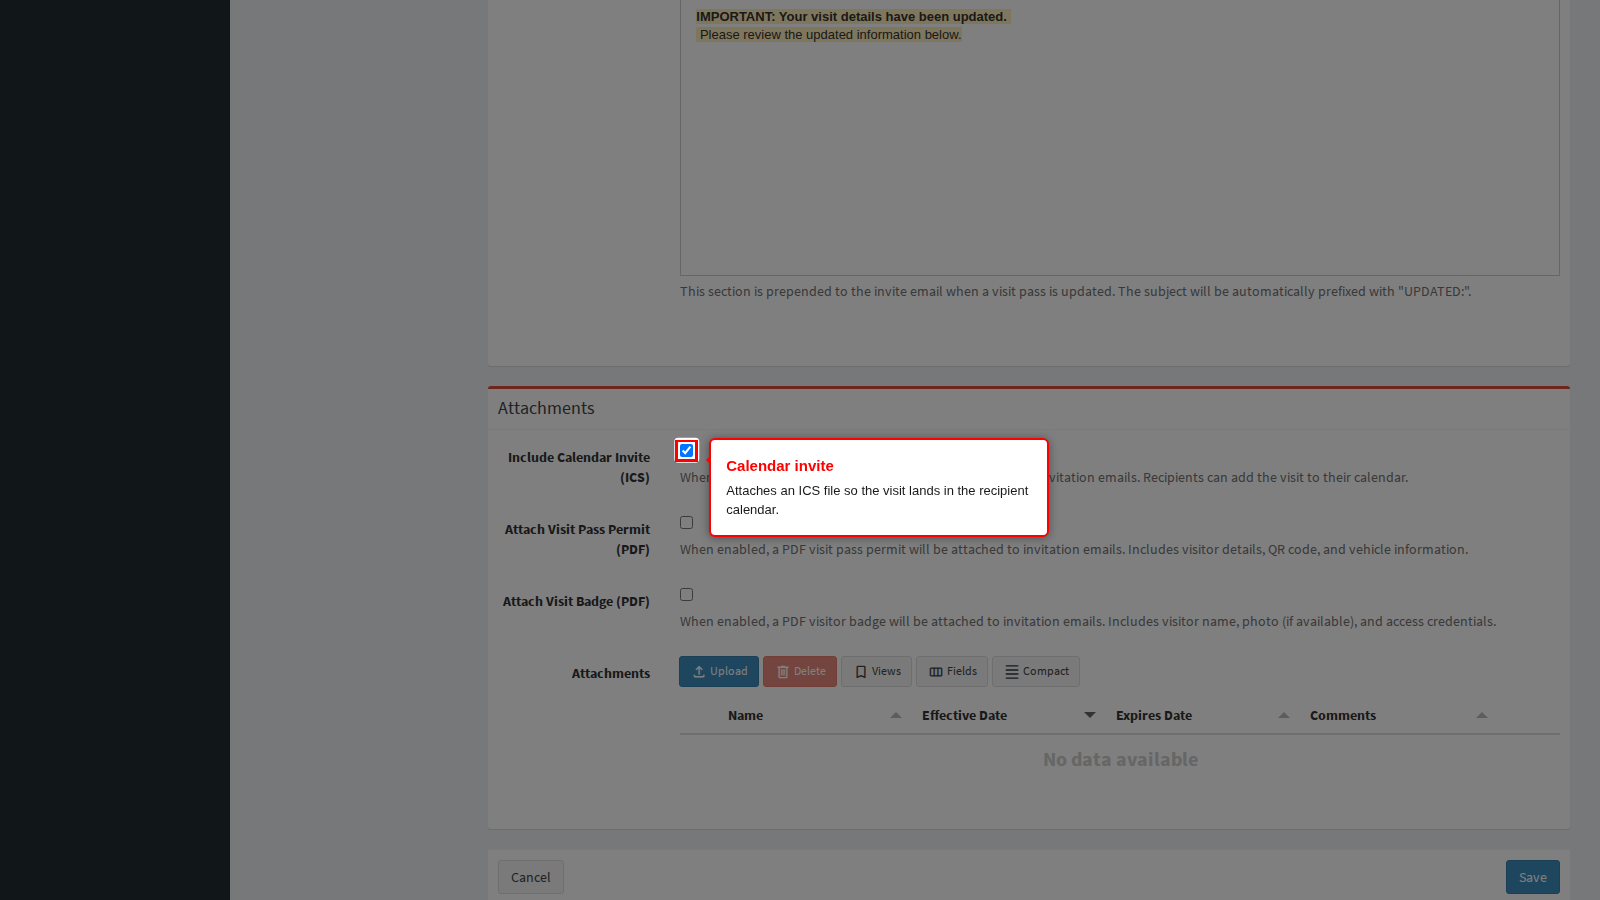
Include Calendar Invite (ICS) attaches a calendar file so the recipient can add the visit to their calendar in one click. The event carries the visit window and the subject line.
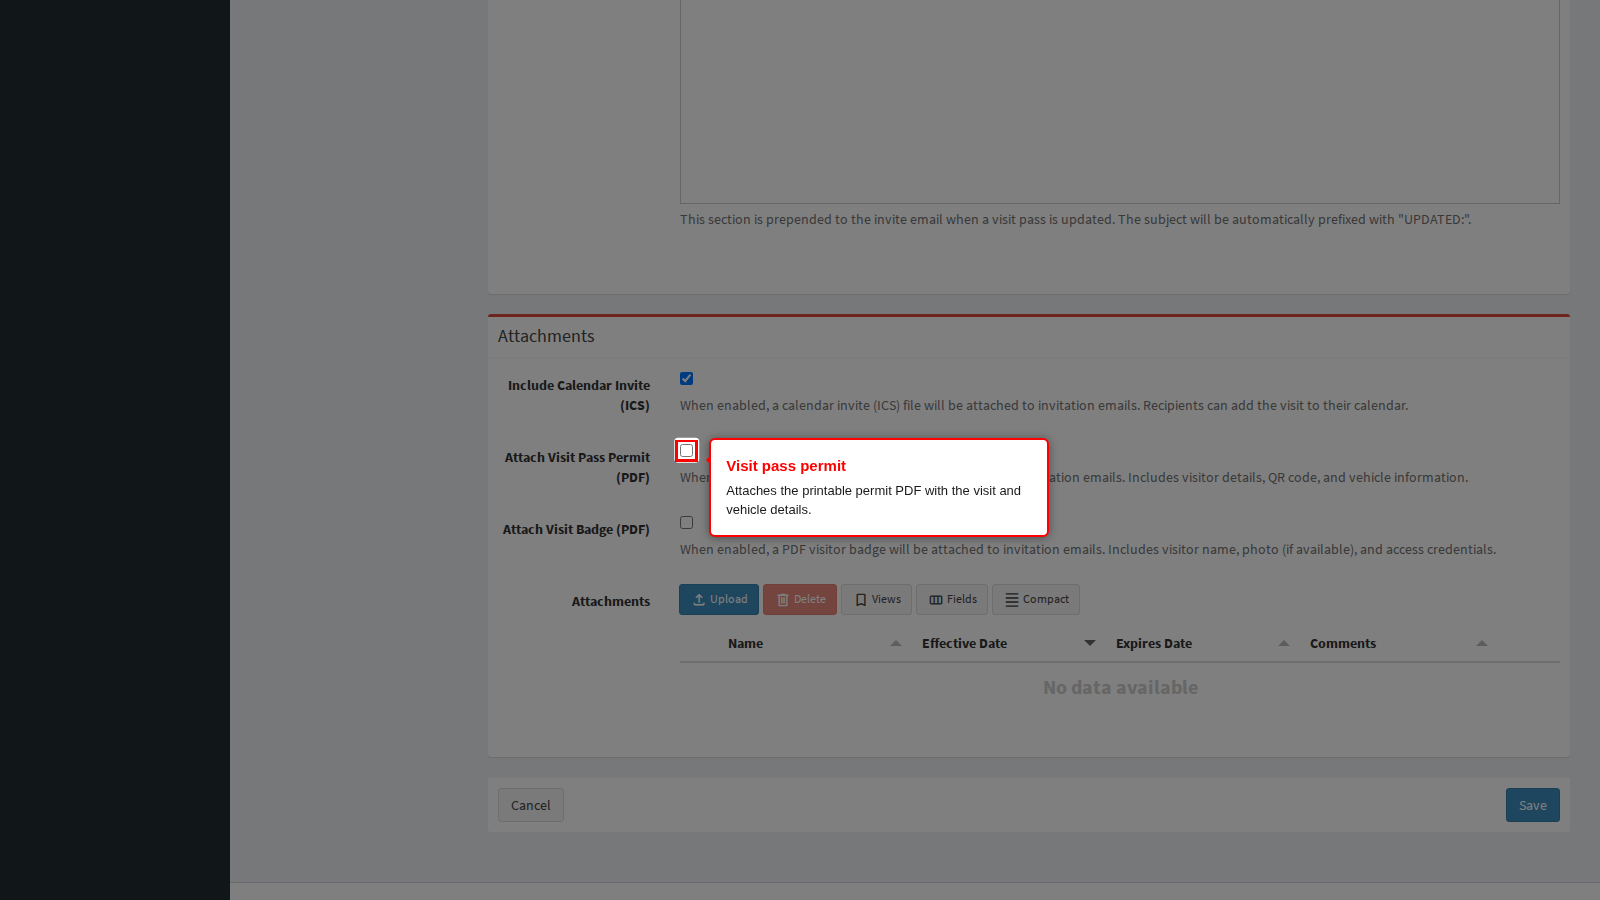
Attach Visit Pass Permit (PDF) attaches the printable permit, which repeats the visitor details, the QR code and the vehicle information. It is the usual choice for sites where a printed permit is shown at the checkpoint.
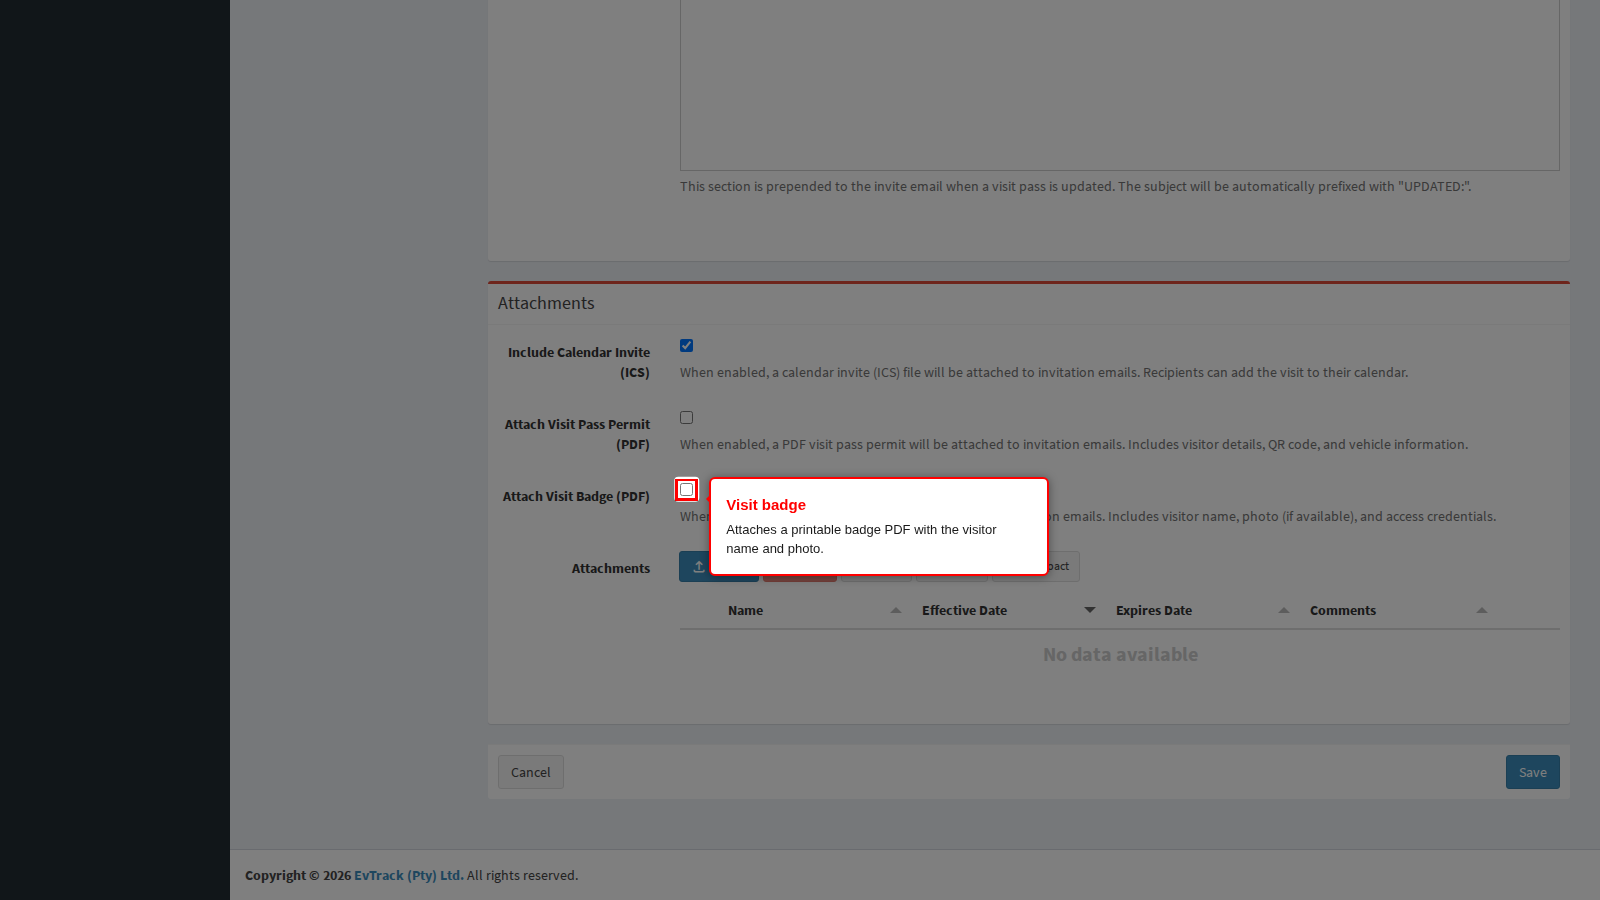
Attach Visit Badge (PDF) attaches a printable badge with the visitor name, their photo when one is on file, and their access credentials, so a visitor can arrive with the badge already printed.
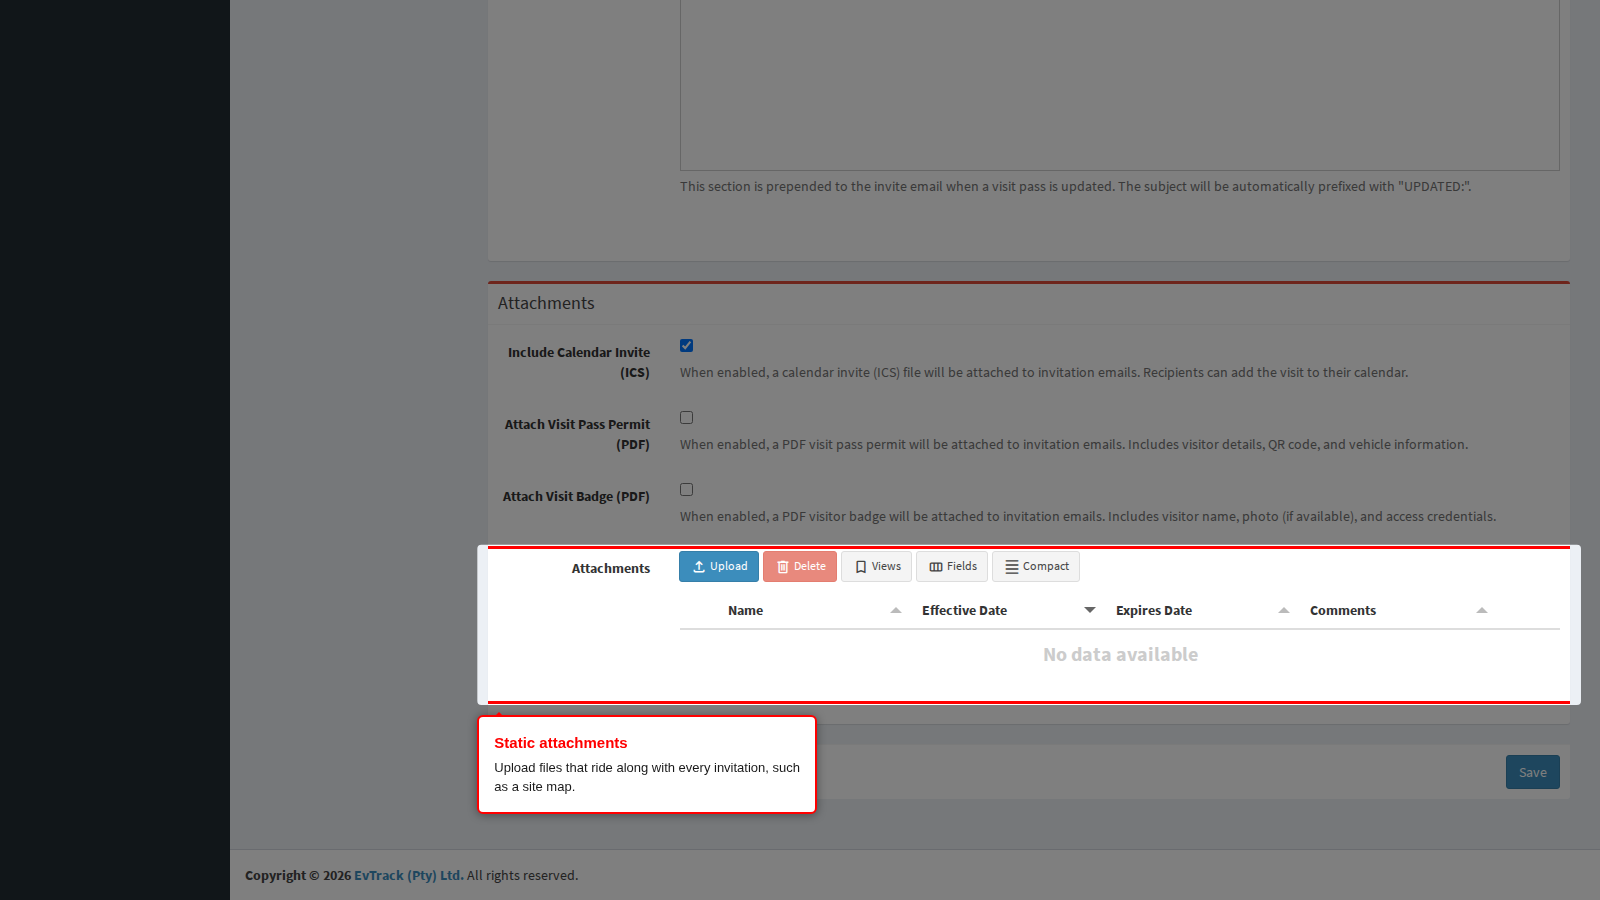
Attachments is a list of static files that ride along with every invitation - a site map, a safety induction, terms and conditions. Click Upload above the list to add one; select a row and click Delete to remove it. Keep the total small: several megabytes of attachments make invitations bounce on strict mail servers.
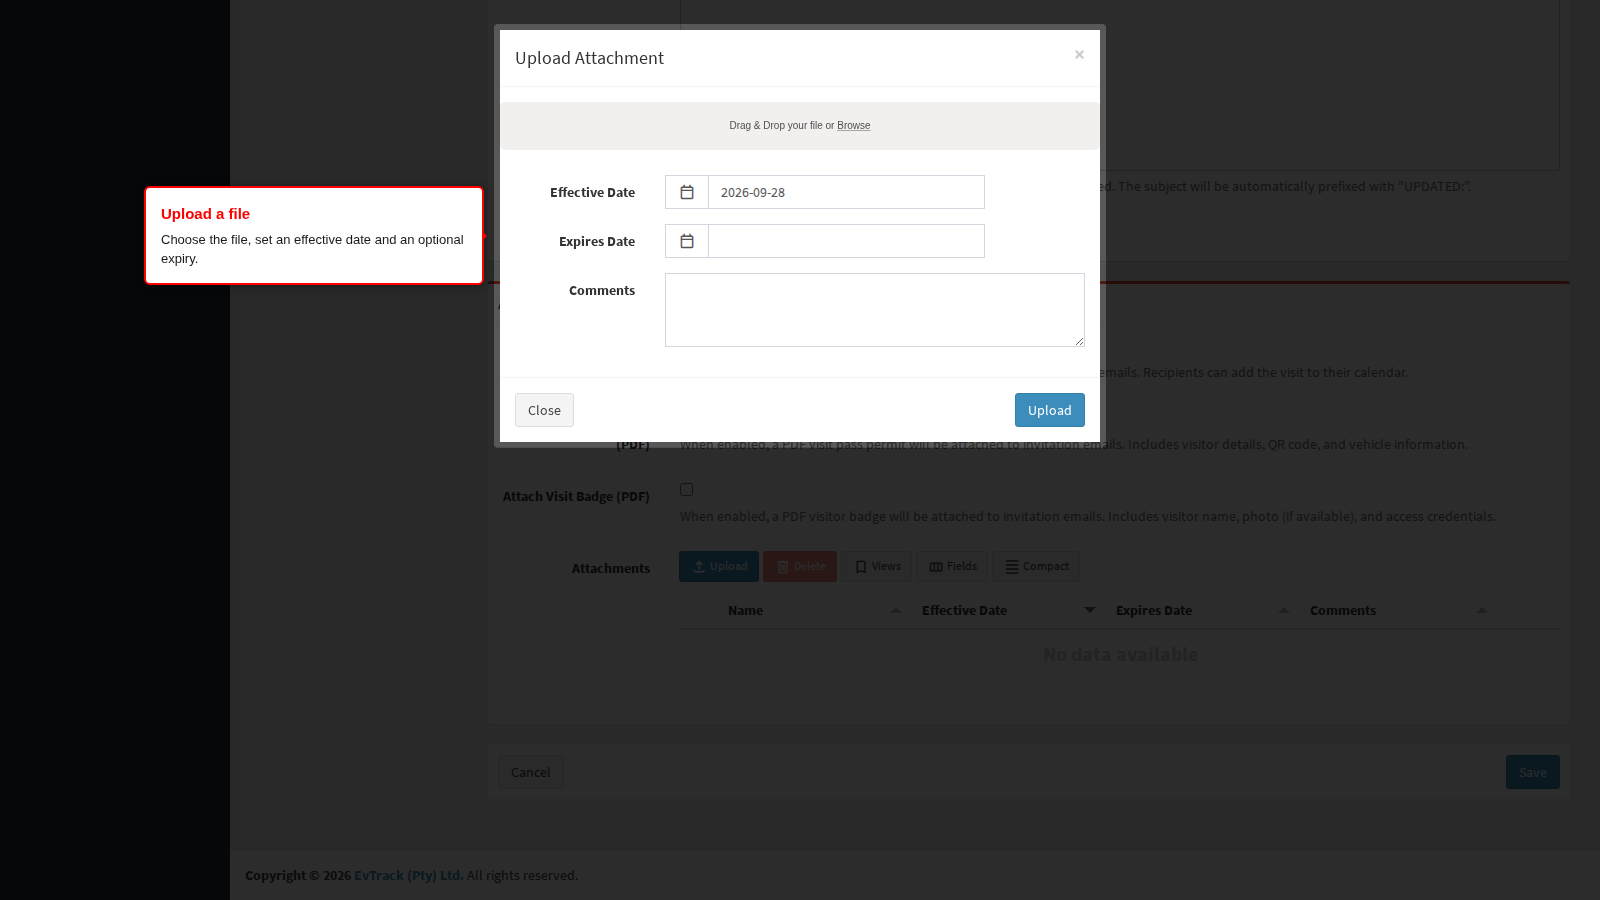
The upload dialog asks for the file, an Effective Date and an optional Expires Date, so a seasonal notice can be scheduled to stop being attached without you having to remember to delete it.
End state: the attachment list shows every file that will be attached, with its effective and expiry dates.
Reload Default and the bundled languages
Every rich-text block and the Subject Line carry a Reload default button, which loads EvTrack’s shipped wording for that one field.
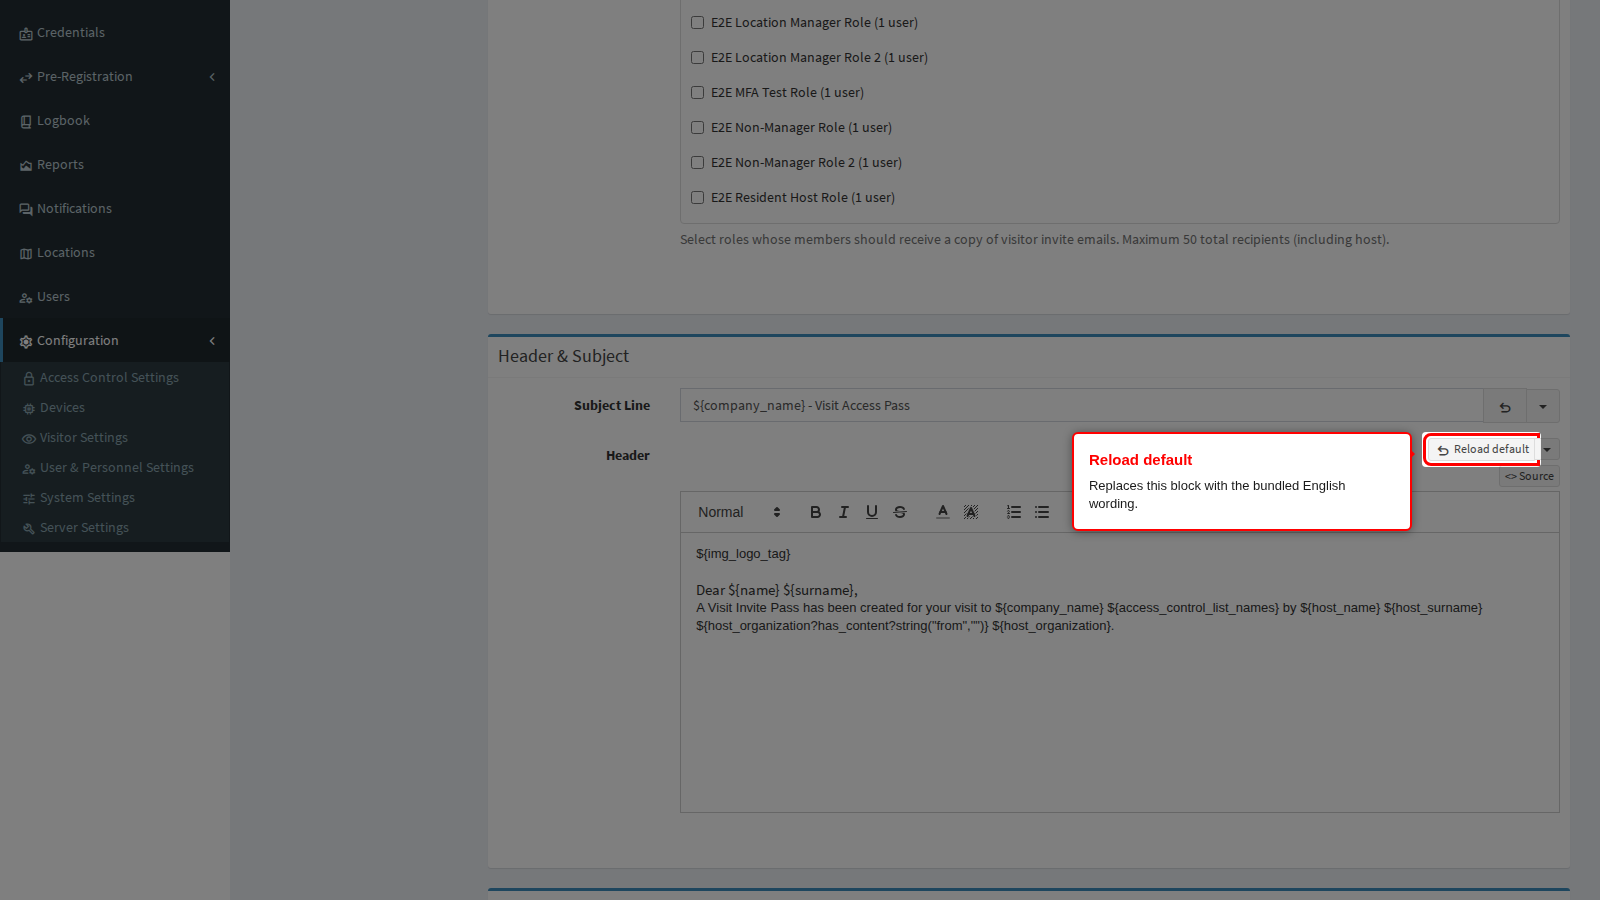
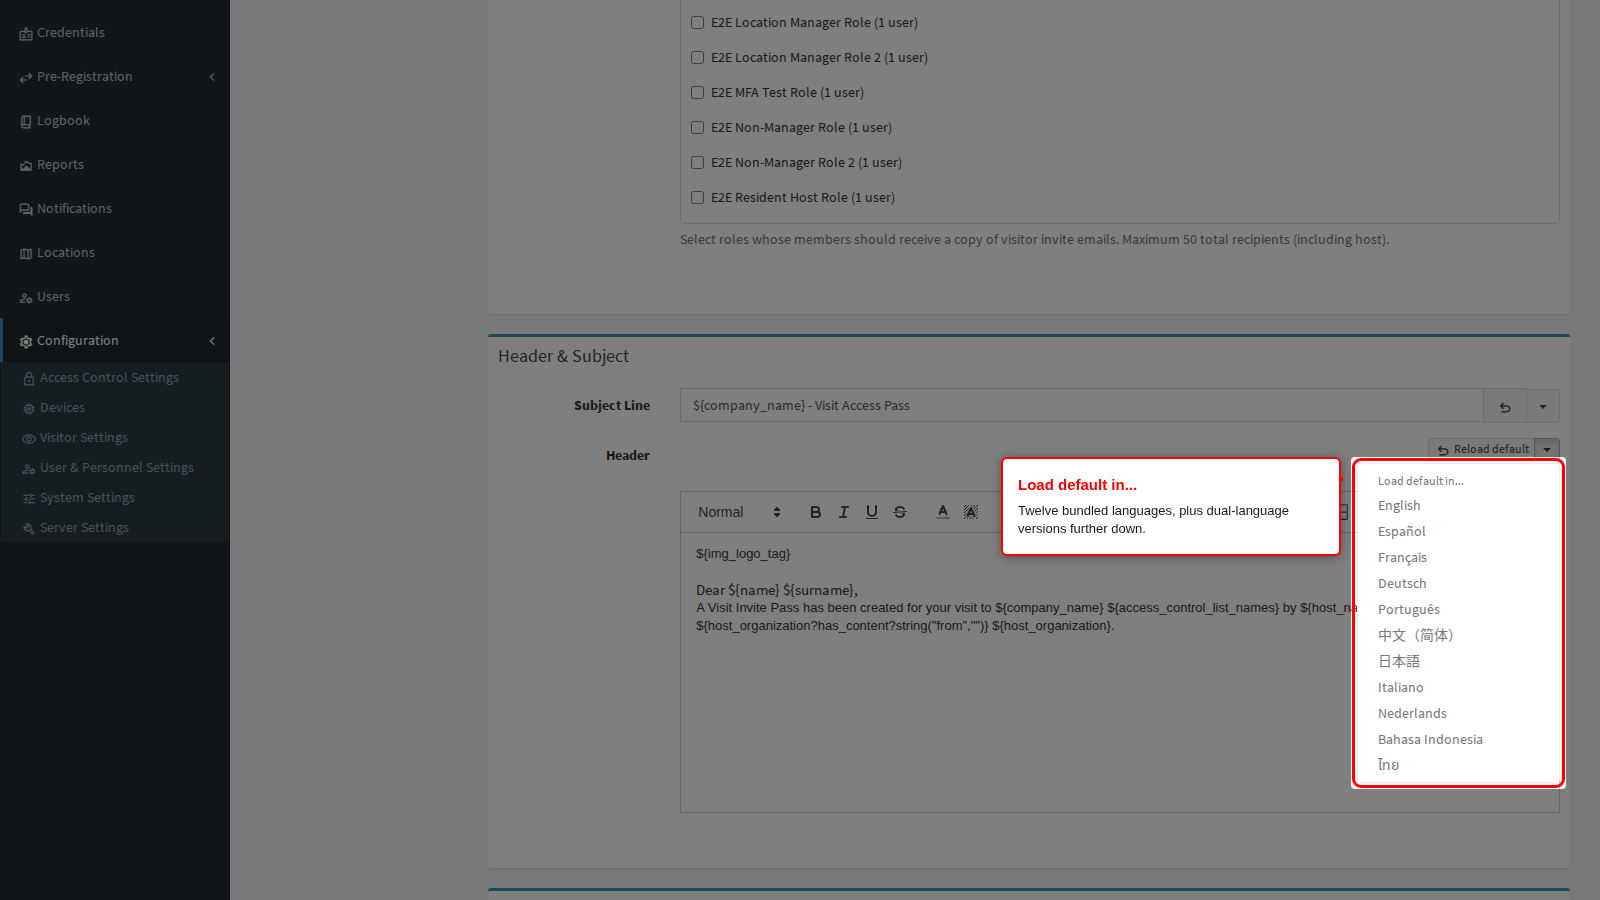
The arrow next to the button opens a language list. The shipped templates are bundled in twelve languages - English, Spanish, French, German, Portuguese, Simplified Chinese, Japanese, Italian, Dutch, Indonesian, Thai and Arabic - so a site can start from a professionally worded template in the language its visitors read, instead of translating from English. Choose a language and only that field is replaced.
Below the single-language list is a Dual language list, which loads a version that presents English and the chosen language together, with the credential details laid out in a shared table. Use it where visitors and hosts do not read the same language.
Loading a default asks for confirmation first, because it overwrites whatever is in that field and any unsaved edit is lost. Nothing is stored until you click Save at the bottom of the page, so a mistake can still be undone by clicking Cancel.
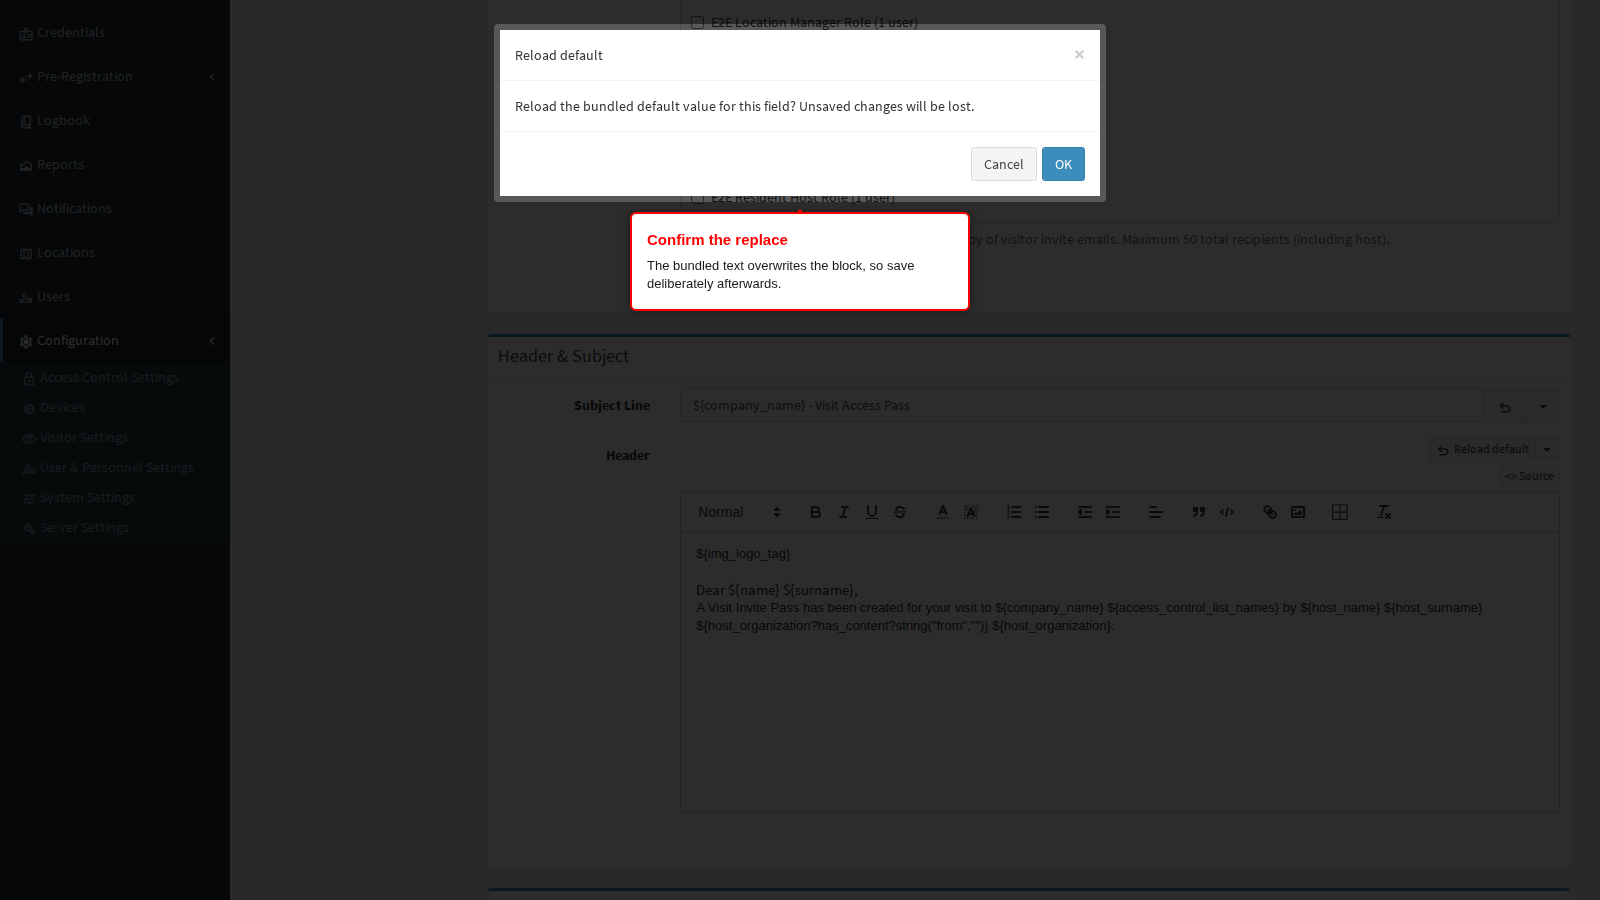
End state: the field shows the bundled wording in the language you picked, ready to be edited and saved.
Note: Loading a language default replaces one field at a time. To move a whole invitation to another language, load the default for each block in turn: subject, header, the three bodies, WiFi, parking, parking unavailable, location, rules, footer and update body.
QR code delivery: dynamic link or static image
How the QR code reaches the visitor is not set on this page - it is a system-wide security choice under Configuration > System Settings > Security. It matters here because it changes what the QR Code Template produces.
By default the invitation carries a link or button. Opening it fetches a fresh code, and generating a new code stops the old one working. Static Visit Pass Invite QR Code embeds a fixed image in the email instead. A static code survives printing, forwarding and a firewall that blocks the link, but it never refreshes and anyone who sees the email or the printout holds a working credential, which is why the option is labelled less secure.
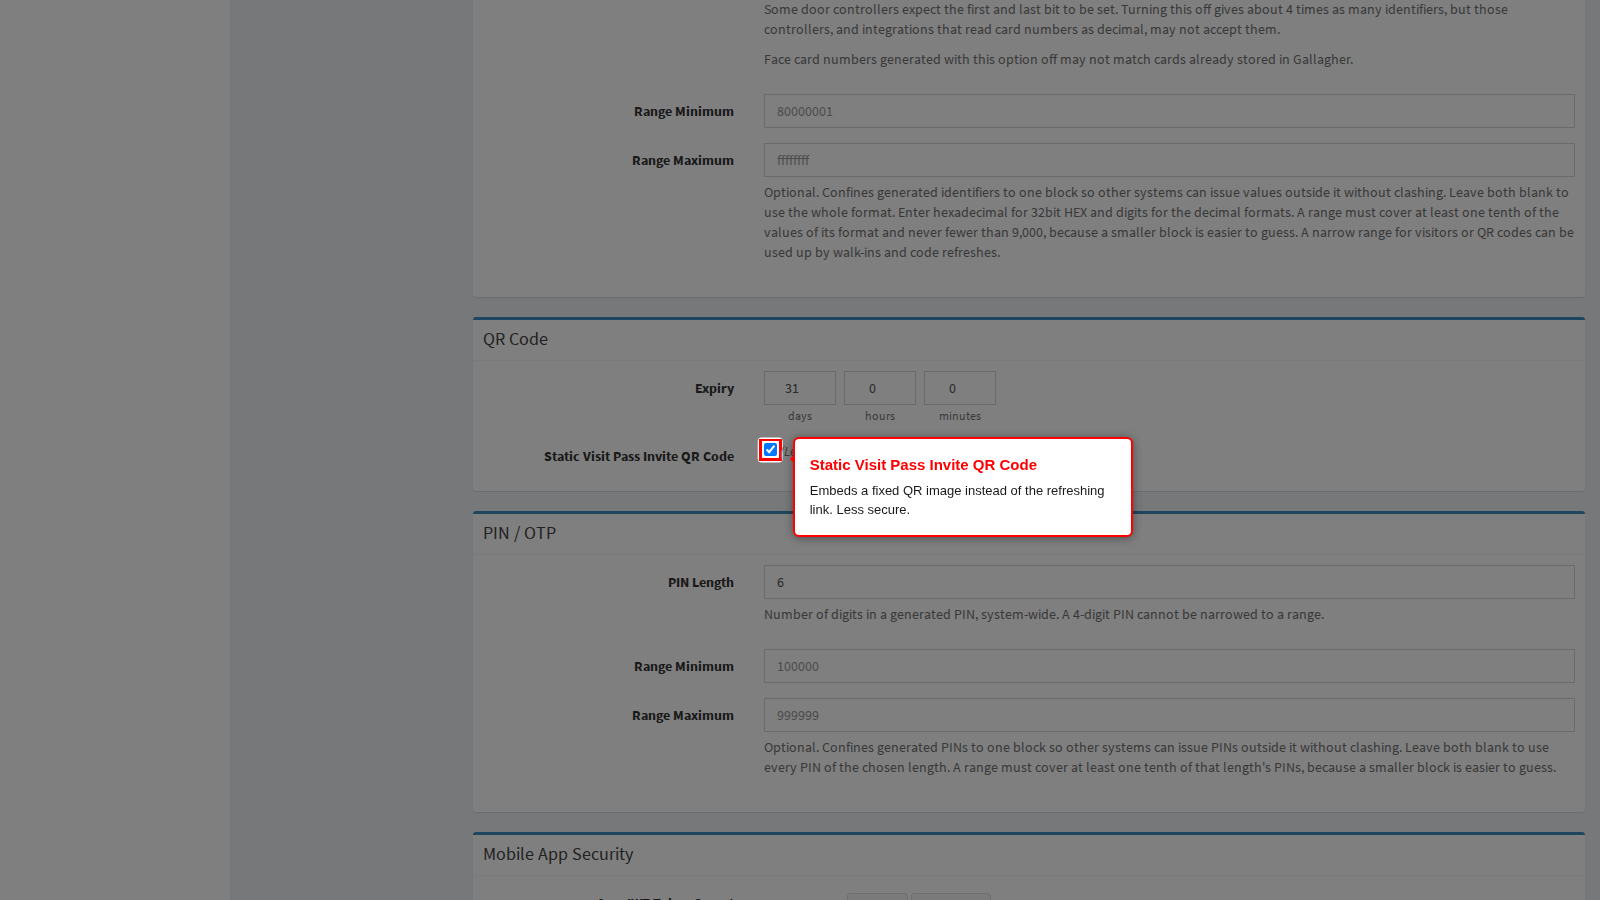
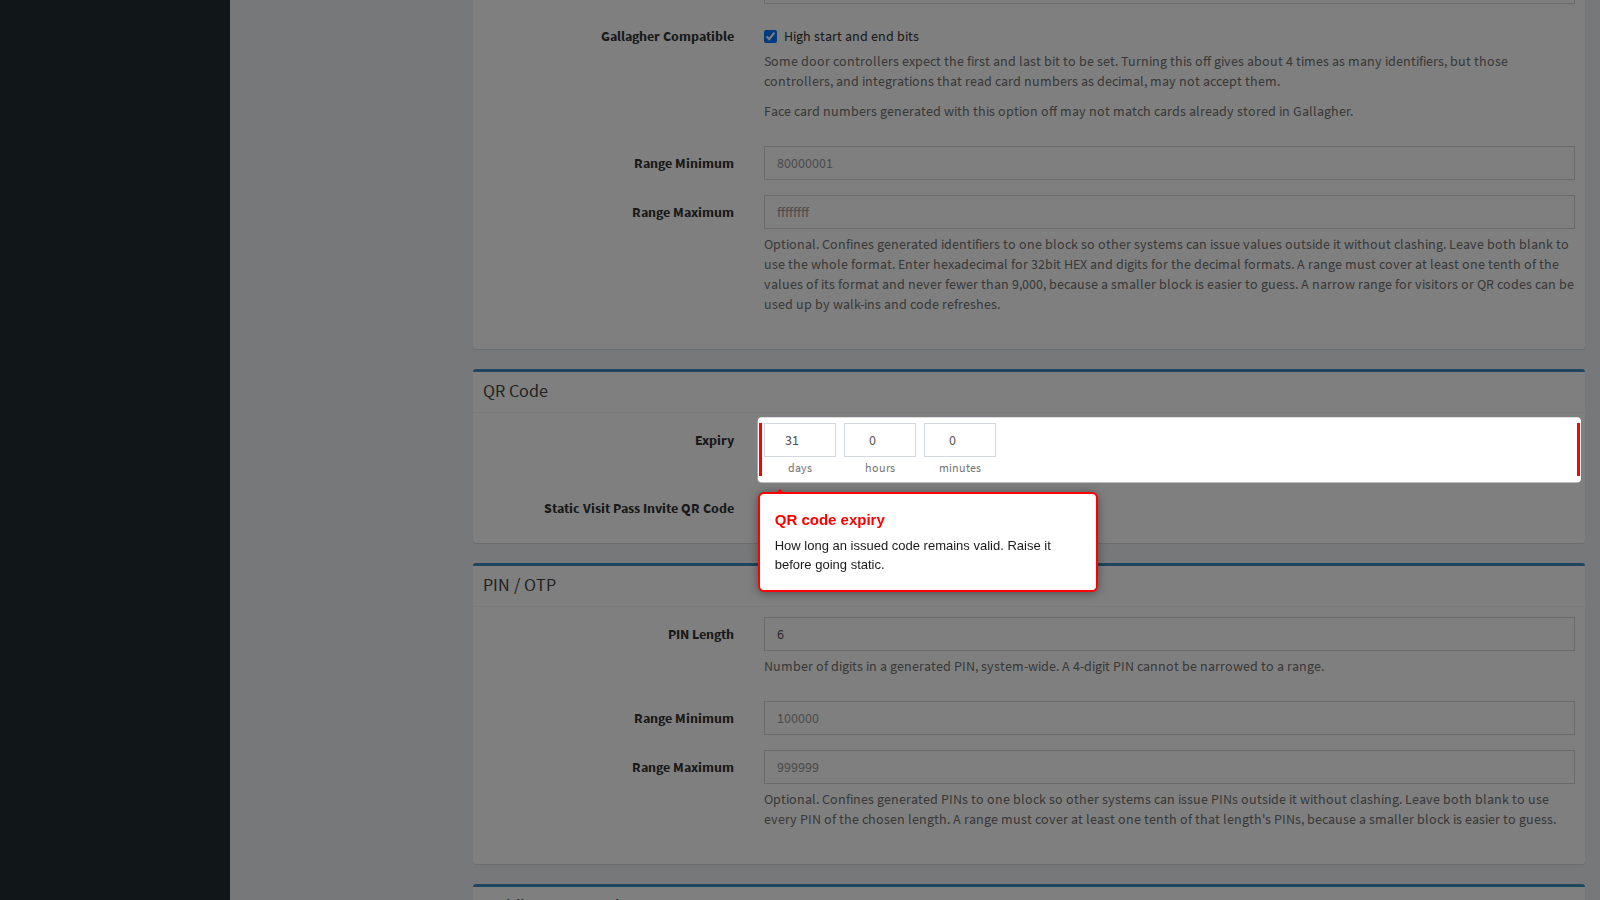
Expiry sets how long an issued code remains valid. A static code cannot be refreshed, so raise this before switching to static, otherwise visitors arrive with a code that has already expired.
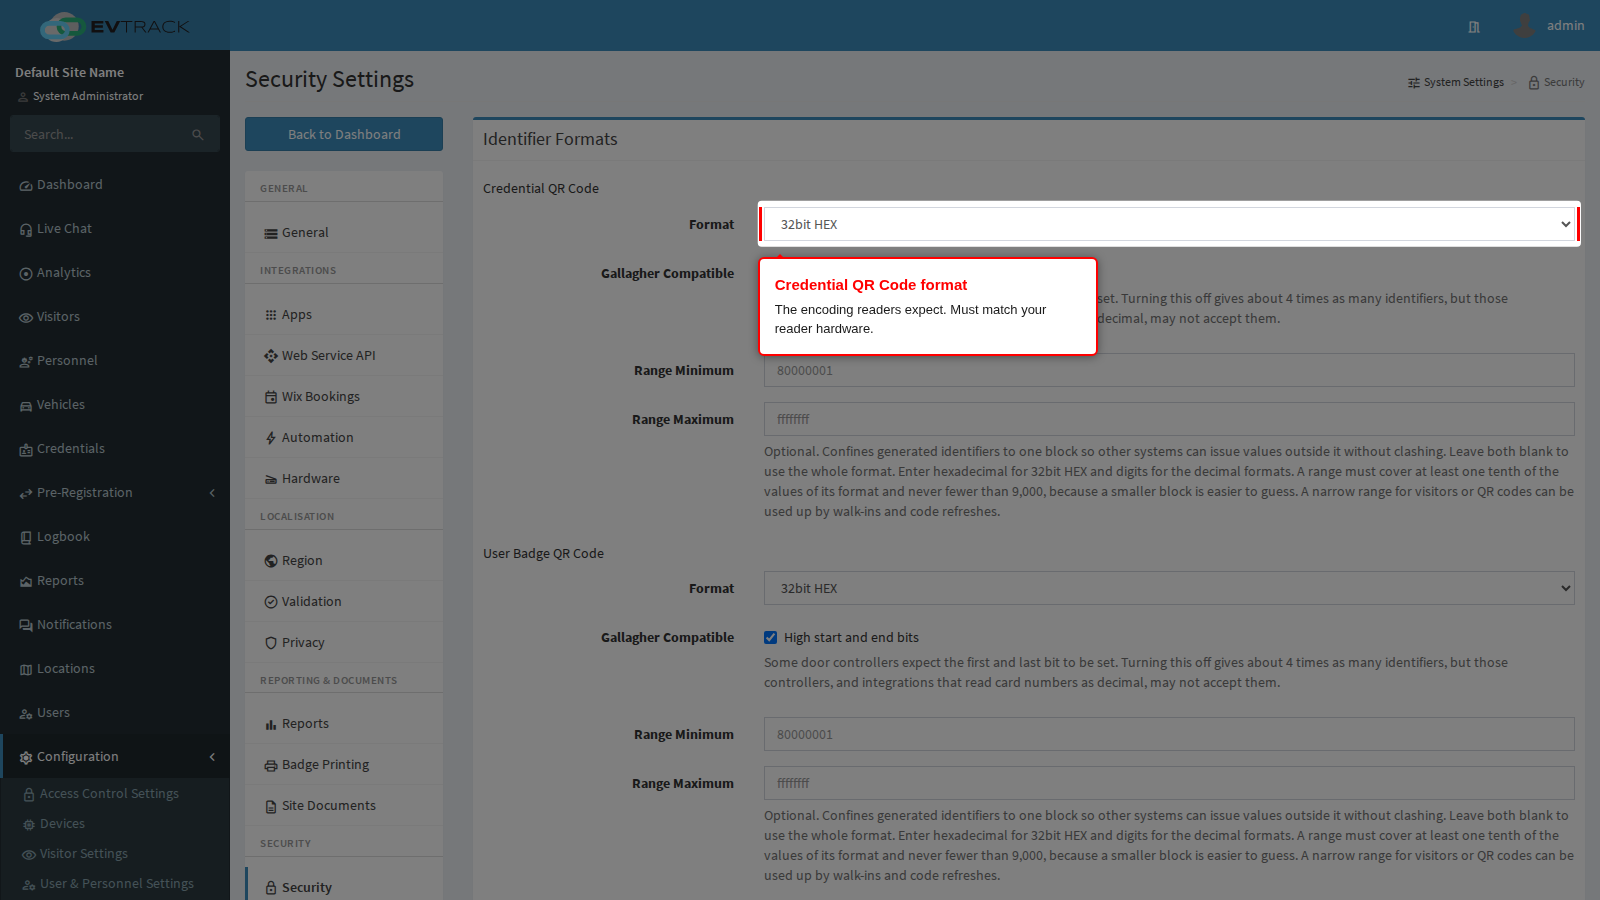
Credential QR Code, under Identifier Formats, sets the encoding written into the code through its Format. It has to match what your readers expect, so change it only when the reader supplier tells you to, and re-test at a reader afterwards.
End state: the QR block in delivered invitations matches your choice - a button that fetches a fresh code, or a printable image. Full details of the other options on this page are in Security.
Per-location overrides
Everything above is global and applies to every invitation. A single location can override parts of it, which is how one system serves a head office and a plant with different rules and different branding. You need the locations permission to see this; the overrides are edited on the location, not on this page.
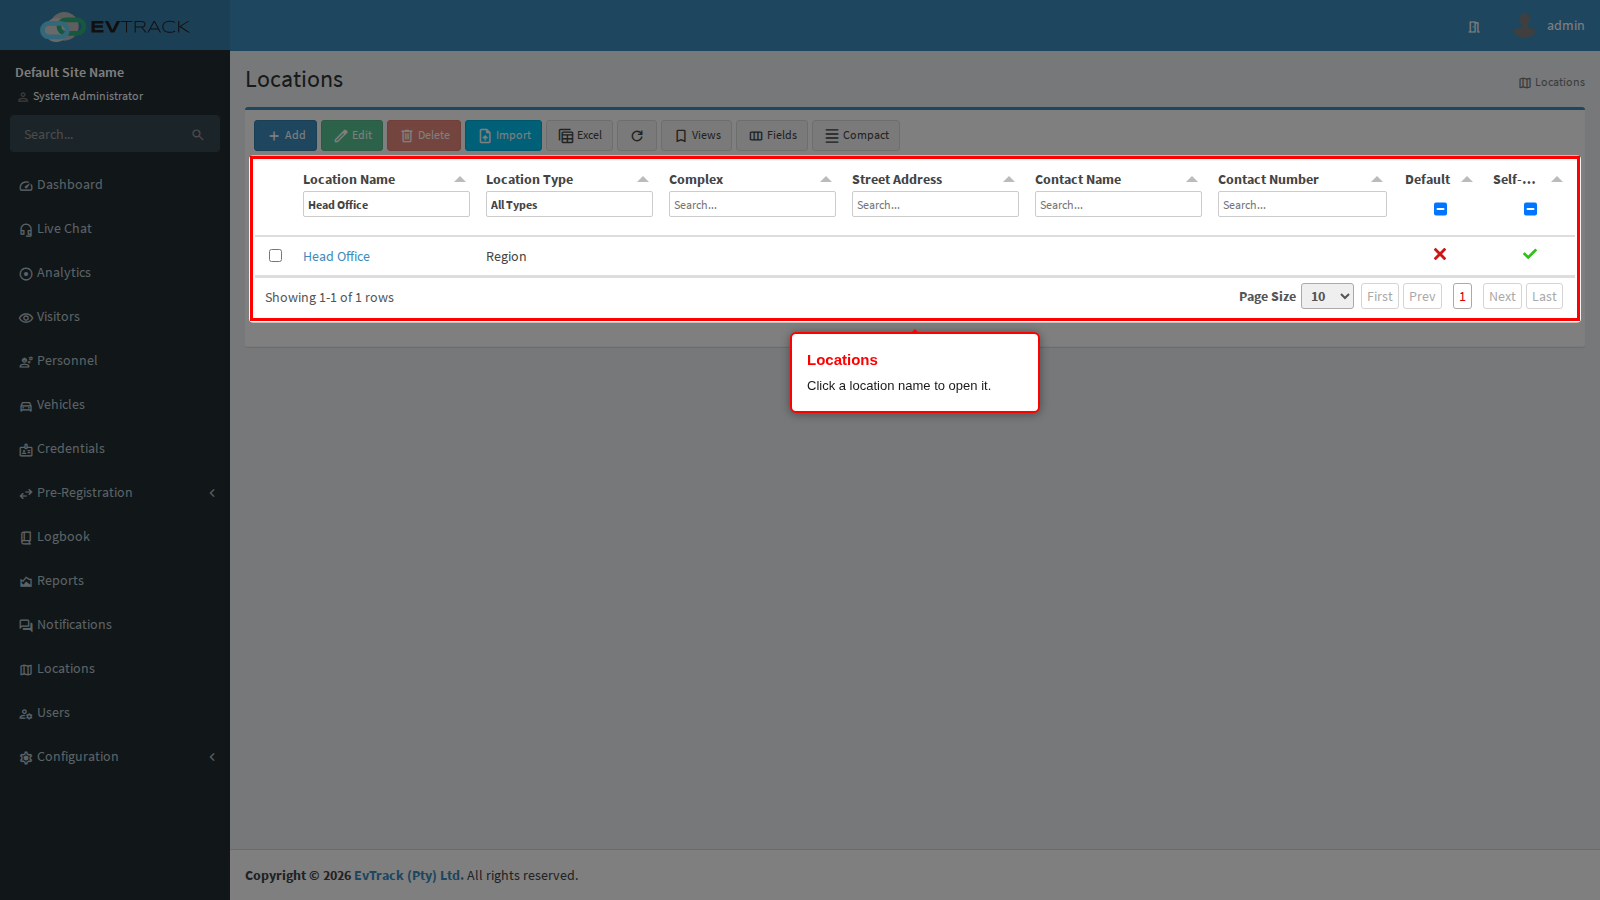
Open Locations in the left sidebar, type the location name into the Name search box above the table, then click the name in the row that remains.
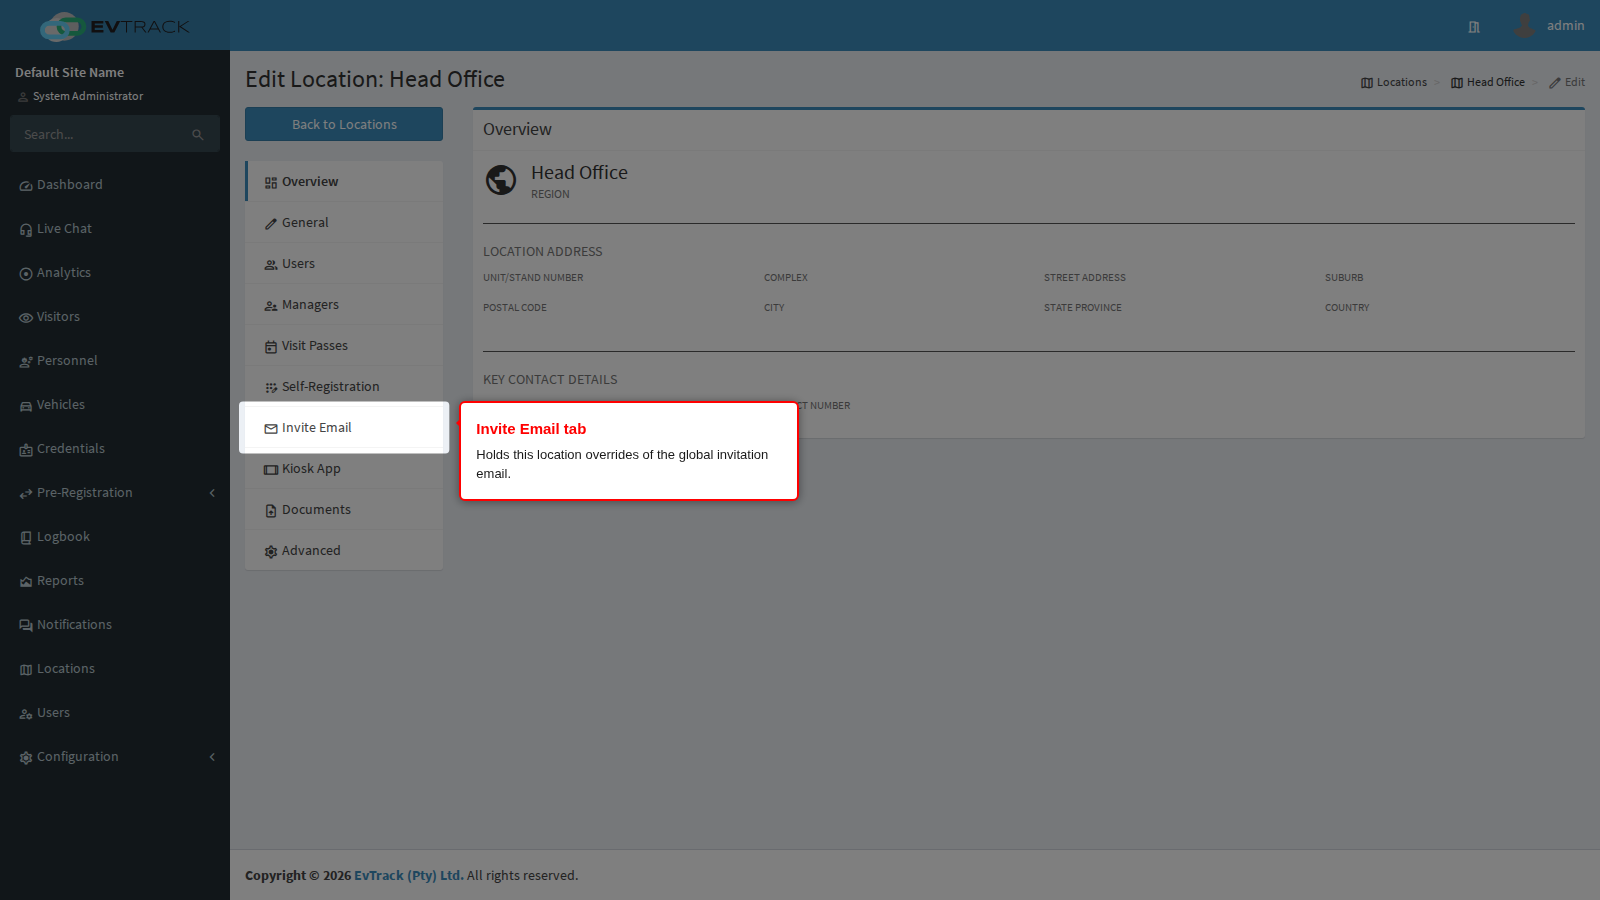
On the location’s page, click the Invite Email tab in the menu on the left. The Invitation Email Overrides panel opens.
Each override starts with a Use global switch, ticked, and the global value shown next to it, greyed out, so you can see what you are about to replace.
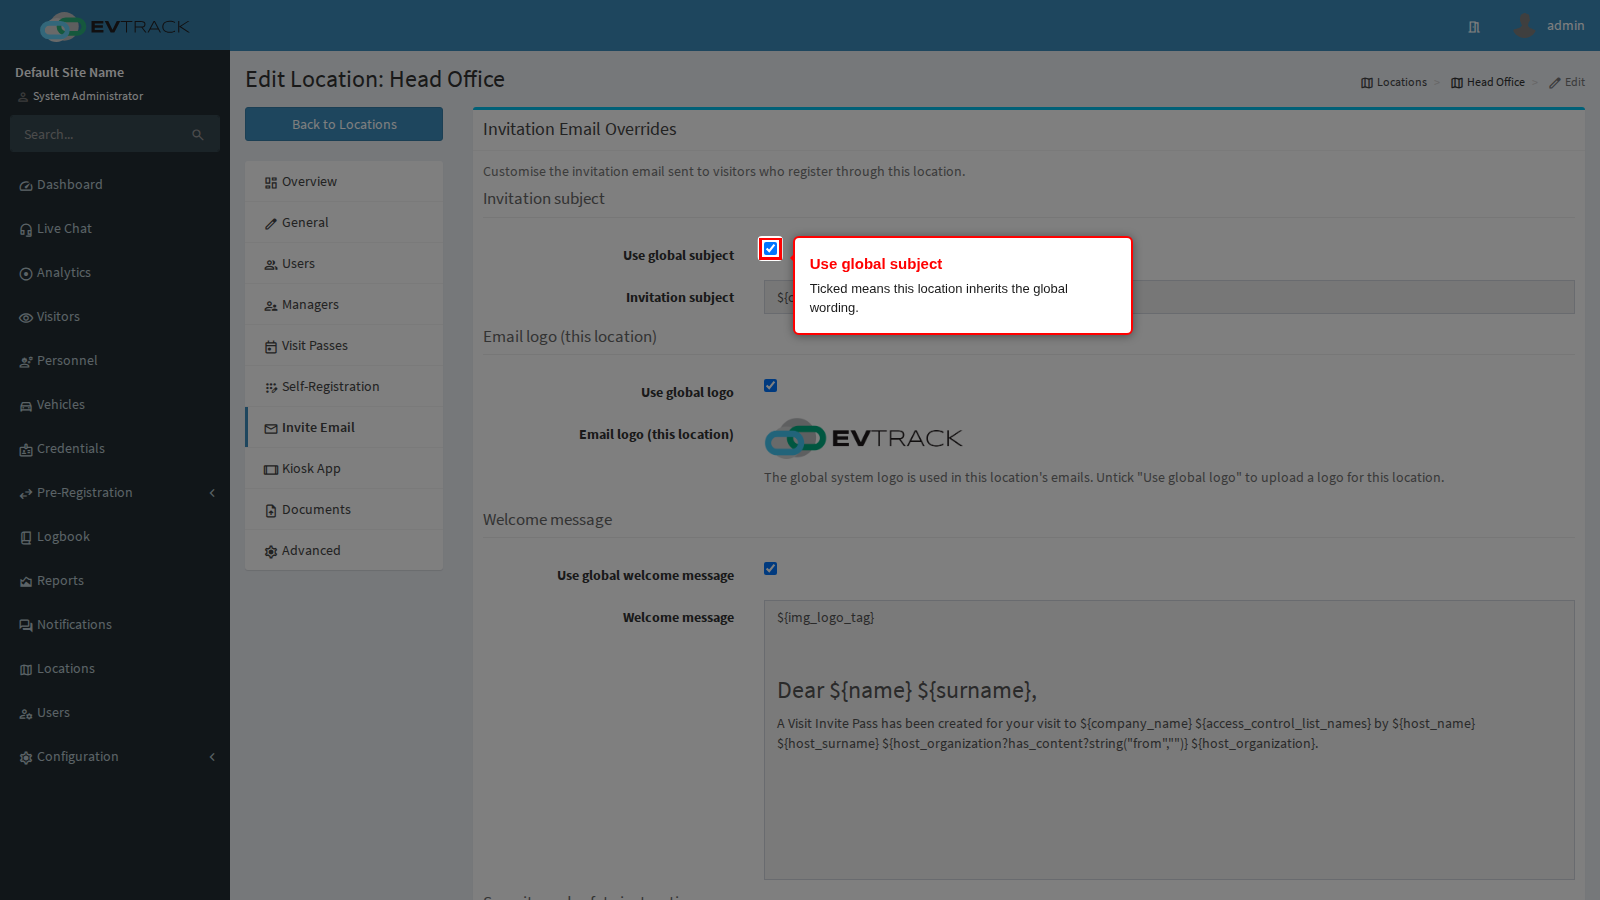
Untick Use global and the field becomes editable, with its own Reload default button. That button’s English entry loads the saved global value rather than the shipped one, so you can start from your own wording and adjust it.
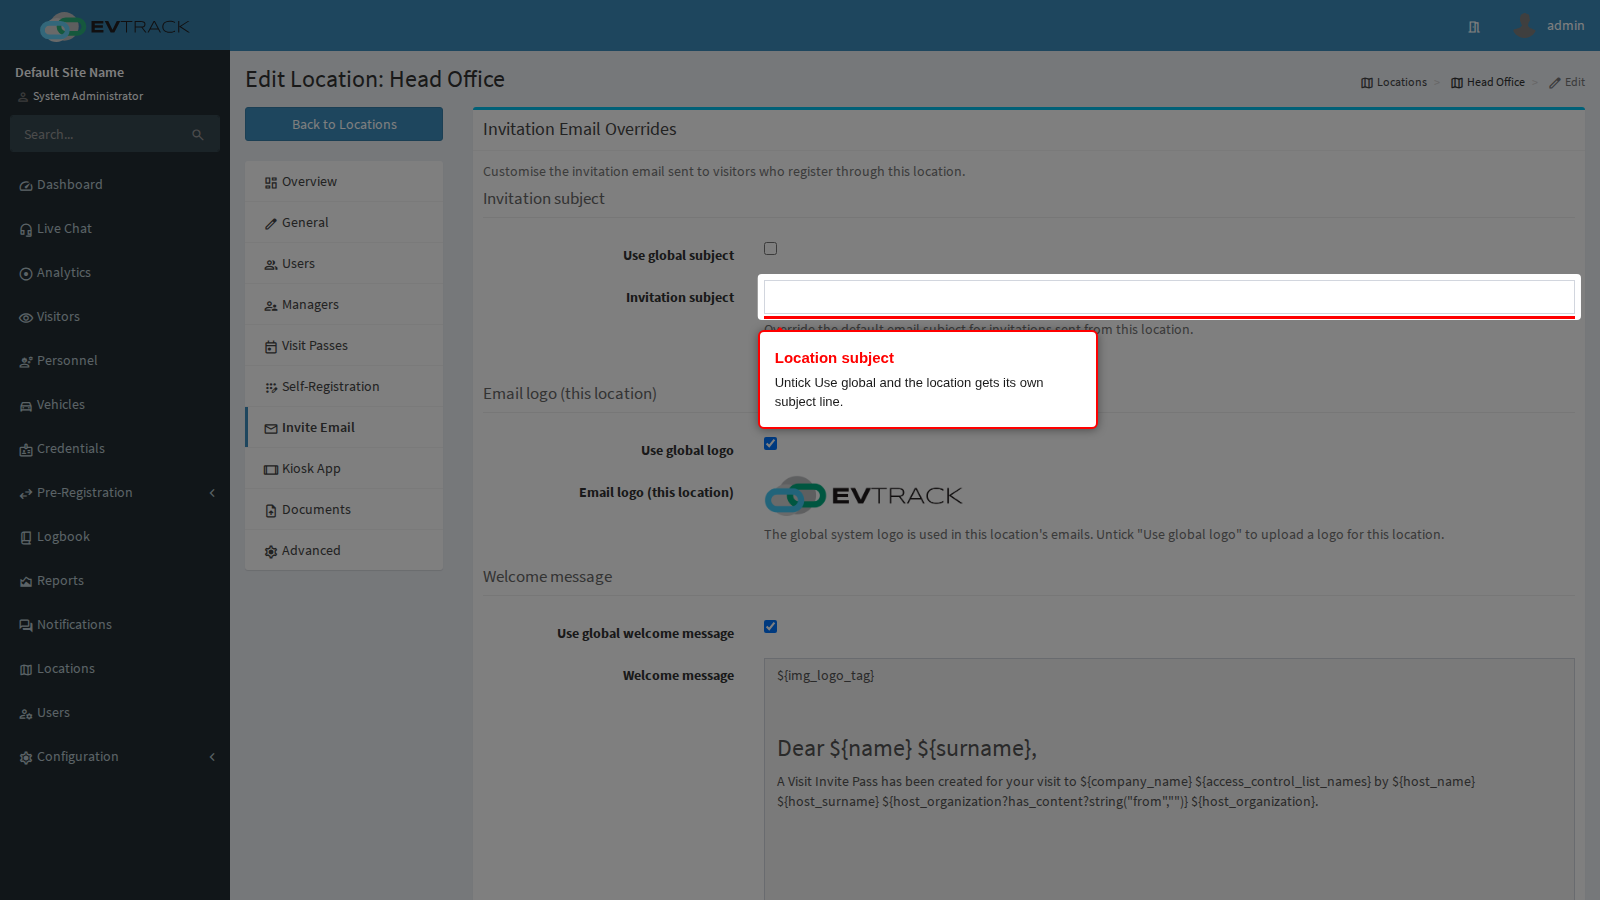
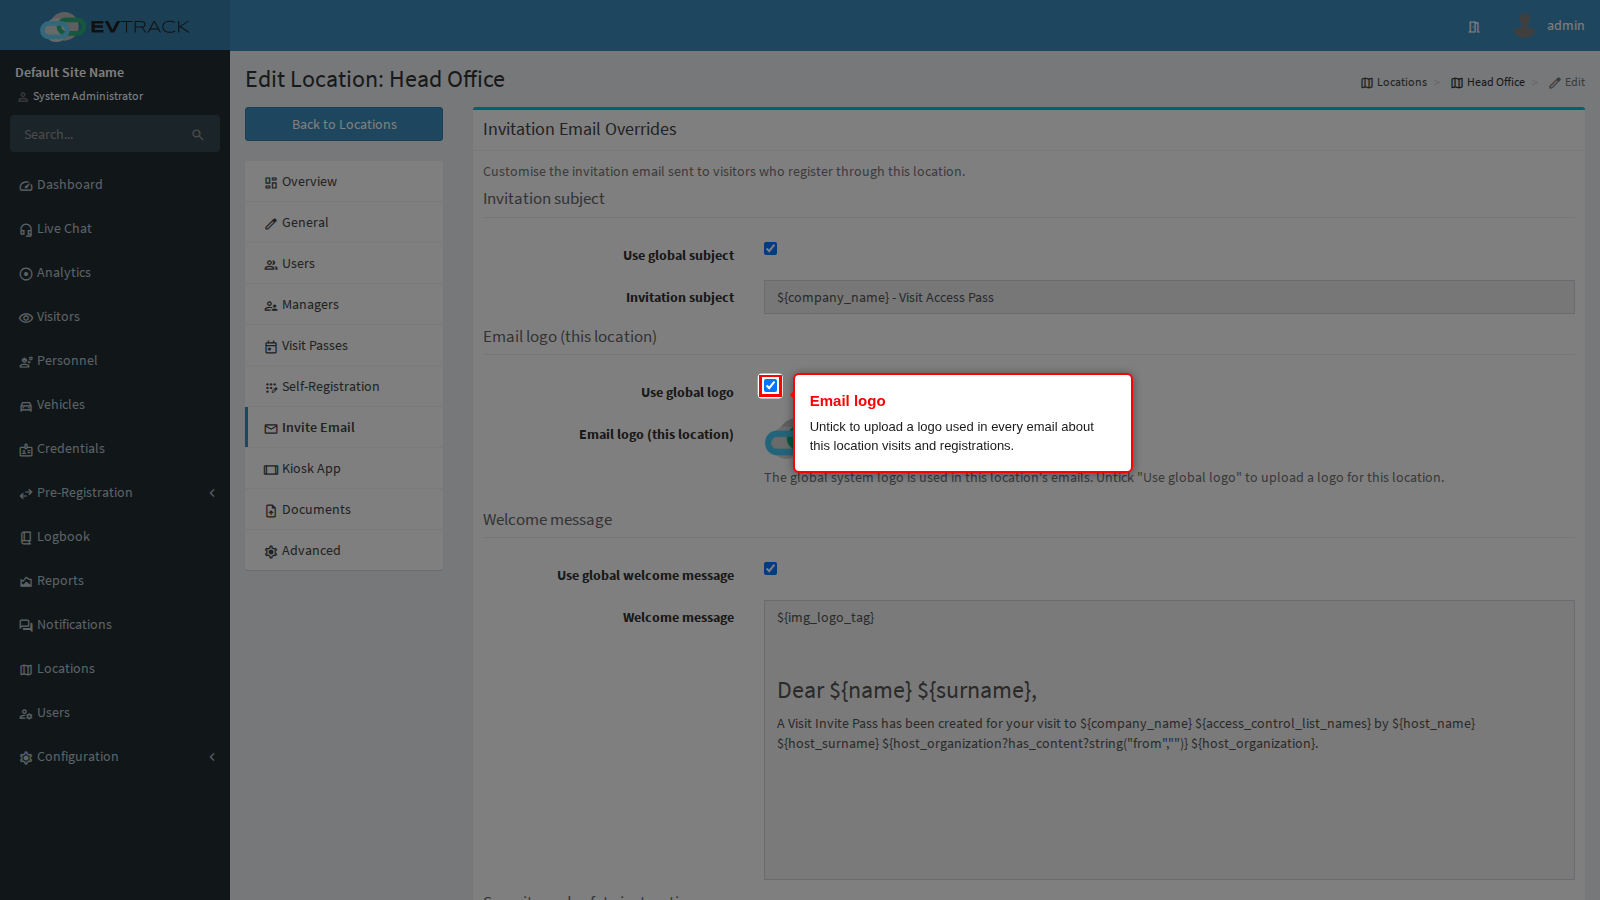
A location can override the subject, the welcome message (the header), the security and safety instructions (the rules block), the CC host setting, its email logo and its attachments. The logo override is what puts a plant’s own branding on that plant’s emails: its invitations and every other email about a visit or registration there, including the notices sent to hosts and approvers and the check-out follow-up.
Two switches work the other way round and need no Use global: Hide WiFi section for this location and Hide parking section for this location drop those blocks for this location only, leaving the global text untouched for everywhere else.
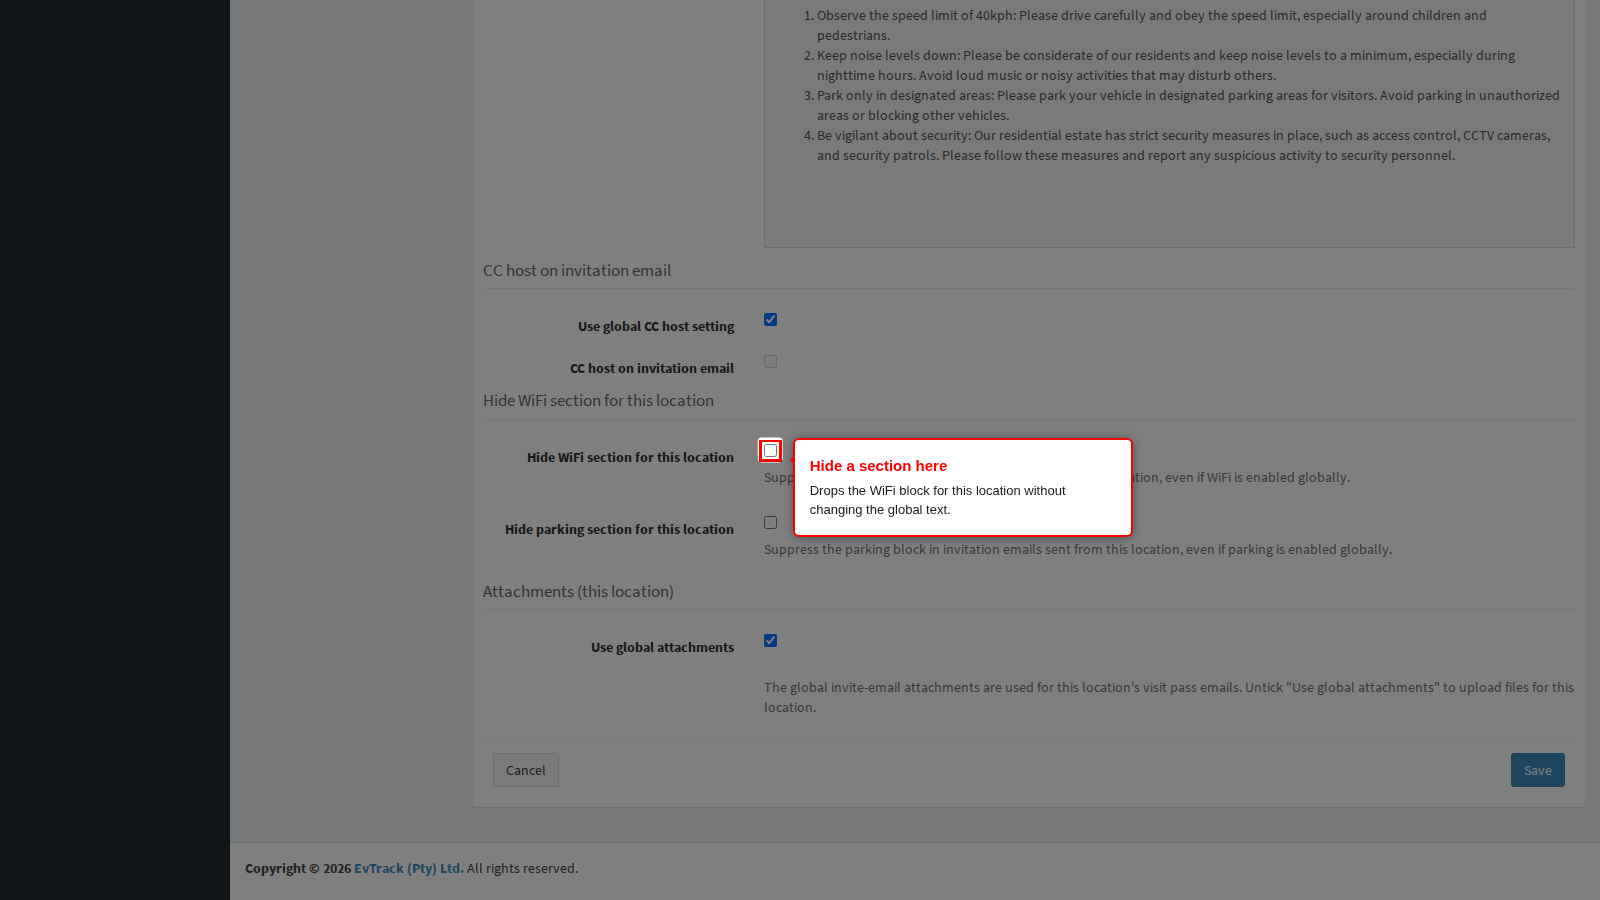
Click Save on the panel. End state: invitations for visits at that location use its wording, its logo and its section choices, and every other email about a visit or registration there uses its logo; every other location is unaffected.
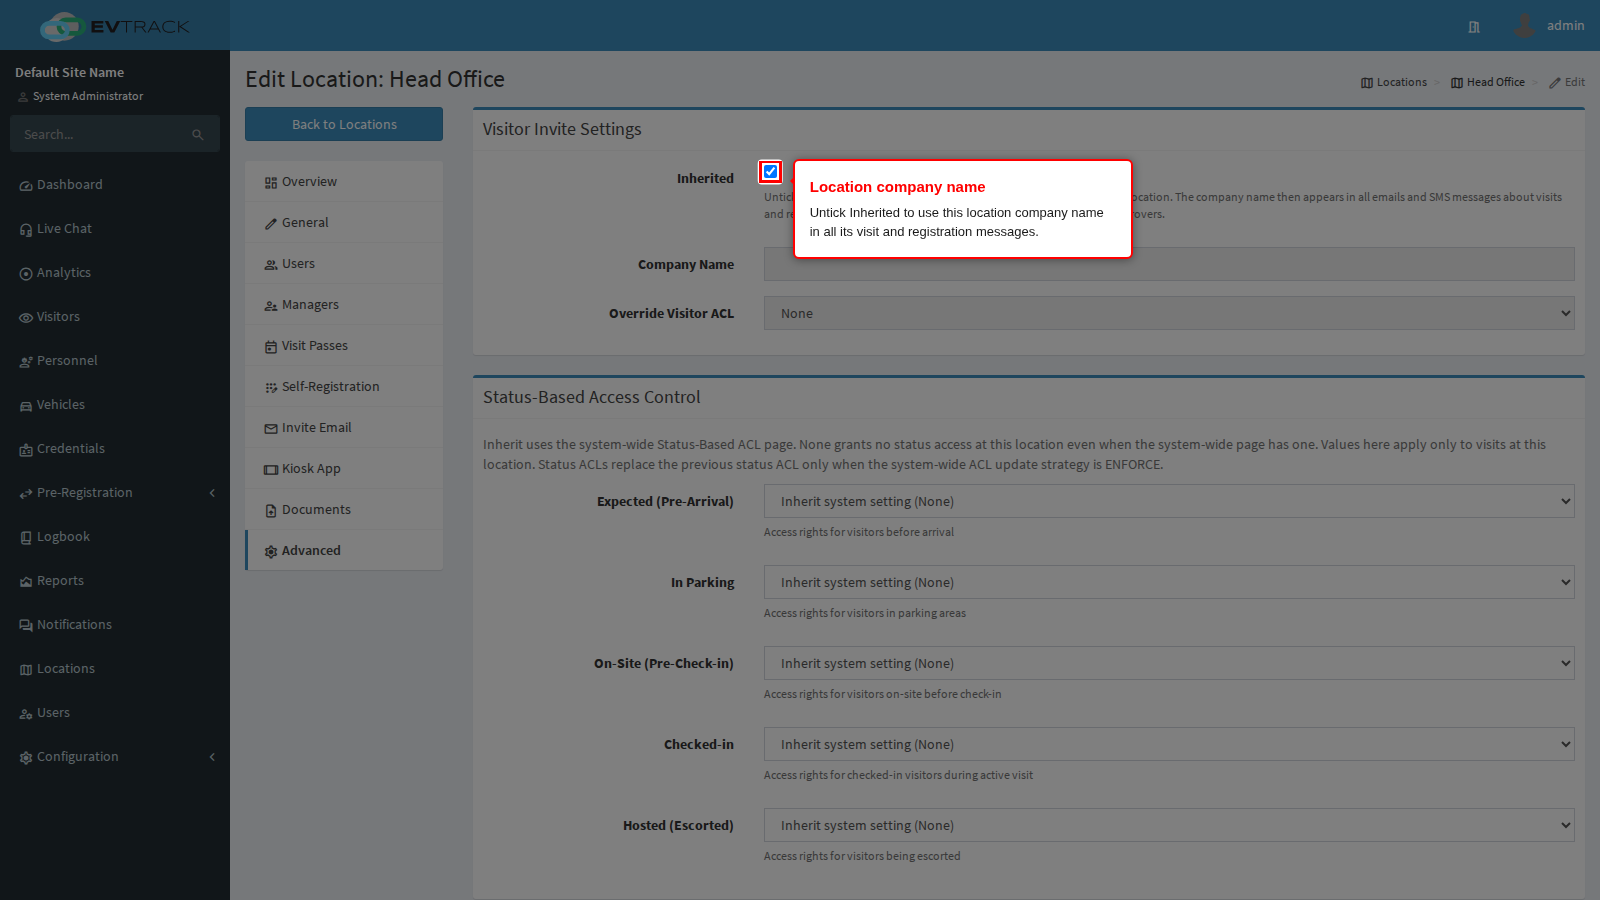
The location’s own company name is set on its Advanced tab, under Visitor Invite Settings: untick Inherited, enter the Company Name (at least six characters) and choose the Override Visitor ACL for visitors to this location - the name and the access list are saved together - then click Save on that panel. From then on the company name appears in all emails and text messages about visits and registrations at that location, including the notices sent to hosts and approvers and the verification code email a visitor receives when registering through the location’s link or at one of its kiosks. Verification code text messages carry no company name, so they do not change. A company name saved long ago that contains characters the current name rules reject (such as a curly apostrophe or a trademark sign) is not used; the global company name appears instead until you save the name again.
Host Notifications
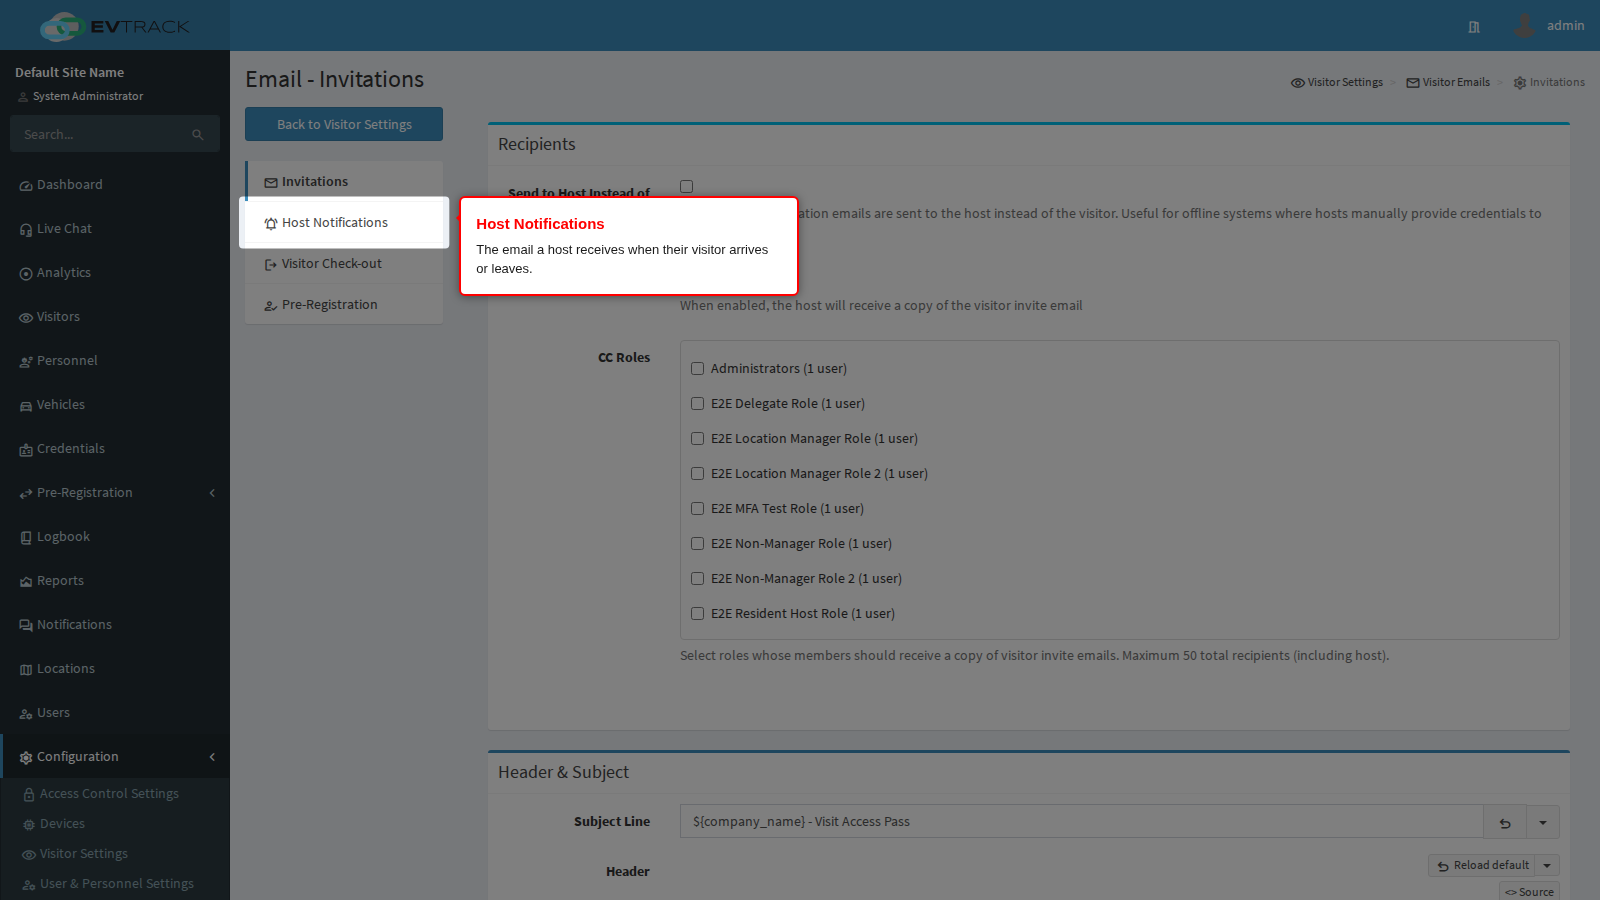
Click Host Notifications in the menu on the left of the Visitor Emails page.
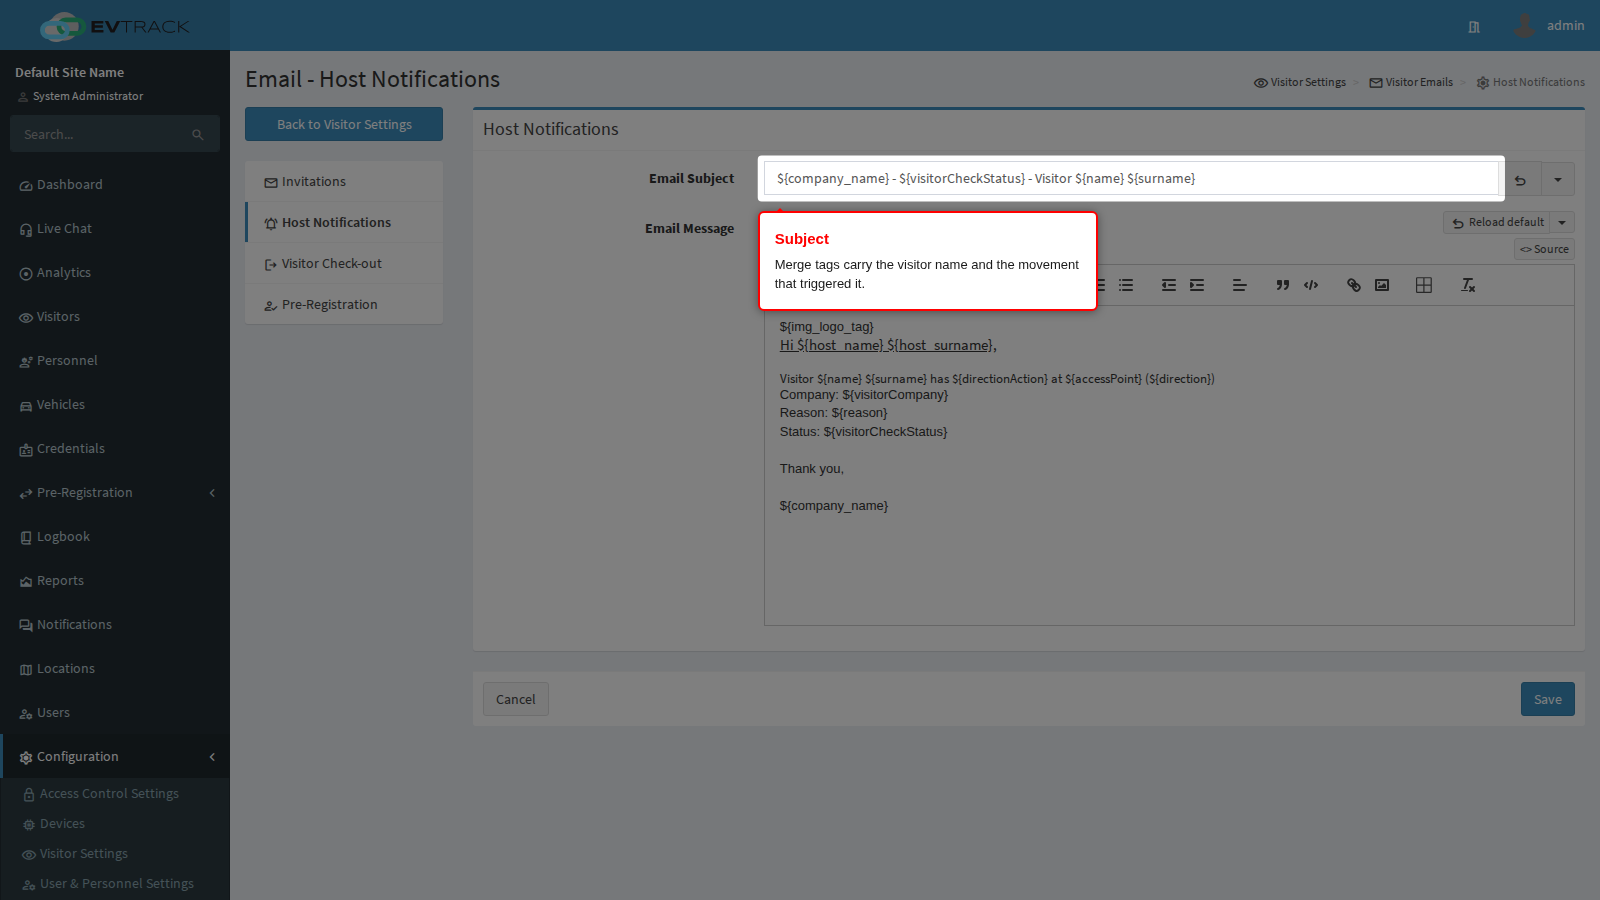
This is the email a host receives when their visitor is checked in or checked out. Subject carries merge tags for the visitor name and the movement that triggered the message, so one subject serves arrivals and departures.
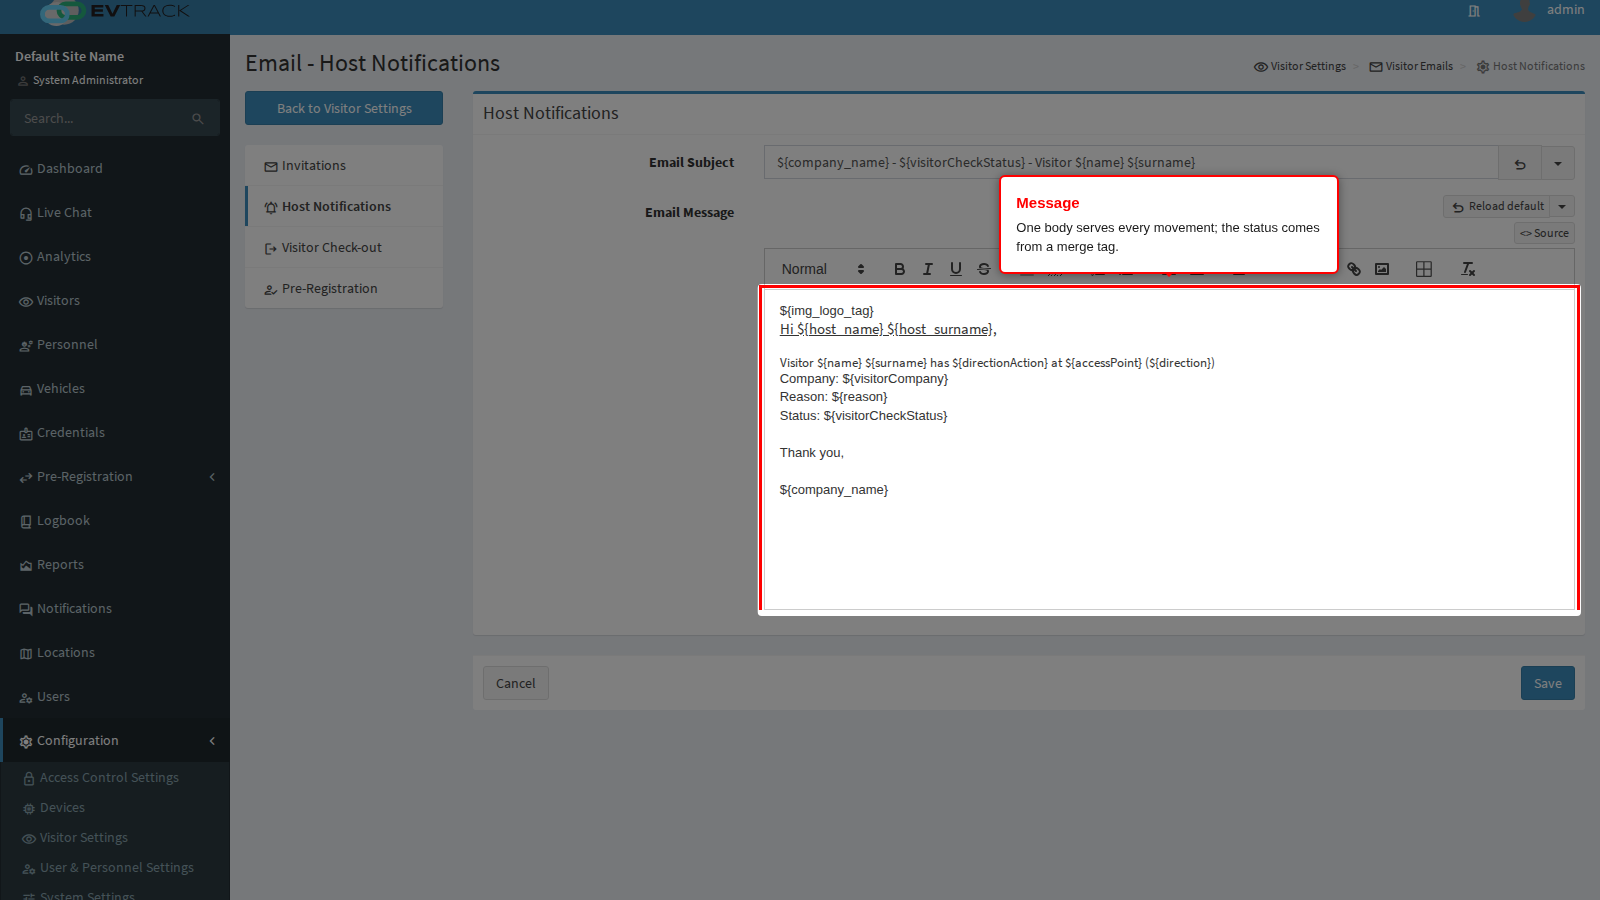
Email Message is the body. One body serves every movement - the arrival or departure wording comes from a merge tag, not from separate templates - so write it so it reads correctly for both.
The same Reload default button and language list are available here.
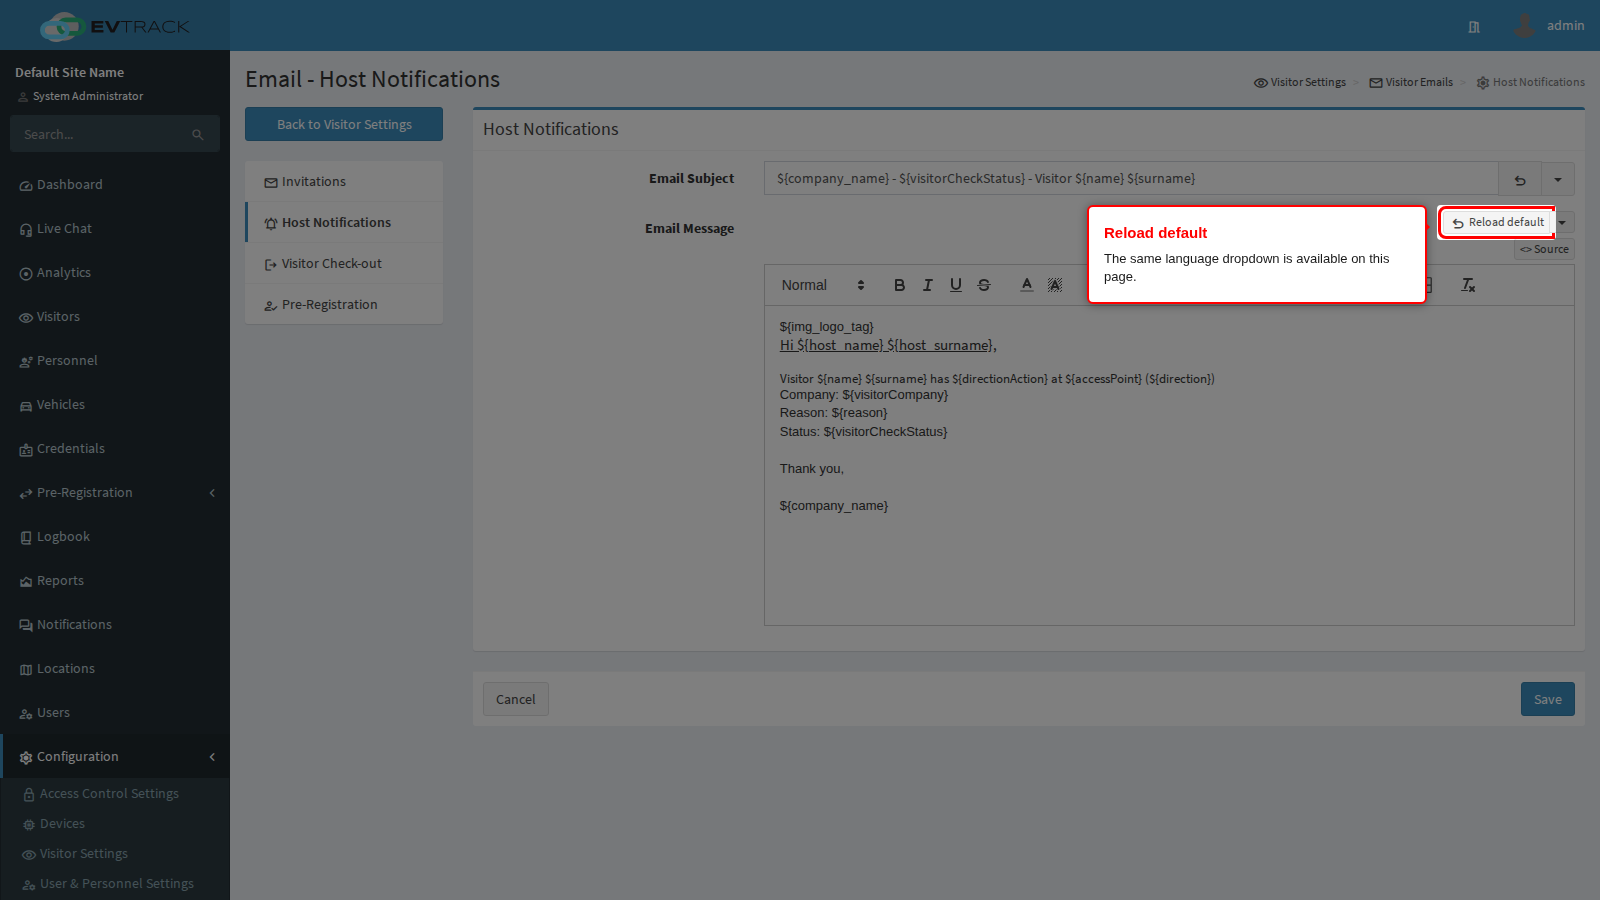
End state: the template is saved. Whether it is actually sent is a separate switch, Notify Host via Email, on the Host Notifications settings page - the template here is used but never delivered while that switch is off.
Visitor Check-out
Click Visitor Check-out in the menu on the left.
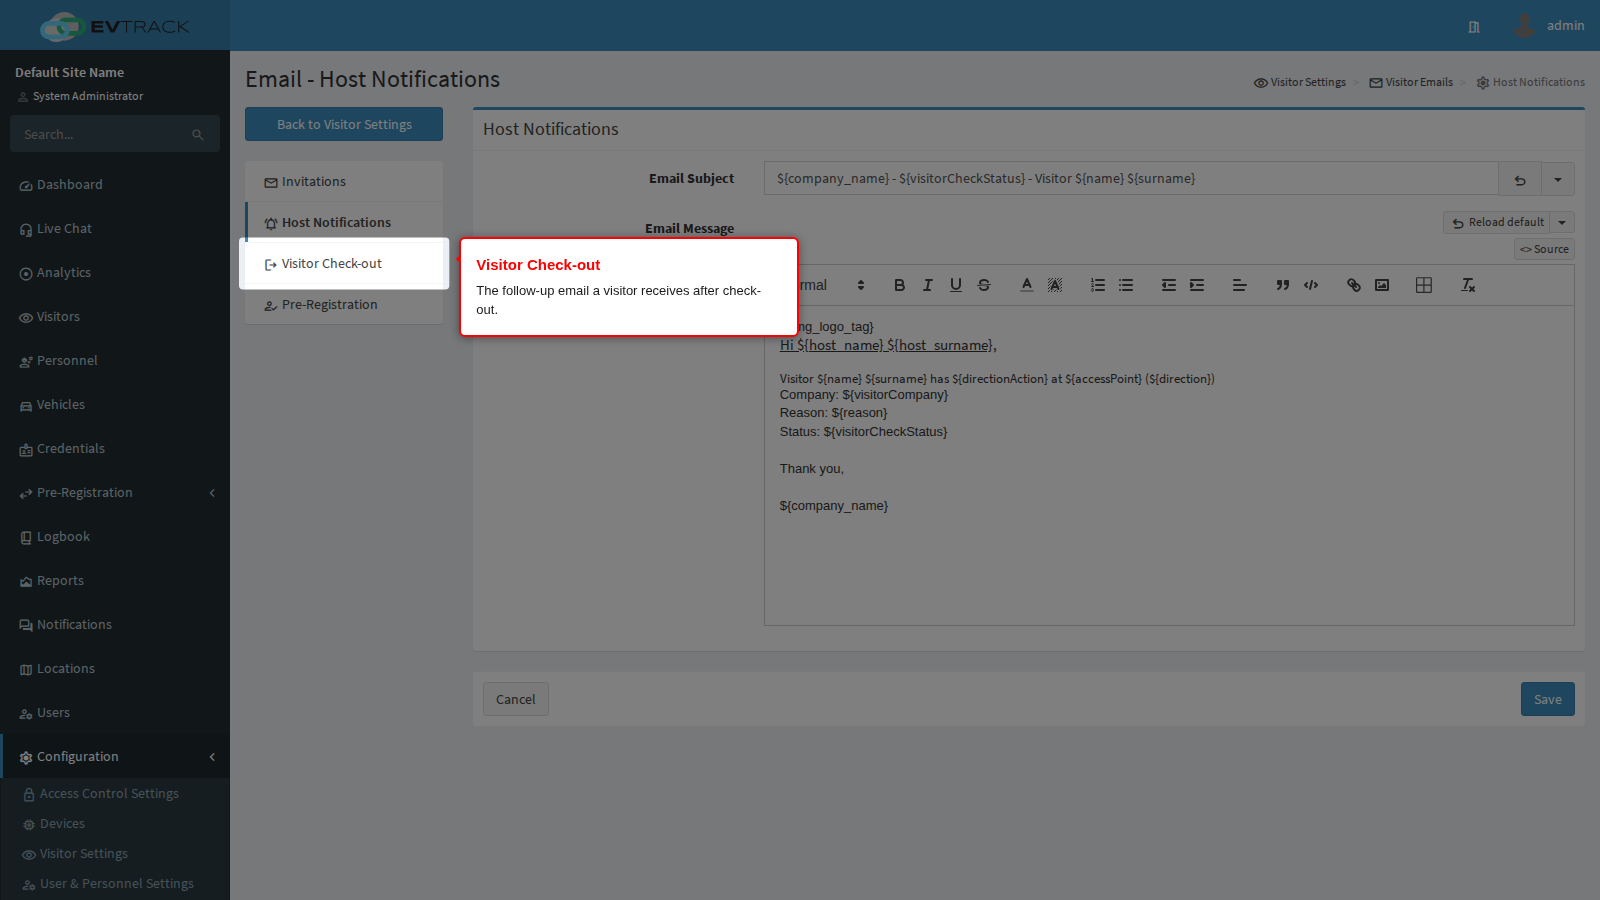
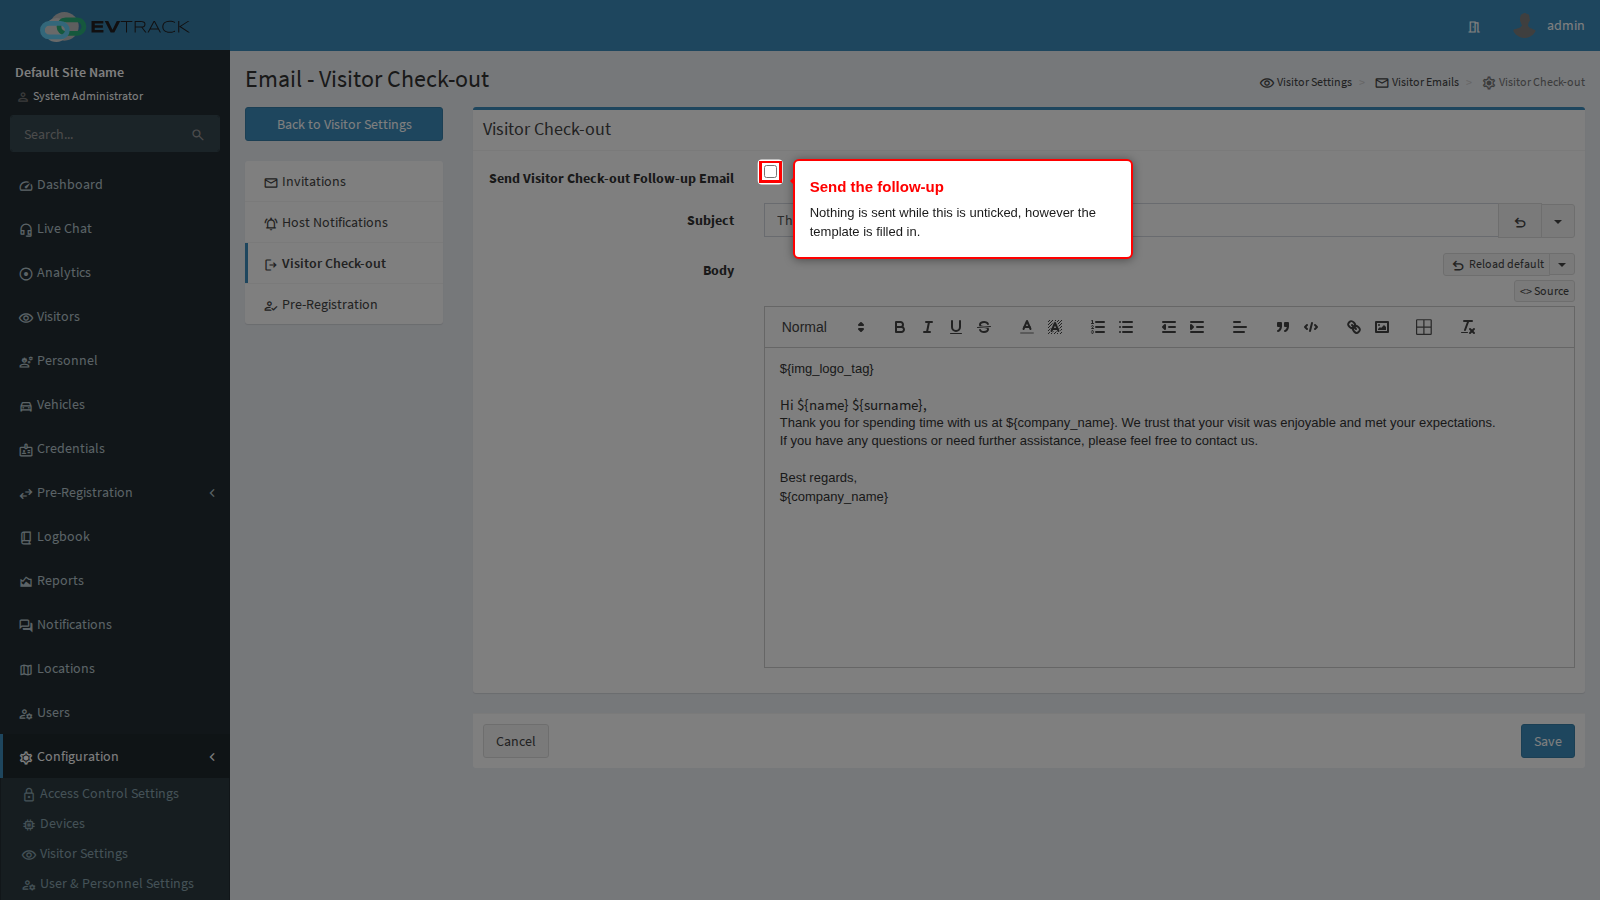
Send Visitor Check-out Follow-up Email is the switch that turns the follow-up on. It is off by default, so you can write and save the template first and enable it when you are ready.
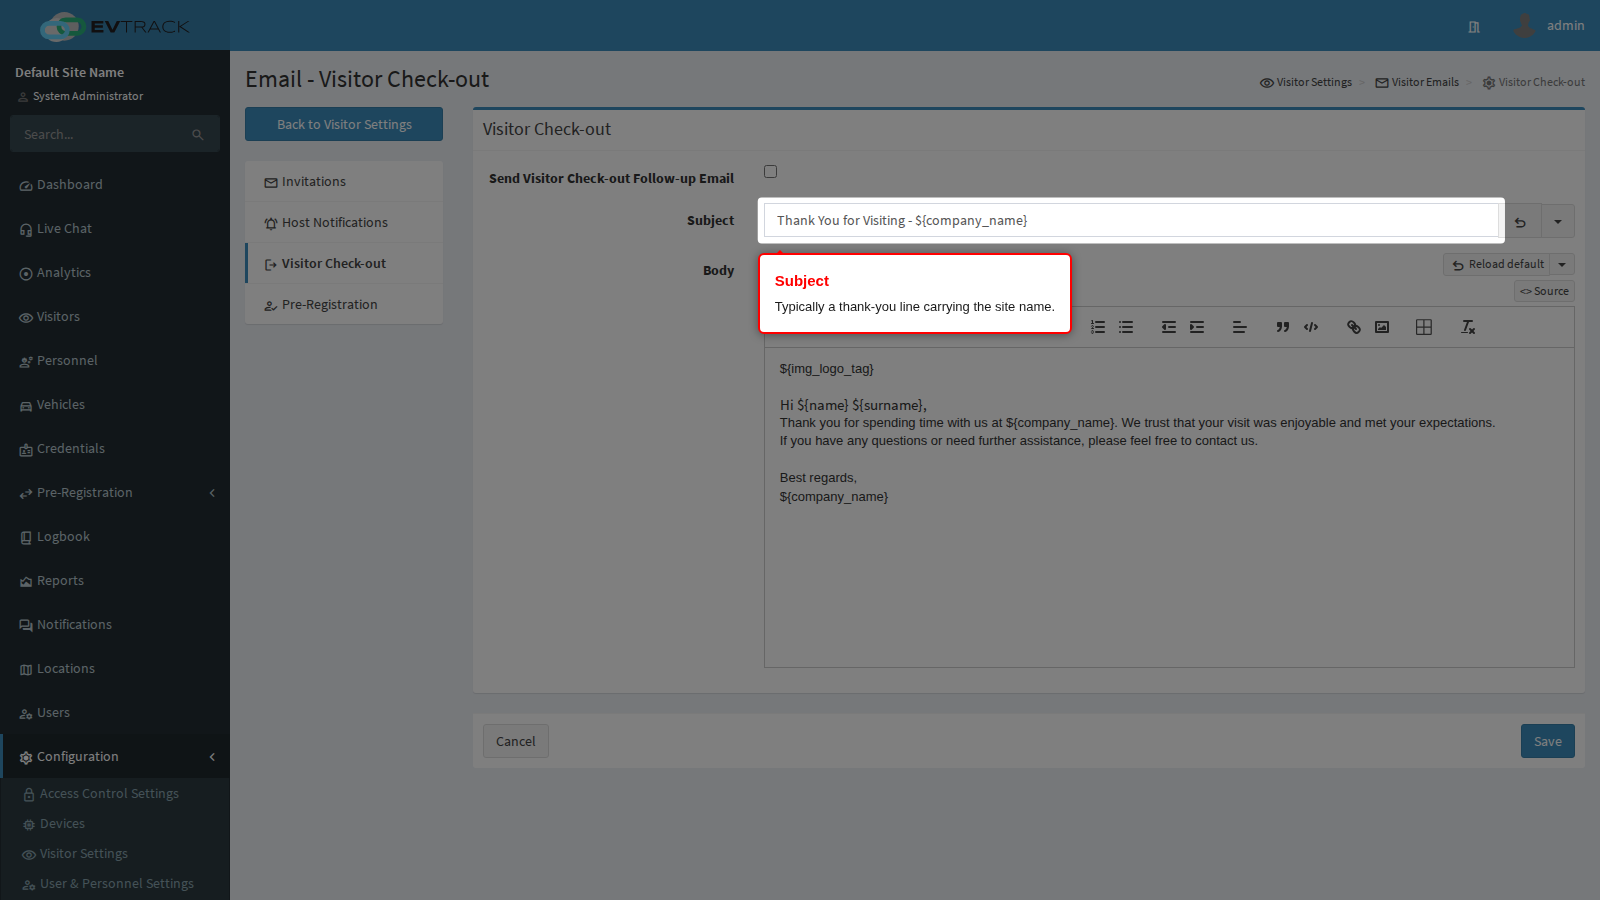
Subject is usually a short thank-you carrying the site name.
Body is the follow-up message - a feedback link, a survey, instructions for a return visit, or a reminder to return a badge. It is sent once, when the visitor is checked out.
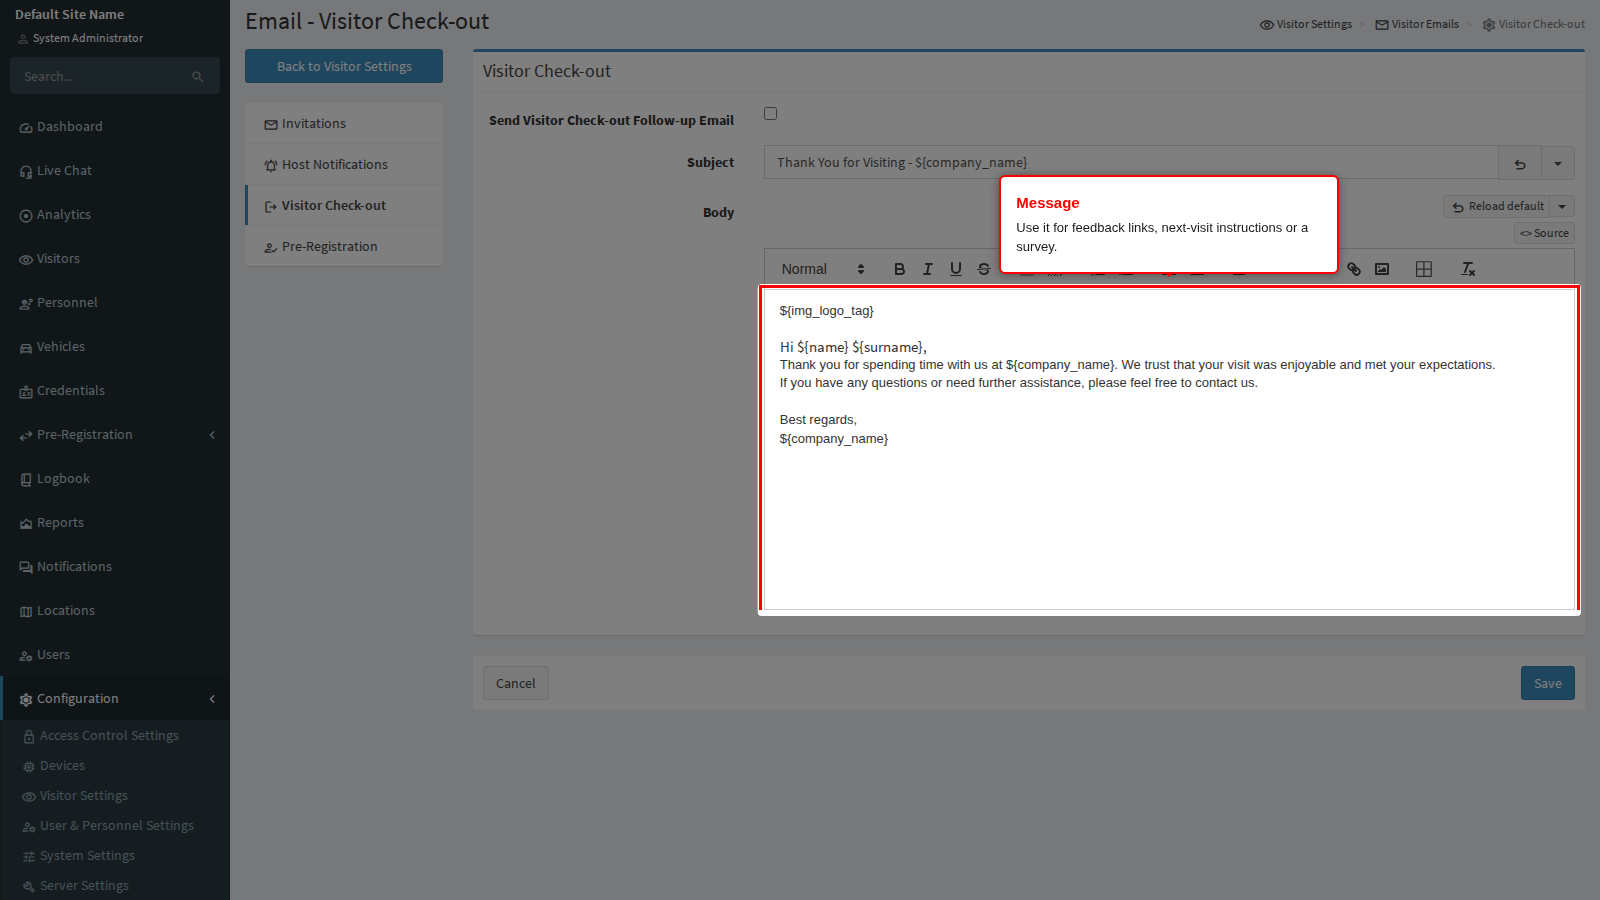
End state: with the switch on, every visitor who checks out receives the message. See Check-out for the check-out behaviour itself.
Pre-Registration
Click Pre-Registration in the menu on the left.
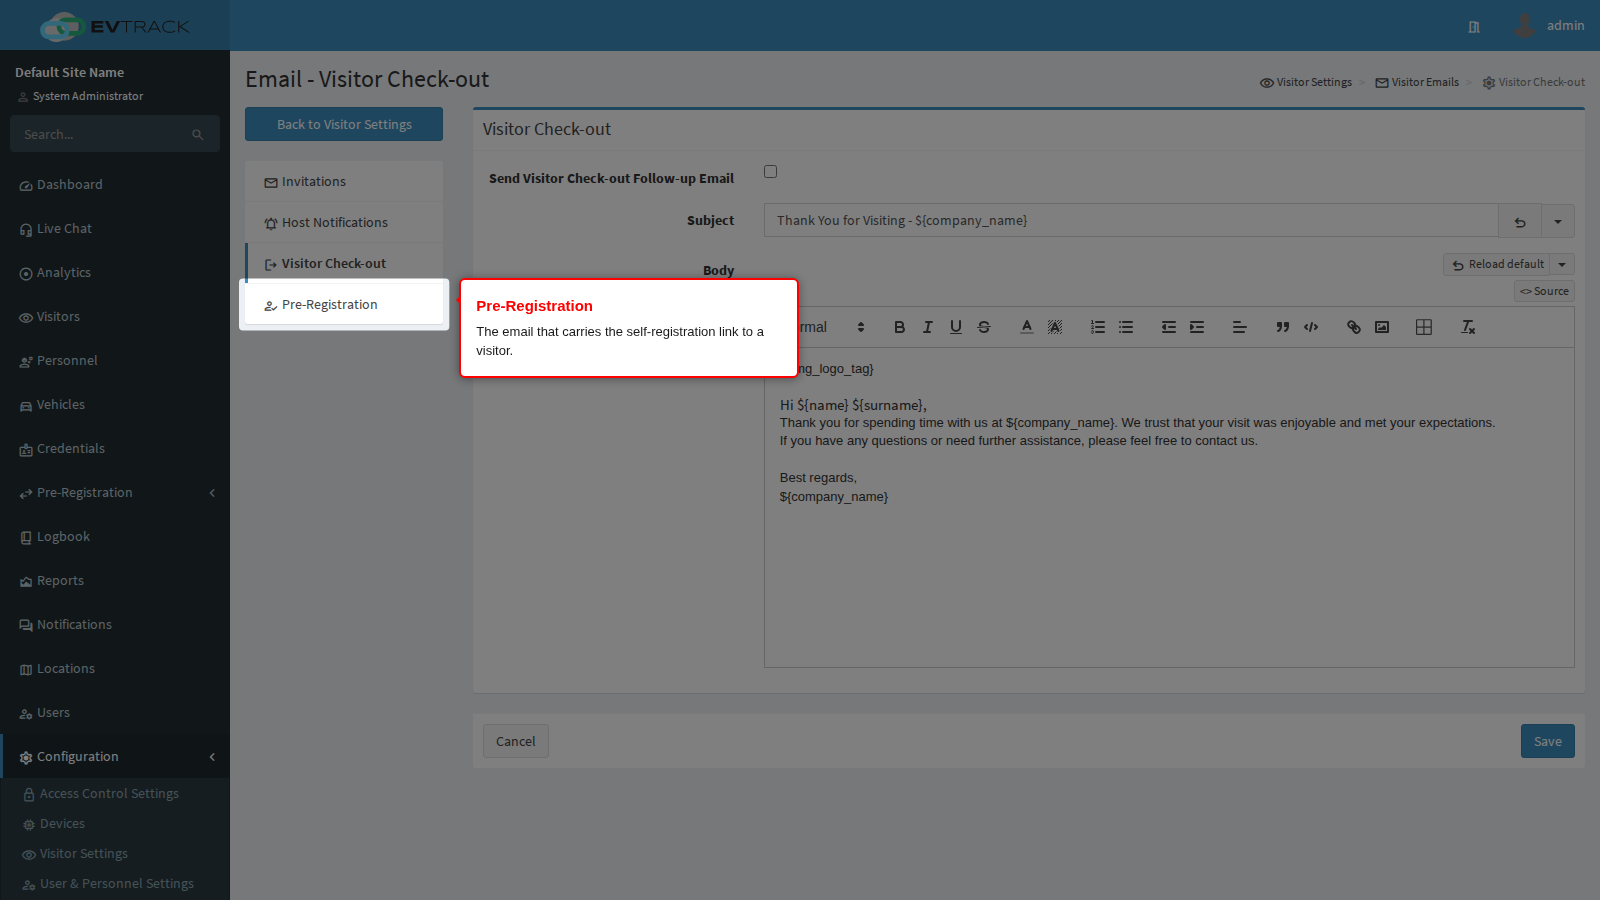
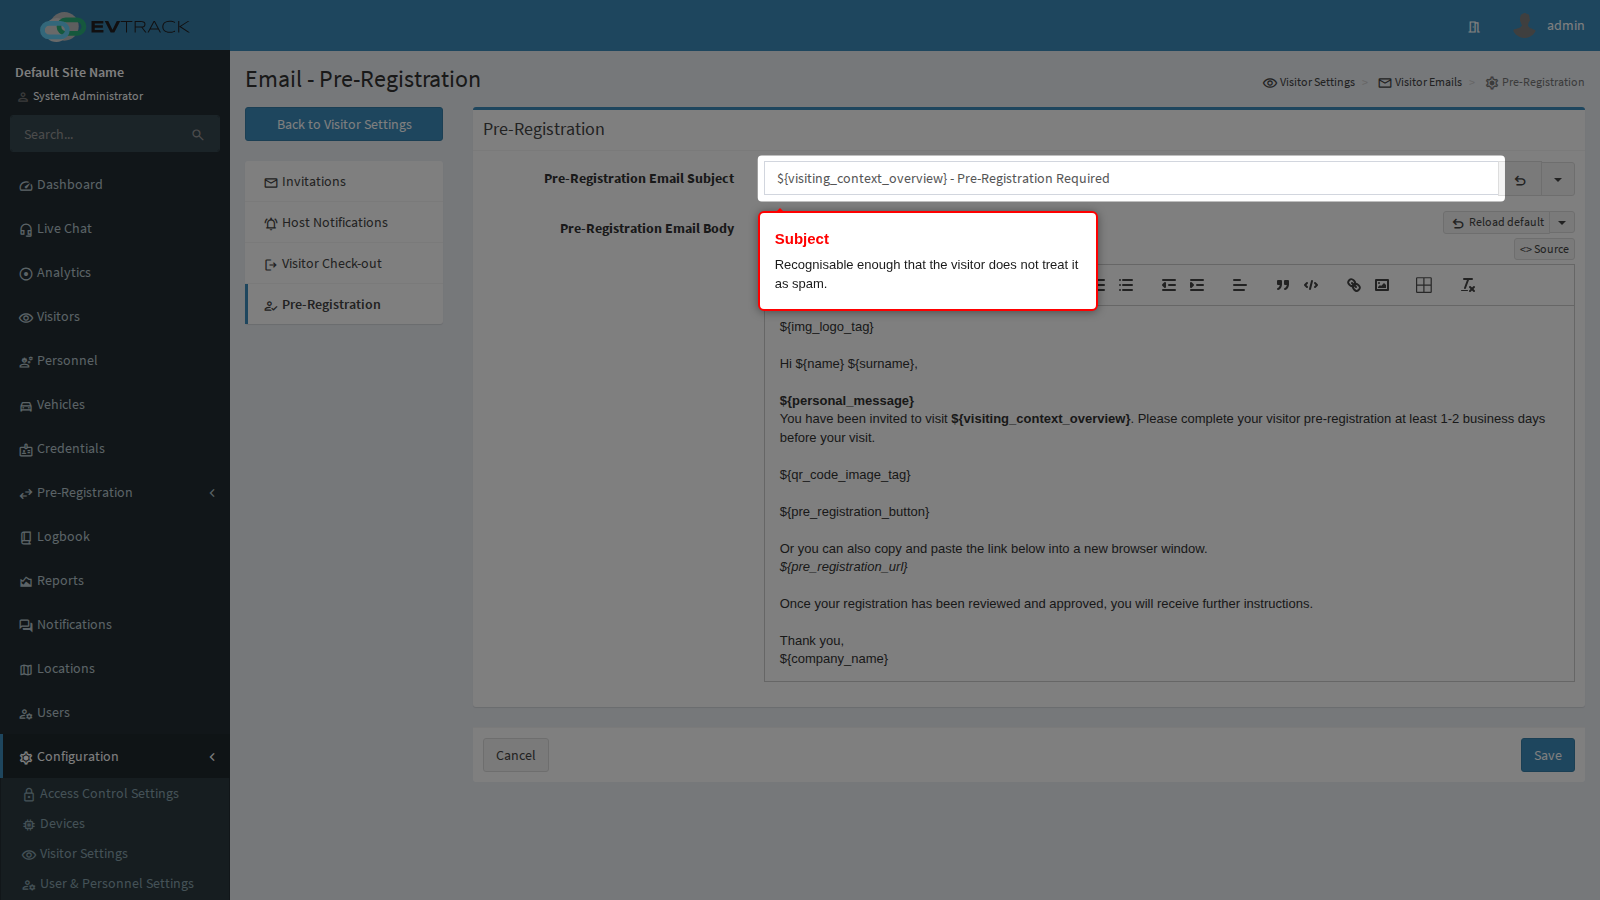
This is the email that carries a self-registration link to a visitor so they can complete their own details before arriving. Pre-Registration Email Subject must be recognisable enough that the visitor does not treat it as spam - the link is useless if the message is never opened.
Pre-Registration Email Body explains what the visitor must do and carries the registration link merge tag. Keep the link tag in place: remove it and the visitor receives an invitation to register with no way to do so. Say what they will be asked for, such as an identity document or a photo, so they have it ready.
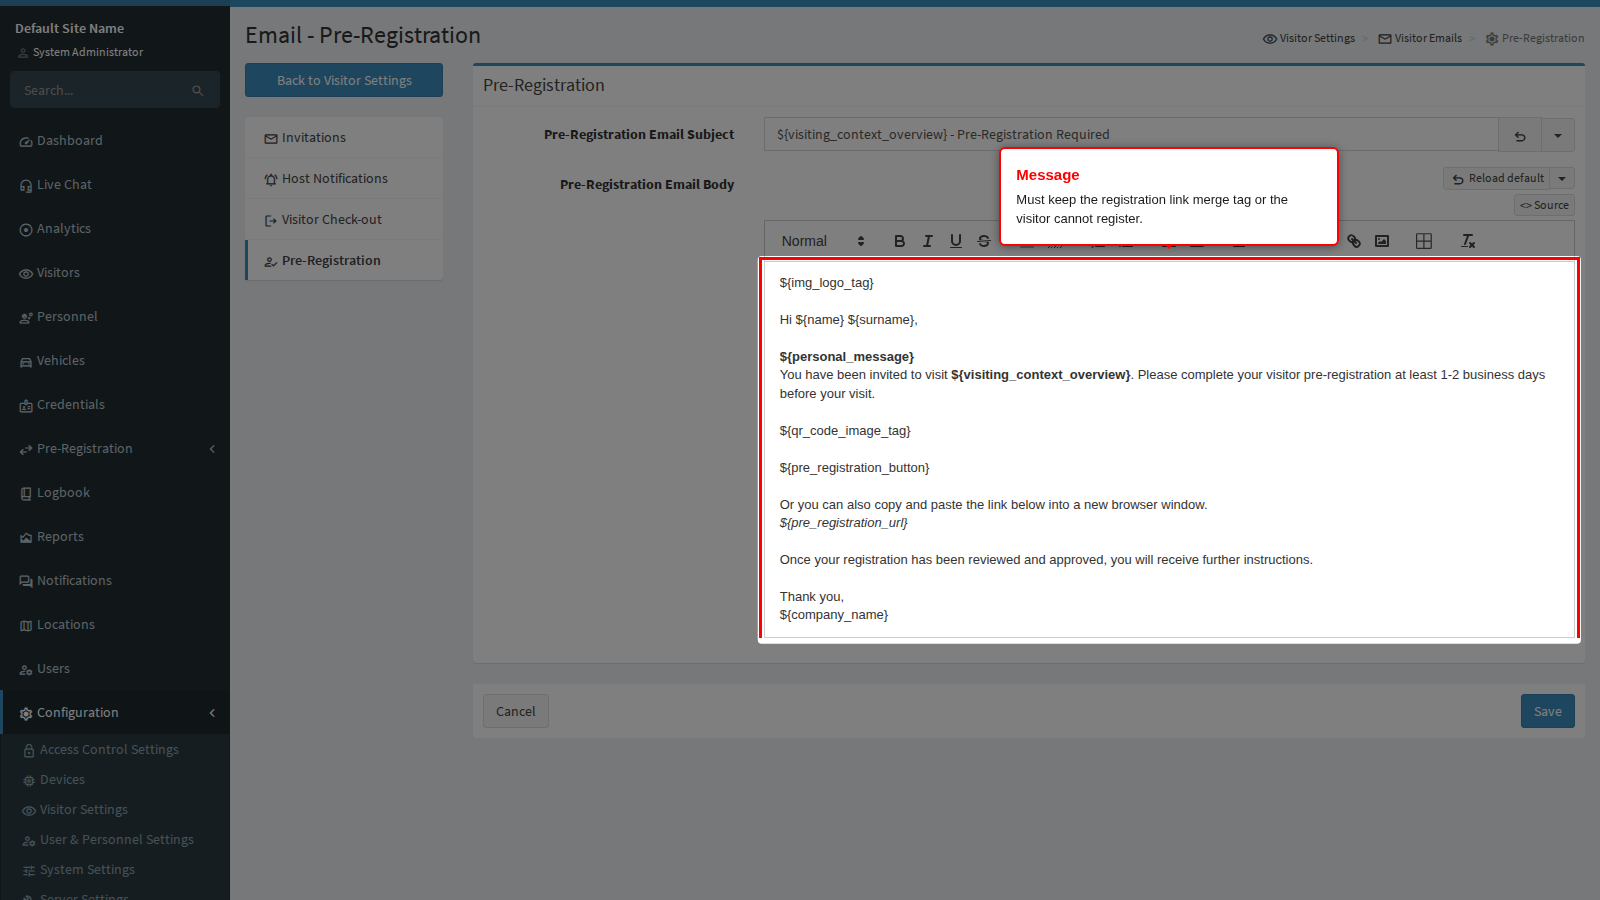
End state: the template is saved and is used whenever a pre-registration link is sent. What the visitor is then asked for is configured under Self-Registration.