A visitor does not need the same doors for the whole of their visit. Before they arrive they may need nothing more than the boom into the car park; once parked they need the route to reception; once checked in they need the meeting rooms; while escorted by their host they may be allowed into places they could never enter alone. Status-based access lets you express that as a rule instead of asking reception to add and remove doors by hand.
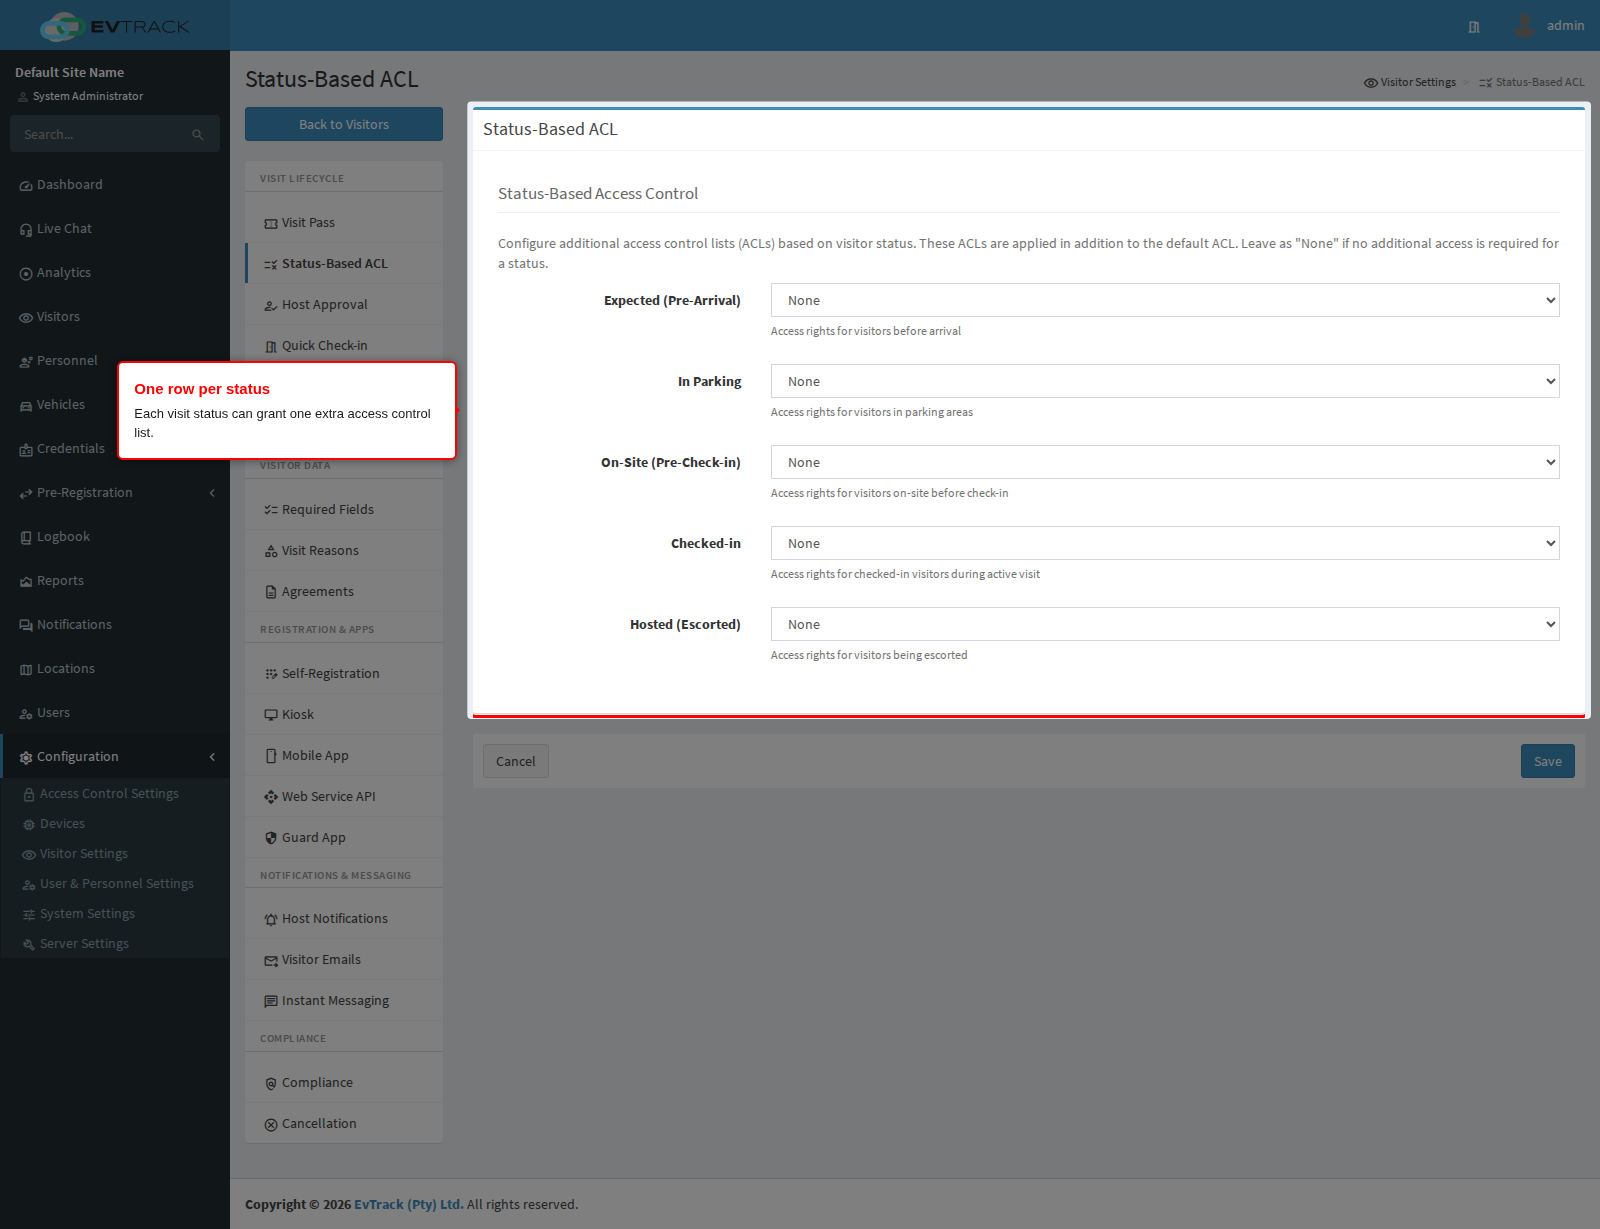
Each row on this page maps one visit status to one access control list. Whenever a visit is in that status, the list on that row is granted in addition to everything the visit already has. Leave a row on None and that status grants nothing extra, which is the shipped default for all five rows.
Locations with their own access model. Every row here is the system-wide default. A location can replace any row for visits at that location, with the other rows still inherited from this page: open Locations in the sidebar, edit the location, and use the Status-Based Access Control panel on its Advanced tab. A visit picks up the mapping of the location it is at, so the same visitor gets one location’s lists on Monday and another’s on Tuesday. See Status-Based Access per Location.
Before you start:
- You need an operator account with settings permissions.
- You need the access control lists you intend to assign. An access control list is a set of access control points, each paired with a schedule that says when passage is allowed. Build them first under Configuration > Access Control Settings > Access Control Lists; this page can only choose from lists that already exist, and an empty dropdown means none have been built. See Access Control Lists.
- You should already know which list is your Visitor Default ACL on the Visit Pass panel, because that is the baseline these rows add to.
How the lists combine. When a visit is created or changes, the product works out the full set of lists for that visit from several sources at once: the Visitor Default ACL, an override on the host’s location, an override on the visit’s location, an override on the visit reason, the pre-check-in parking list, and the row on this page matching the visit’s current status. Only the current status contributes, so a visitor who is Checked-in does not also carry the Expected row. Duplicates are removed, and the result is what the visitor’s credentials open.
Step 1: Open the Status-Based ACL settings
Open Configuration in the sidebar, click Visitor Settings, and click the Status-Based ACL tile.
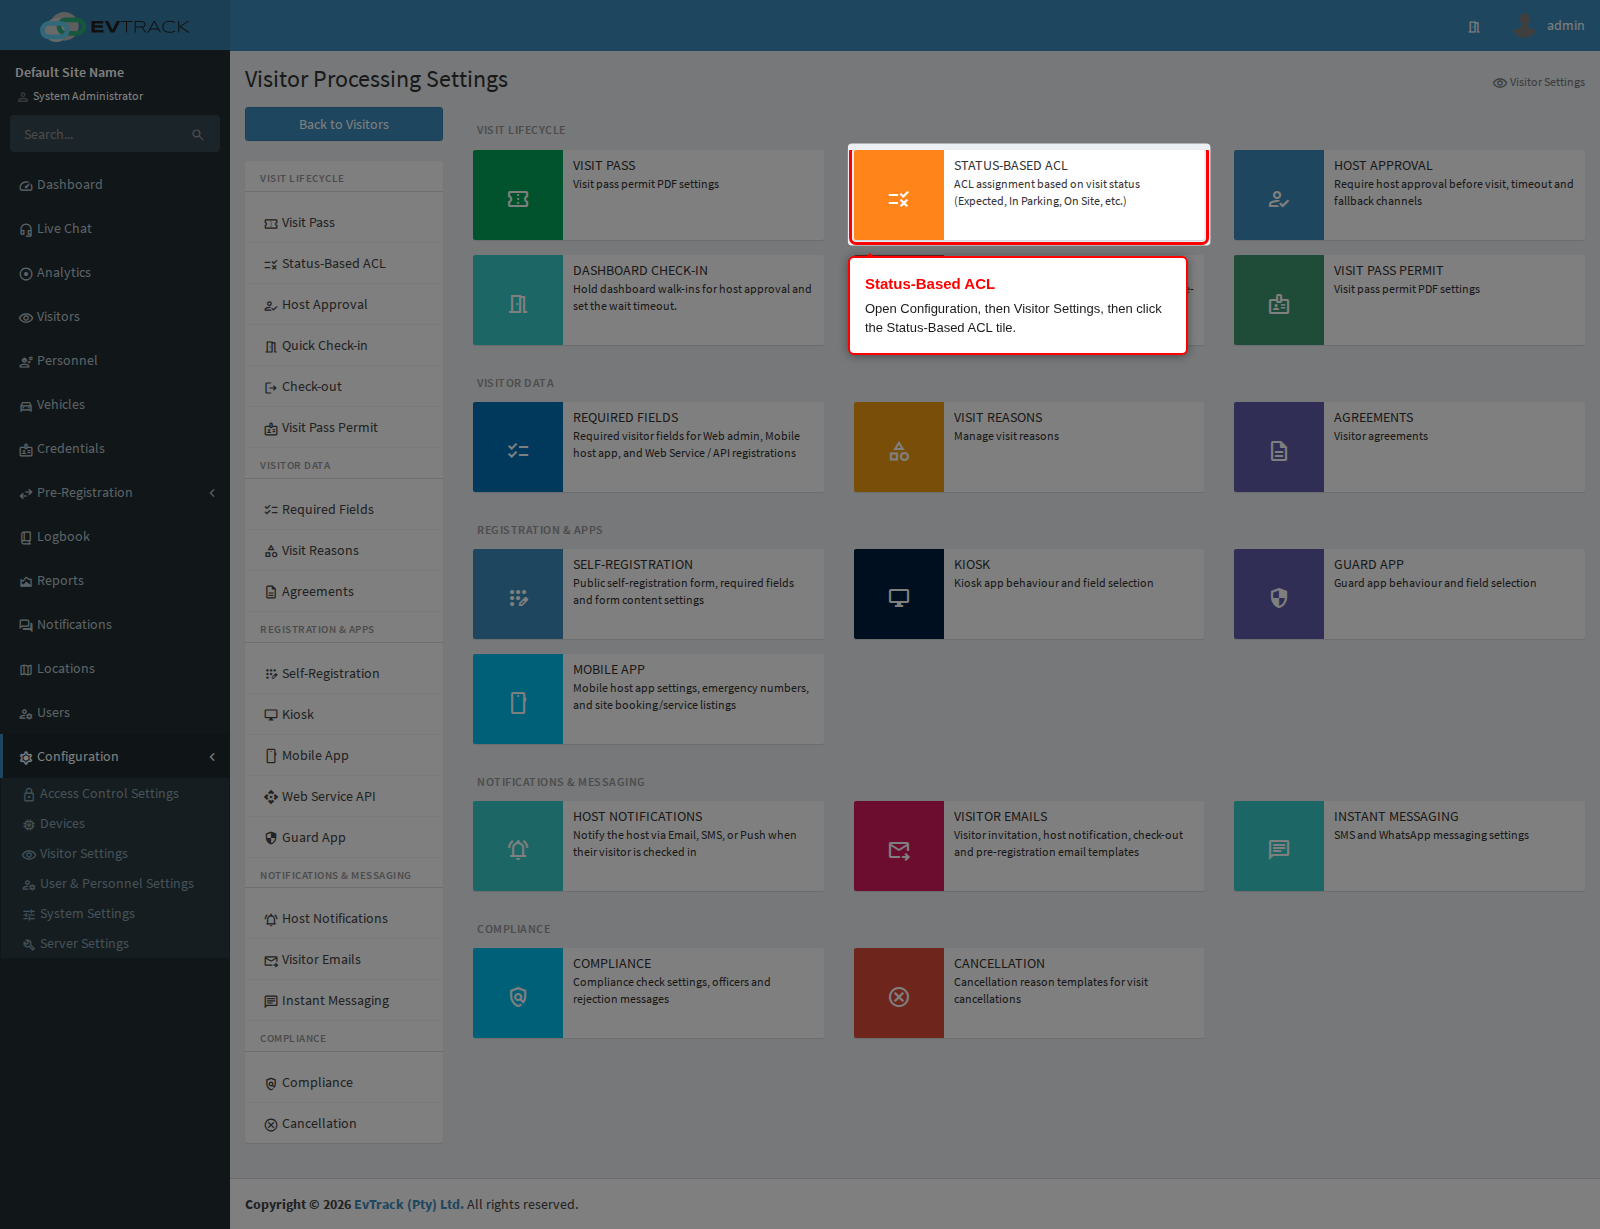
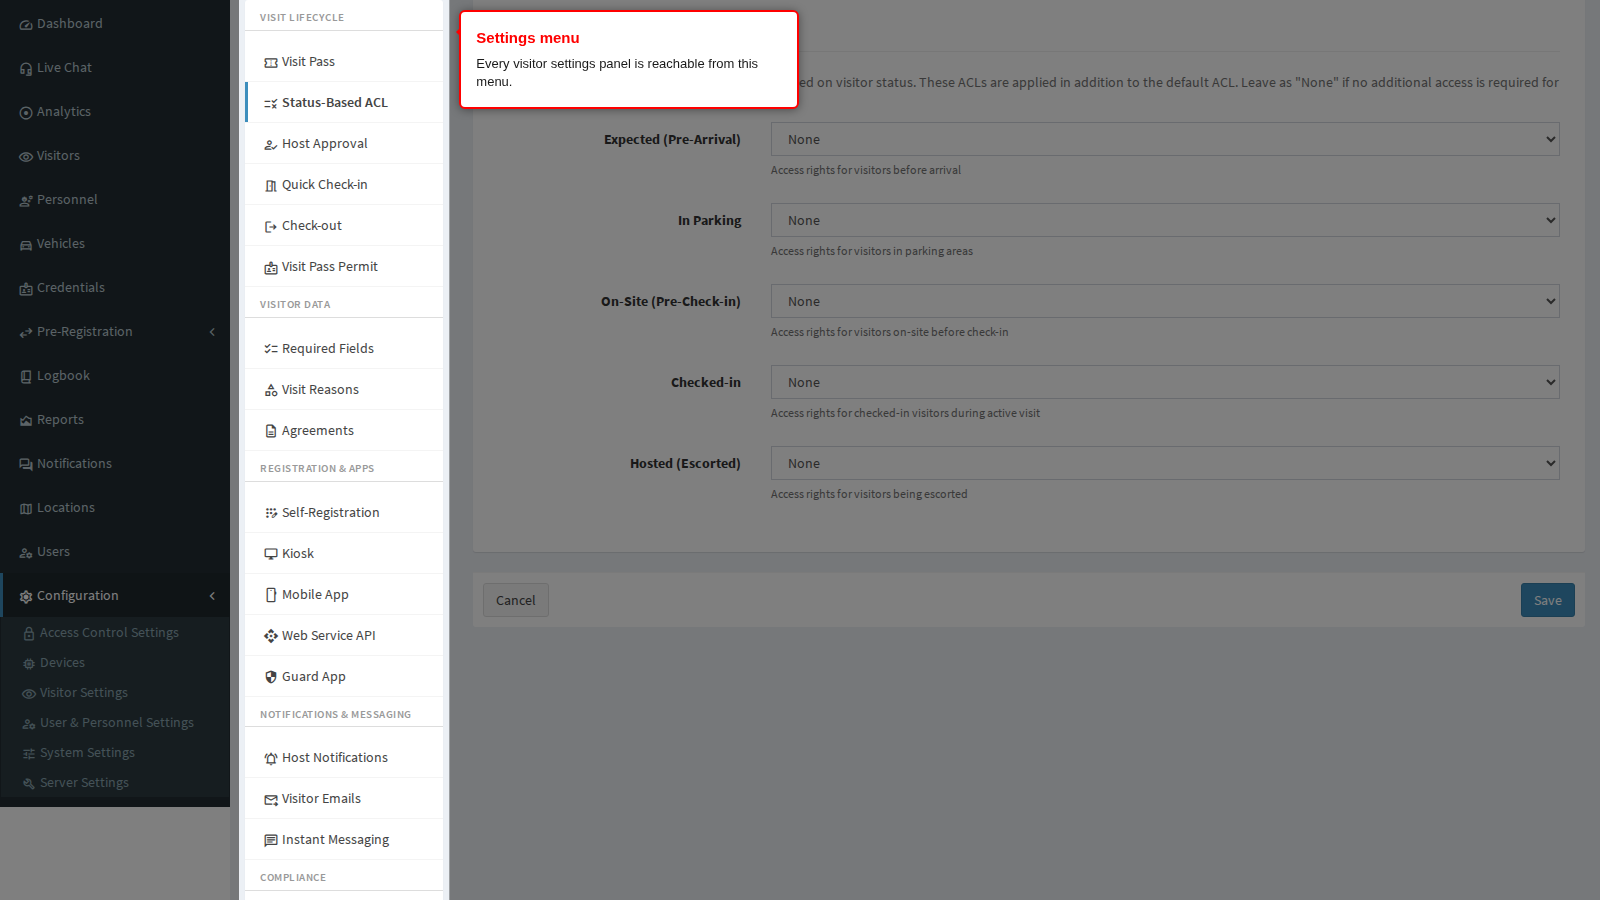
End state: the Status-Based ACL panel opens. The menu on the left remains visible so you can move to any other visitor settings panel without going back to the tiles.
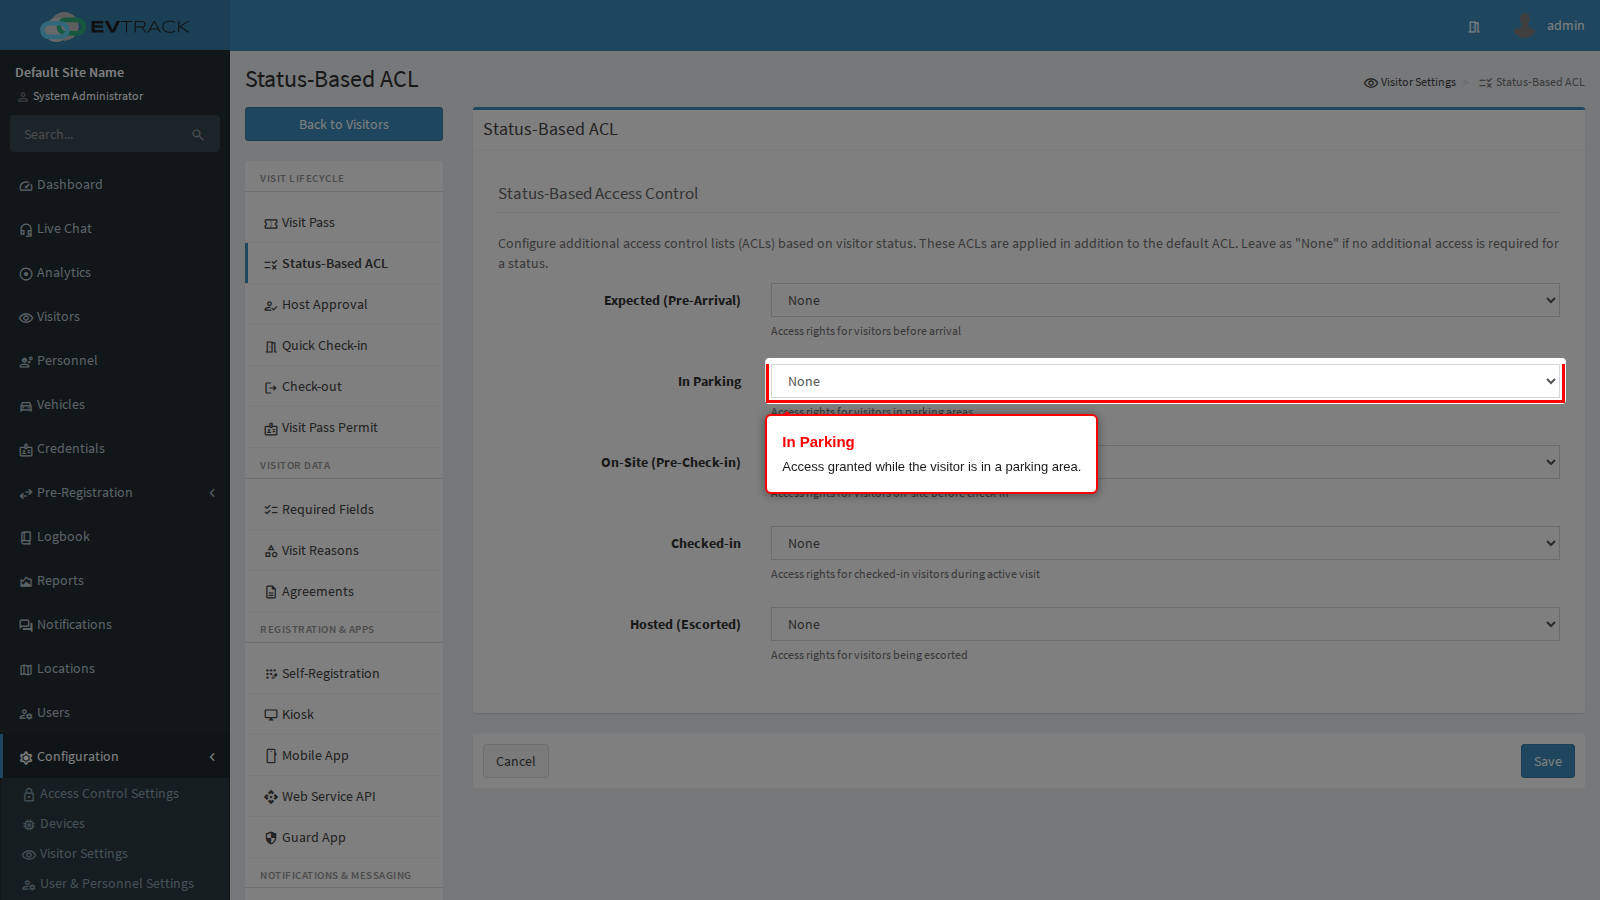
The panel is one form with five rows, one per status, in the order a visit normally travels through them.
Step 2: Set the pre-arrival access
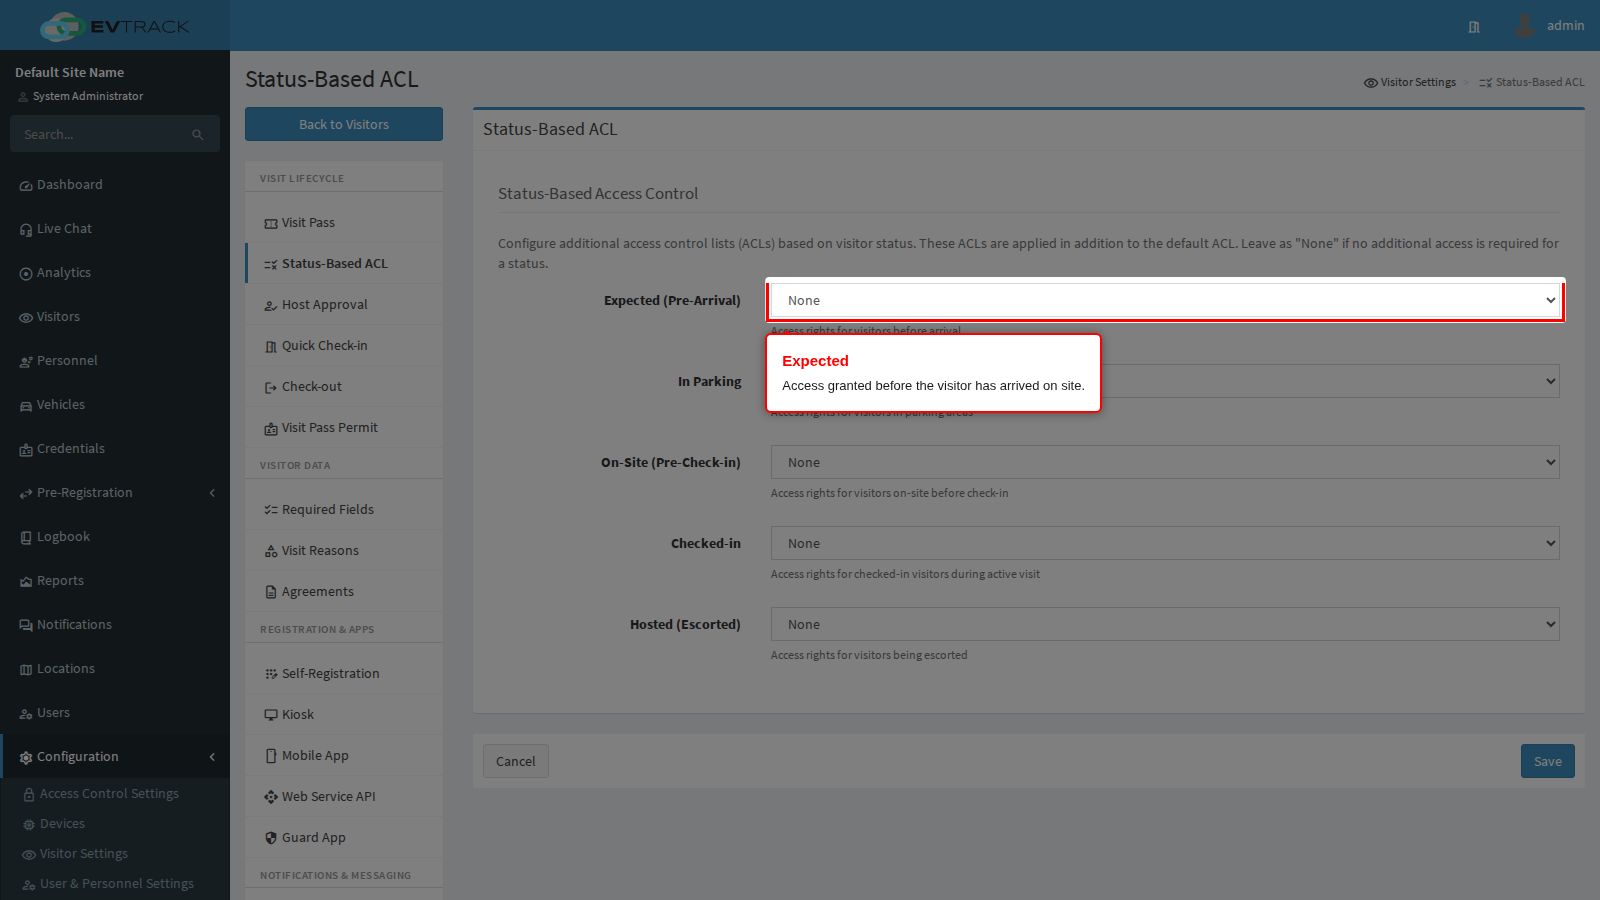
Expected (Pre-Arrival) is granted from the moment the visit is booked until the visitor is first seen on site. It is the only row that is live before the visitor has physically arrived, which makes it the row to use for anything at the edge of your site: an outer boom, a car park barrier, a gatehouse turnstile.
Keep it small. Anything on this list is openable by anyone holding a pass for a visit that has not started yet, so it should never include building doors.
Step 3: Set the parking and lobby access
In Parking is granted while the visit is recorded as being in a parking area. Use it for the pedestrian route out of the car park: the lift lobby from the basement, the door from the parking deck into the building, the turnstile at the foot of the stairs.
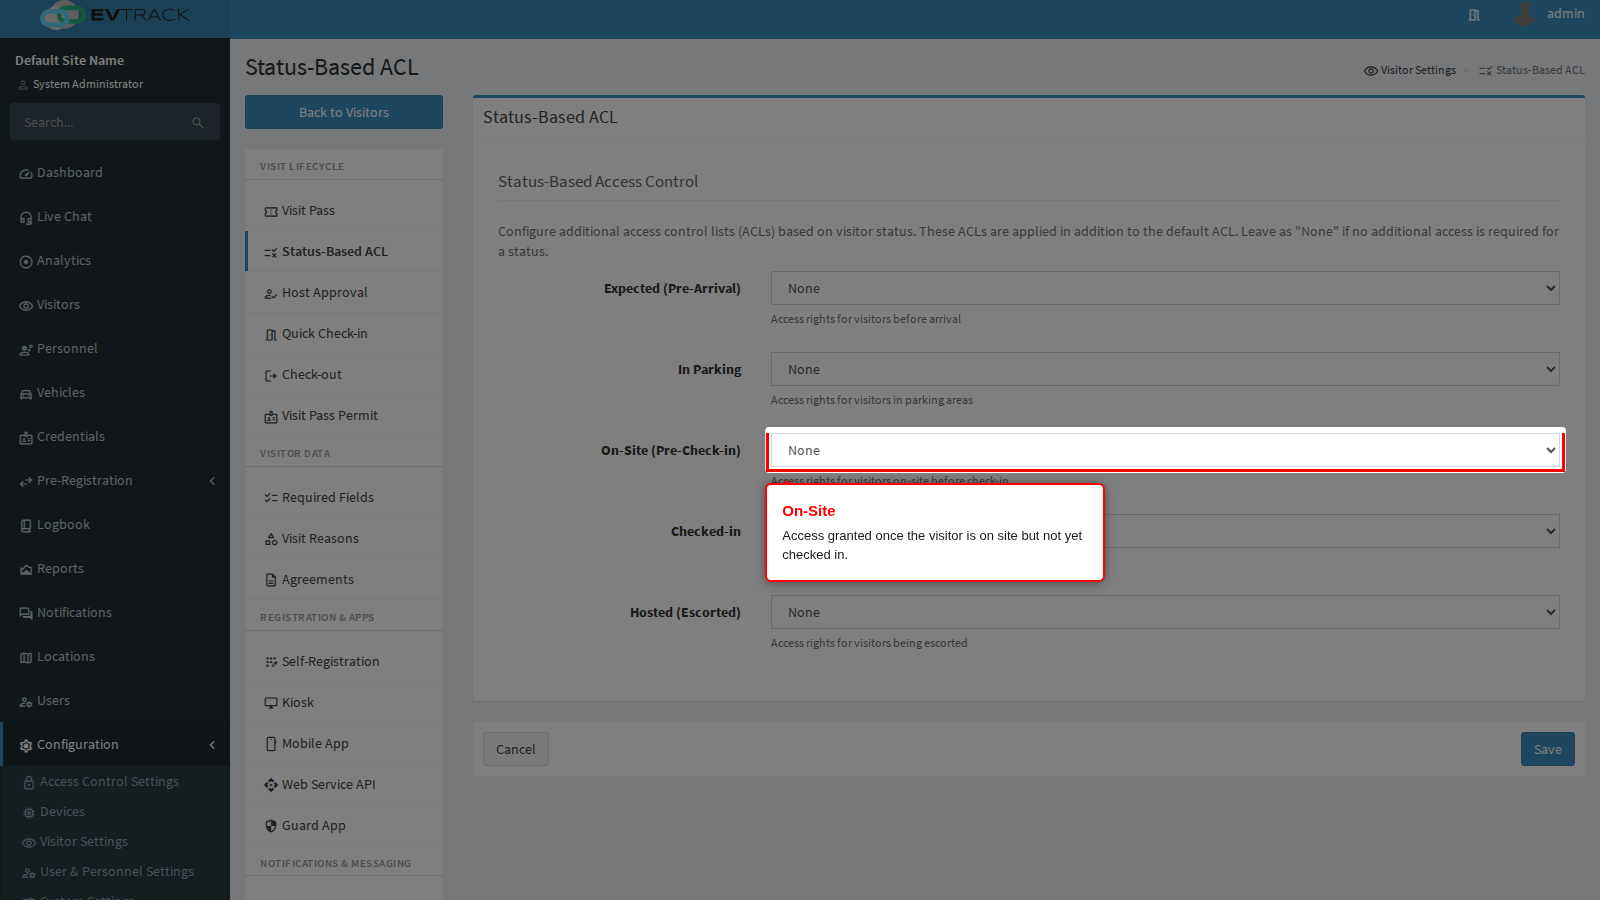
On-Site (Pre-Check-in) is granted once the visitor is on site but has not completed check-in. Keep it to the reception or lobby zone. It is what lets someone reach Reception or the kiosk without being able to go any further, so it is the natural place for the lobby turnstile and nothing else.
Step 4: Set the access for the visit itself
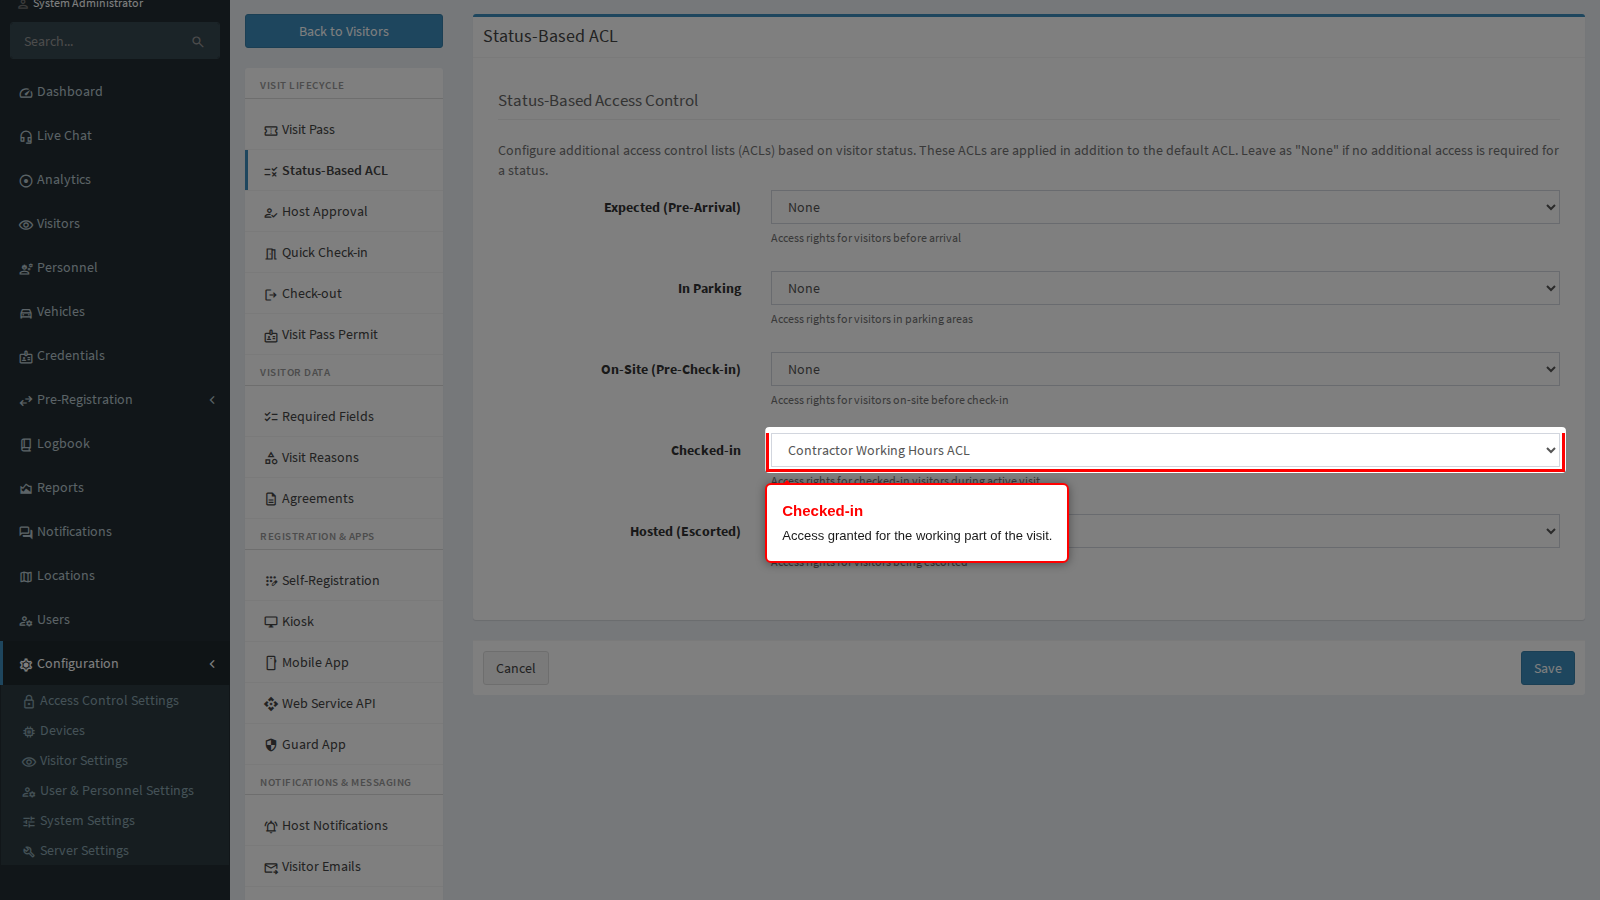
Checked-in is granted for the working part of the visit and is normally the largest of the five lists. This is where you put the meeting rooms, the floor the visitor is working on, the canteen, and the exit turnstile they will use on the way out.
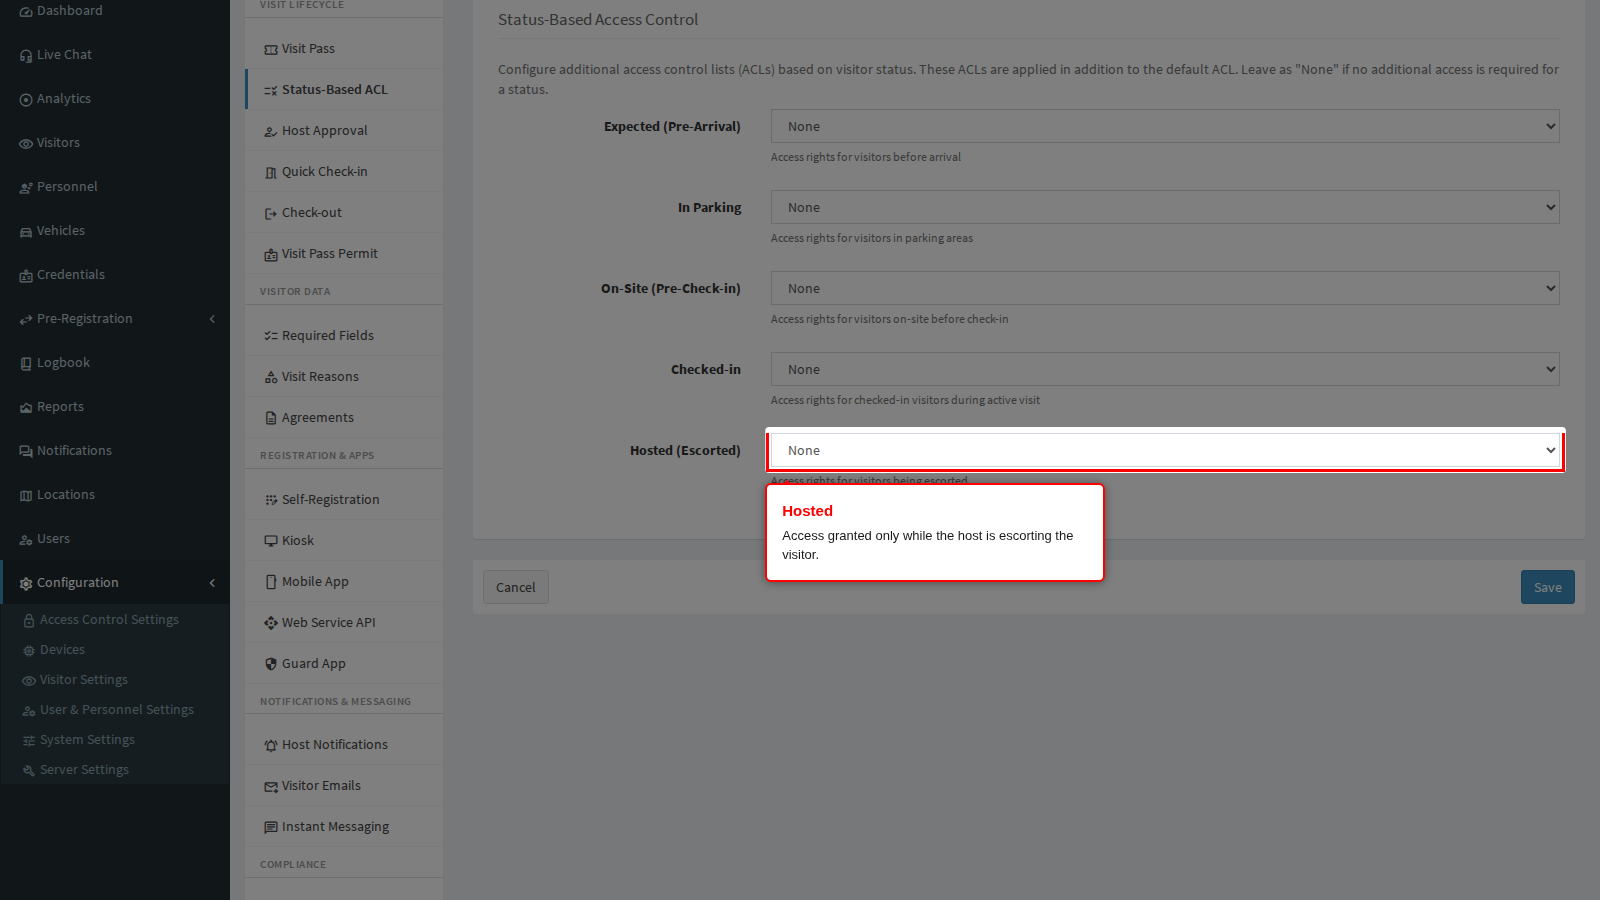
Hosted (Escorted) is granted while the visit is recorded as escorted, meaning the host has taken responsibility for the visitor in person. Use it for areas your policy allows only under escort: a laboratory, a data hall, a production floor. The status only applies while the escort relationship is recorded, so the access disappears again when the visit returns to a normal checked-in state.
Note that this is a status, not a proof of escort at the door. The reader grants passage to the visitor’s own credential while the status is set; it does not check that the host is standing next to them. Treat the list as “areas this visitor may be taken into”, and back it with a procedure.
Step 5: Save
Click Save at the bottom of the panel. Cancel discards your edits and returns you to the settings home page.
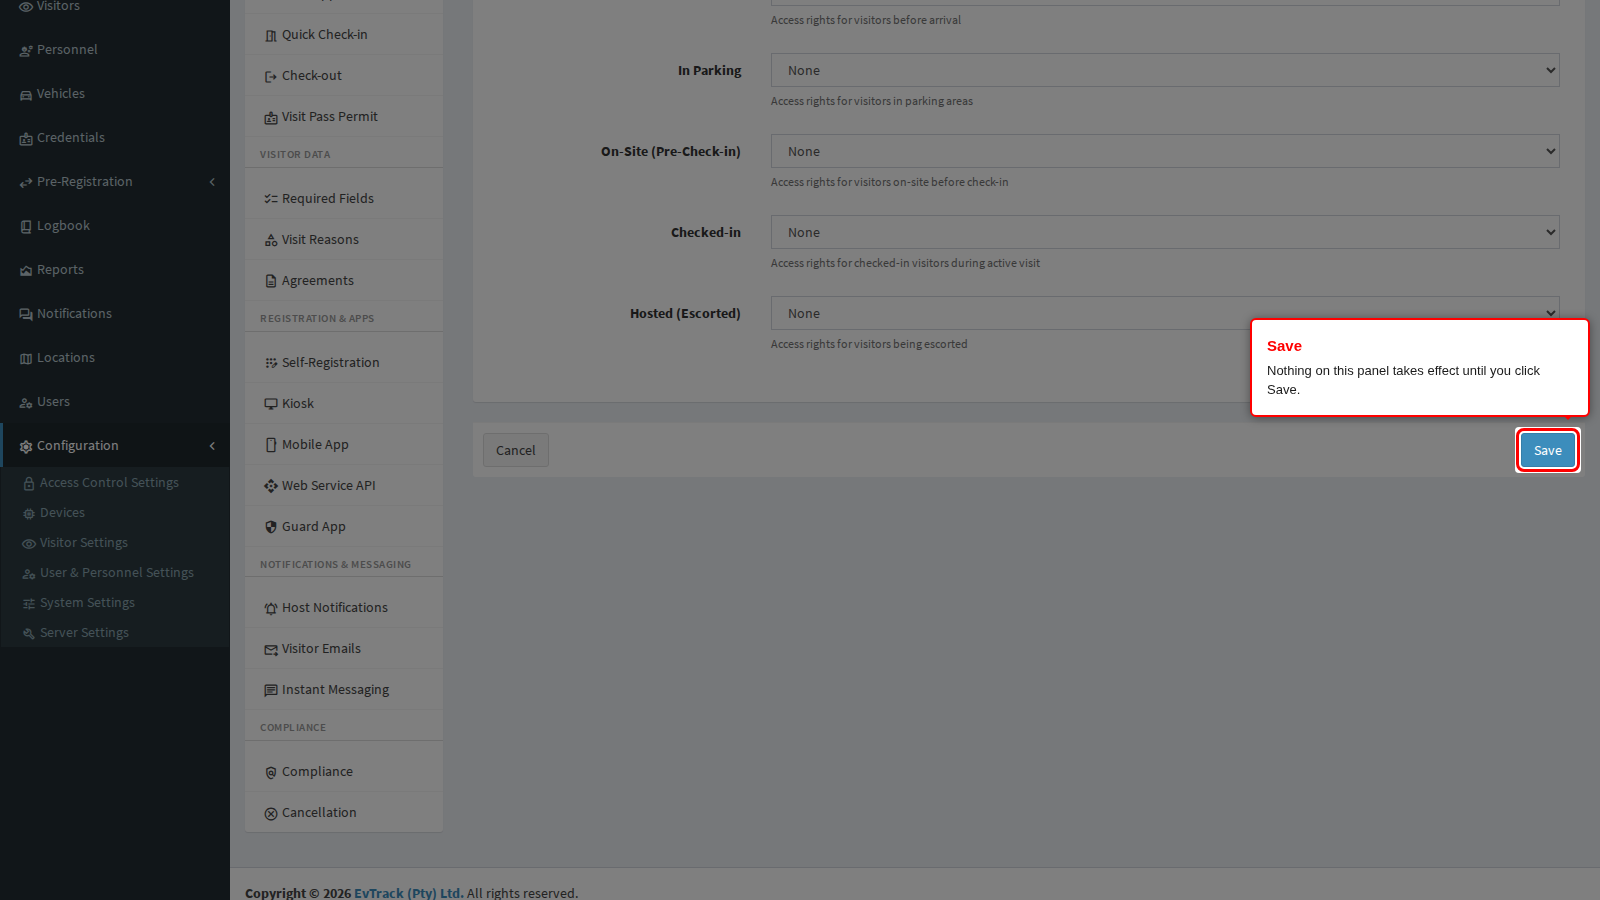
End state: a green confirmation appears at the top of the panel. New visits pick the rules up immediately. Visits that already exist are recalculated the next time they change status or are edited, not at the moment you save, so a visitor already on site does not silently gain or lose doors while standing in front of one.
The two Visit Pass settings this page depends on
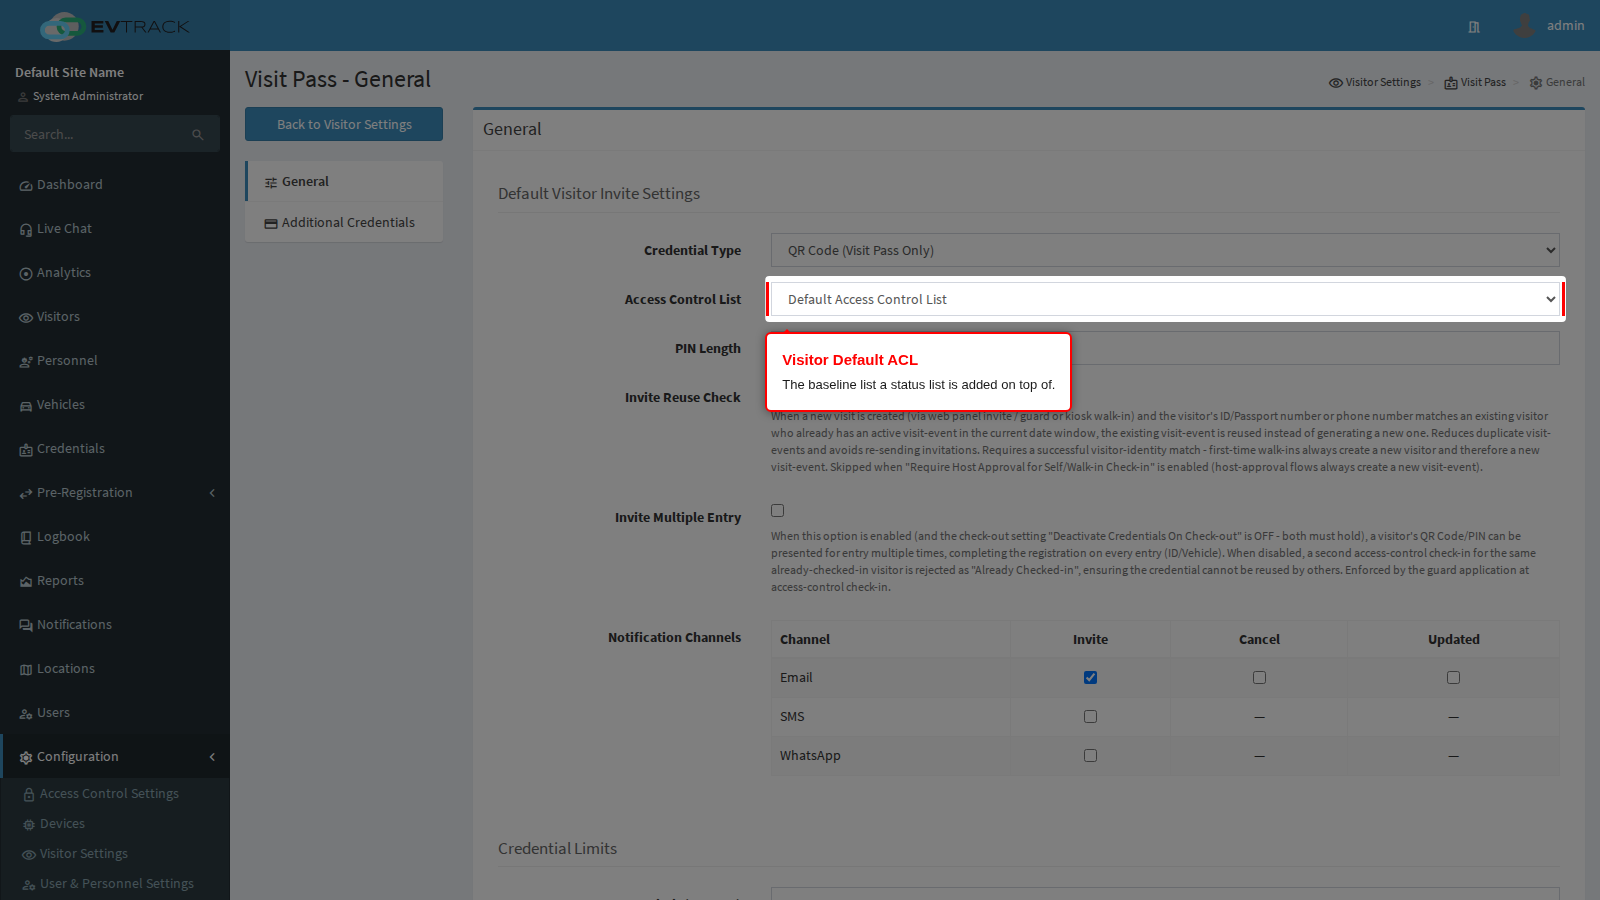
Visitor Default ACL, on Visitor Settings > Visit Pass > General, is the baseline every visitor credential is issued with. The status list on this page is added to it, never instead of it. If the default is set to None and the status rows are the only lists configured, a visitor between two statuses opens nothing at all, so keep a sensible default in place.
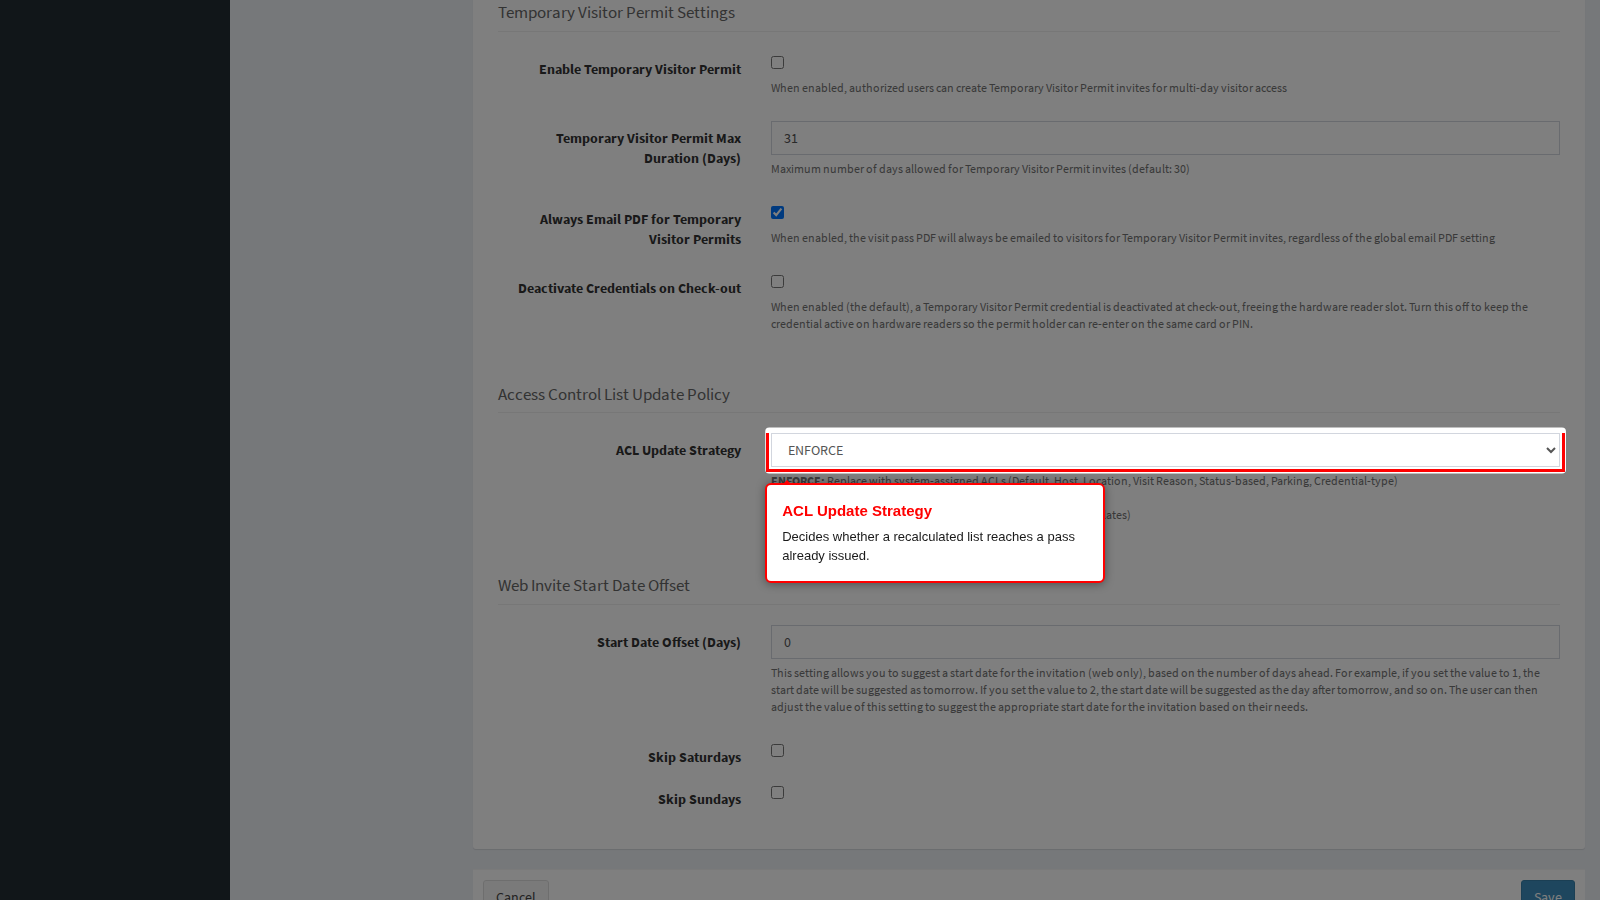
ACL Update Strategy, on the same panel, decides what happens to the lists already sitting on an issued credential when the visit is recalculated:
- ENFORCE rebuilds the credential’s lists from the rules, so a change here reaches every visit as soon as it is next updated, and any list an operator added by hand is discarded. Per-location rows depend on this: only ENFORCE removes the previous status list when the status changes, so a location-specific list is replaced rather than accumulated.
- ADDITIVE refreshes the rule-derived lists and keeps hand-picked additions.
- MANUAL ignores the rules altogether, which means the rows on this page never reach a credential. If you are configuring status-based access, do not leave the strategy on MANUAL.
Troubleshooting
- The dropdowns only offer None. No access control lists exist yet. Build them under Configuration > Access Control Settings > Access Control Lists first.
- A visitor is refused at a door the status row grants. Check the strategy is not MANUAL, then check the list itself: an access control list grants passage through a point only within the schedule attached to it, so a visitor arriving outside those hours is refused even though the list is on their pass.
- Changing a row had no effect on visitors already on site. That is intended. The lists are recalculated when the visit next changes status or is edited.
- A visitor keeps access after moving on. Only the current status contributes, so this usually means the same list appears on more than one row, or it is also reachable through the default list, a location override or the visit reason. Open the visit pass and read its effective access levels to see where each list came from.
Related chapters
- Access Control Lists - building the lists this page assigns, and the schedules that limit them.
- Access Control Points - the individual doors, booms and turnstiles a list is made of, and what a granted passage does to the visit status.
- Visit Pass - the default list, the parking list and the update strategy described above.
- Visit Reasons - per-reason access overrides that are combined with these rows.
- Visit Passes - reading the effective access levels of an individual pass.