Each location can publish its own public registration link and adjust what that form shows. The Self-Registration tab holds the switch that publishes the link, the wording visitors read, the fields they must fill in and the rules for group registration. Most options are overrides of a global setting: leave the tick on and the location follows the global value, untick it and the location’s own value takes over.
Who can use this tab: to see it, “Configuration: Location - Edit/View” and “Configuration: System Settings - View”; to save it, “Configuration: Location - Save” and “Configuration: System Settings - Save”.
Step 1: Open the Self-Registration tab
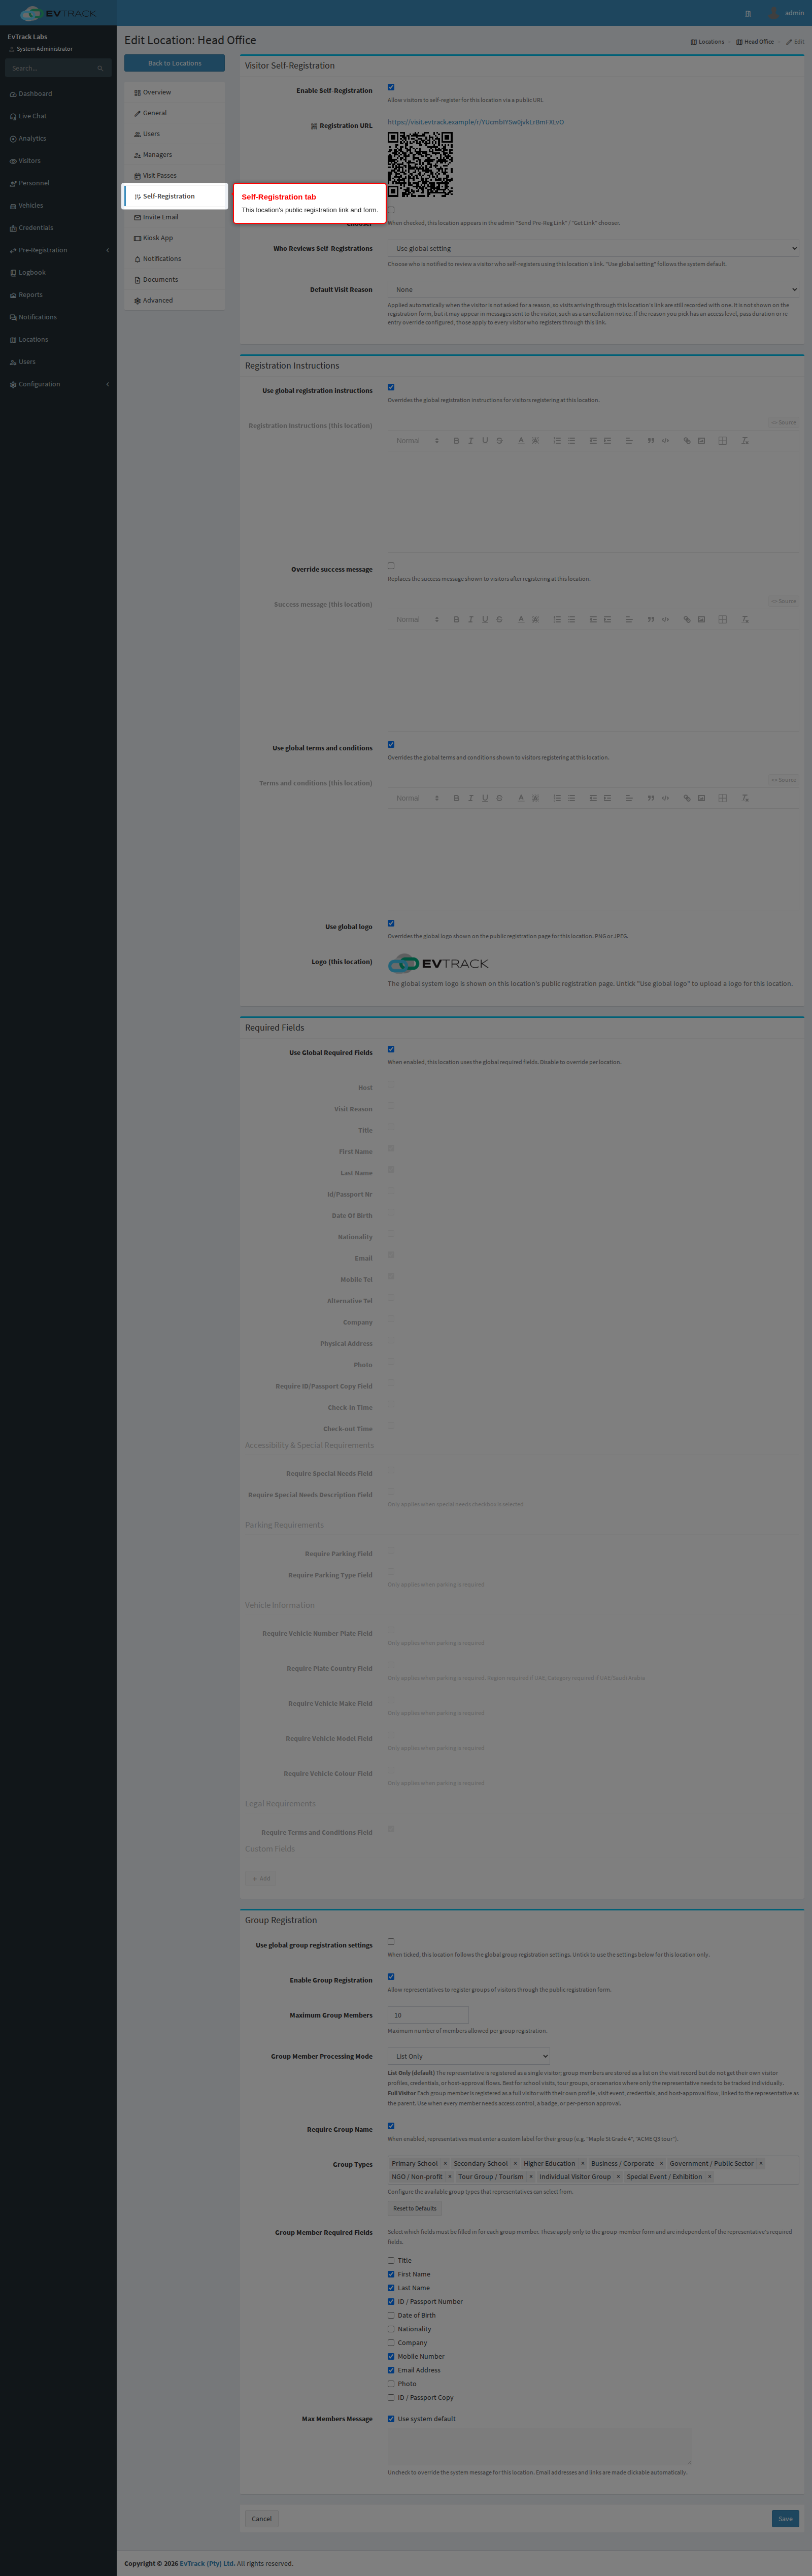
Open the location from the location list and click Self-Registration in the menu on the left.
Step 2: Turn on the registration link
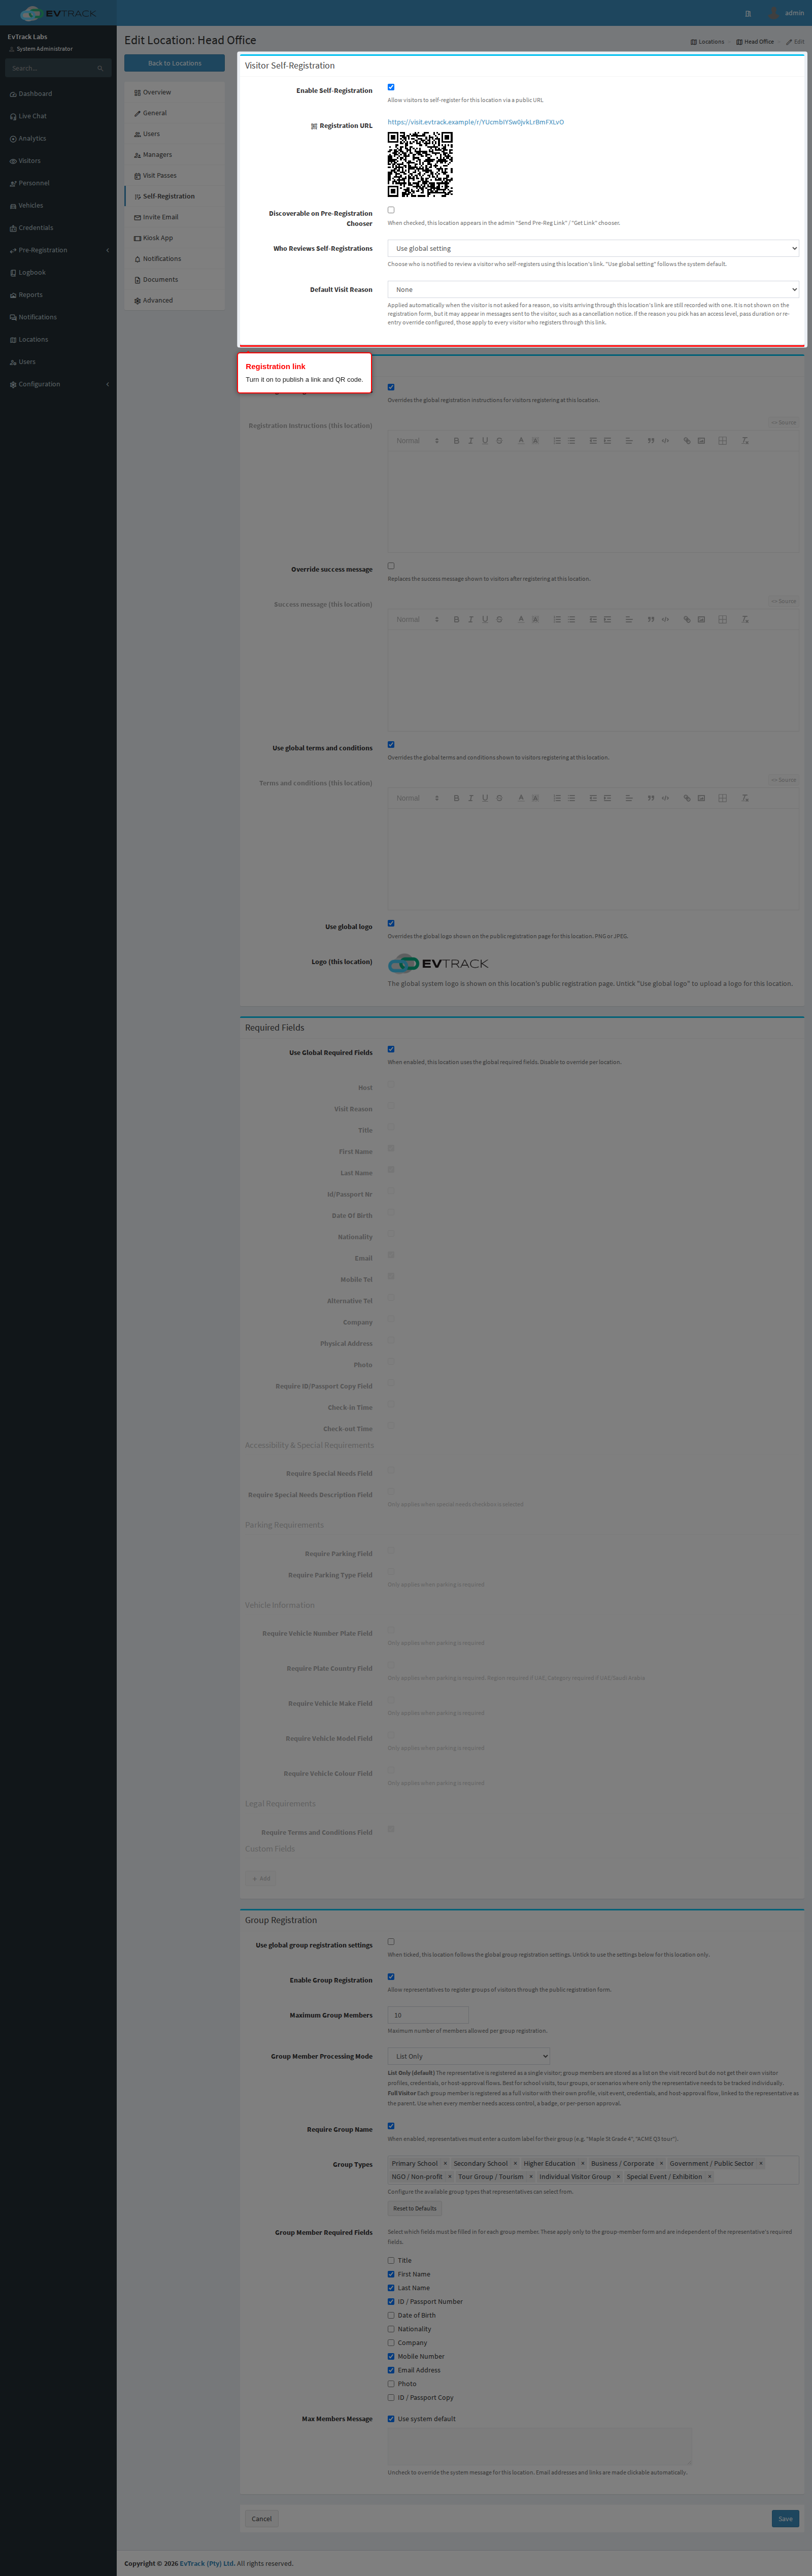
Tick Enable Self-Registration and click Save. A Registration URL row then appears with the public link and a QR code that visitors can scan. A location with the box unticked has no public registration form.
Step 3: Choose whether the location is discoverable
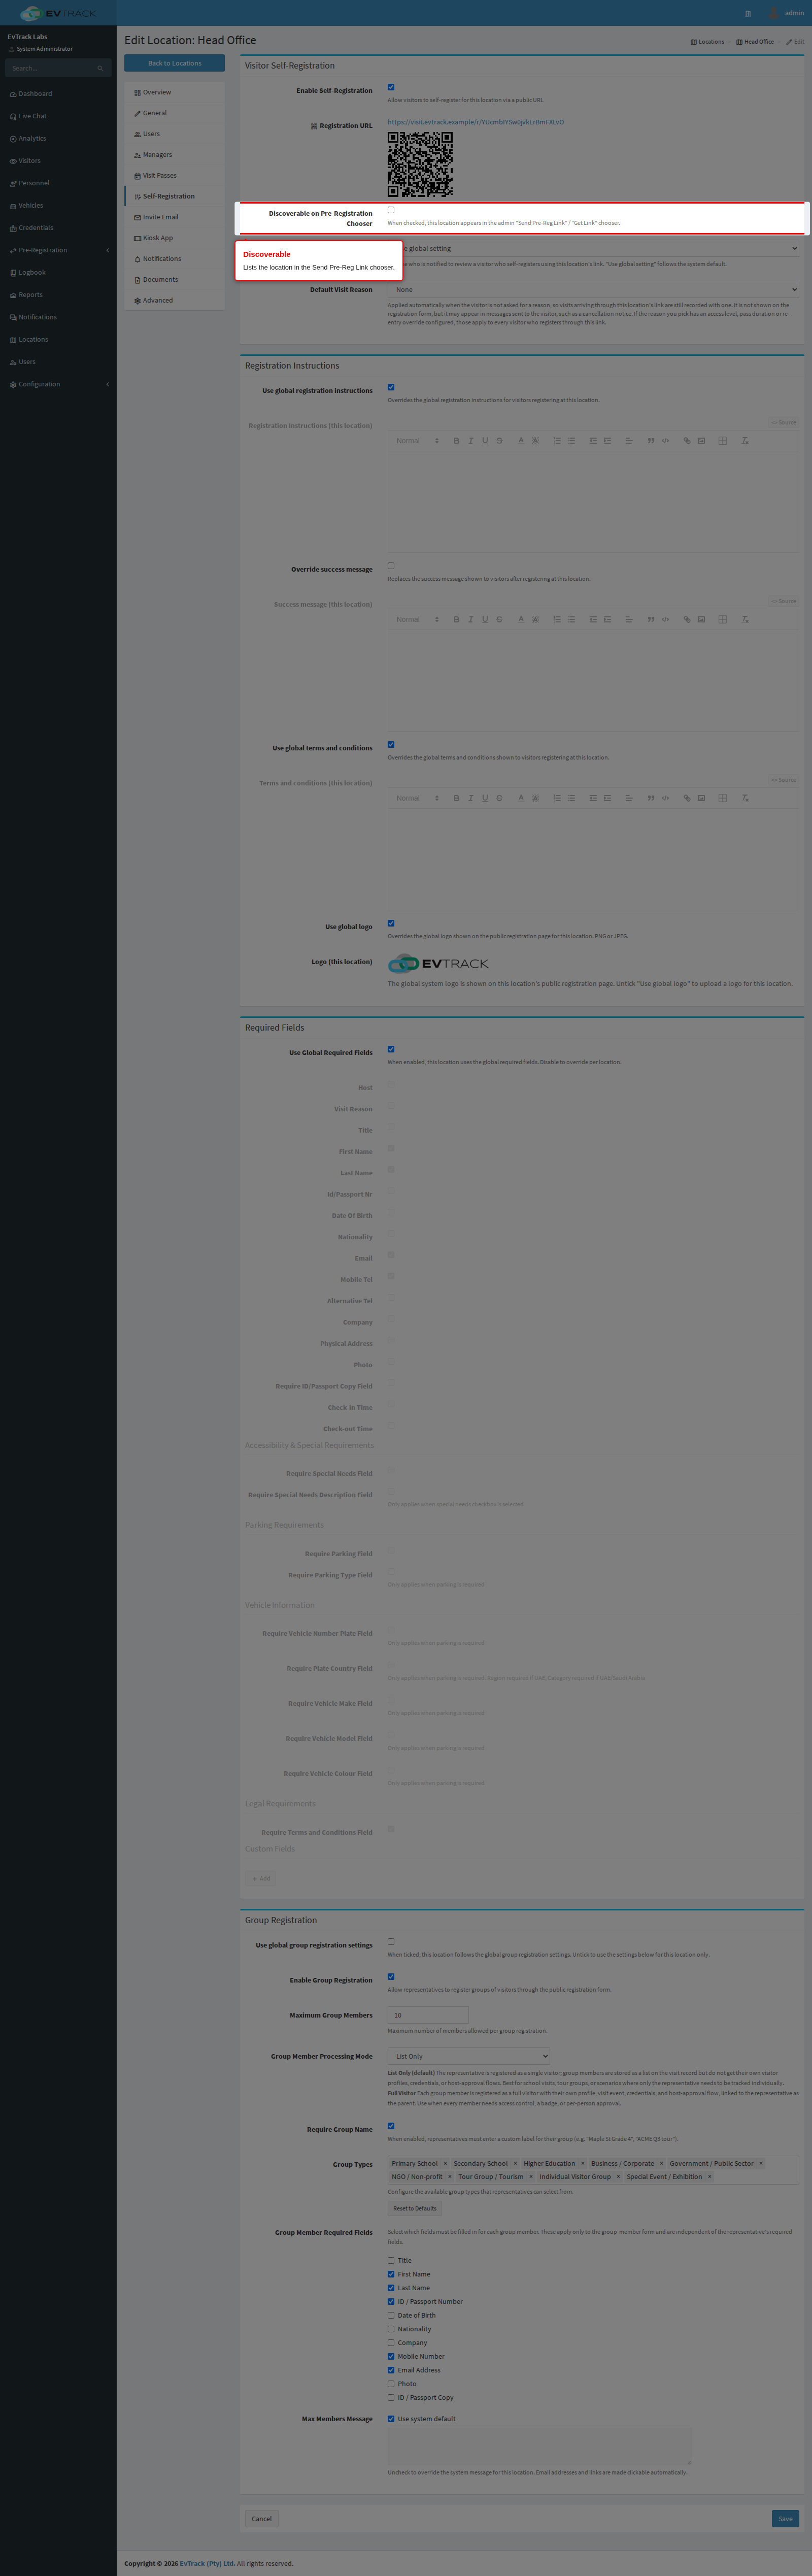
Tick Discoverable on Pre-Registration Chooser to list this location in the “Send Pre-Reg Link” / “Get Link” chooser that staff use to send a registration link.
Step 4: Choose who reviews self-registrations
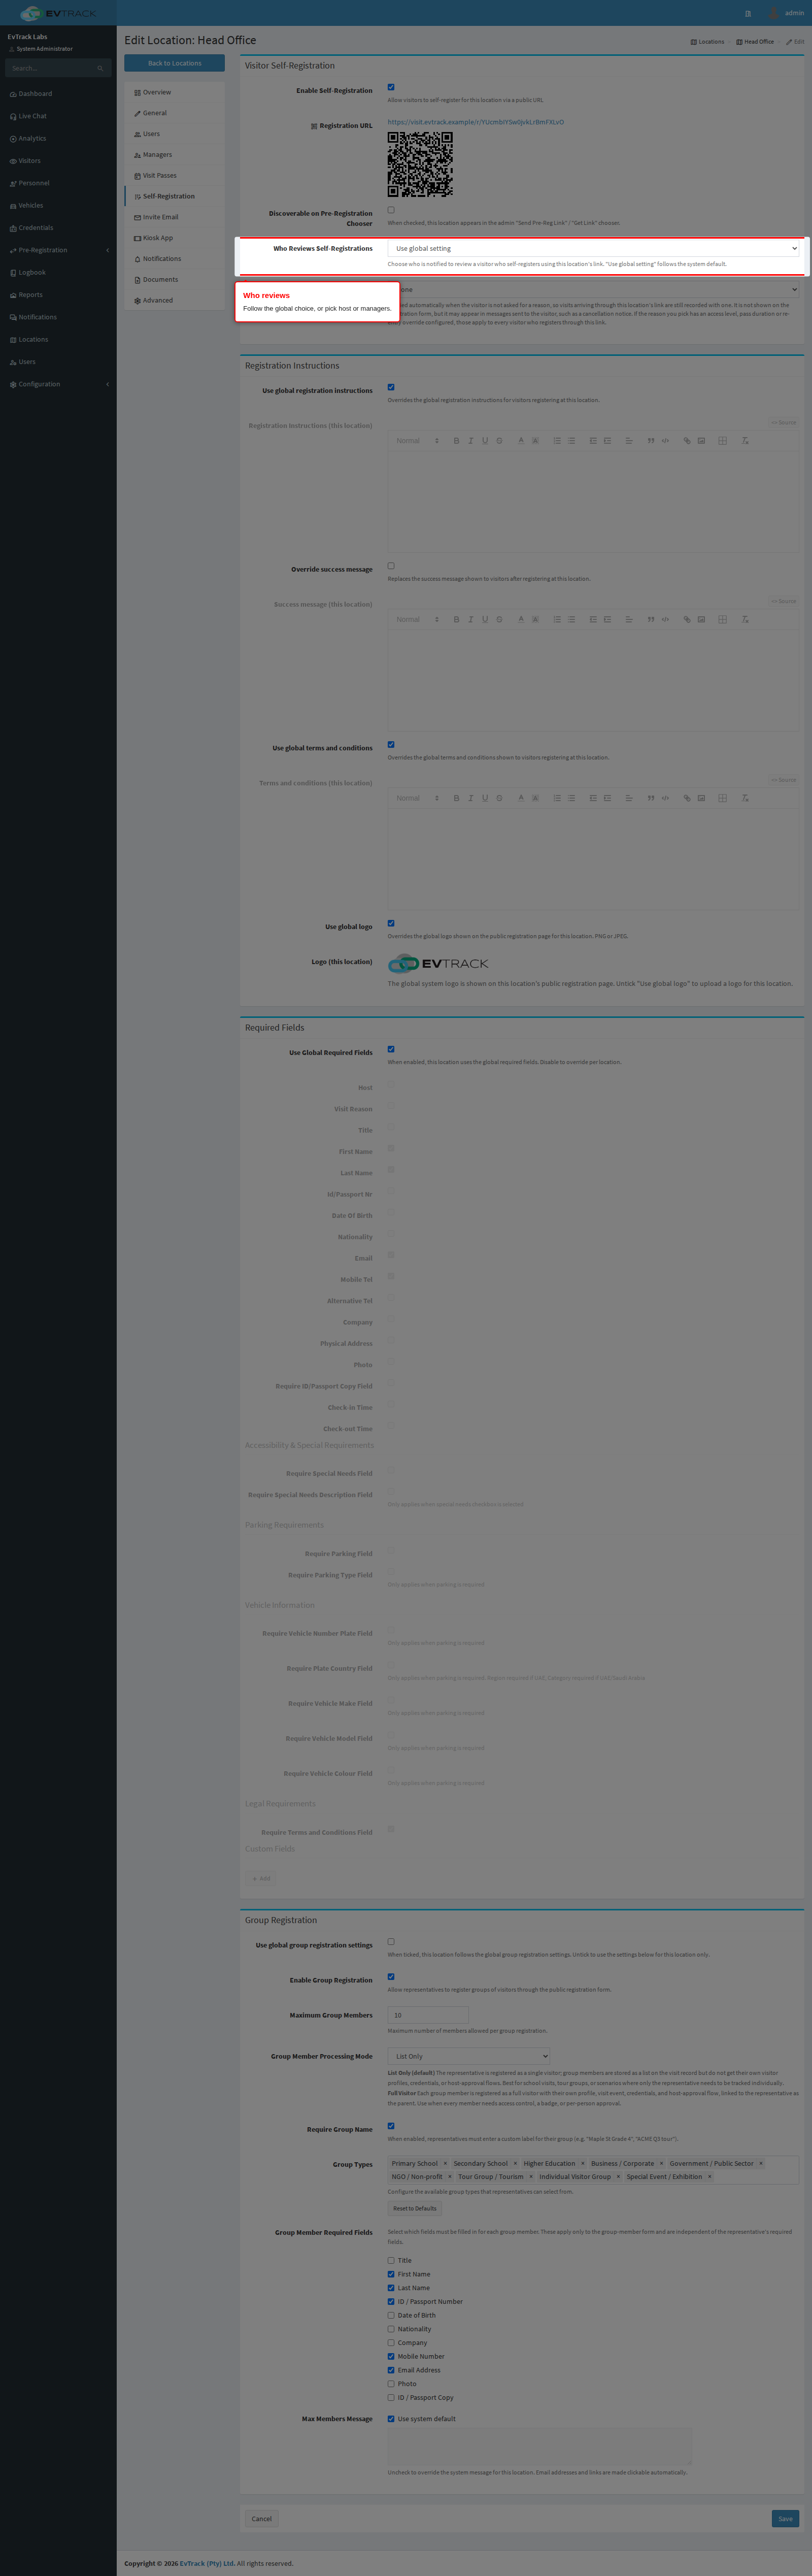
Who Reviews Self-Registrations decides who is notified to review a visitor who registers through this location’s link.
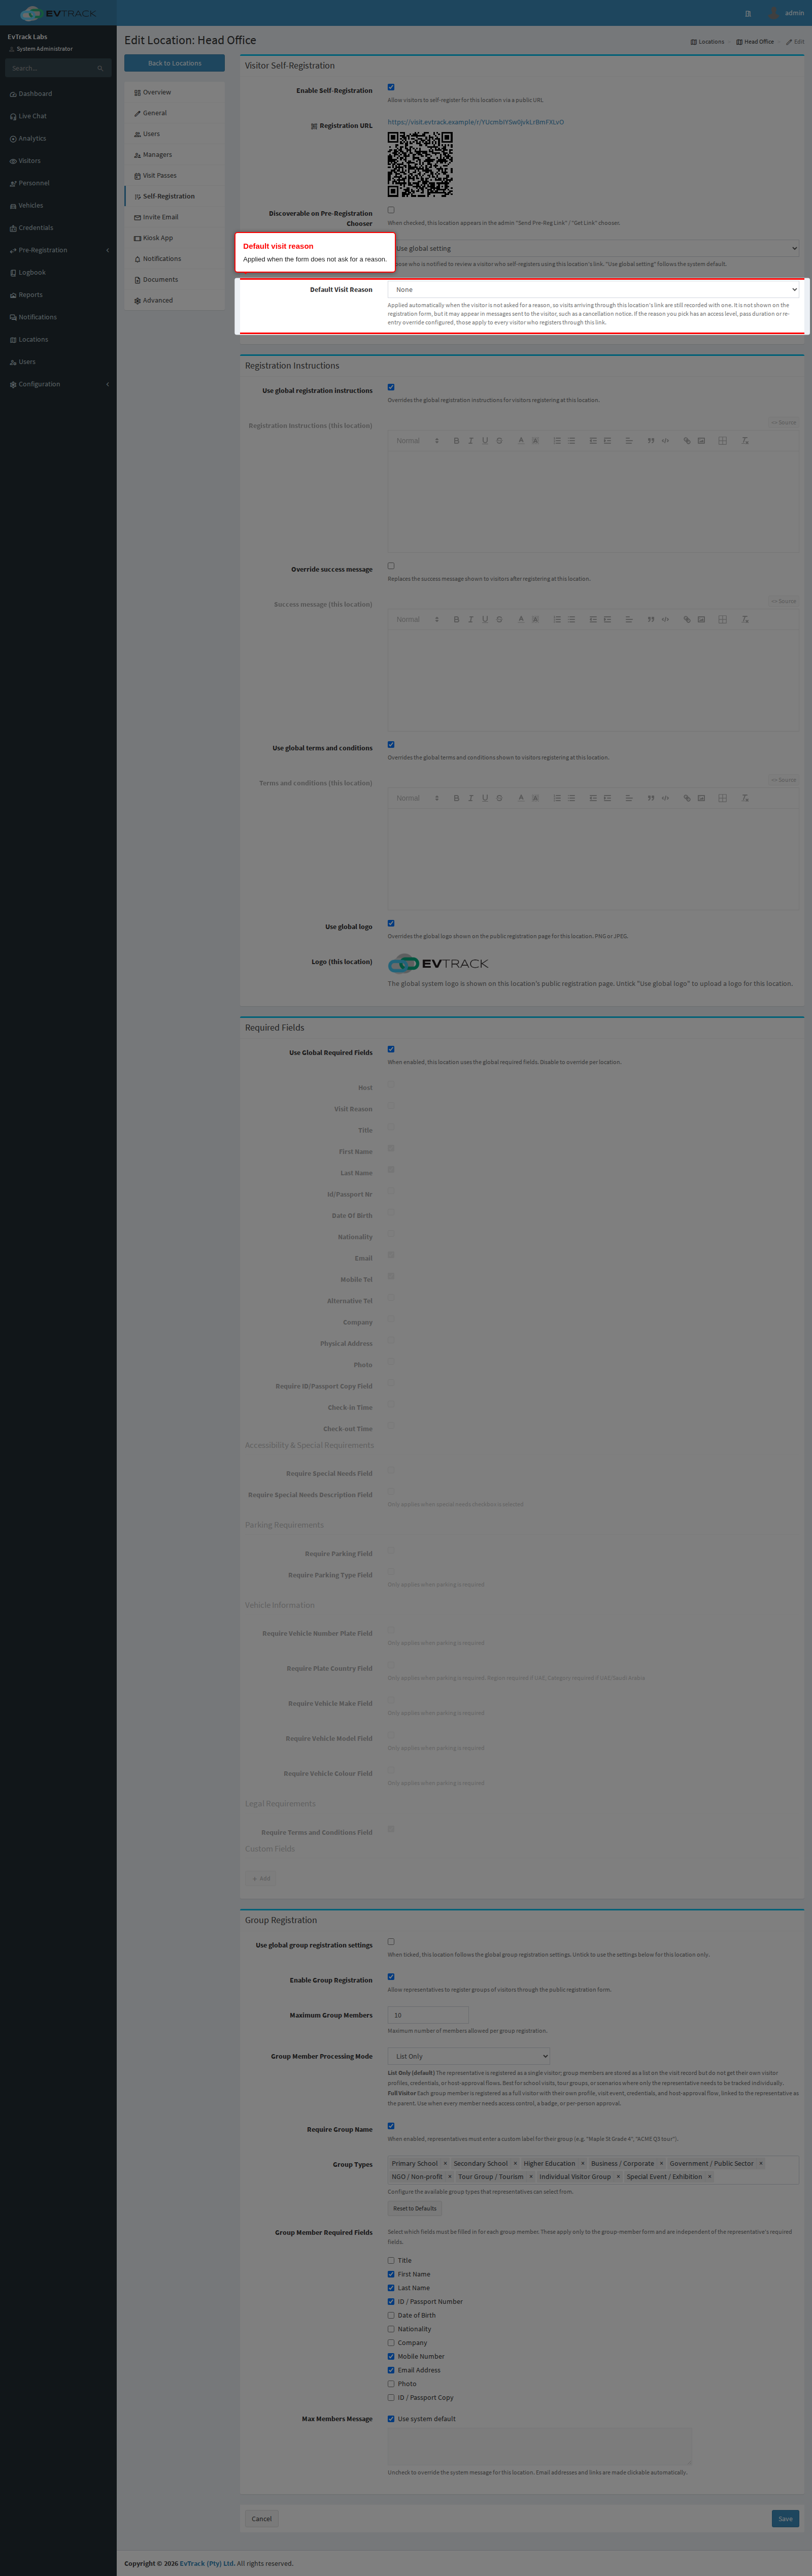
Step 5: Set a default visit reason
Default Visit Reason is recorded on visits that arrive through this link when the form does not ask the visitor for a reason.
Step 6: Write location instructions
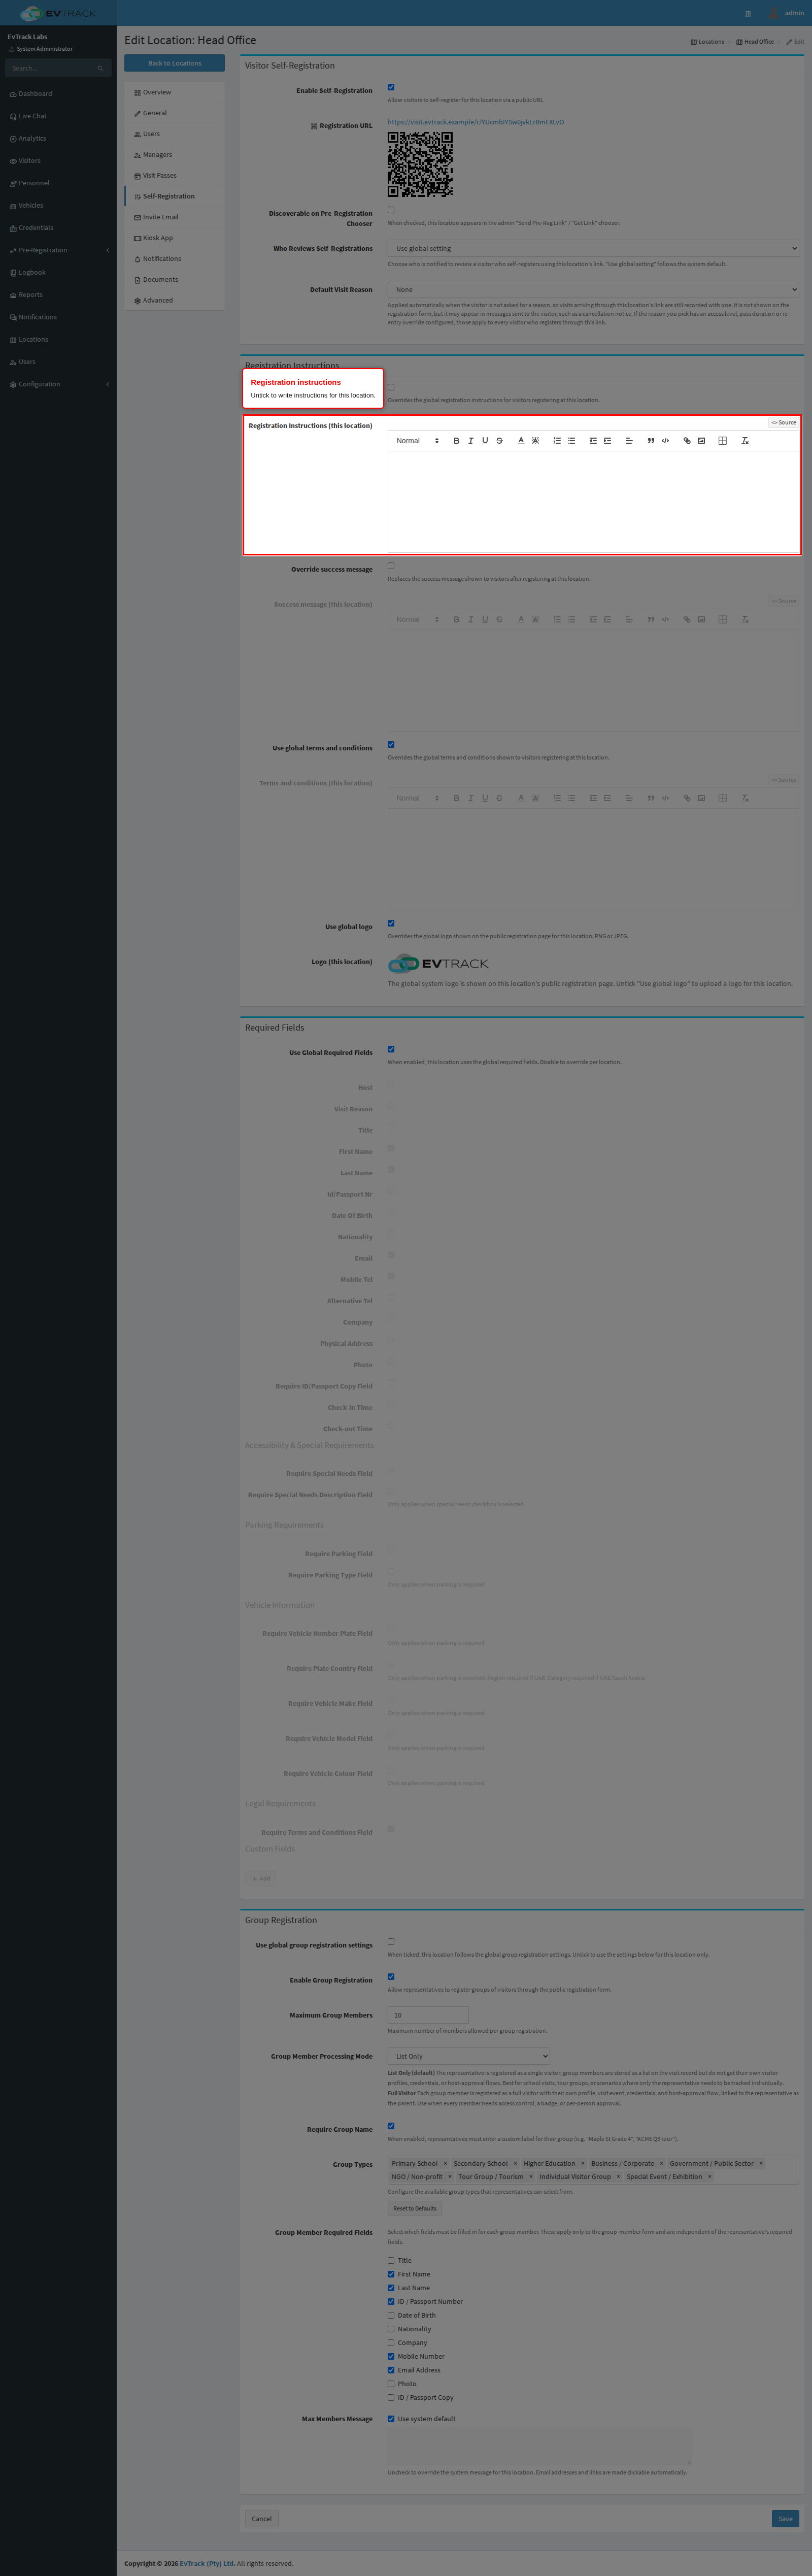
In the Registration Instructions panel, Use global registration instructions is ticked by default and the editor is greyed out. Untick it to write instructions that replace the global ones for this location.
Step 7: Replace the success message
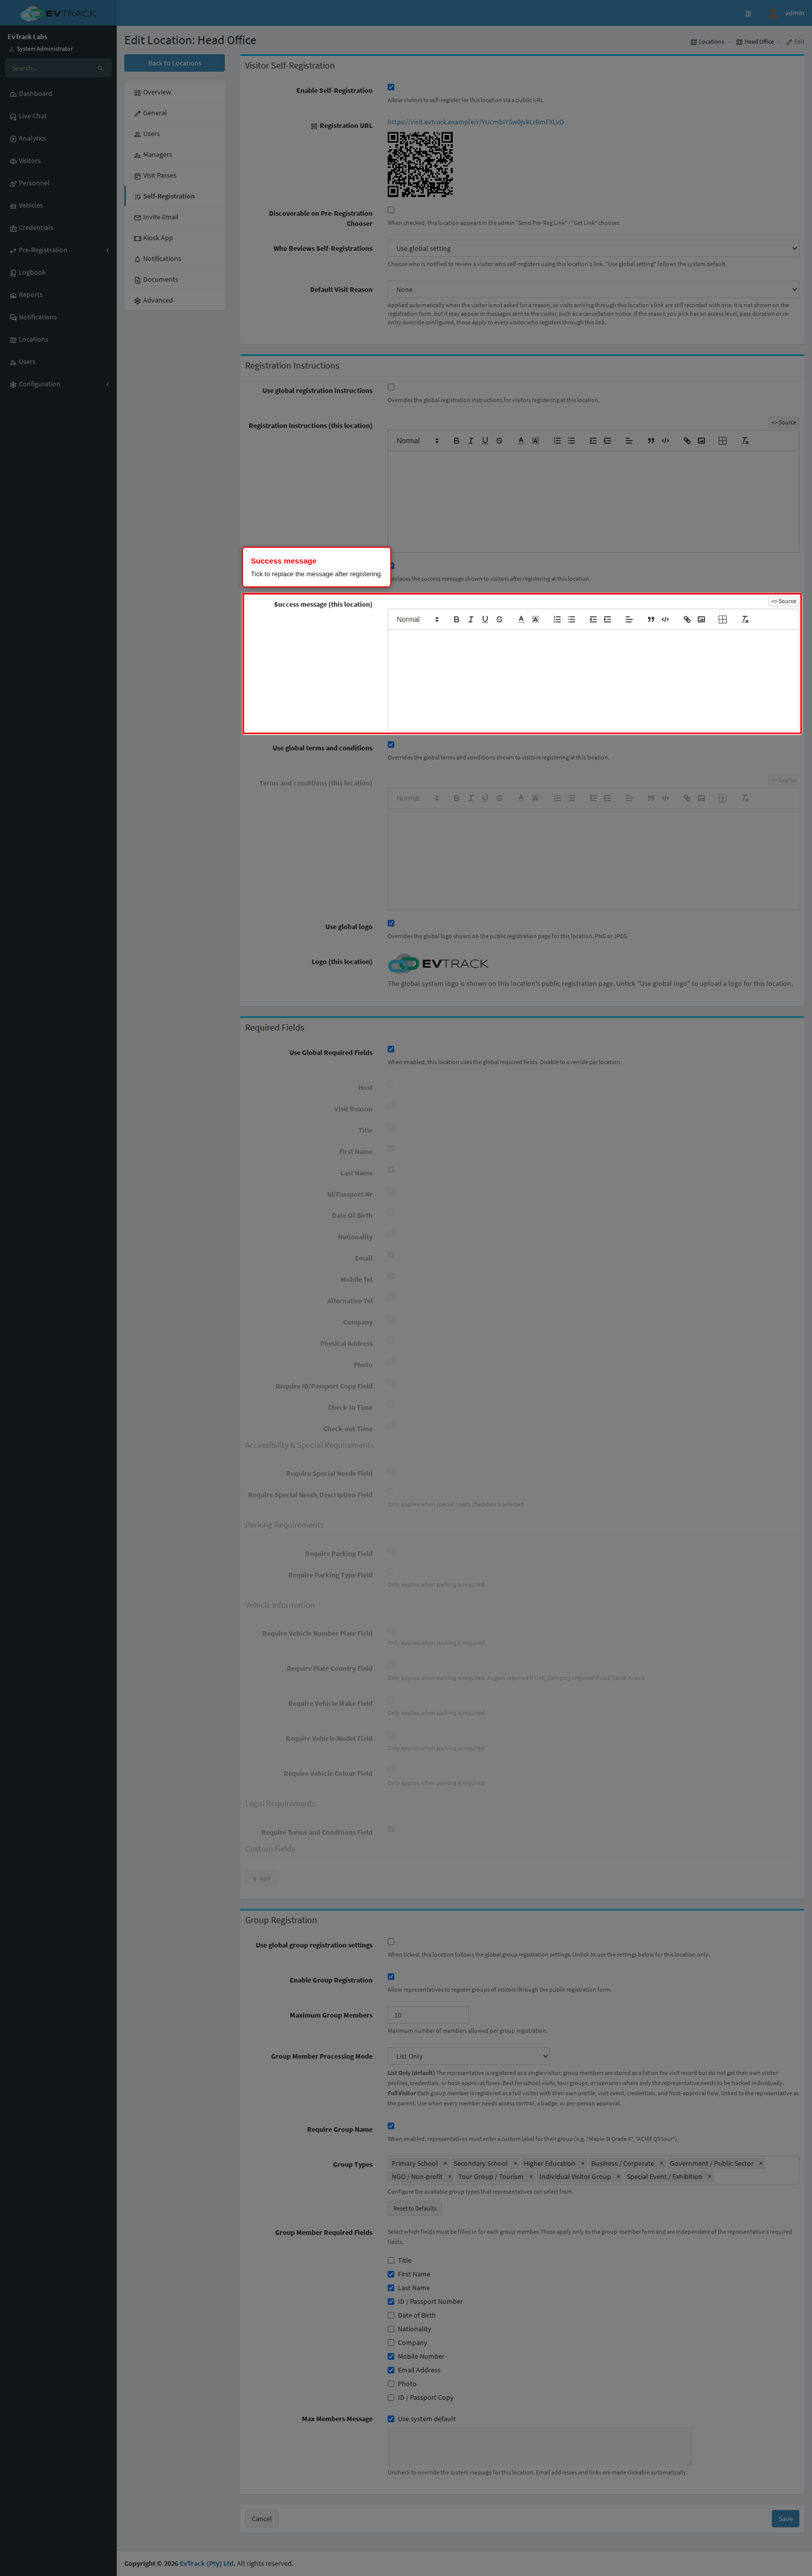
Override success message works the other way round: it is unticked by default. Tick it to unlock the editor and replace the message visitors see after registering at this location.
Step 8: Show this location’s terms
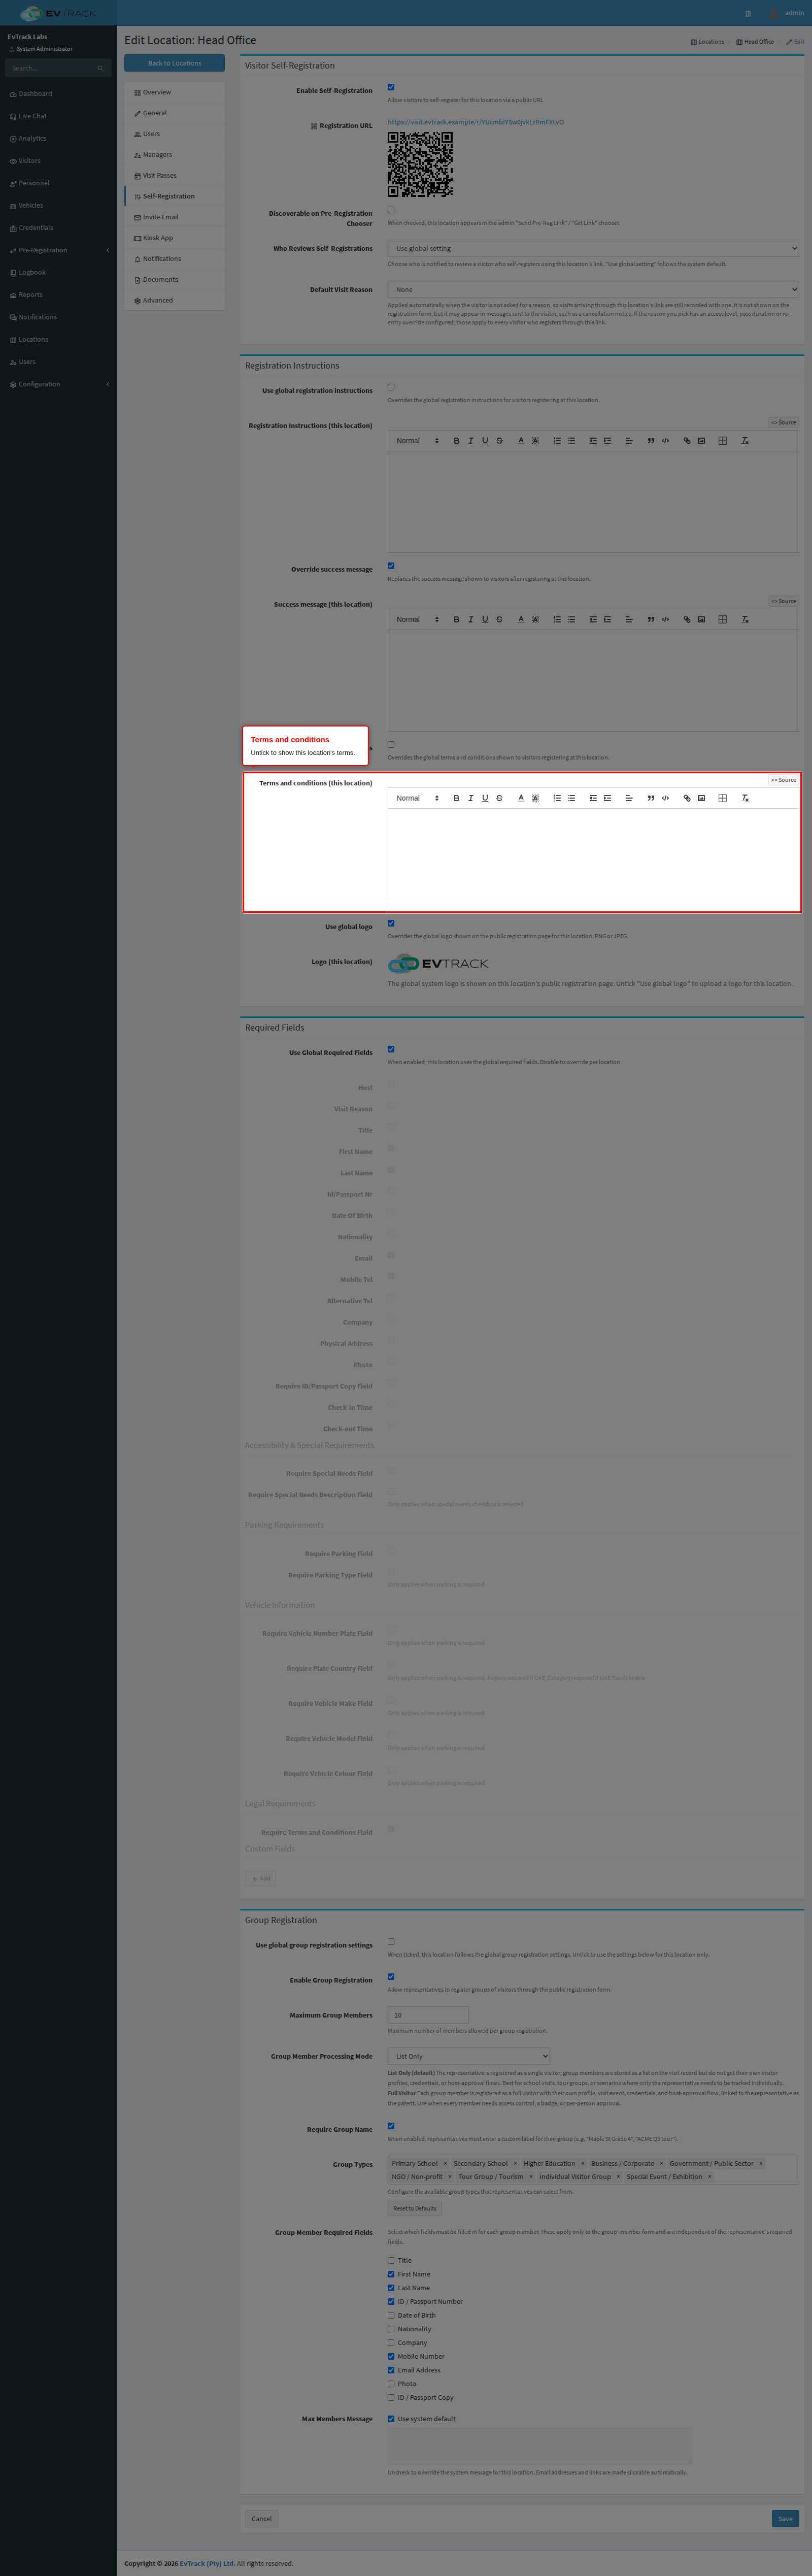
Untick Use global terms and conditions to show the terms you write here, instead of the global terms, to visitors registering at this location.
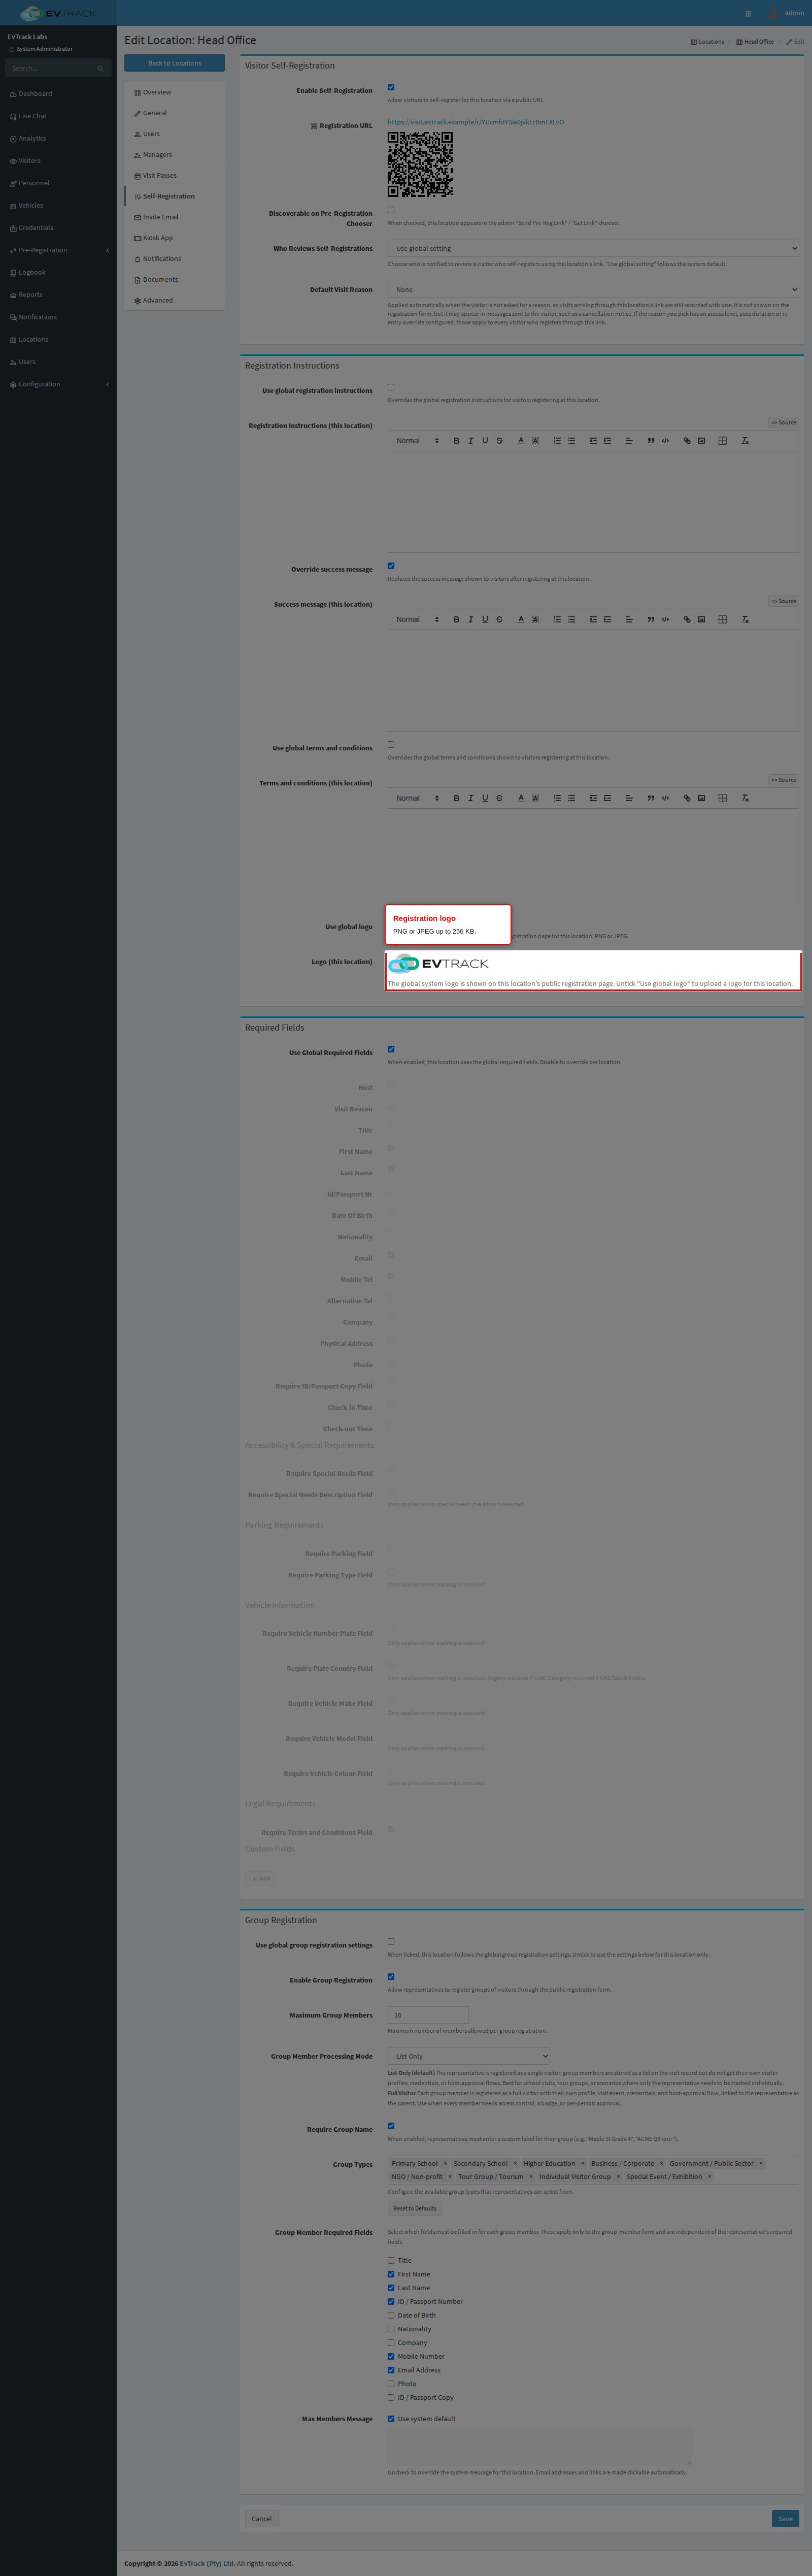
Step 9: Choose the registration logo
Use global logo is ticked by default and shows a preview of the global system logo. Untick it to upload a logo for this location.
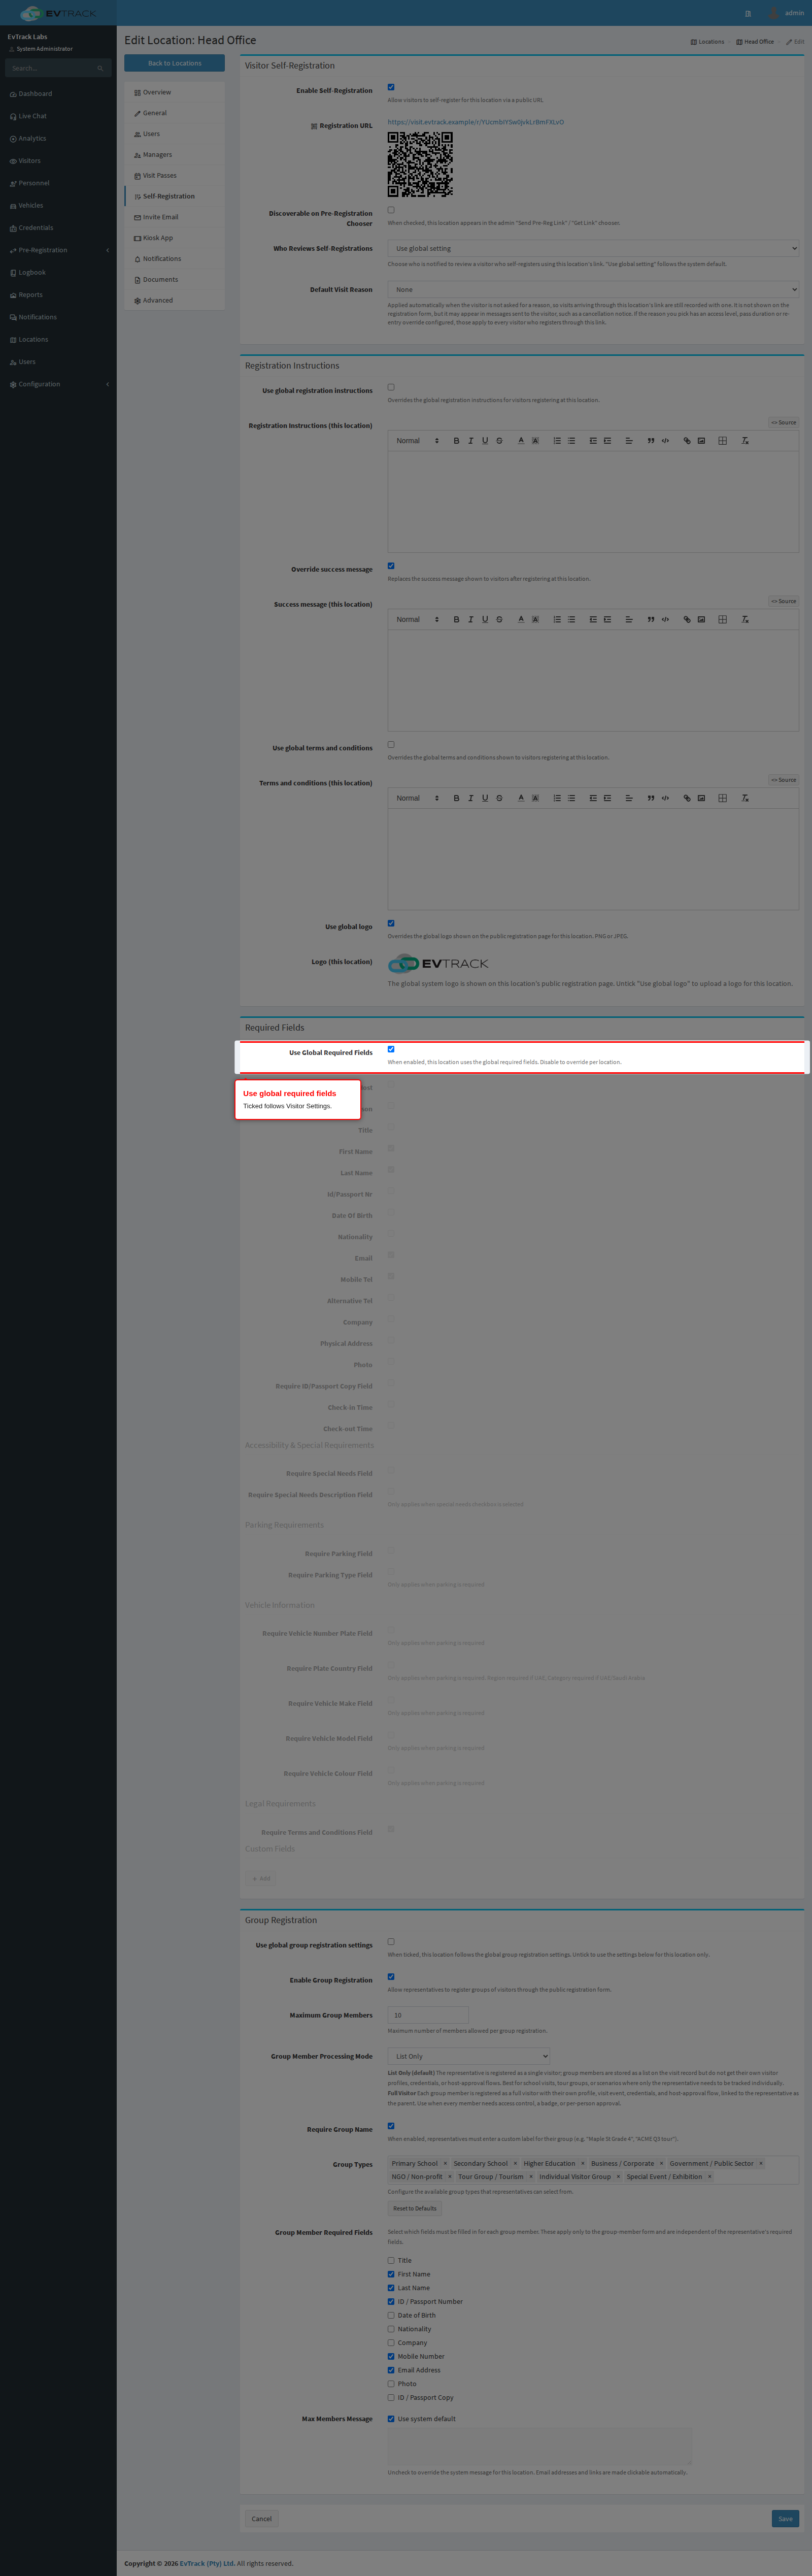
Step 10: Follow the global required fields
In the Required Fields panel, Use Global Required Fields is ticked by default. The boxes below are greyed out and the location uses the list set in Visitor Settings.
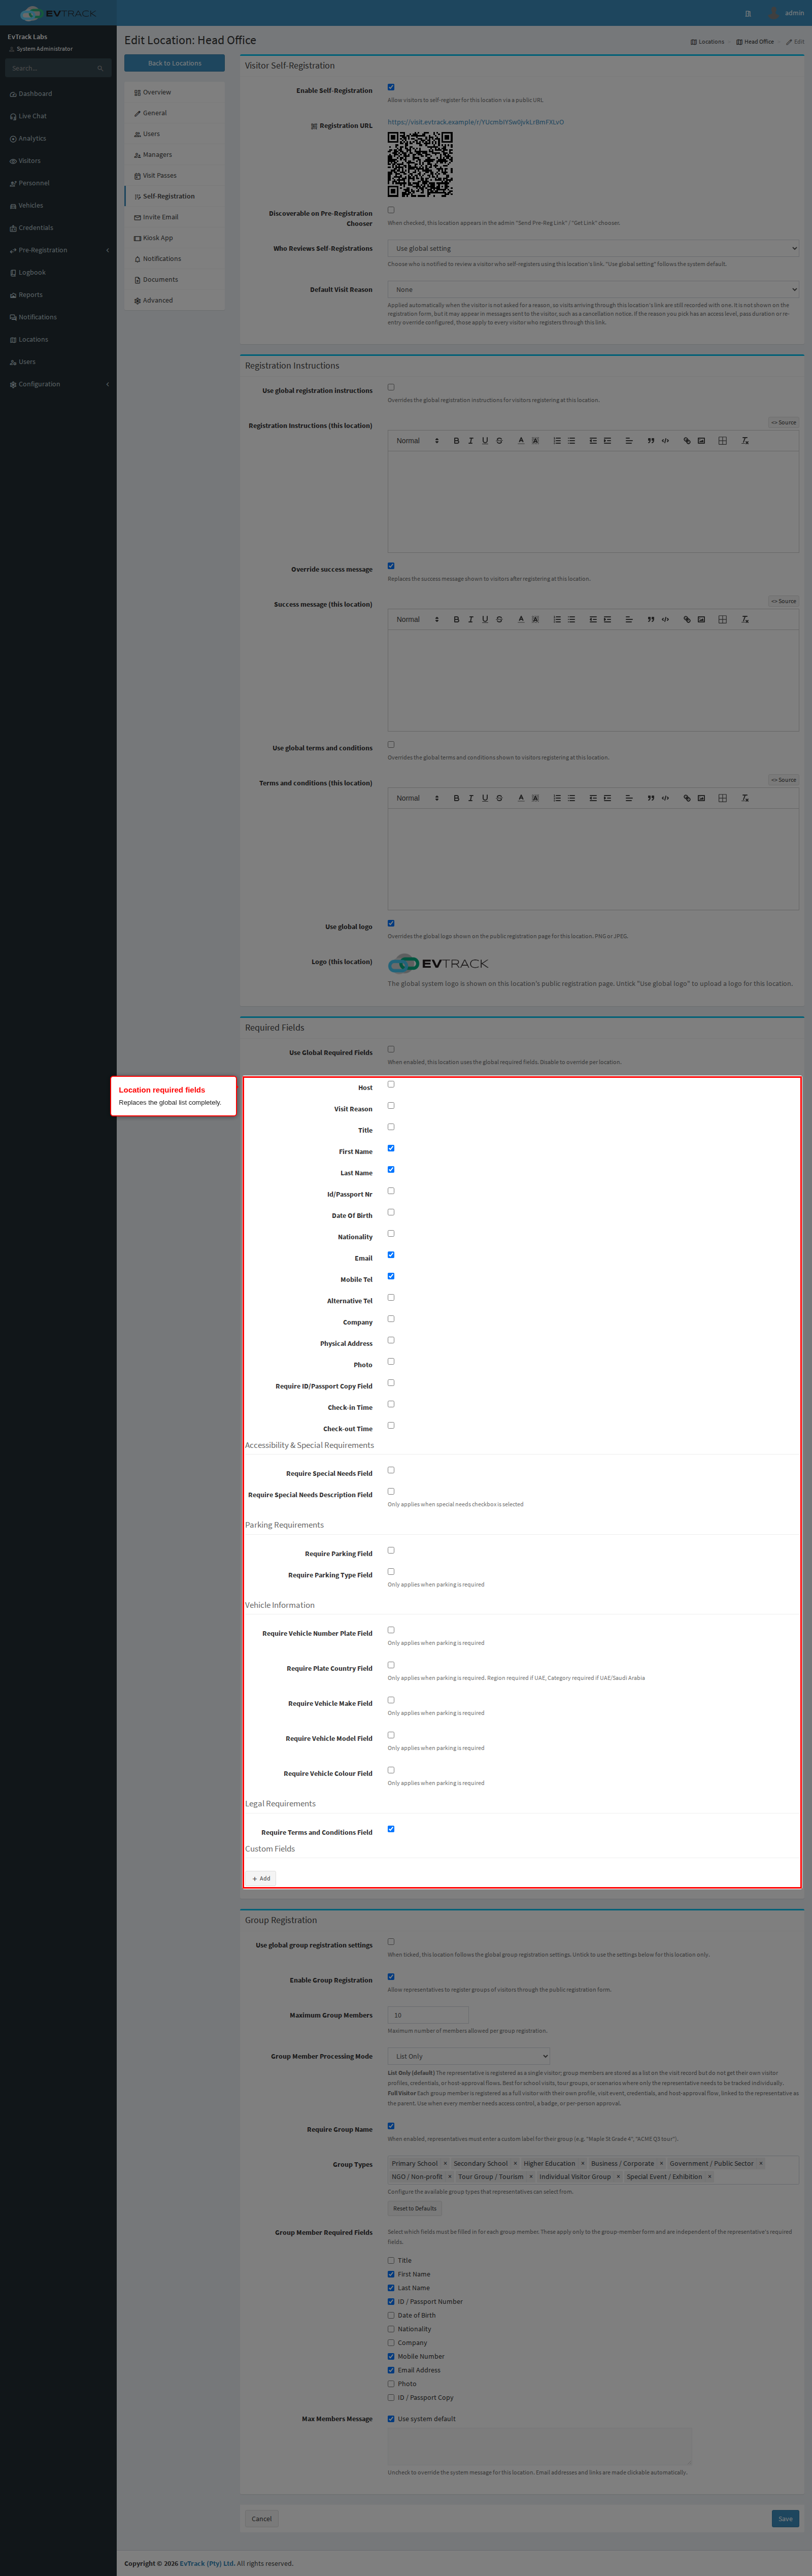
Step 11: Set this location’s required fields
Untick Use Global Required Fields to unlock the boxes. The list you choose here replaces the global list completely.
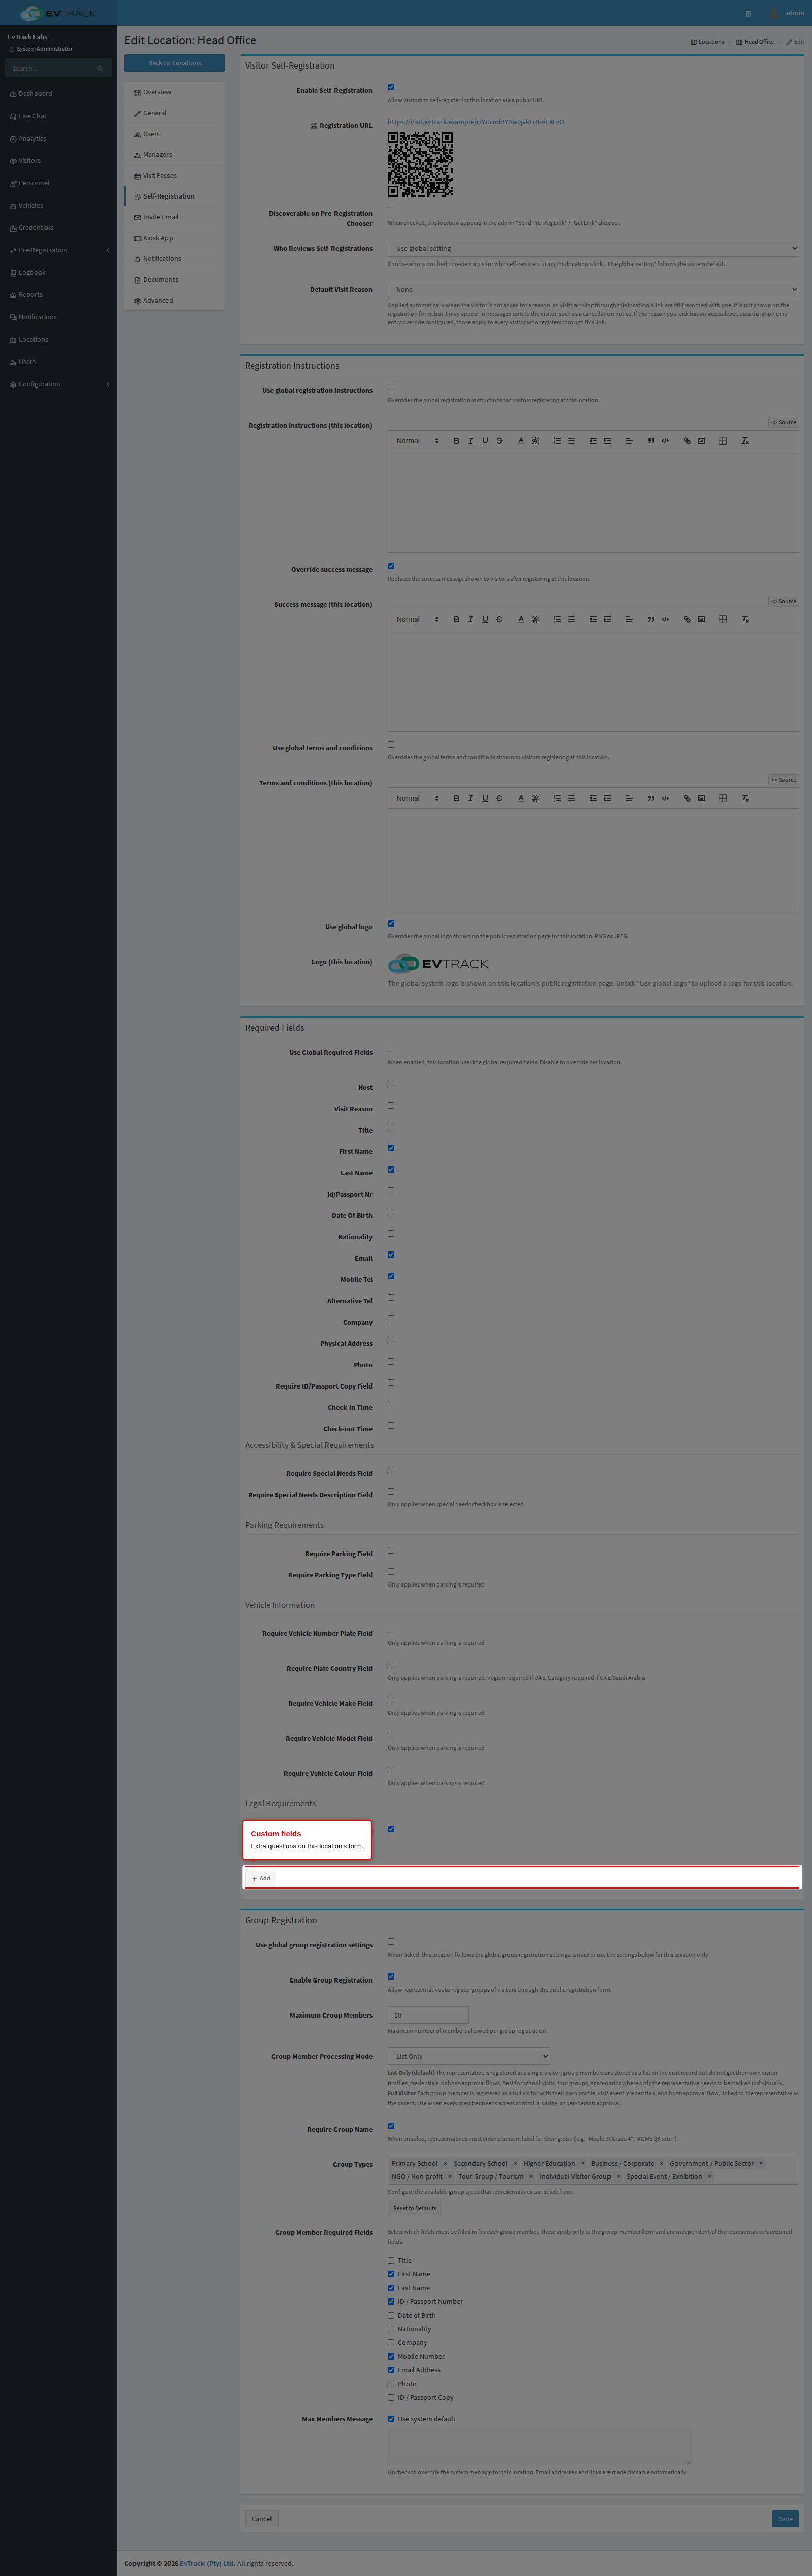
Step 12: Add custom fields
The Custom Fields builder, at the bottom of the same panel, adds extra questions to this location’s form.
Step 13: Decide whether group settings follow the global settings
In the Group Registration panel, Use global group registration settings decides which group settings apply to this location.
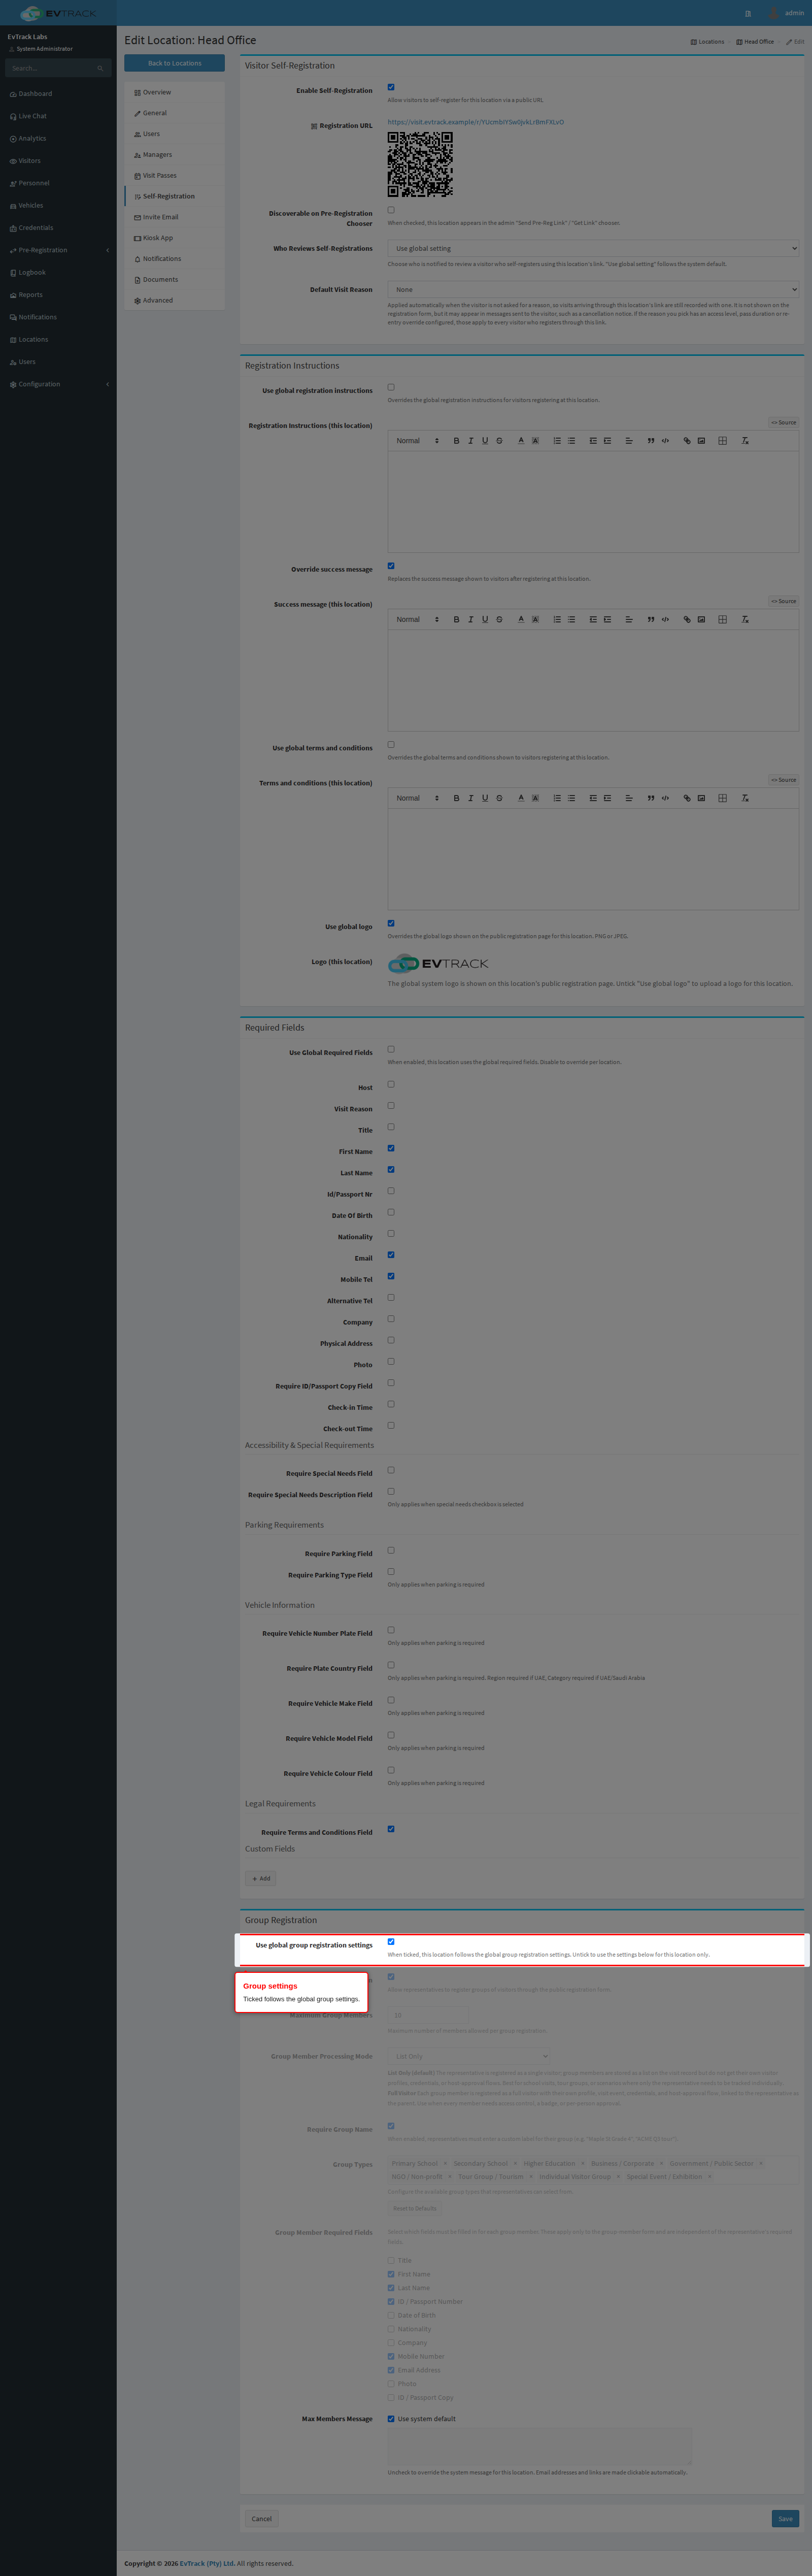
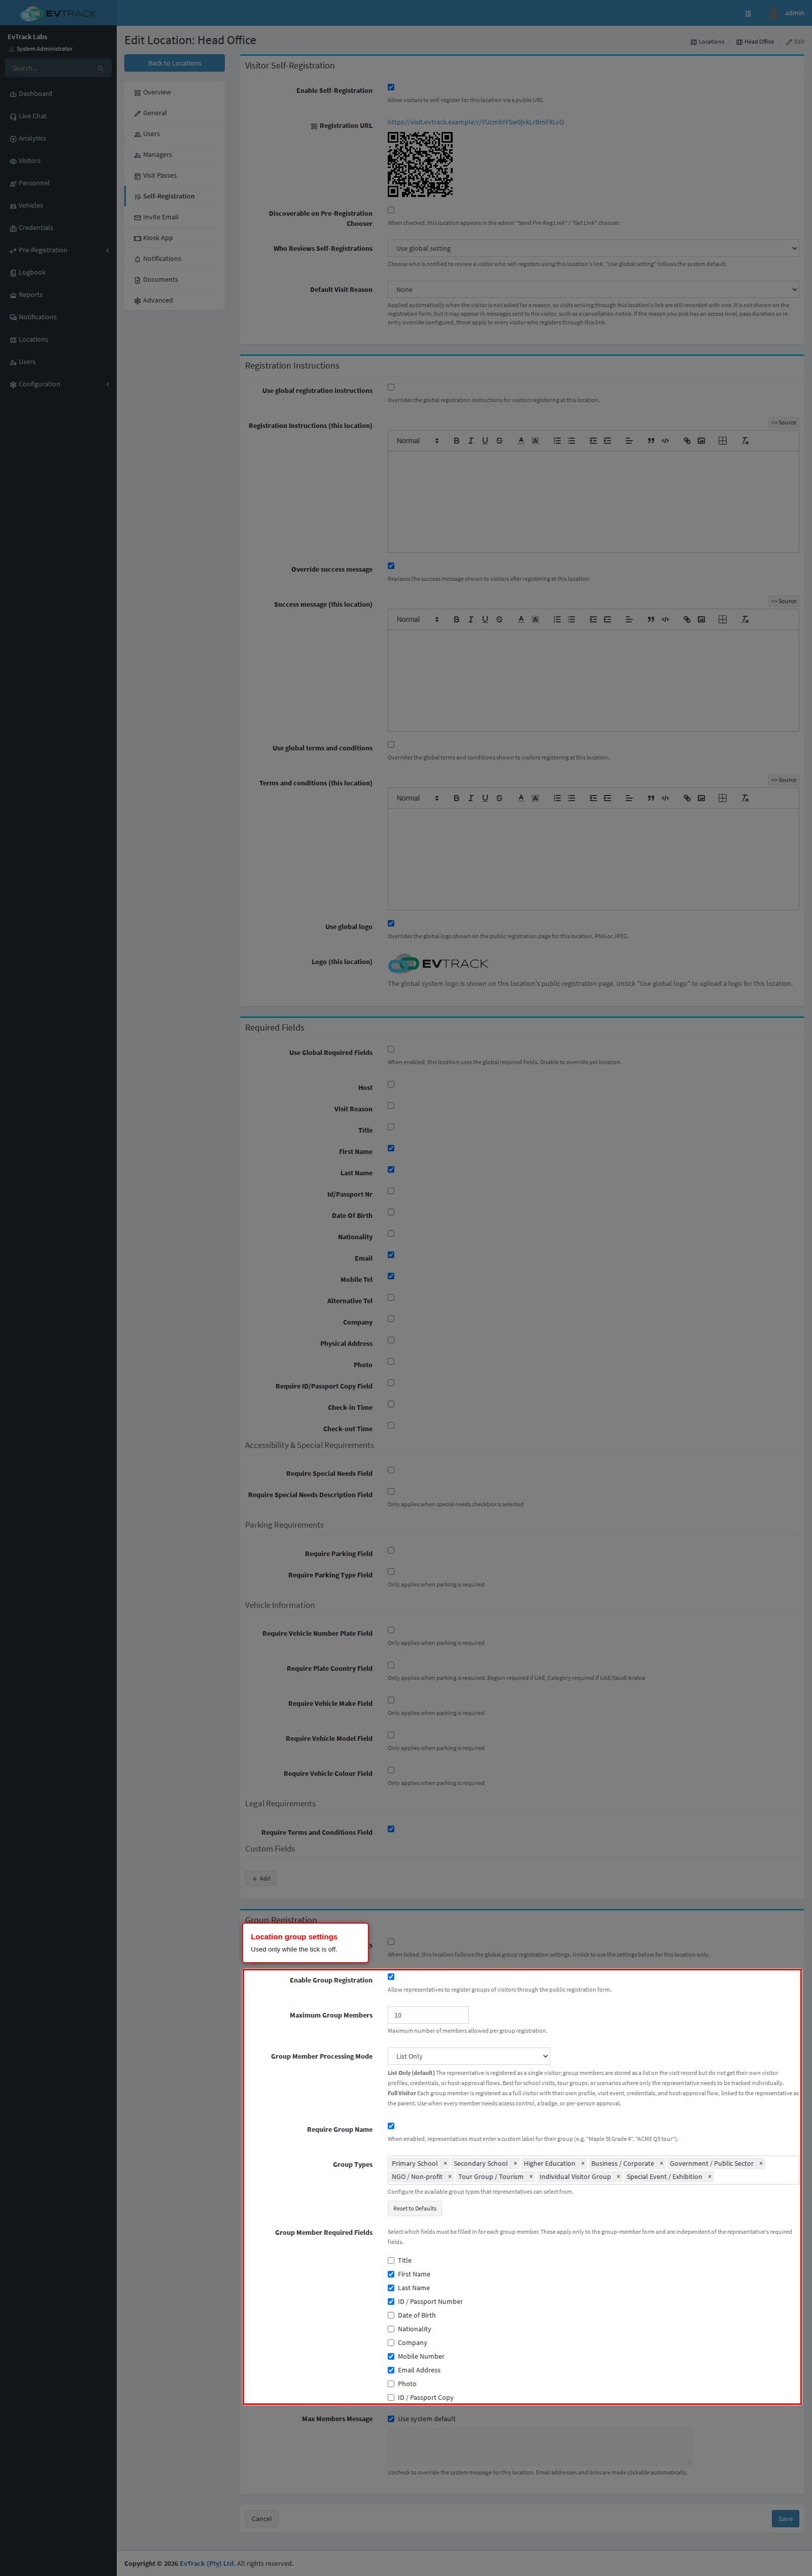
Step 14: Set this location’s group settings
Untick it to unlock the group settings below. They apply to this location only, and only while the tick remains off.
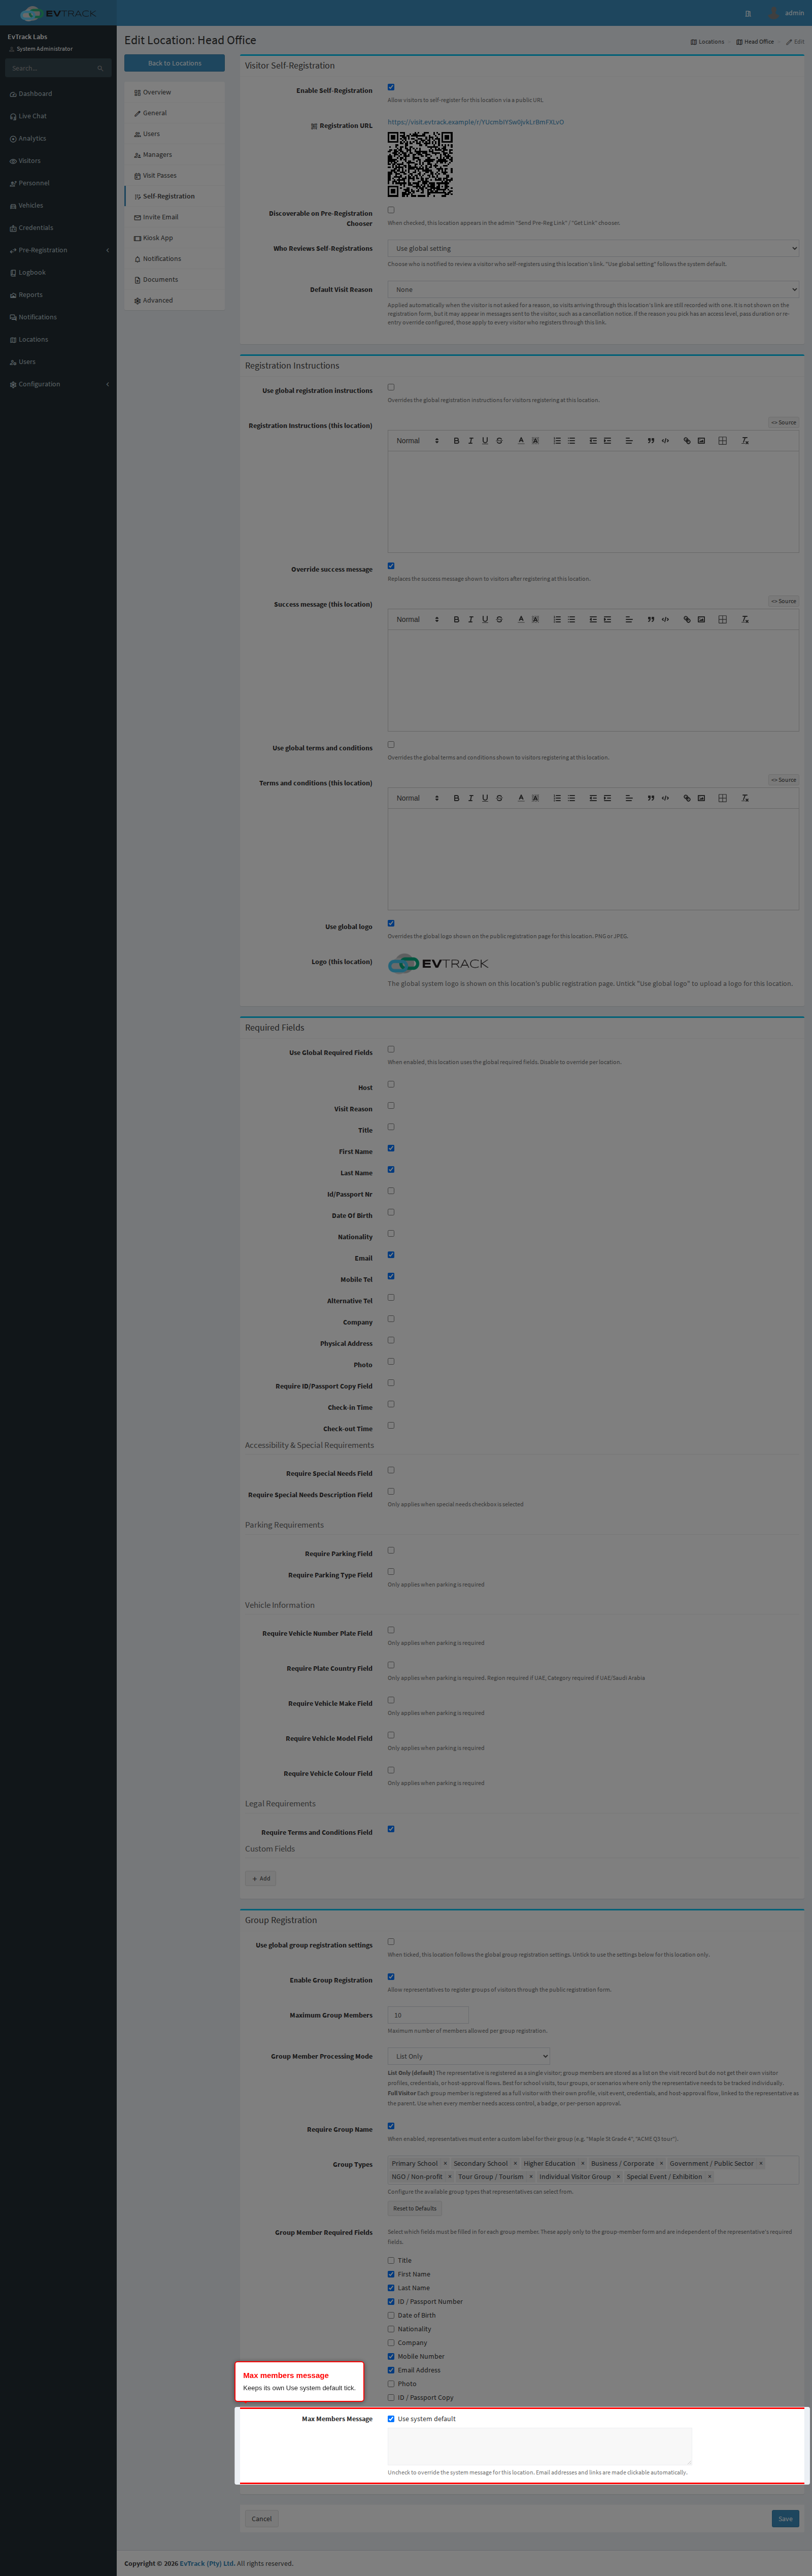
Step 15: Customise the maximum members message
Max Members Message is the text a group leader sees on hitting the member limit. It has its own Use system default tick, separate from the one above.
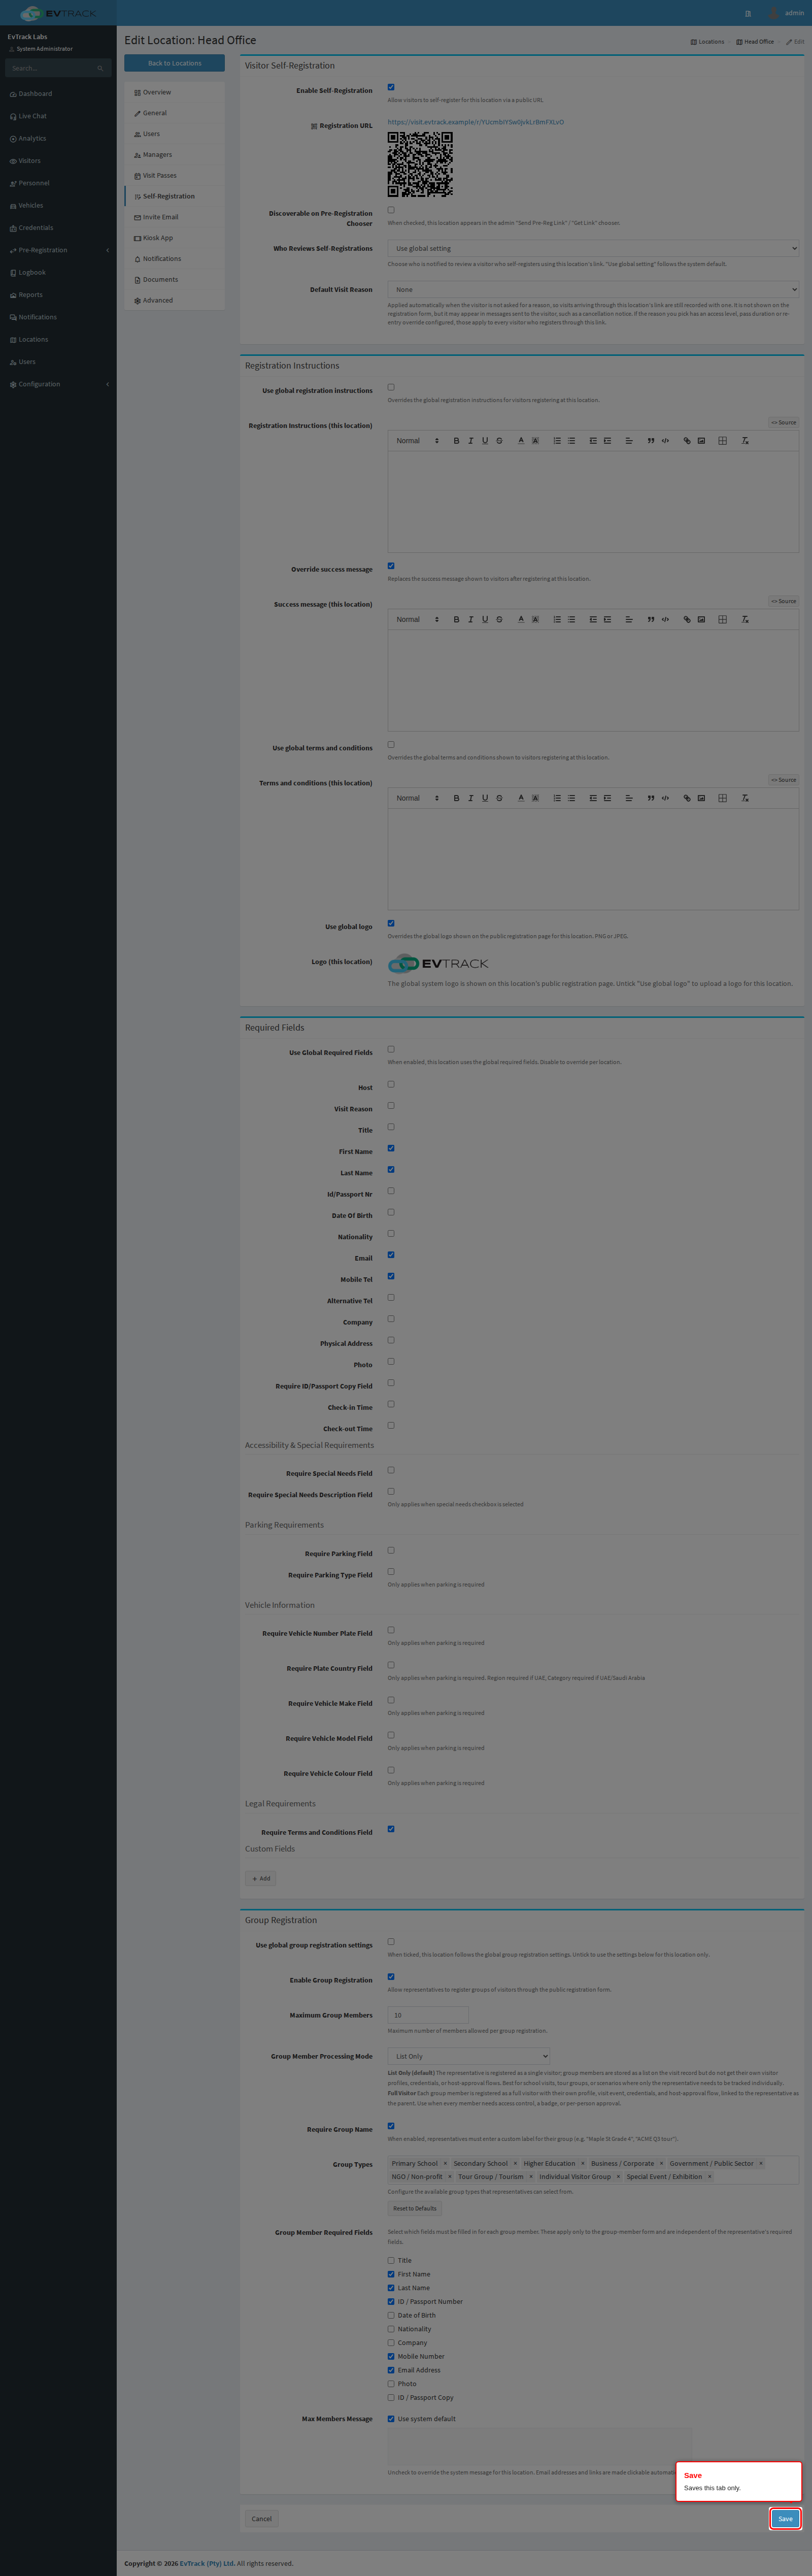
Step 16: Save
Click Save. Saving this tab keeps you on the Self-Registration tab and does not touch the other tabs. Each tab saves on its own.
Options on this tab
Visitor Self-Registration
| Option | Default | What it does |
|---|---|---|
| Enable Self-Registration | Off | Publishes this location’s public registration form. When on, a Registration URL row shows the link and a QR code. When off, the location has no public form. This is a per-location switch, not an override of a global setting. |
| Discoverable on Pre-Registration Chooser | Off | Lists the location in the “Send Pre-Reg Link” / “Get Link” chooser. The location is listed when this box is ticked or the global Make all locations discoverable setting is on (that setting lists every location that has self-registration enabled), so the global setting can only add locations, never remove one. See Self-Registration Settings. |
| Who Reviews Self-Registrations | Use global setting | Use global setting follows the global choice on Self-Registration Settings. Notify the inviting host or Notify location managers overrides it for visitors who register through this location’s link. |
| Default Visit Reason | None | None, or any visit reason from the list. It is applied only when the visitor is not asked for a reason. The visitor never sees it on the form, but it can appear in messages to the visitor, such as a cancellation. If the reason has an access level, a pass duration or a re-entry rule, those apply to every visitor who registers through this link. A value that is not in the list is refused with “Select a visit reason from the list, or choose None.” If the reason is deleted later, no reason is applied. |
Registration Instructions
| Option | Default | What it does |
|---|---|---|
| Use global registration instructions | Ticked | Ticked shows the global instructions. Unticked, the Registration Instructions (this location) editor replaces them for visitors registering here. Up to 65,535 characters; unsafe HTML is removed when you save. Global counterpart: Self-Registration Settings. |
| Override success message | Unticked | The logic is reversed here: ticked, the Success message (this location) editor replaces the message shown after registering. Unticked keeps the global message. The text you wrote is kept while the box is unticked. Up to 65,535 characters; unsafe HTML is removed. Global counterpart: Self-Registration Settings. |
| Use global terms and conditions | Ticked | Unticked, the Terms and conditions (this location) editor replaces the global terms for visitors registering here. Up to 65,535 characters; unsafe HTML is removed. Global counterpart: Self-Registration Settings. |
| Use global logo | Ticked | Ticked previews the global system logo and says it is shown on this location’s public registration page. Unticked, an upload box appears for Logo (this location). The global logo is set in System Settings. |
About the logo upload:
- The file must be a PNG or JPEG of 256 KB or less. The help text names only the formats, but the size limit applies.
- A rejected file keeps the previous logo and shows “The uploaded logo could not be saved (file too large or not a PNG/JPEG image). The existing logo was kept.”
- Removing the file in the upload box and saving clears the logo. Ticking Use global logo and saving clears it too.
Required Fields
| Option | Default | What it does |
|---|---|---|
| Use Global Required Fields | Ticked | Ticked: the boxes below are greyed out and the form follows the global list in Required Fields Settings. Unticked: this location’s boxes replace the global list completely. There is no field-by-field mix, so every field you need, Host included, must be ticked here. |
When the global tick is off, at least 2 of First Name, Last Name, Id/Passport Nr, Email and Mobile Tel must be required. Otherwise the tab refuses to save and shows “Please select at least 2 identity fields (First Name, Last Name, ID Number, Email, or Mobile Number).”
The boxes, grouped as the tab shows them:
| Group | Boxes |
|---|---|
| Visit and visitor | Host; Visit Reason; Title; First Name; Last Name; Id/Passport Nr; Date Of Birth; Nationality; Email; Mobile Tel; Alternative Tel; Company; Physical Address; Photo; Require ID/Passport Copy Field; Check-in Time; Check-out Time |
| Accessibility & Special Requirements | Require Special Needs Field; Require Special Needs Description Field. Both labels follow the accessibility wording chosen in settings, so “Special Needs” may read “Person of Determination” or “Disability”. The description box applies only when the special needs box is ticked. |
| Parking Requirements | Require Parking Field; Require Parking Type Field. The parking type box applies only when parking is required. |
| Vehicle Information | Require Vehicle Number Plate Field; Require Plate Country Field; Require Vehicle Make Field; Require Vehicle Model Field; Require Vehicle Colour Field. Each applies only when parking is required. For plate country, a region is required for the UAE and a category for the UAE and Saudi Arabia. |
| Legal Requirements | Require Terms and Conditions Field |
| Custom Fields | The custom fields builder, described below. |
Custom Fields. Add extra questions to the location’s form. Each custom field has a type (Text Field, Number, Photo, Drop Down, Checkboxes or Text Area), a label, a mandatory switch and, for Drop Down and Checkboxes, a list of options. The custom fields defined here are used whenever the location has any, whether or not Use Global Required Fields is ticked. A location with no custom fields of its own uses the global custom fields.
Group Registration
| Option | Default | What it does |
|---|---|---|
| Use global group registration settings | Ticked for a location that never customised its group settings | Ticked: the location follows the global group settings on Self-Registration Settings for Enable Group Registration, Maximum Group Members, Group Member Processing Mode, Require Group Name, Group Types and the group member required fields. Unticked: the values below apply to this location instead. |
The same rule decides two things: what the public registration form offers, and whether a group registration at this location is eligible for approval. While the tick is on, the values below remain stored but are ignored, so unticking it later brings them back. While the tick is on, the rule that group members need at least two identity fields is not checked; the member limit range and the group types are still checked on save.
A location whose group settings were changed before this tick existed keeps those settings: it is treated as unticked, so its own values remain in force. A location that was never customised follows the global settings. Once you save the tab, the tick is stored as shown.
Options that apply while the tick is off:
| Option | Default | What it does |
|---|---|---|
| Enable Group Registration | Off | Allows representatives to register groups of visitors through this location’s public form. |
| Maximum Group Members | 10 | The most members allowed in one group registration, from 1 to 500. |
| Group Member Processing Mode | List Only | List Only: the representative is registered as one visitor and the members are kept as a list on the visit record, with no profiles, credentials or host approval of their own. Full Visitor: each member is registered as a full visitor with their own profile, visit, credentials and host approval, linked to the representative. |
| Require Group Name | On | Representatives must enter a name for their group. |
| Group Types | Nine defaults, from Primary School to Special Event / Exhibition | The types a representative can choose from. Type a label and press Enter to add one, drag a tag to reorder, and use Reset to Defaults to restore the list. |
| Group Member Required Fields | None ticked | The fields every group member must fill in, independent of the representative’s required fields. The boxes are Title, First Name, Last Name, ID / Passport Number, Date of Birth, Nationality, Company, Mobile Number, Email Address, Photo and ID / Passport Copy. While group registration is on, at least 2 identity fields must be required, otherwise the tab refuses to save and shows “When group registration is enabled, at least 2 PII fields (e.g. first name + mobile number, last name + email) must be marked required.” |
Max Members Message is not covered by the group tick. It has its own Use system default tick, ticked by default. Untick it to write a message of up to 1,000 characters for this location. HTML is removed, and email addresses and links become clickable.