The Invite Email tab holds the panel Invitation Email Overrides. Use it to customise the invitation email for visitors who register through this location: its subject, logo, welcome message, safety instructions, whether the host is copied, which sections are hidden and which files are attached. Each option starts on Use global, so the location sends the global email until you untick a box.
Who can use this tab: to see it, “Configuration: Location - Edit/View” and “Configuration: System Settings - View”; to save it, “Configuration: Location - Save” and “Configuration: System Settings - Save”. Viewing and adding attachments also needs “Documents: Download” and “Documents: Upload”.
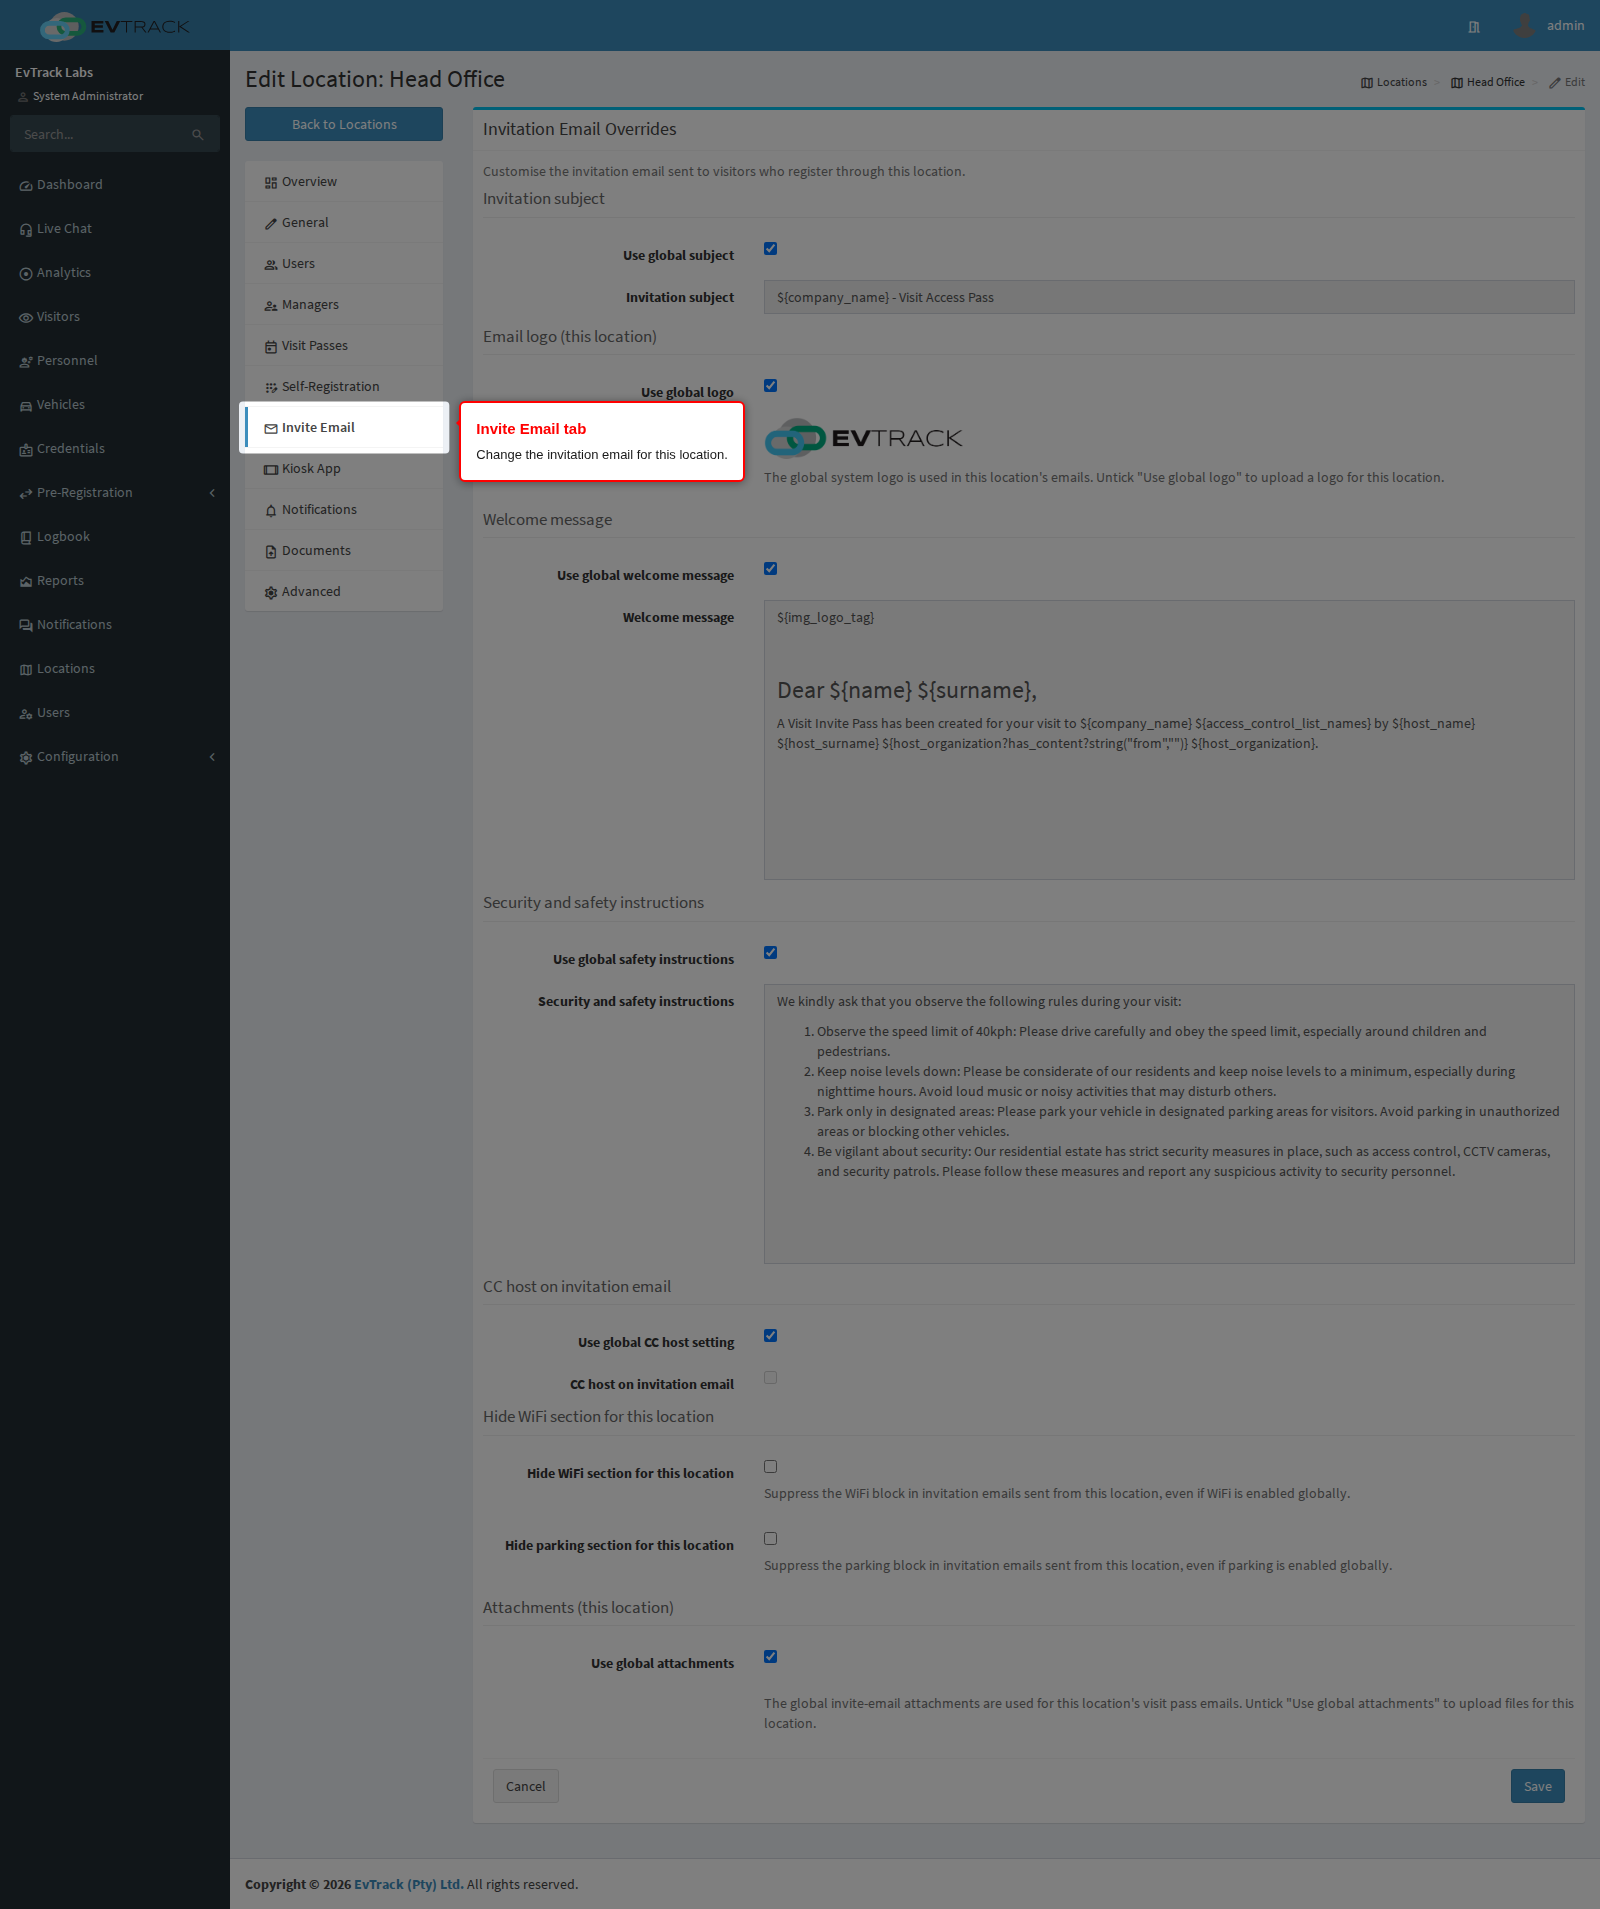
Step 1: Open the Invite Email tab
Open the location from the location list and click Invite Email in the menu on the left.
Step 2: See the global subject
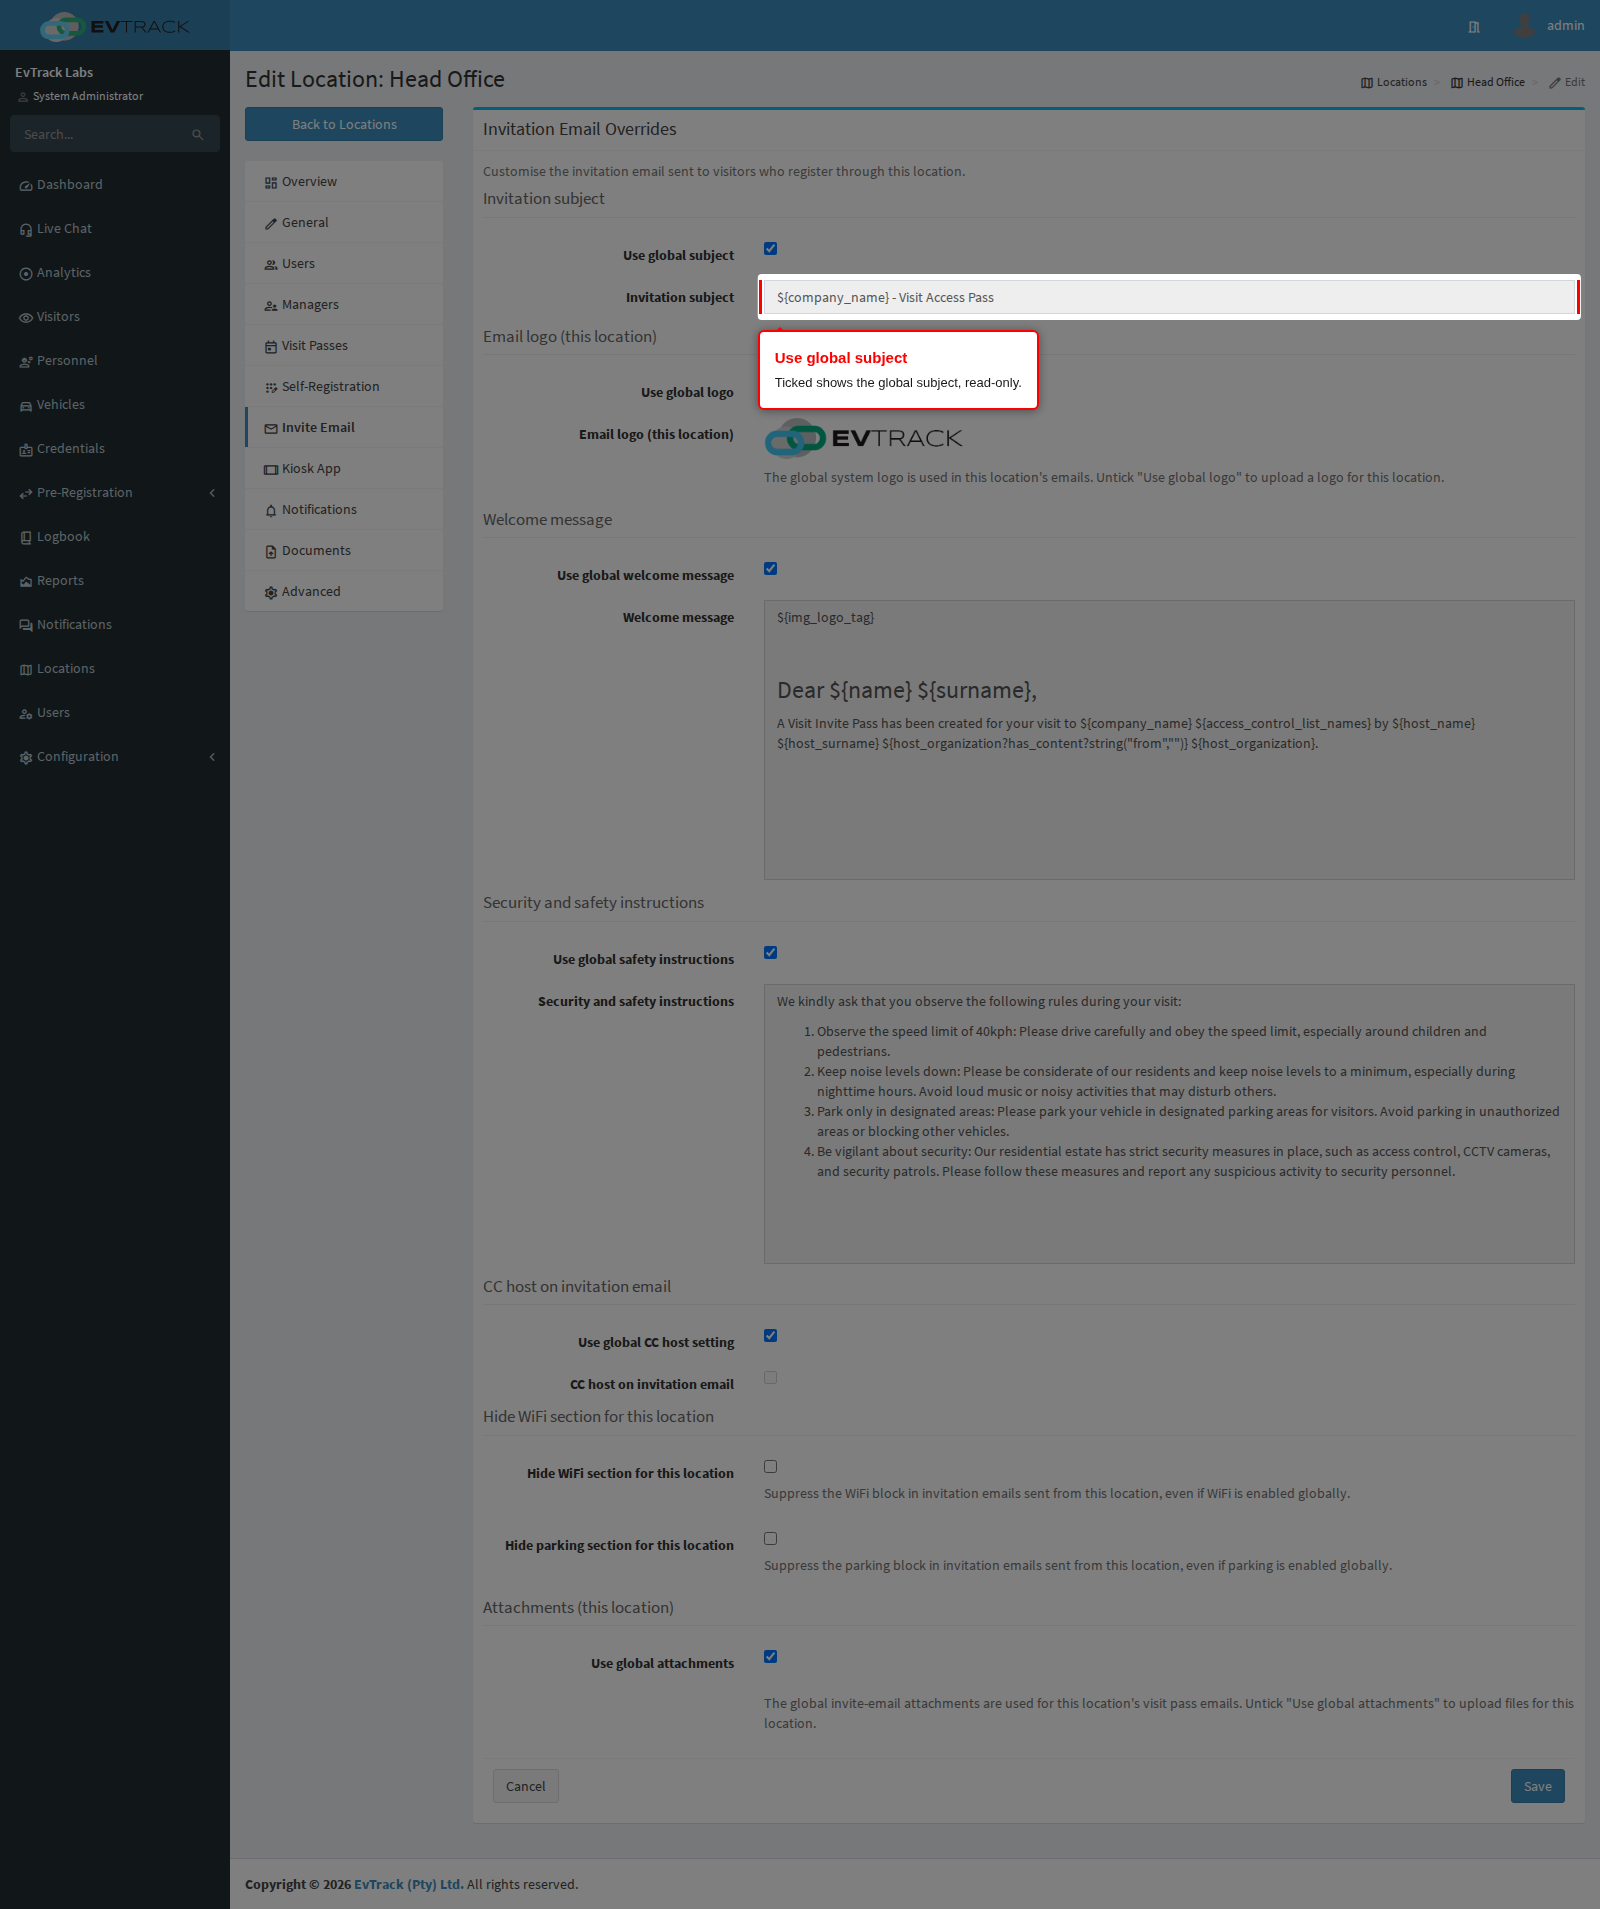
Use global subject is ticked by default. The subject below it is the global subject, shown read-only.
Step 3: Write a subject for this location
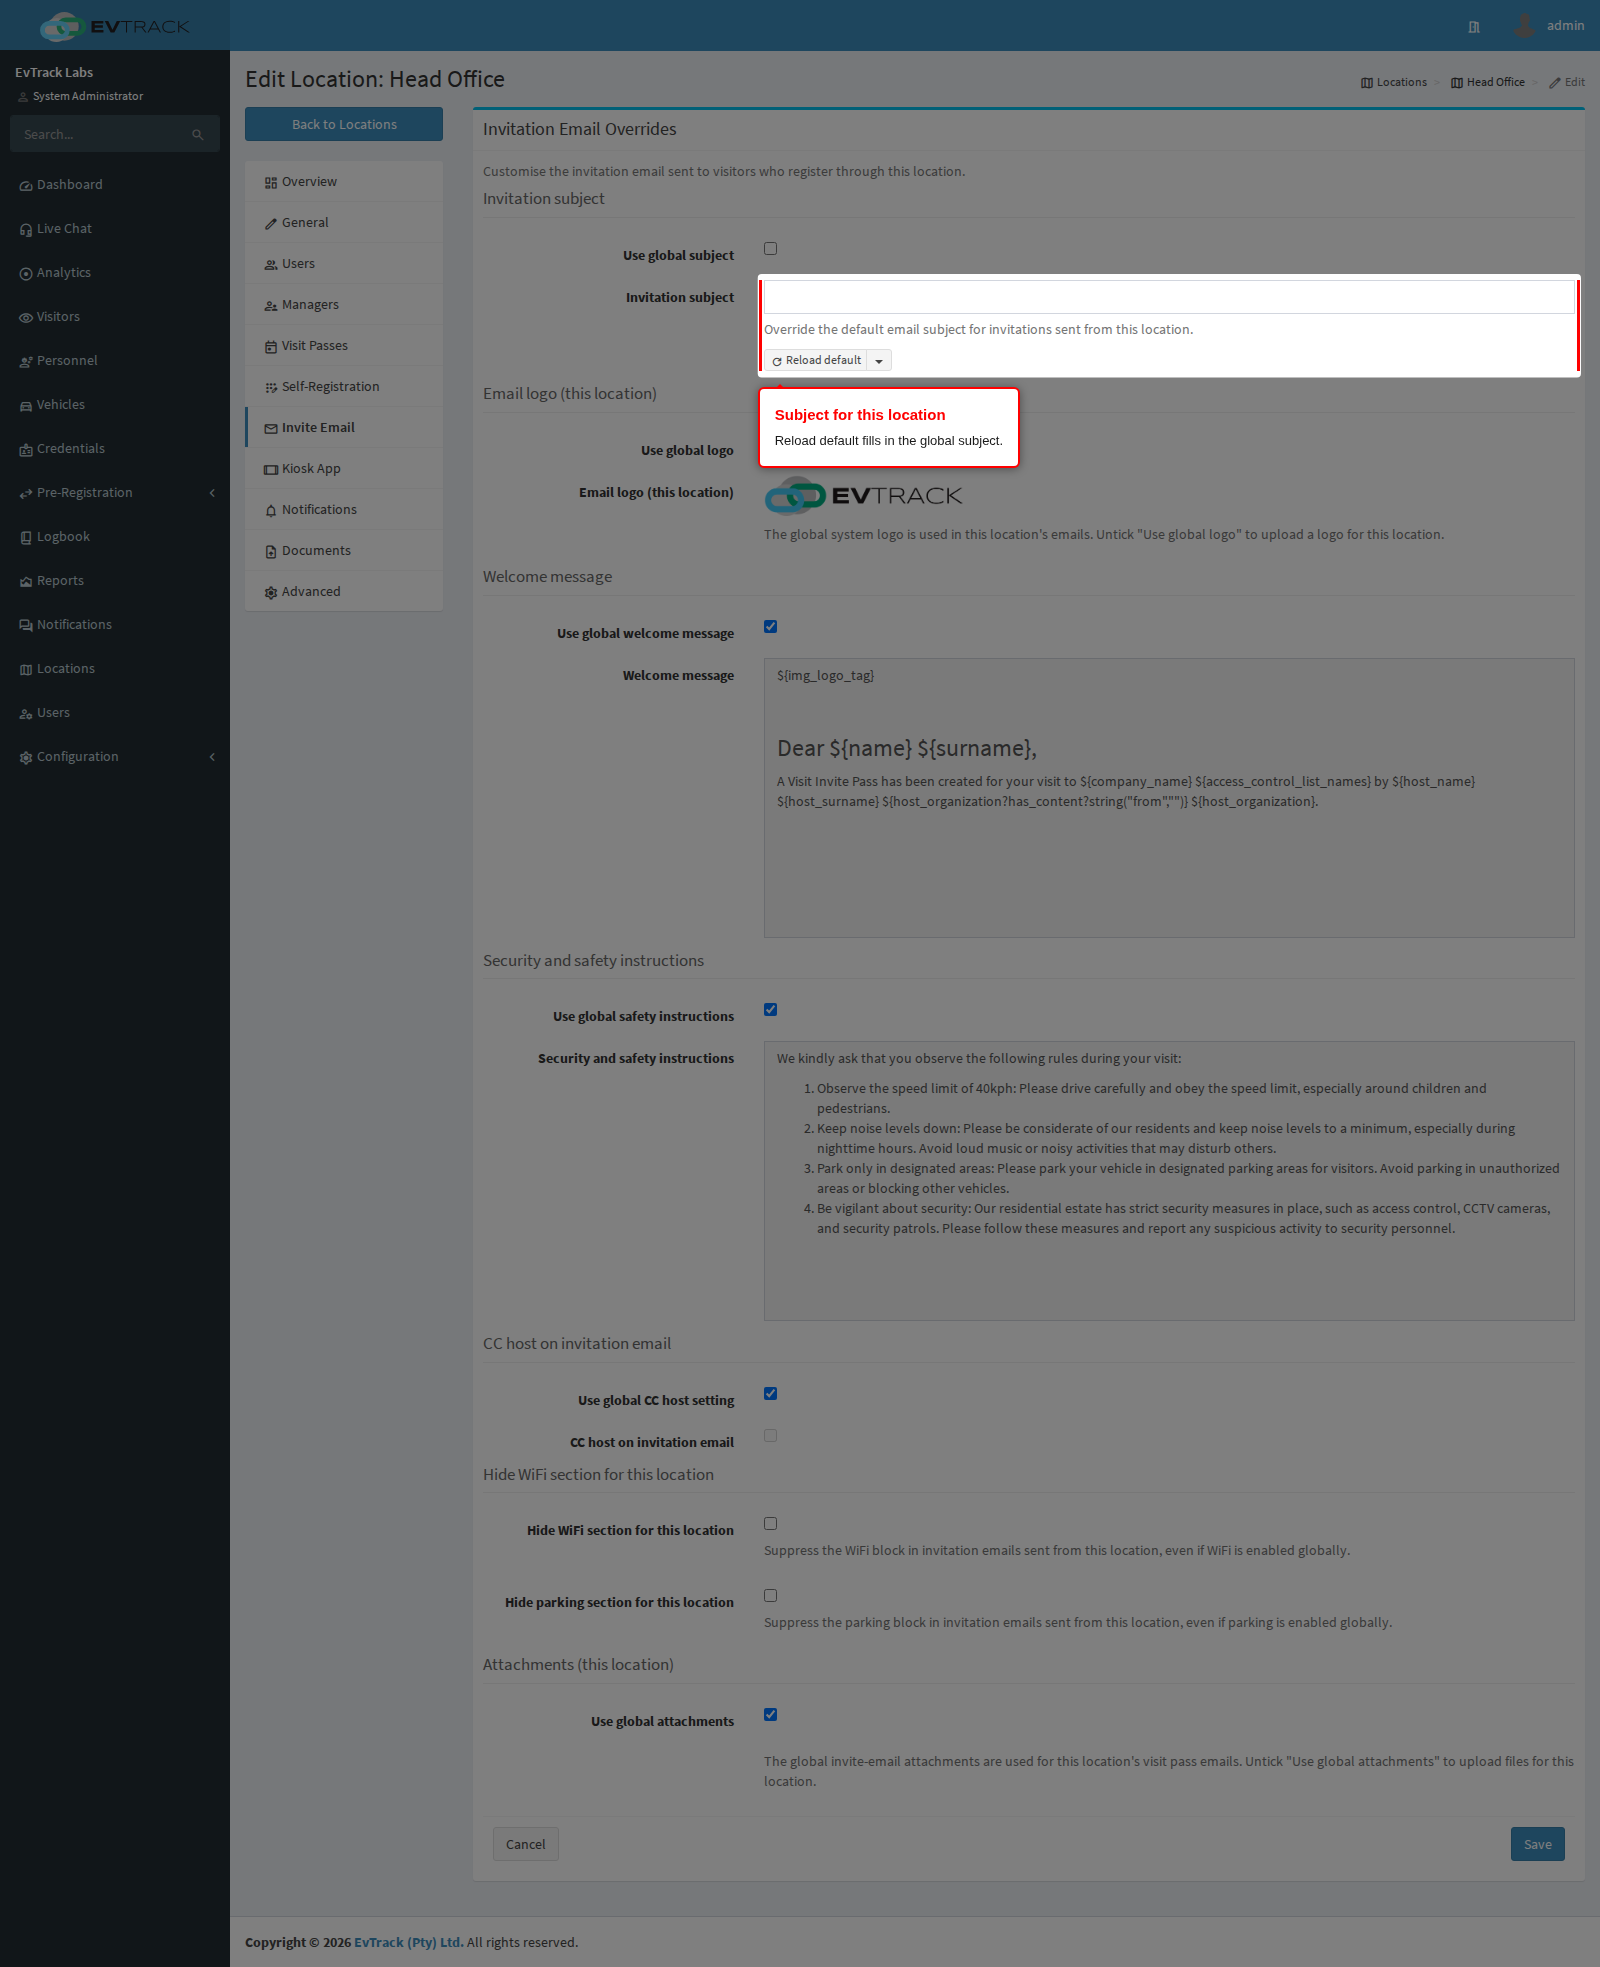
Untick Use global subject to type a subject of up to 200 characters for this location. Reload default fills the box with the global subject, so you can edit it instead of starting from nothing.
Step 4: Check the email logo
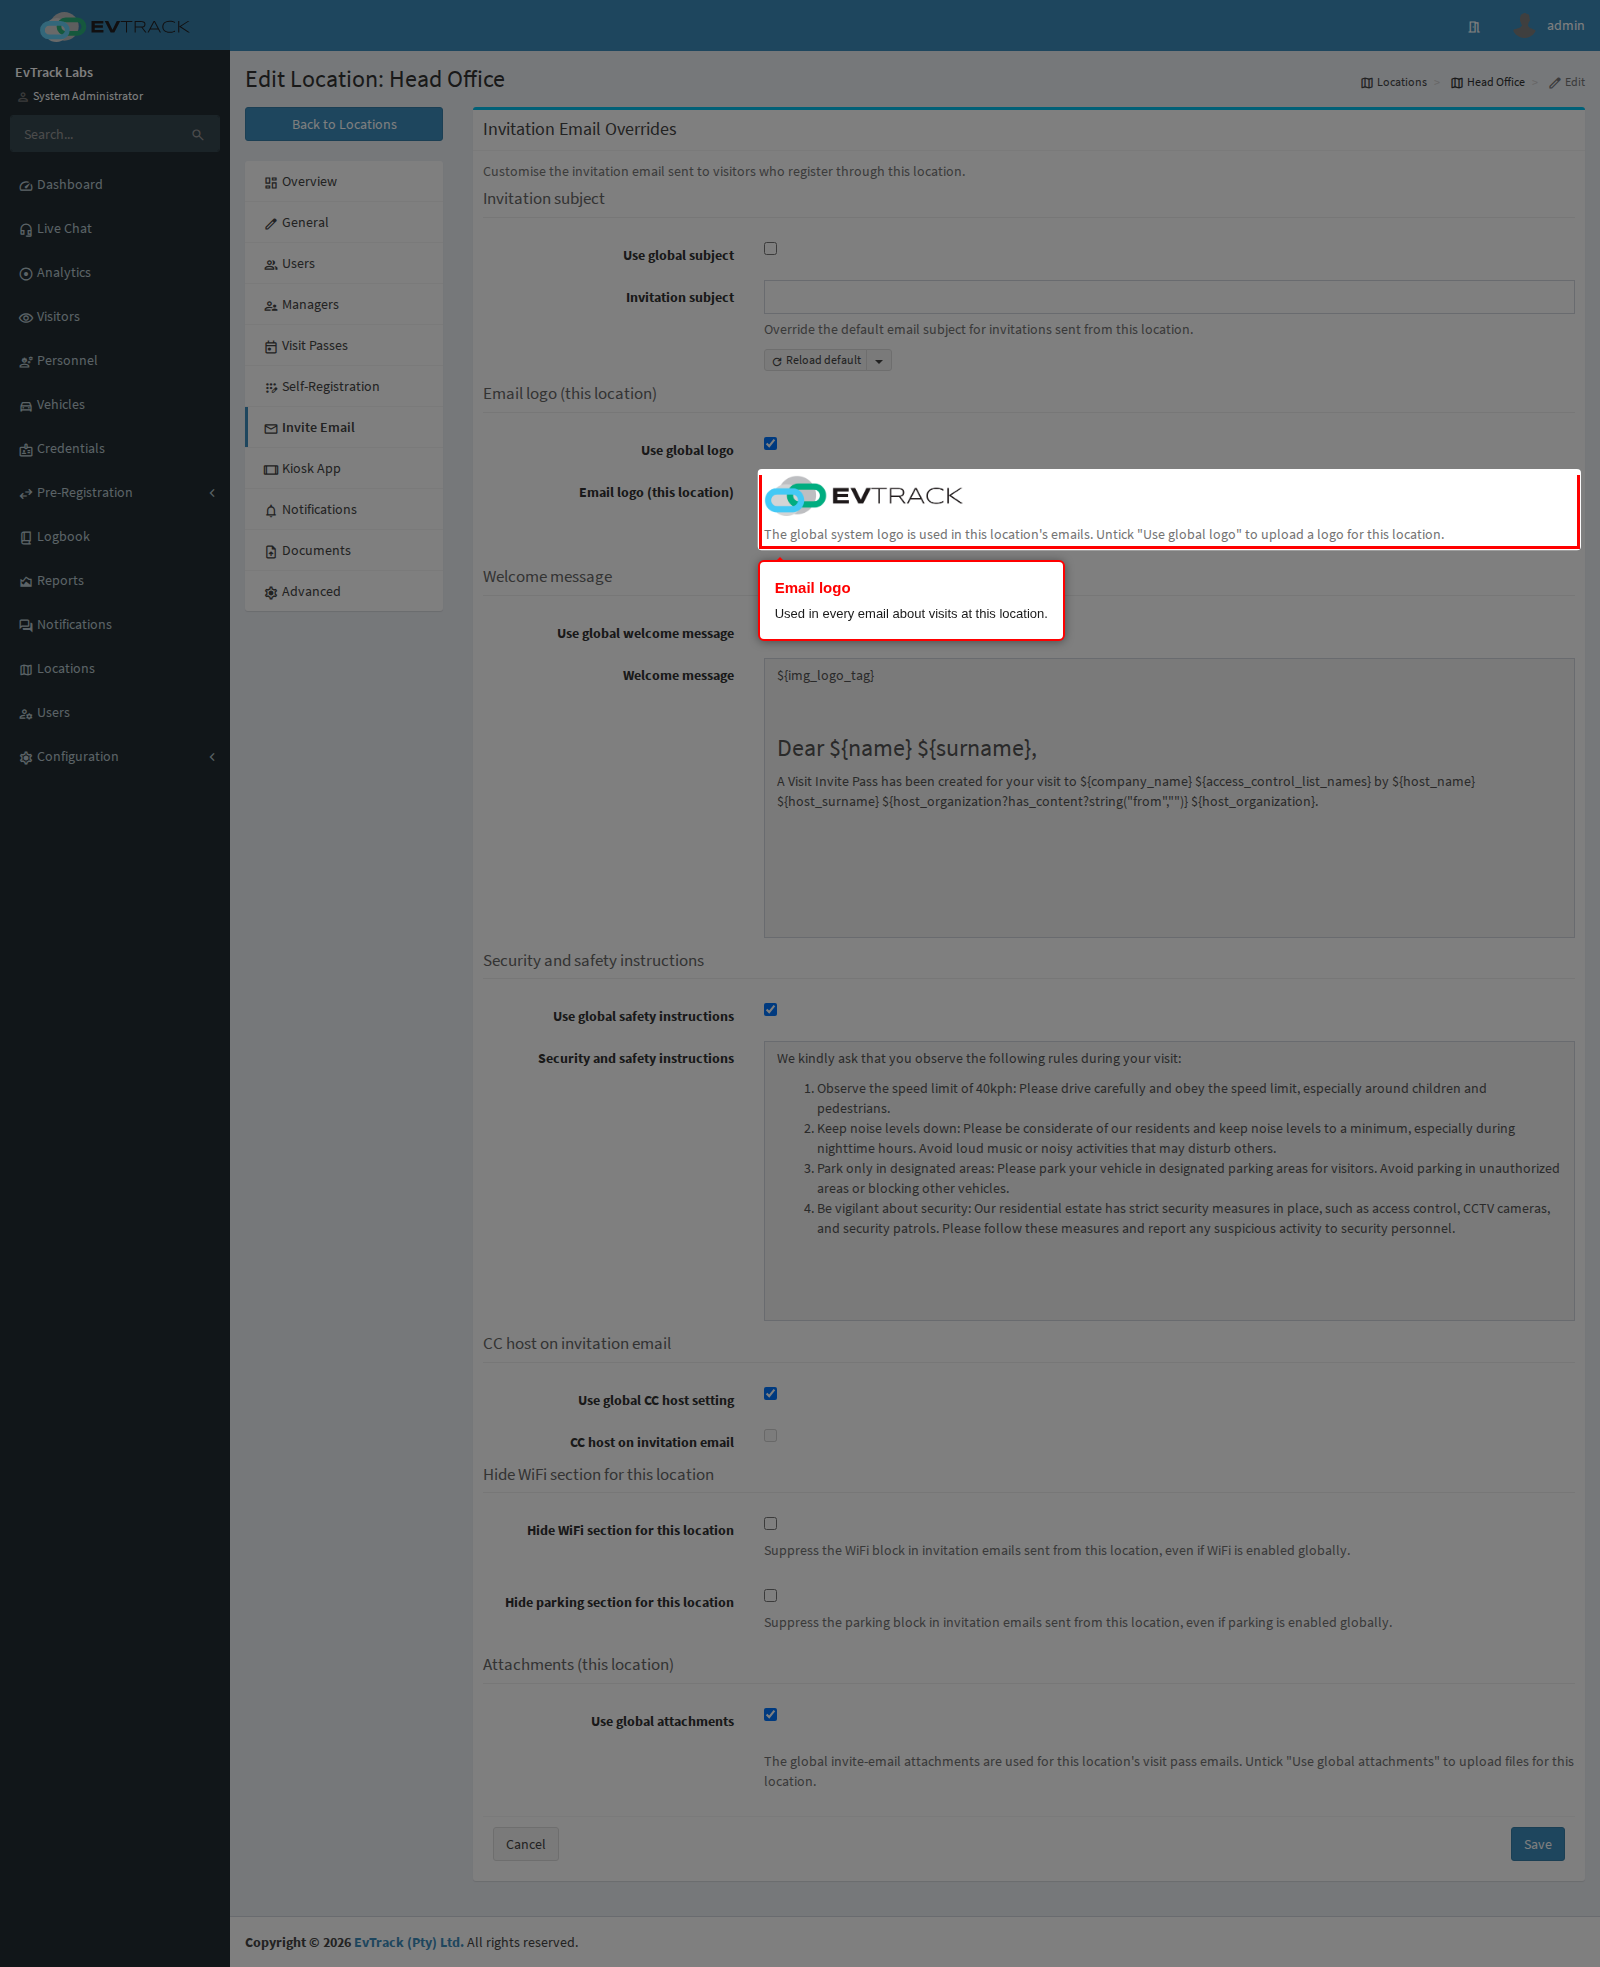
Use global logo is ticked by default and previews the global system logo that this location’s emails use. Untick it to upload a logo for this location.
Step 5: Replace the welcome message
Untick Use global welcome message to write a greeting for the top of the email.
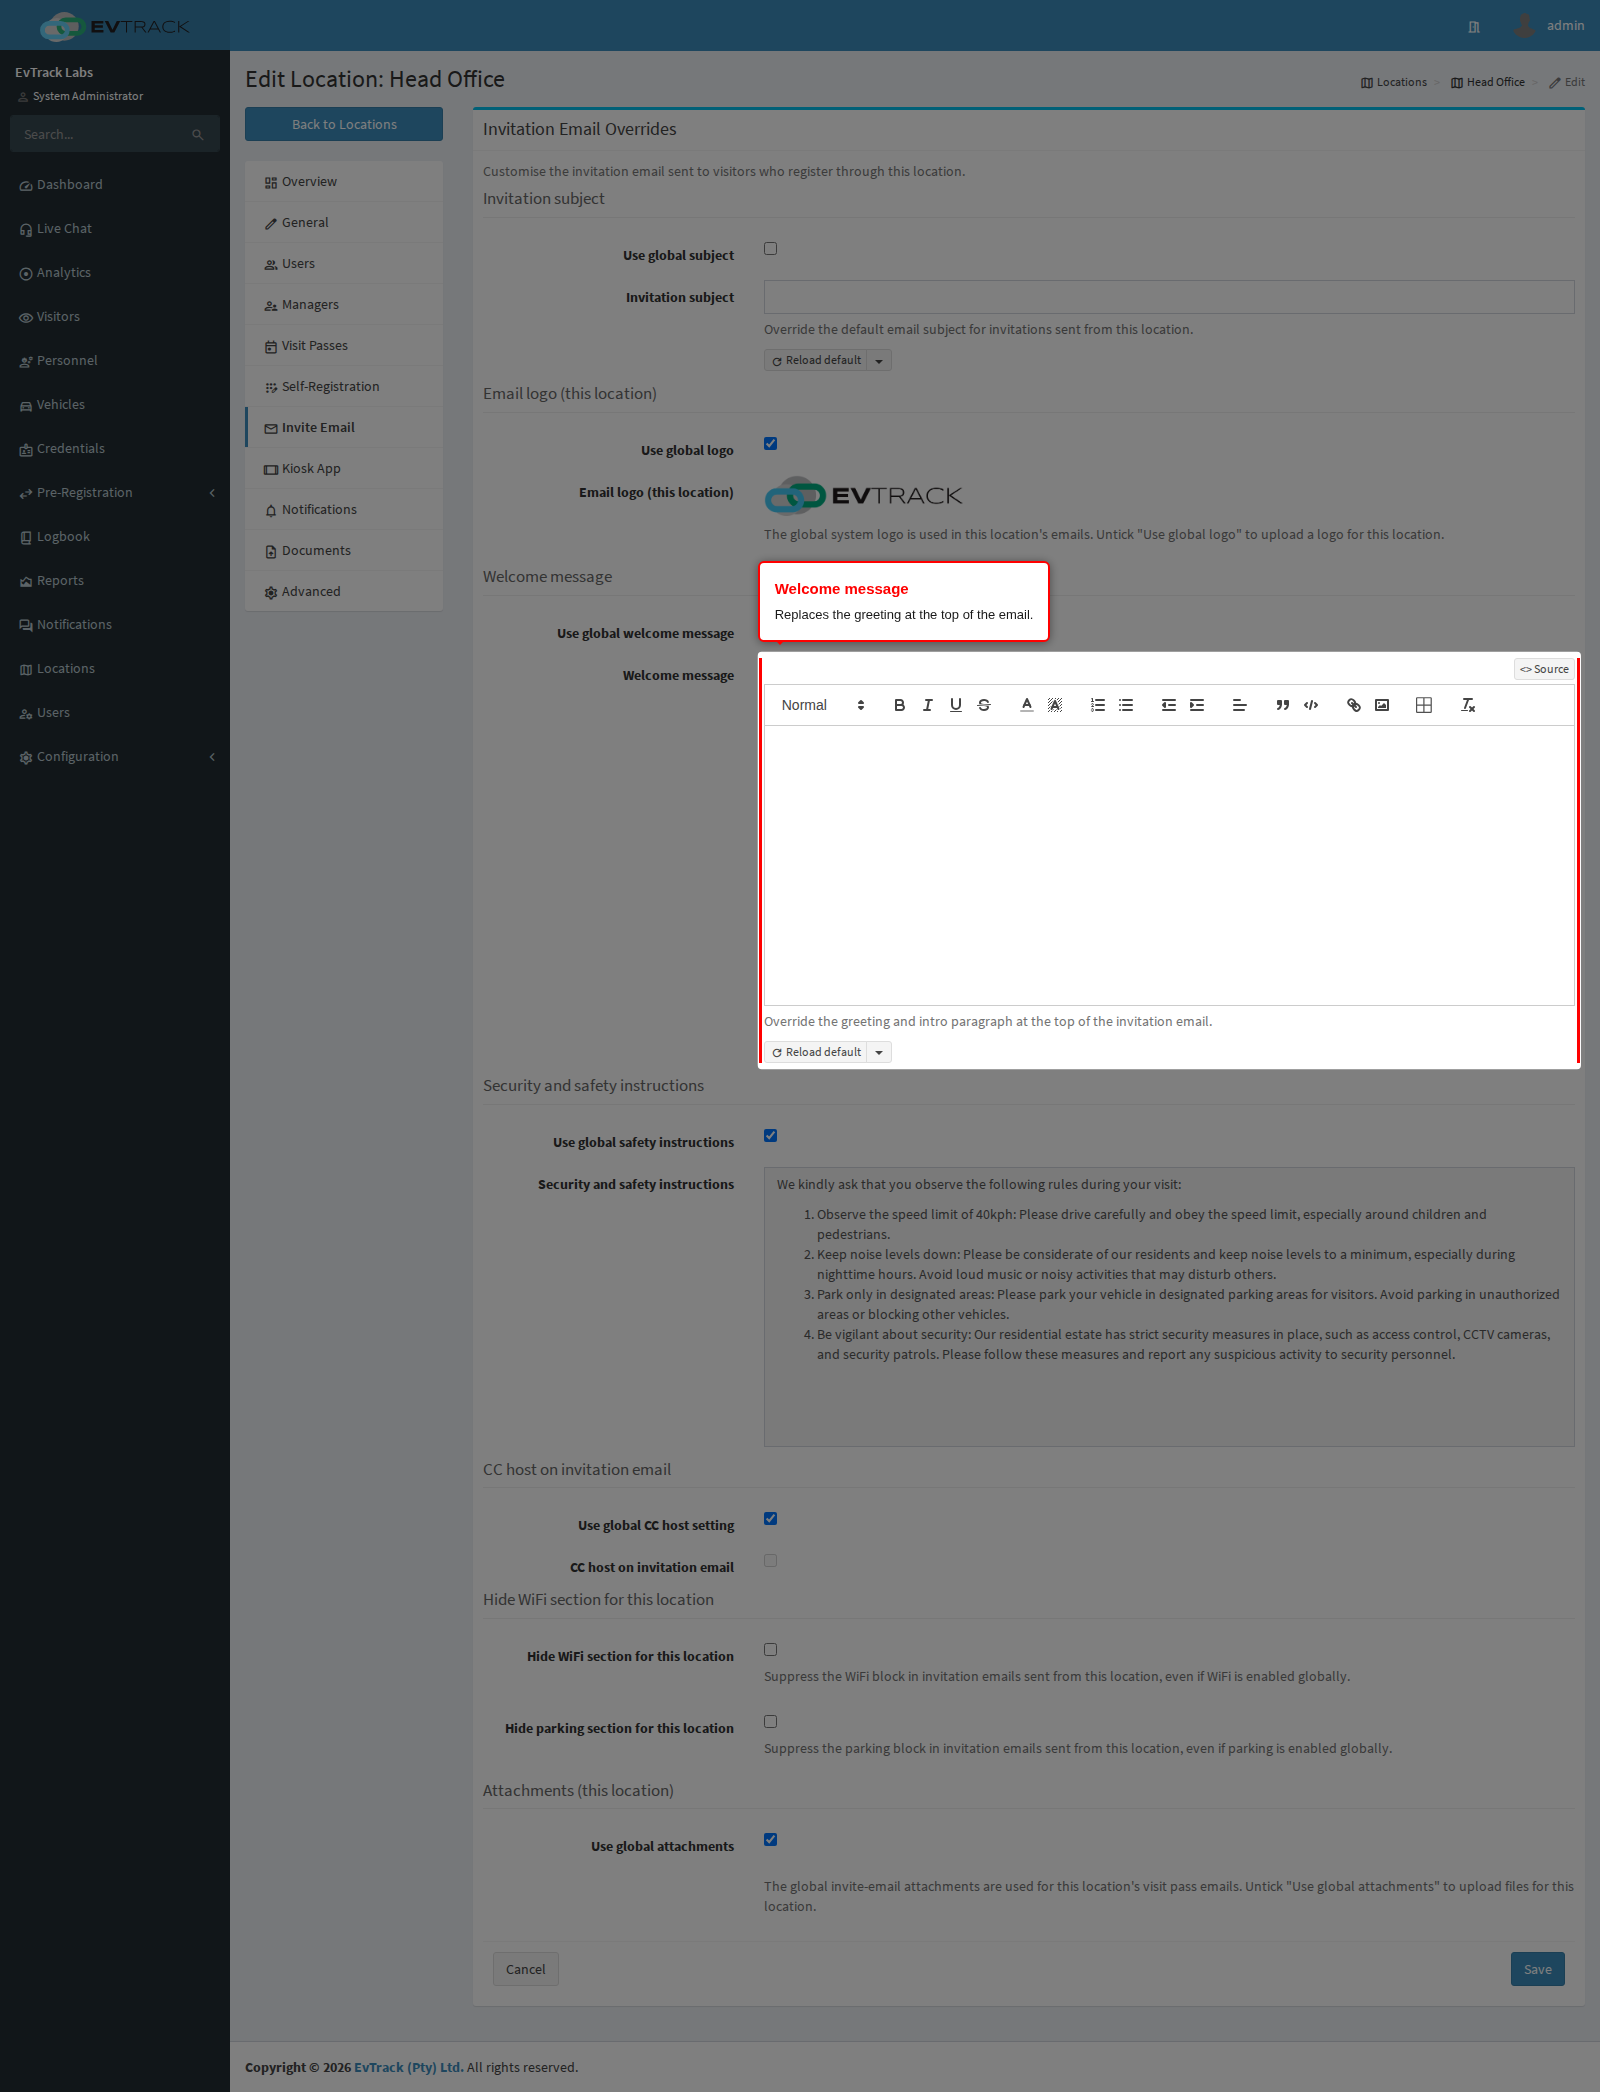
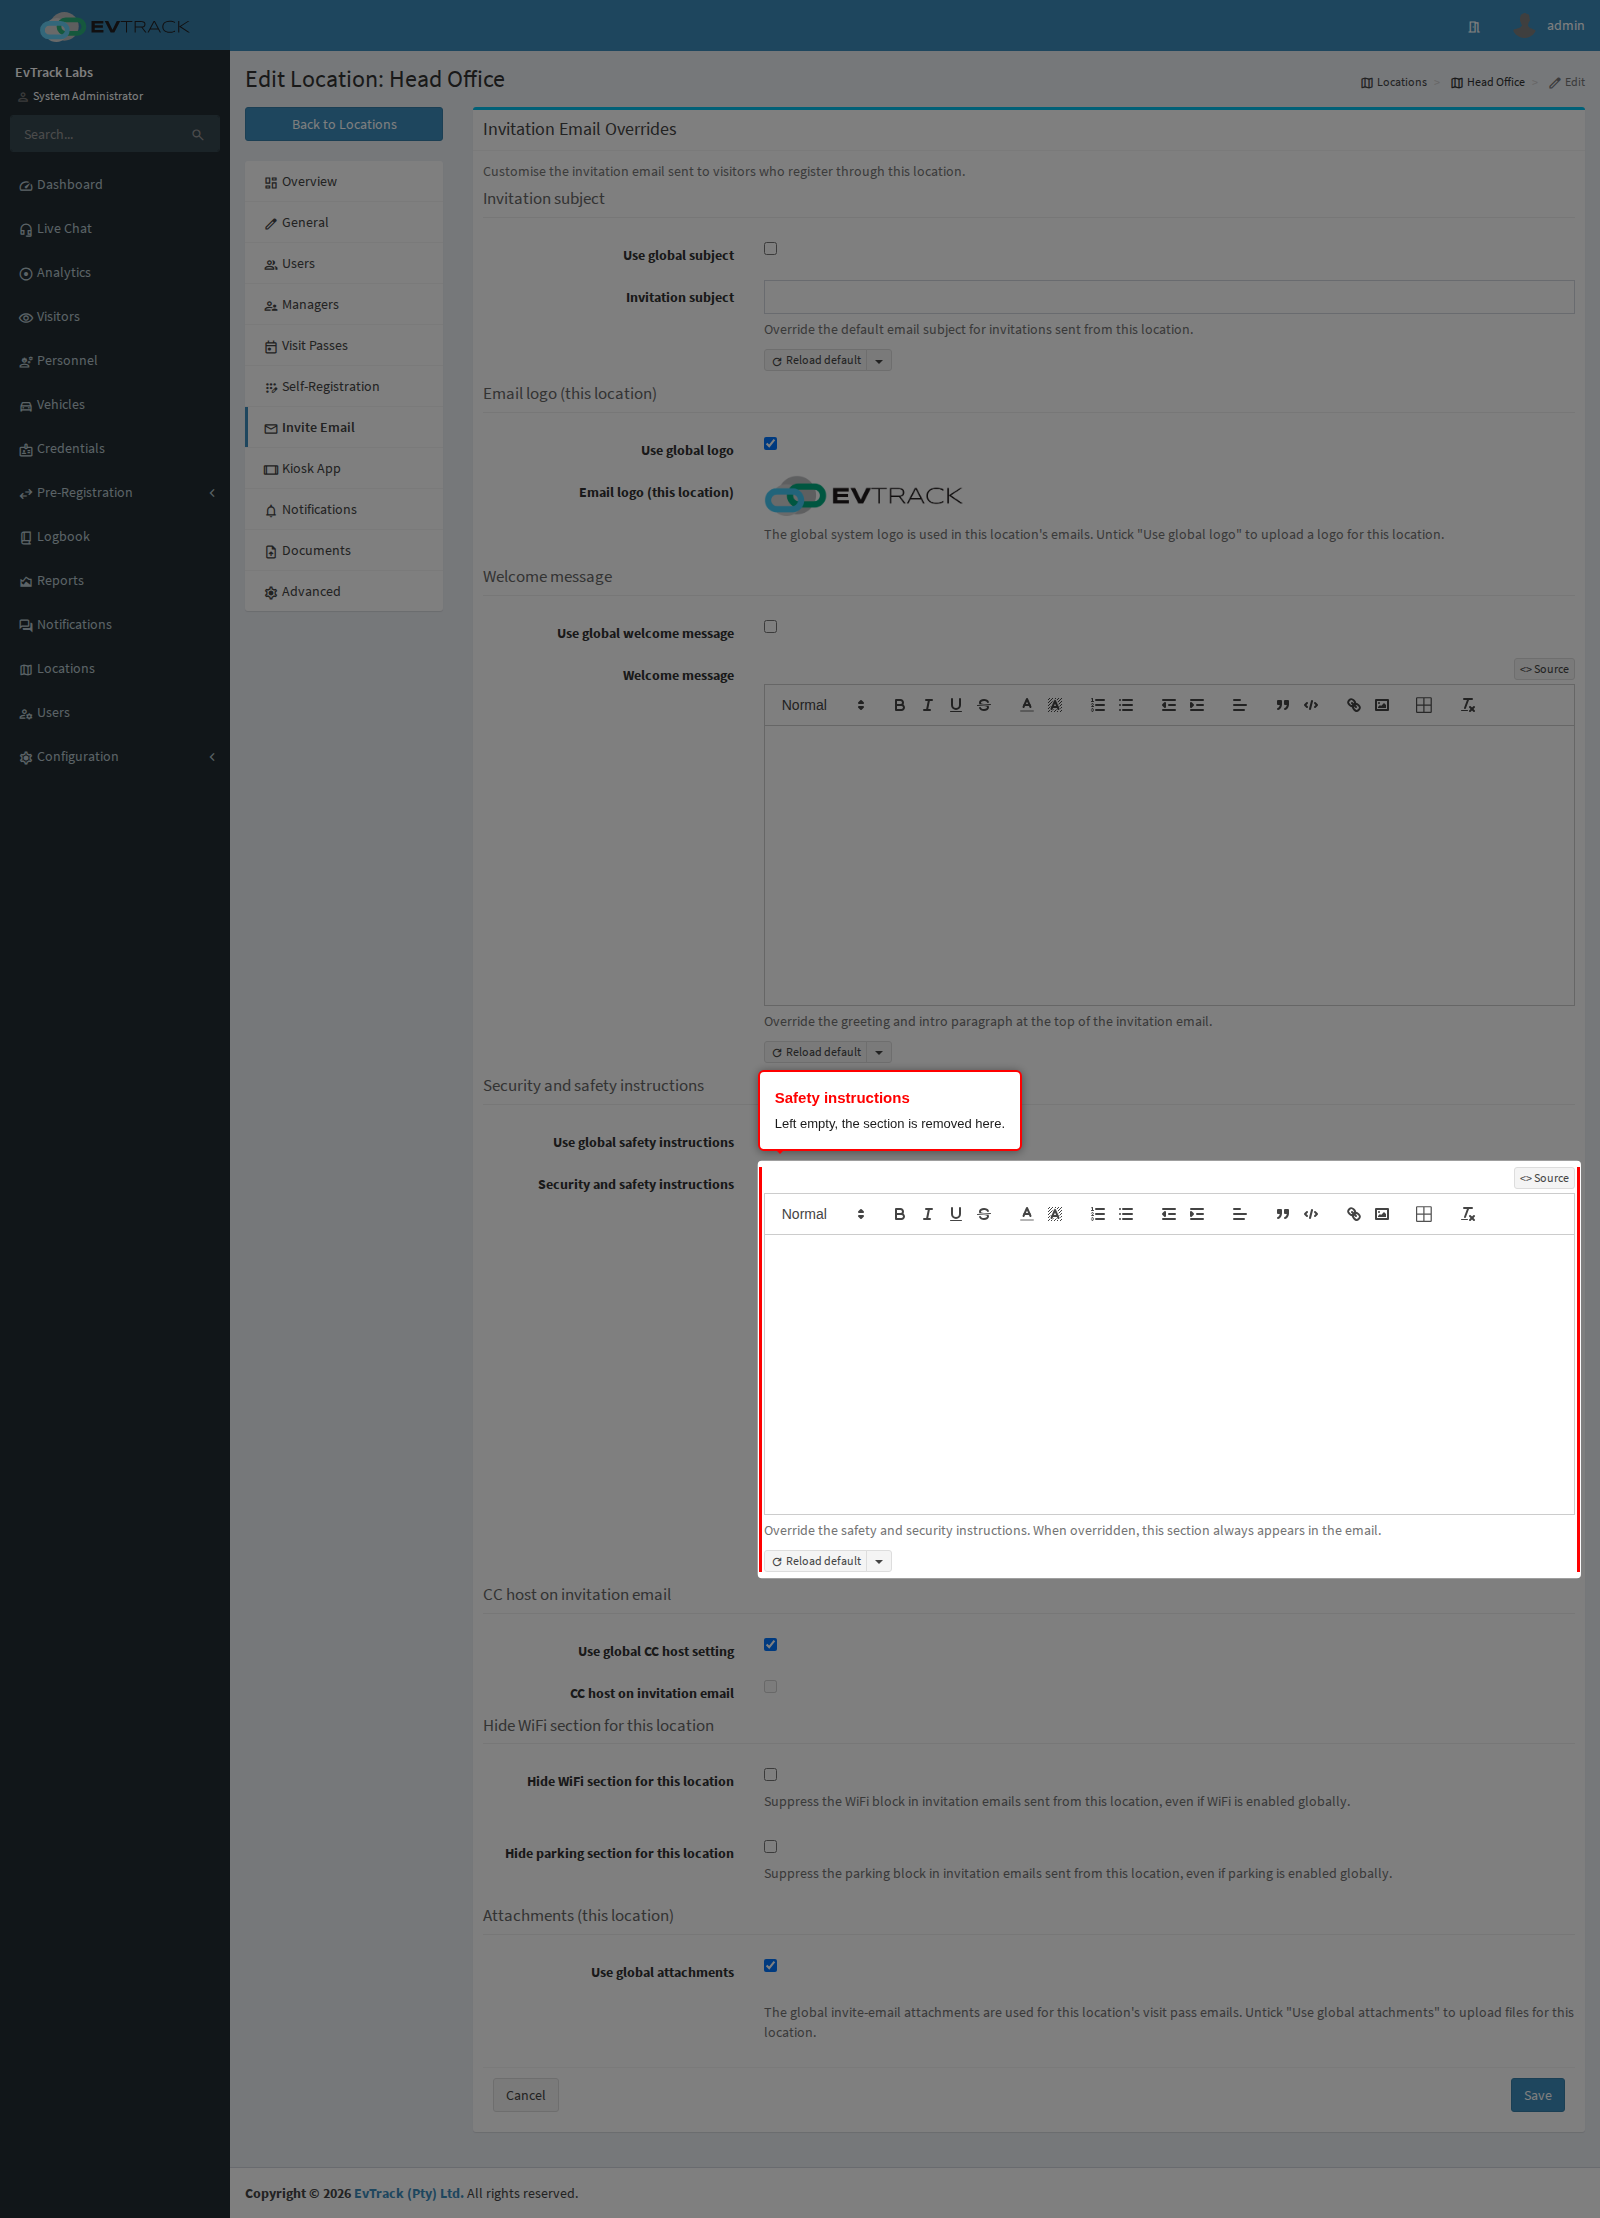
Step 6: Replace the safety instructions
Untick Use global safety instructions to write the security and safety instructions for this location. Leave the editor empty and the section is removed from this location’s email.
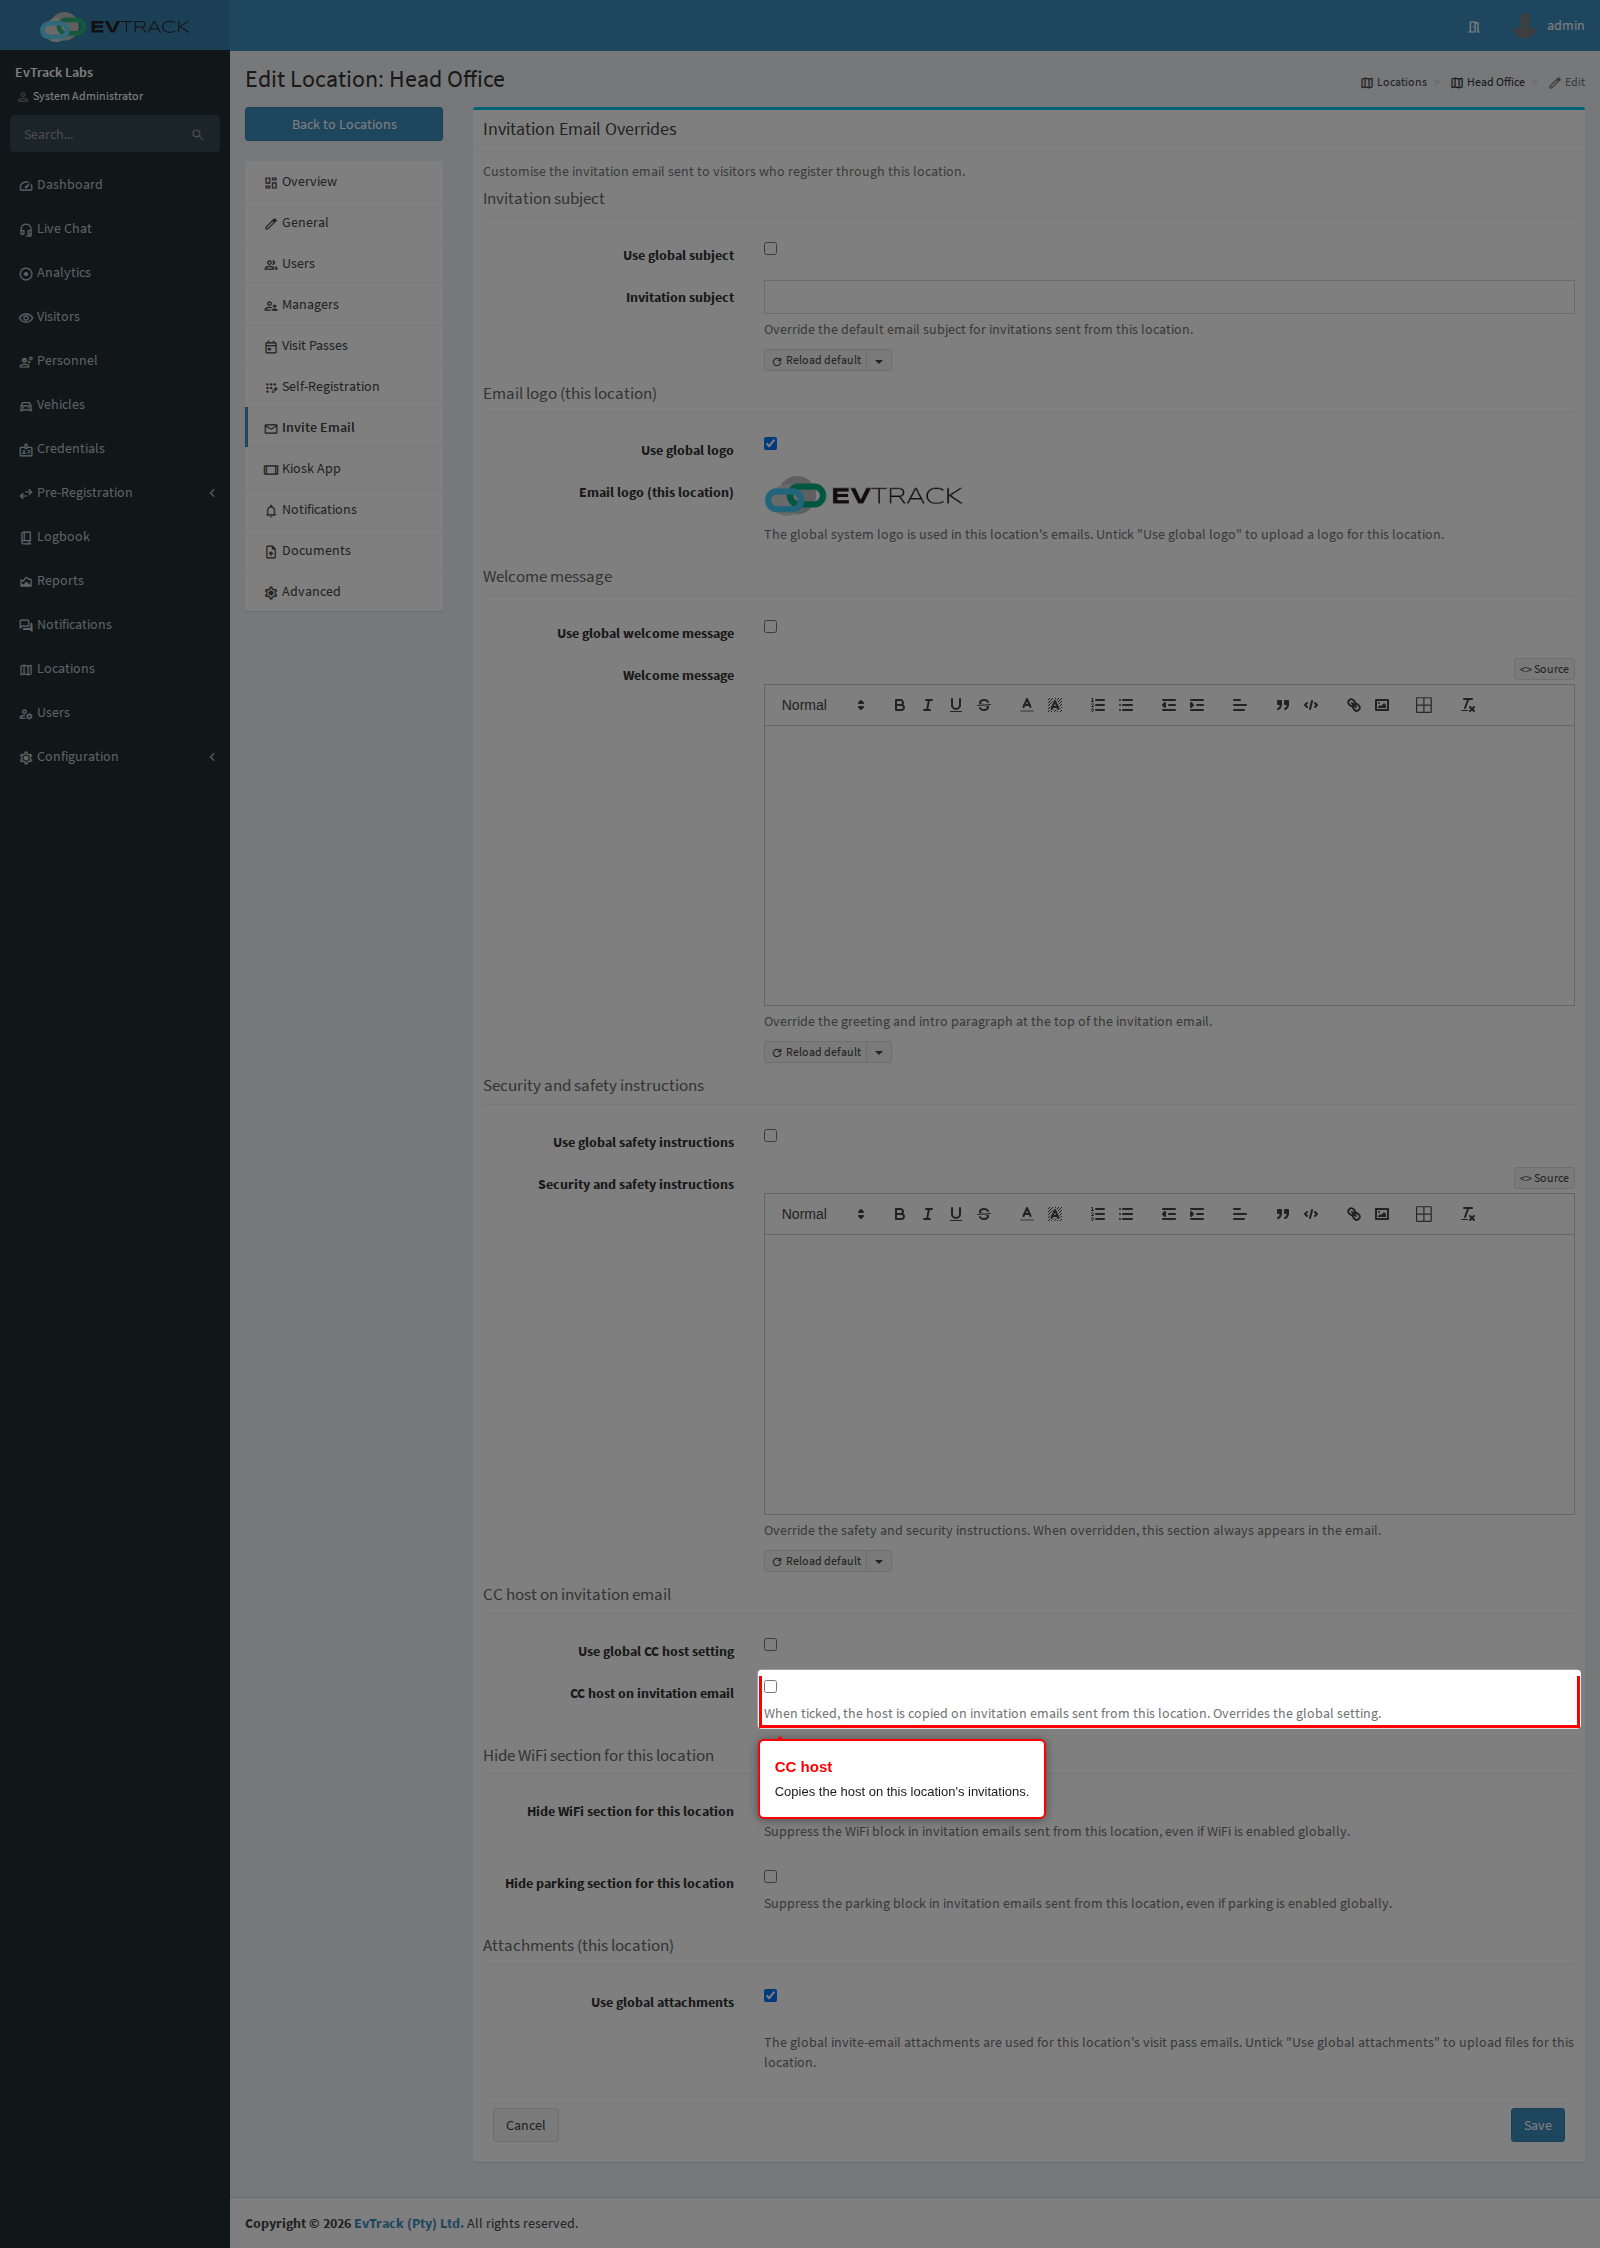
Step 7: Copy the host
Untick Use global CC host setting, then tick or untick CC host on invitation email to decide whether the host is copied on this location’s invitations.
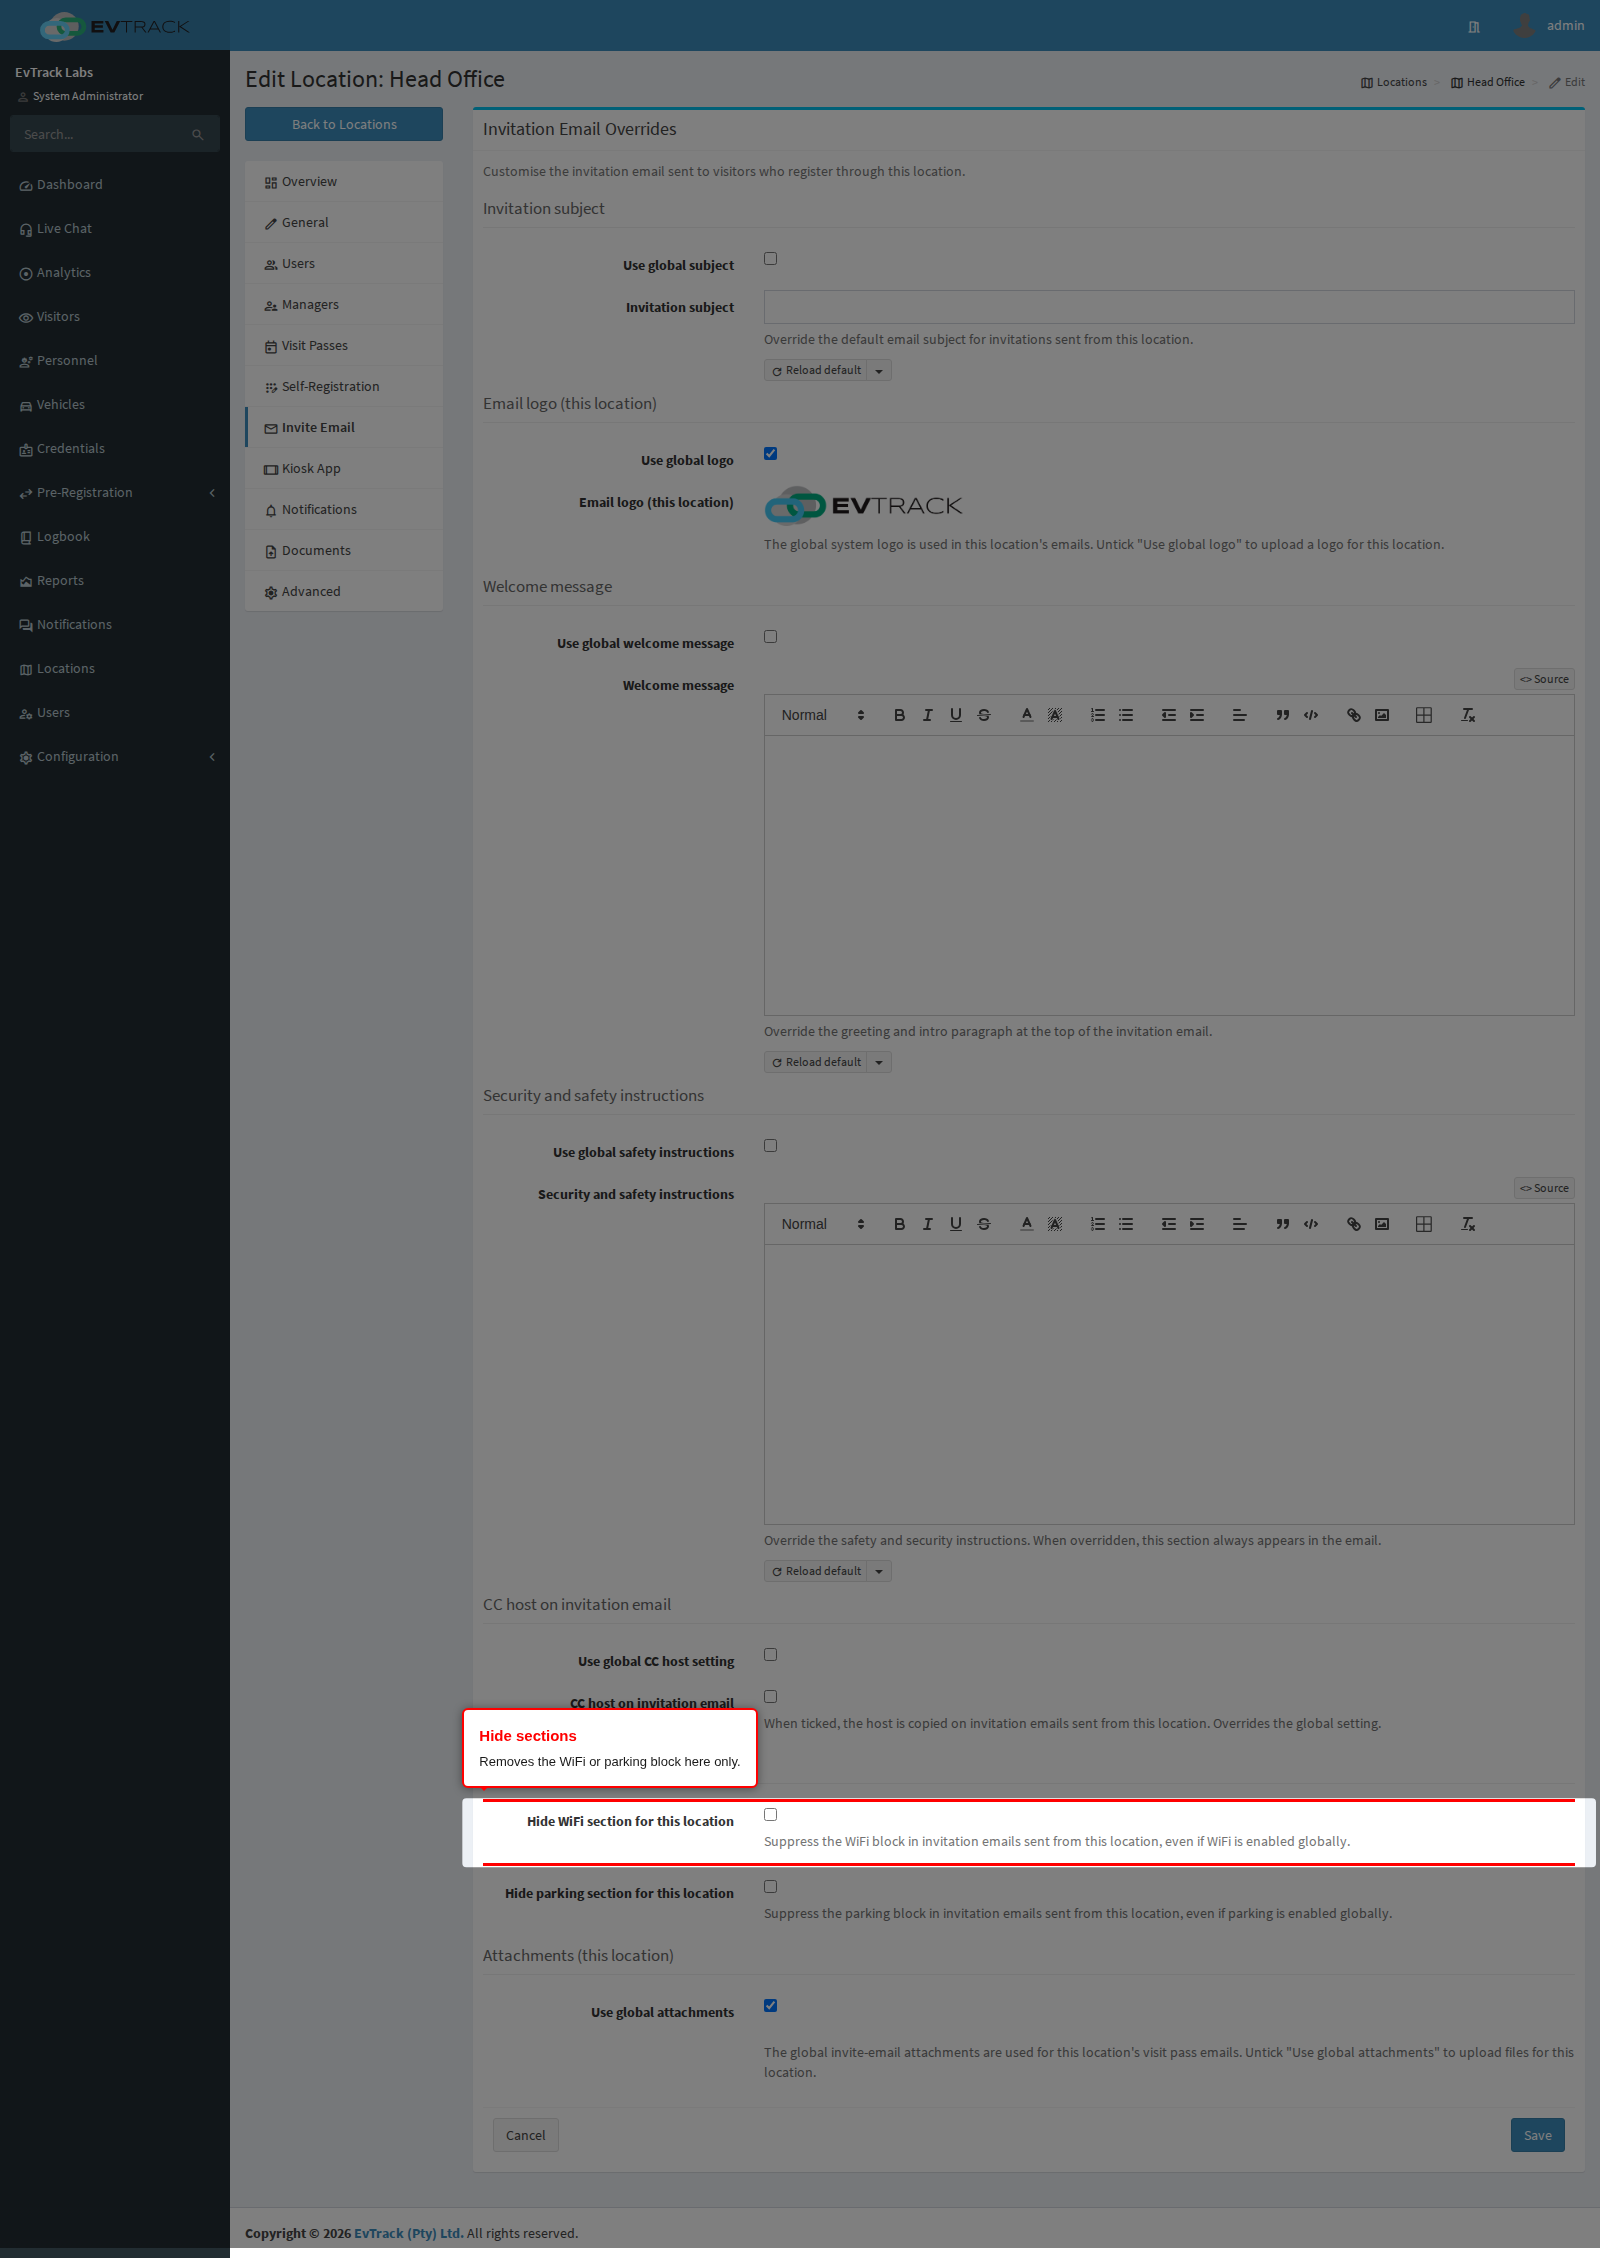
Step 8: Hide sections
Hide WiFi section for this location and Hide parking section for this location are plain boxes with no Use global tick. Tick one to remove that block from this location’s invitations.
Step 9: Manage attachments
Untick Use global attachments to show this location’s own attachments table and the Add attachment button.
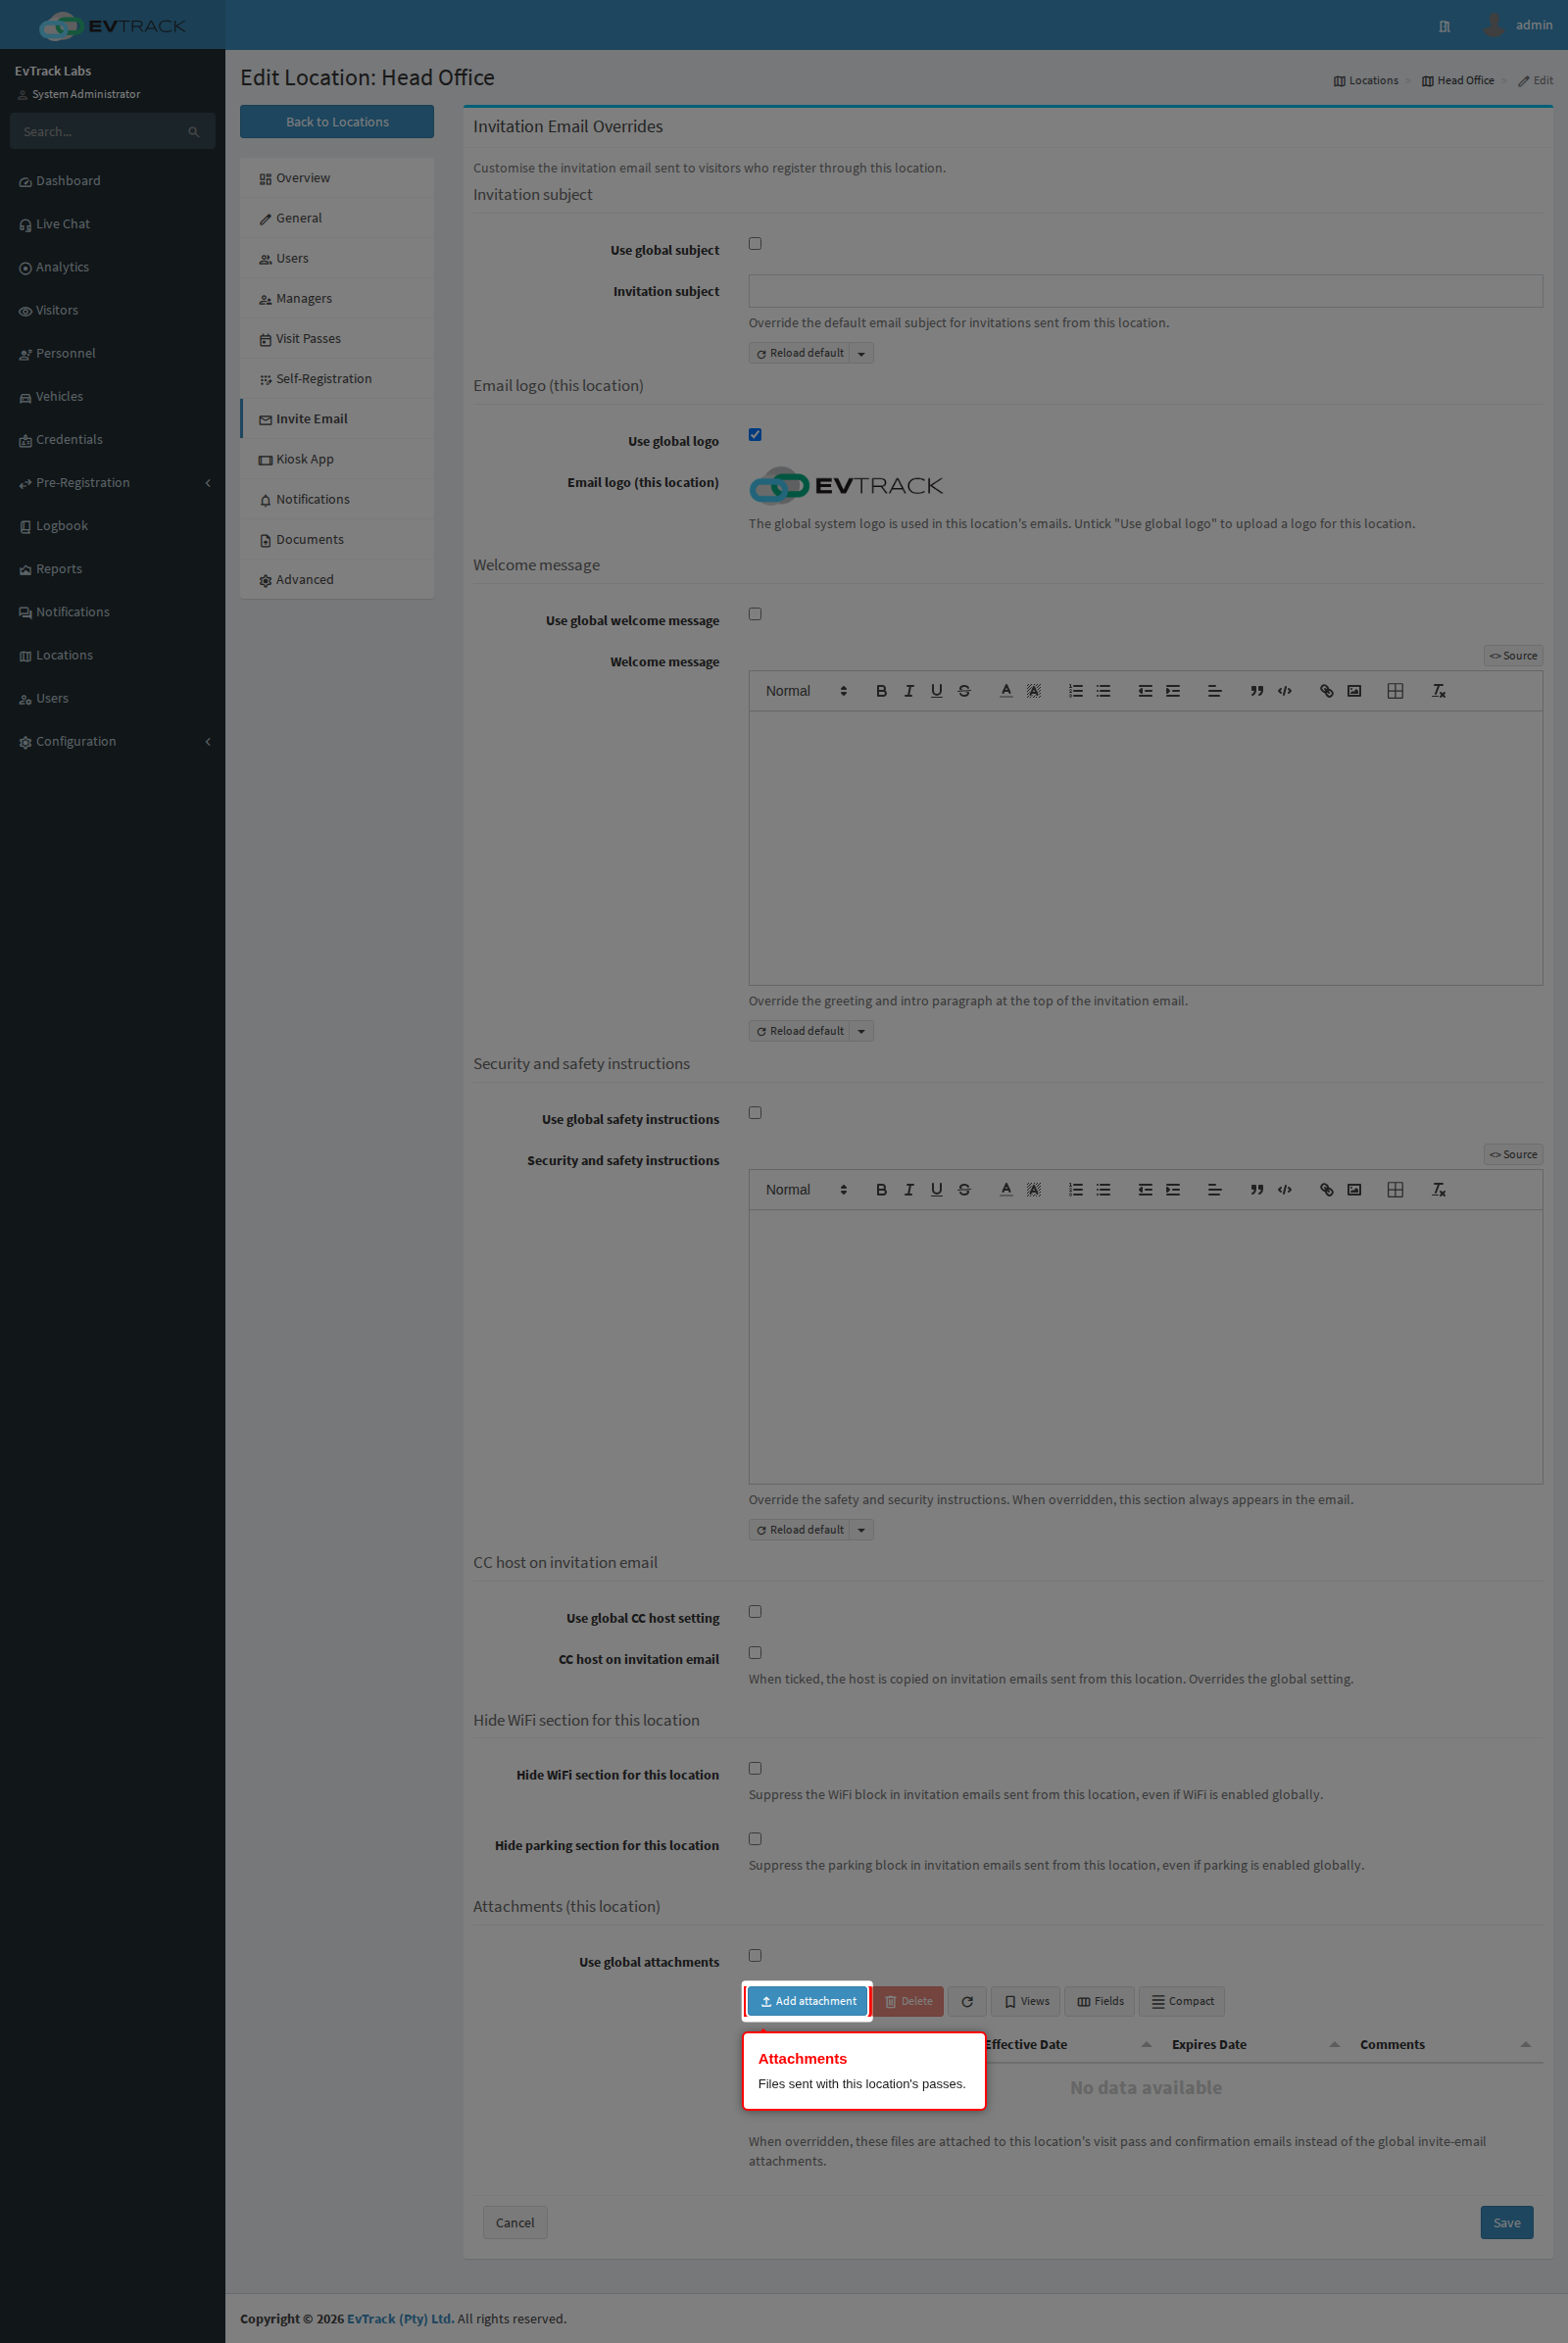
Step 10: Upload an attachment
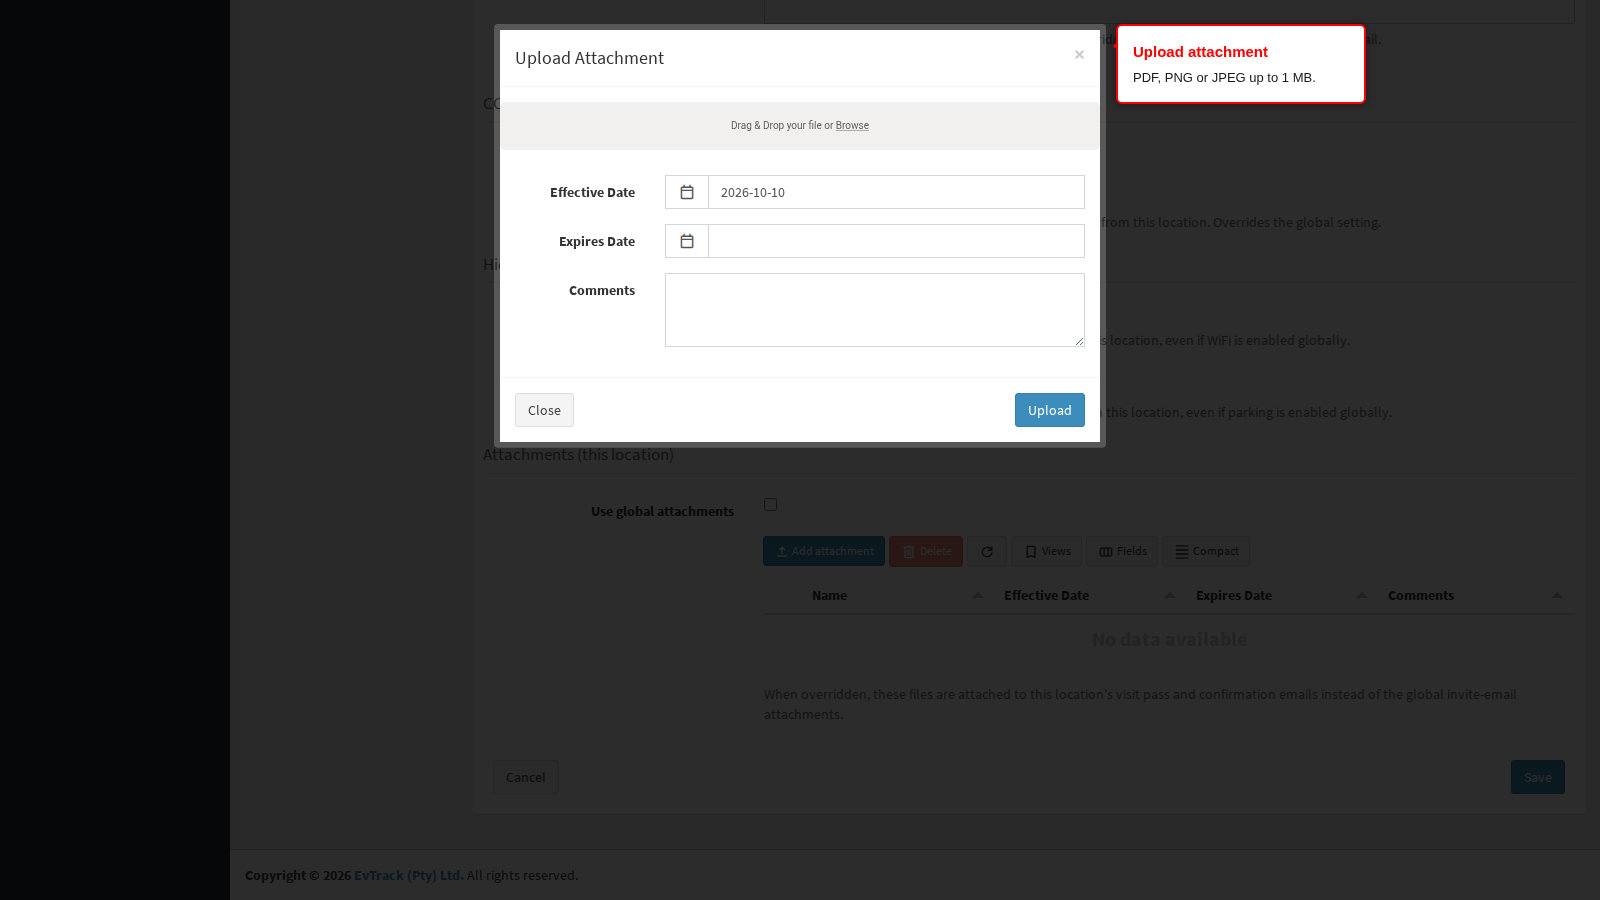
Click Add attachment to open the Upload Attachment dialog. Choose a file, set the dates and comments, and click Upload.
Step 11: Save
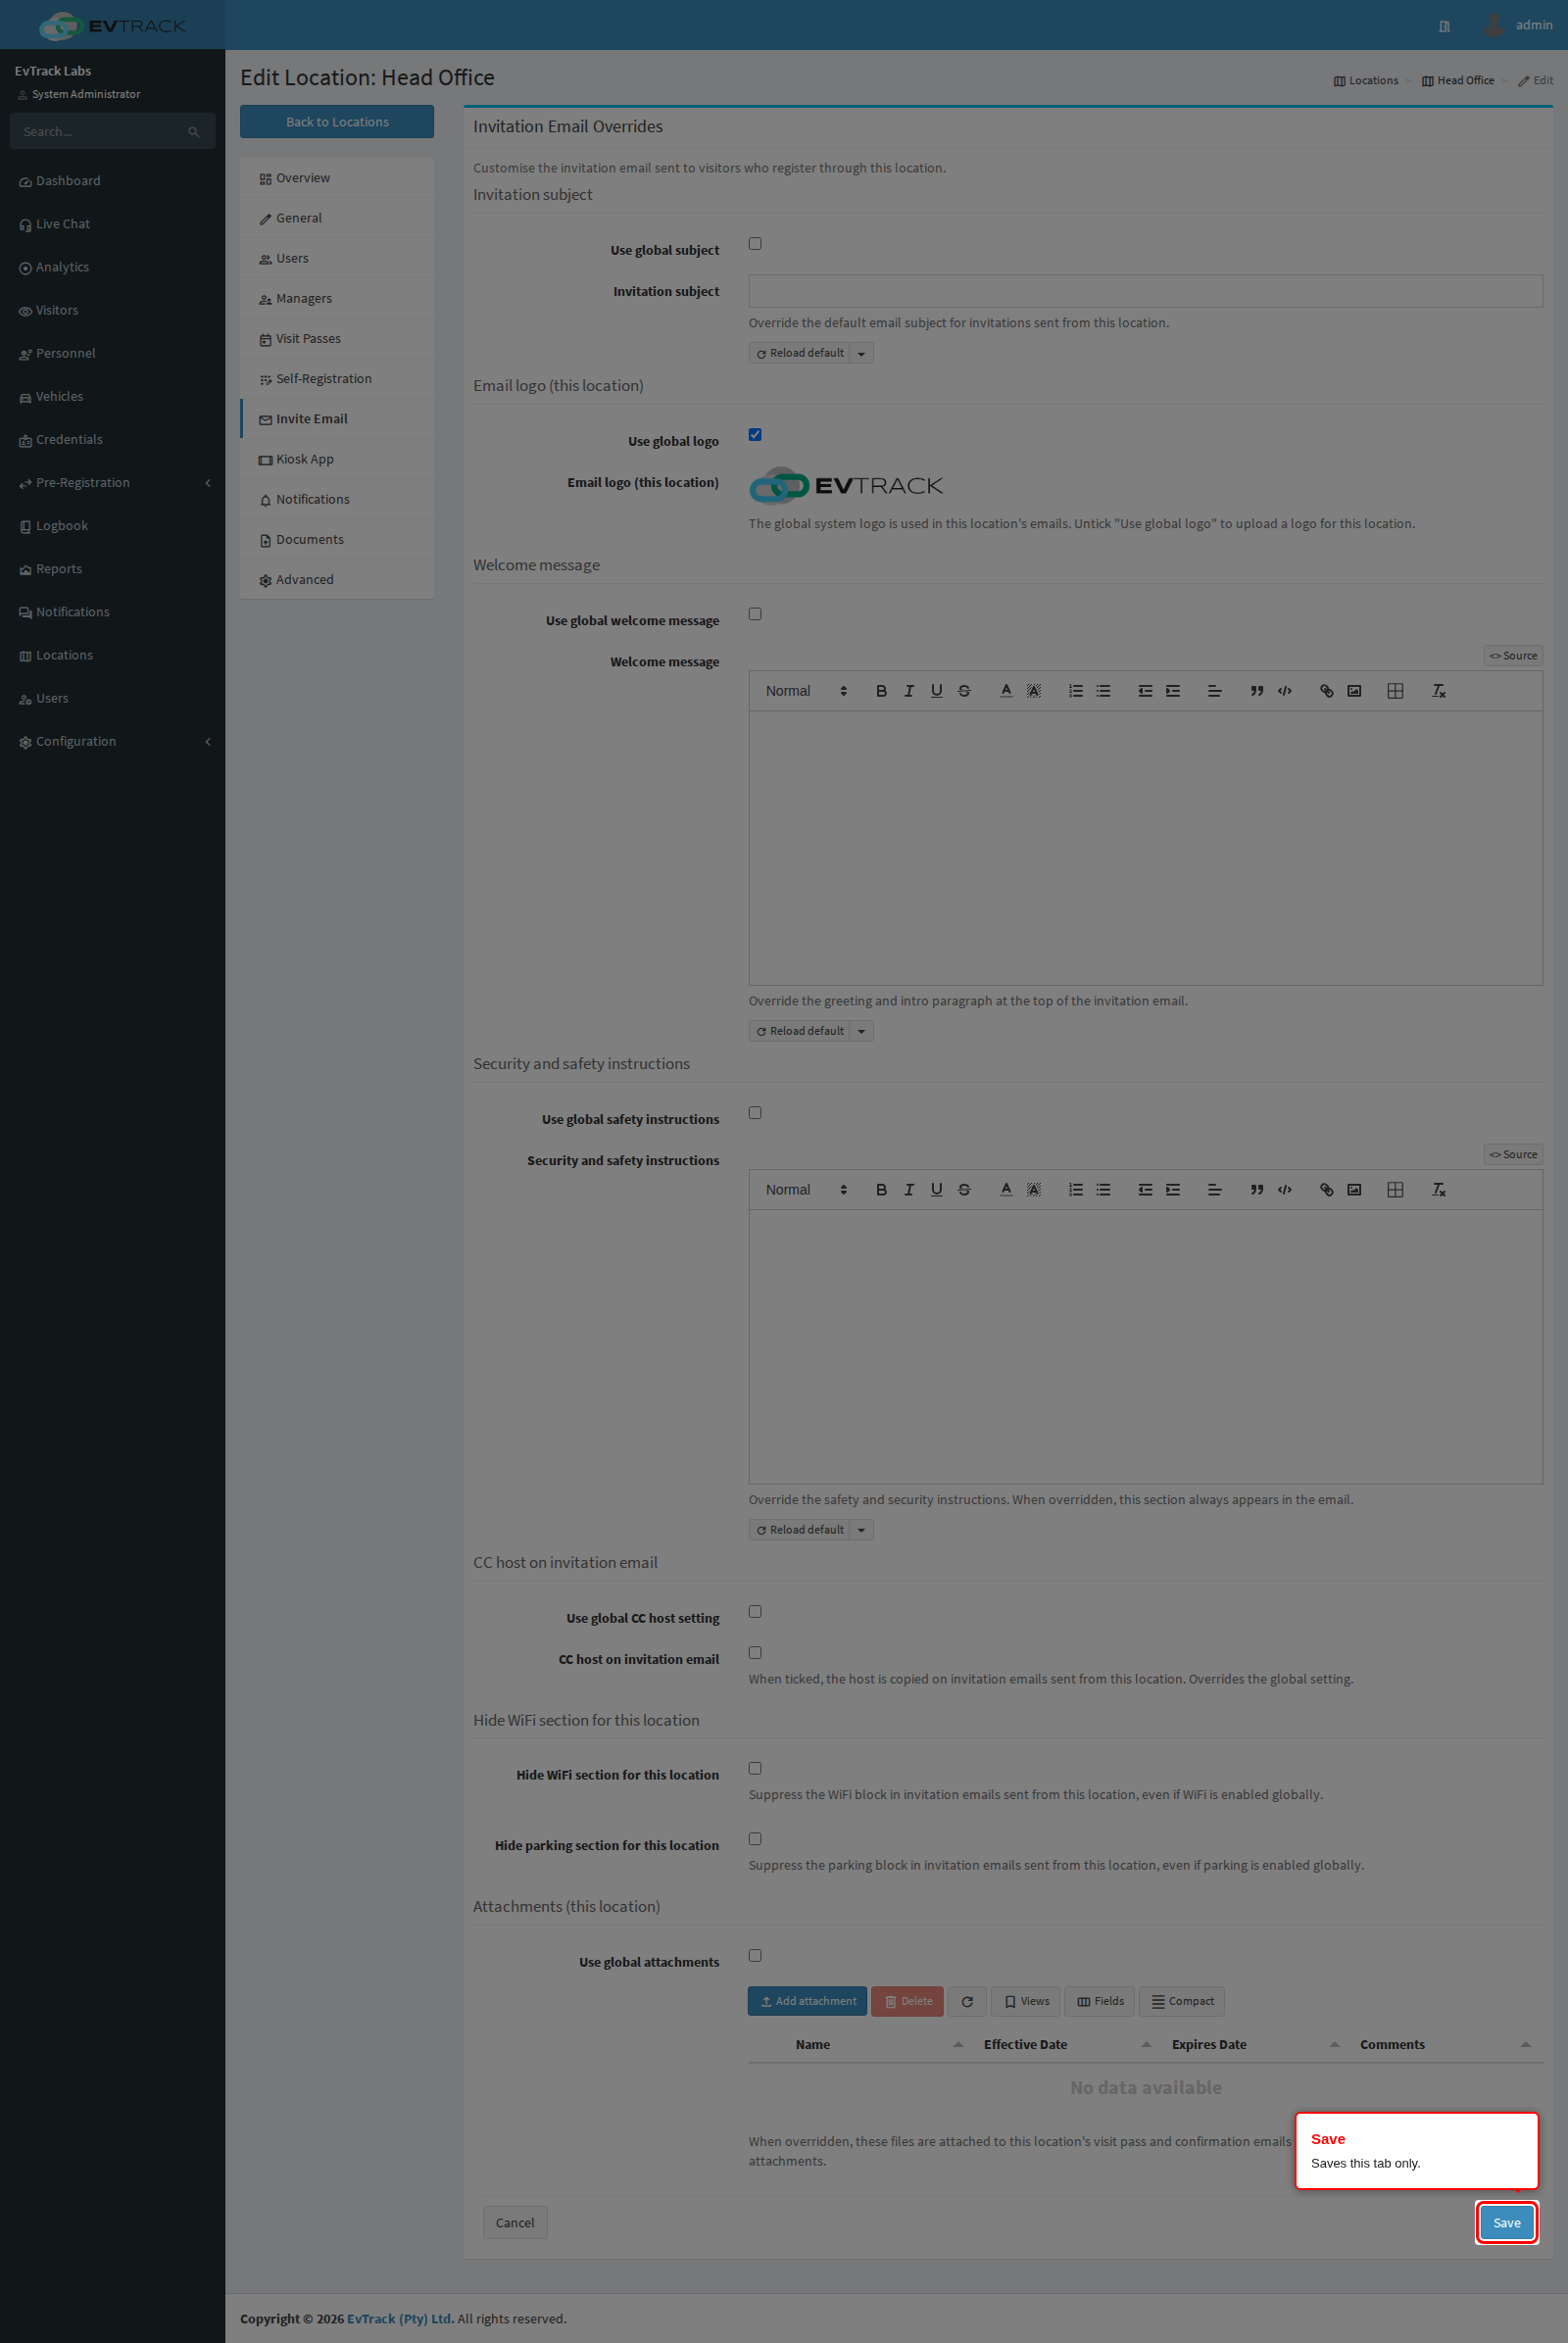
Click Save. Saving this tab keeps you on the Invite Email tab and does not touch the other tabs. Attachments are the exception: they take effect as soon as you upload or delete them, not when you click Save.
Options on this tab
| Option | Use-global tick | Rules | Blank override |
|---|---|---|---|
| Invitation subject | Use global subject, ticked | Up to 200 characters. Reload default loads the global subject. Its caret menu also loads the built-in default in another language. | Unticked but empty: the global subject is used. |
| Email logo | Use global logo, ticked | PNG or JPEG of 256 KB or less (the help text names the formats but not the limit). It replaces the logo in every email about visits and registrations at this location, including notices sent to hosts and approvers. A rejected file keeps the previous logo and shows “The uploaded logo could not be saved (file too large or not a PNG/JPEG image). The existing logo was kept.” | Unticked with no logo: the global logo is used. |
| Welcome message | Use global welcome message, ticked | Rich text; unsafe HTML is removed when you save. Reload default loads the global message. | Unticked but empty: the global message is used. |
| Security and safety instructions | Use global safety instructions, ticked | Rich text; unsafe HTML is removed. When overridden, the section always appears, even if the global email leaves it out. Reload default loads the global text. | Unticked and empty: the section is removed from this location’s email. |
| CC host on invitation email | Use global CC host setting, ticked | A single box that replaces the global CC host choice for this location. It also applies to the cancellation email. | Not applicable: unticked, the box is either on or off. |
| Hide WiFi section for this location | None | Off by default. It can only remove a section the global email includes, never add one. | Not applicable. |
| Hide parking section for this location | None | Off by default. Same rule as the WiFi section. | Not applicable. |
| Attachments (this location) | Use global attachments, ticked | A table with Name, Effective Date, Expires Date and Comments. See below. | Unticked with no files: this location’s emails carry no attachments. |
About the logo upload, removing the file in the upload box and saving clears the logo, and ticking Use global logo again falls back to the global one.
Upload Attachment dialog. Choose a file (PDF, PNG or JPEG up to 1 MB), then set Effective Date (required, today by default), Expires Date (optional) and Comments. Click Upload. Uploads and deletes take effect immediately, not on Save. Files uploaded here go with this location’s visit pass and confirmation emails instead of the global attachments. They are deleted together with the location.
How it works
Each time an invitation email is sent, EvTrack builds it from the global email settings and applies this location’s overrides on top. Anything left on its Use global tick comes from Visitor Email Settings.
The company name in these emails comes from the Advanced tab when that tab overrides it. See Location Advanced Settings.