The Fields panel of the kiosk settings decides what the FrontDesk kiosk asks a visitor for, which of those answers the visitor may skip, and the order of the questions. It is the only list the kiosk reads: nothing you set on another required-fields page changes what the kiosk asks. By default the list applies to every kiosk, and a location can replace it for its own kiosks.
Before you start:
- You can edit visitor settings.
- If you want agreements on the kiosk, they are already written under Agreements.
Step 1: Open Fields
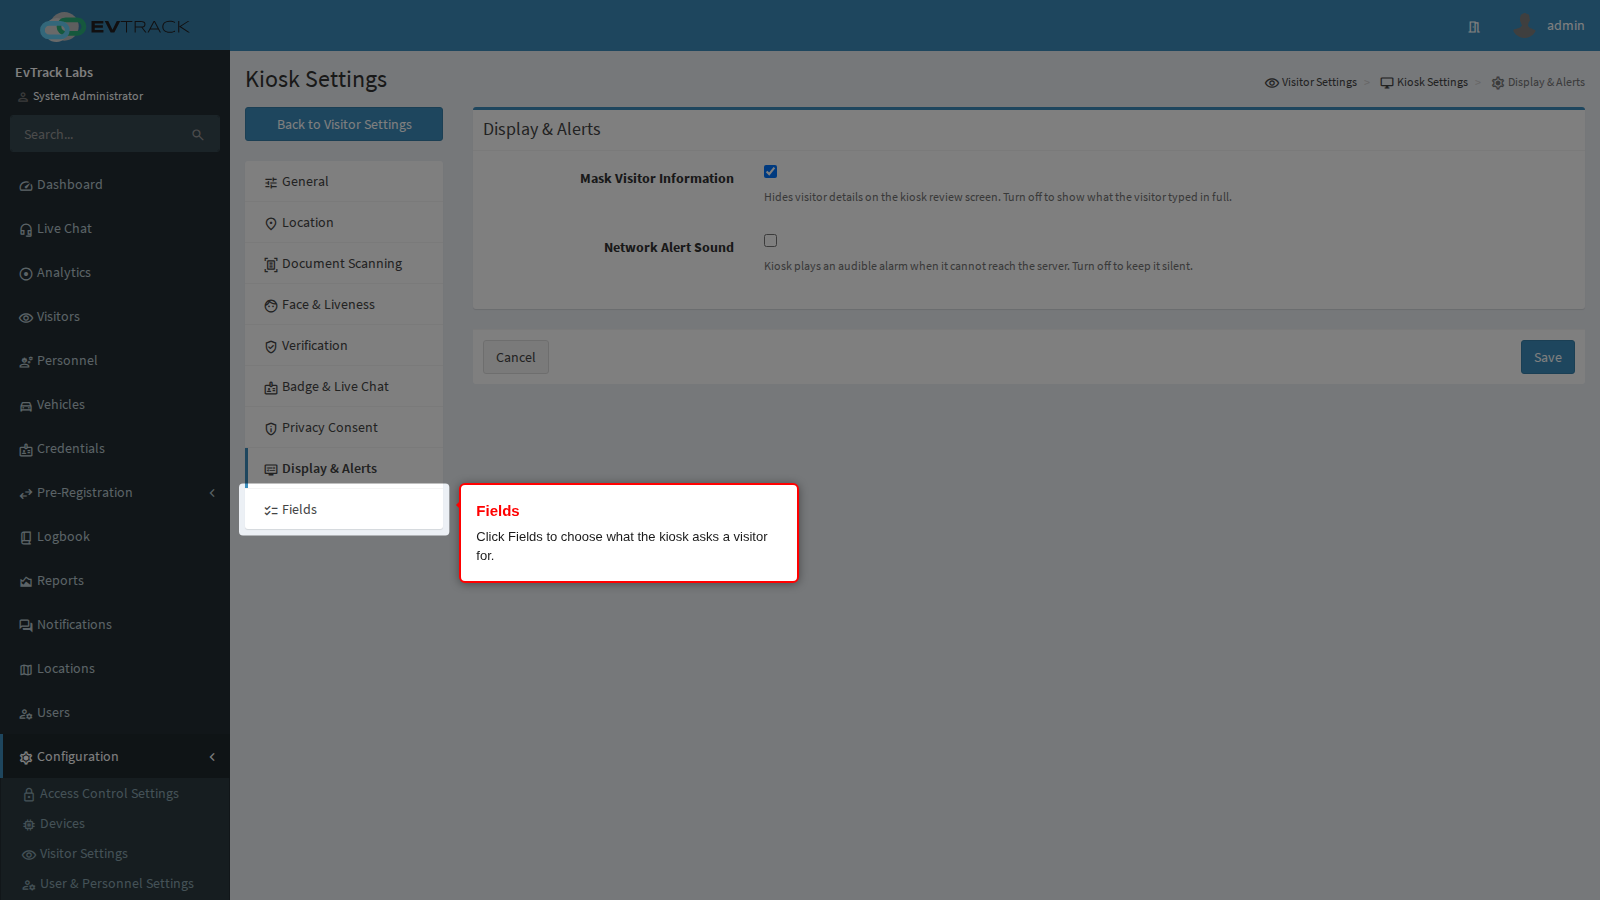
Go to Configuration > Visitor Settings, click the Kiosk tile (the Kiosk Settings page gives the overview), and choose Fields in the kiosk menu on the left.
The field list
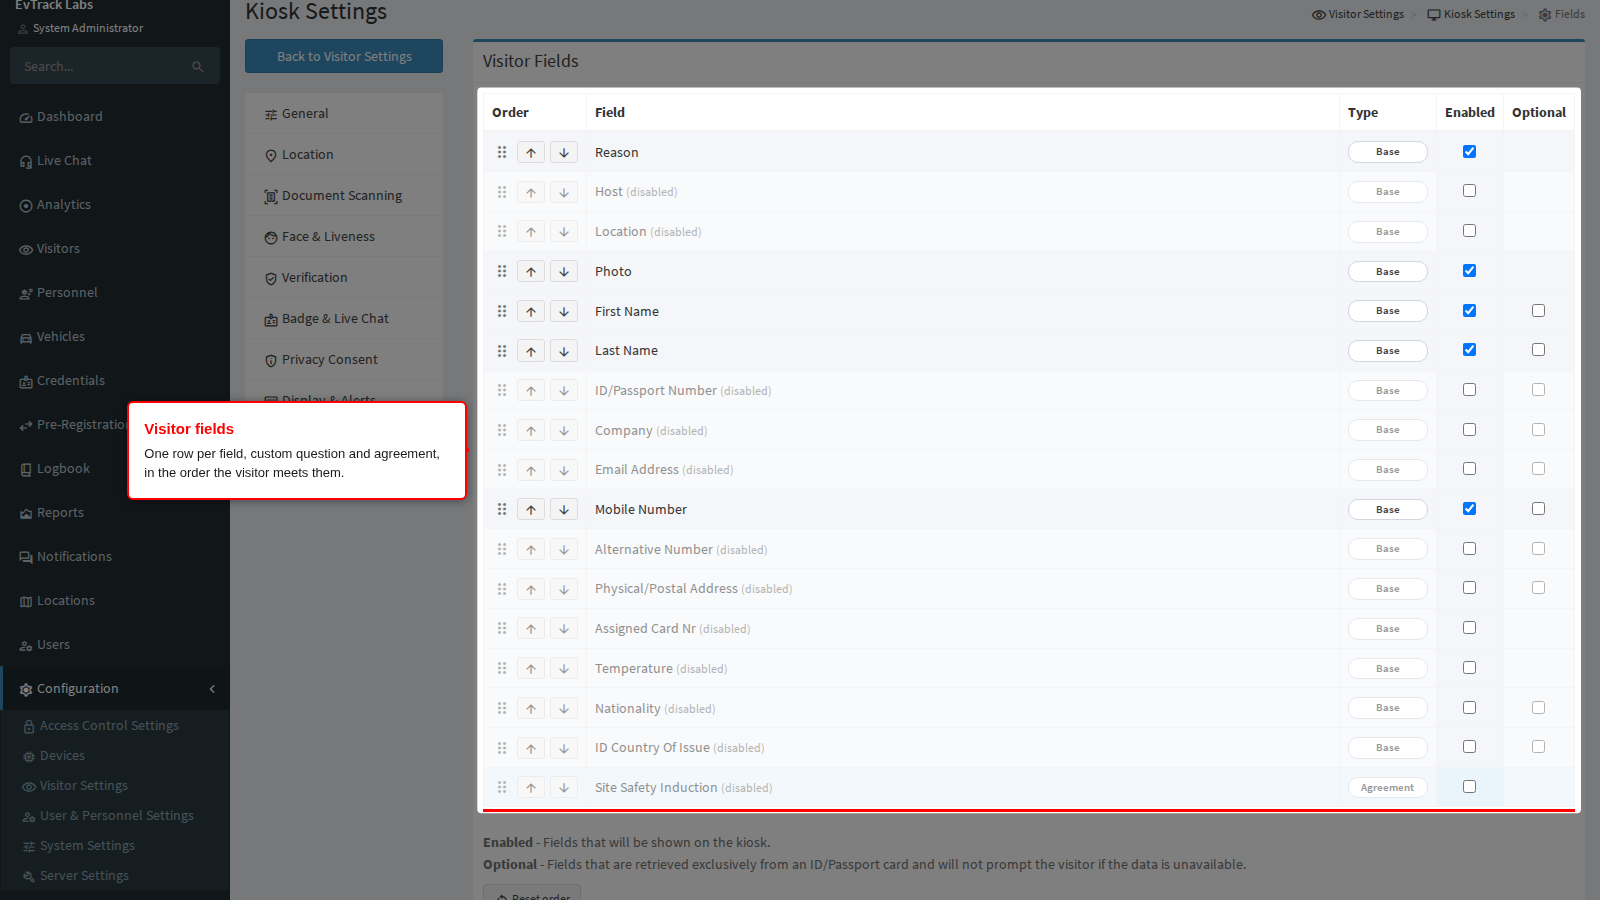
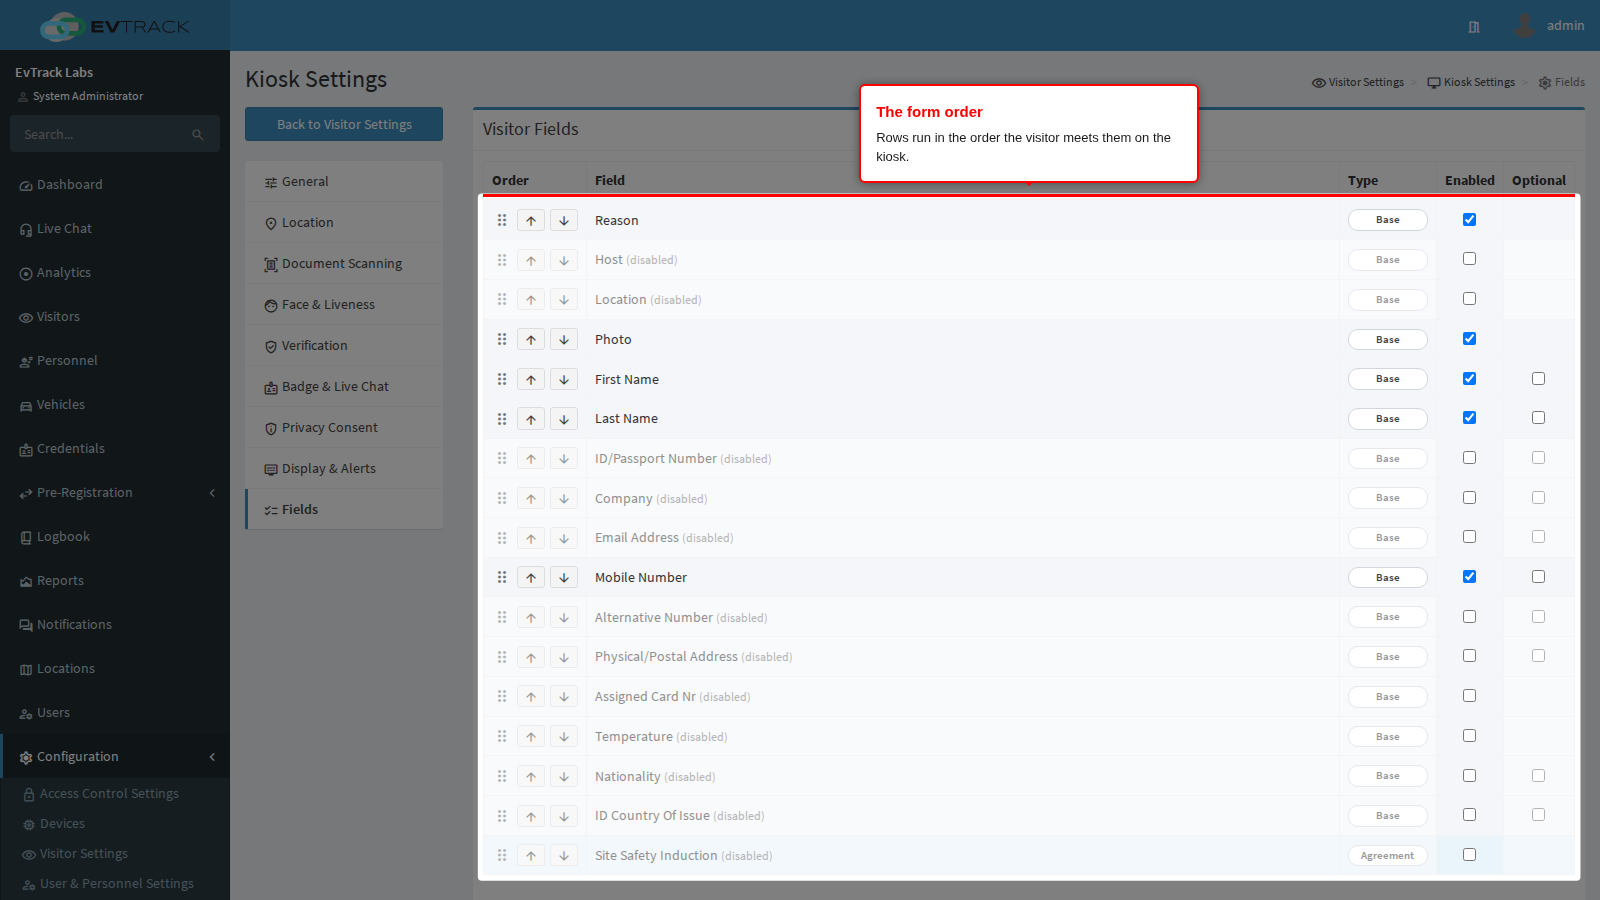
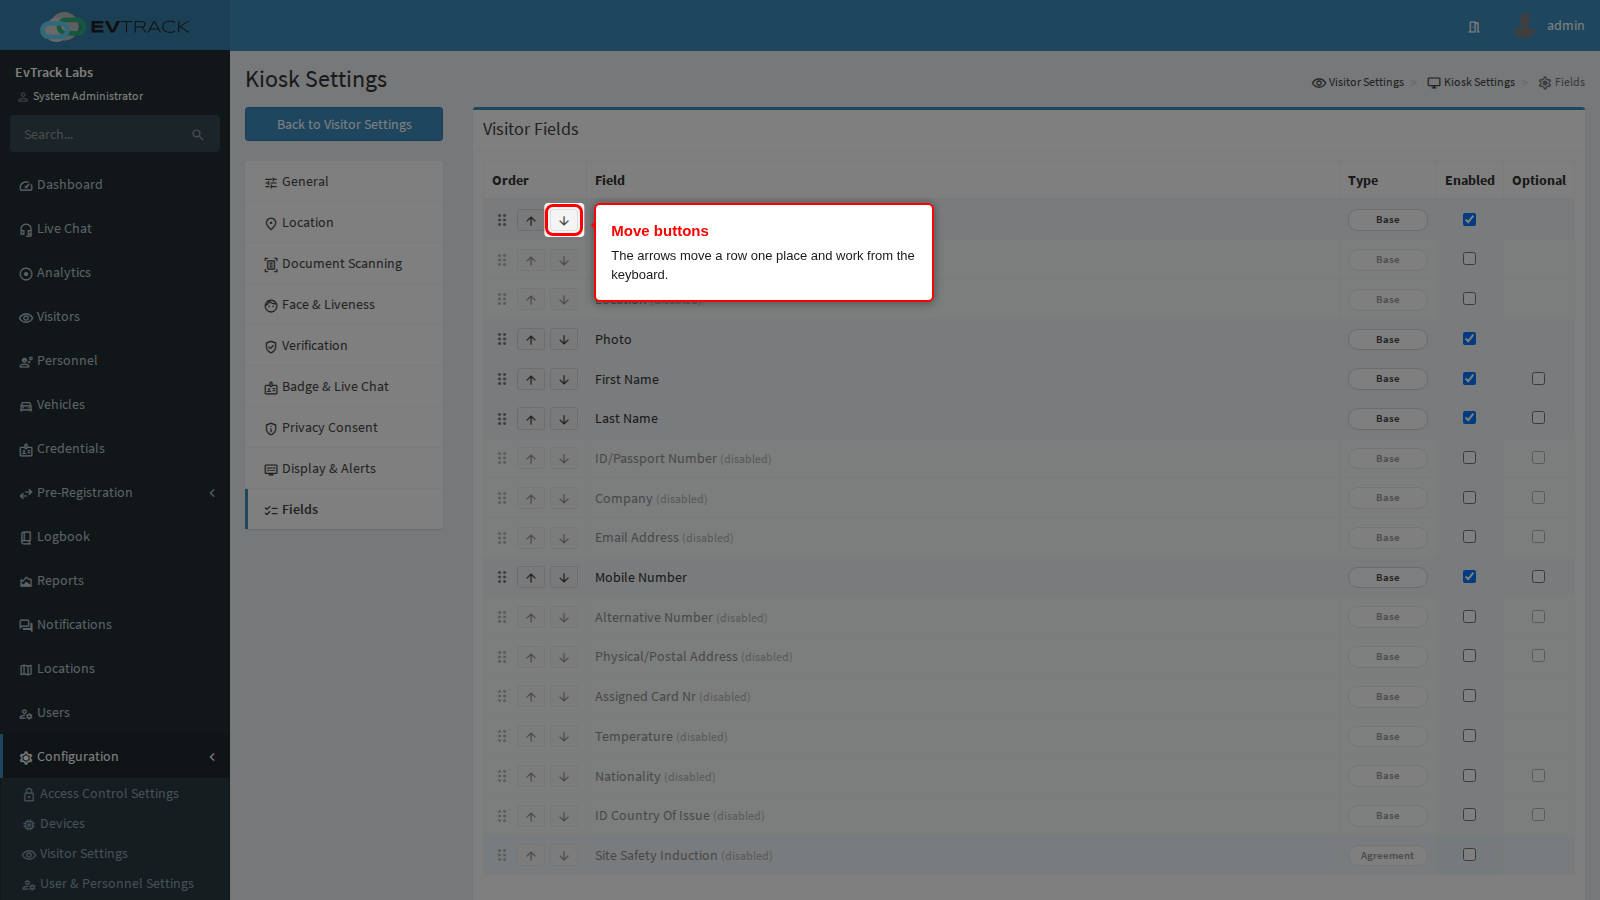
The Visitor Fields panel is one table with a row for every detail the kiosk can ask for. Each row shows its position, its name, its Type (Base, Custom or Agreement), and its Enabled and Optional tick boxes.
The built-in rows come first, in this order:
- Reason
- Host
- Location
- Photo
- First Name
- Last Name
- ID/Passport Number
- Company
- Email Address
- Mobile Number
- Alternative Number
- Physical/Postal Address
- Assigned Card Nr
- Temperature
- Nationality
- ID Country Of Issue
Your own custom questions follow, then every agreement you have written. Those are the natural positions; the rows can be moved, as the Order section below explains. One Save at the bottom of the page stores the whole list, the custom questions and the order together.
Enabled
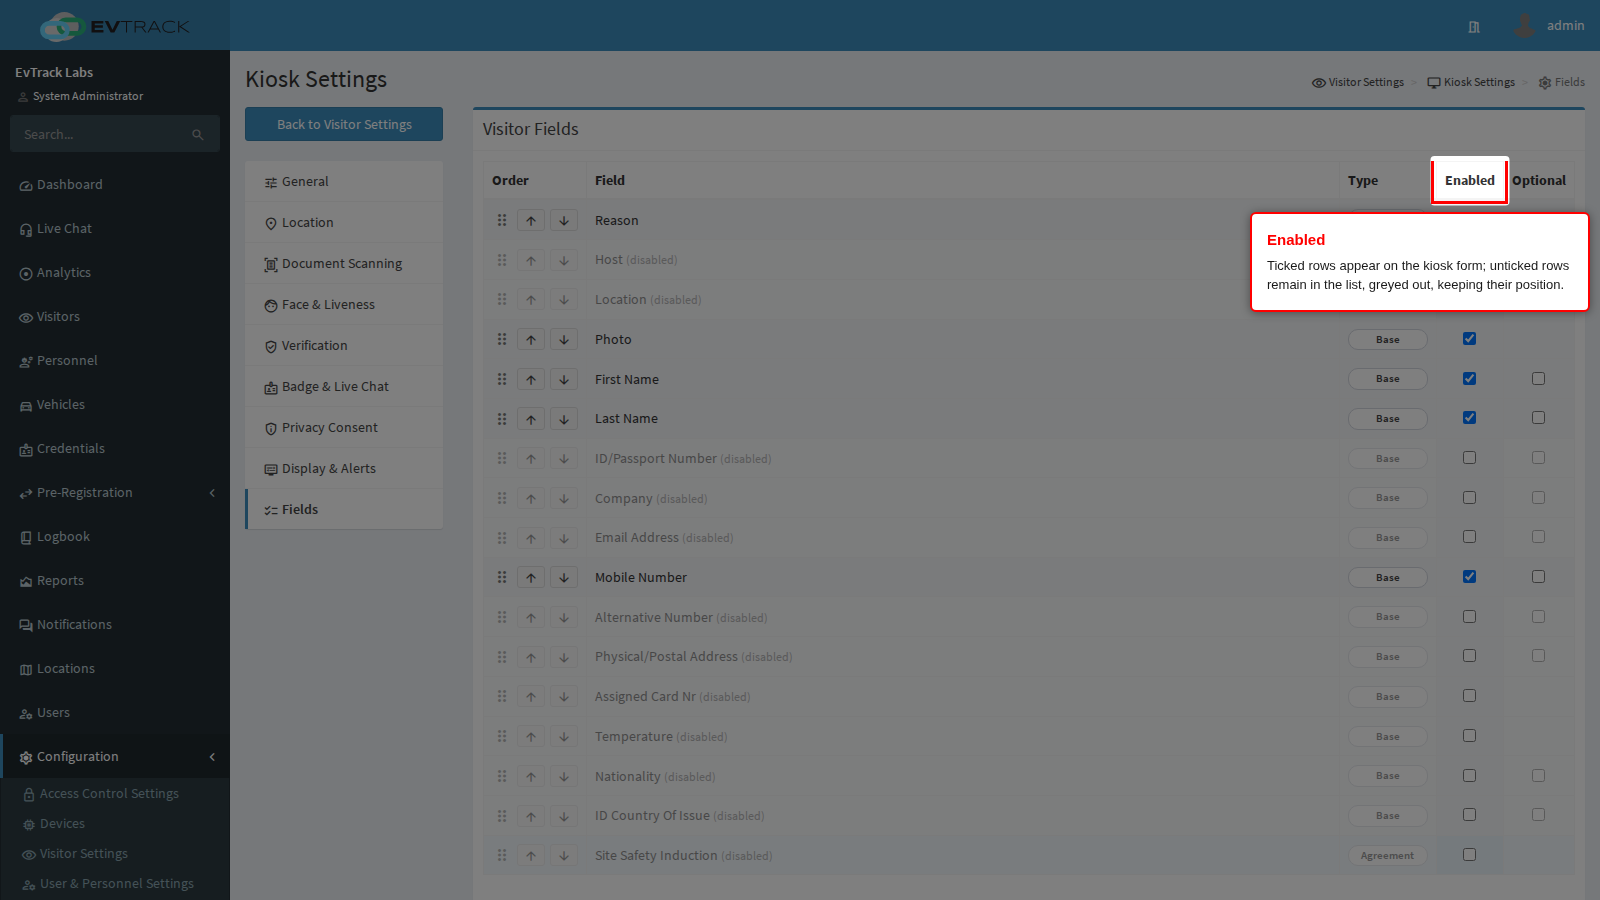
Tick Enabled to put a built-in row on the kiosk form. There is no separate “required” switch for built-in fields: a ticked row is asked and the visitor must answer it before the kiosk lets them continue, unless it is also marked Optional (next section). The help text reads “Fields that will be shown on the kiosk.”
An unticked row is not asked, but it remains in the list, greyed out and marked (disabled), so you can still position it before you switch it on.
Ask for as little as you can defend. Every extra field is time in the queue and personal data you now hold.
A few rows carry a dependency:
- Host must be ticked if you use host approval: the request is addressed to the host the visitor chooses, and without one the kiosk reports a configuration error instead of submitting.
- Location decides whether the visitor chooses where they are going. See the Location row on the Where Registrations Are Filed page for how it combines with the device location.
- Email Address and Mobile Number are locked on in two cases, described under Locked rows below.
Optional
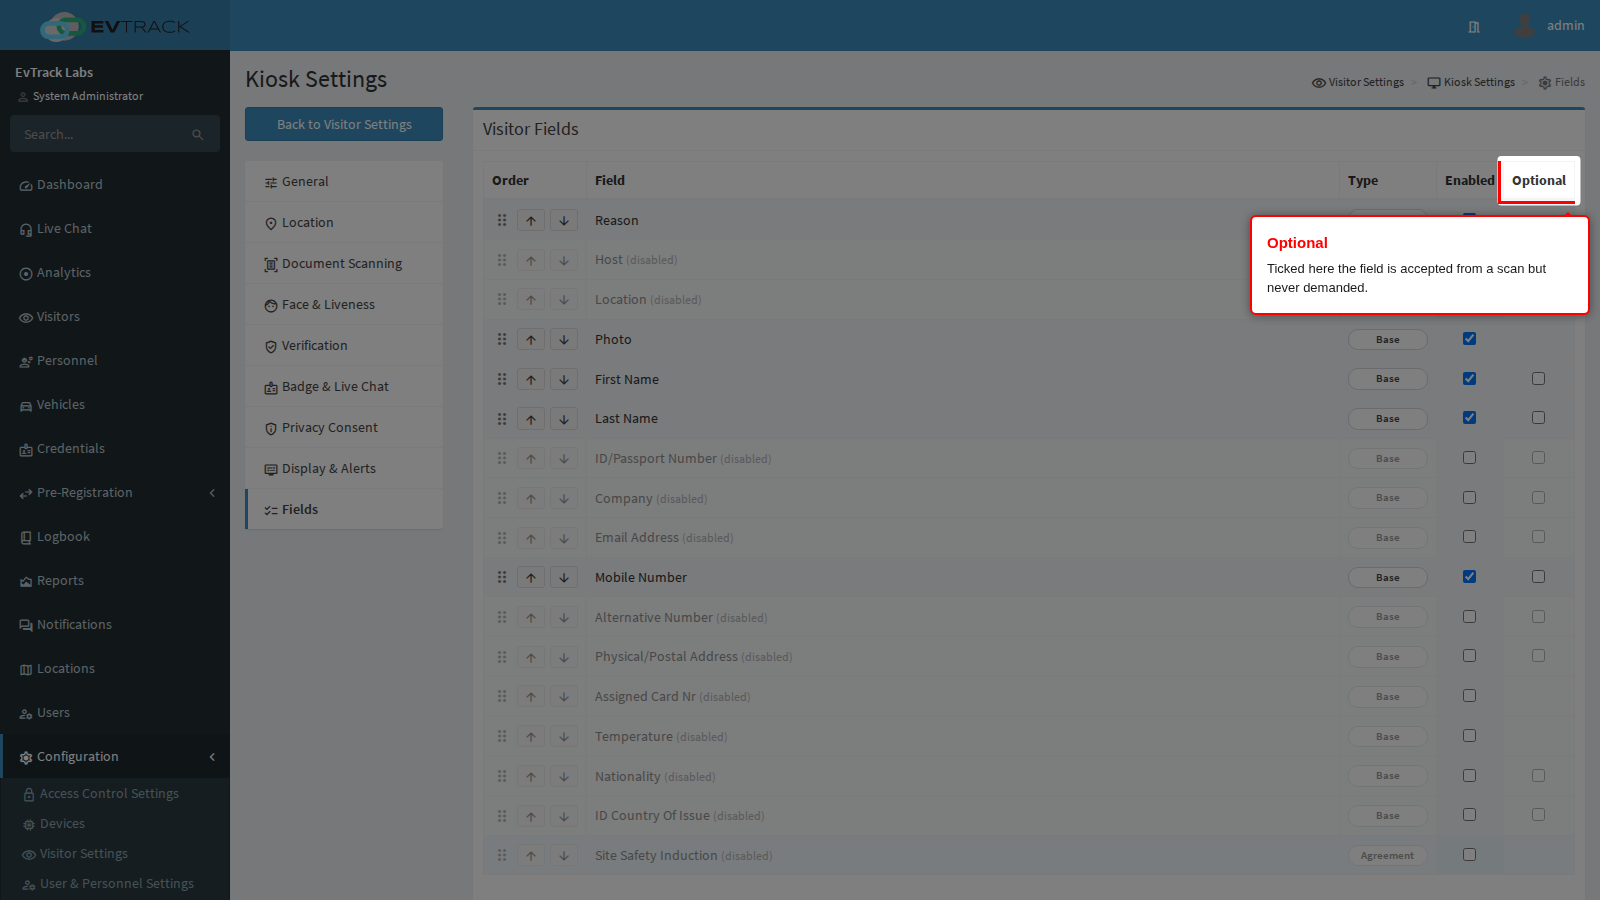
Optional softens a built-in field. The legend under the table reads “Fields that are retrieved exclusively from an ID/Passport card and will not prompt the visitor if the data is unavailable.” In practice the kiosk fills the answer from a scanned document when it can and never stops the visitor for it when the scan did not supply it.
Use it for details a passport supplies but a visitor without a passport should not be blocked on, such as nationality and country of issue.
Only ten rows have an Optional tick box:
- First Name
- Last Name
- ID/Passport Number
- Company
- Email Address
- Mobile Number
- Alternative Number
- Physical/Postal Address
- Nationality
- ID Country Of Issue
The other six (Reason, Host, Location, Photo, Assigned Card Nr and Temperature) are all or nothing: asked and required, or not asked. Optional only means something on a row that is also ticked Enabled.
Custom questions
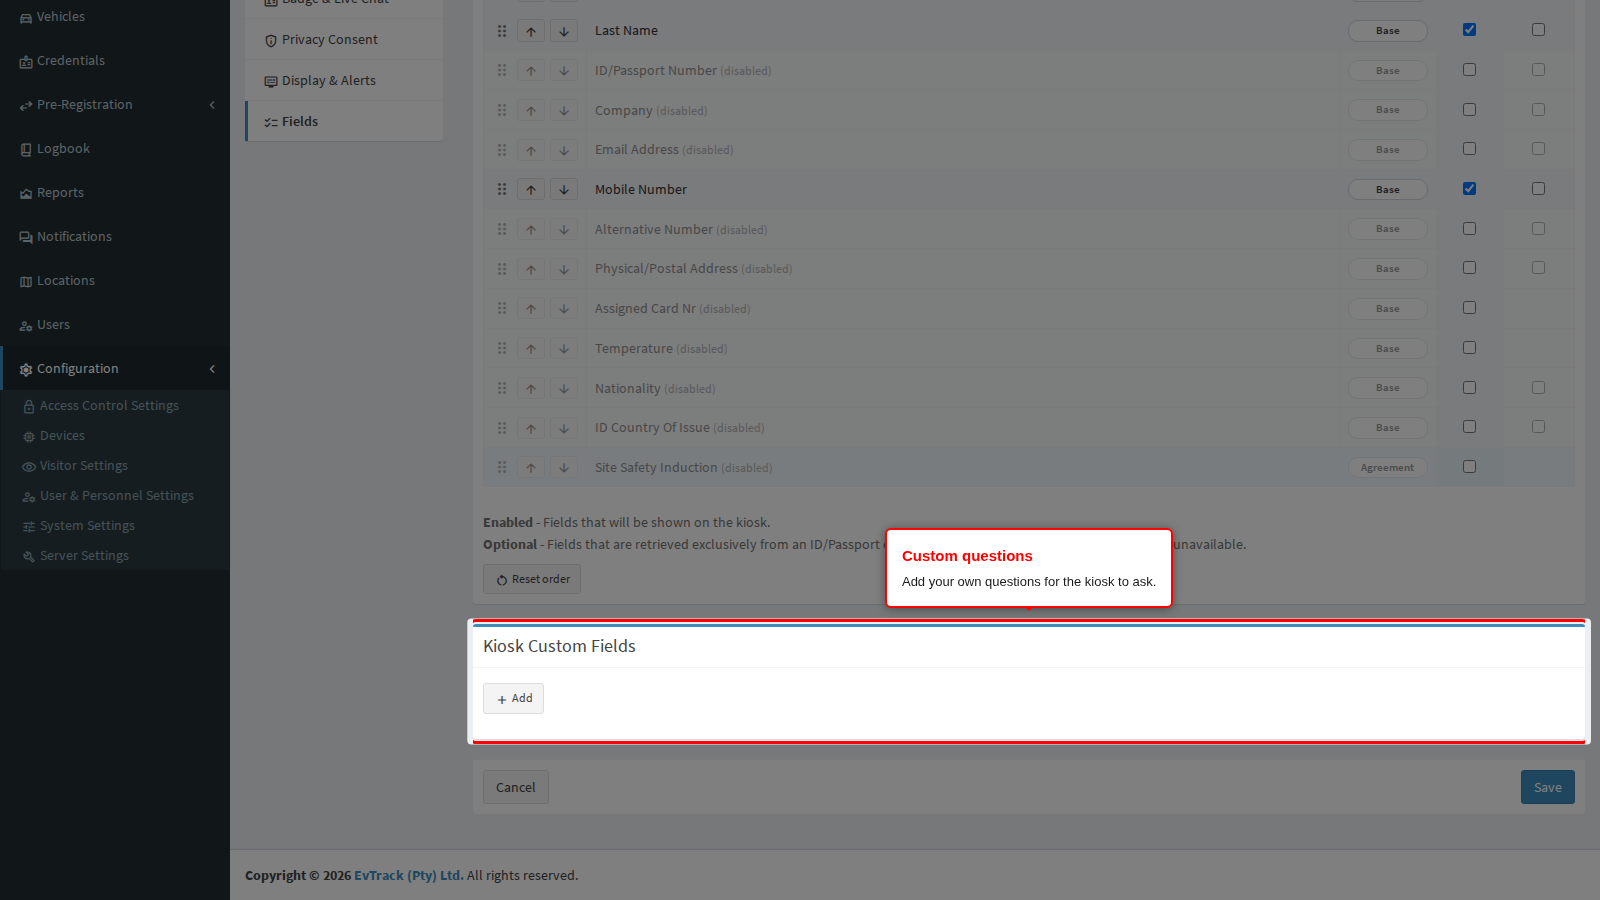
The Kiosk Custom Fields panel below the list is where you add your own questions, for example a vehicle registration or a purpose-of-visit list. Each question has:
- Type: Number, Temperature, Photo, Drop-down List or Text.
- Custom Field Label: the question the visitor reads. A question with no label is dropped.
- Is Field Always Required?: on by default. Untick it to let the visitor skip the question.
- Values: for a Drop-down List only, the choices on offer.
A question joins the end of the list above as soon as it has a label, follows its label as you type, and leaves the list when you remove it. Custom questions have no Enabled box in the global list: remove a question you no longer want. A location can switch a custom question off for its own kiosks without removing it.
Until you save this page for the first time, the kiosk uses the custom questions from the system-wide visitor registration settings. The first save gives the kiosk its own copy.
Agreements
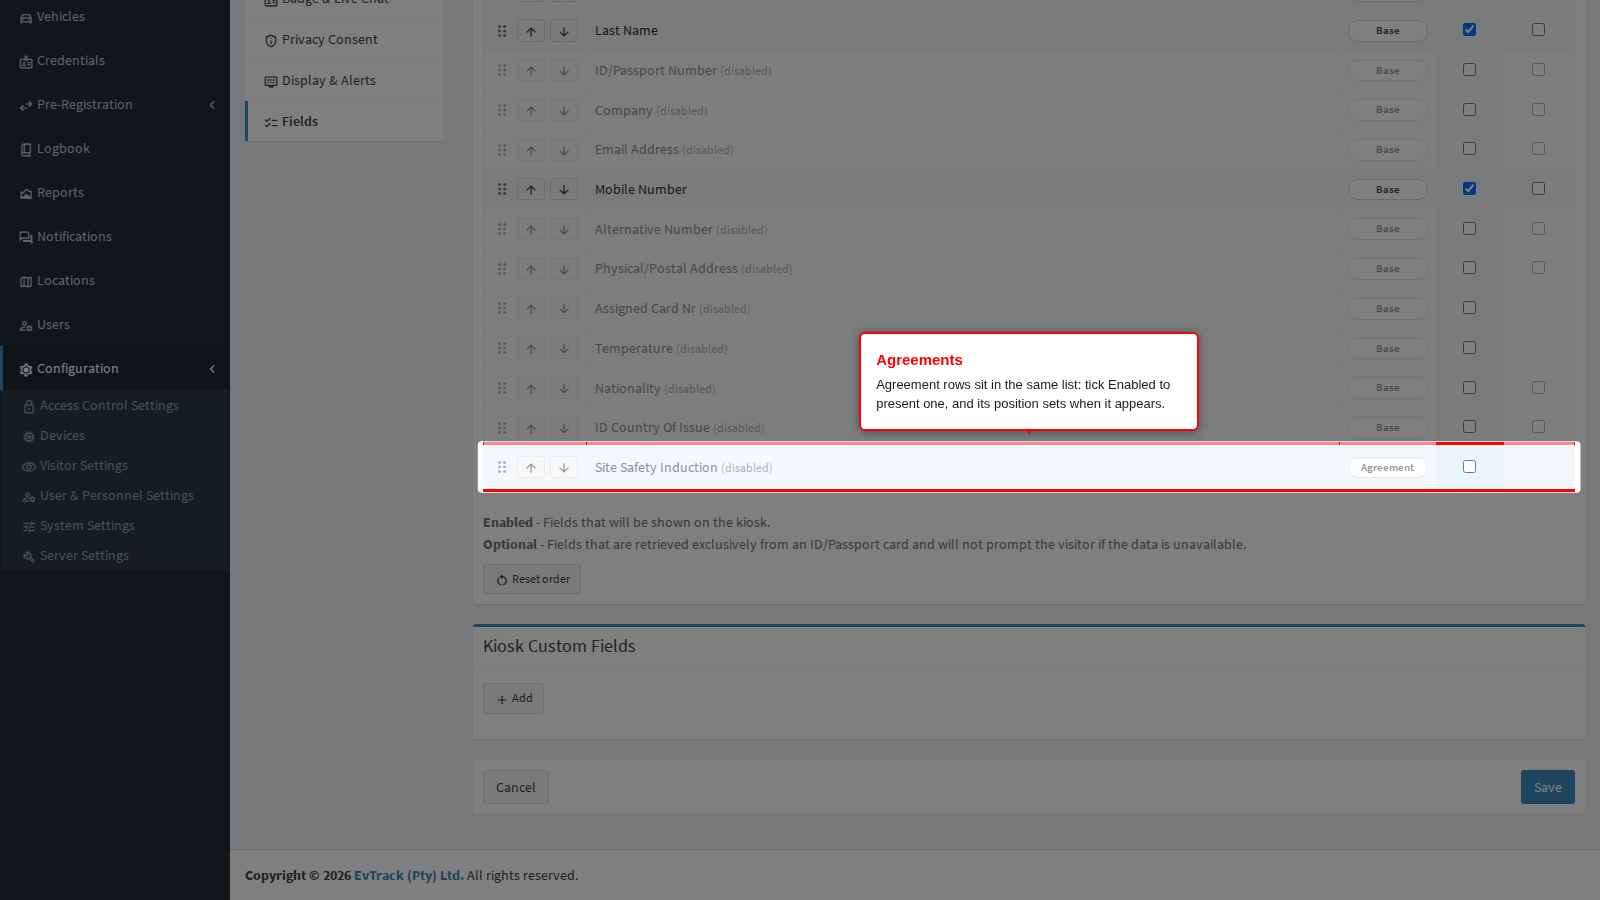
Agreement rows decide which of your agreements the visitor must accept during check-in. Tick Enabled on an agreement to present it; its position in the list is when the visitor meets it. The agreements themselves are written under Agreements.
If you enable no agreement at all, the kiosk falls back to the agreements set for the Guard App on its Fields page, so an empty selection does not mean “no agreements”. If you want none, make sure the Guard App list has none too.
Order
The order of the rows is the order of the kiosk form.
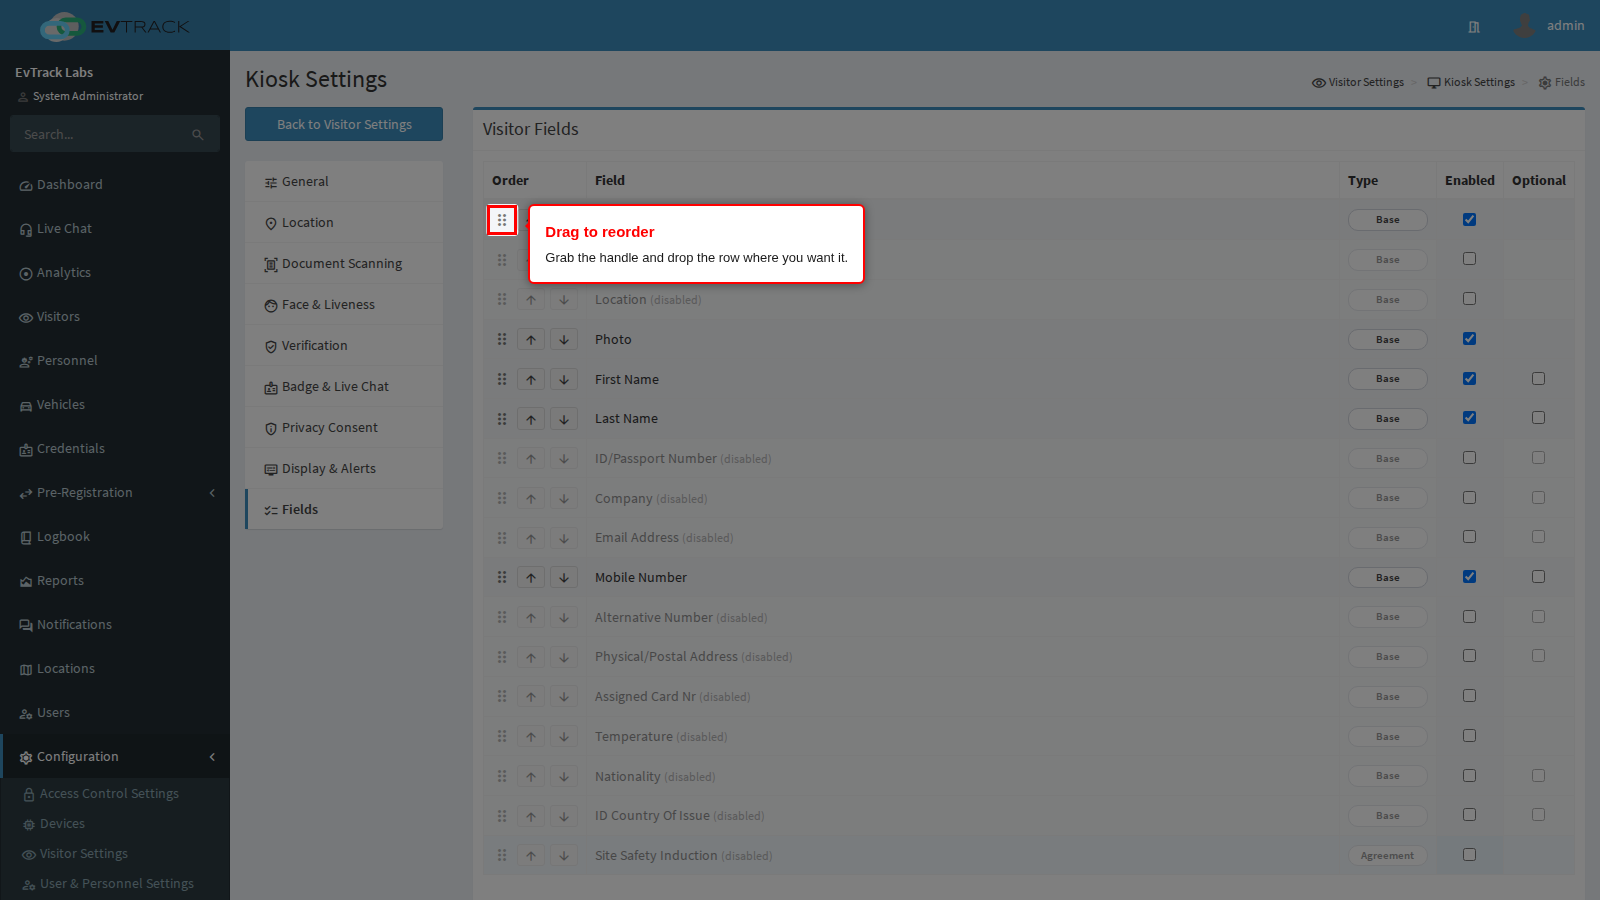
Grab a row by its handle and drop it where you want it. Put the fields a document scan can fill first, then your own questions, then the agreements, so a visitor who scans a passport barely types at all.
The arrow buttons on each row move it one place up or down. They work from the keyboard, for operators who do not use a mouse.
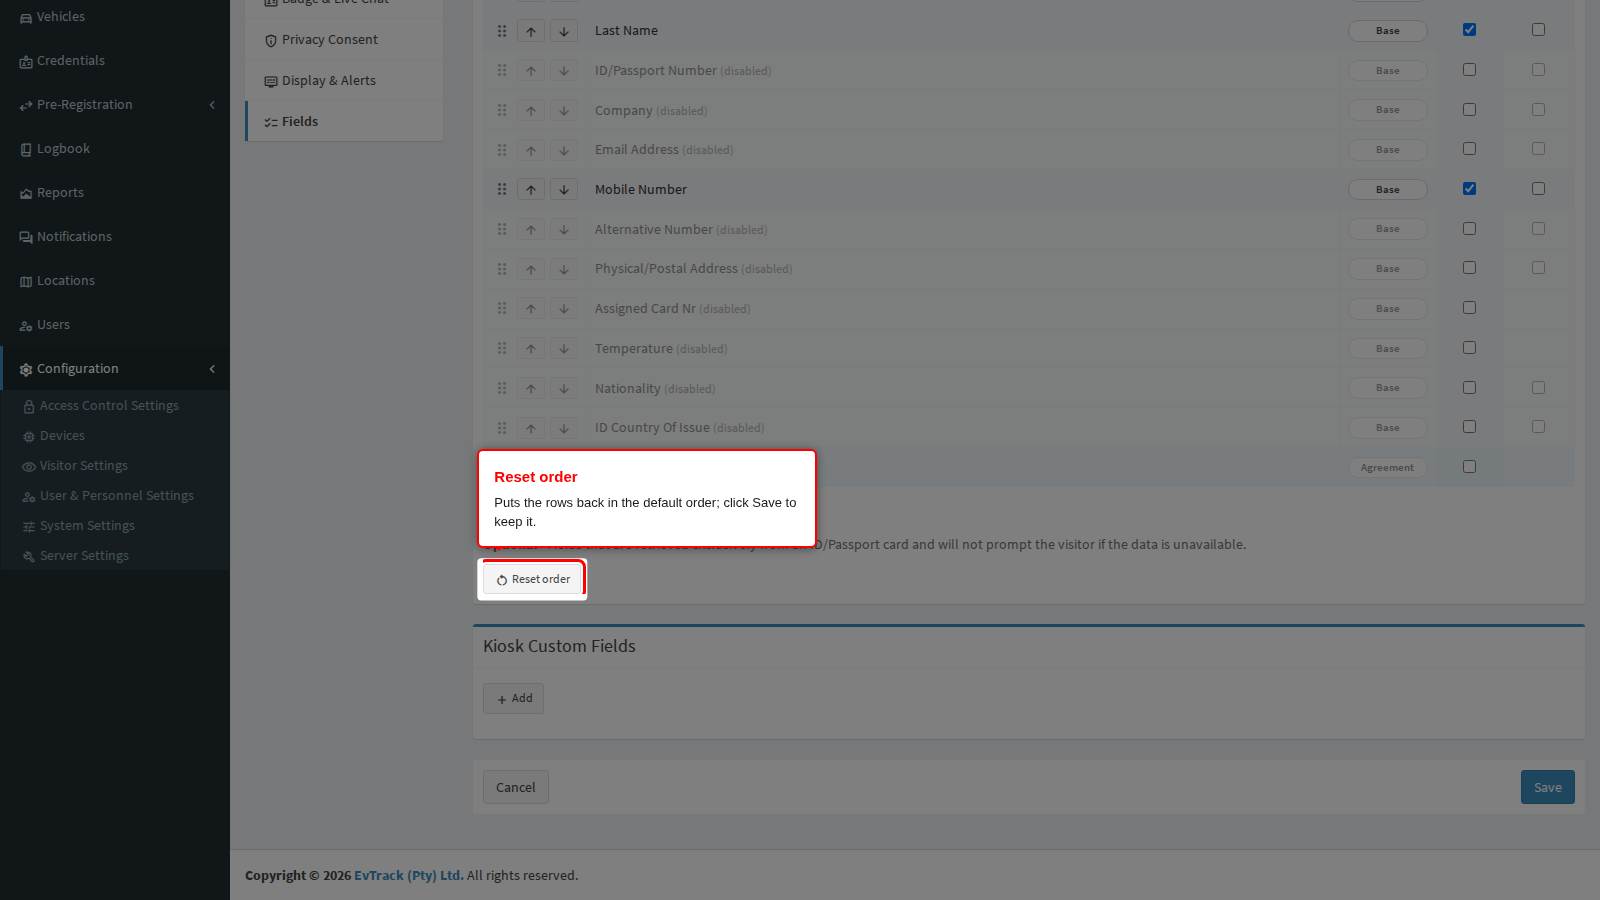
Reset order puts every row back in the default order: built-in fields, then custom questions, then agreements. Nothing changes on the kiosk until you click Save. Anything added later goes to the end of the list, so revisit the order after you add a question or an agreement.
Locked rows
When one-time-code verification is on and sends codes by email or SMS, the question that carries the code must be asked:
- Email Address is locked on while Email verification is selected.
- Mobile Number is locked on while SMS verification is selected.
On this global list the page refuses to save with the row switched off. It shows only the general message “Something is wrong. Please check your input and try again.” and nothing is saved. Switch the row back on, or turn off that method on the Verification panel first. On a location’s own list the row cannot be unticked at all and the page notes “Locked rows remain enabled because OTP verification on the global kiosk Verification page uses them”. The methods are chosen on the Verification panel, see Verification.
How this list relates to the other required-field settings
There is no single list of required fields. Every way a visitor can be registered reads its own list, and nothing is inherited from one to another:
| Channel | Where its list is set | What it decides |
|---|---|---|
| Reception kiosk | This page | What the kiosk asks, and in what order |
| Admin console | Required Fields Settings | The Add Visitor form and the visitor Profile tab, for operators only |
| Public registration link | Self-Registration | What visitors supply on the registration form; a location may publish its own list there |
| Guard app | Guard App | What the officer at the checkpoint captures |
| Group members | The Group Registration tab of Self-Registration | What each member of a group is asked for |
Two consequences matter in practice:
- Setting Photo to required in the admin console does not make the kiosk ask for a photo. The kiosk asks for a photo only when the Photo row on this page is ticked.
- A field that matters has to be set on every channel you use. There is no global default to set once.
The word “optional” is not shared either. Here it means “accept it from a document scan, but never demand it”. Other pages use different wording, so do not assume a tick means the same thing on two pages.
Per location
A location can replace this list for its own kiosks. Open Locations, edit the location, choose the Kiosk App tab, and untick Use global kiosk fields in the Kiosk fields (this location) section. The location then has its own Enabled and Optional ticks and its own order for every built-in field, custom question and agreement. The location tab is described in Location Overrides.
Things to know before you rely on it:
- A location’s saved choices do not follow later changes here. An item you add on this page afterwards uses its global setting at that location and appears at the end of its list.
- Custom questions are created here only. A location can switch a question on or off and place it, not write one.
- A location’s agreements are its own list. If you tick none there, kiosks at that location present no agreements; the fall-back to the Guard App agreements applies only to the global list.
- Locked rows apply there too, as described above.
Click Save at the bottom of the panel. Paired kiosks pick the change up within five minutes, or at once when the app restarts.