Locations are the sites that visits, registrations, devices and emails belong to: a head office, a campus, a floor, a car park. This page covers the location list, adding a location, the tabs of an open location, and deleting a location.
Before you start: you need the permissions “Configuration: Location - List” to see the list, “Configuration: Location - Add” to add a location and “Configuration: Location - Delete” to delete one. To create many locations at once, use Import instead of adding them one by one.
Step 1: Open Locations
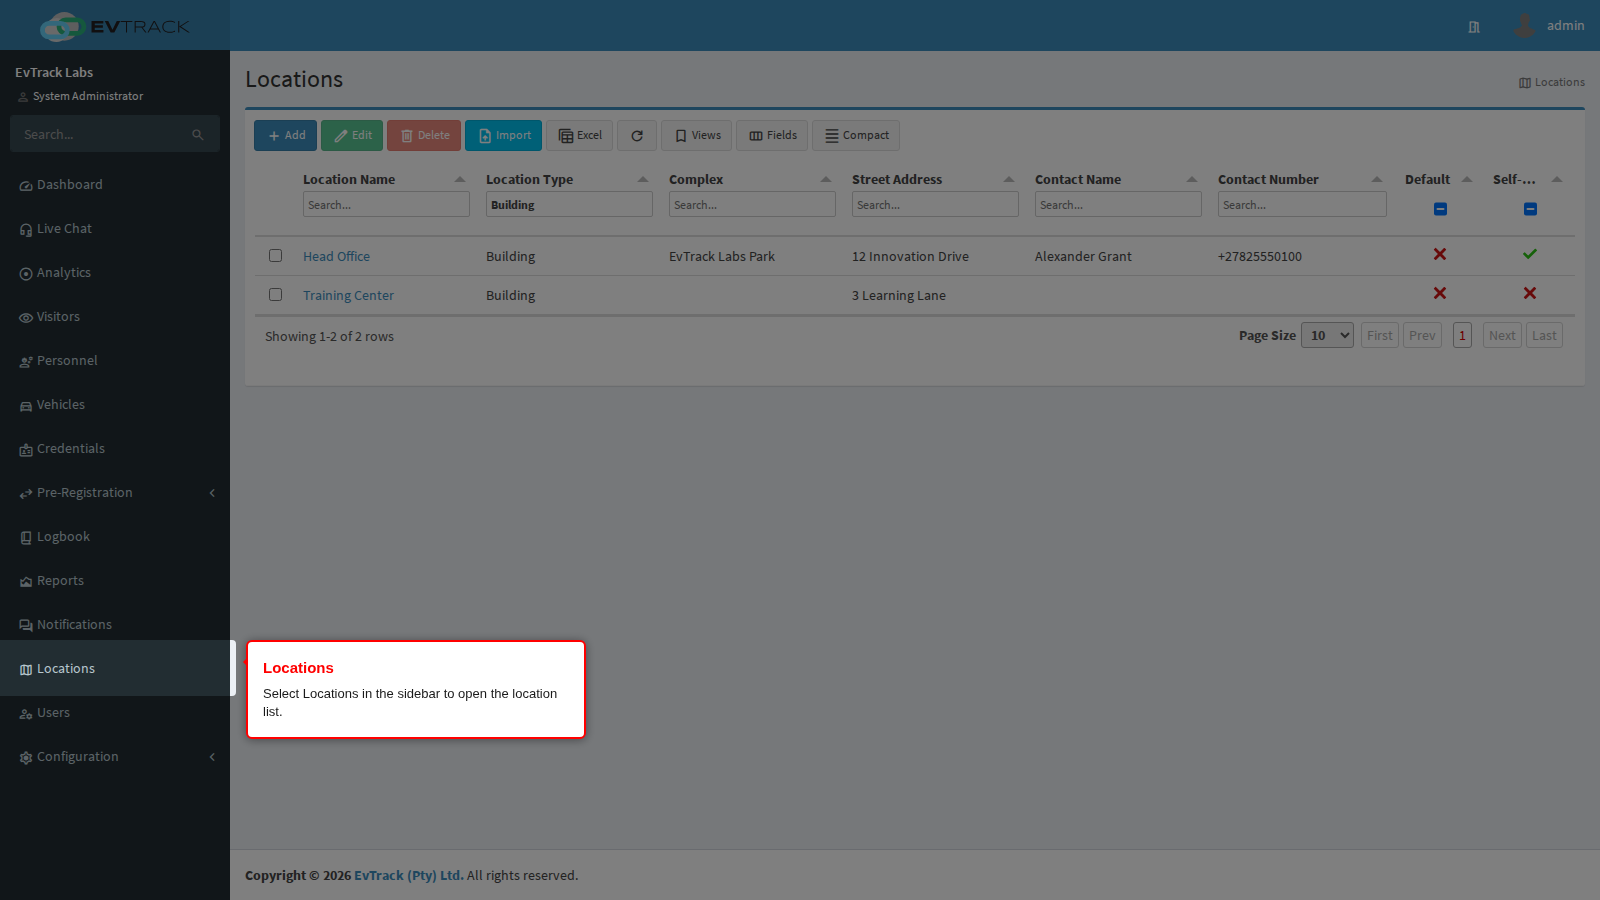
Select Locations in the sidebar to open the location list.
Step 2: Read the location list
The list shows every location on the system, ten rows to a page by default (you can switch to 25, 50 or 100 rows). The screenshots on this page are filtered to the Building type, so that only the example locations show.
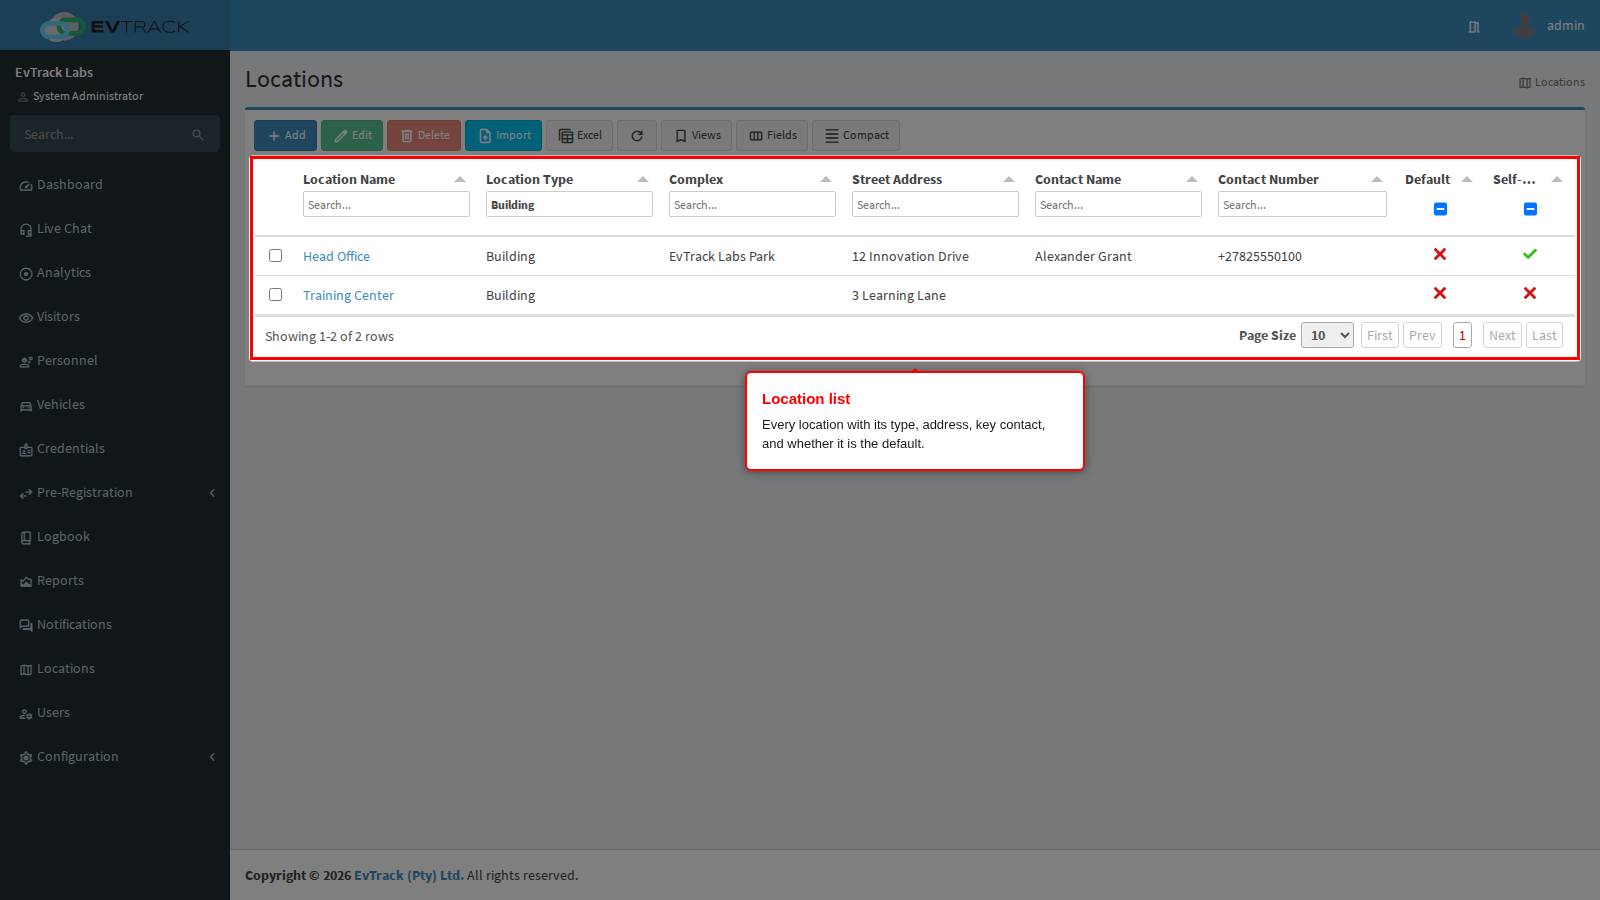
| Column | What it shows |
|---|---|
| Location Name | The location’s name. Click it to open the location. |
| Location Type | Region, Campus, Building, Floor, Area, Estate, Stand, Complex or Apartment. |
| Complex | The complex the location sits in, if one was entered. |
| Street Address | The street address, if one was entered. |
| Contact Name | The key contact’s name. |
| Contact Number | The key contact’s number. |
| Default | A tick when this is the default location (only one location can be). |
| Self-Reg | A tick when visitor self-registration is switched on for the location. |
Use the boxes under the column titles to filter the list. Type part of a name, street address, complex, contact name or contact number into a text box. Pick a type from the Location Type list (the first choice, All Types, clears it). The Default and Self-Reg filters cycle through tick, cross and any.
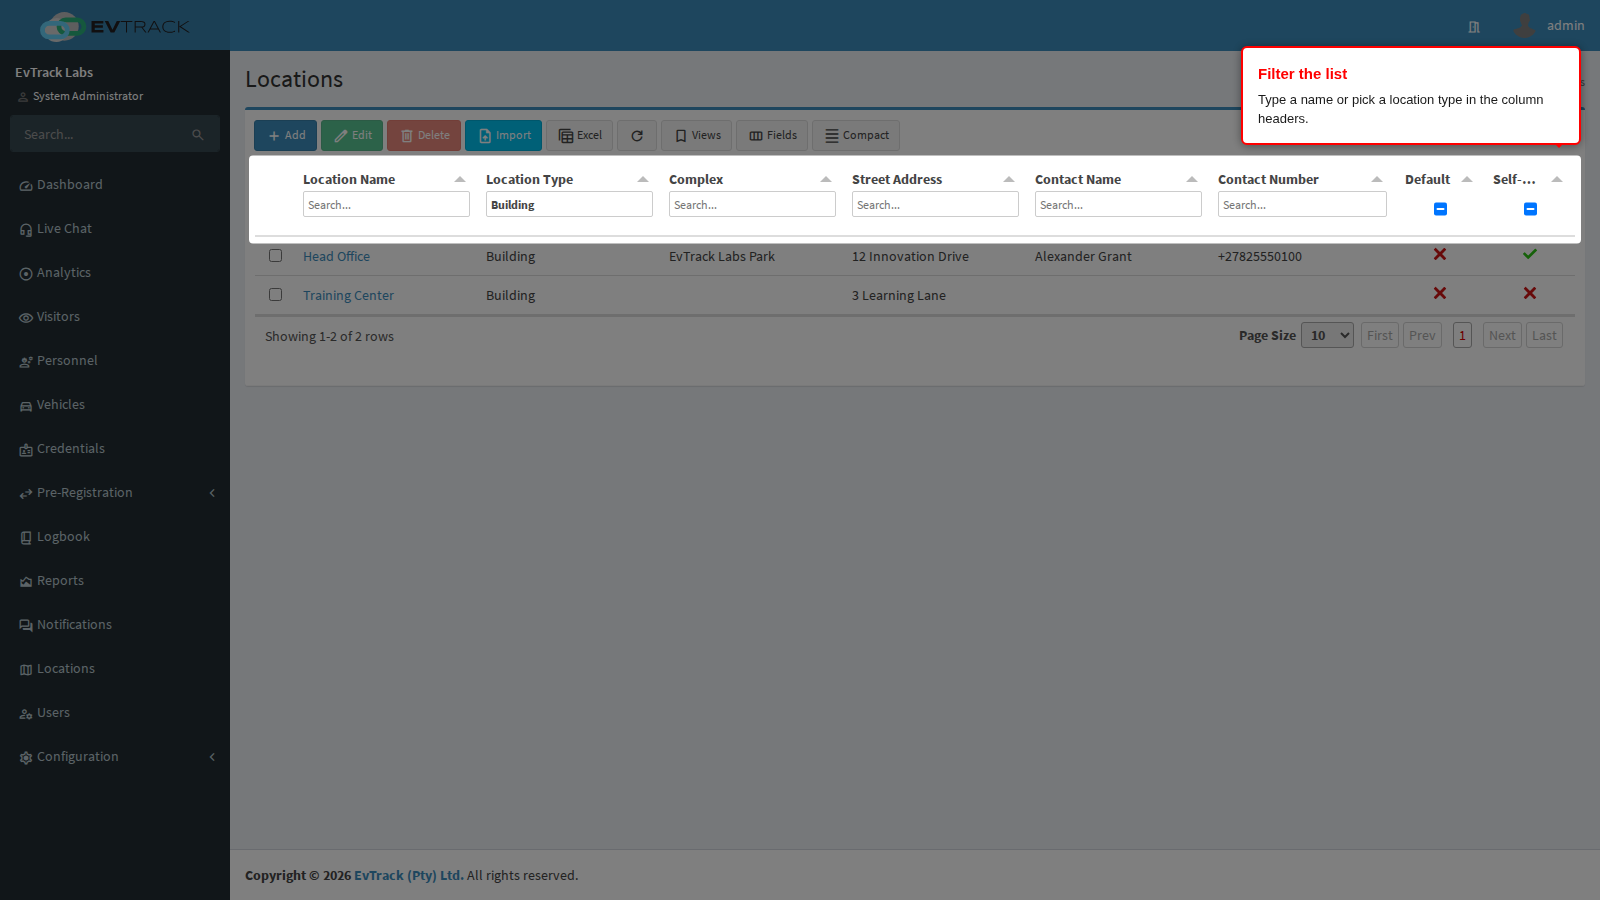
The table remembers its sort order, filters, page and visible columns the next time you open it. Select one row at a time by clicking its tick box.
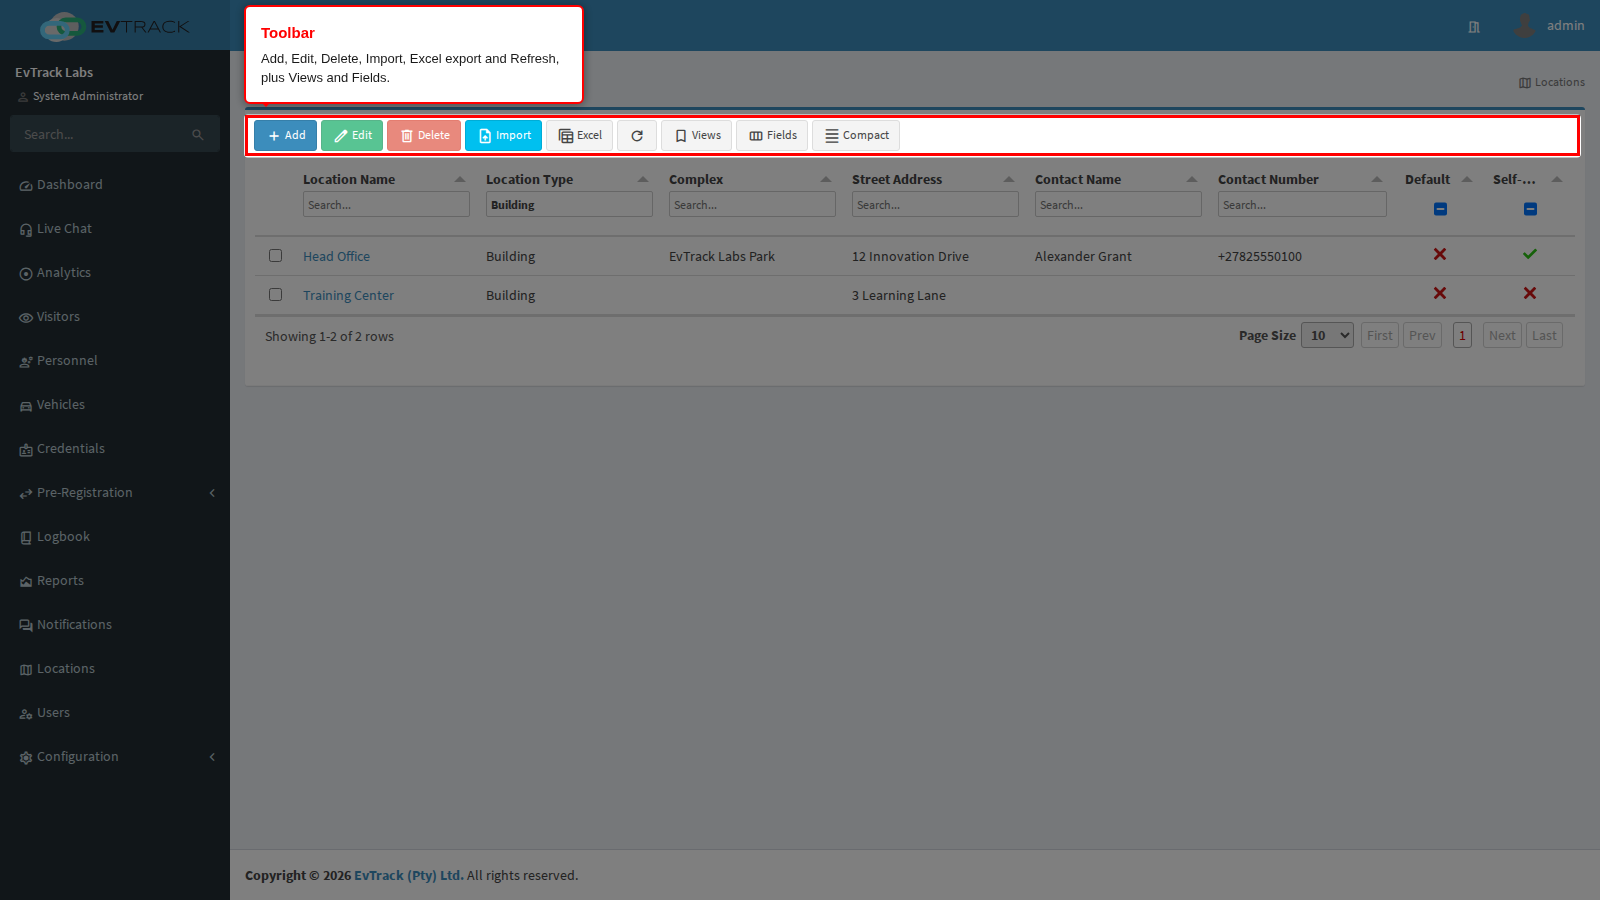
The toolbar above the table holds these buttons:
| Button | What it does |
|---|---|
| Add | Opens the Add Location form. |
| Edit | Opens the selected location. Enabled when one row is selected. |
| Delete | Opens the delete confirmation for the selected location. Enabled when one row is selected. |
| Import | Opens the location import (see Import). |
| Excel | Downloads the table as locations.xlsx (sheet Locations). |
| Refresh | Reloads the list. |
| Views and Fields | Save a named view of the filters and choose which columns show. |
Step 3: Add a location
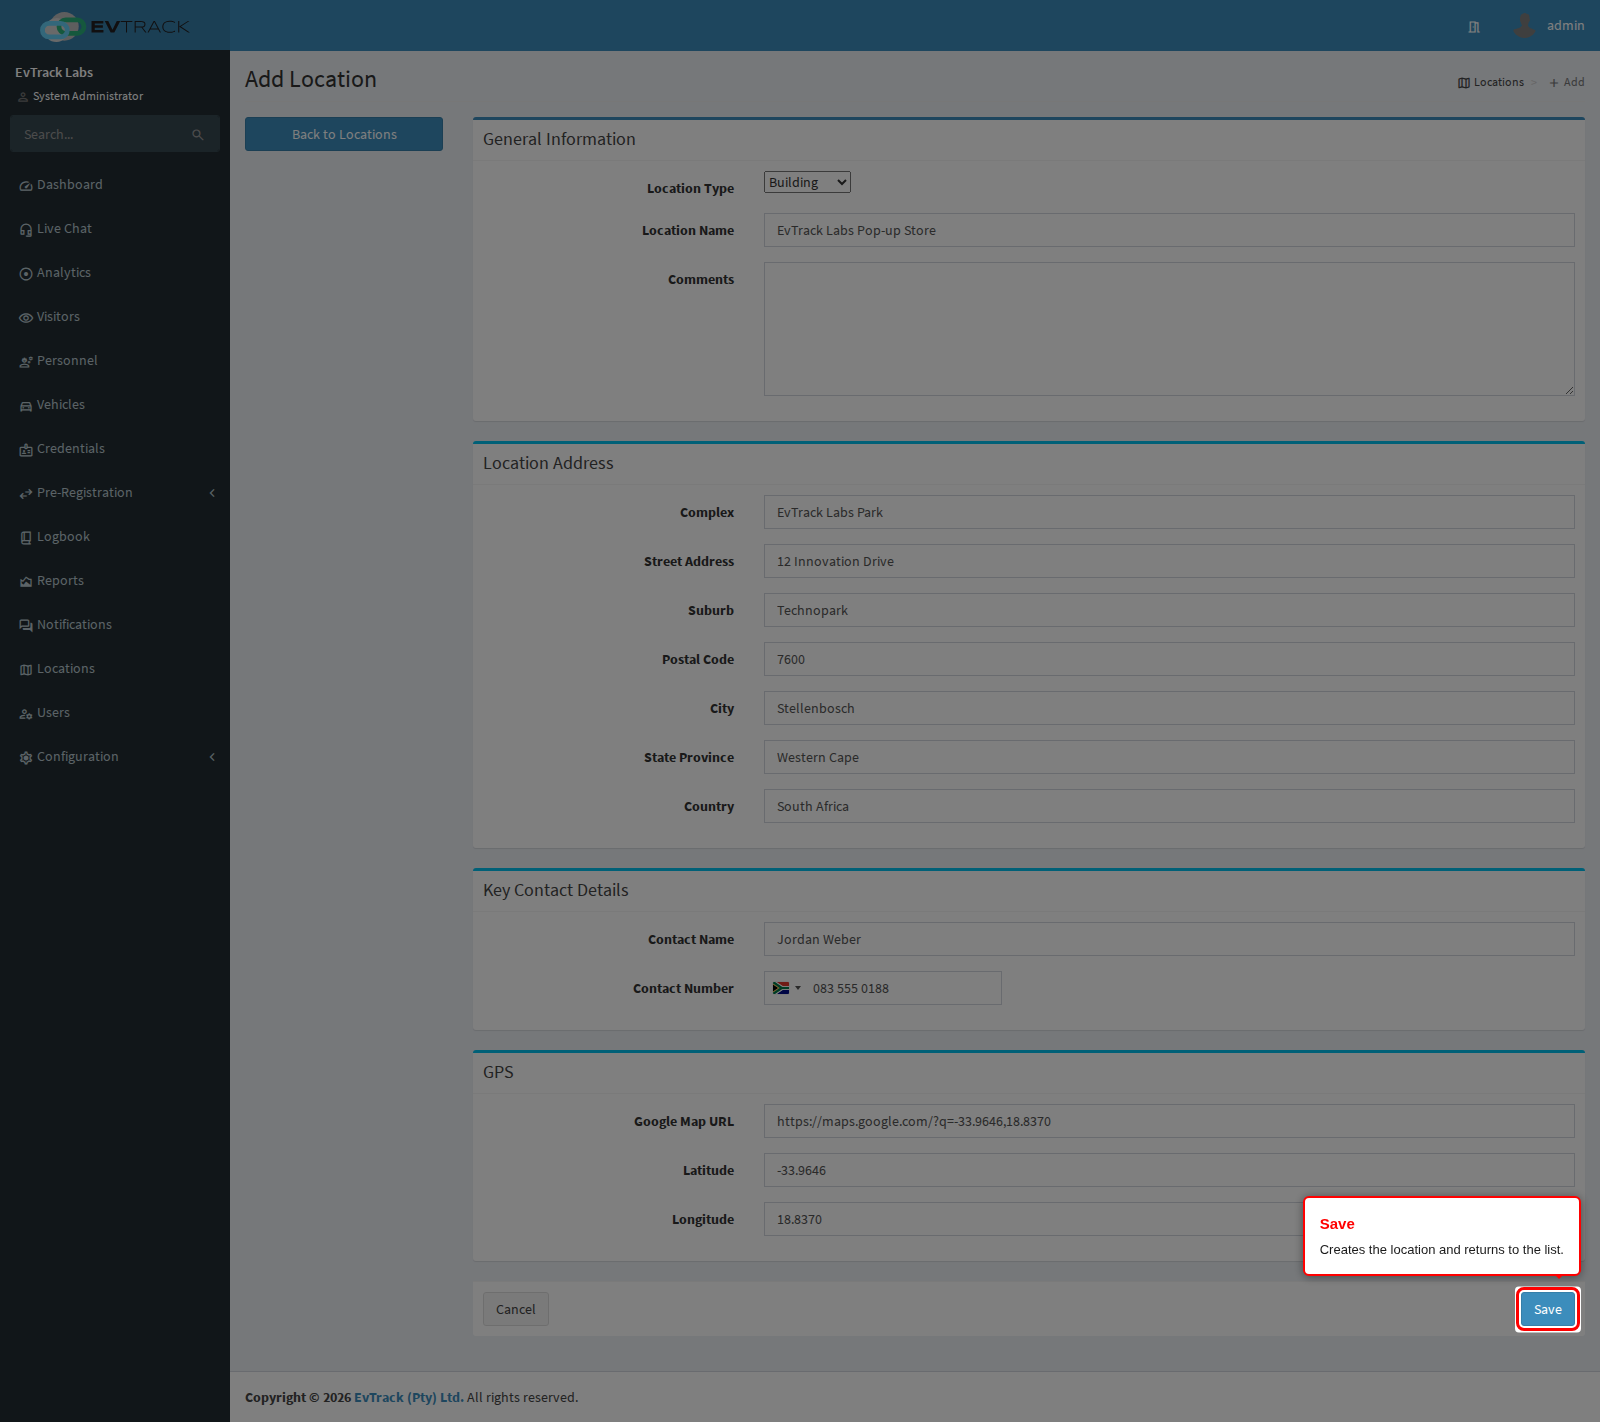
Click Add on the toolbar. The Add Location form has four boxes: General Information, Location Address, Key Contact Details and GPS.
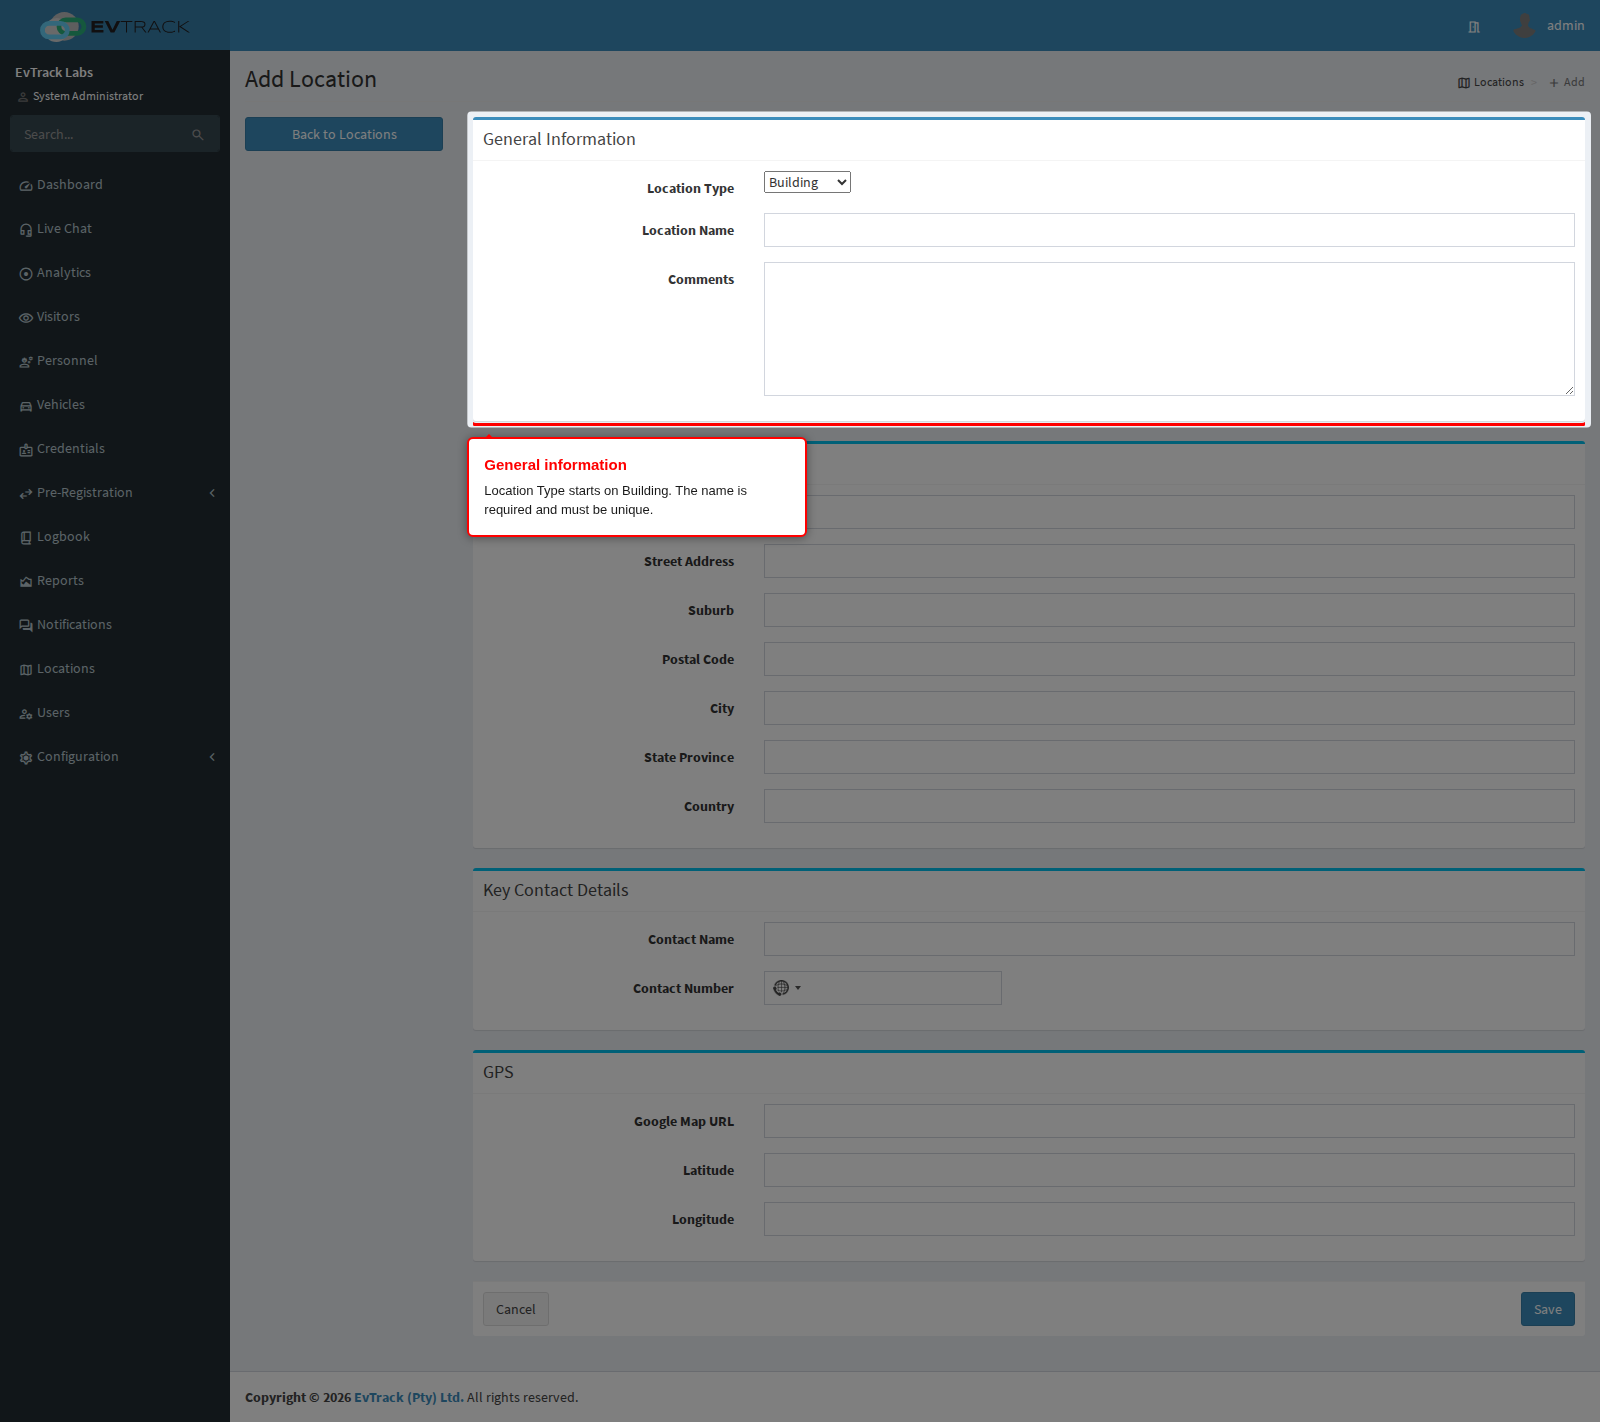
Only Location Name is required. Location Type already has a value (it starts on Building), and every address, contact and GPS field can be left empty.
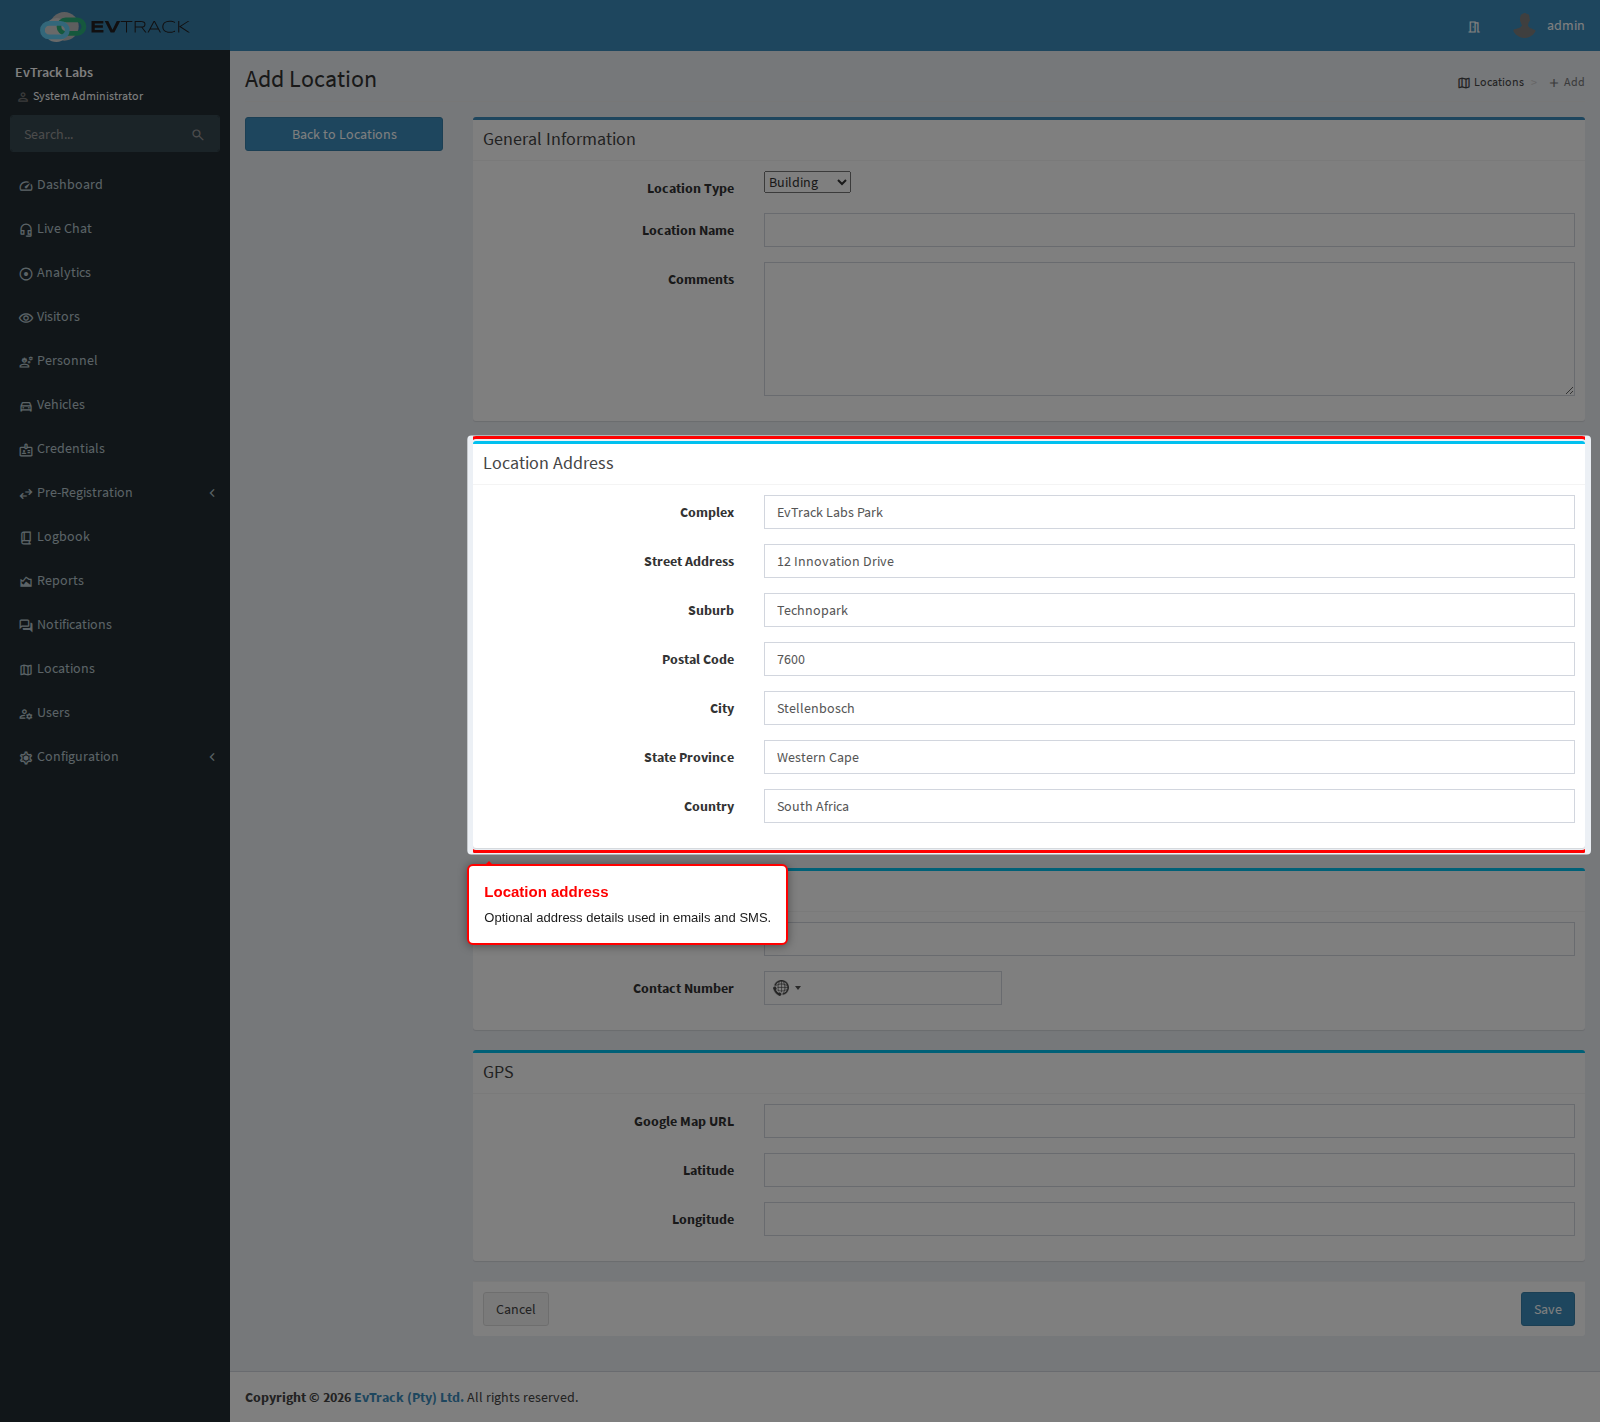
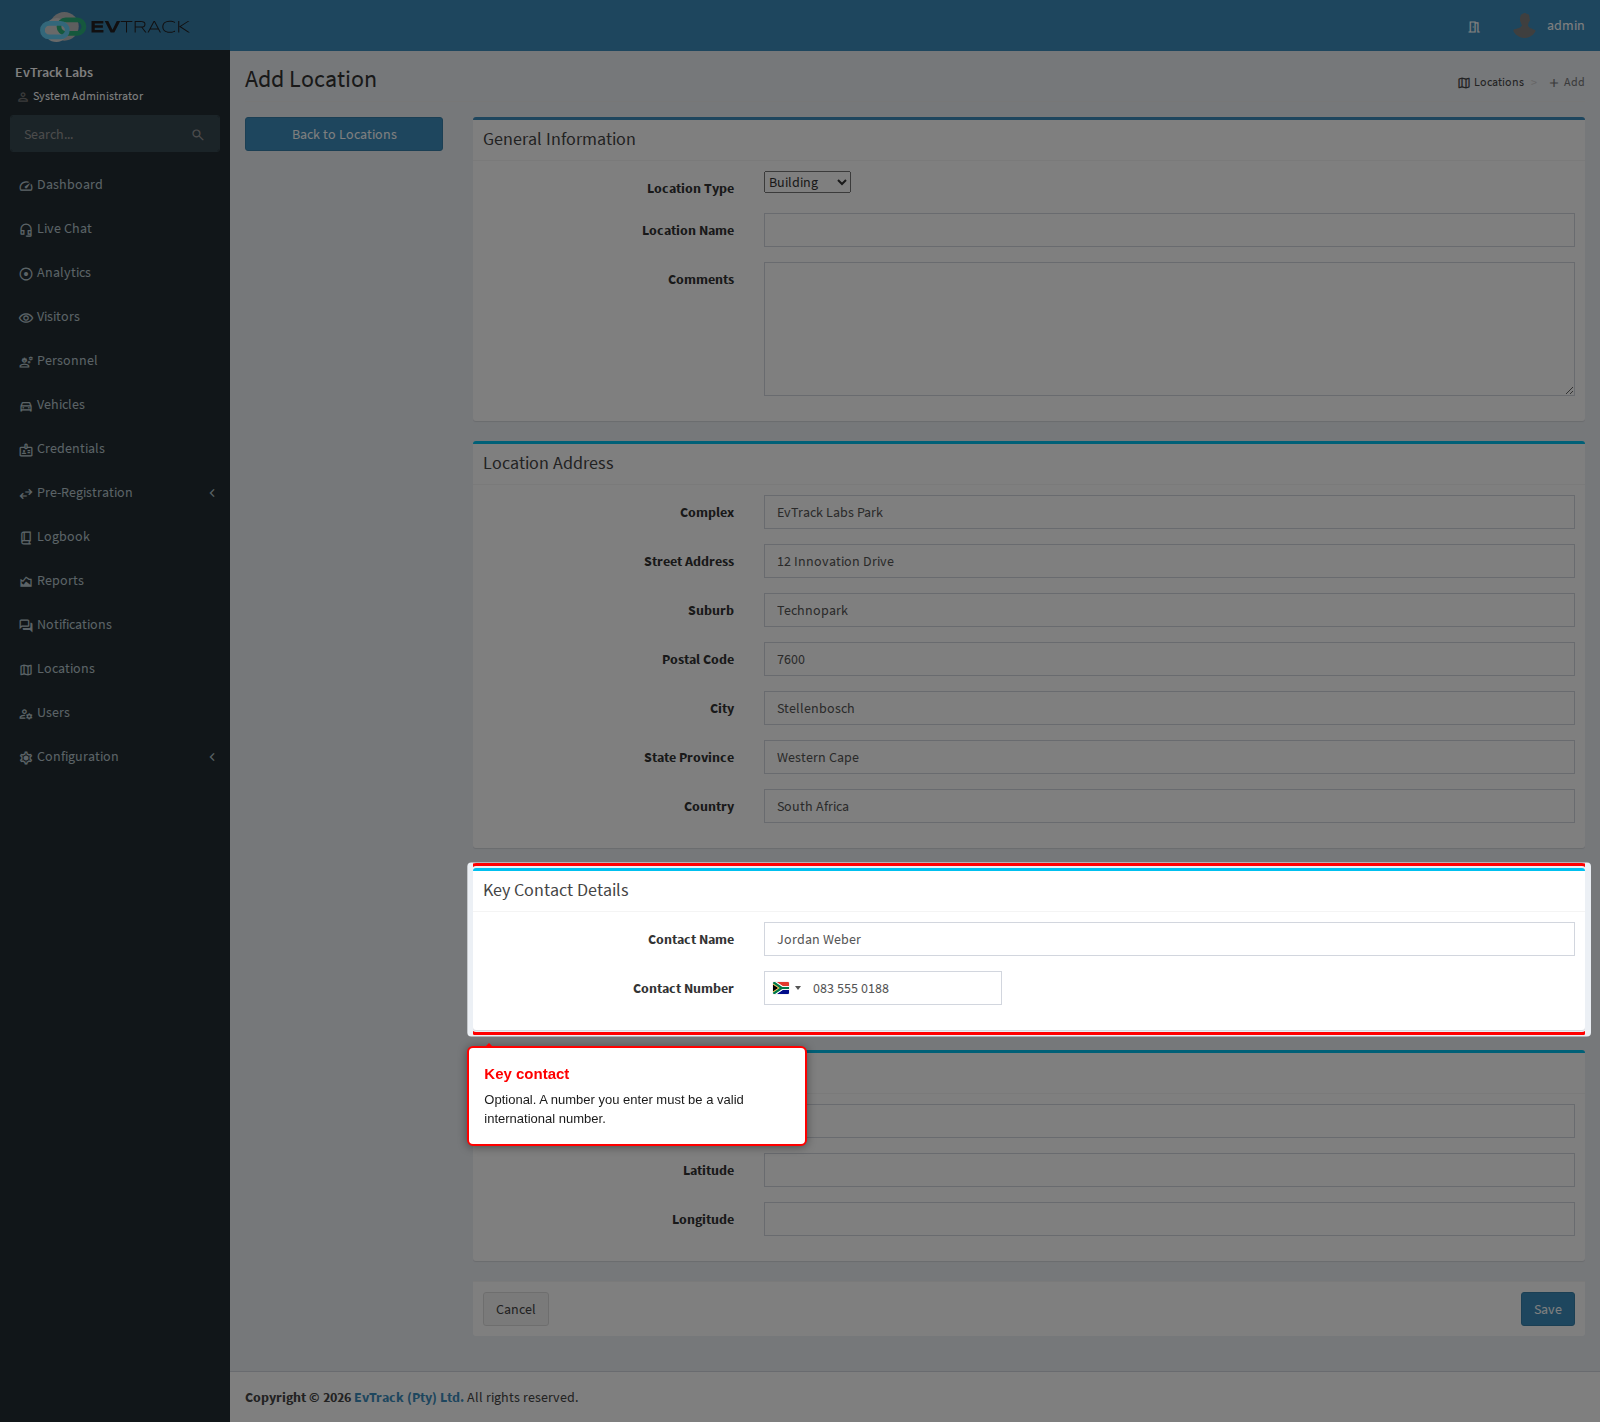
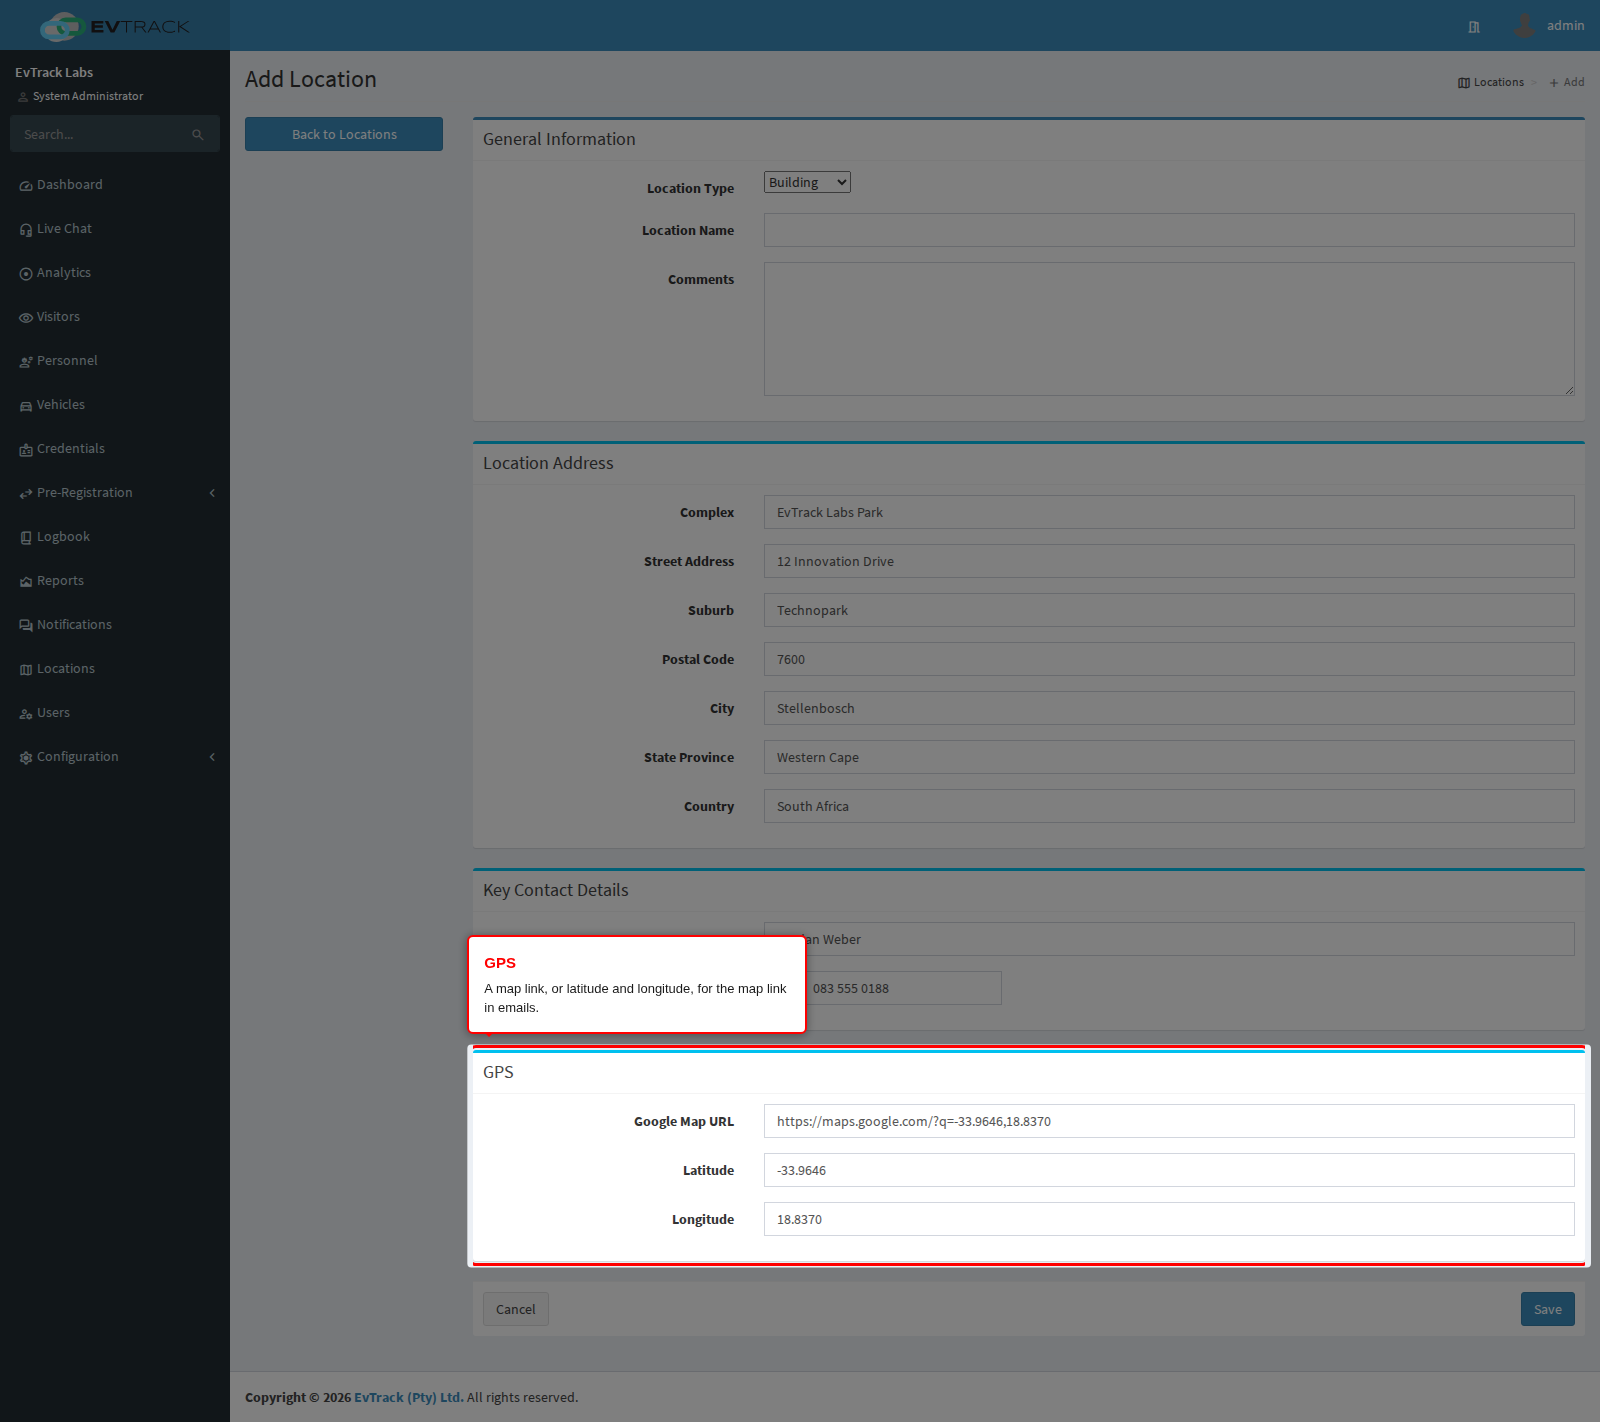
Options on the Add form
| Option | Required | Rules | Default |
|---|---|---|---|
| Location Type | No | One of the nine types: Region, Campus, Building, Floor, Area, Estate, Stand, Complex, Apartment. | Building |
| Location Name | Yes | 2 to 50 characters: English letters, numbers, spaces and these marks / . , - ' ( ) & : ; _. Must be unique: two locations cannot share a name, and capital letters do not count as a difference. A duplicate shows “Already exists: Location - ‘ | Empty |
| Comments | No | Up to 5000 characters. | Empty |
| Complex | No | Up to 50 characters. | Empty |
| Street Address | No | Up to 100 characters. | Empty |
| Suburb | No | Up to 50 characters. | Empty |
| Postal Code | No | Up to 50 characters. | Empty |
| City | No | Up to 50 characters. | Empty |
| State Province | No | Up to 50 characters. | Empty |
| Country | No | Up to 100 characters. | Empty |
| Contact Name | No | Up to 50 characters. | Empty |
| Contact Number | No | An international number chosen with the country flag, up to 50 characters. Leave it empty, or enter a valid number: Save is blocked while the number is invalid. It is stored with its + country code. | Empty |
| Google Map URL | No | A valid web address, up to 255 characters. | Empty |
| Latitude | No | A number above -90 and below 90, up to 15 decimal places. | Empty |
| Longitude | No | A number above -180 and below 180, up to 15 decimal places. | Empty |
The text fields (Comments, the address fields and Contact Name) accept letters from any language, numbers, spaces and these marks: . , / - ' ( ) & : ; @ ? !. No field accepts HTML tags. If any field breaks a rule, the form reopens with the message “One or more fields have an error. Please check and try again.” and a red note under each field that needs attention.
Two settings are not on the Add form. Default Location and Unit/Stand Number are set on the General tab after the location is saved.
Step 4: Save
Enter the Location Name, then click Save.
You return to the list with the message “Added: Location - ‘
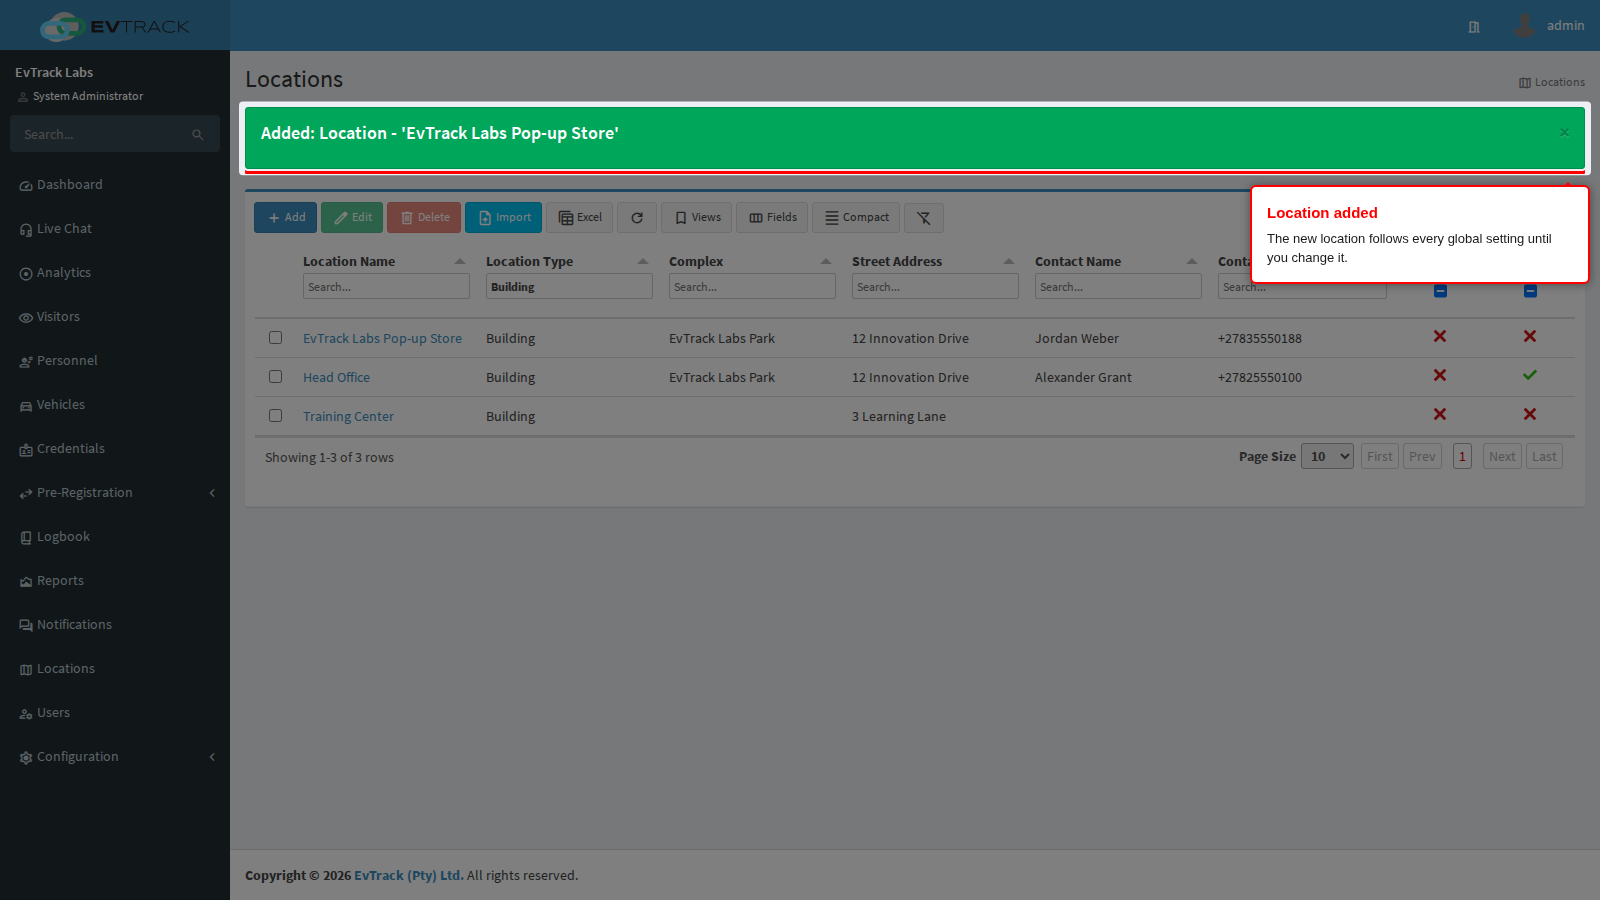
A new location follows every global setting. Each override tab starts on its “Use global” or inherit choice, so nothing needs configuring until the location must differ from the rest.
Step 5: Open a location’s tabs
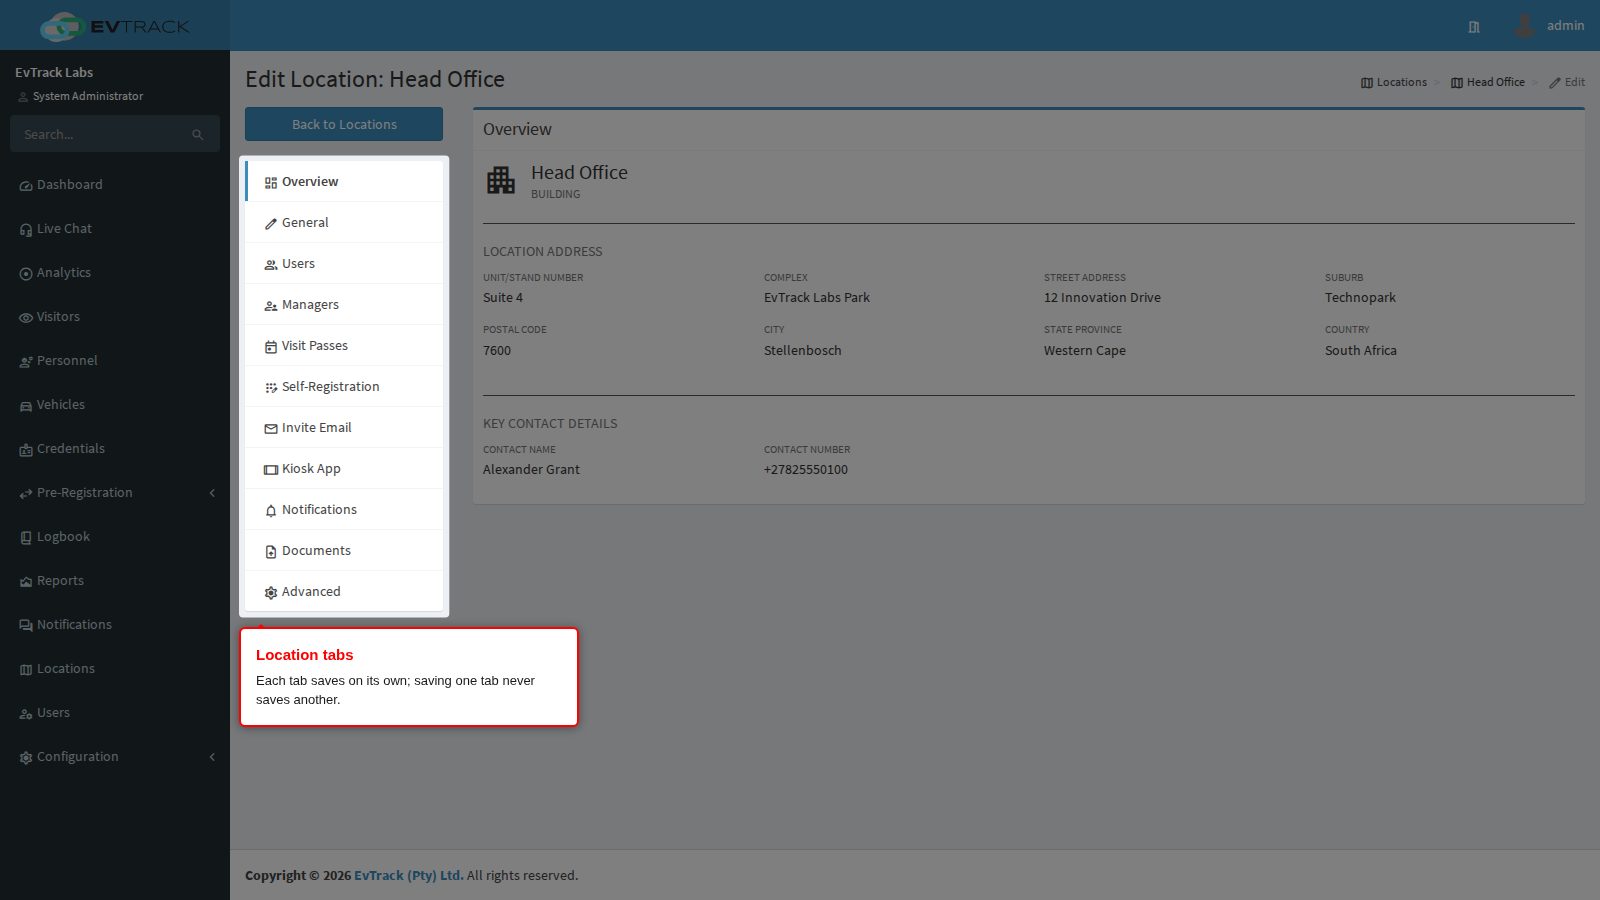
Click the location’s name in the list, or select its row and click Edit. The location opens on the Overview tab, with the other tabs in the menu on the left.
| Tab | What it is for | Shown to users with |
|---|---|---|
| Overview | A read-only summary of the location. | Configuration: Location - Edit/View |
| General | Name, type, default flag, address, key contact and map position. | Configuration: Location - Edit/View |
| Users | The users assigned to the location. | Configuration: Permissions: Users - List Users |
| Managers | The users who manage the location and approve its registrations. | Configuration: Permissions: Users - List Users |
| Visit Passes | The visit passes issued at the location. | Configuration: Location - Edit/View |
| Self-Registration | The self-registration form, group registration and reviewer for the location. | Configuration: System Settings - View |
| Invite Email | The invitation email visitors receive for the location. | Configuration: System Settings - View |
| Kiosk App | Kiosk overrides for devices at the location. | Configuration: System Settings - View |
| Notifications | Who is notified about the location. | Configuration: System Settings - View |
| Documents | Documents stored against the location. | Documents: Download |
| Advanced | Company name, visitor access list and pass validity. | Configuration: System Settings - View |
Each tab saves on its own: saving one tab never saves another. After a save you see an “Updated” message, either on the location list or back on the tab you saved, depending on the tab. The address bar remembers the tab you are on (for example #kiosk-app), so a link to that address opens the same tab. If a save is refused because of a validation error, the location reopens with the tab that carries the error already selected.
Delete a location
Select the location’s row in the list and click Delete. A confirmation page shows the location’s type and name and warns that the item will be permanently removed and that this cannot be undone.
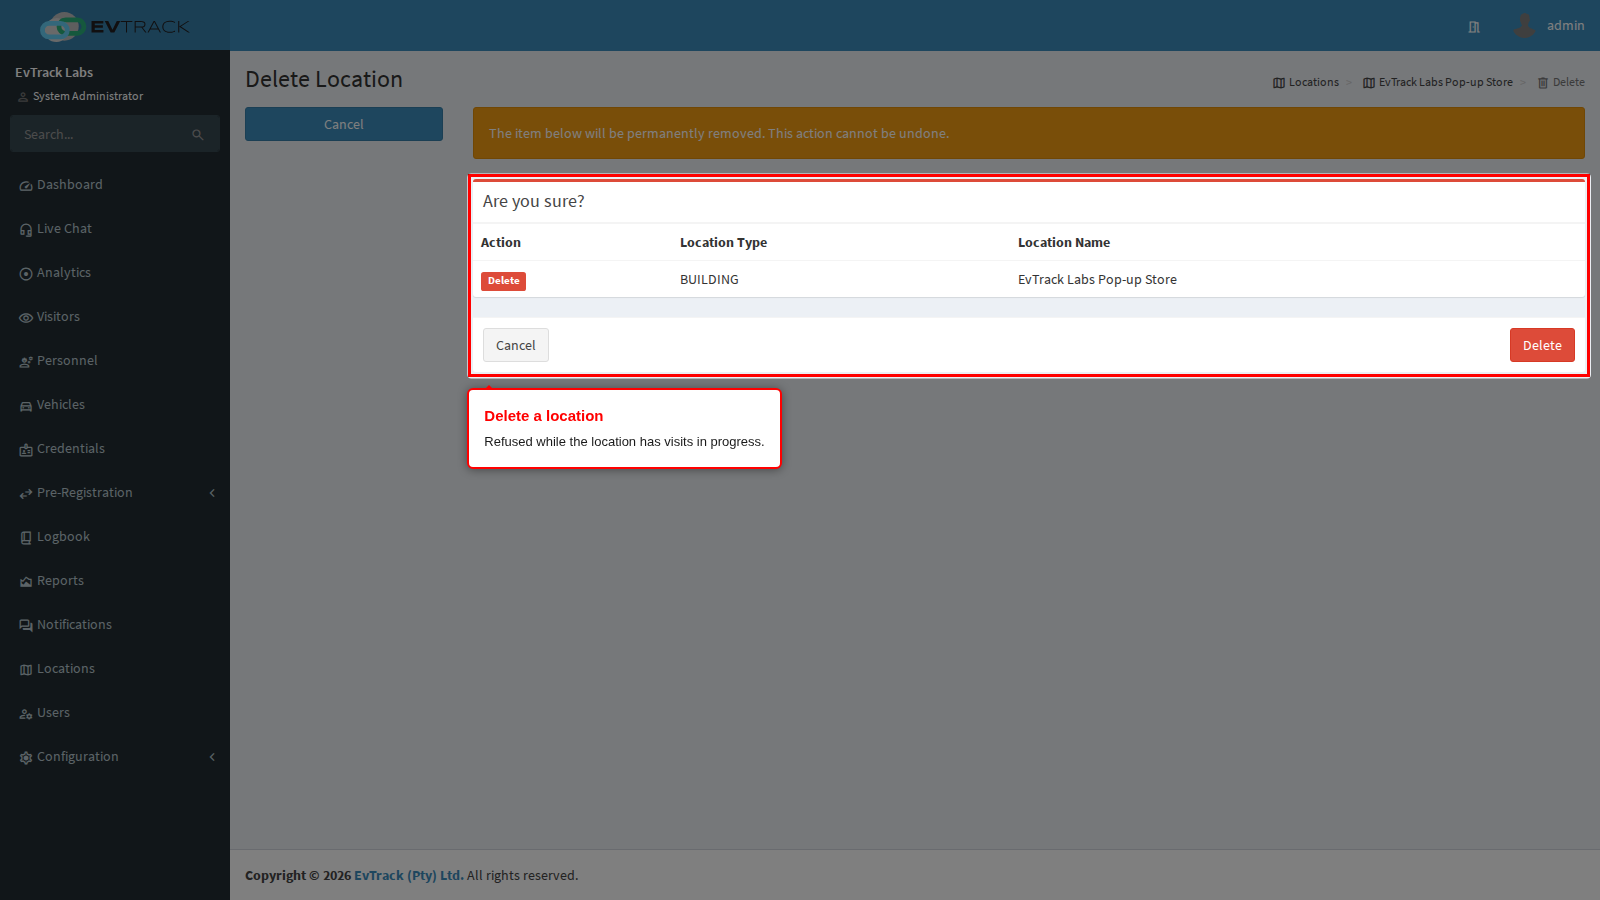
Click Delete to confirm, or Cancel to go back.
A location cannot be deleted while any visit at it is not finished. The list then shows “The Location ‘
When a location is deleted:
- its managers, notification recipients and invitation email attachments are removed;
- any card pool that was limited to the location is no longer limited to one, so its cards can be assigned at any location.