The Face and Liveness panel of the kiosk settings governs the visitor photo: how carefully the kiosk frames it, whether it is a real person rather than a picture of one, and whether it matches the portrait on the visitor’s document. The settings apply to every kiosk, and only matter on a kiosk where the registration form asks for a Photo.
Before you start:
- You can edit visitor settings.
- Reception knows what a visitor sees when a check fails. The sections below give the wording, and the document comparison can end a registration.
Step 1: Open Face and Liveness
Go to Configuration > Visitor Settings, click the Kiosk tile (the Kiosk Settings page gives the overview), and choose Face & Liveness in the kiosk menu on the left.
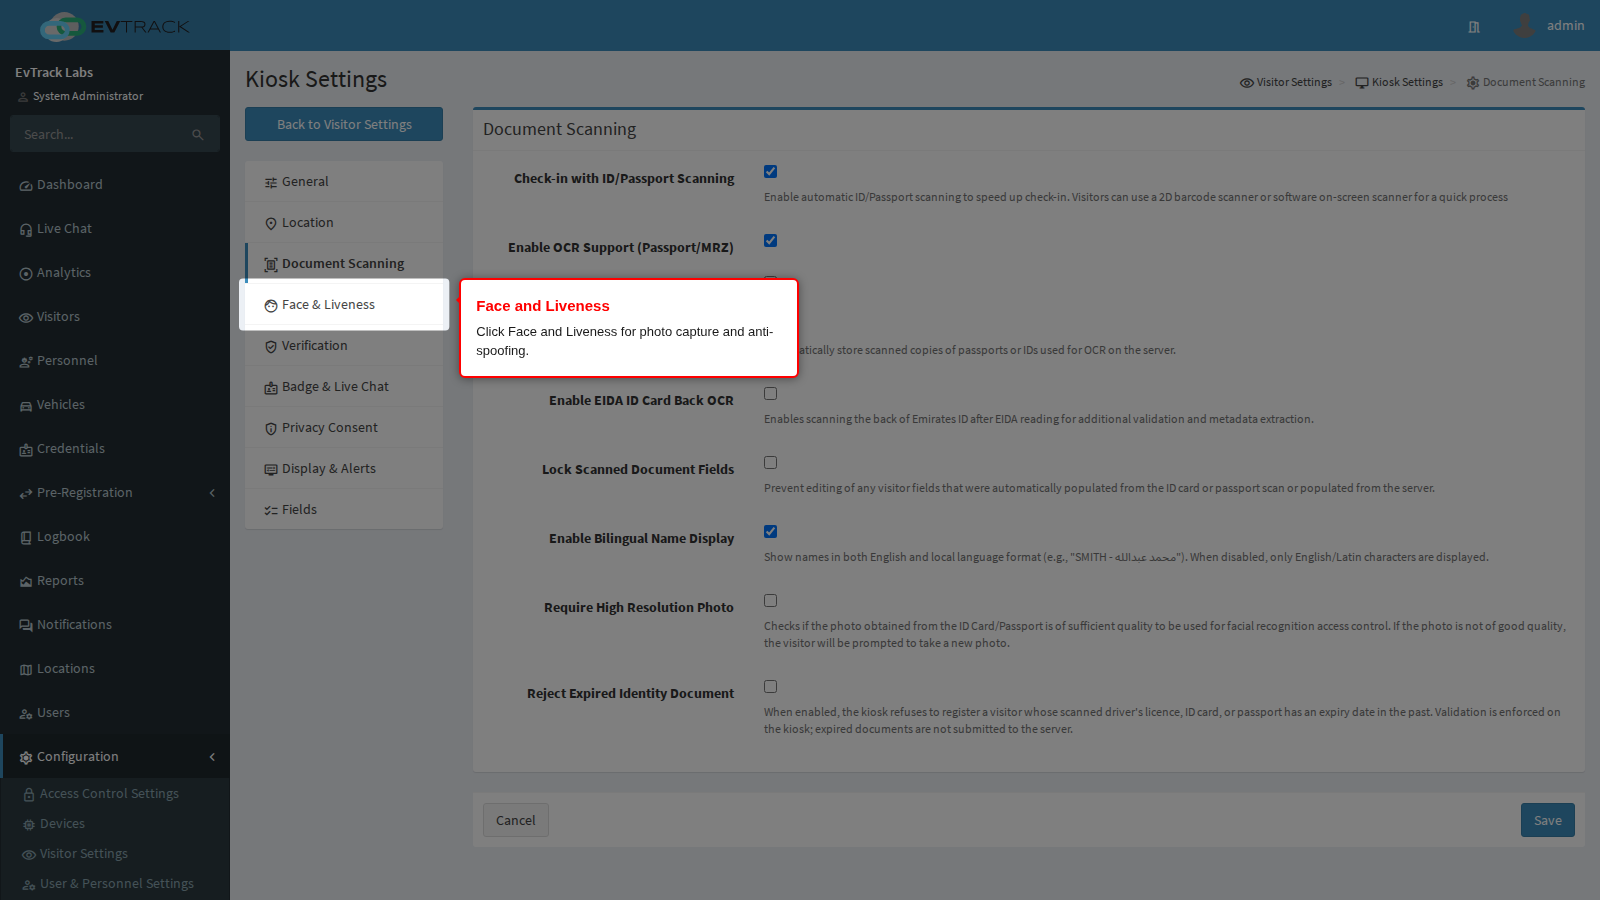
Enforce Face Detection
Off by default. The help text says it makes every kiosk detect a face when it takes a photo. In the current FrontDesk app the photo screen always waits for a face in the frame before it takes a picture, so this switch makes no visible difference on the kiosk today. Strict Face Validation, below, is the setting that changes how the photo is framed.
Strict Face Validation
Off by default. With it on, the kiosk asks for a better pose before it takes the picture: the visitor must look squarely at the camera and come closer, and the kiosk does not relax those limits the longer the visitor takes. Use it where the photo is also used by face readers at the checkpoint. Staff onboarding at the kiosk always uses strict validation, whatever this switch says.
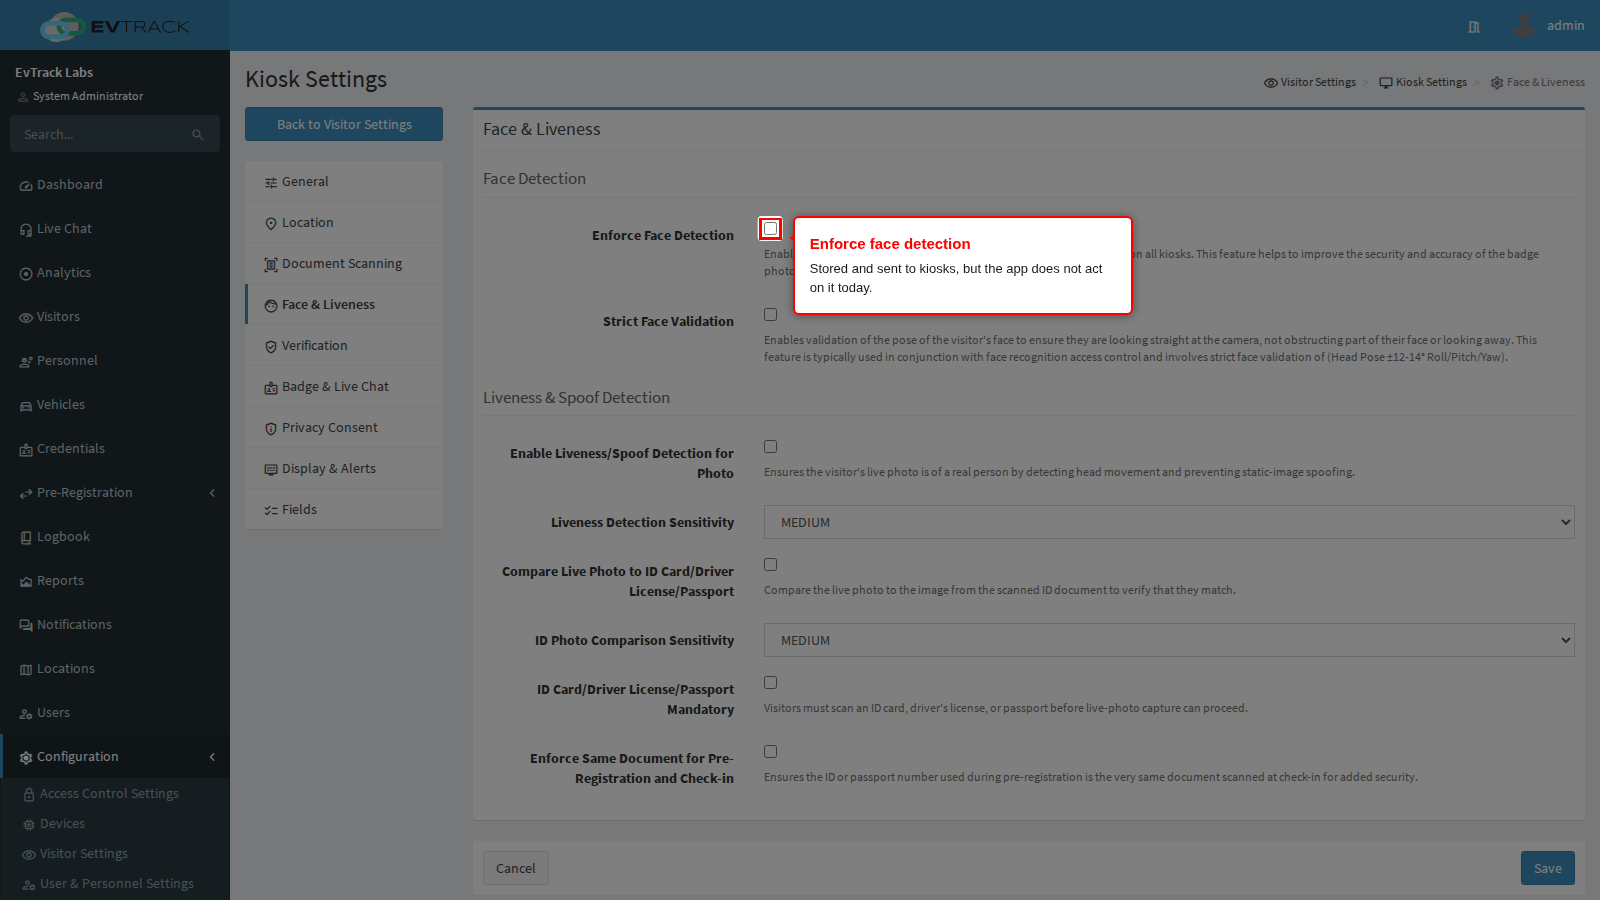
Enable Liveness/Spoof Detection for Photo
Off by default. It checks that the picture the kiosk has just taken is of a real person in front of the camera, and not a printed photograph or a picture held up on a phone screen.
The visitor is not asked to do anything, such as turn their head. The check runs on the picture the kiosk was about to keep. If it fails, no photo is kept: the kiosk shows “We couldn’t verify your photo. Please try again.” for about three seconds, and the camera starts again. If the check itself could not run, the title reads “We couldn’t check your photo.” instead. There is no limit on attempts and no way to skip, so a visitor who cannot get past the check cannot finish registering and has to be helped by a person. Turn it on wherever the photo is used as a credential, where it feeds face readers or is compared with a document, rather than where it only decorates a badge.
Two situations in which it does nothing, worth checking before you rely on it:
- If Photo is not one of the questions the kiosk asks, there is no photo to check. The questions are set on the Fields panel of the kiosk settings.
- Automatic Form Population can skip the camera entirely. When the visitor scanned a document that carried a portrait, the photo question can be filled from the document and submitted without opening the camera, so nothing is checked. Require High Resolution Photo on the Document Scanning panel is the counter-measure: it discards the document portrait and forces a fresh capture, see Document Scanning.
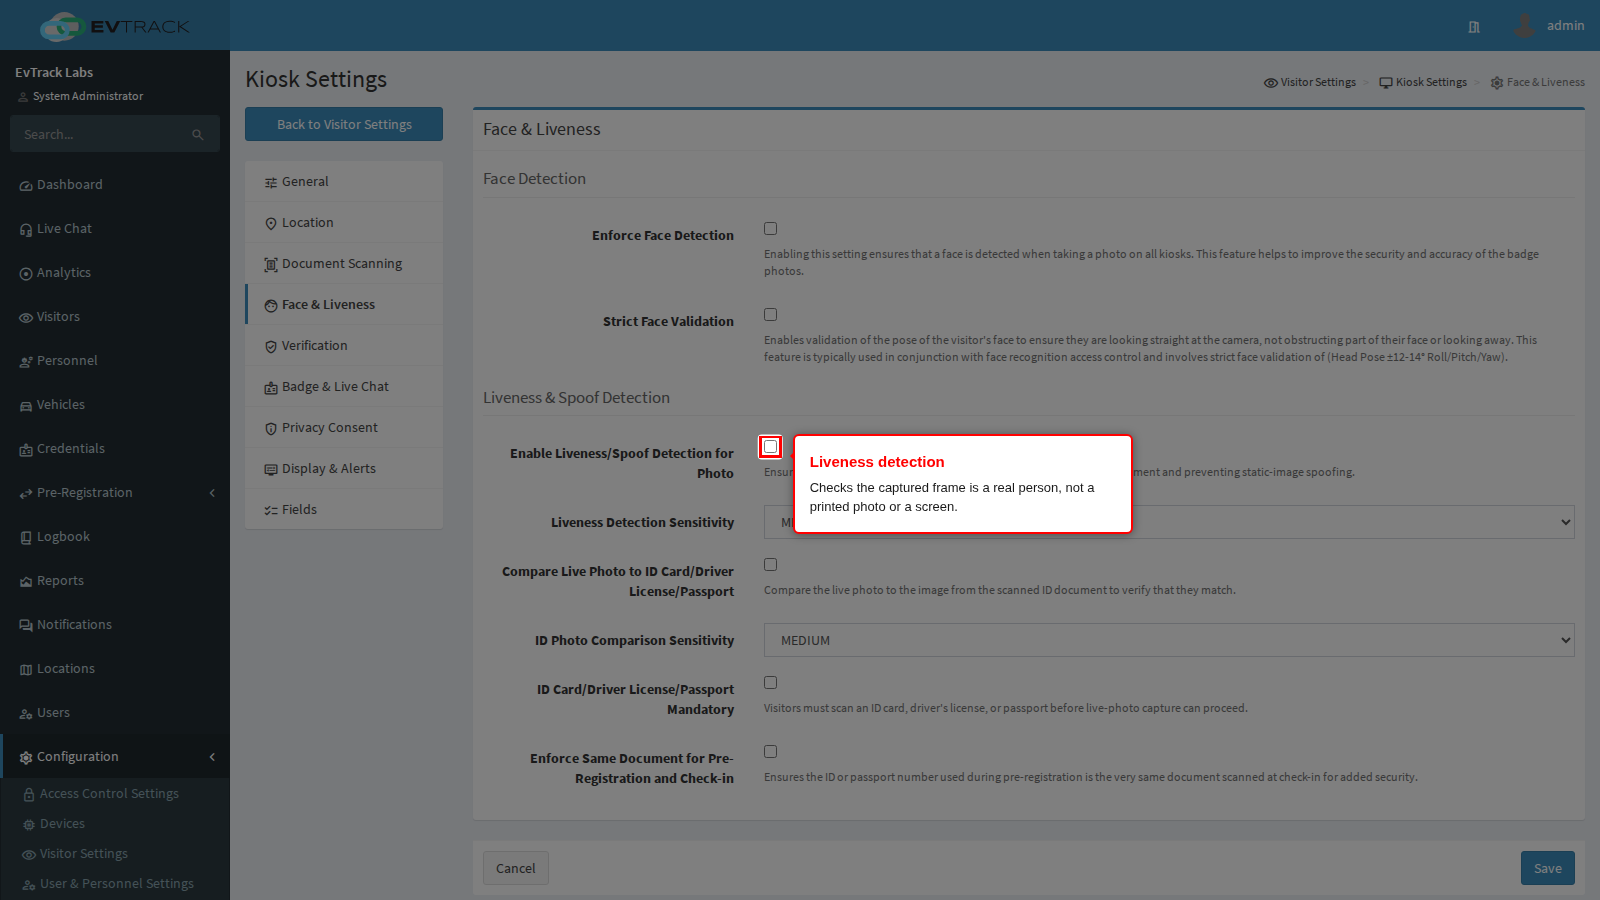
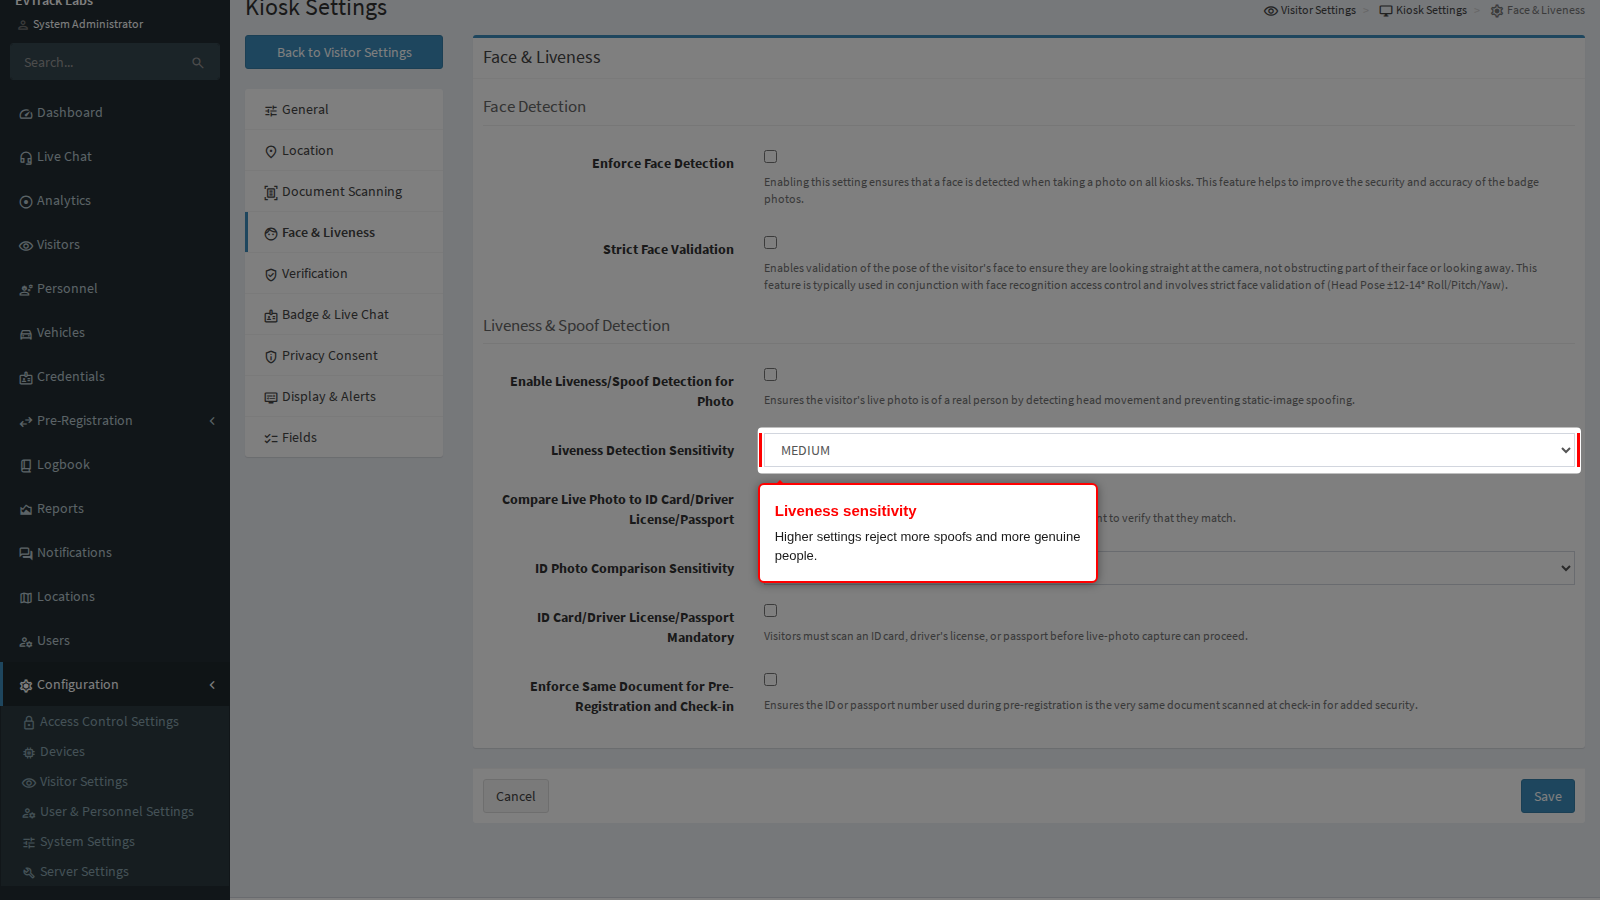
Liveness Detection Sensitivity
Choose LOW, MEDIUM or HIGH. It sets how sure the kiosk must be that the picture is of a real person. MEDIUM is the default. HIGH rejects more spoofing attempts and also more genuine visitors in poor light or against a bright window, which shows up as visitors blocked at the photo step. LOW lets a queue move but is easier to defeat with a good print. Start at MEDIUM, and if you raise it, look at your lobby lighting at the same time.
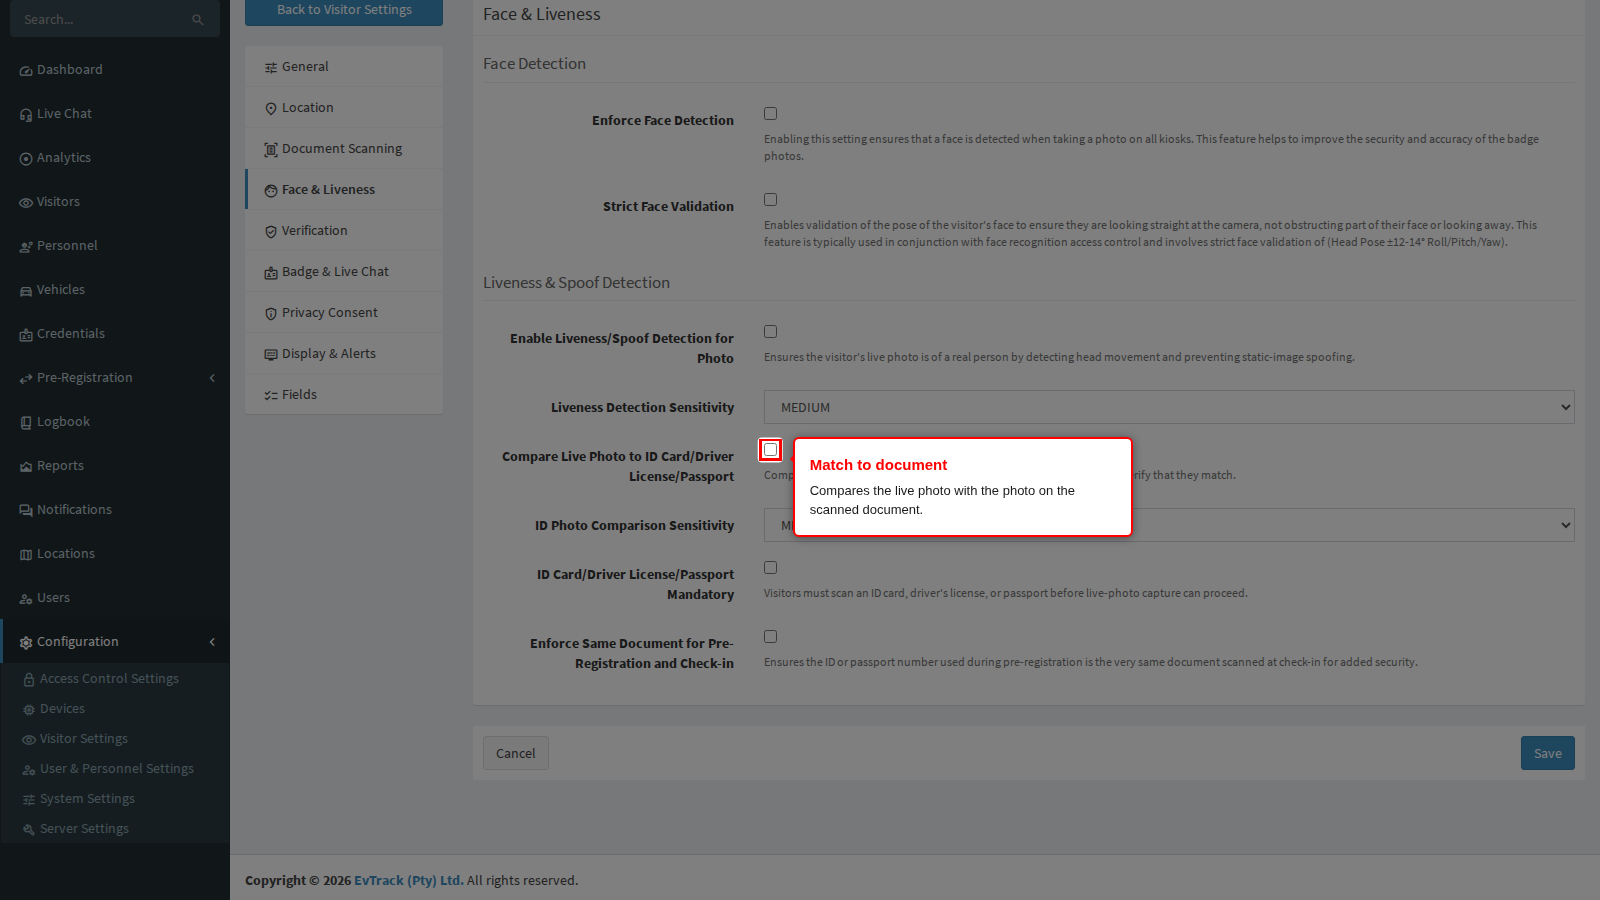
Compare Live Photo to ID Card/Driver License/Passport
Off by default. It matches the photo just taken against the portrait read off the document, so nobody can check in on a borrowed passport.
This is the only kiosk option that ends a registration by itself. A mismatch is allowed three attempts:
- The first mismatch shows “Let’s Try Again” with a RETRY button. When the kiosk saw a face, it says “We were unable to confirm your identity” and asks the visitor to remove any glasses, face coverings or masks and try again. When it saw no face, it asks the visitor to remove them and look directly at the camera.
- The second shows “Still unsuccessful.” and asks the visitor to make sure glasses, masks or face coverings are removed and the face is clearly visible, with RETRY again.
- The third shows “Unable to Continue” with “We were unable to verify your photo”, asks the visitor to try registration again or ask for assistance, and has an OK button. OK abandons the registration.
Tell reception what this looks like before you enable it.
Prerequisites and interactions:
- It needs a document portrait from the same session. In practice document scanning is on and the visitor chose the document route rather than a QR code or a PIN. A visitor who scans a QR code has no document portrait to compare against.
- ID Card/Driver License/Passport Mandatory, below, decides what happens when there is no document portrait. With it on, the kiosk stops before the camera opens and shows “Unable to Continue: Document photo not available for verification”. With it off, the comparison is skipped and registration continues, which is the gentler setting and the one to choose unless every visitor really must present a document.
- Automatic Form Population skips the comparison by the same route as liveness, and Require High Resolution Photo is again the counter-measure.
ID Photo Comparison Sensitivity
Choose LOW, MEDIUM or HIGH. It sets how close a likeness the comparison demands. MEDIUM is the default. HIGH demands a very close match and refuses more genuine visitors, especially in poor lighting or at an angle. LOW tolerates minor differences. If genuine visitors are being refused, the best lever is the photo itself: better lighting at the camera, and Require High Resolution Photo so the comparison runs on a fresh capture rather than a small document portrait.
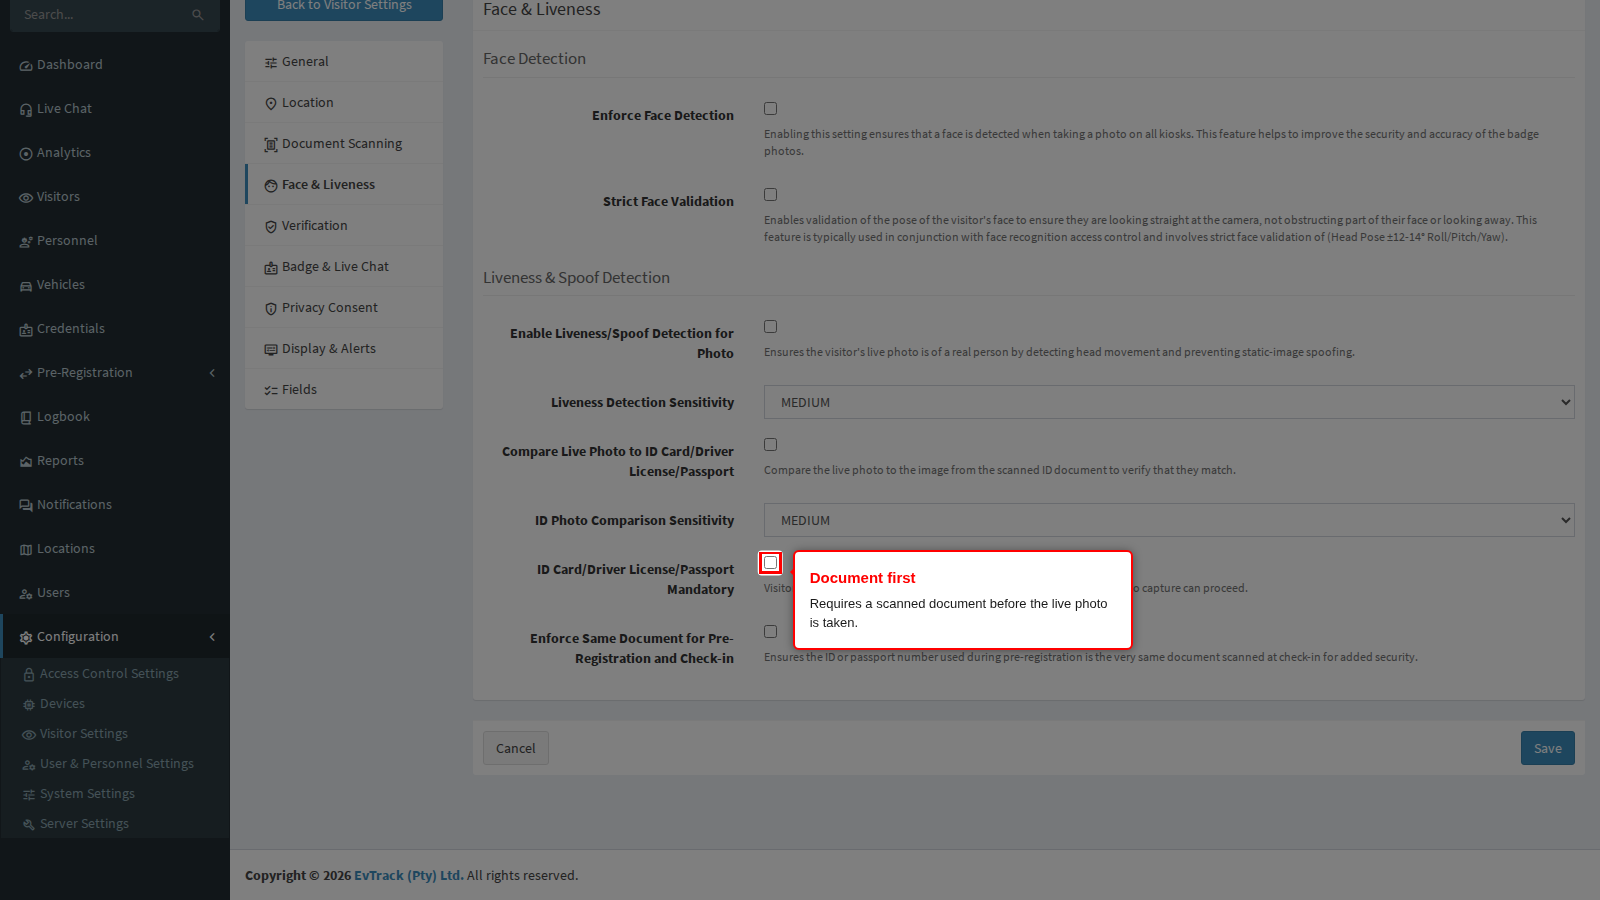
ID Card/Driver License/Passport Mandatory
Off by default. The visitor must scan an ID card, driver’s licence or passport before the live photo can be taken. It makes the comparison above possible. It also removes the button that proceeds to manual check-in from the choice screen, so a visitor cannot bypass document scanning.
Enforce Same Document for Pre-Registration and Check-in
Off by default. It requires the visitor to arrive with the same document they pre-registered with. The document tile is offered on the way in only to visitors who pre-registered, the ID number question is read-only, the manual route is removed, and a scanned document whose number does not match the pre-registration is refused with a message showing the expected and scanned numbers, partly masked.
Save
Click Save at the bottom of the panel. Paired kiosks pick the change up within five minutes, or at once when the app restarts.