The Badge & Live Chat panel of the kiosk settings decides whether FrontDesk kiosks print a badge when a visitor registers, and whether the kiosk offers a help button that starts a video call to Reception. The settings apply to every kiosk.
Before you start:
- You can edit visitor settings.
- For printing, a printer is set up on each kiosk’s device record (see the printer note below).
- For live chat, the kiosk’s device record has its SIP Settings completed and someone is ready to answer the call.
Step 1: Open Badge & Live Chat
Go to Configuration > Visitor Settings, click the Kiosk tile (the Kiosk Settings page gives the overview), and choose Badge & Live Chat in the kiosk menu on the left.
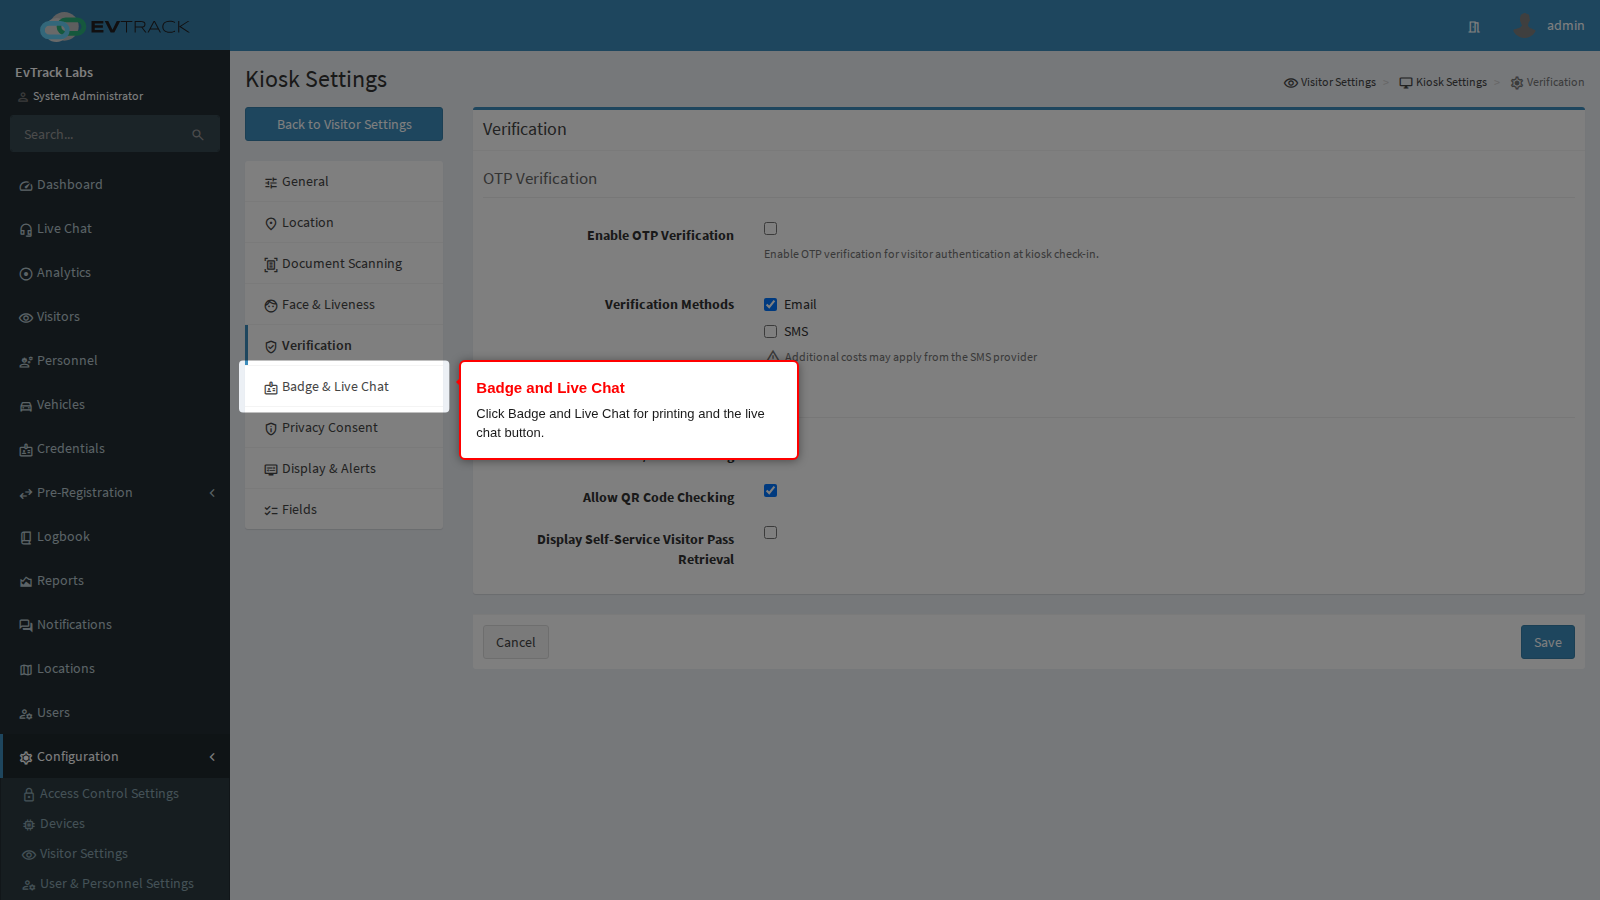
Enabled Badge Printing
Off by default. It is the global switch for kiosk badges. With it off no kiosk prints, whatever any individual tablet is set to. With it on, a kiosk prints only when its device record has a printer Driver set on the Optional tab, so you can run printers on the lobby kiosks and not on the ones in the workshop: set a Driver on the lobby kiosks and leave it empty on the others.
Two limits decide whether a given visitor gets a badge:
- A badge is offered at the end of the registration screen. Check-out and staff enrolling themselves through the kiosk never print one. If you need every visitor to leave the kiosk holding a badge, they have to go through registration.
- Nothing prints while the kiosk is offline. The registration is queued, the visitor is told it will be processed later, and no badge is made.
A printer that is out of paper, out of cards, open, jammed, busy or unreachable never blocks anybody. The check-in has already succeeded, and the visitor sees a message that confirms the check-in, says the badge could not be printed and names the cause (for example, the printer is out of paper). The message offers Retry Print and Skip, and the kiosk moves on by itself after two minutes.
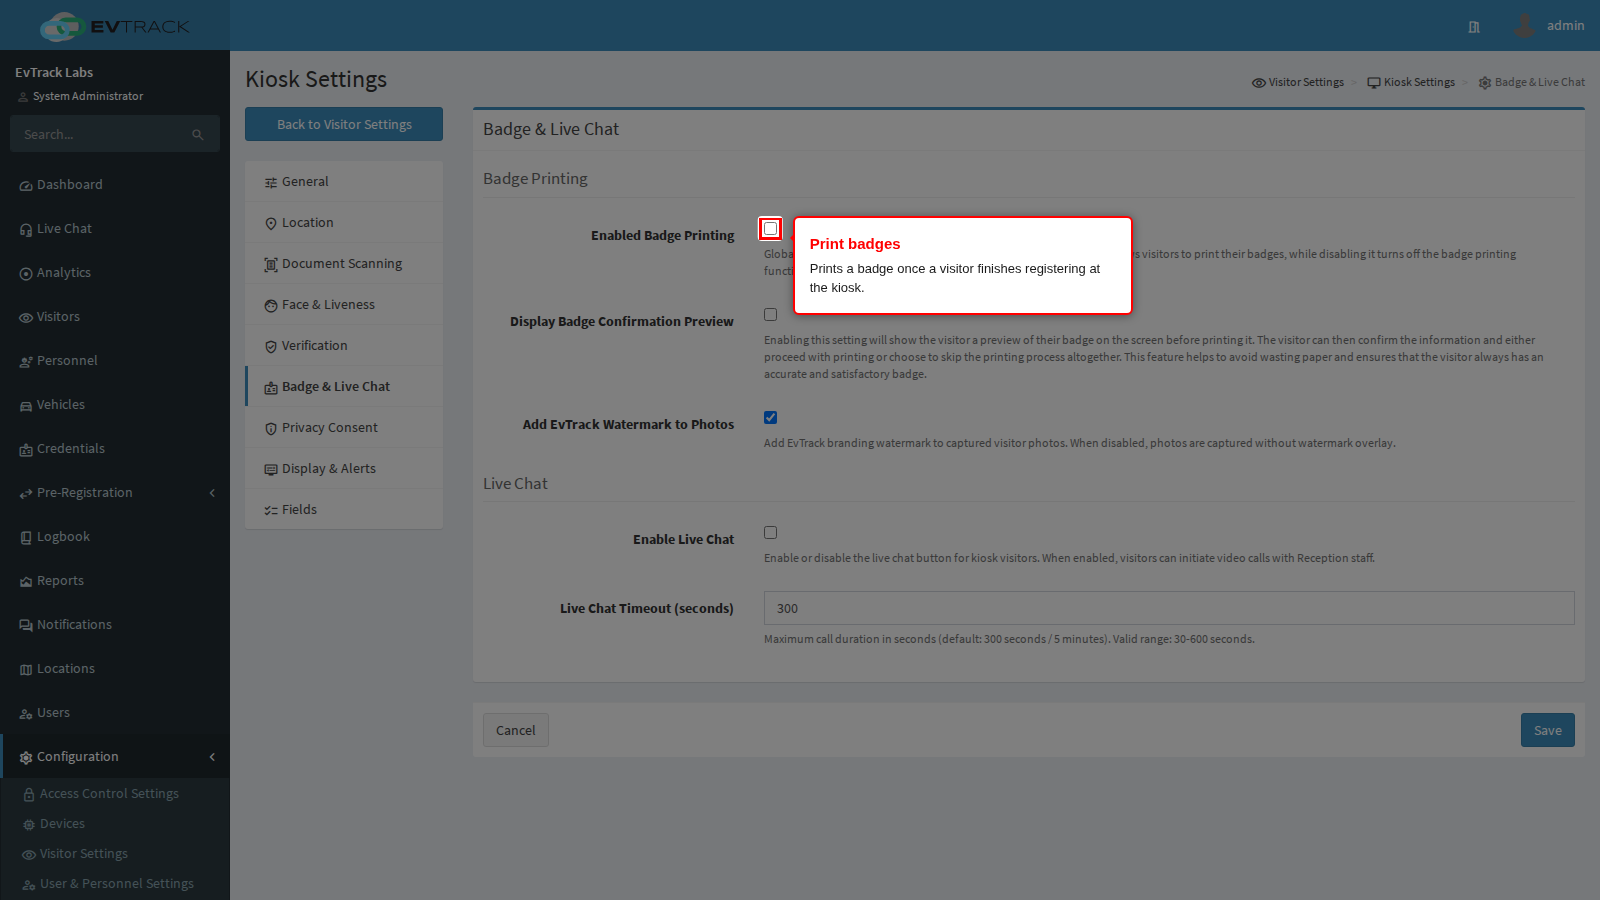
Display Badge Confirmation Preview
Off by default. It shows the finished badge on screen under the heading “Print Badge?” and waits for the visitor to choose PRINT or SKIP before anything is printed. Turn it on to stop wasted labels and cards when a name was mistyped or a photo came out badly. Turn it off for a fully automatic print that keeps the queue moving. On a card printer the kiosk then shows a countdown of one minute, followed by “Please collect your badge from the dispenser.”
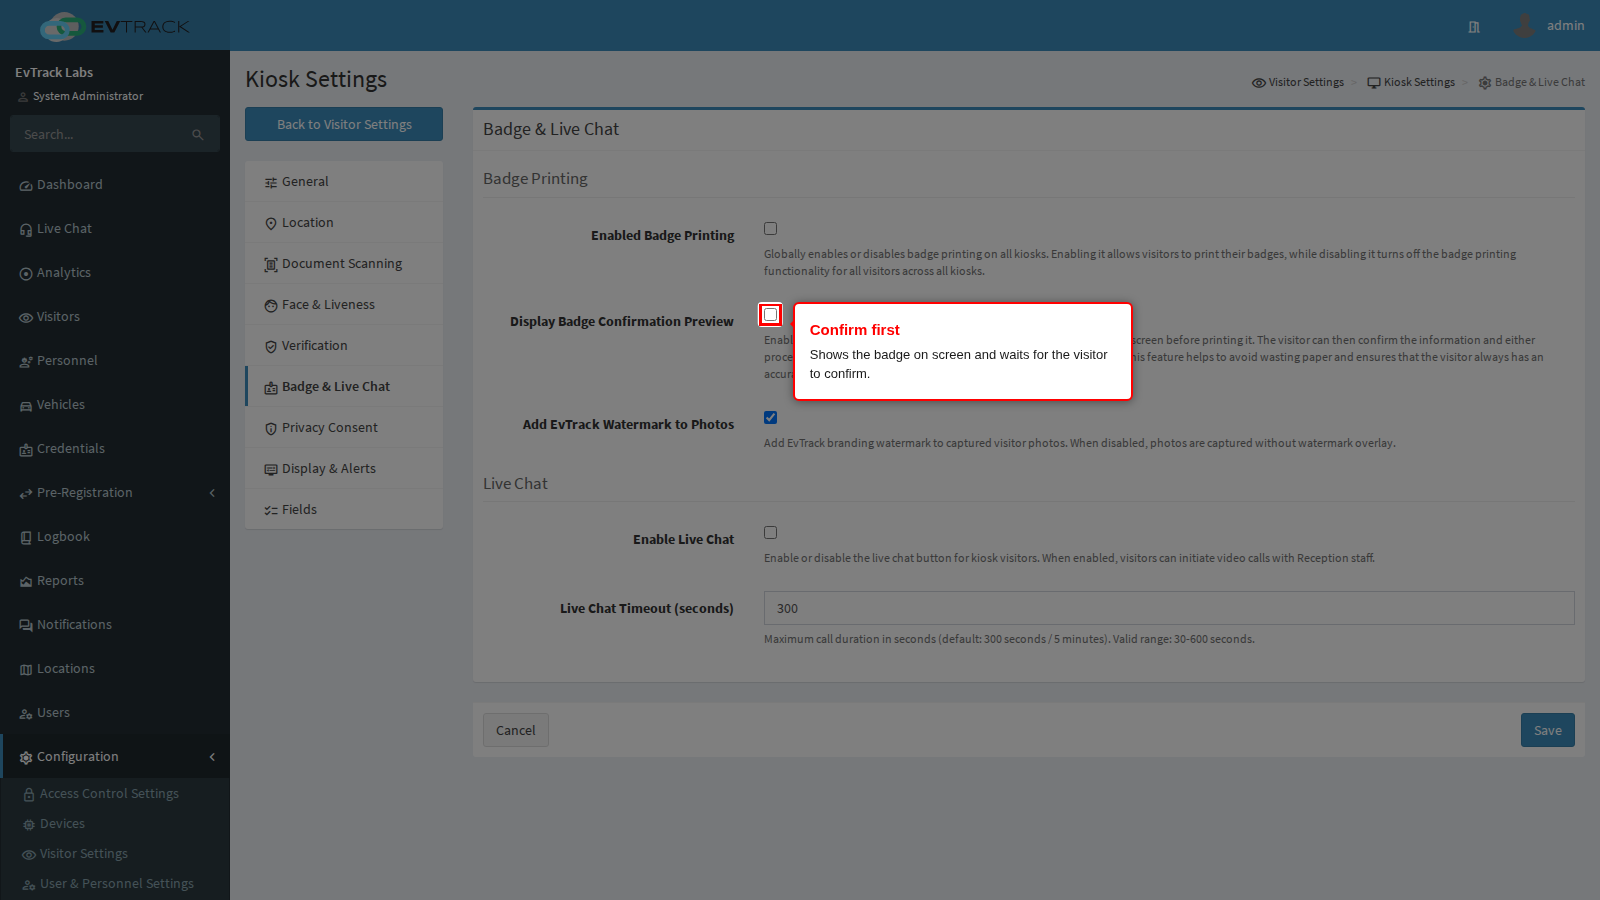
Add EvTrack Watermark to Photos
On by default. It adds the EvTrack watermark to the visitor photos the kiosk captures. Turn it off to capture photos without the watermark overlay.
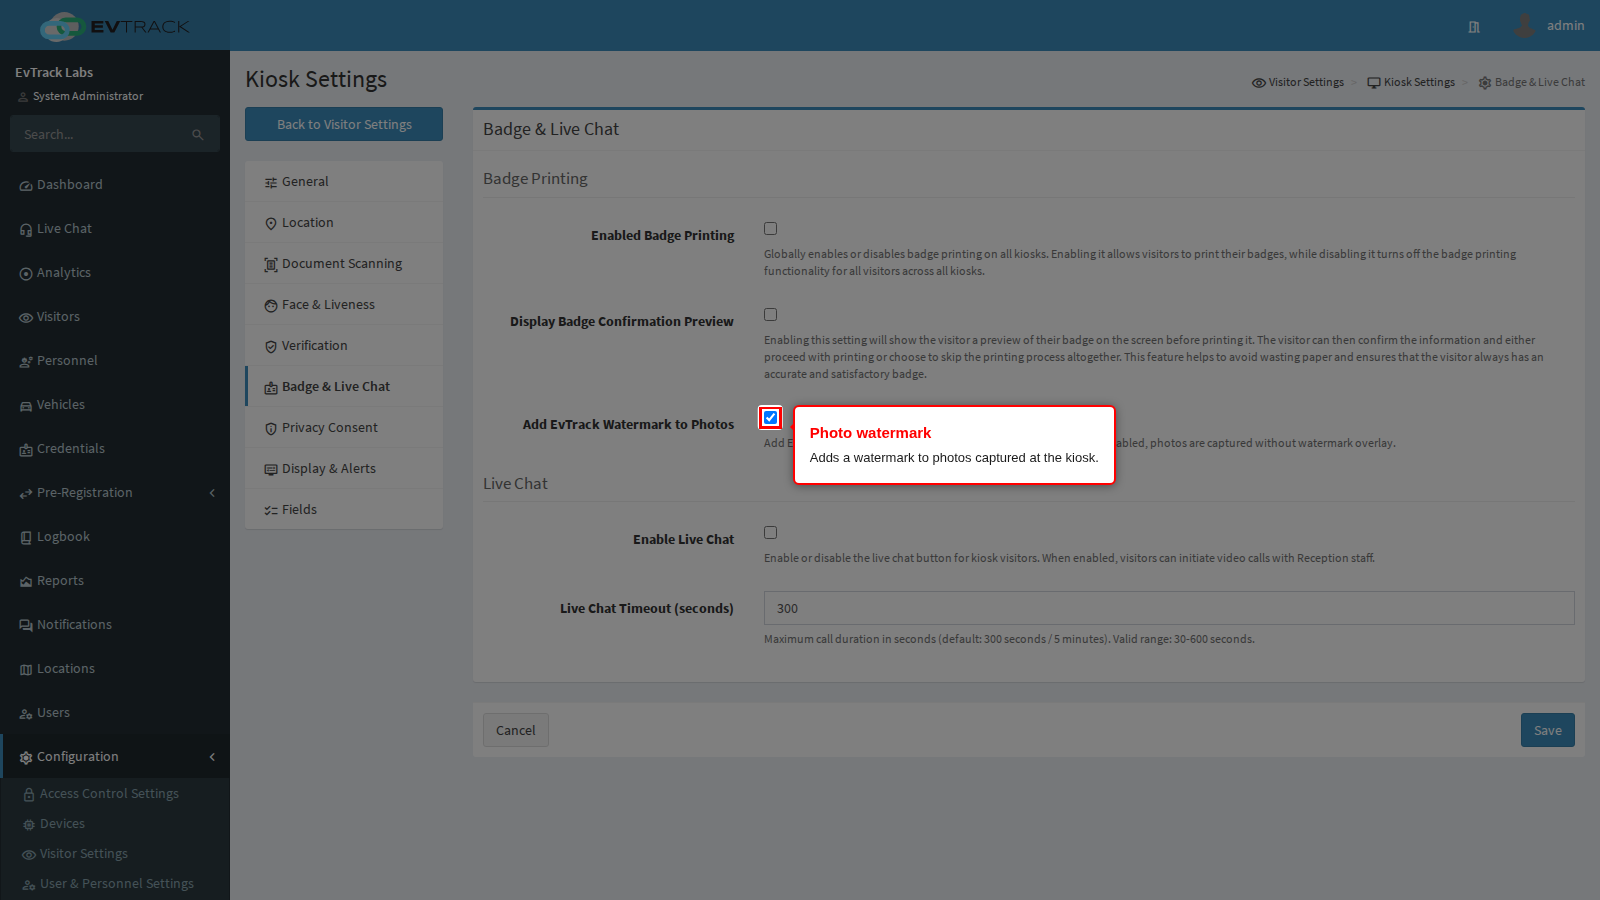
The printer itself is set up on the kiosk device, not here. Open the kiosk’s device record and use its Optional tab. There the printer Enabled choice can follow this global switch (leave it on “Use the global Enabled Badge Printing setting”) or be set to No, which switches that one kiosk off even when printing is on here. You then pick the printer Driver (Brother QL Bluetooth, Brother QL TCP/IP, Evolis Card Printer TCP/IP, Zebra LINK-OS TCP/IP, or Epson ePOS over TCP/IP, USB or Bluetooth) and fill in only the fields that driver needs. A kiosk with no Driver never prints, whatever its Enabled choice says. A MAC Address is for the Bluetooth drivers, a network address is for the network drivers, and a Port is for Zebra only. Device Options: Printer, Cameras and Lockdown covers every field. What the badge looks like is a separate subject, covered in Badge Printing.
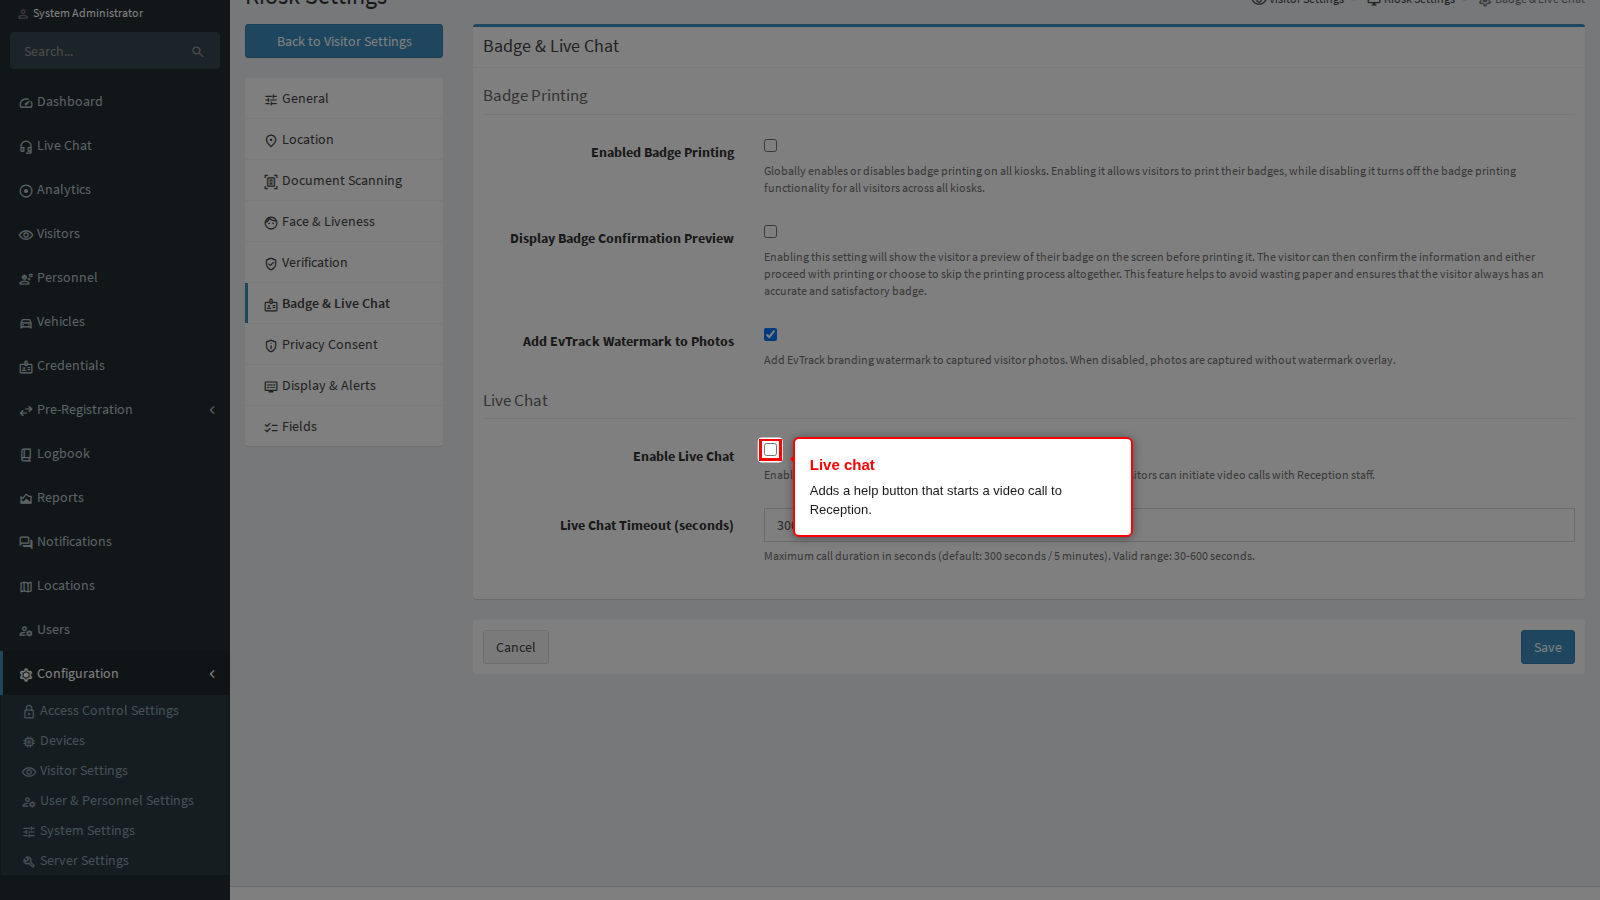
Enable Live Chat
Off by default. It adds a help button to the kiosk’s welcome screen that starts a video call to a phone number or extension you choose, which is how an unattended lobby still offers a human. The button appears only when the kiosk’s own SIP Settings tab is complete: SIP enabled for the device, a domain, a username or phone number ID, a password, a transport and a Live Chat Phone Number. Without those the setting is saved but the button remains hidden. It needs somebody ready to answer the call to be worth switching on.
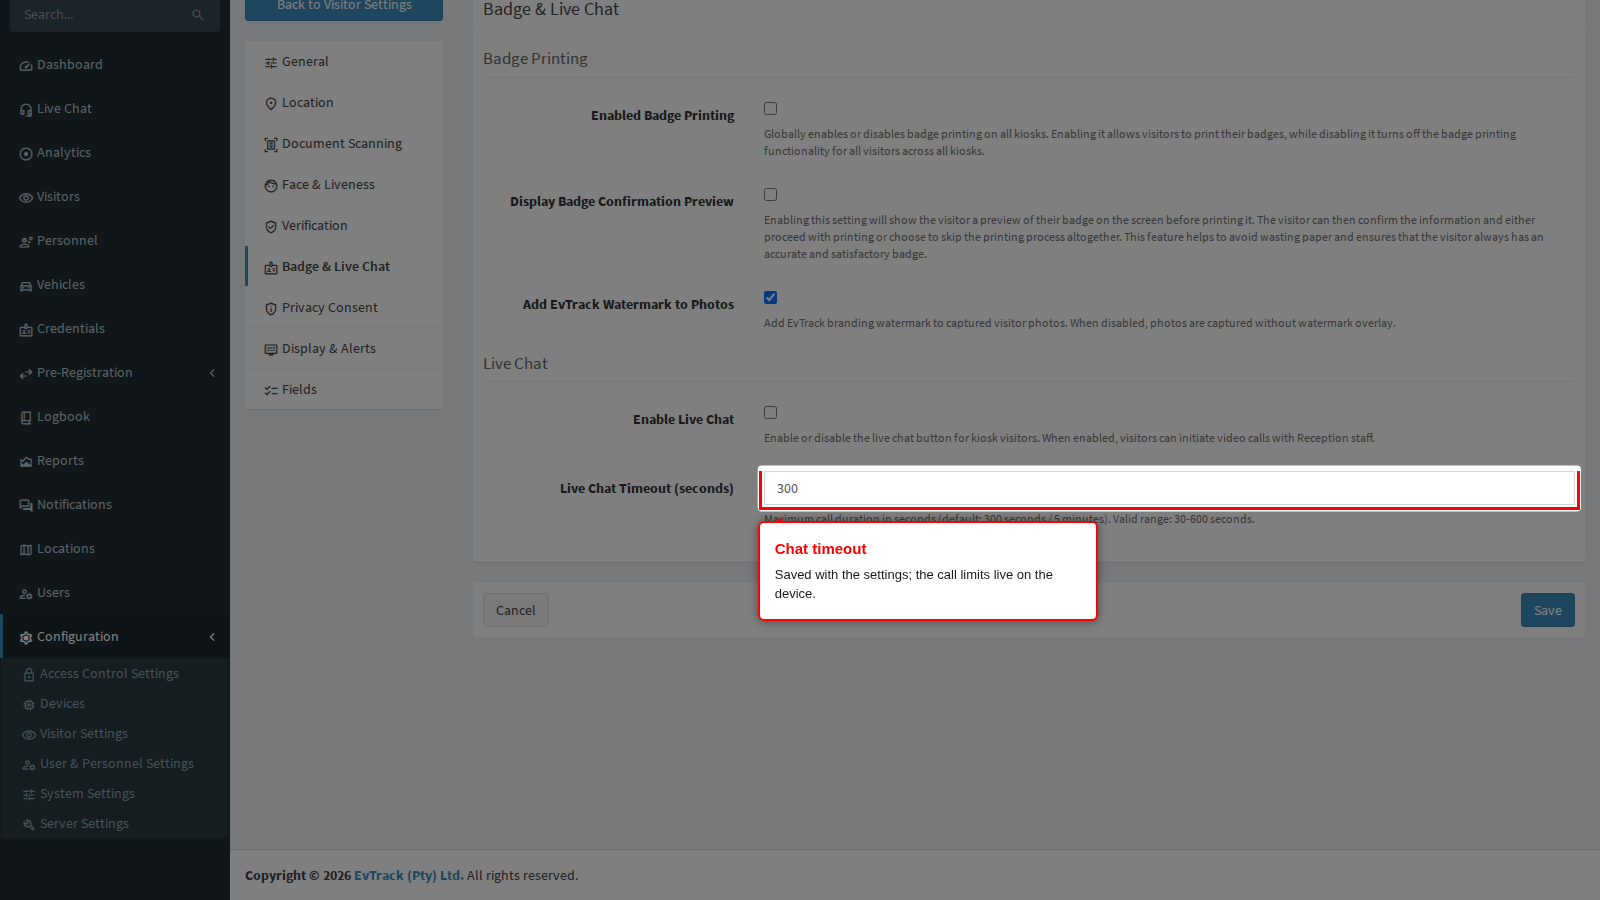
Live Chat Timeout (seconds)
The field accepts a whole number from 30 to 600 and starts at 300. It is saved with these settings and sent to the kiosk, but the FrontDesk app does not read it today. How long a call may run and how long it rings before it is abandoned come from the device record: open the kiosk’s SIP Settings tab and set Call Timeout (seconds) (default 300) and Ringing Timeout (seconds) (default 60). Use those two fields to control a chat.
Save
Click Save at the bottom of the panel. Paired kiosks pick the change up within five minutes, or at once when the app restarts.