Use an import when you have a list of visitors - a conference, an audit cohort, a contractor crew or a partner’s spreadsheet. Every imported visitor still goes through your normal approval: nothing is sent to a visitor until their request is approved.
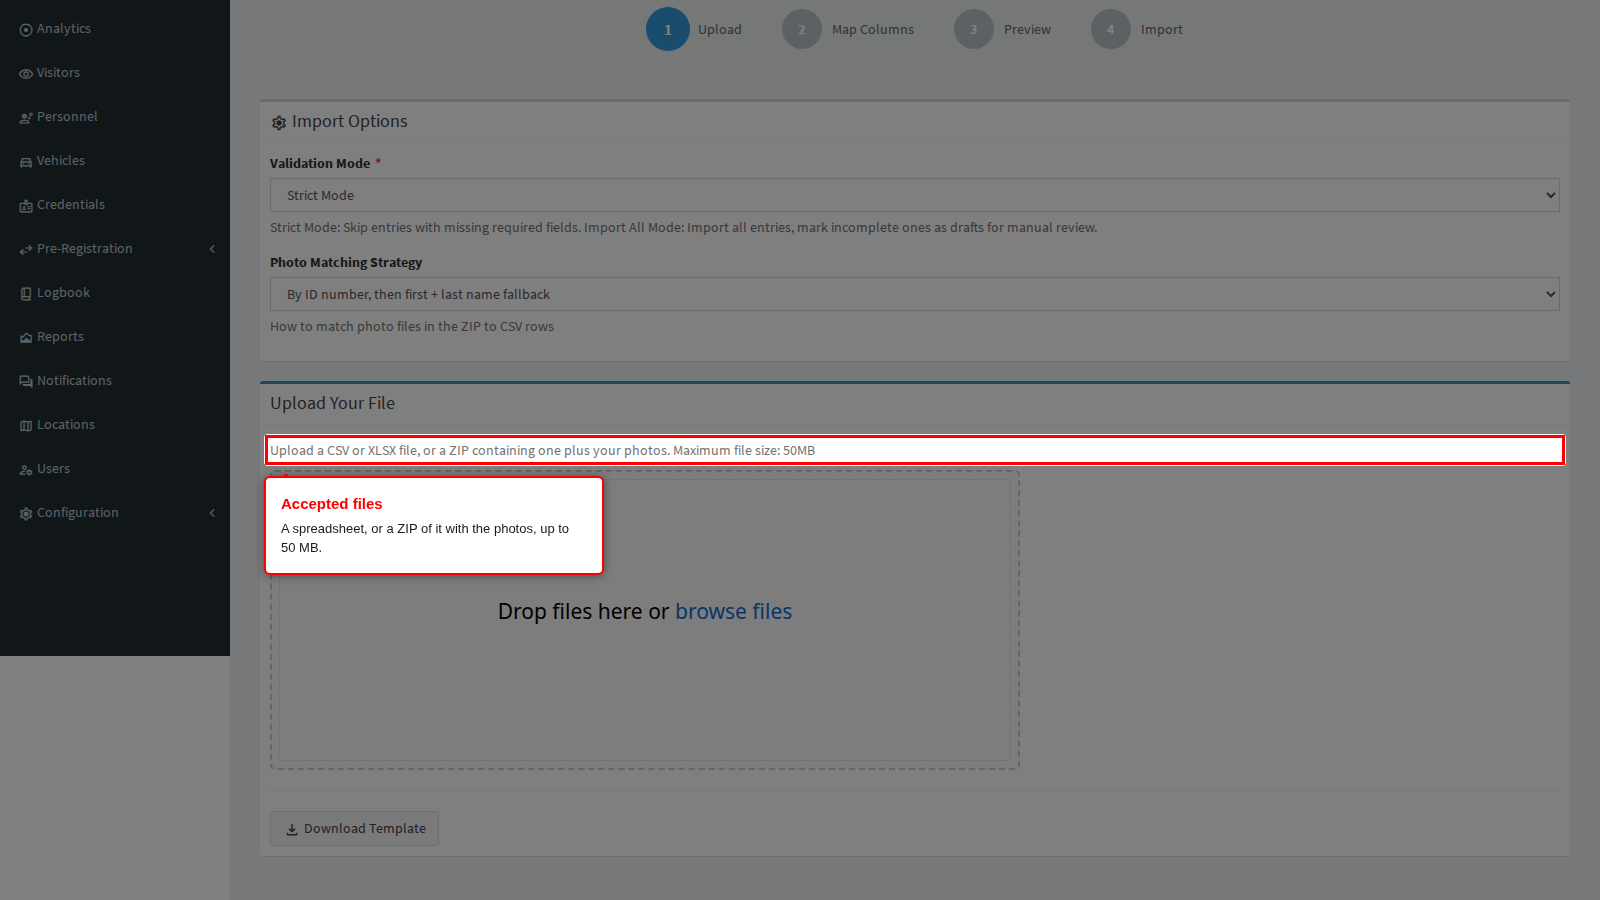
You will need: a computer, and the list as a CSV, XLS or XLSX file, or a ZIP that holds the file together with the visitors’ photos - up to 50 MB either way.
Step 1: Open the import
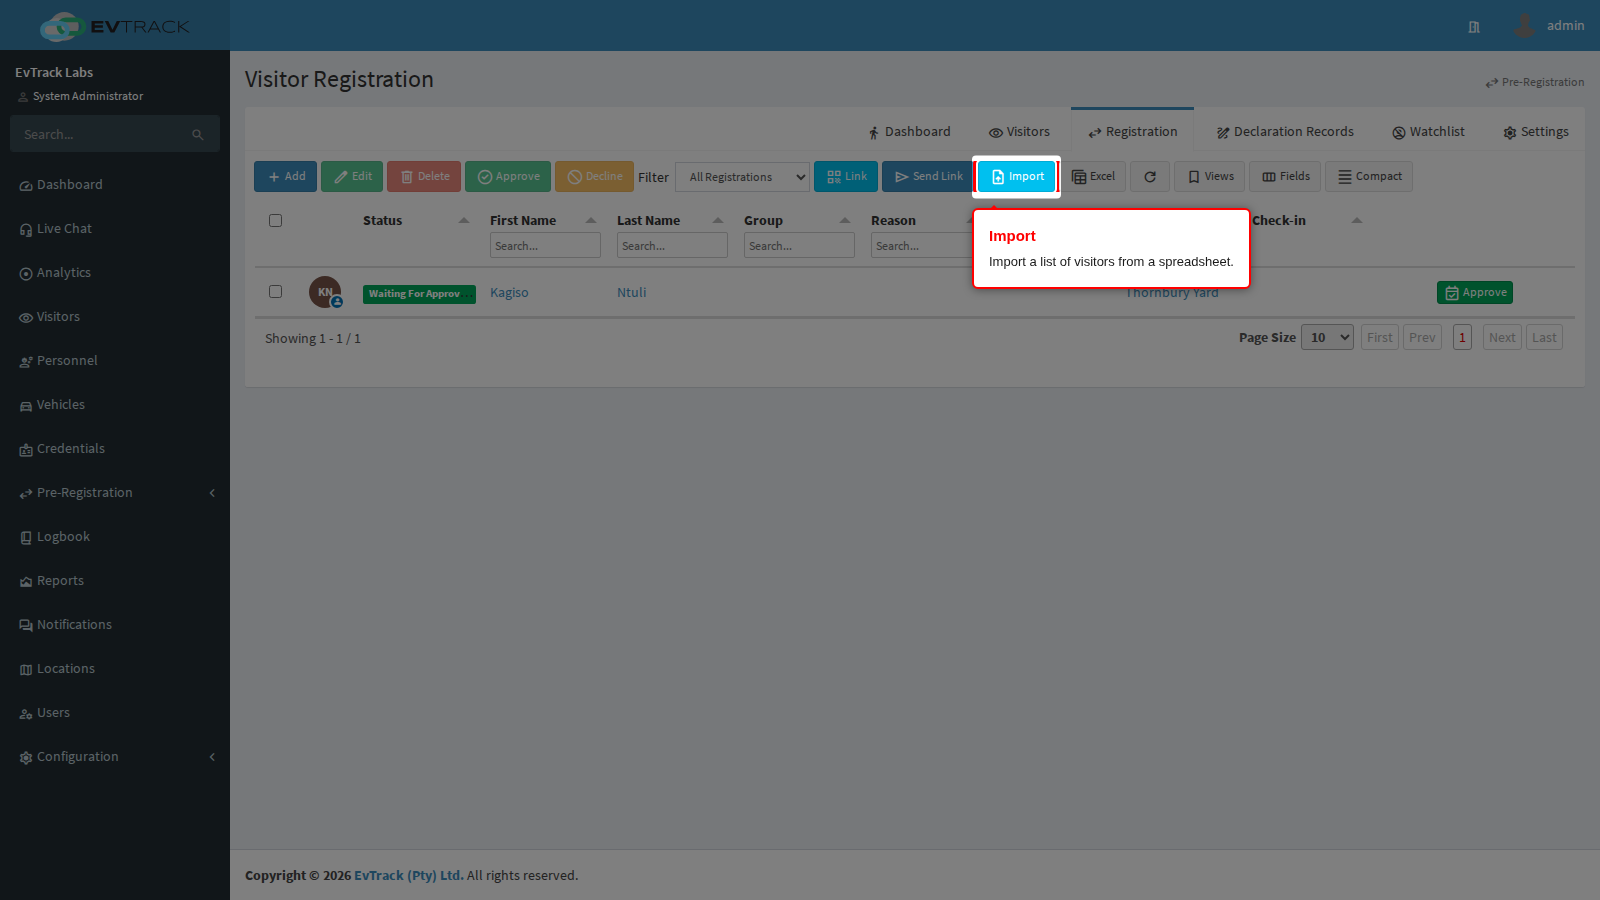
Open the Registration list (Visitors, then the Registration tab) and click Import.
Step 2: Upload the file
Choose how strict the import should be, then drop the file in. The wizard walks you through mapping your columns, a preview, and the import itself; the full wizard is described in Importing Data.
Which columns are required
The required columns follow your Self-Registration required fields. By default these are First Name, Last Name, Email and Mobile Number. The email address is where each visitor’s pass is sent, so a wrong address means a visitor who never receives their pass: check the column mapping.
After the import
The visitors appear in the Registration list waiting for approval. A location manager can approve them together - see Approval Workflow. Photos in a ZIP are matched to rows as described in Preparing a Photo ZIP for Import.
Troubleshooting
| What you see | Likely cause | What to do |
|---|---|---|
| The file is refused on upload | Too large, or not CSV, XLS, XLSX or ZIP | Split the file, or save it as CSV |
| Far fewer columns detected than expected | Title rows or merged cells above the header | Keep one clean header row |
| Some rows failed | A required value missing or an email malformed | Fix those rows and import just them |
| Visitors imported but nobody received an email | Working as designed | Passes are sent on approval, not on import |